This post is part of the Hand Quilting HQ tutorial series. For the most fluid experience, I recommend starting at the beginning since the posts build upon each other. If you missed any of the previous posts, you can find them here.
If you’ve been around here for a while, you know that I like to break the sewing process down into bite-sized chunks. Basting a quilt is no different. So, before we can get to the basting step, we have to choose a batting. And, when hand quilting, your choice of batting actually requires a little bit more consideration than just loft and substrate.
With machine quilting, the needle is designed to penetrate the quilt sandwich with ease, more or less regardless of the batting choice. However, with hand quilting, because it moves around as you manipulate the quilt sandwich and the needle is powered by the strength of you hand, there are pros and cons to consider with each type.
Batting for Hand Quilting
Cotton and Cotton Blends

This is probably the most common and most classic batting used. However, all modern cotton batting is now needle-punched to prevent it from bleeding through pieced seams. While this feature is helpful on that front, it actually makes it harder to hand quilt. But, not to be deterred from my favorite batting medium, I have found that using a sturdy needle, a metal thimble, and a needle gripper of great assistance. (I will share my favorite hand quilting supplies in greater detail in the next installment of this tutorial series.)
Polyester and Polyester Blends

This medium became a very popular batting before cotton batting was needle-punched. However, some dislike that it is a synthetic material. It has a higher loft over cotton batting, but because it is a much less dense batting than cotton, it is much easier to hand quilt.
Interestingly, I have found polyester to be a much “shiftier” batting than cotton. Therefore, I recommend careful basting and a generous border allowance around the perimeter of the quilt so you don’t end up short of batting if it shifts.
Lastly, due to the less dense nature of polyester batting, I have found that it can be a bit translucent. In effect, this can mean that if you have a low volume quilt top and a highly saturated quilt backing, you may be able to discern a bit of the quilt backing through the polyester batting.
Commercial Batting Alternatives
While I enjoy and appreciate using commercial batting created specifically for quilt making, they are not the only options to consider when choosing which batting is right for you. I live in a city (possibly a whole country) that does not sell cotton batting. I have looked in every fabric related store I can find, but I have only ever found polyester. While polyester has come in handy in a pinch, I also live in a country that has about two months of the year that are cool enough that I would want to use a quilt made with polyester batting. As such, I have had to get creative.
Thrifted Sheets
Thrifted sheets were the first type of batting I ever used. And, due to our recent inability to travel to a location which sells commercial cotton batting, I have returned to this alternative. Depending on the desired weight and thickness of a quilt, I opt for a variety of choices.
Flannel. Flannel sheets are lovely and cozy, and actually aren’t that heavy even for hot weather since they stay inside the quilt sandwich.
Jersey knit. Jersey knit sheets are another great option that creates a beautiful drape in the final quilt.
Layering. These sheet types alone create rather thin quilts, a feature that I don’t mind sometimes due to the climate. But, my favorite comercial cotton batting alternative is layering a flannel sheet and a jersey knit sheet together. This combination creates the closest replica of cotton batting that I have discovered yet in loft and drape. Not to mention, I can easily find both types of sheets at the second hand store here in Lilongwe!
A Few Notes for Choosing Thrifted Sheets
- Choose solid, non-patterned sheets, ideally in low volume colors. Using patterned sheets might show through the quilt top or backing, so consider the saturation of color in both your quilt top or quilt backing. Remember, commercial batting traditionally comes in white or cream, so choosing sheets in that spectrum will have a similar effect.
- I always wash my thrifted sheets, especially white/cream ones in a hot bleach wash when I get them home. I’m not a germaphobe by any means, but I feel like this step freshens up the fabric before I begin.
- The jersey knit sheets I always seem to come across, for some reason, are typically the bottom or fitted version of a sheet set. As such, you’ll have to trim any elastic off and open up the mitered corners to make it lay flat. These sheets can be oddly shaped, but generally smooth out nicely when laid on top of the backing fabric.
- When I use the pairing of both flannel and jersey knit sheets in a quilt, I usually layer the quilt backing wrong side up first and tape it down to the floor with masking tape. Next, I layer the jersey knit sheet, then the flannel one, and finally the quilt top. Then, I baste as usual.
- Finally, because flannel and jersey knit sheets are typically cotton, they hand quilt more or less like commercial cotton batting when layered together. When layered separately, they are a little bit easier to hand quilt.
Polar Fleece

One final batting alternative that I have used is polar fleece. Polar fleece is unique because it has a similar loft to cotton batting, but is a polyester/synthetic substrate. I have yet to use it in a full sized quilt, but I have found it works wonderfully as a batting alternative in mini quilts and mug rugs. Polar fleece hand quilts similarly to cotton batting, as well.
At the end of the day, commercial batting alternatives can be a great way to use what you have. Quilters of old have always been thrifty, and this practice makes me feel connected to those who have gone before me.
Which batting is for me?
All this being said, I encourage you to try different battings and see which works best for you and your quilt. I have used a variety of battings for hand quilting, and I appreciate the benefits of each. Consider the loft, density of batting and quilting, and your personal enjoyment of the process to determine which batting you like best.
Basting
Now that we’ve covered batting, let’s move on to the basting step! I have shared before that in sewing at large, basting is the process of temporarily holding something in place until the permanent fixation can be completed.
When sewing garments or bags, temporary basting stitches will sometimes be called for to help keep the pieces secured during the final steps of assembly. In English Paper Piecing, basting is used to temporarily hold the fabric to the papers as the fabric is stitched together.
Similarly in quilting, basting is used to keep the layers of the quilt sandwich together until the final quilting lines are sewn. There are a variety of methods that can be utilized to complete the basting step. I’ll share the most common ones, as well as which one is my favorite.
Basting Methods
Thread Basting
This is the traditional method of basting which uses a contrasting thread and very large stitches to temporarily hold all three layers of your quilt sandwich together. I find this method a bit tedious, though I basted my first few quilts this way. However, I know that several quilters prefer it, particular for use with a hoop, which I’ll cover in the final segment of this hand quilting tutorial series, since there are no sprays or obtrusive pins to wrangle with. Also, removal is fairly straightforward. You simply clip the threads once quilting is completed and remove them.
Spray Basting

This method has become much more popular in recent years. No pins or thread are required which also means you don’t have to remove anything once you’re done. I will admit that I haven’t tried this particular method. From what I understand, a thin layer of spray adhesive is sprayed between each layer of the quilt sandwich. I have heard that there are varying degrees of repositioning permissible depending on the spray. I’m not a huge fan of spray adhesives since I have asthma, but I’ve heard many people try it and never go back. Of note, this method would also work well for use with a hoop for hand quilting.
Pin Basting
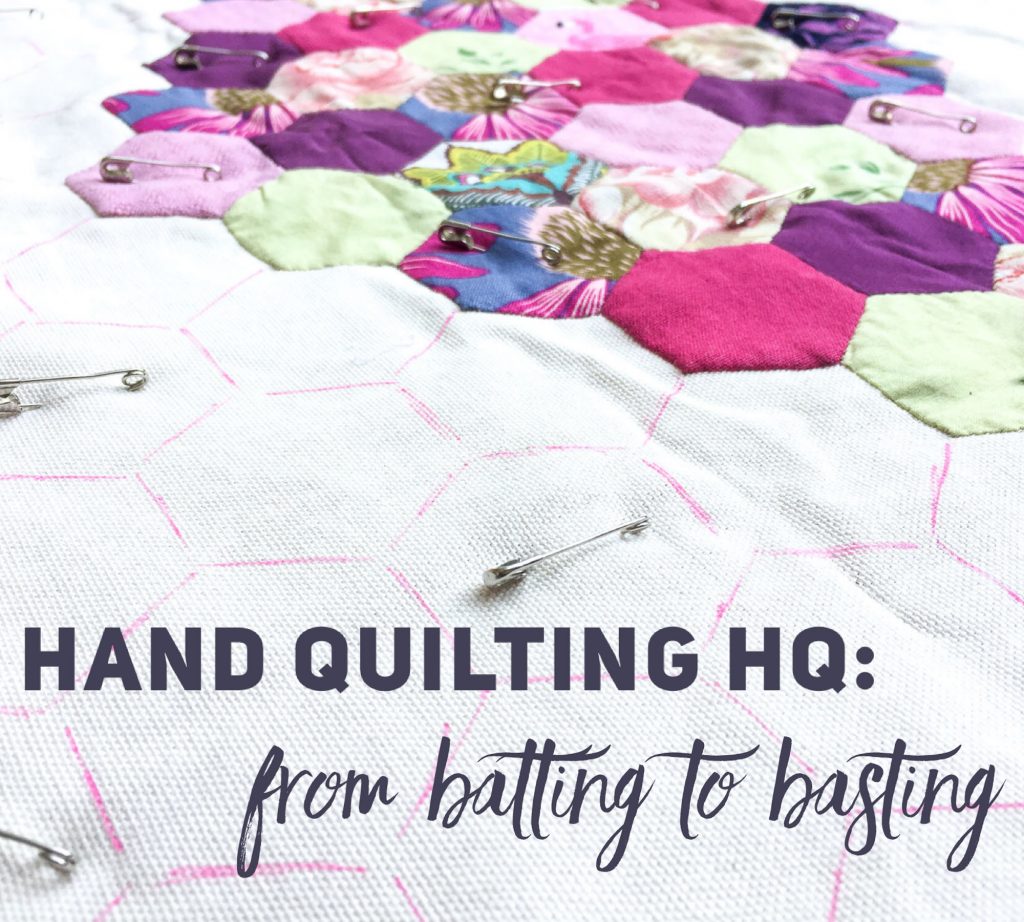
If you haven’t guessed already, this is my favorite basting method. It uses safety pins placed throughout the quilt sandwich to hold the layers together. While it can be very effective, without the right tools, it can actually be a bit painful inserting enough pins to securely baste a throw sized quilt. However, there are a few tricks I have learned that ultimately tipped it into the “favorite” category for me.
As I shared in the motif tutorial of this series, designating the quilt design before basting definitely contributes to the efficacy of basting with pins. Pins are the most obtrusive basting method so placing them out of the way of your quilting lines from the outset can reduce frustration as you go along.
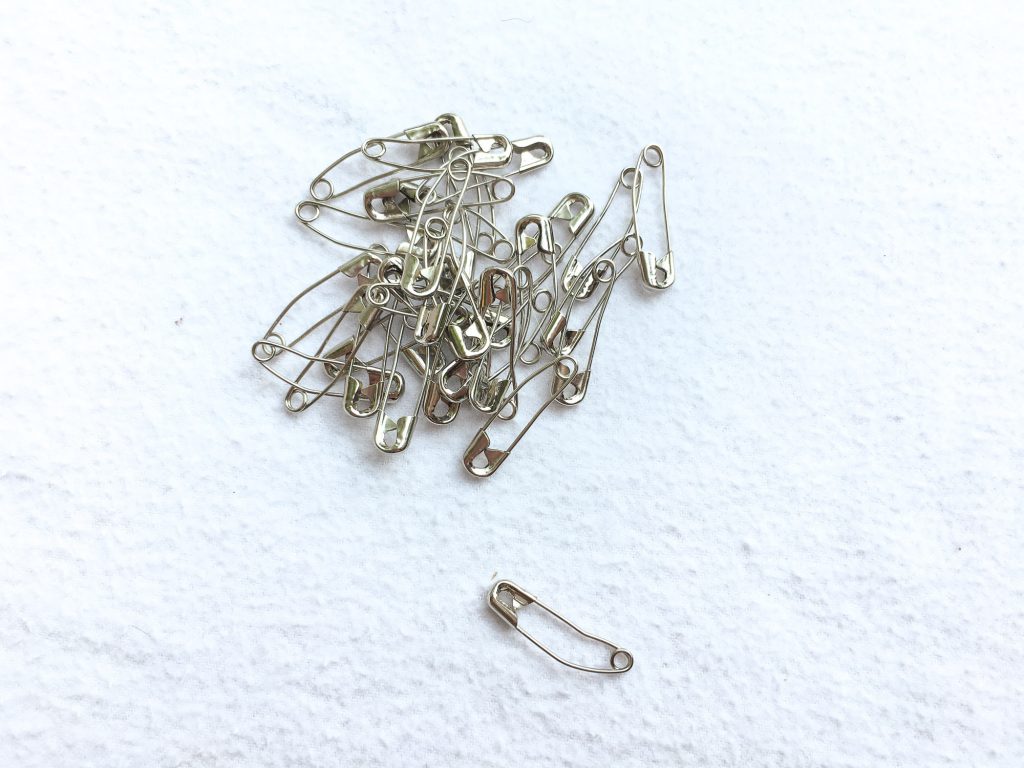
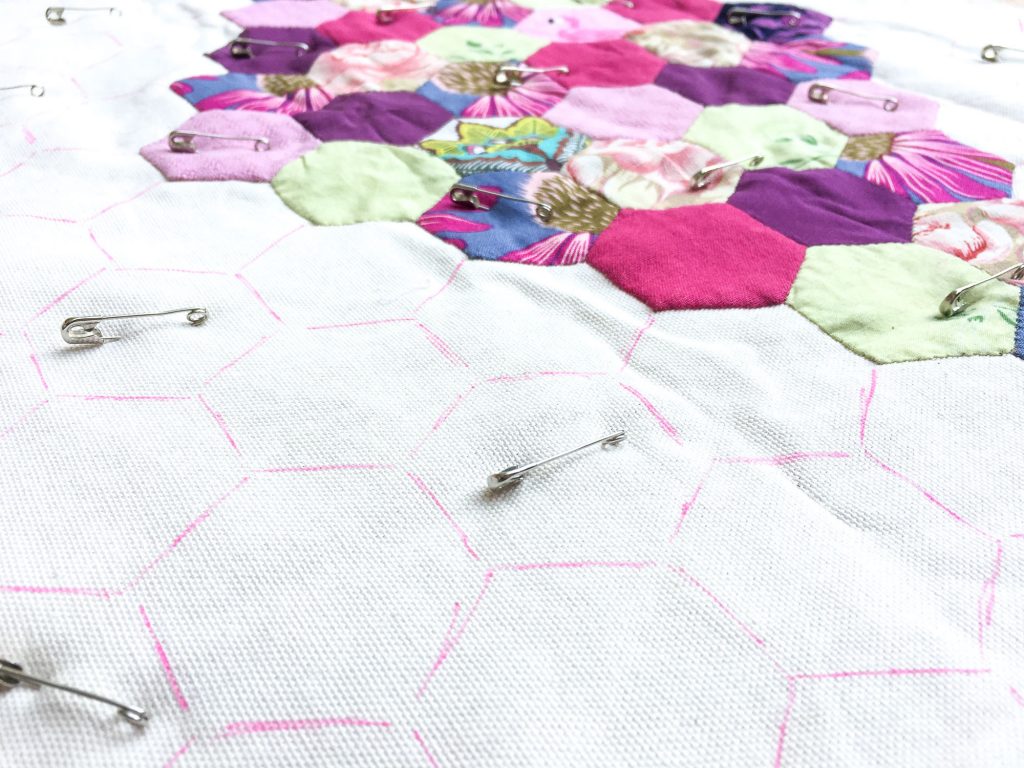
Additionally, using curved safety pins as opposed to traditional straight safety pins make this step that much easier, as well. As you insert them into the quilt sandwich, they naturally want to curve back up through the layers to the top. This actually minimizes shifting of the layers in the quilt sandwich and makes closing the pin that much easier.
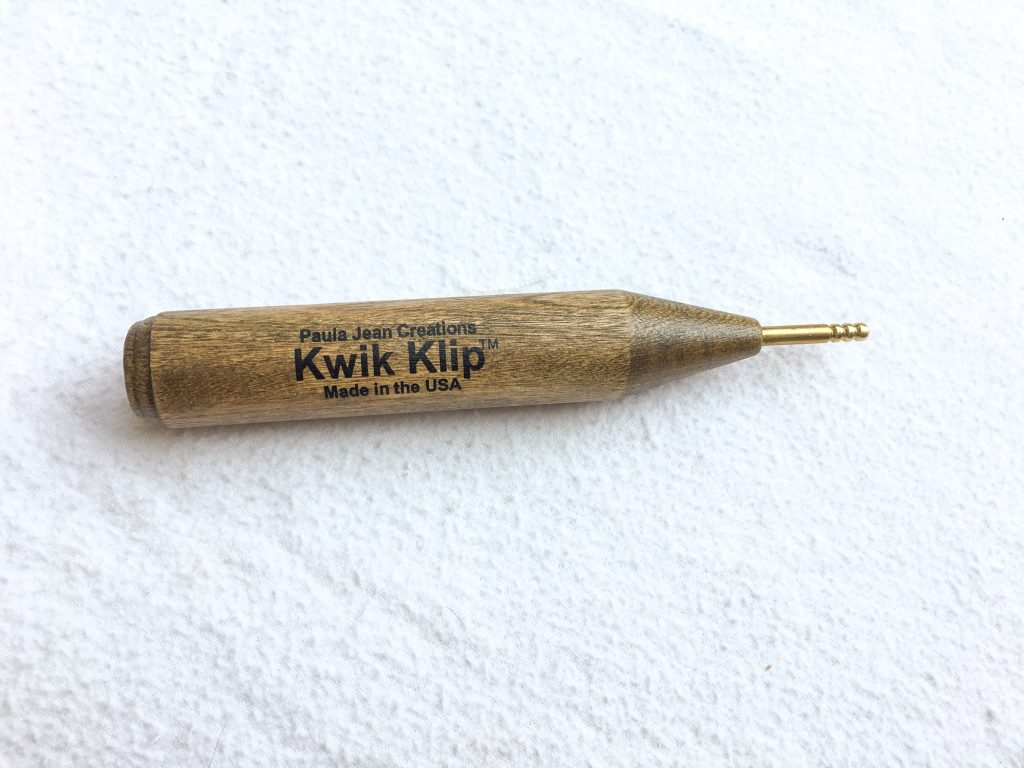
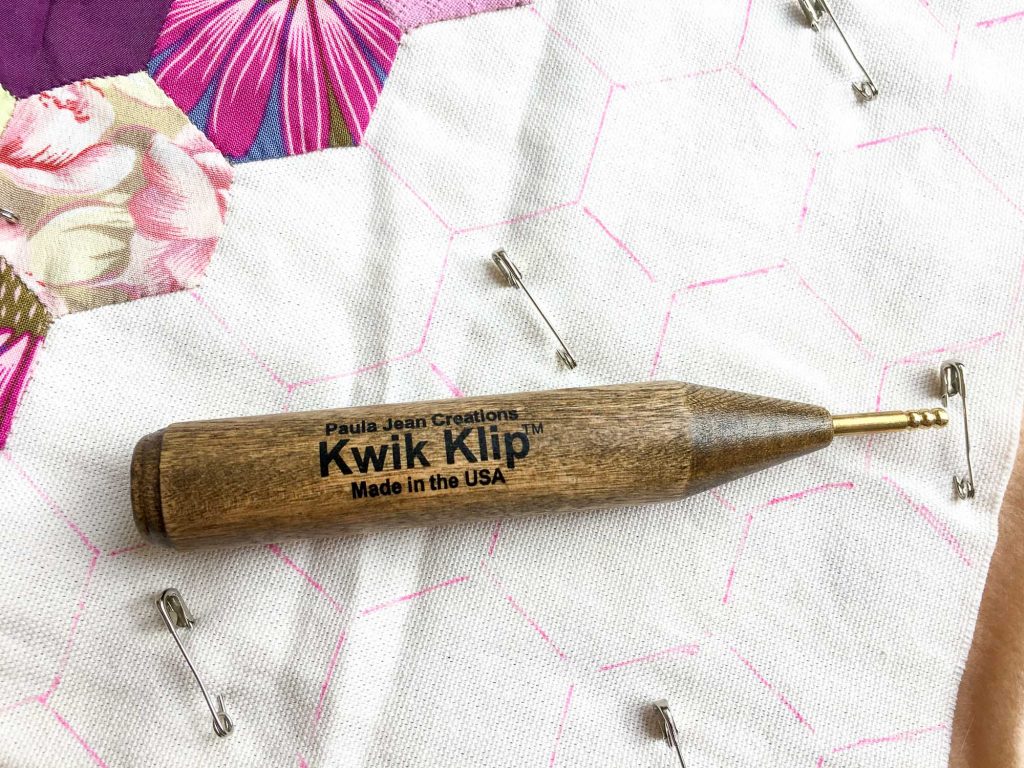
But, the most crucial element to “enjoying” pin basting is a single tool: the Kwik Klip. I learned about this on Instagram a few years ago, and it changed everything for me. It is like a prosthetic thumb and forefinger for opening and closing pins. It might not seem like much, but when repeated potentially hundreds of times for the basting of a throw or bed sized quilt, it makes a big difference. But, because it’s no good unless you know how to use it, follow along below to see how to use it for inserting safety pins as well as removing them.
How to Use the Kwik Klip
Of note, I have endeavored to create as aesthetically pleasing a layout as possible with this post in order to enhance readability. As such, desktop users will notice that each step of the tutorial is staggered with an alternating text block and image. If the images appear too small at any time, simply click on the image and a full scale version will pop up.
Inserting Safety Pins
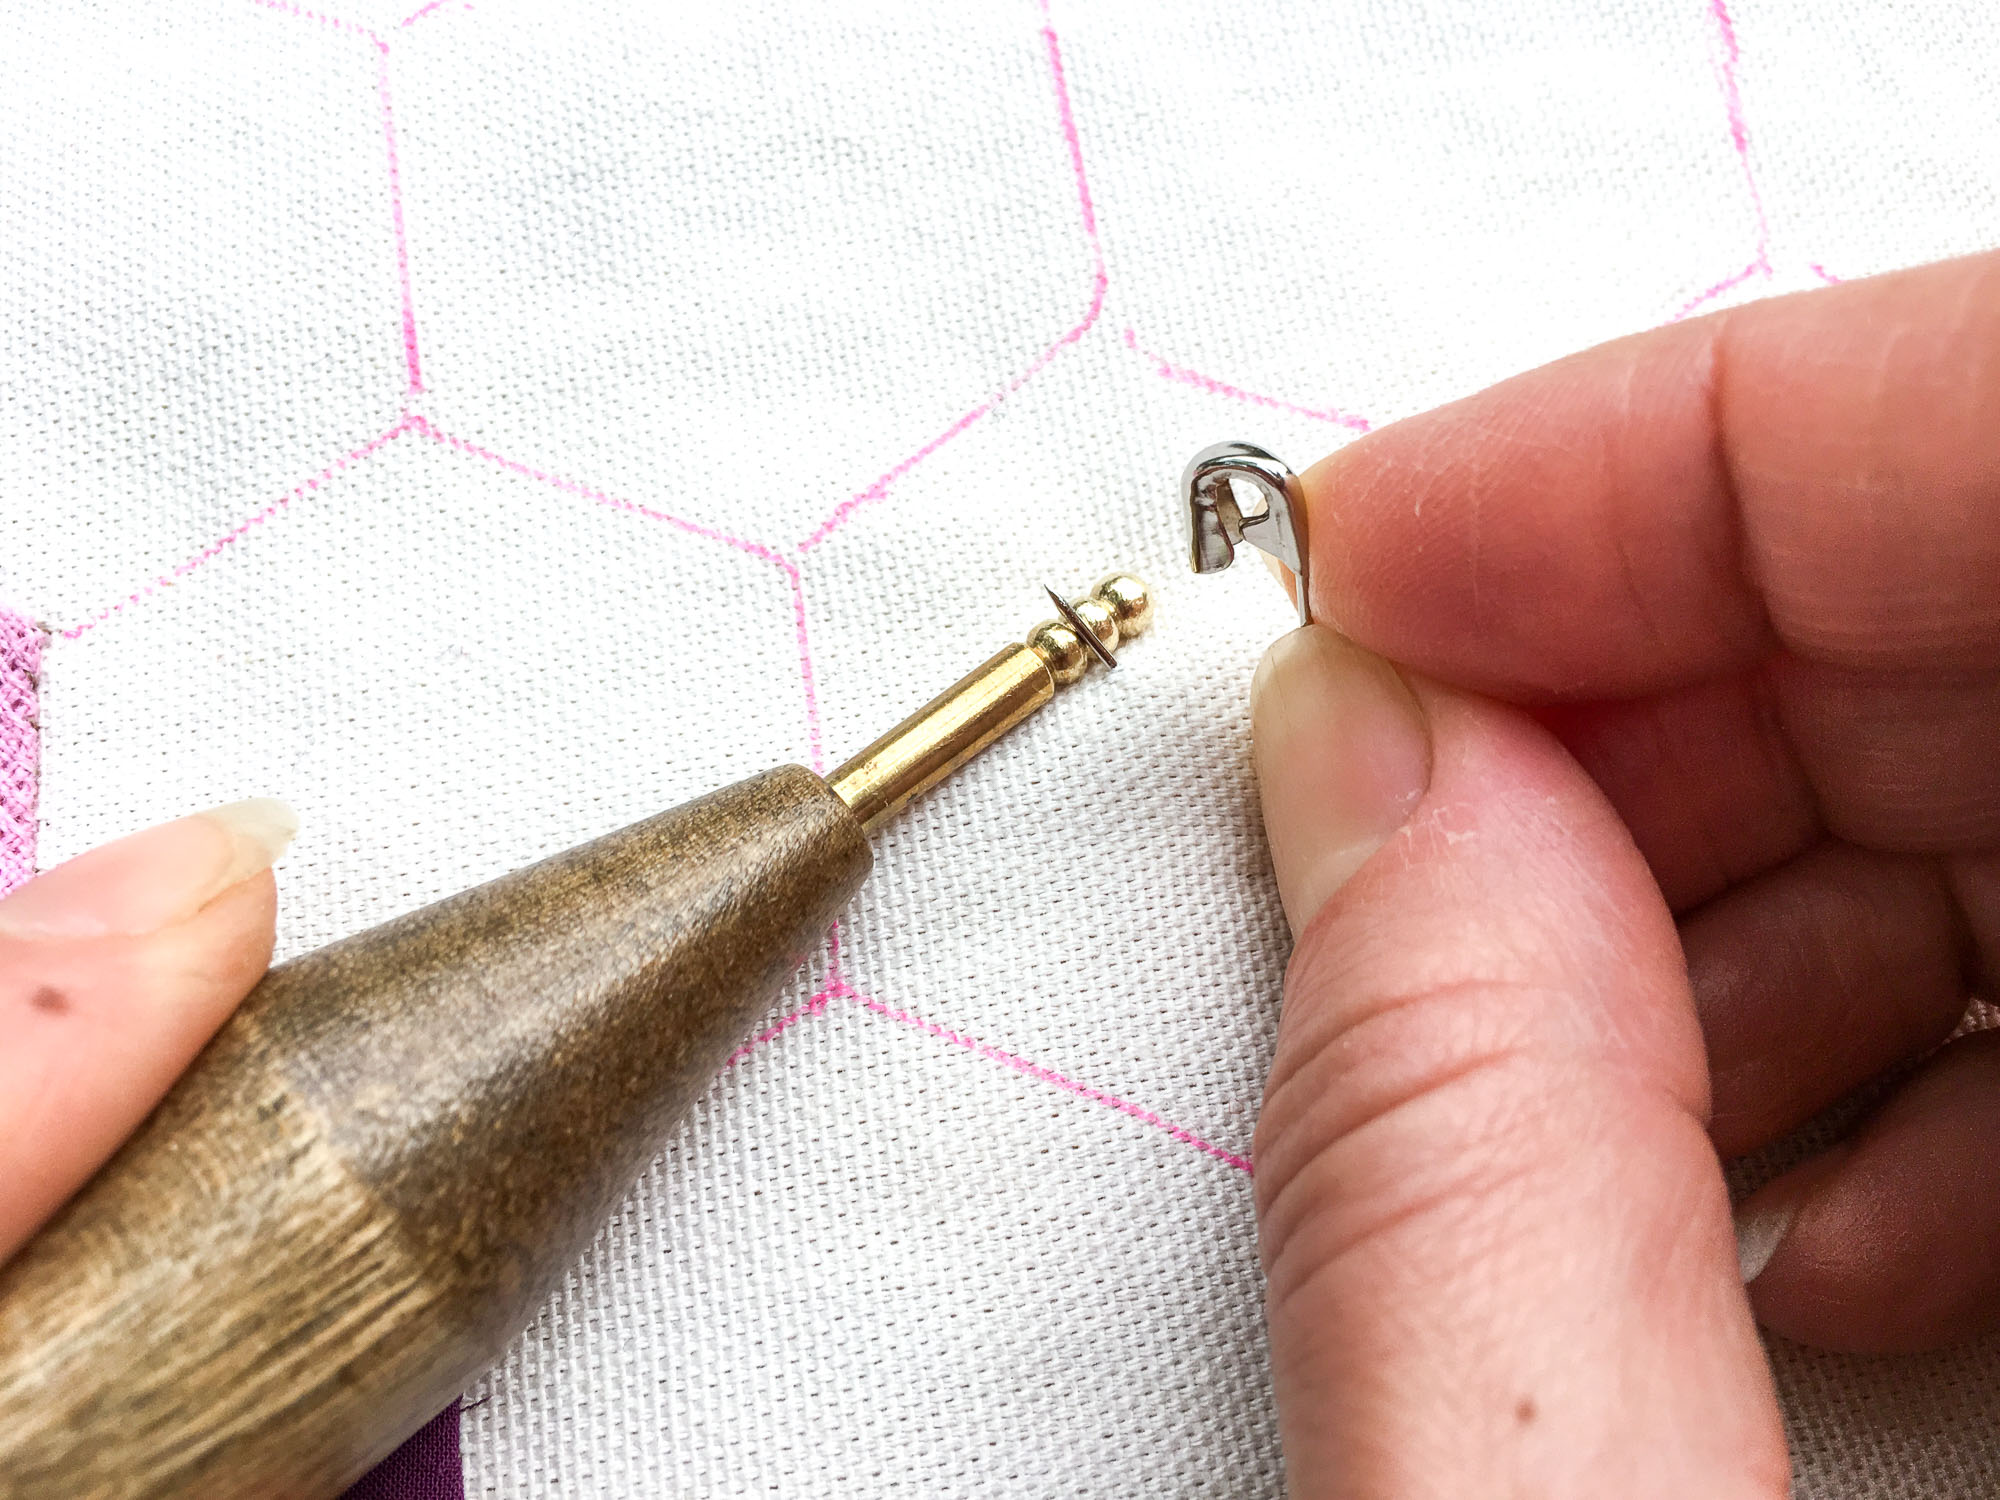
1. Open a safety pin for insertion into the quilt sandwich. Holding the Kwik Klip in your non-dominant hand, use the tip to stabilize the quilt sandwich just ahead of where you want to insert the pin.
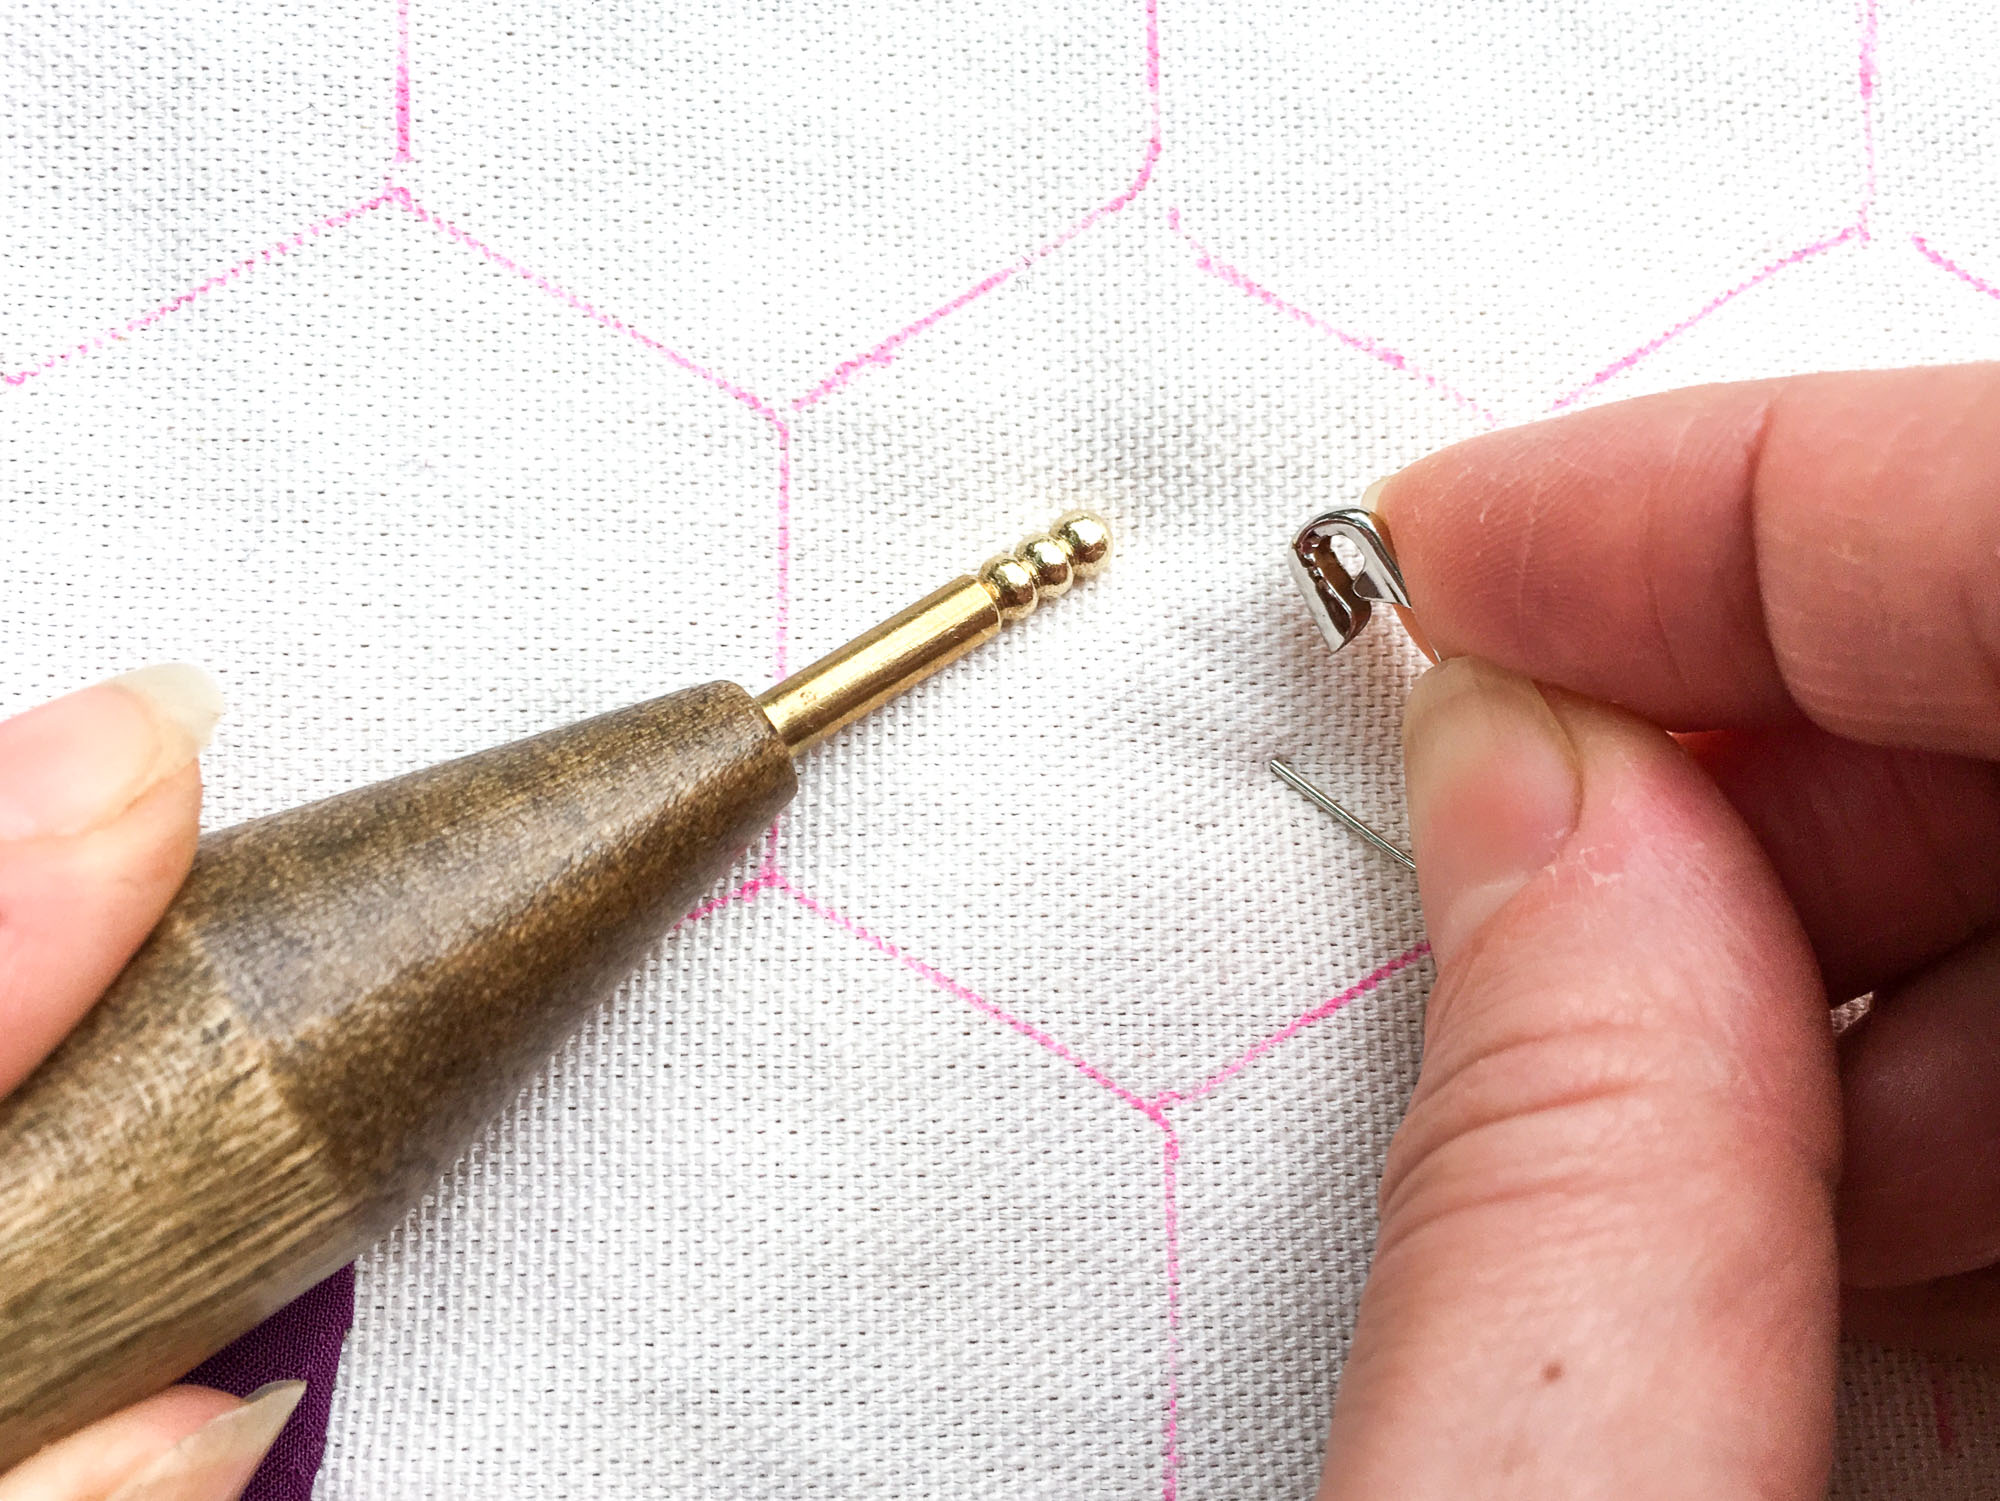
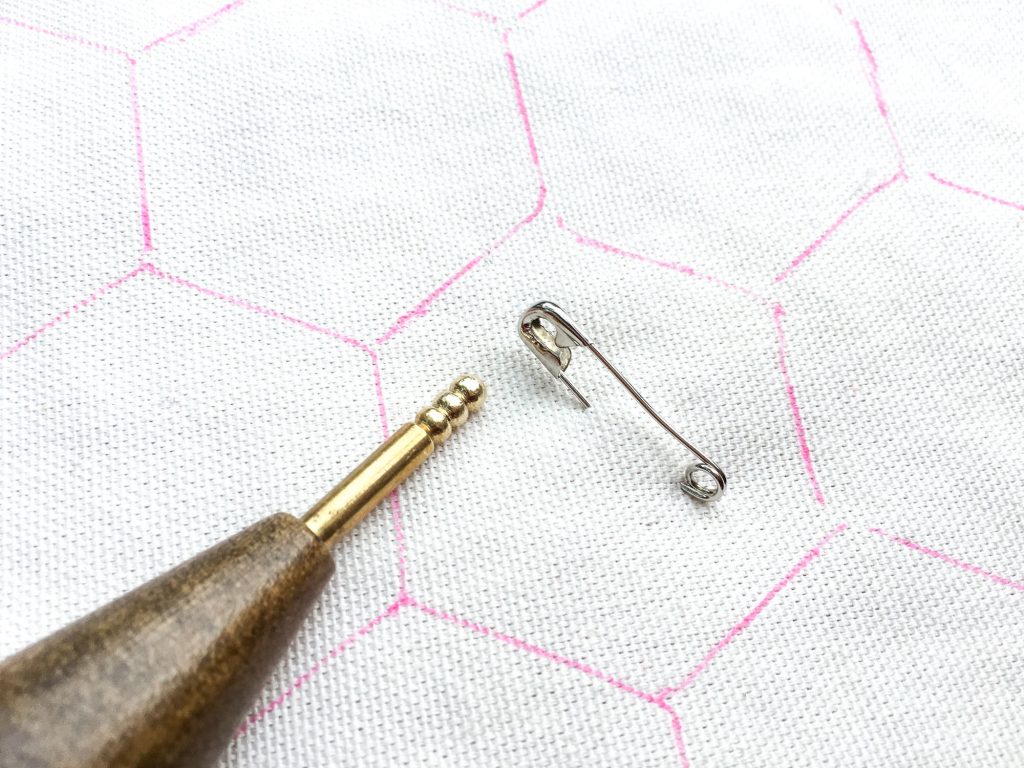
2. Insert the safety pin, but don’t close it yet.
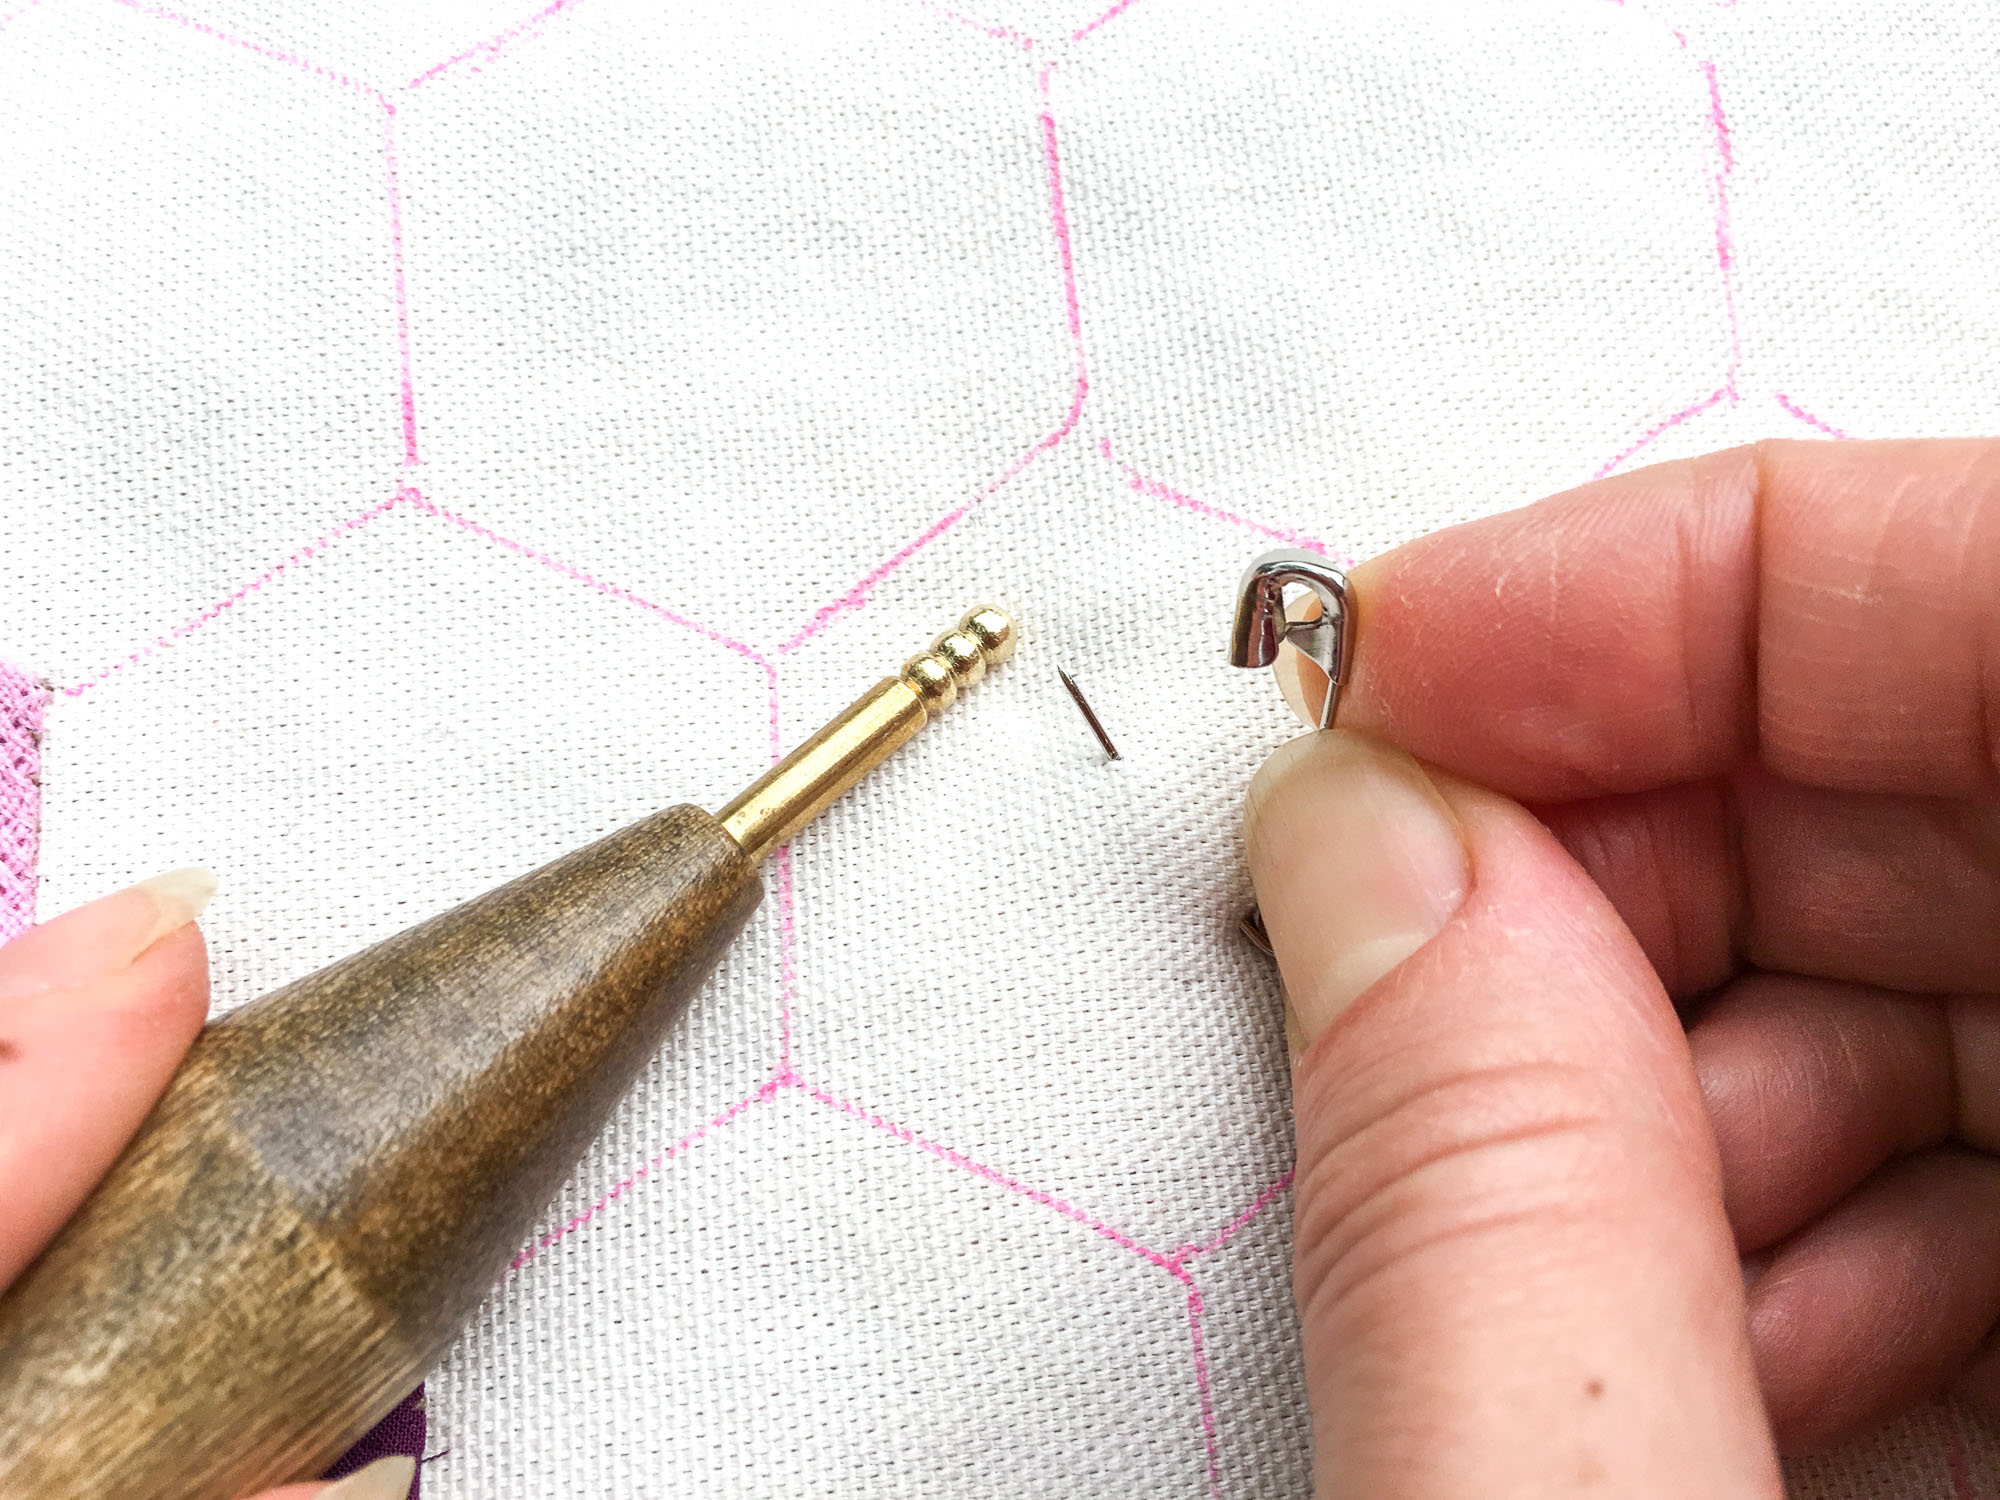
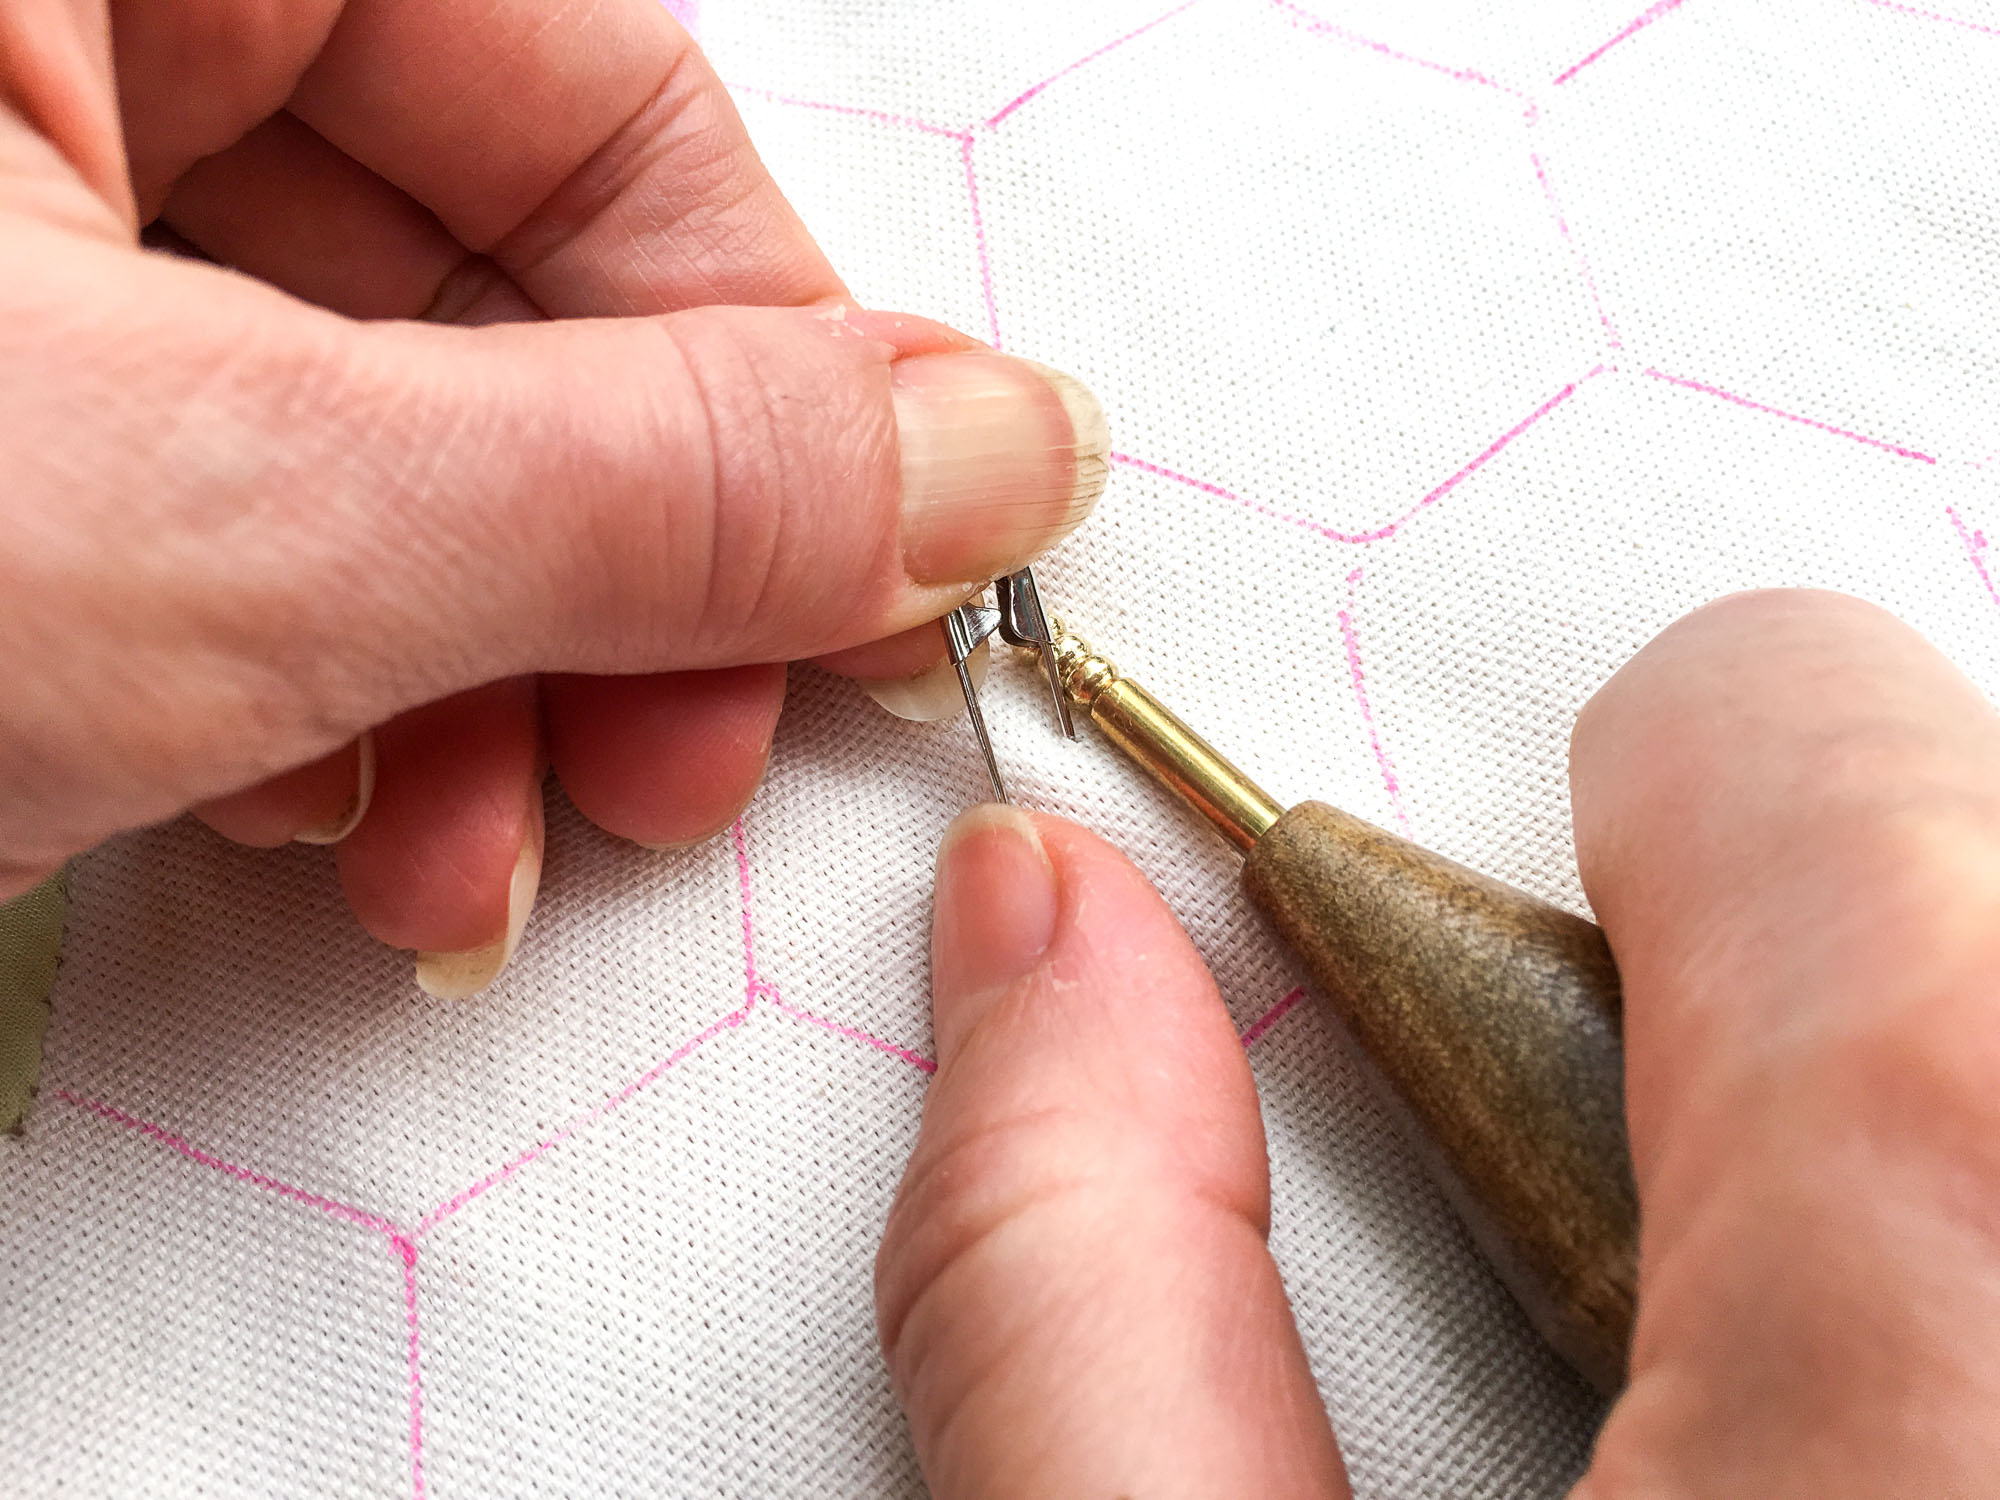
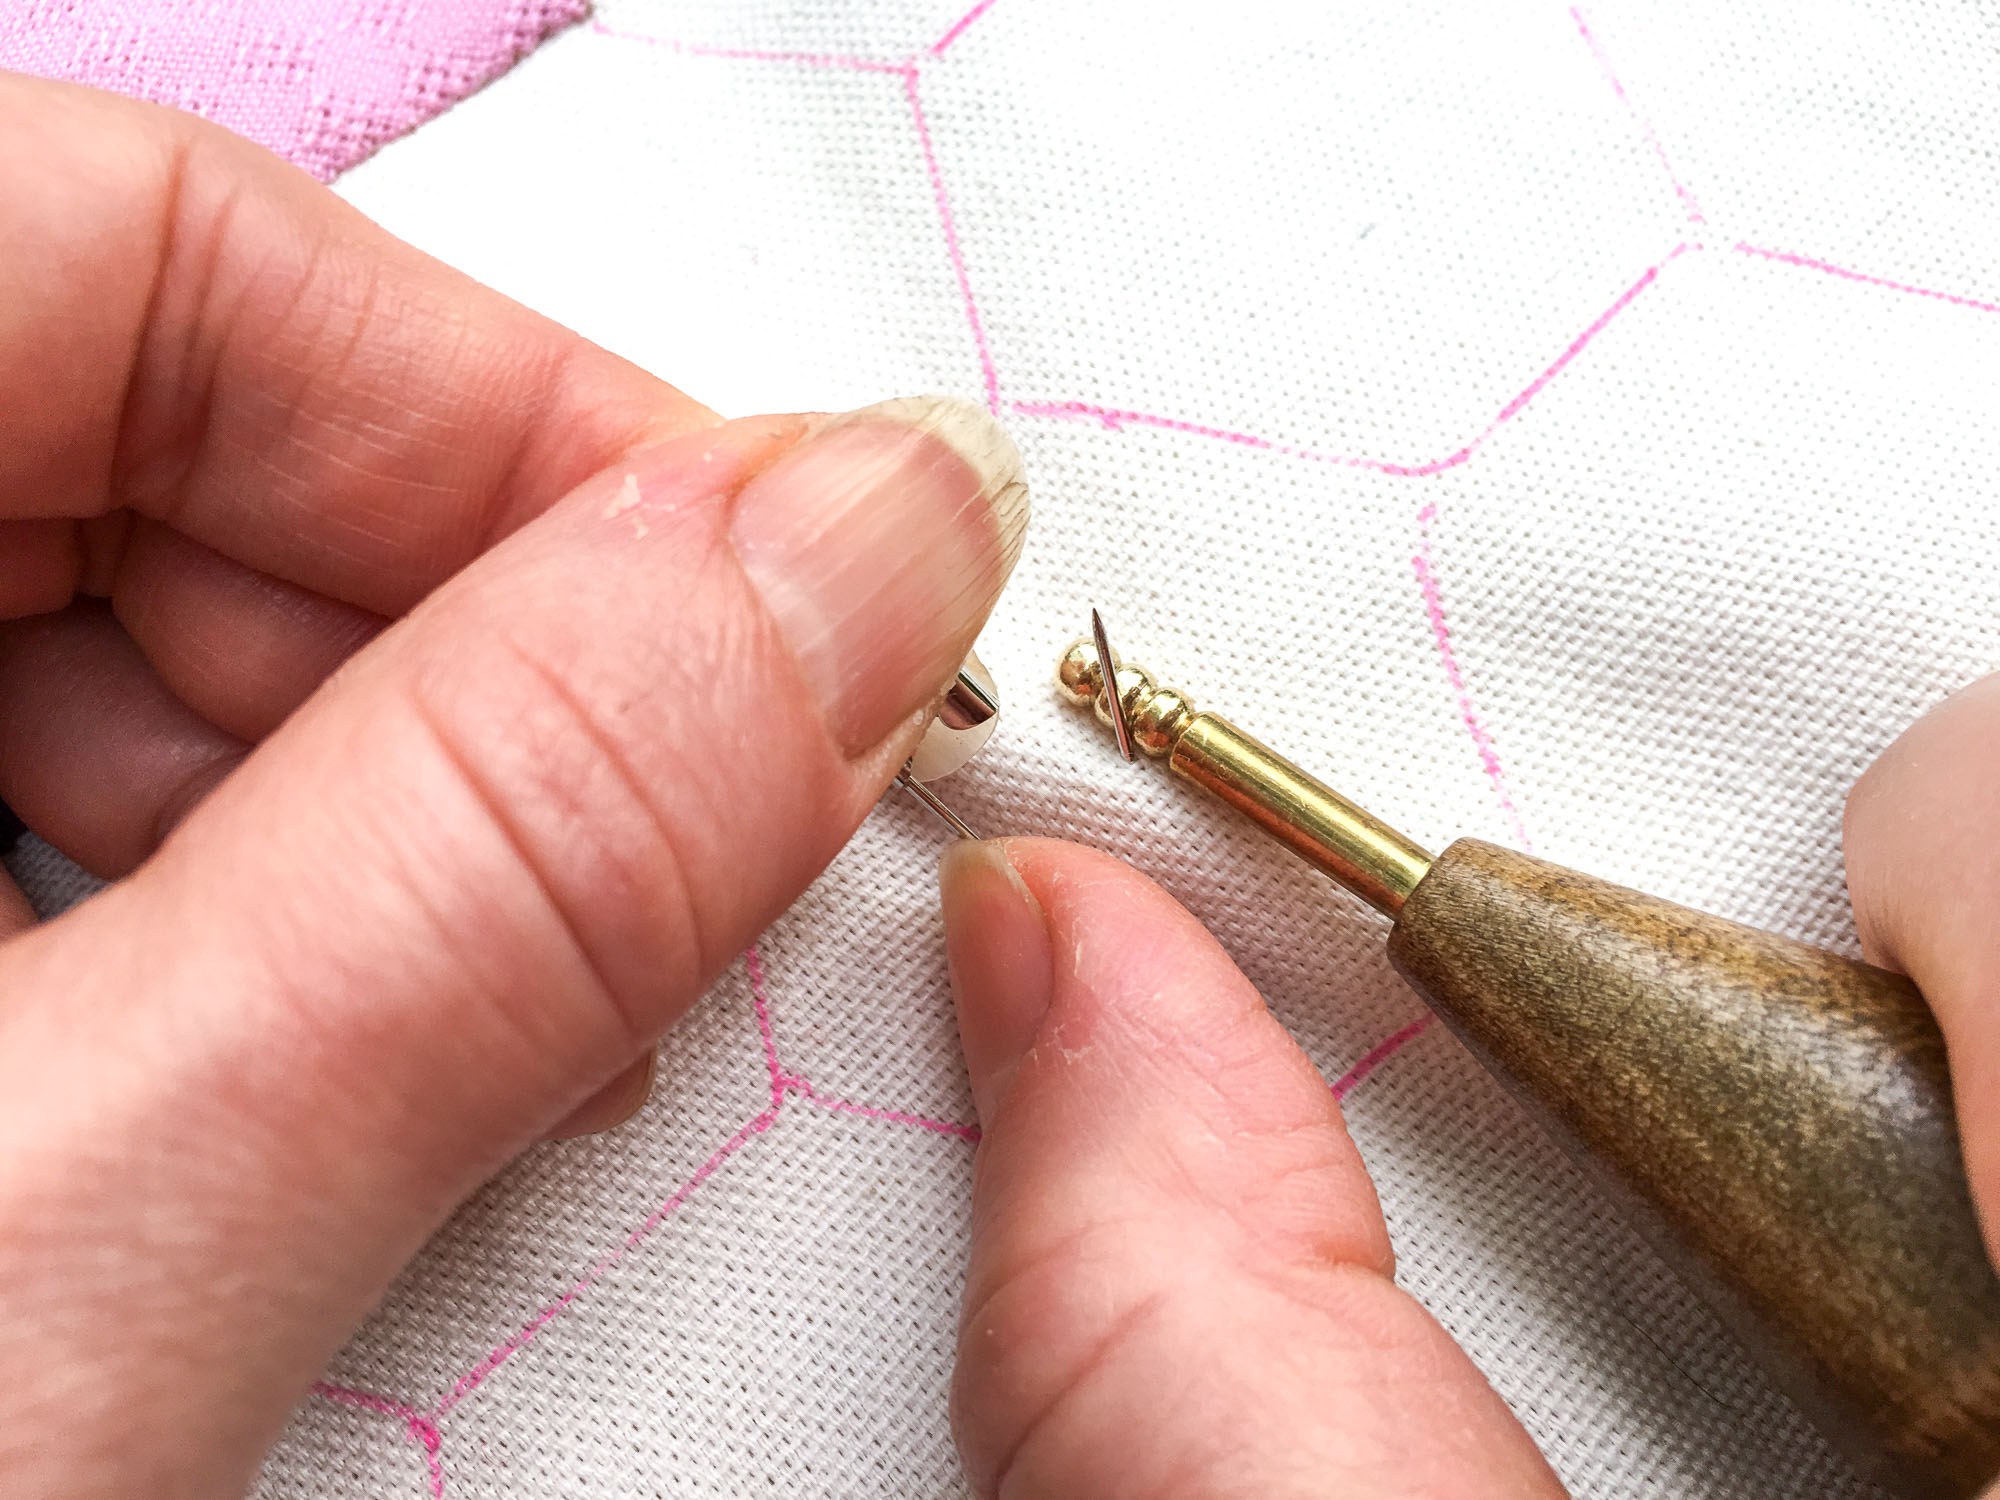
3. Hook the lever of the safety pin into one of the ridges on the tip of the Kwik Klip.

4. Apply pressure on the lever of the safety pin in order to close it in the same fashion as you would with your finger, only use the Kwik Klip instead. Done!
Repeat approximately 30958347 times until your quilt is basted. ;P
Removing Safety Pins
1. Holding the Kwik Klip in your dominant hand, align the lever of the safety pin in one of the ridges on the tip of the Kwik Klip.
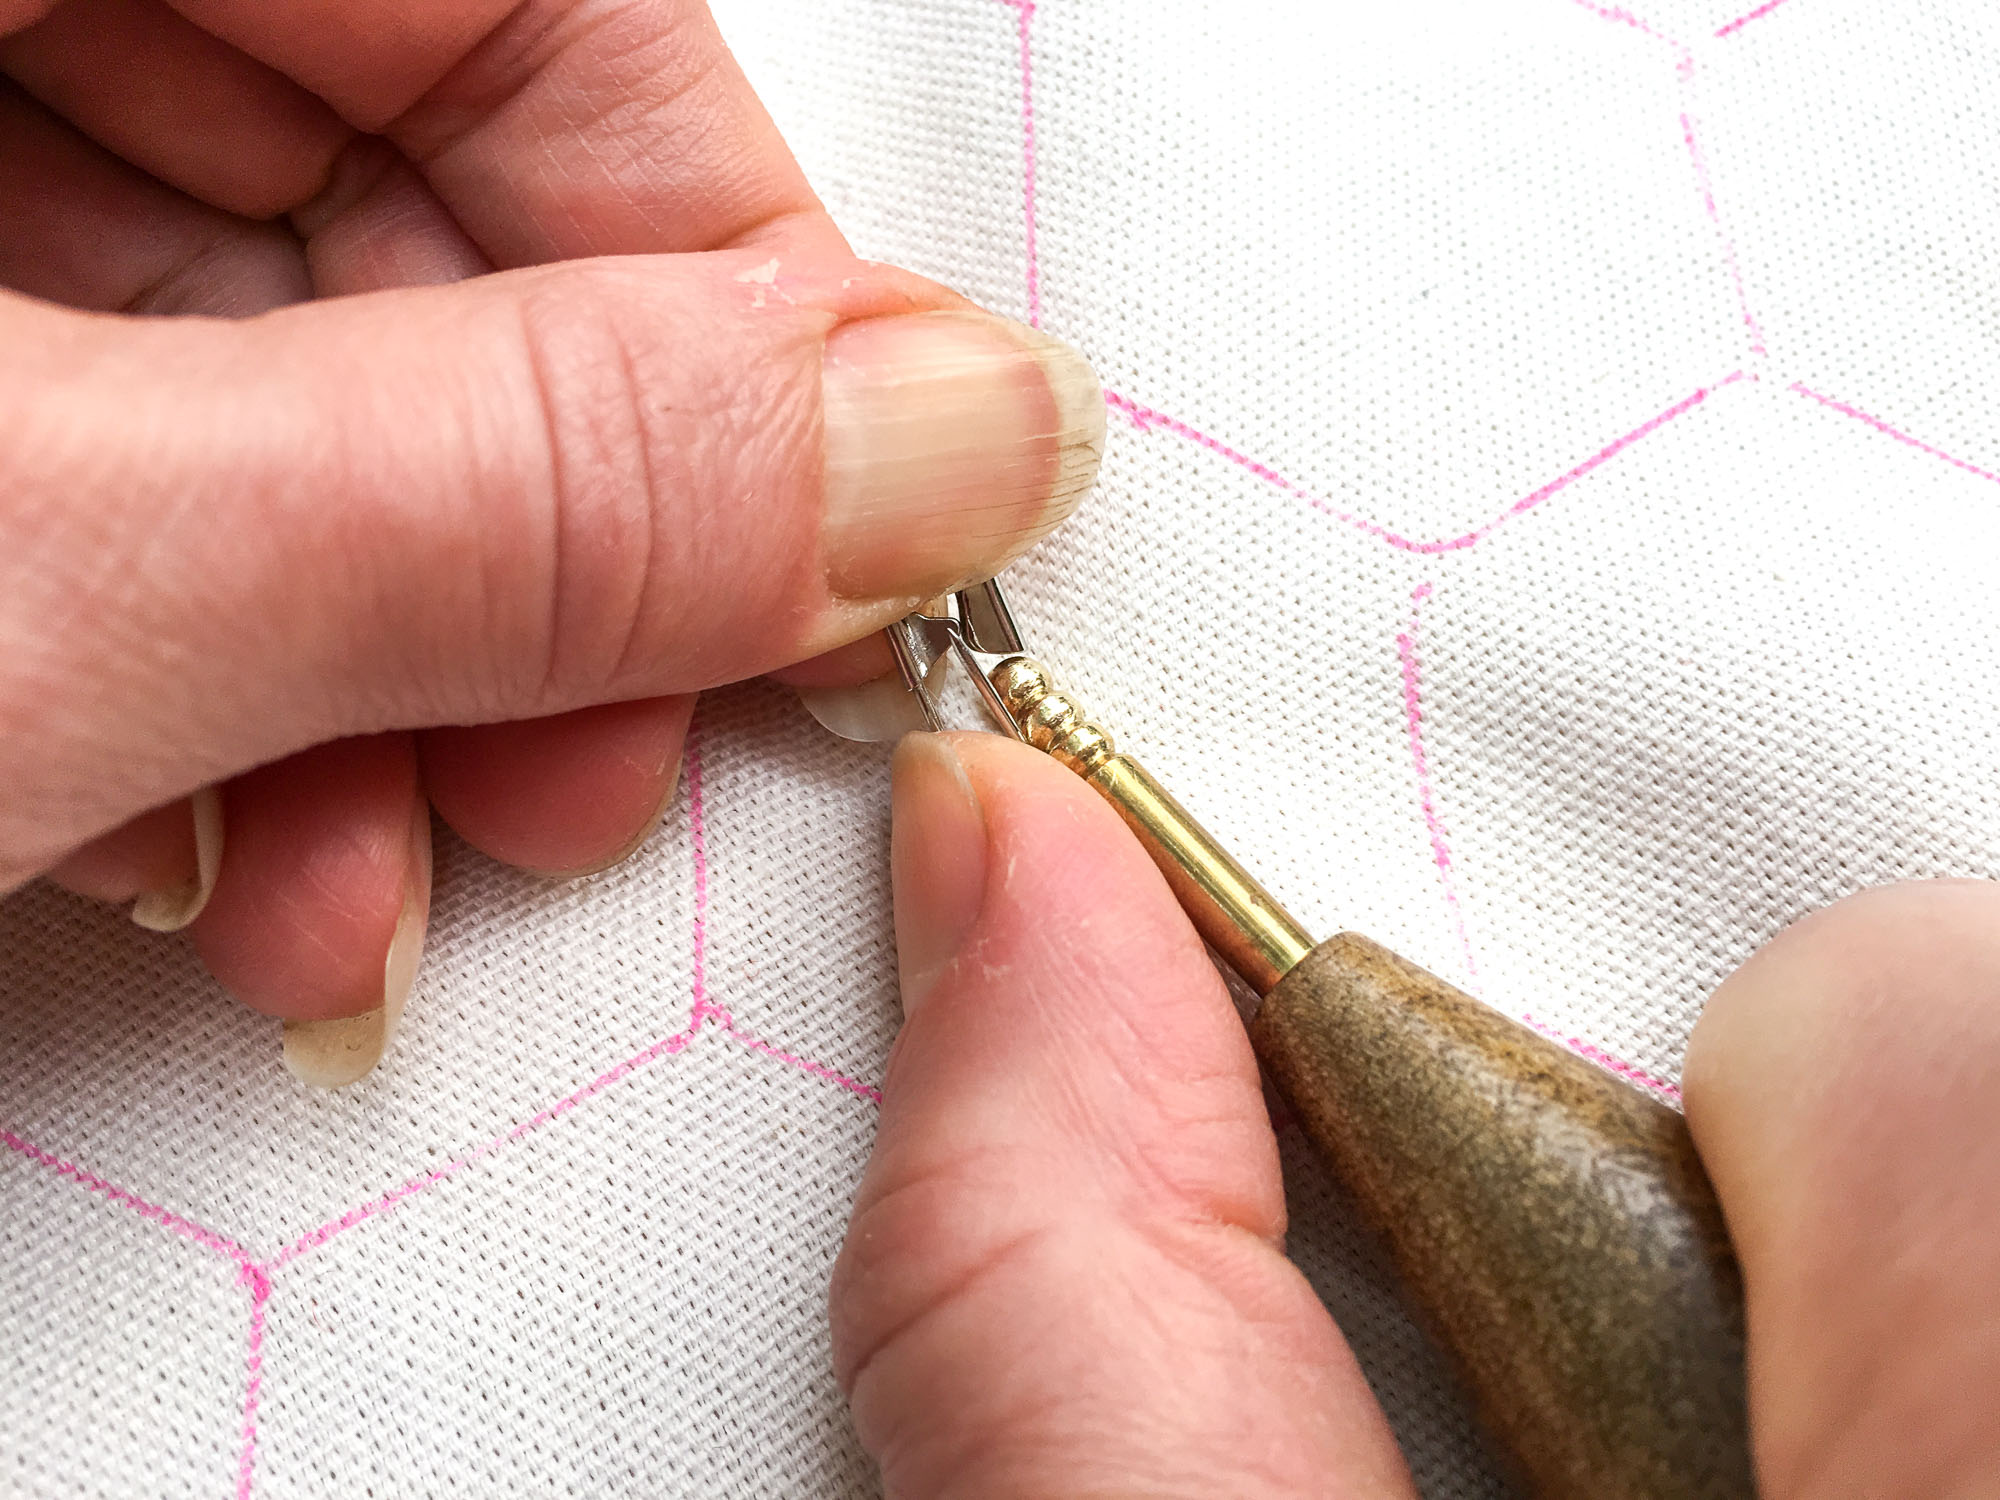
2. Apply pressure to the safety pin lever in the same fashion as you would with your finger.
3. Maneuver the lever until it unhooks from the safety pin cap.
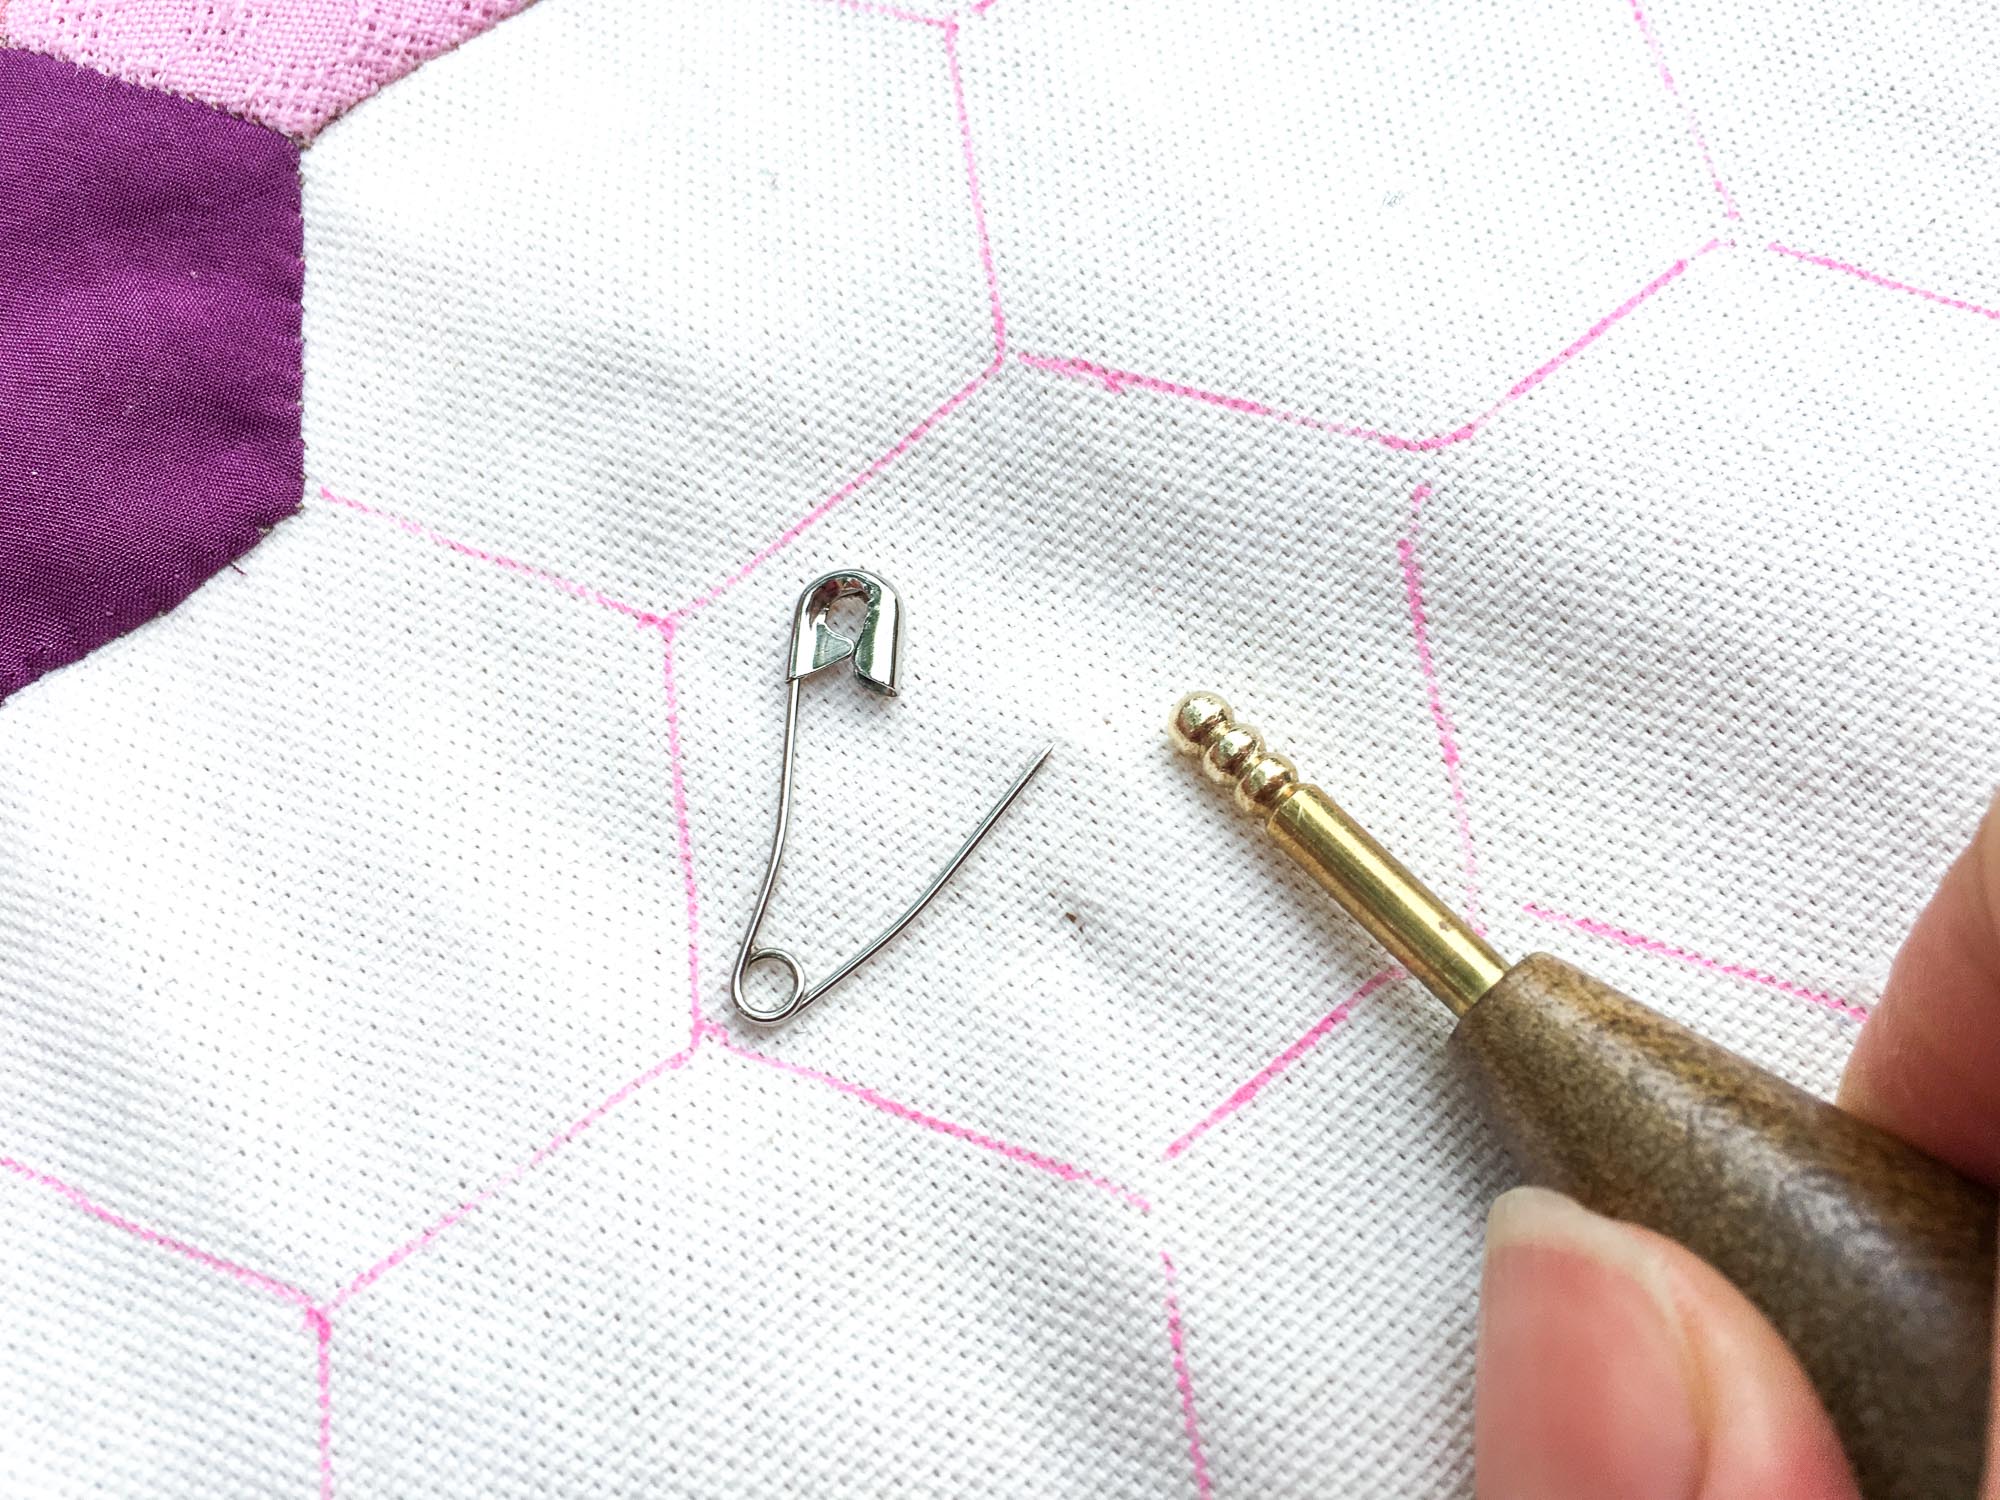
4. Remove the safety pin. Done!
Repeat approximately 434958723 times until your pins are removed.
Of note, I typically remove my basting pins as I go, rather than at the end of hand quilting. I find that it prevents snags on surrounding pins as I move along, and it feels like I save time once I’m done quilting.
What to Expect in the Next Tutorial
I hope that you have learned a few helpful tips for basting your next quilt. In the next and final segment of this hand quilting tutorial series, we’ll dive into the technique of hand quilting itself! We’ll discuss whether to hoop or not to hoop, my favorite hand quilting supplies, how to approach quilting your actual motif with efficiency, and hopefully clarify a few terms so that you’ll sound like a pro the next time you talk hand quilting with your sewing friends. You can find that post here.
Don’t forget, you can always find all of the sections of the Hand Quilting HQ tutorial series here. Or you can use these handy pins for easy access from Pinterest.