I love making zipper pouches. Not only are they my go-to storage solution for stitching of all kinds, but they come together quickly and are fully customizable in size/shape. They are also great for featuring smaller scale stitching WIPs like embroidery or English Paper Piecing (EPP), and I can pretty much always count on them bolstering my sewjo when I need it.
However, I remember being terrified of them when I first started sewing. Undoubtedly, zippers can be intimidating. Still, determined to overcome my fear, I searched and searched until I gathered enough information from the all-knowing internet to try it.
The following process is my own accumulation of tips and tricks that have worked well for me over the years. There are countless ways, and undoubtedly some much better than mine, to install zippers. However, I have found this process removes my overwhelm and delivers highly satisfying, consistent results. I hope it helps you do the same.
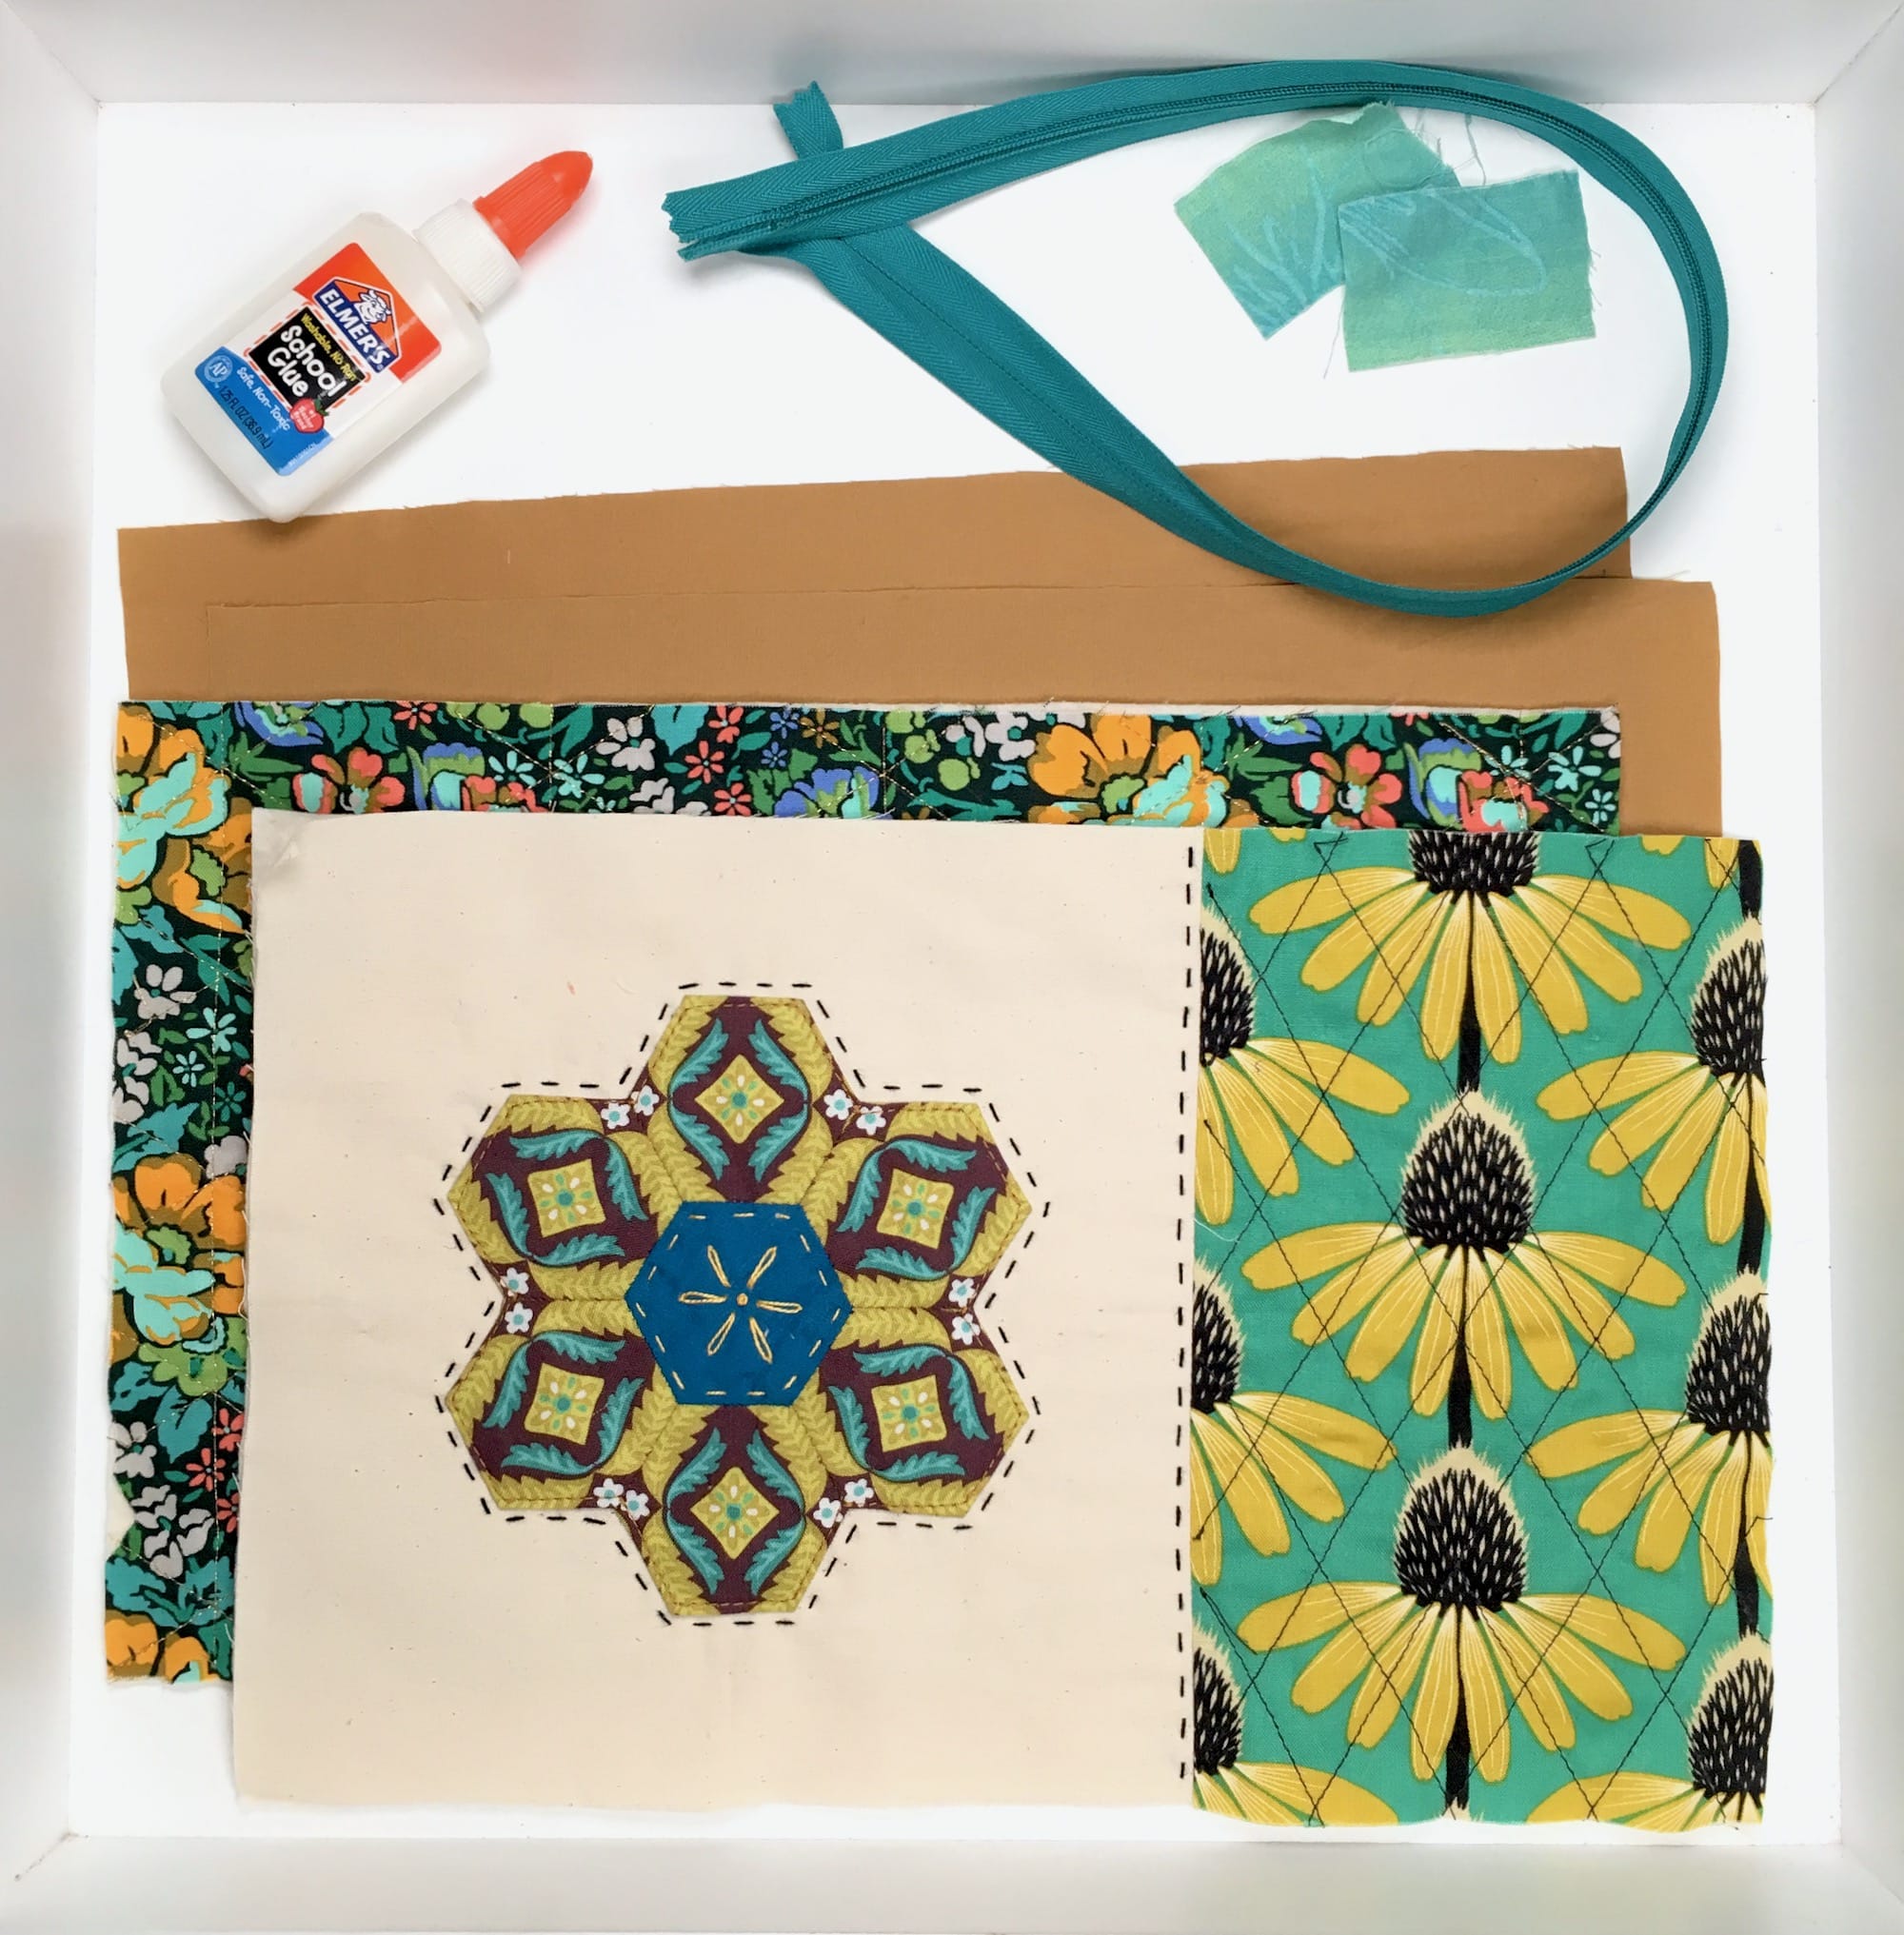
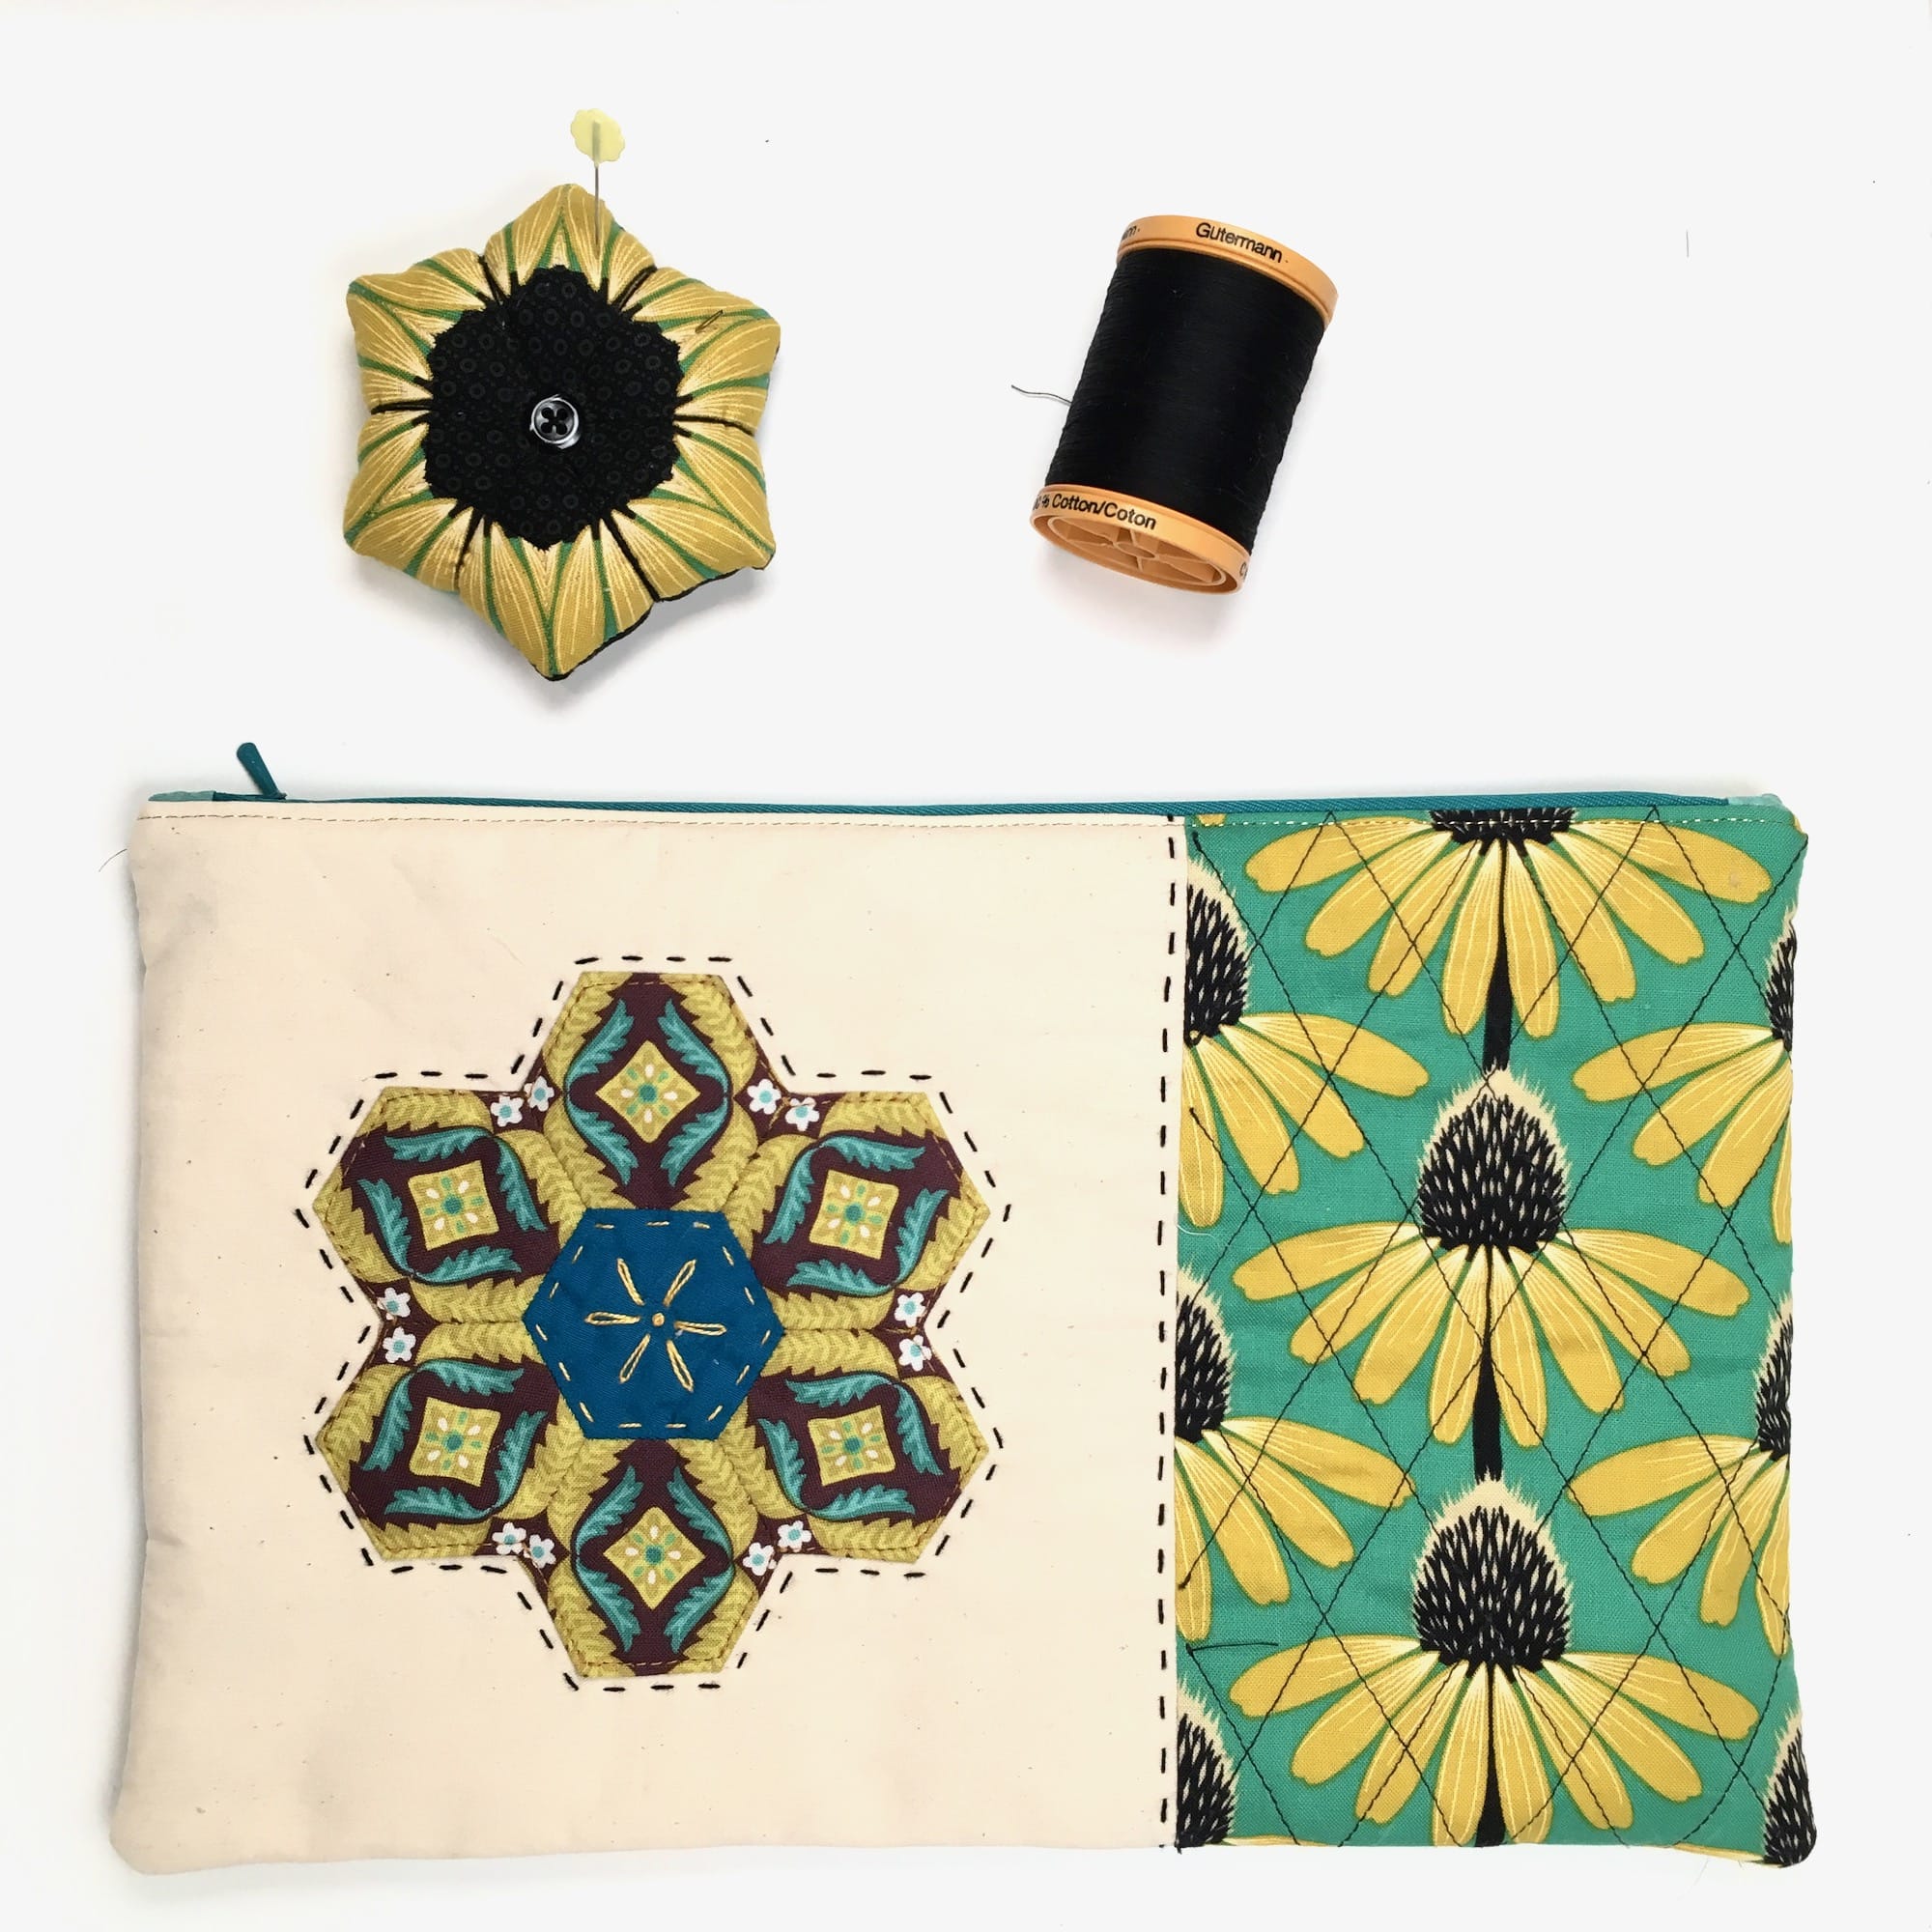
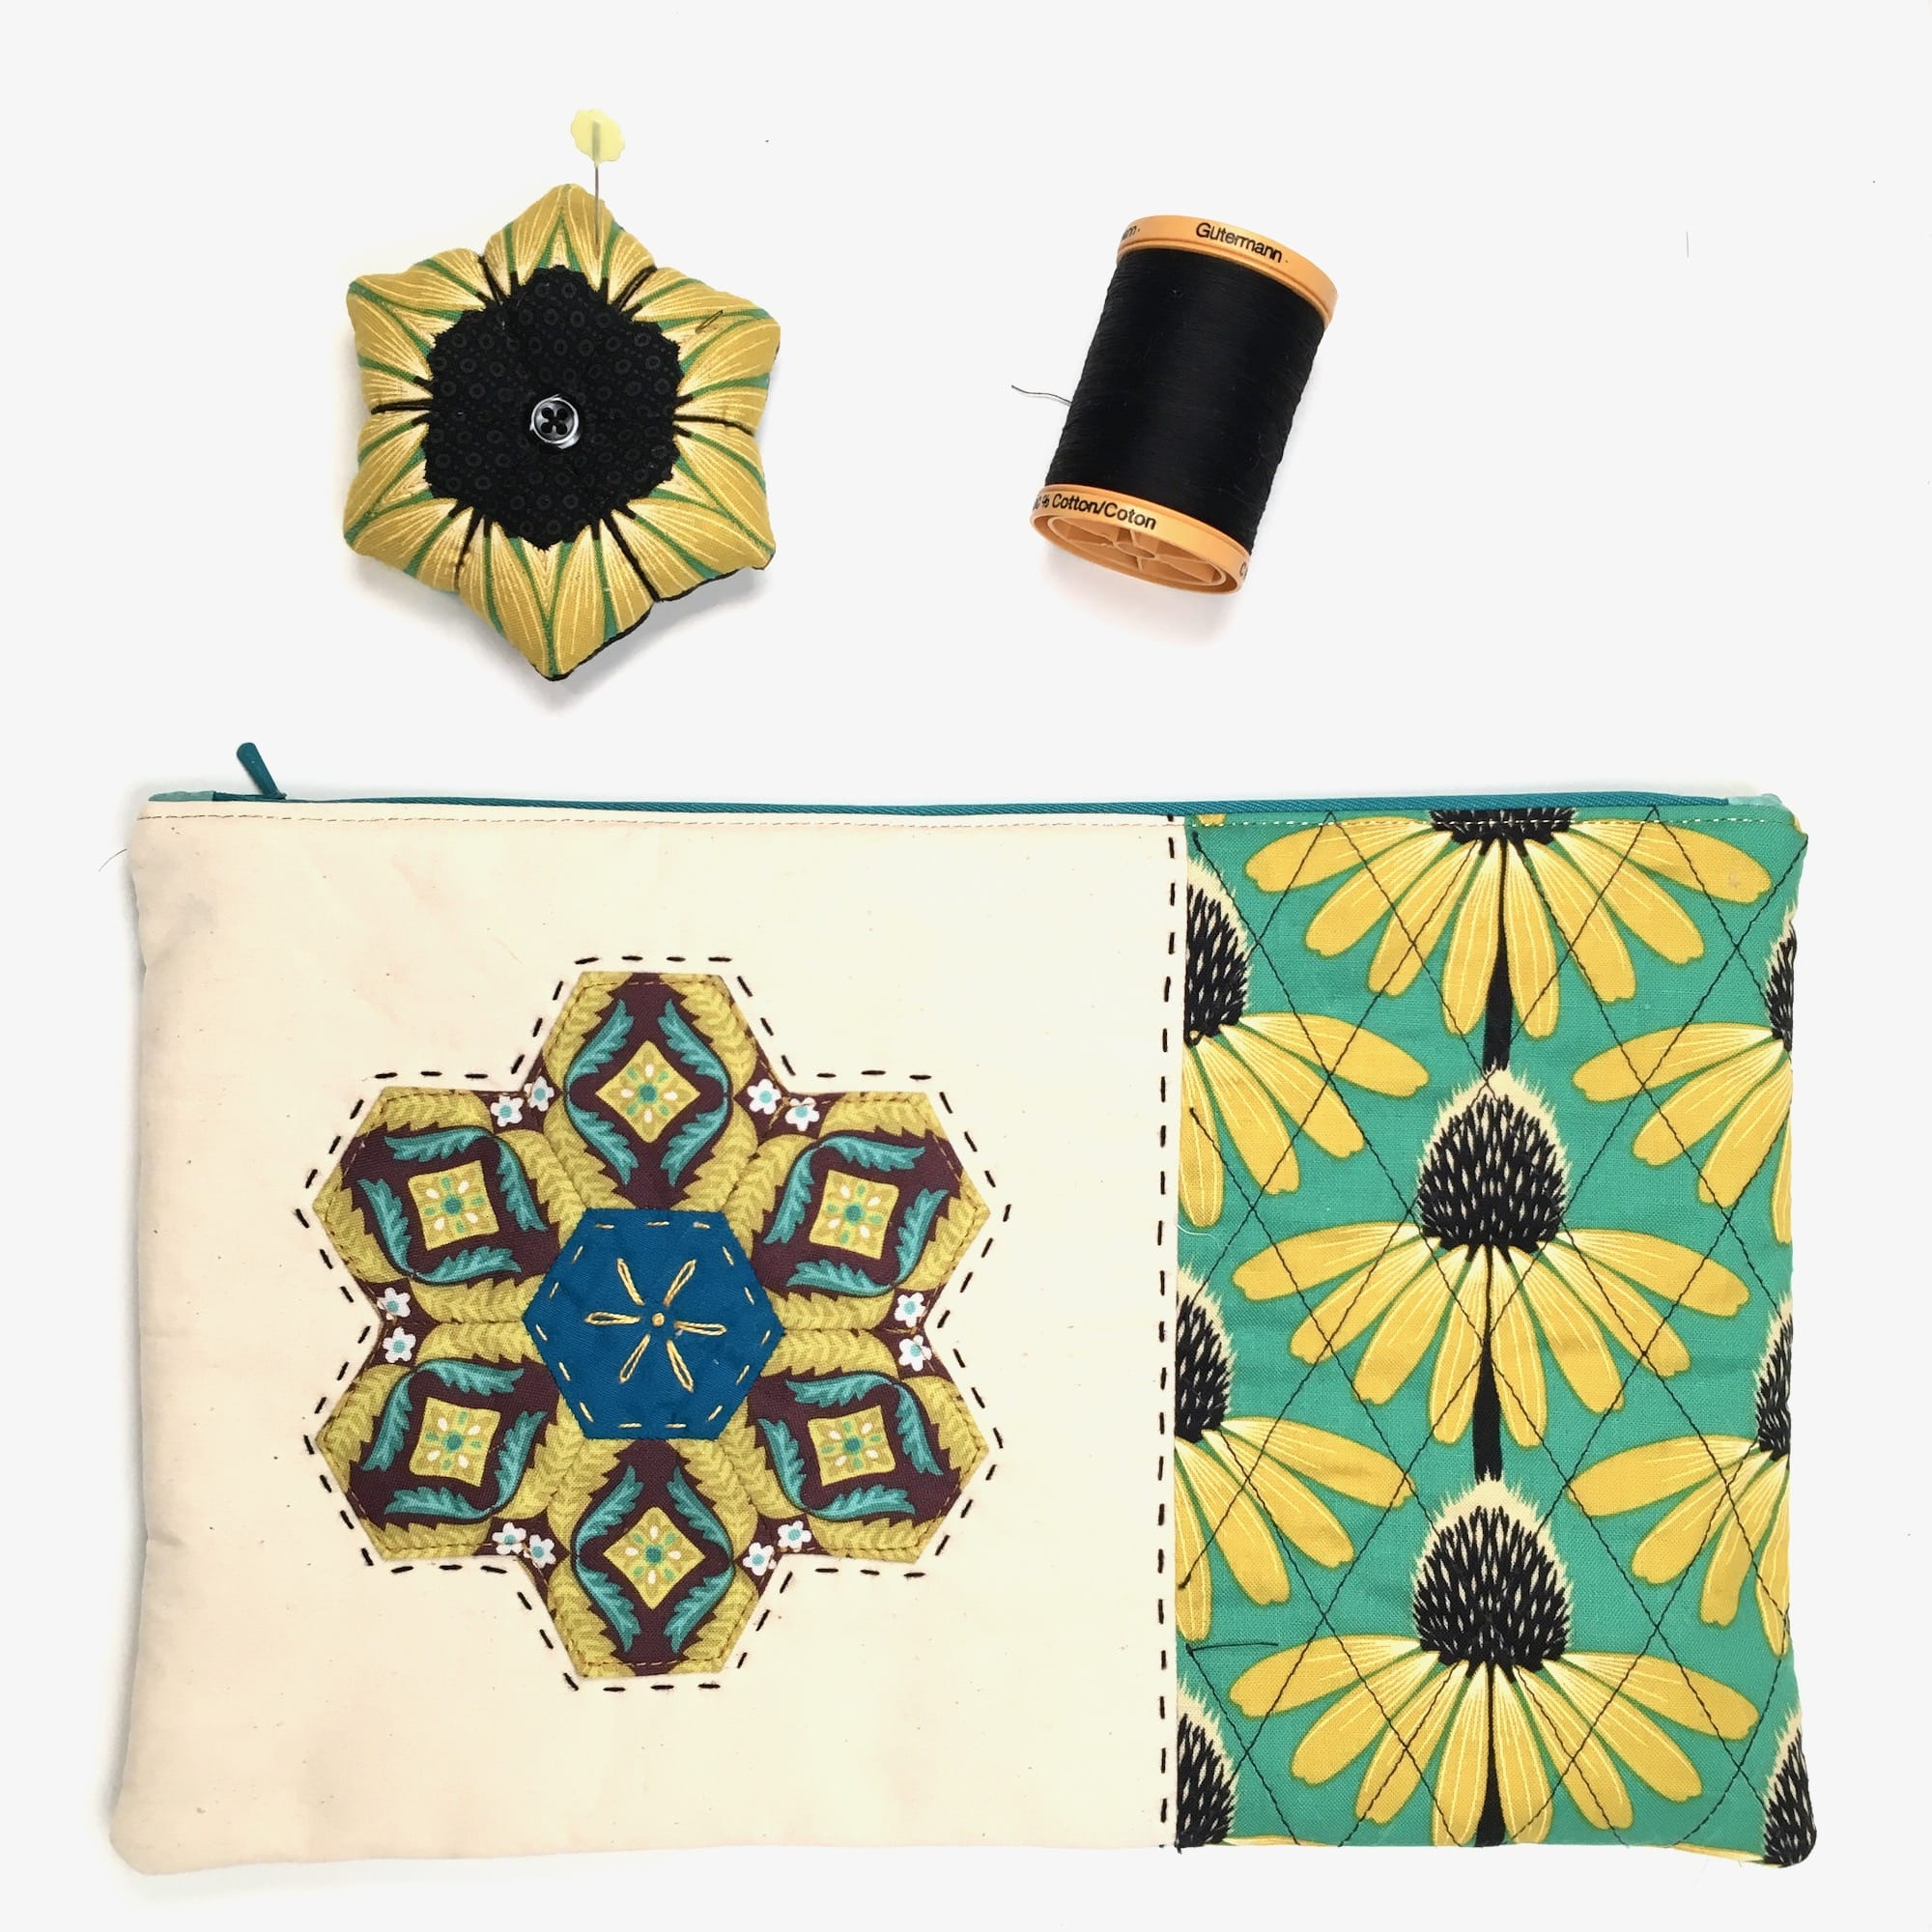
Supplies
I have chosen not to include measurements in this tutorial unless relevant by way of example. The process here is meant to be universal regardless of the size of the pouch you are creating. In fact, this is the exact same installation process I use when creating pillow/cushion covers (minus the inner lining).
As such, I will put out a disclaimer that this particular tutorial is intended for use with standard square/rectangular external pouch shapes, though the process can be modified or adapted for other pouch styles. I advise that if this is your first zipper installation, start with something simple to boost your confidence before moving on to more complex endeavors.
That being said, you’ll only need a few supplies for this tutorial.
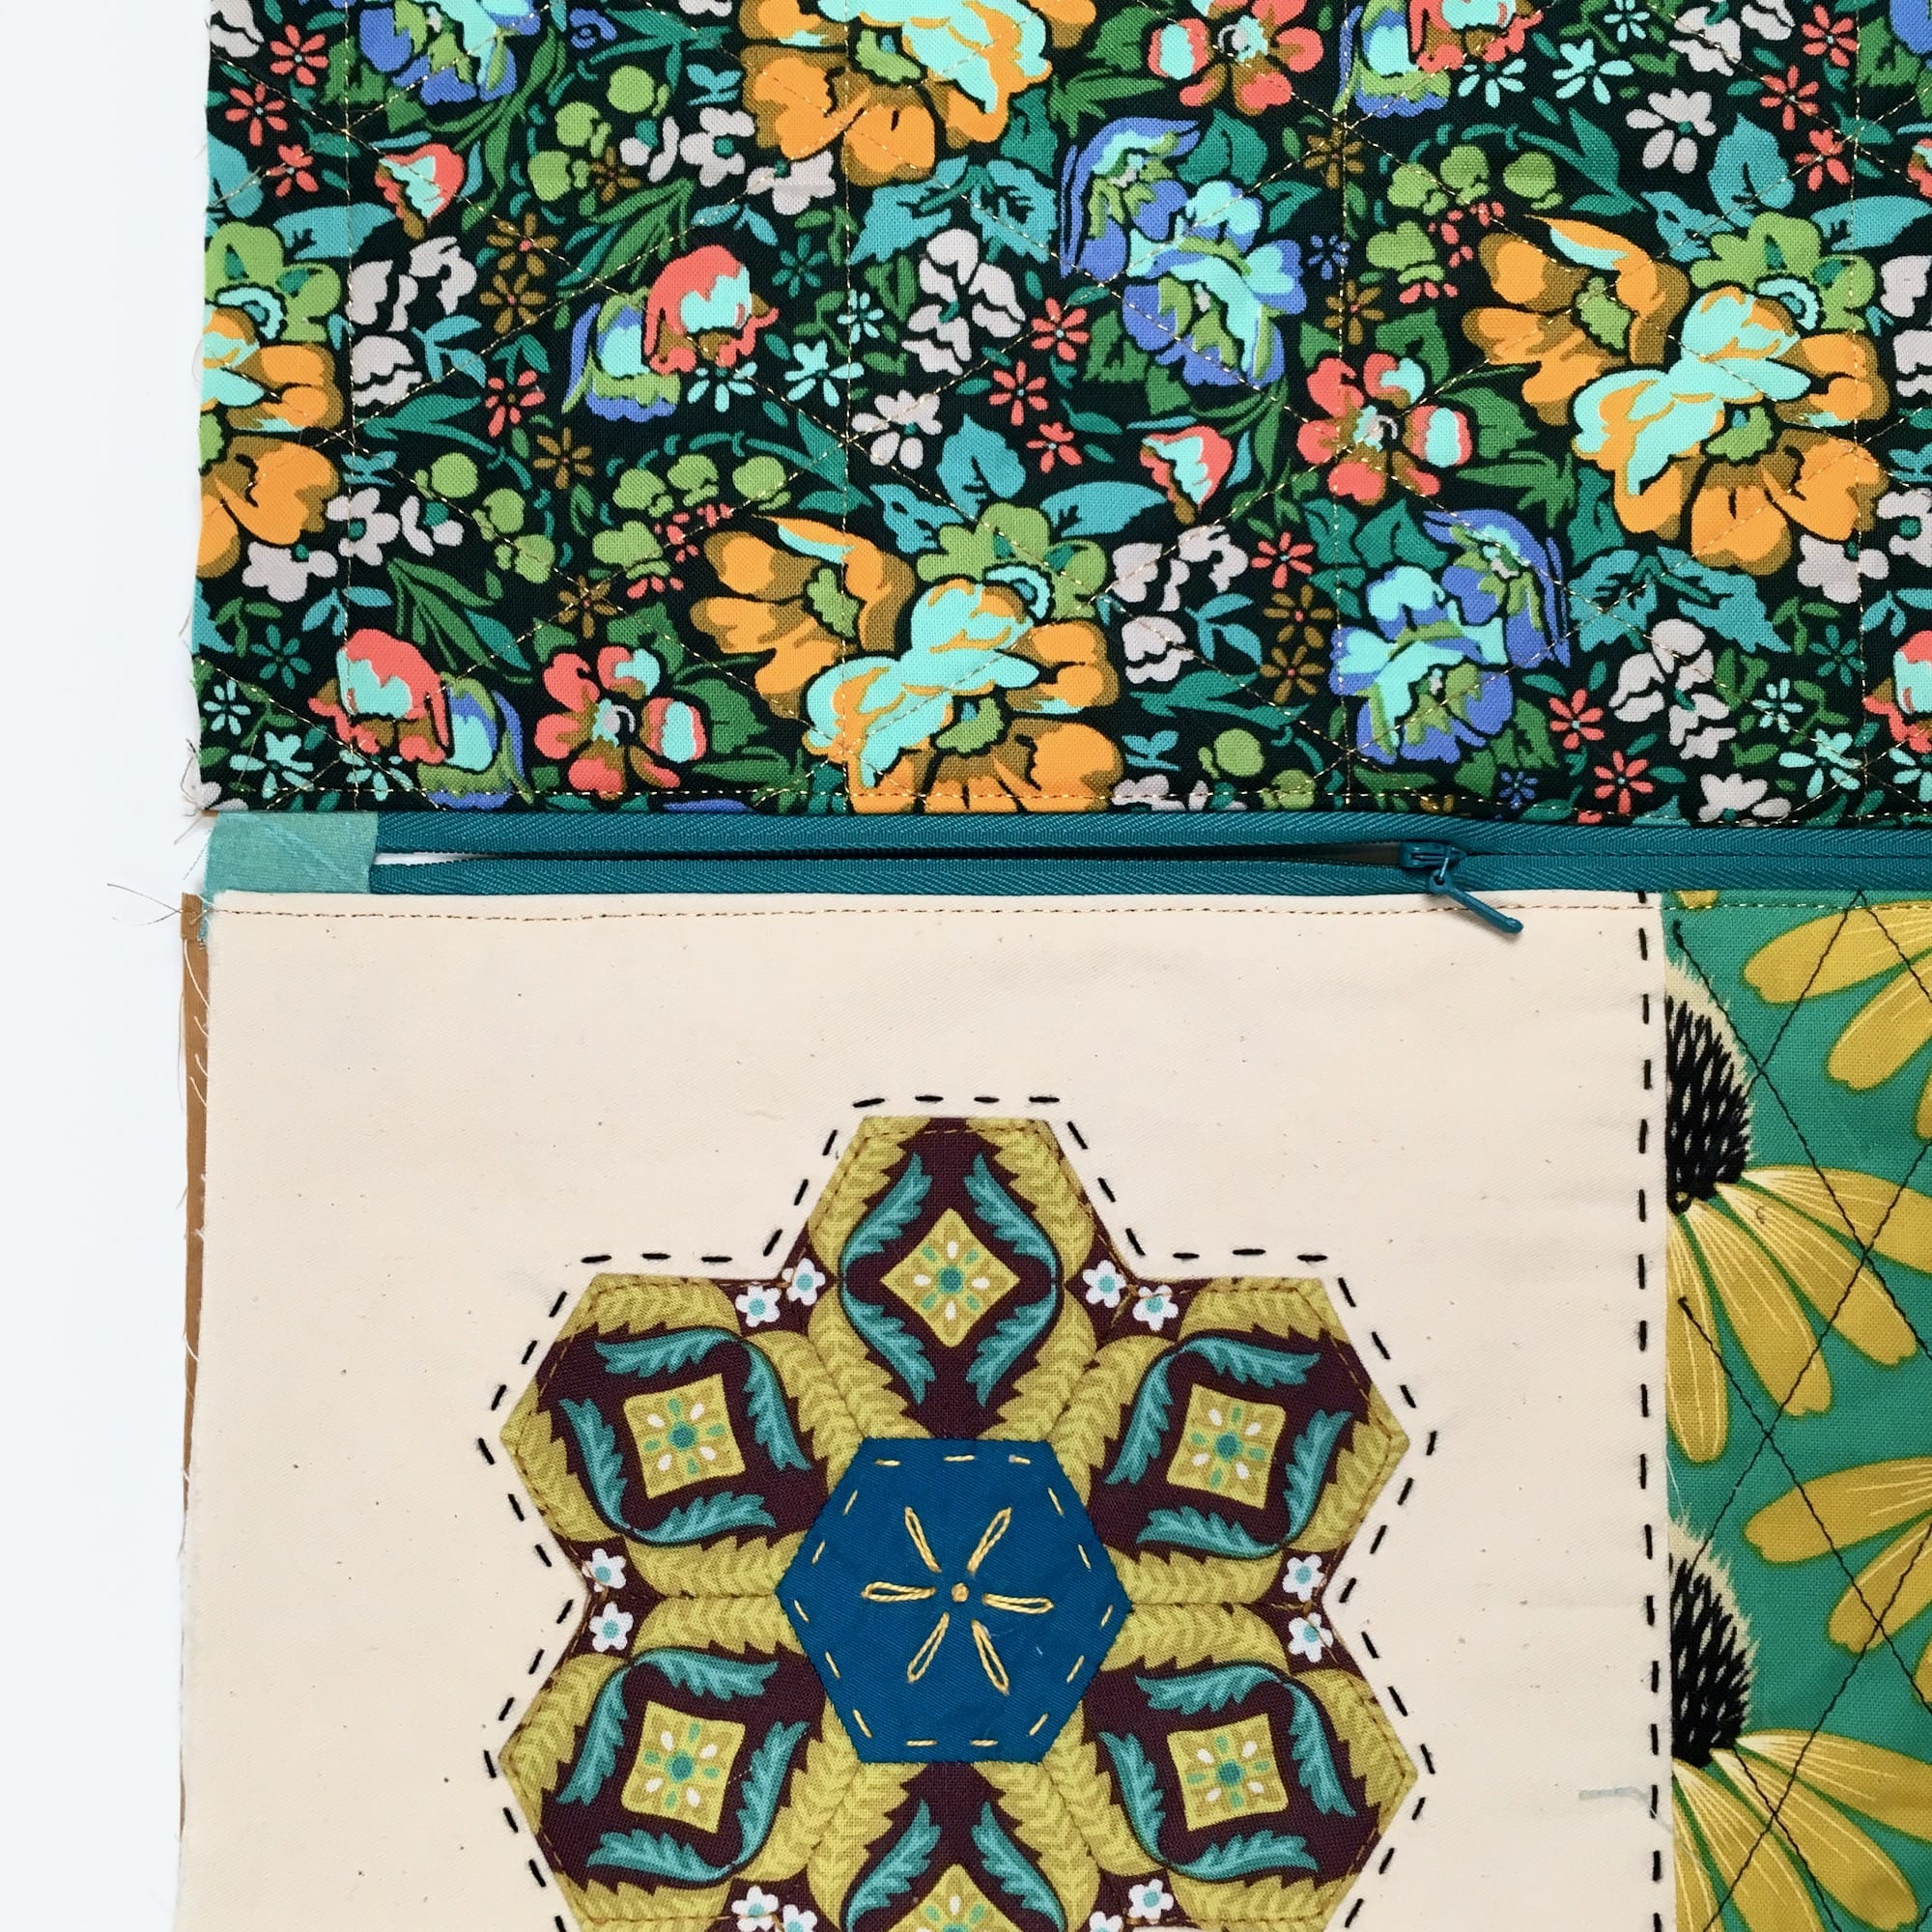
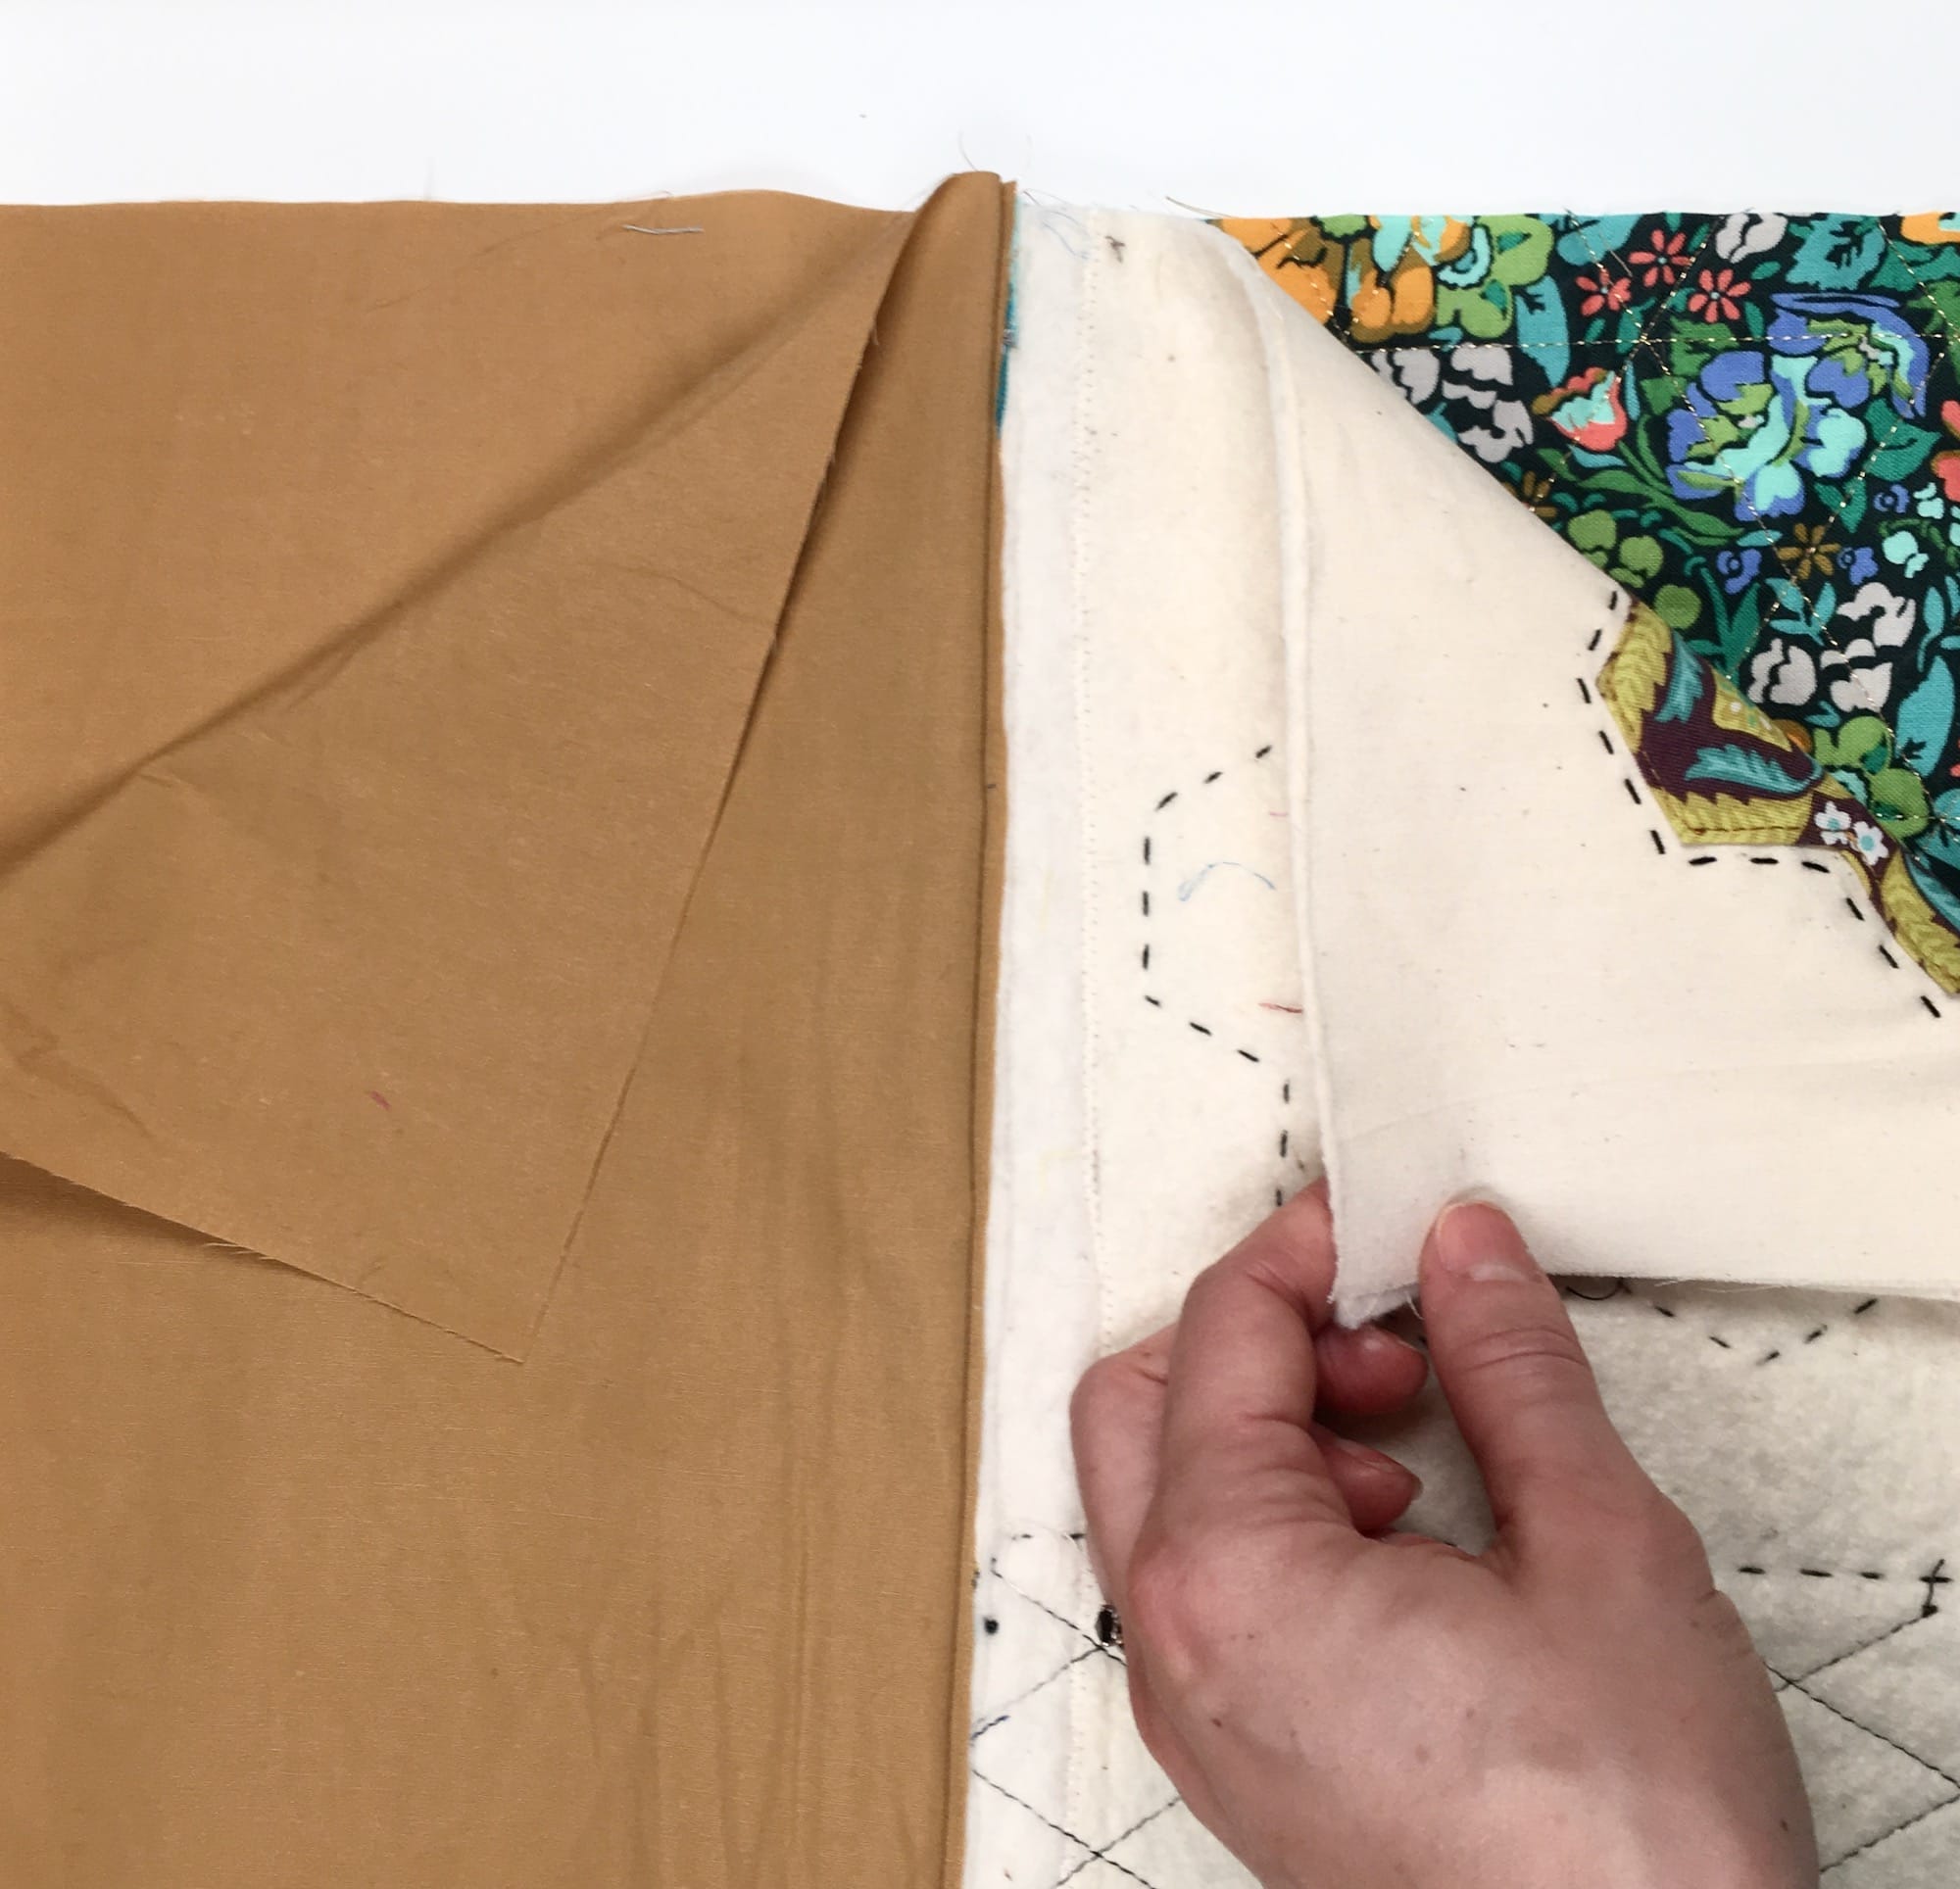
Two (2) external pouch panels of the same measurement (This can be as simple as a piece of fabric or as complex as quilted patchwork. I will be using quilted panels which give a bit more structure to the finished pouch, but do add a bit of bulk in the final steps. Just FYI.)
Two (2) internal pouch panels measuring the same as the external pouch panels (I am using simple quilting cotton for this.)
One (1) zipper at least as long as the longest edge of your pouch (I happen to be using an invisible zipper since it was the only one I had that matched the pouch, but the same process works for any zipper.)
Two (2) fabric scraps at least 1” x 2”
Washable liquid school glue (I am using Elmer’s but any washable brand will suffice. The glue will not be seen at any time as it will be hidden within the seam allowance, but using washable glue makes for easier repositioning and cleanup.)
Sewing machine with a zipper foot attachment
Straight pins
Coordinating thread
Fabric scissors
NON-fabric scissors
Ruler or measuring tape
One last thing before we begin.
I have endeavored to create as aesthetically pleasing a layout as possible with this post in order to enhance readability. As such, desktop users will notice that each step of the tutorial is staggered with an alternating text block and image. If the images appear too small at any time, simply click on the image and a full scale version will pop up.
I also advise reading through the entire tutorial before beginning. It isn’t a complicated process, necessarily, however, there are a lot of steps. Reading through beforehand will give you a general idea of the process before diving in.
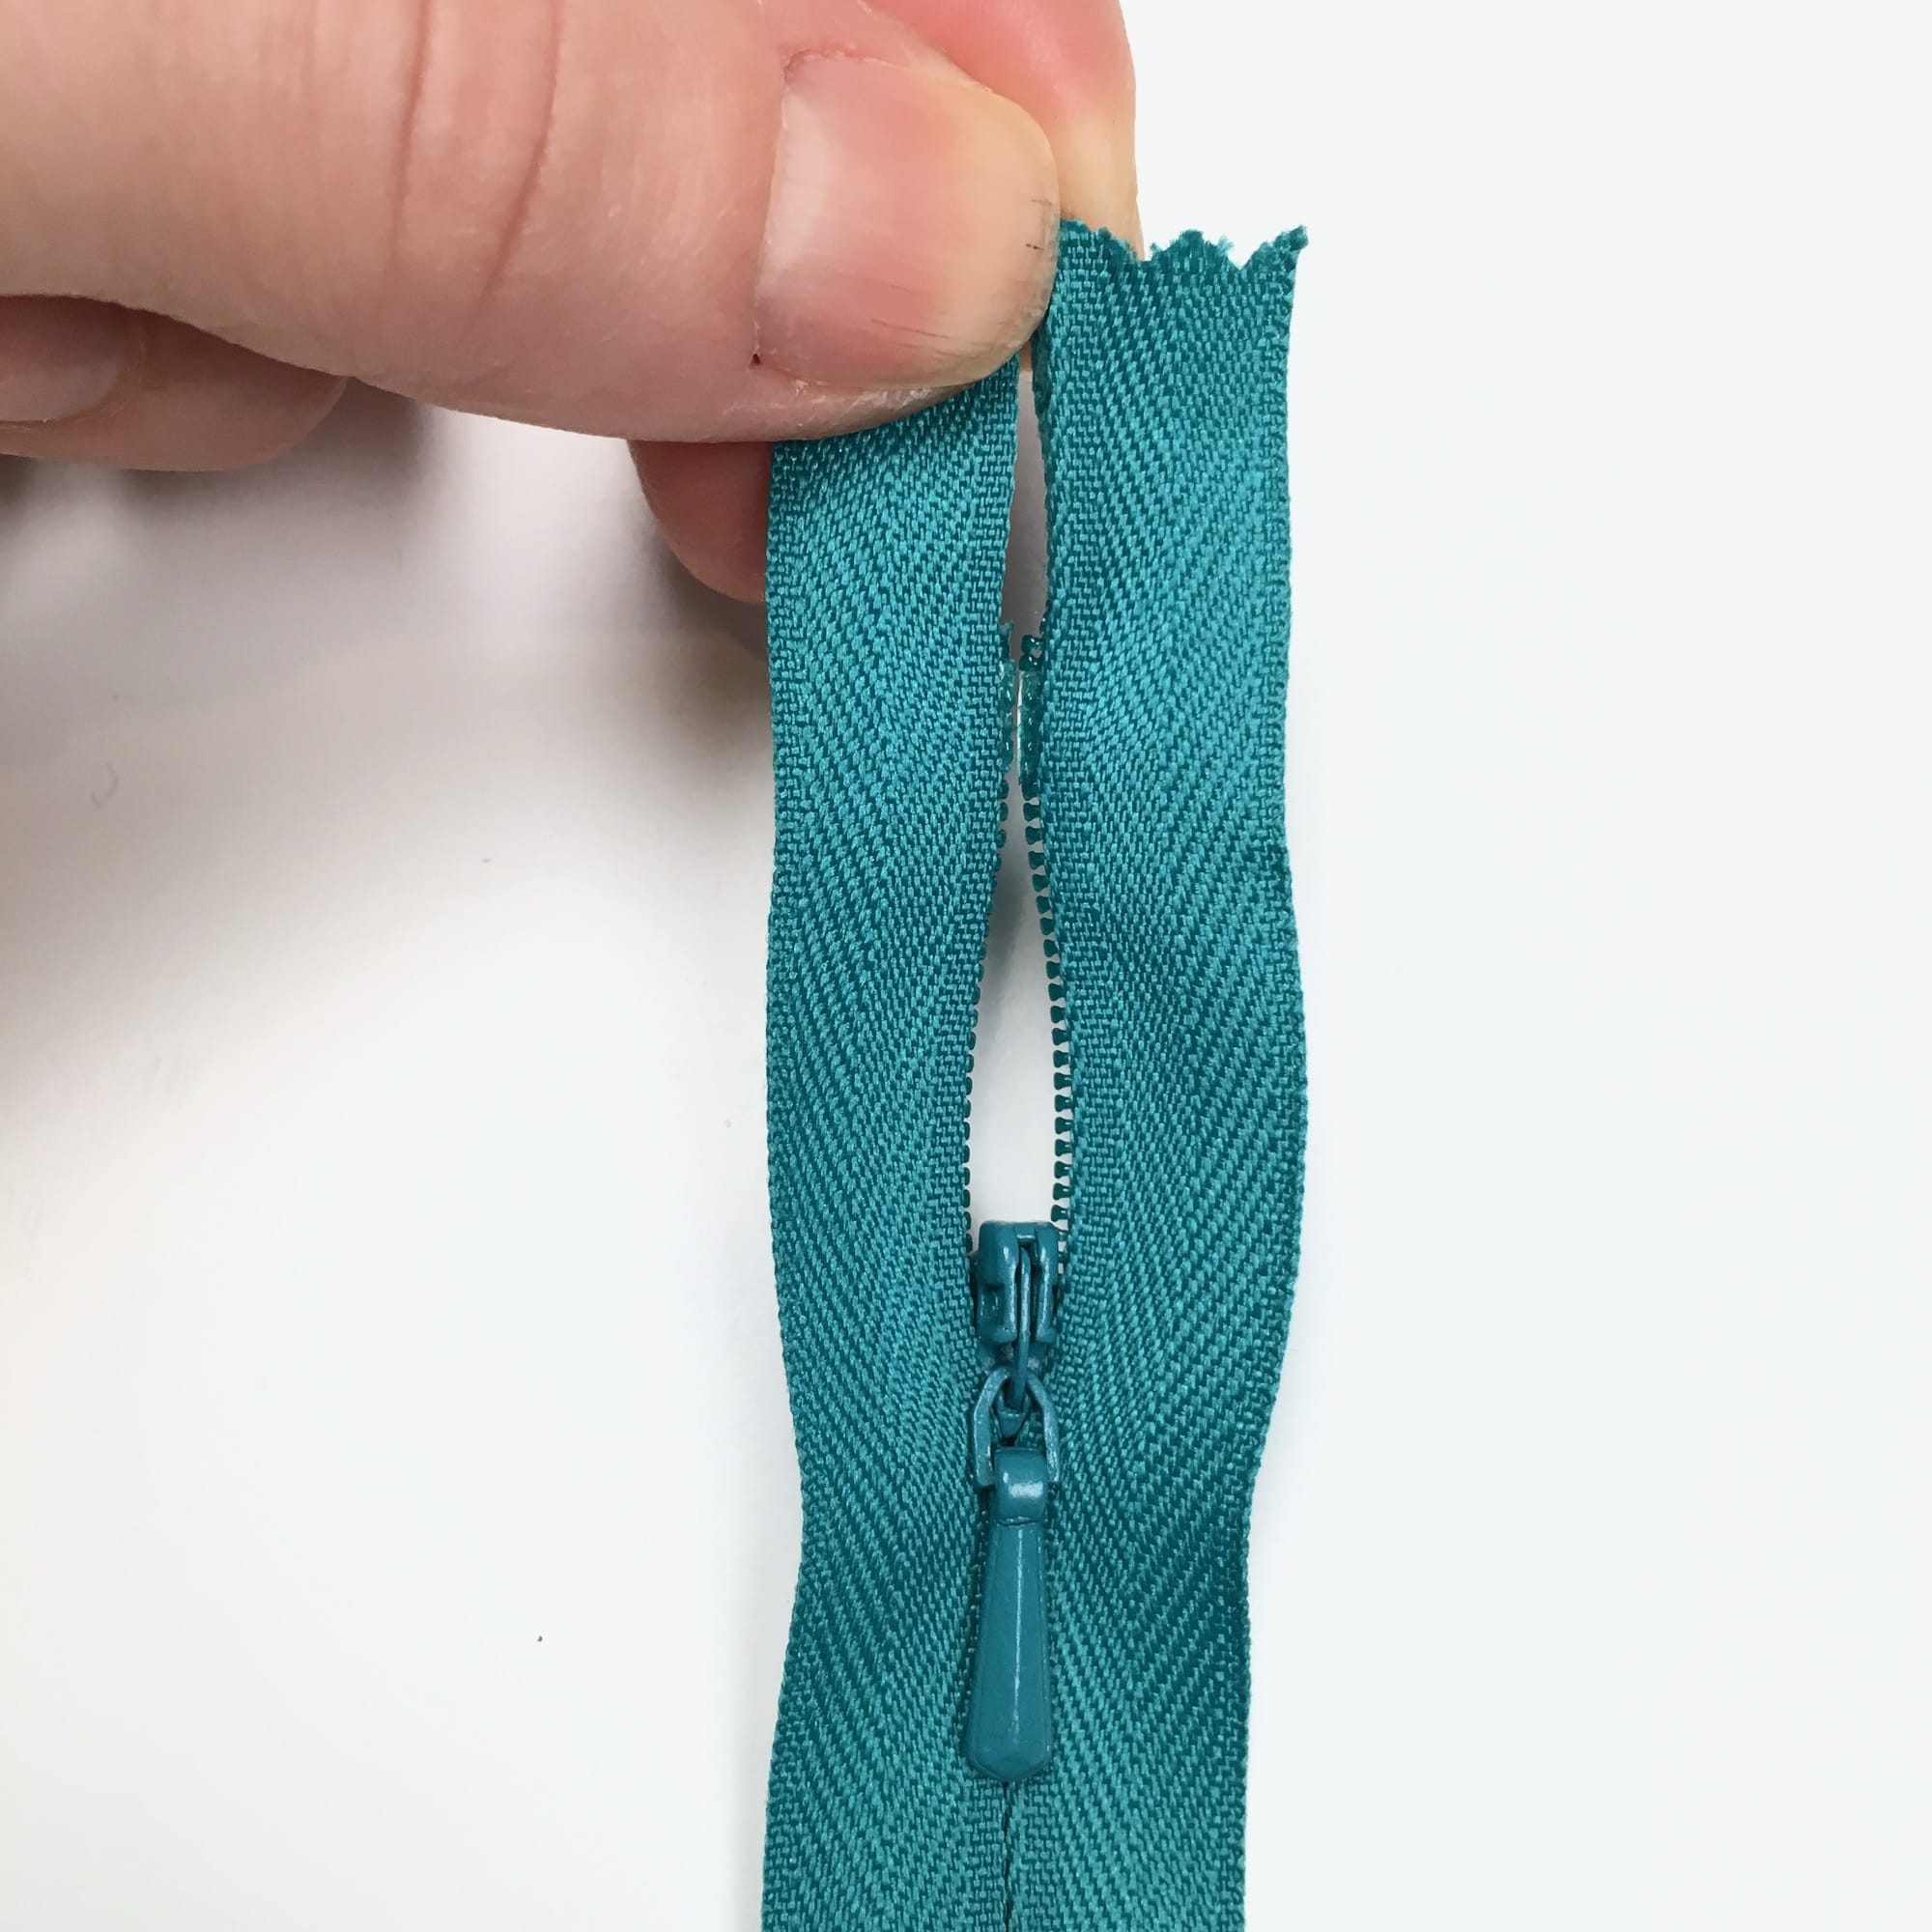
Add Fabric Tabs to the Zipper
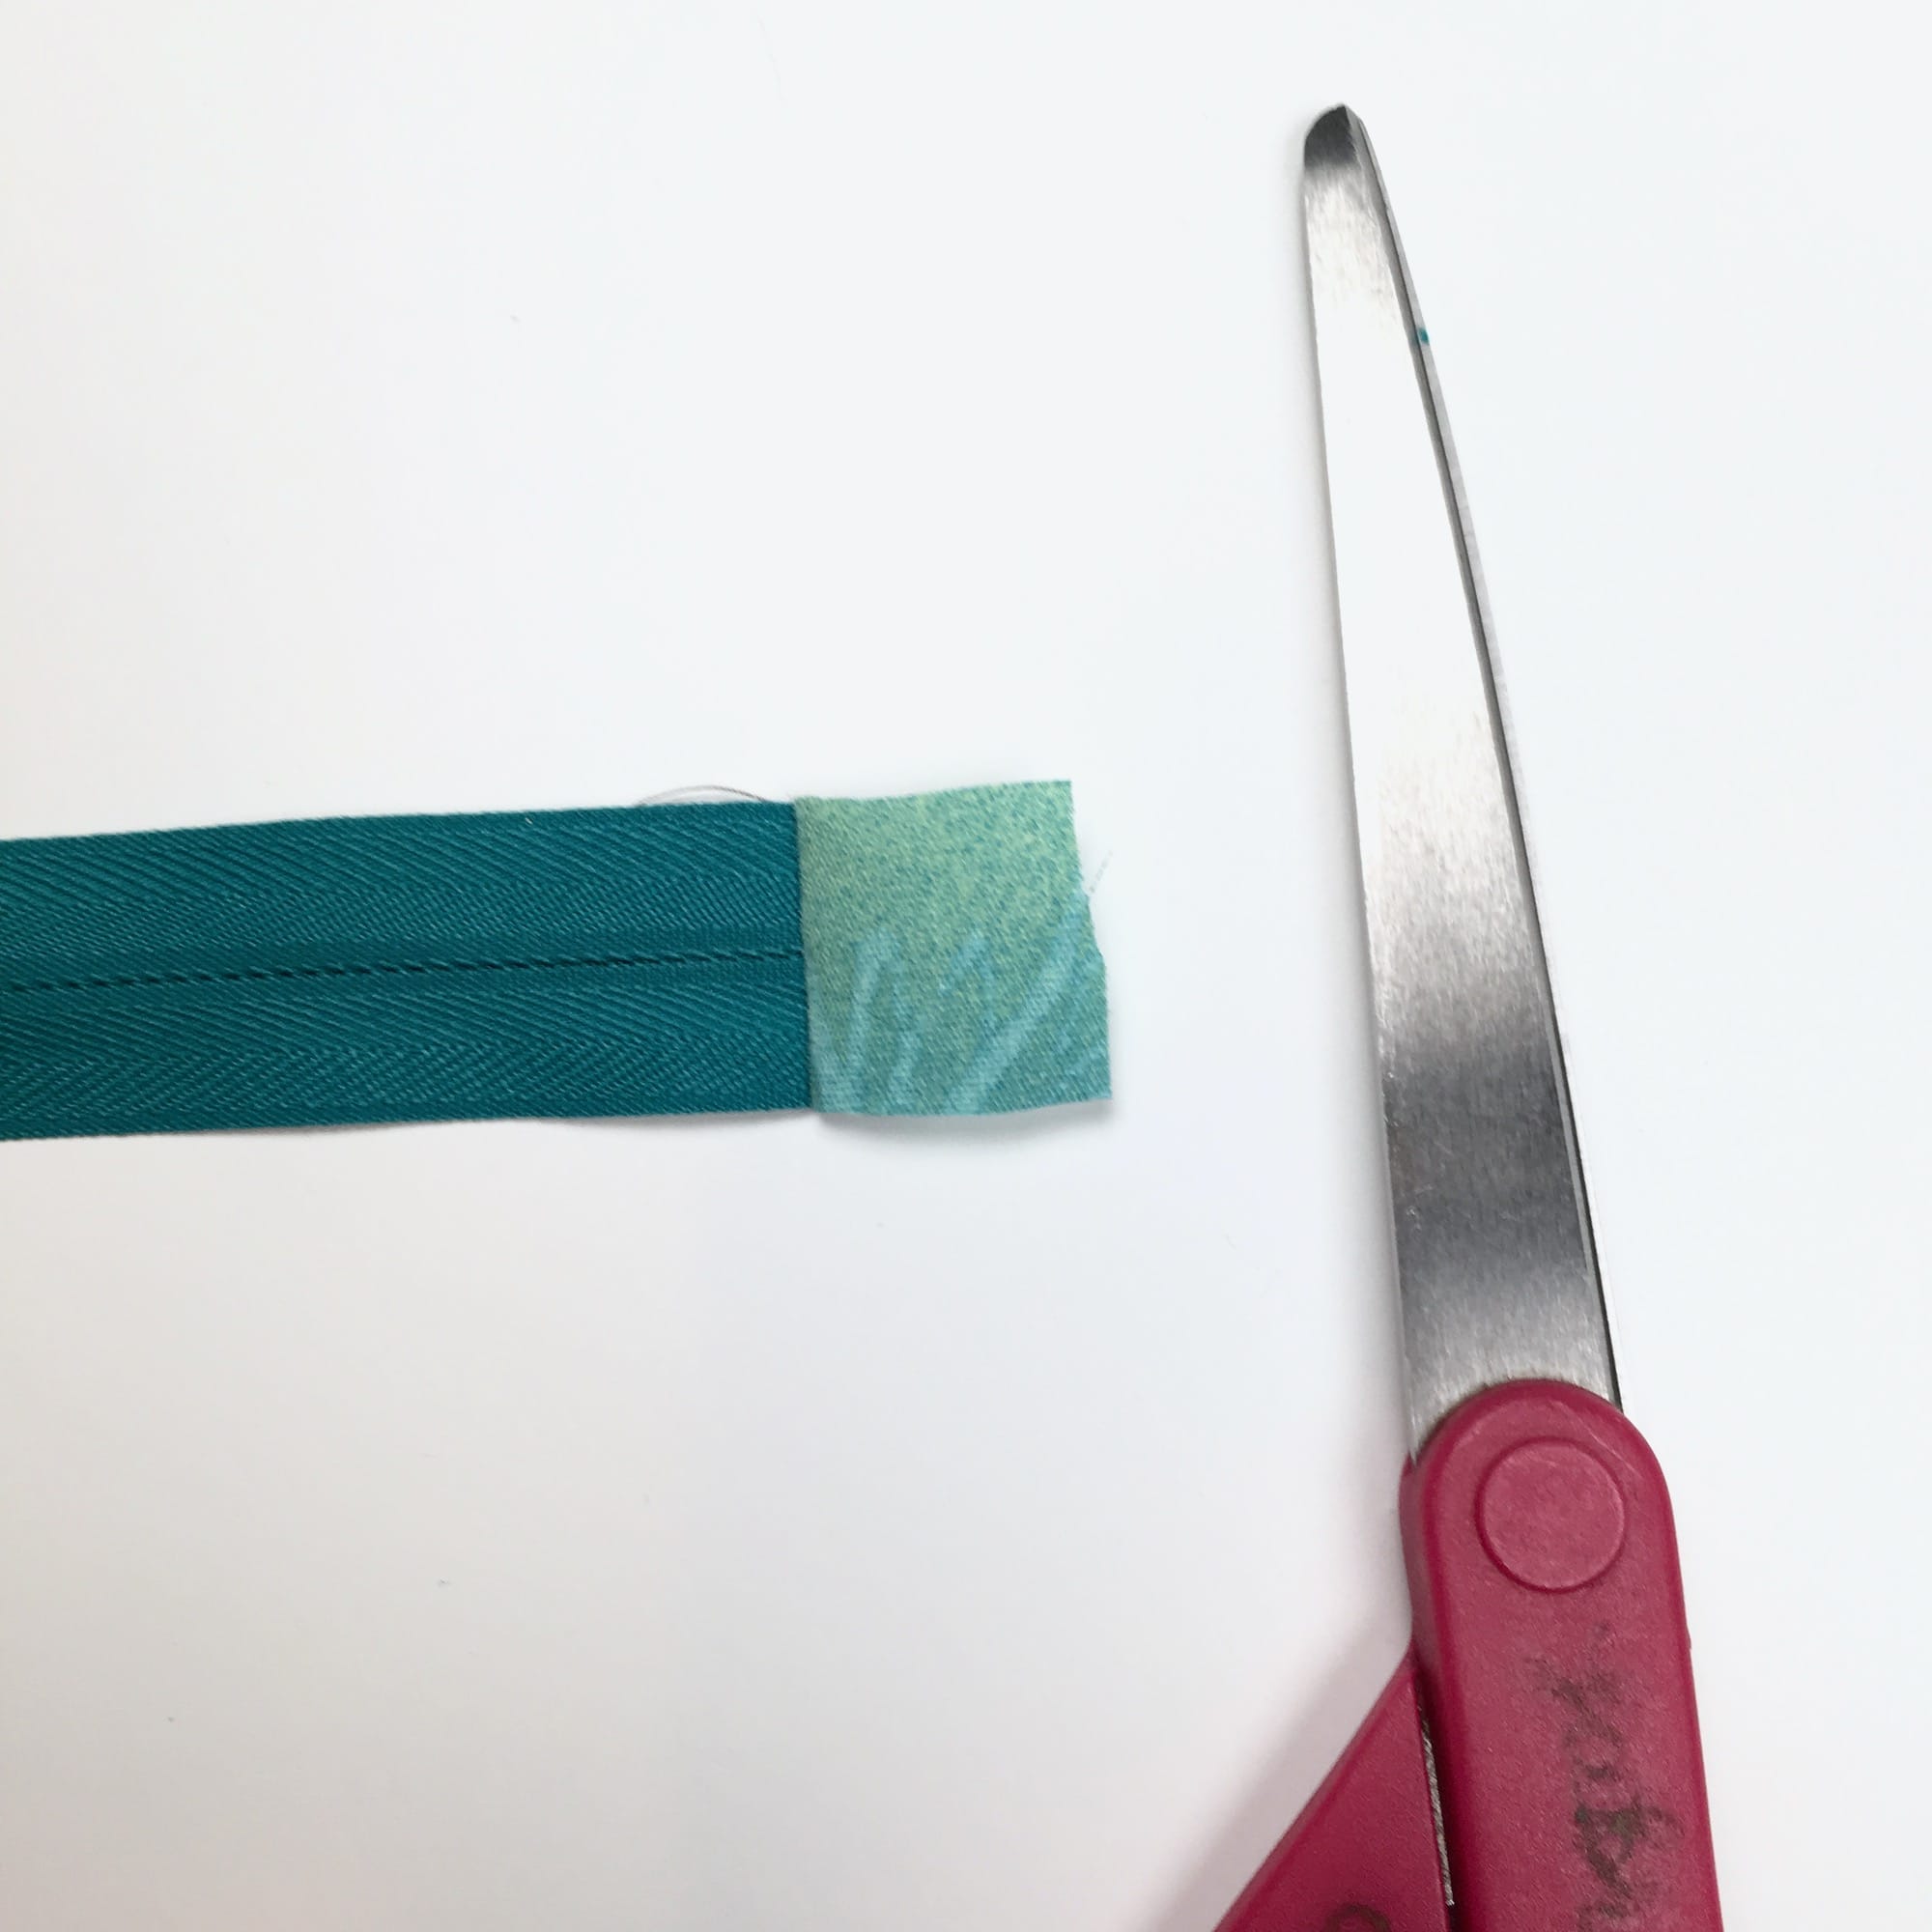
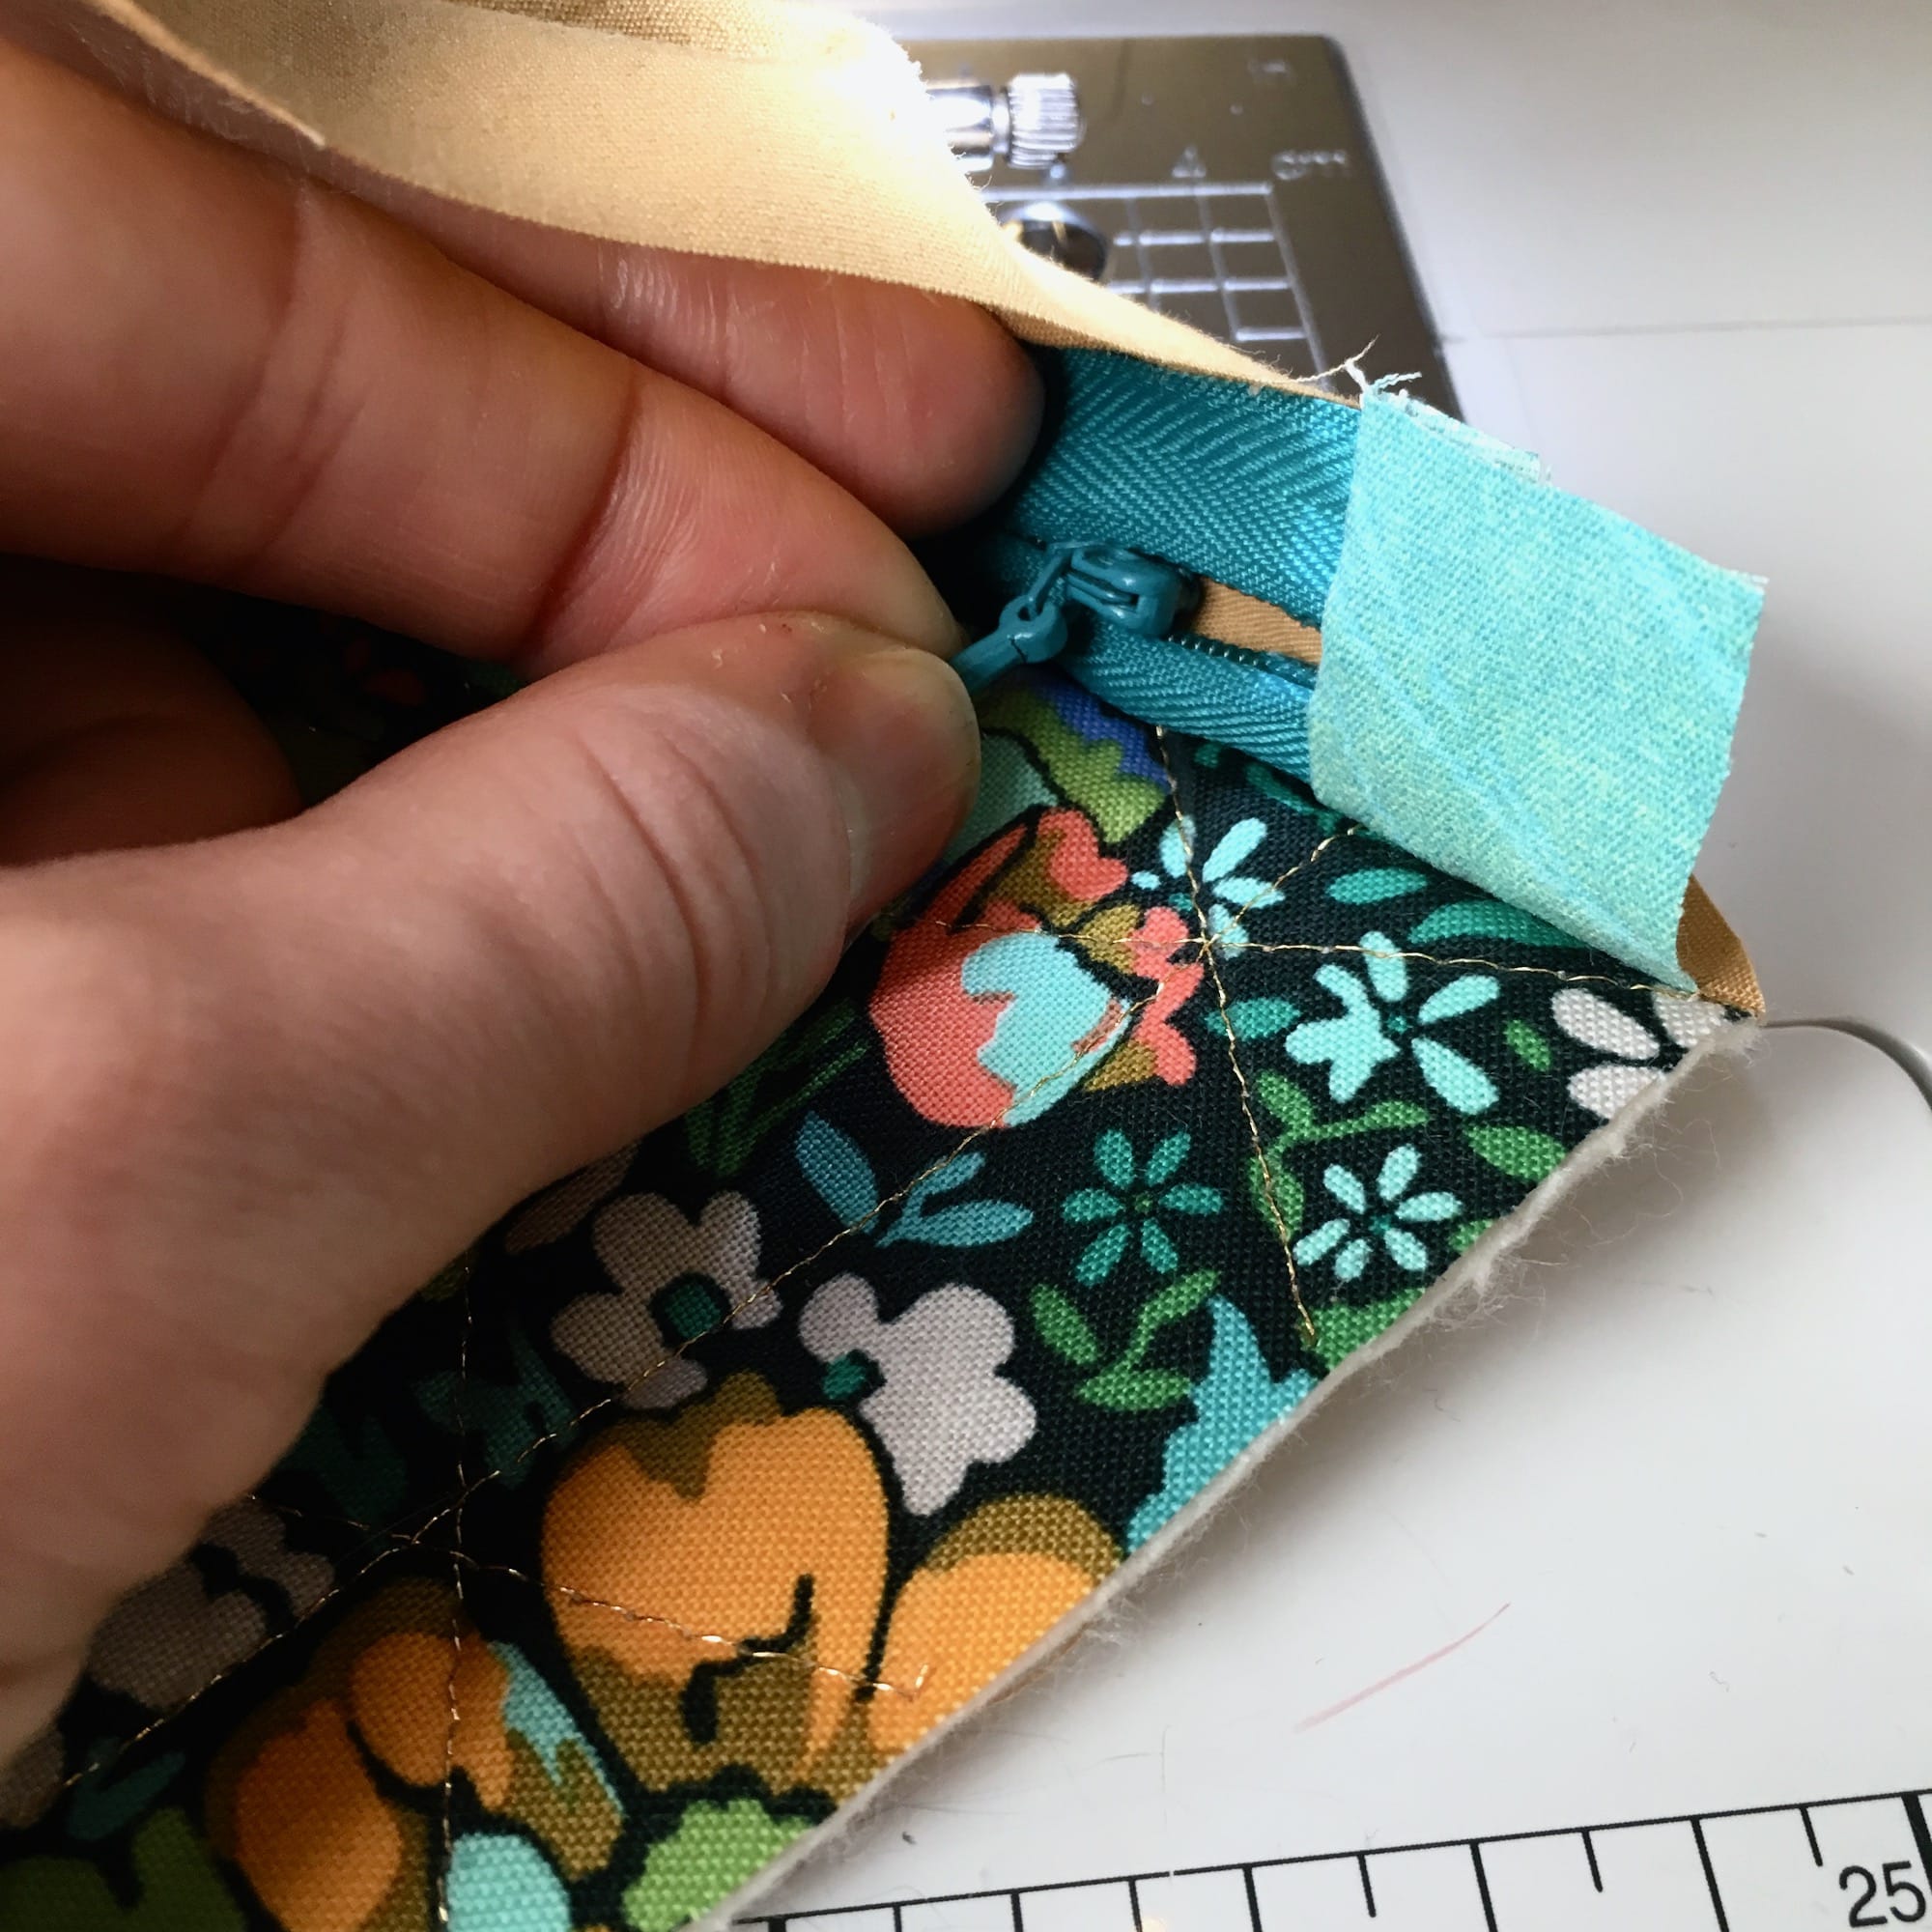
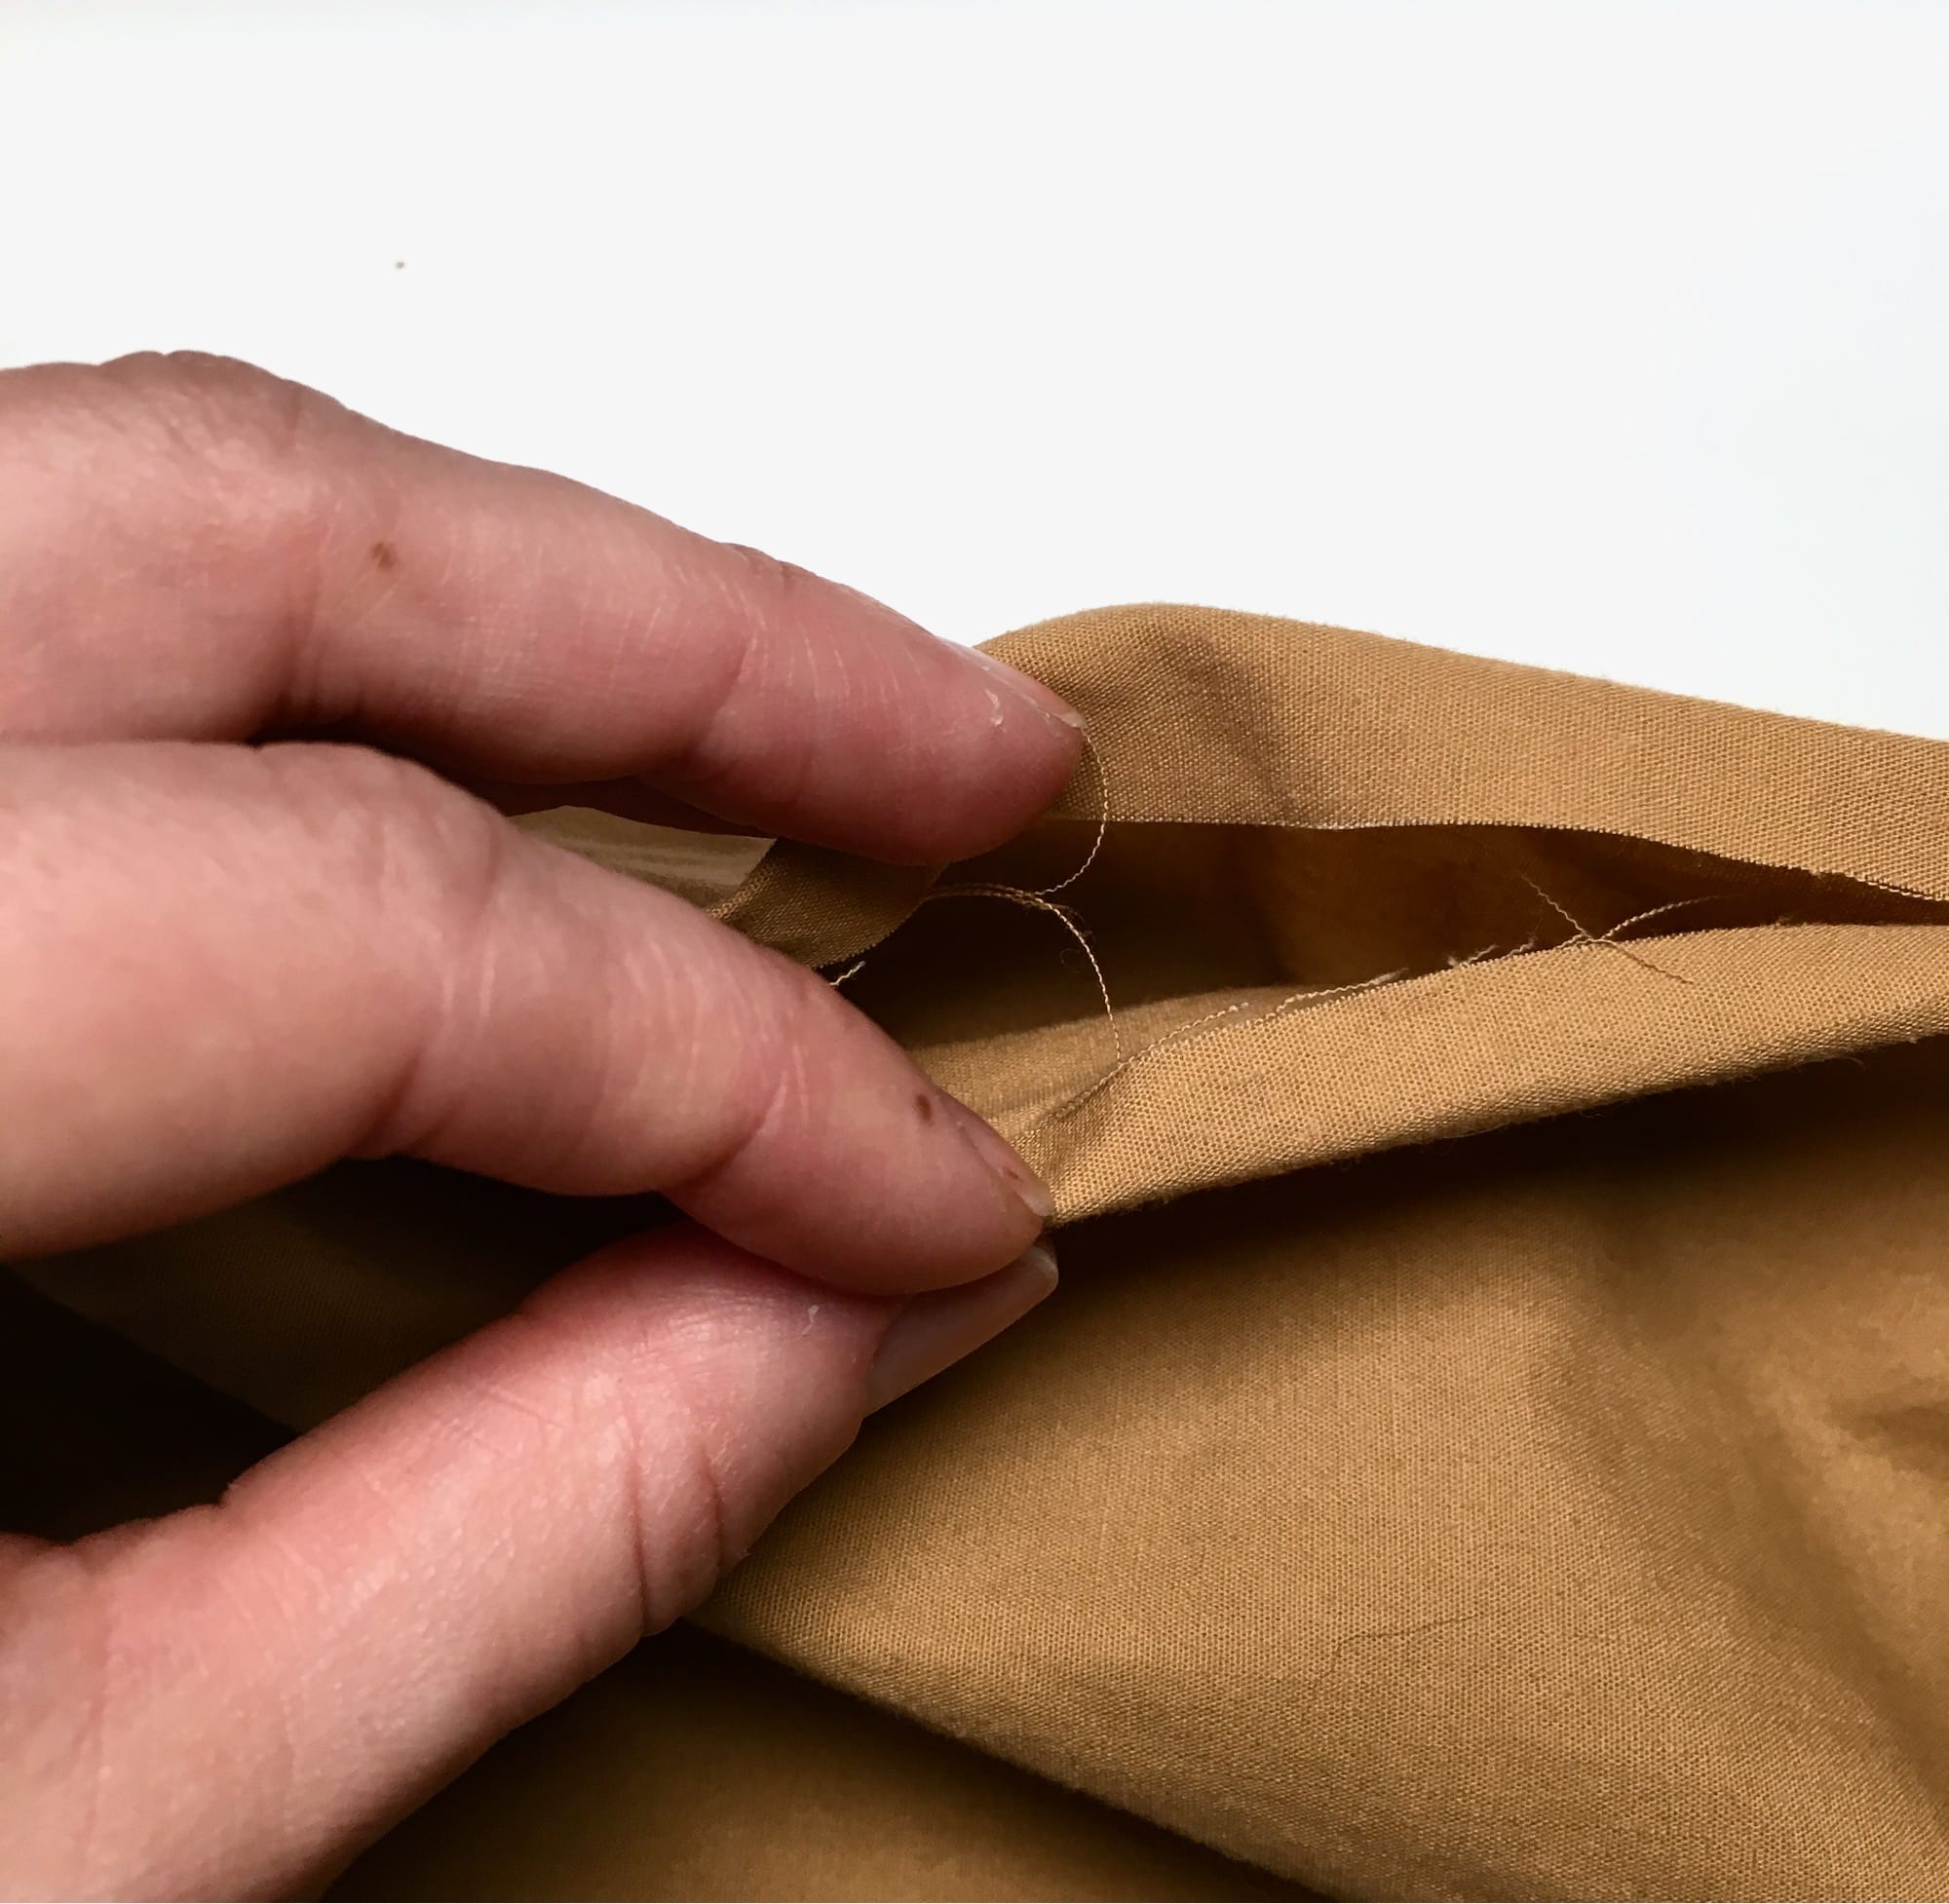
1. Begin by unzipping the zipper about an inch.
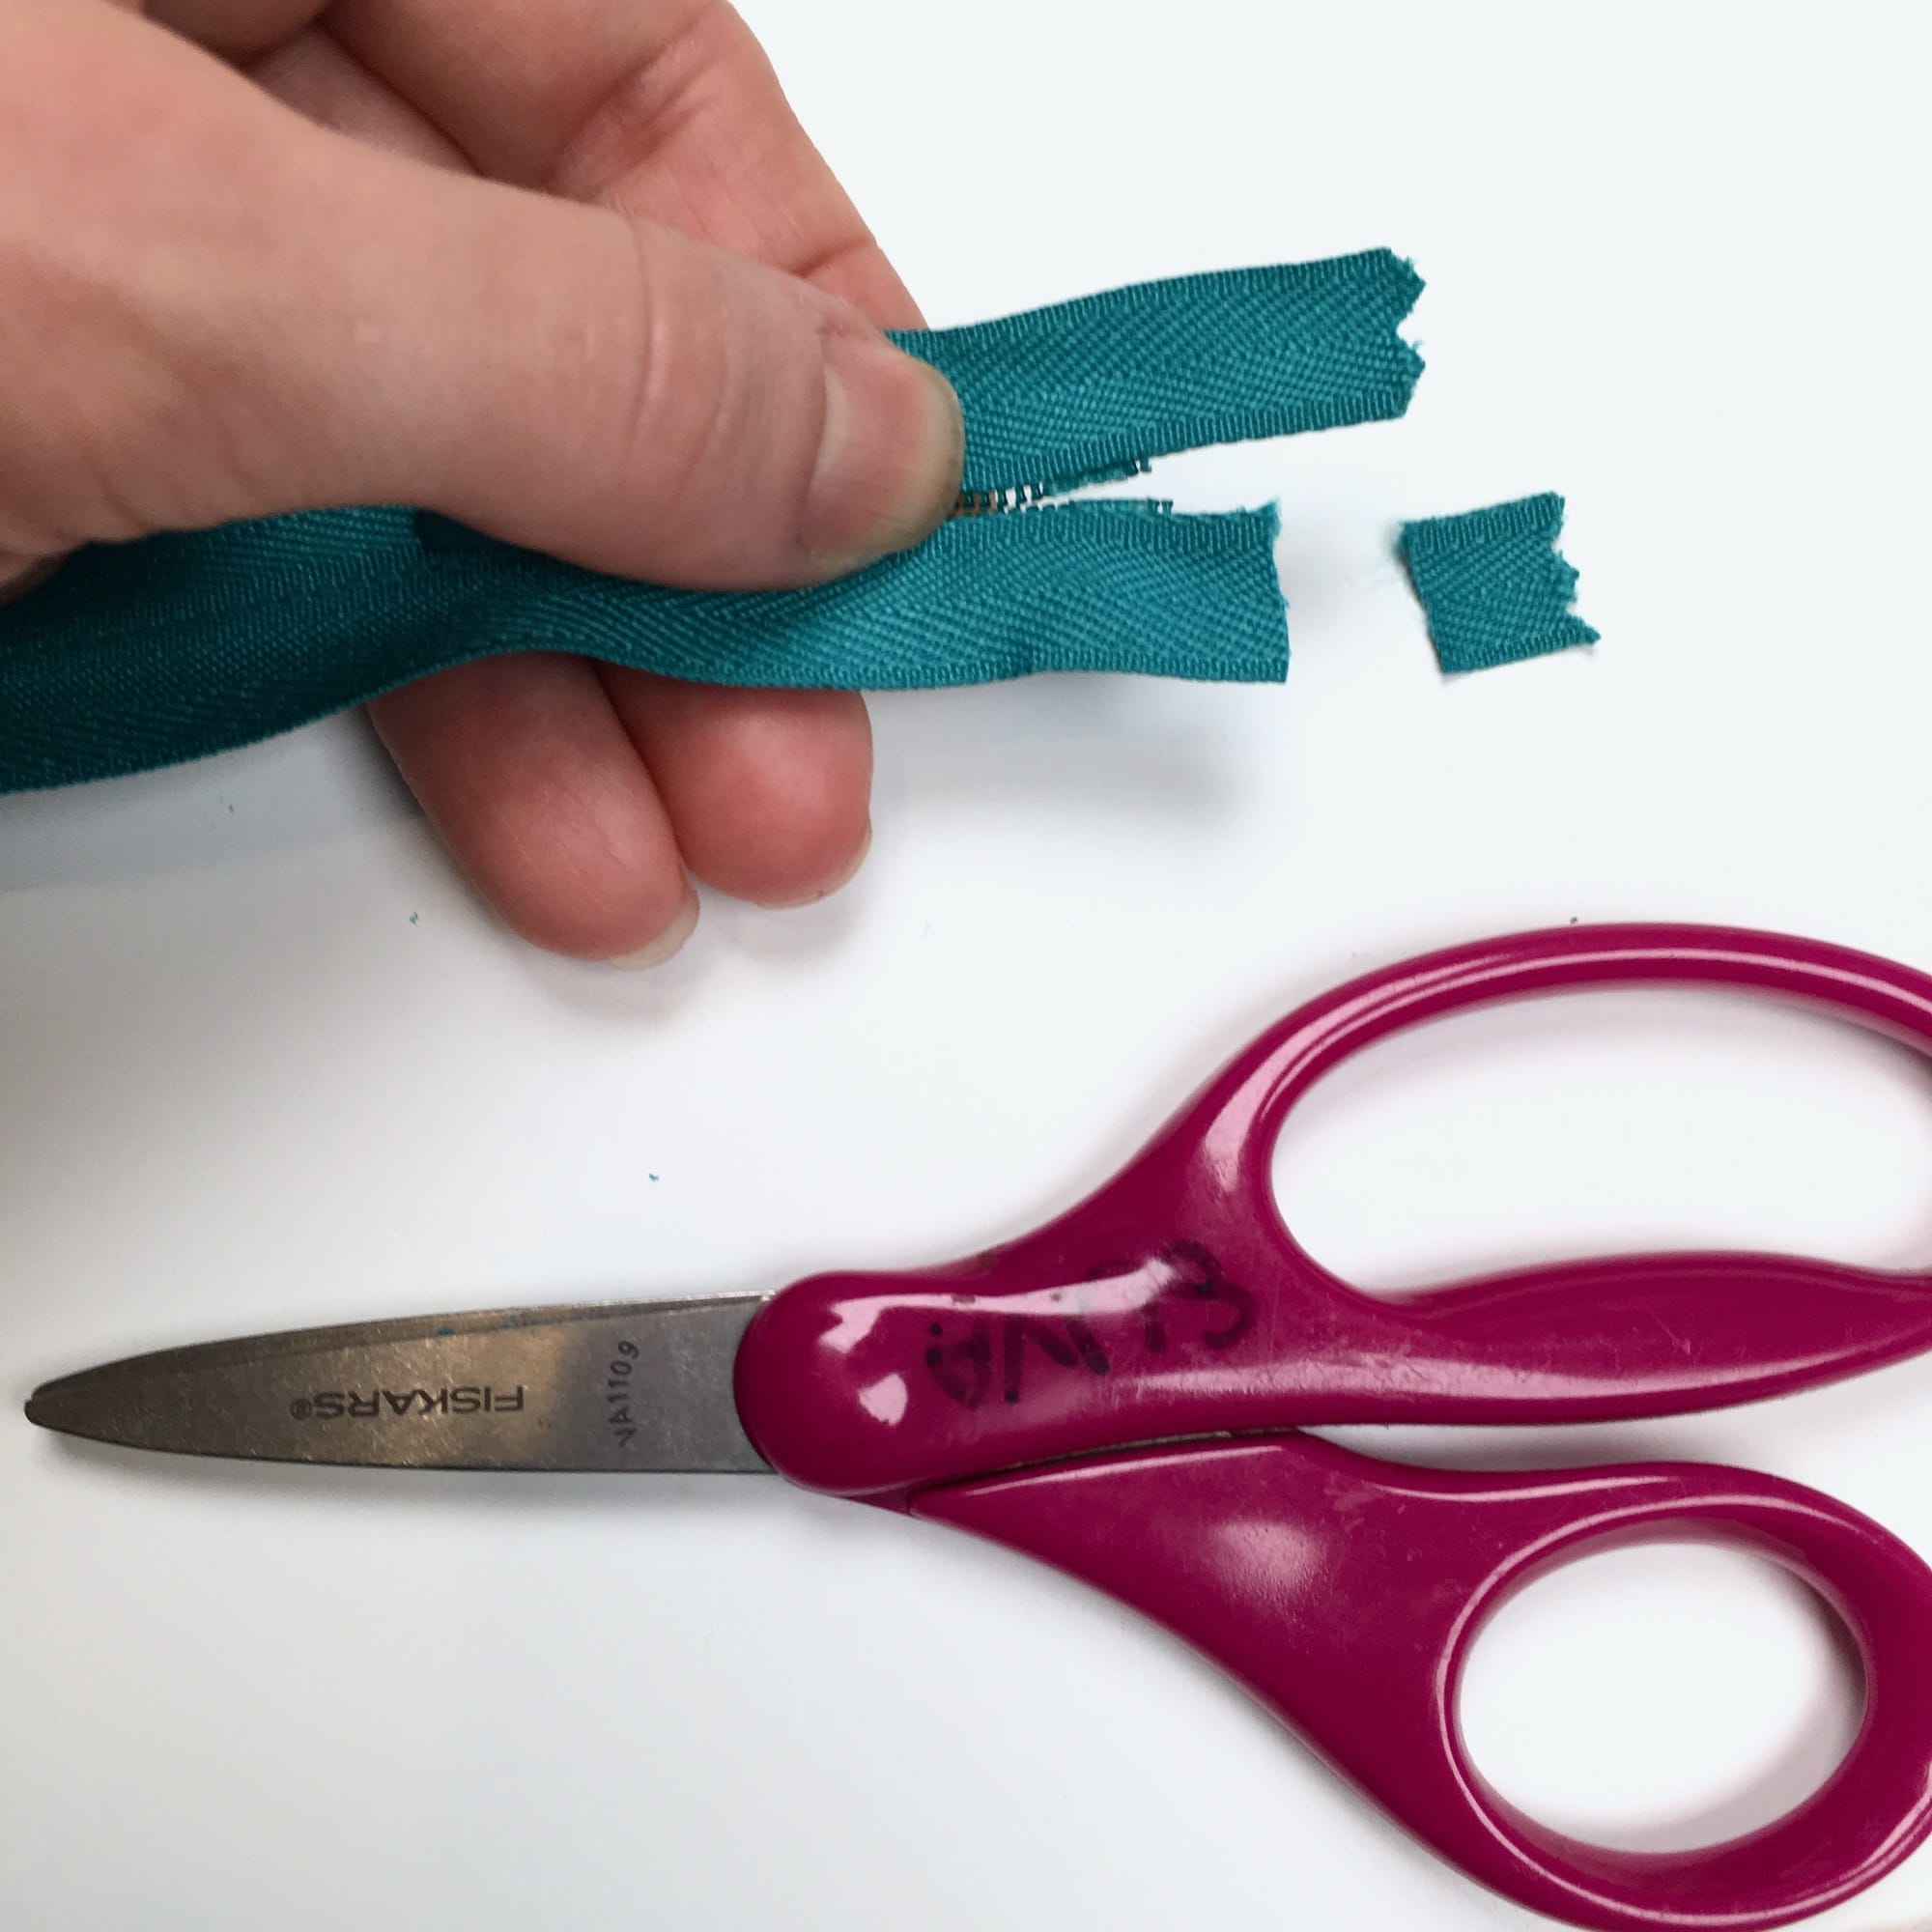
2. Trim the fabric of the zipper about 1/4” from the zipper stop. (This will look differently on different zippers. I happen to be using an invisible zipper, but most purchased zippers of varying lengths have an obvious place it stops.)
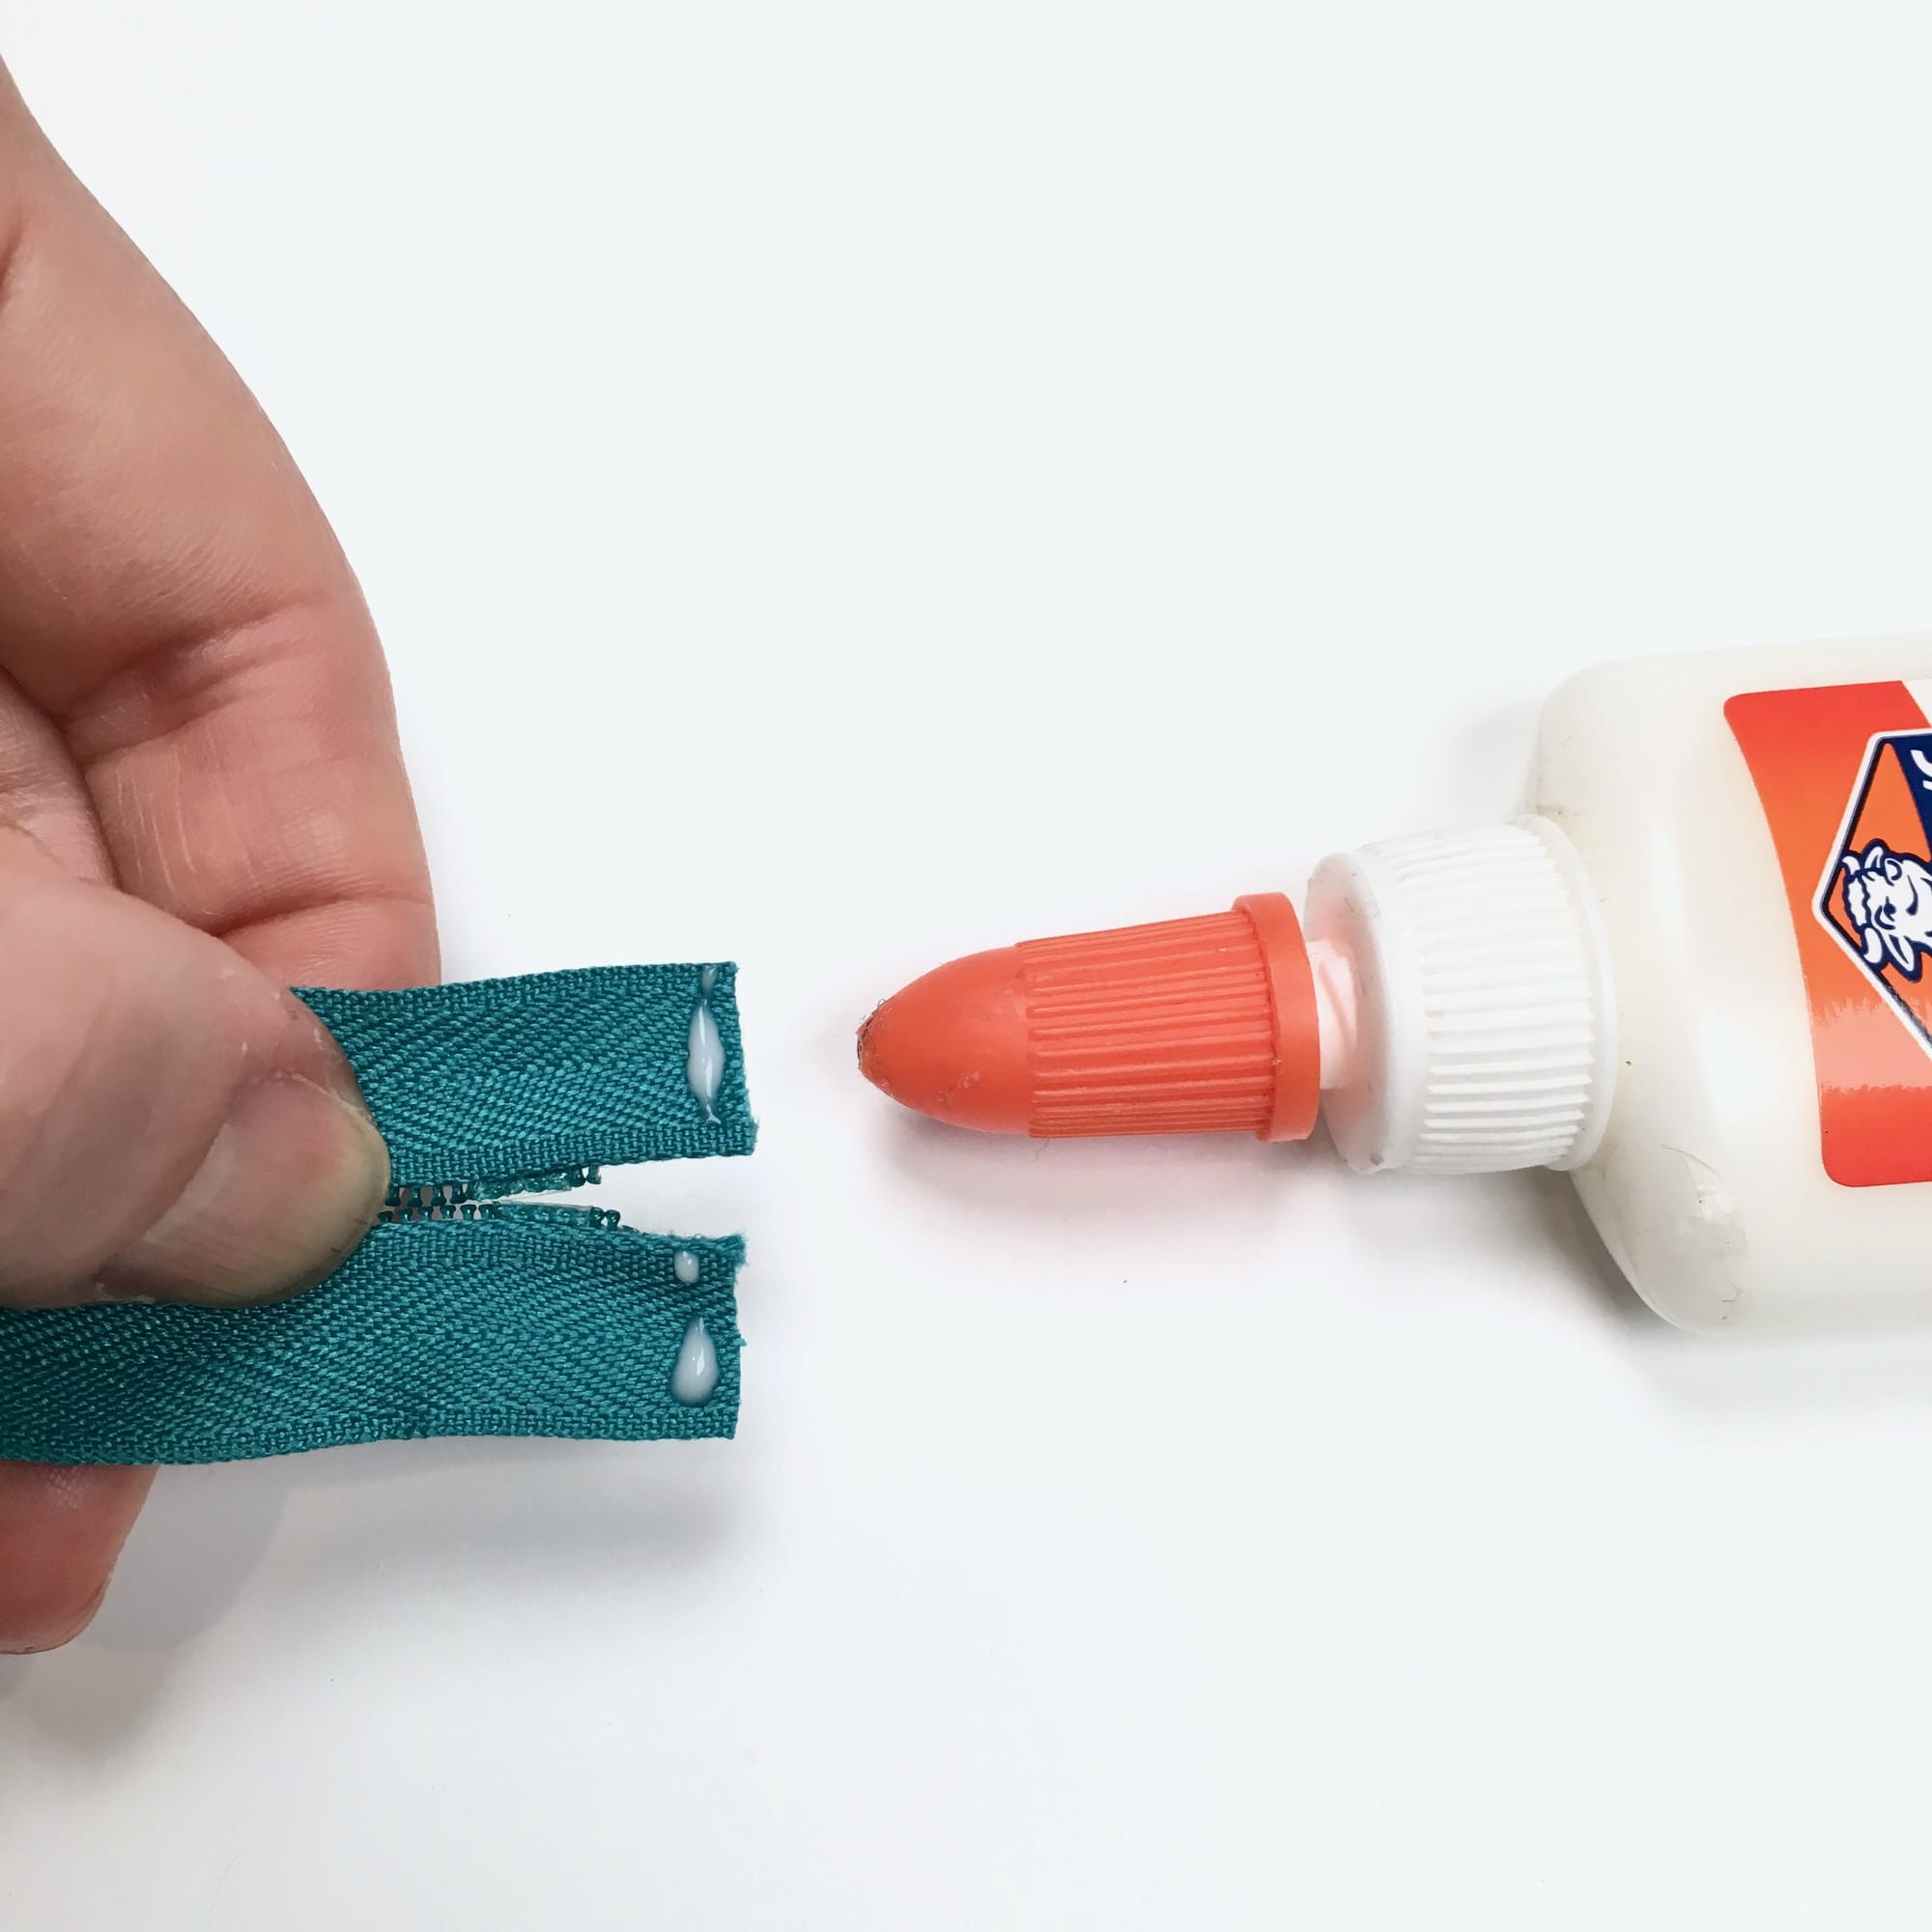
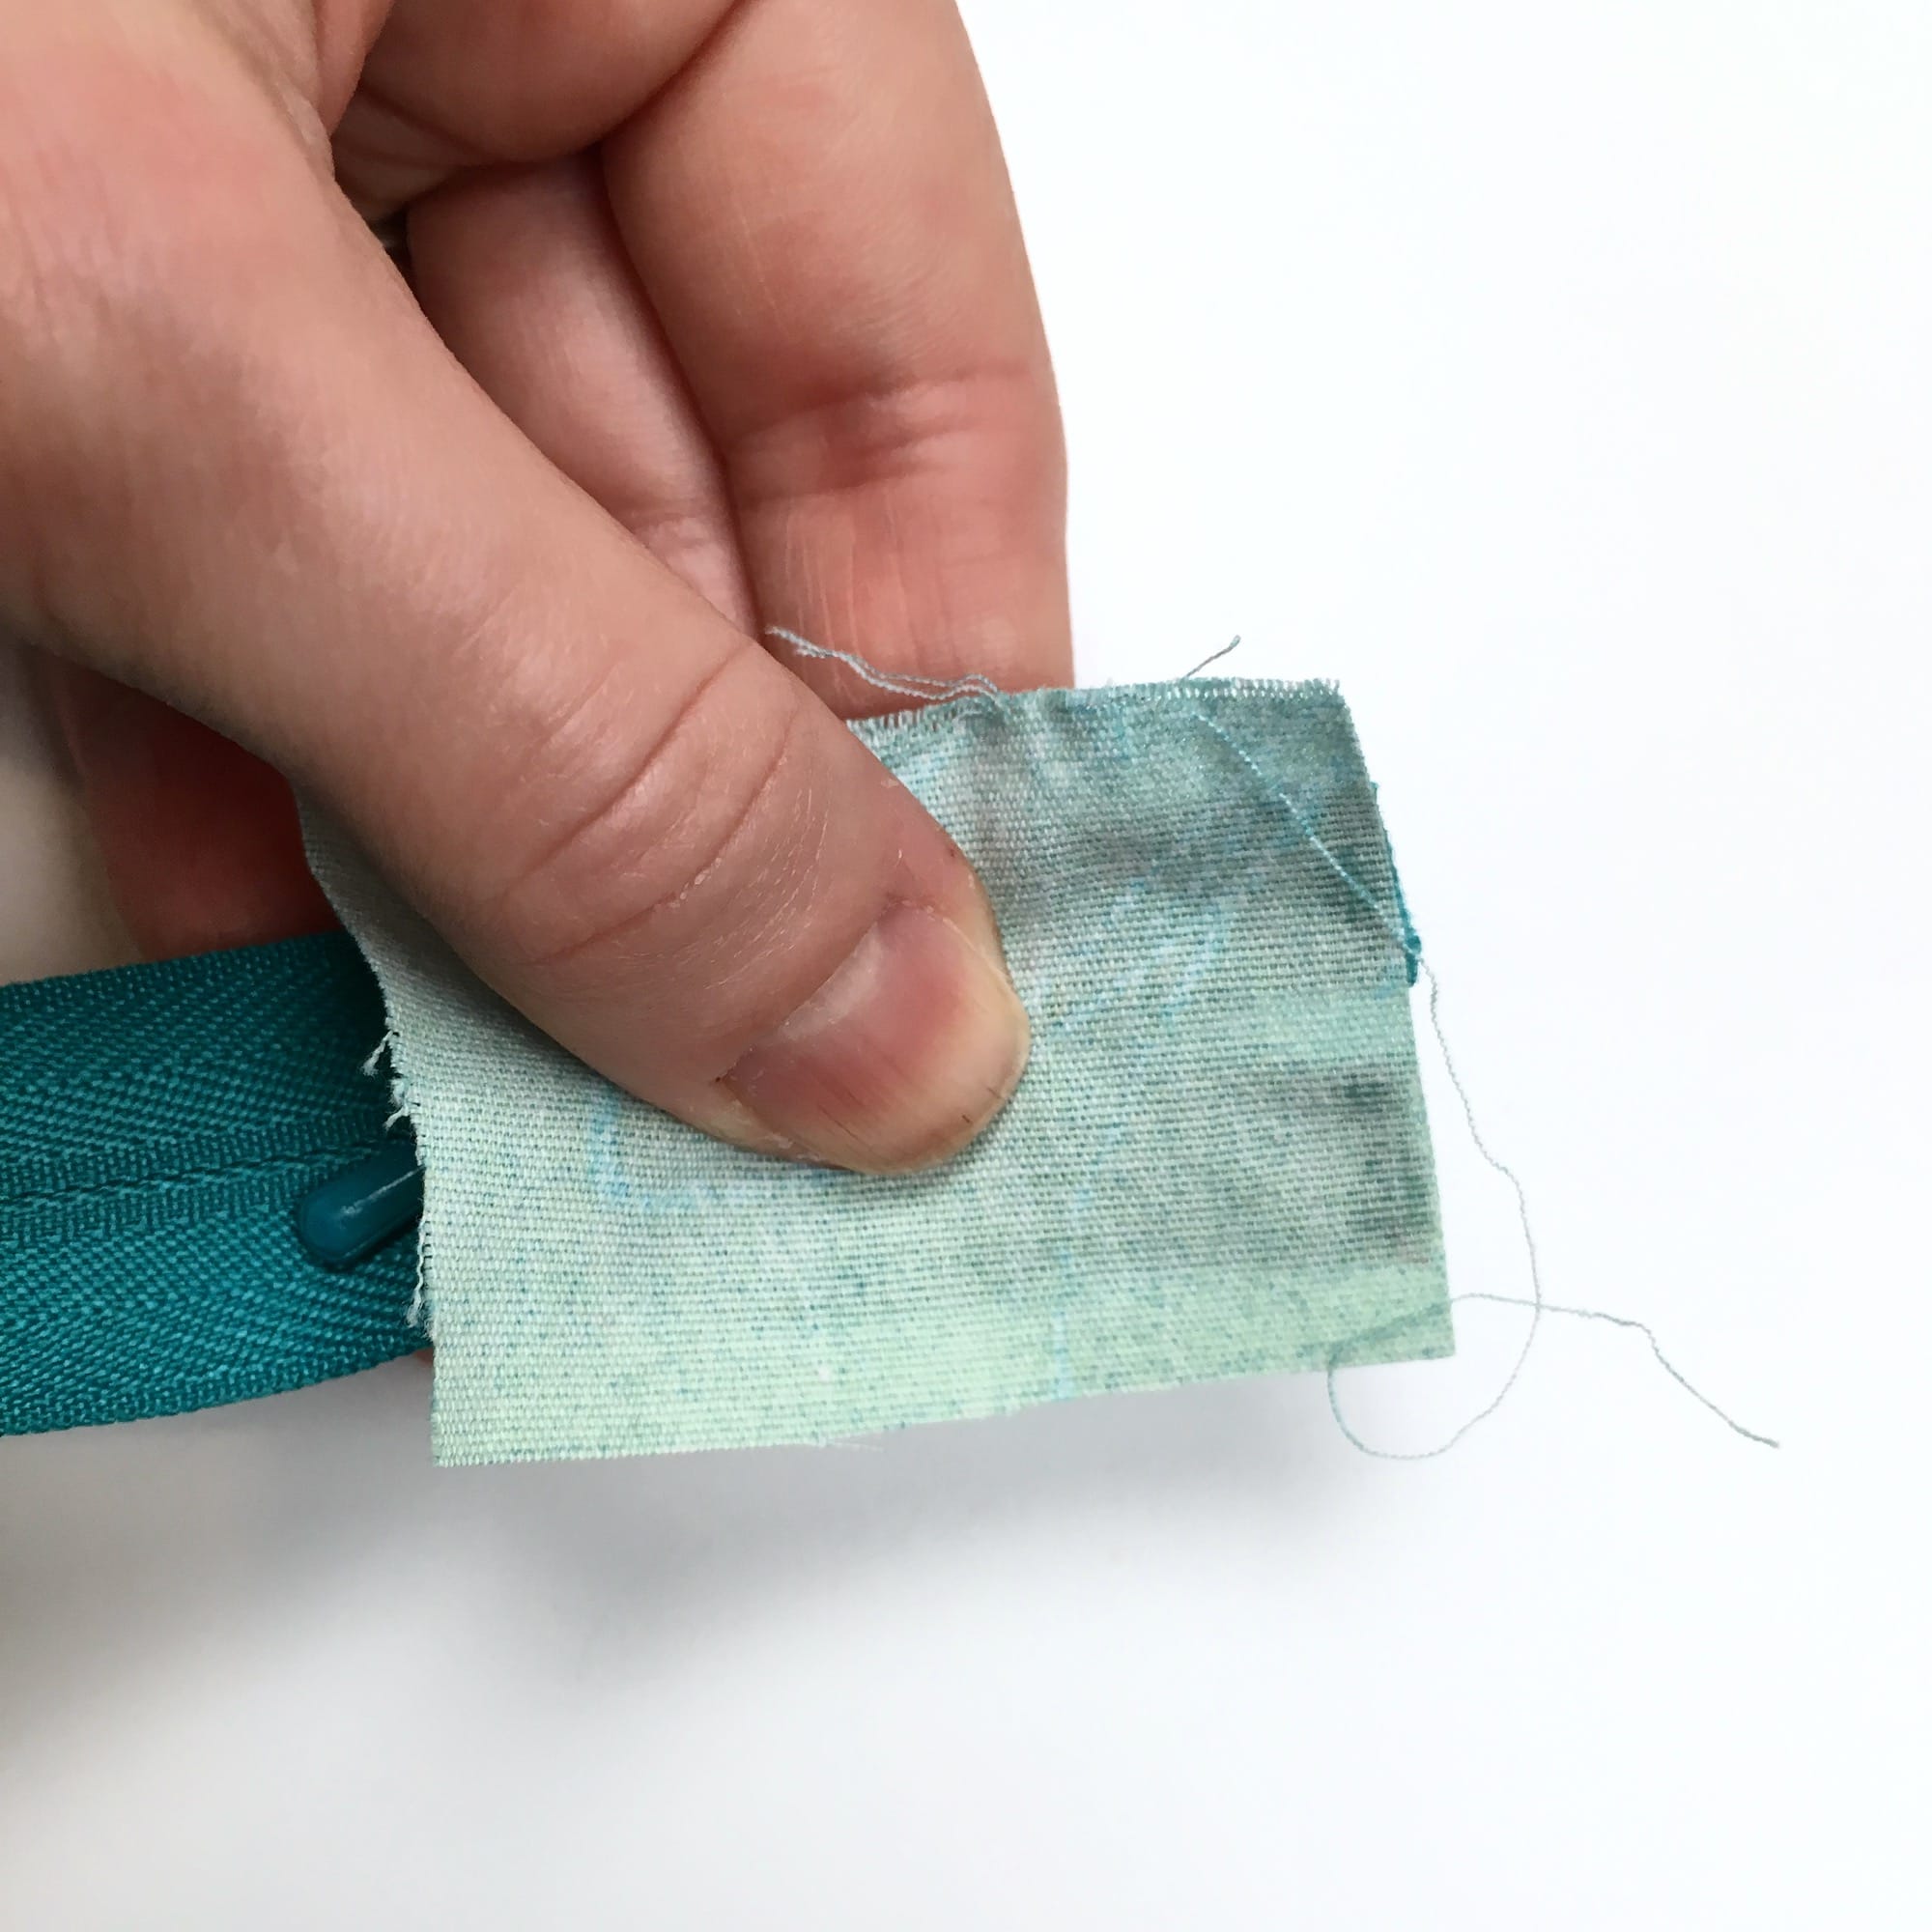
3. Add a dab of glue to the very edge of the freshly cut ends.
4. Position one of the fabric tabs in line with the edge of the zipper and press down to make contact with the glue. (Of note, take care to position the open ends of the zipper as closely together as you can.)
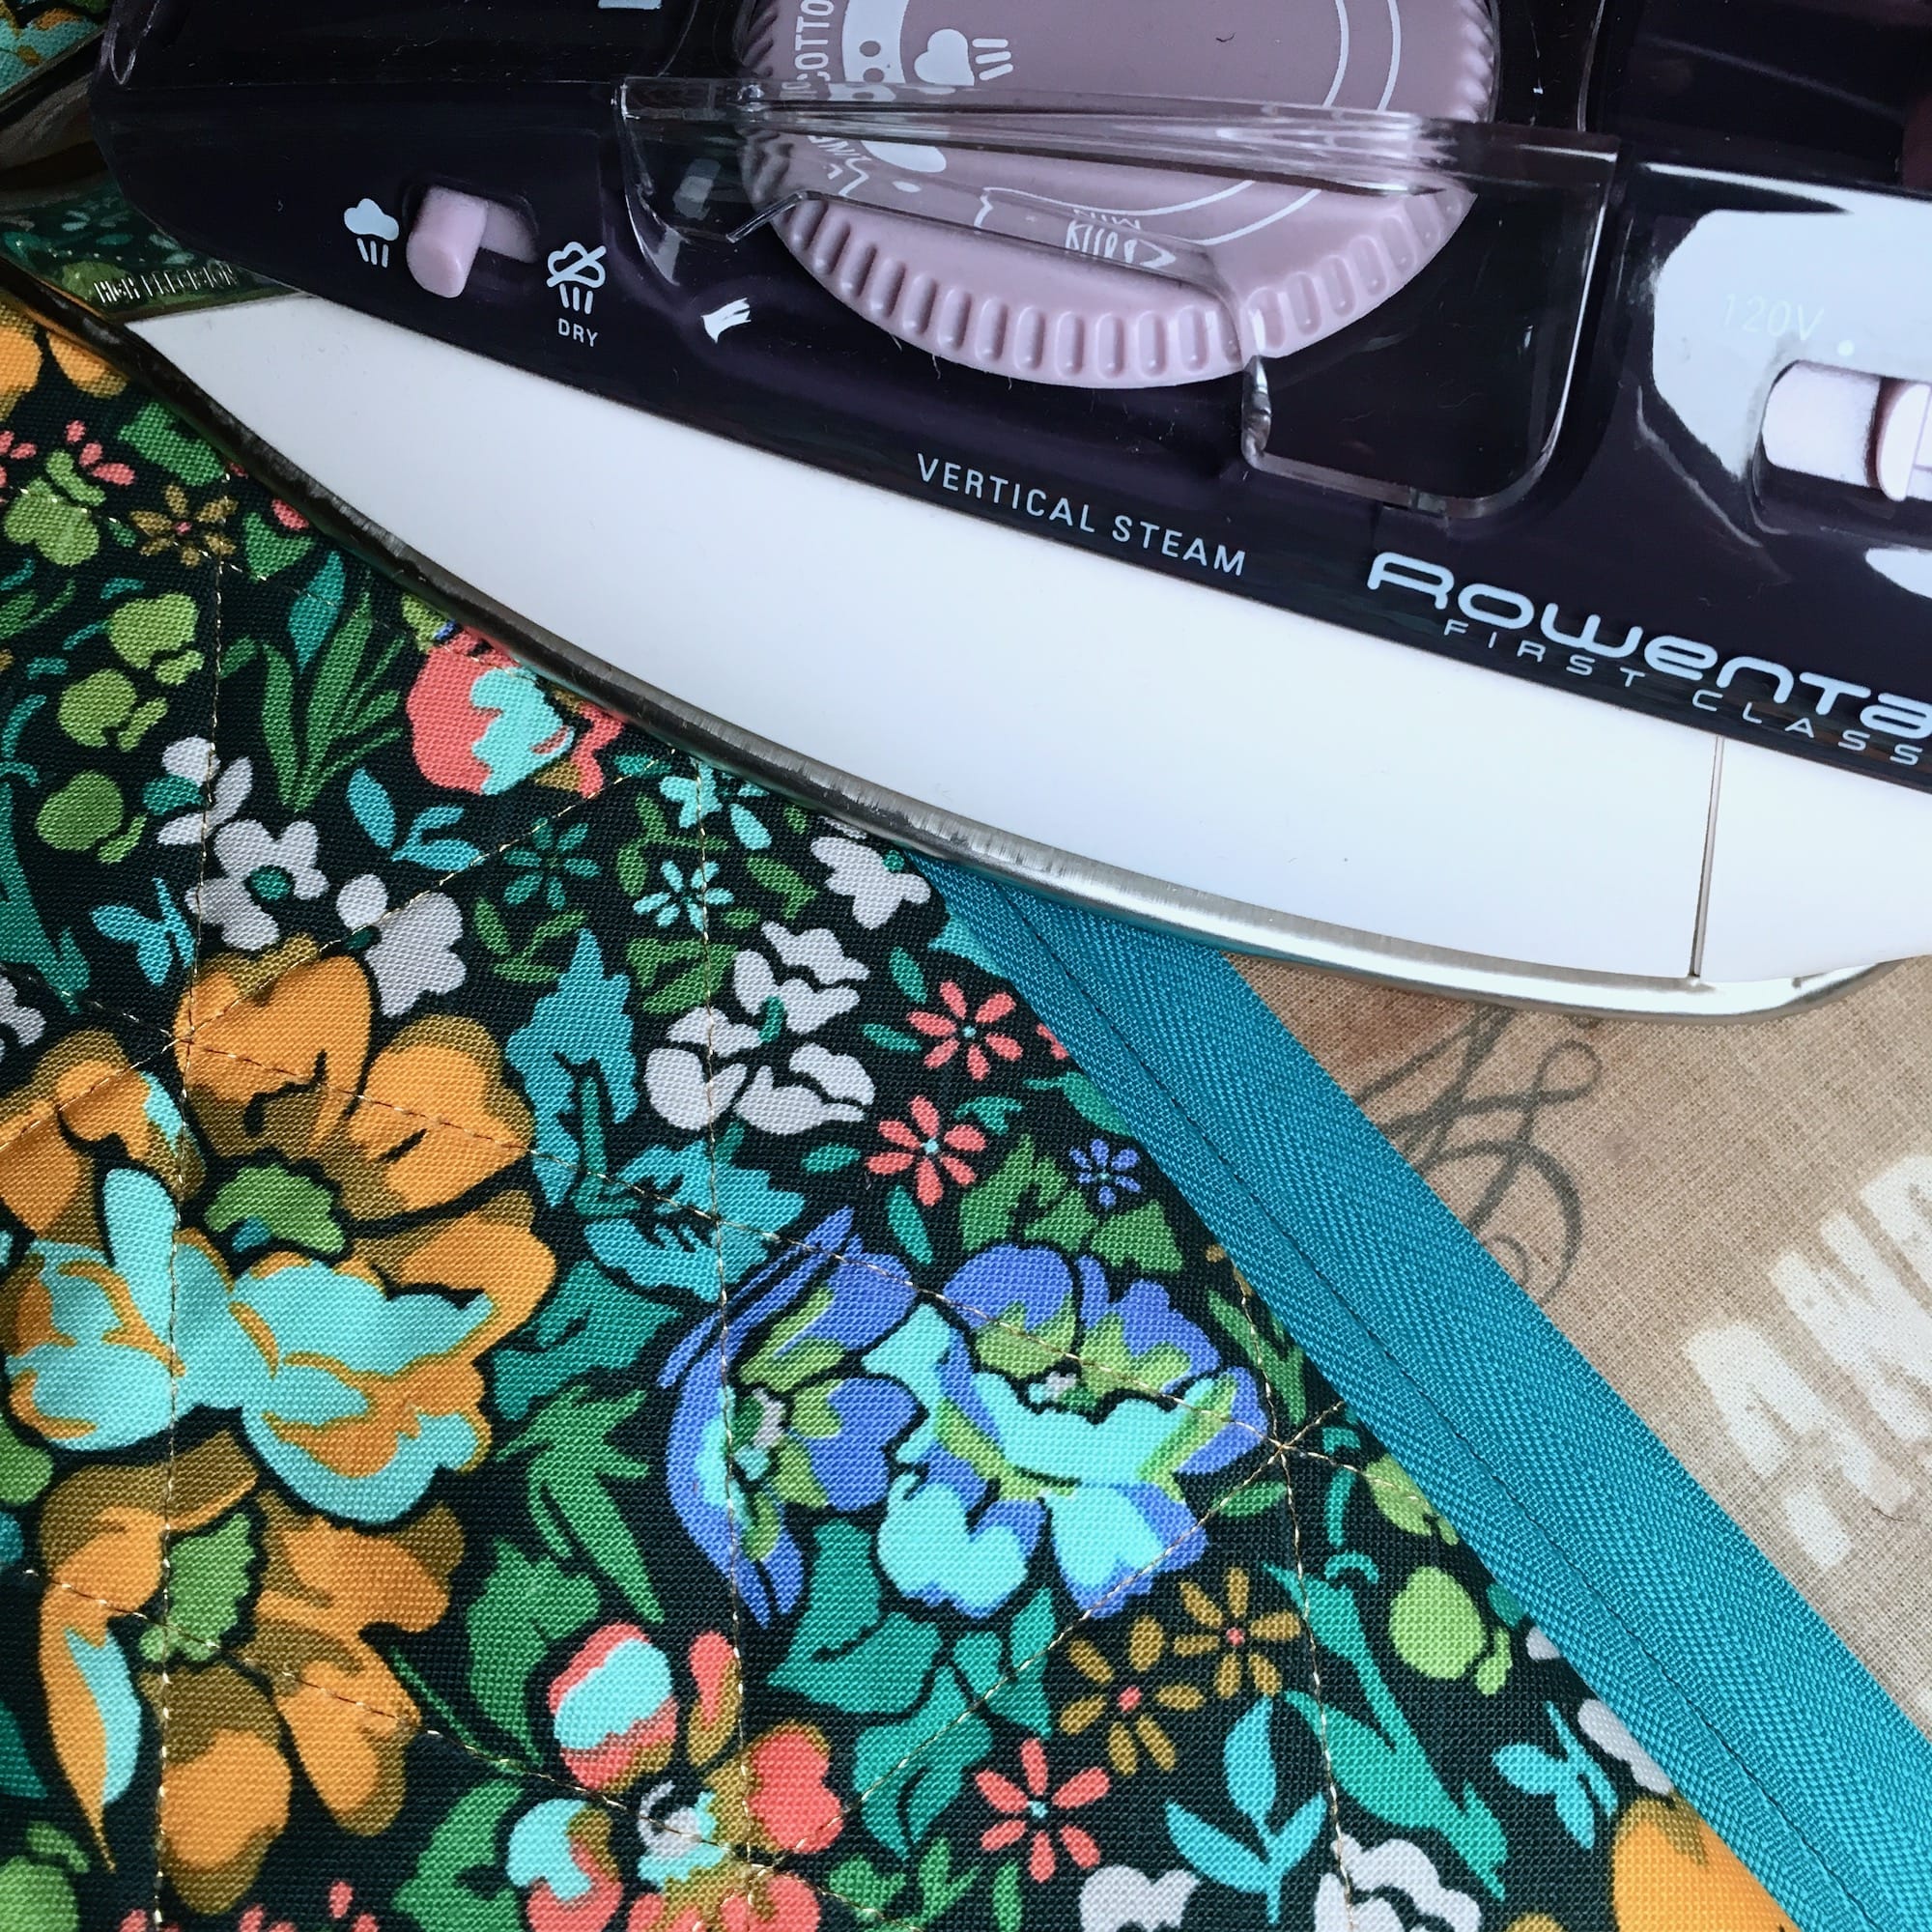
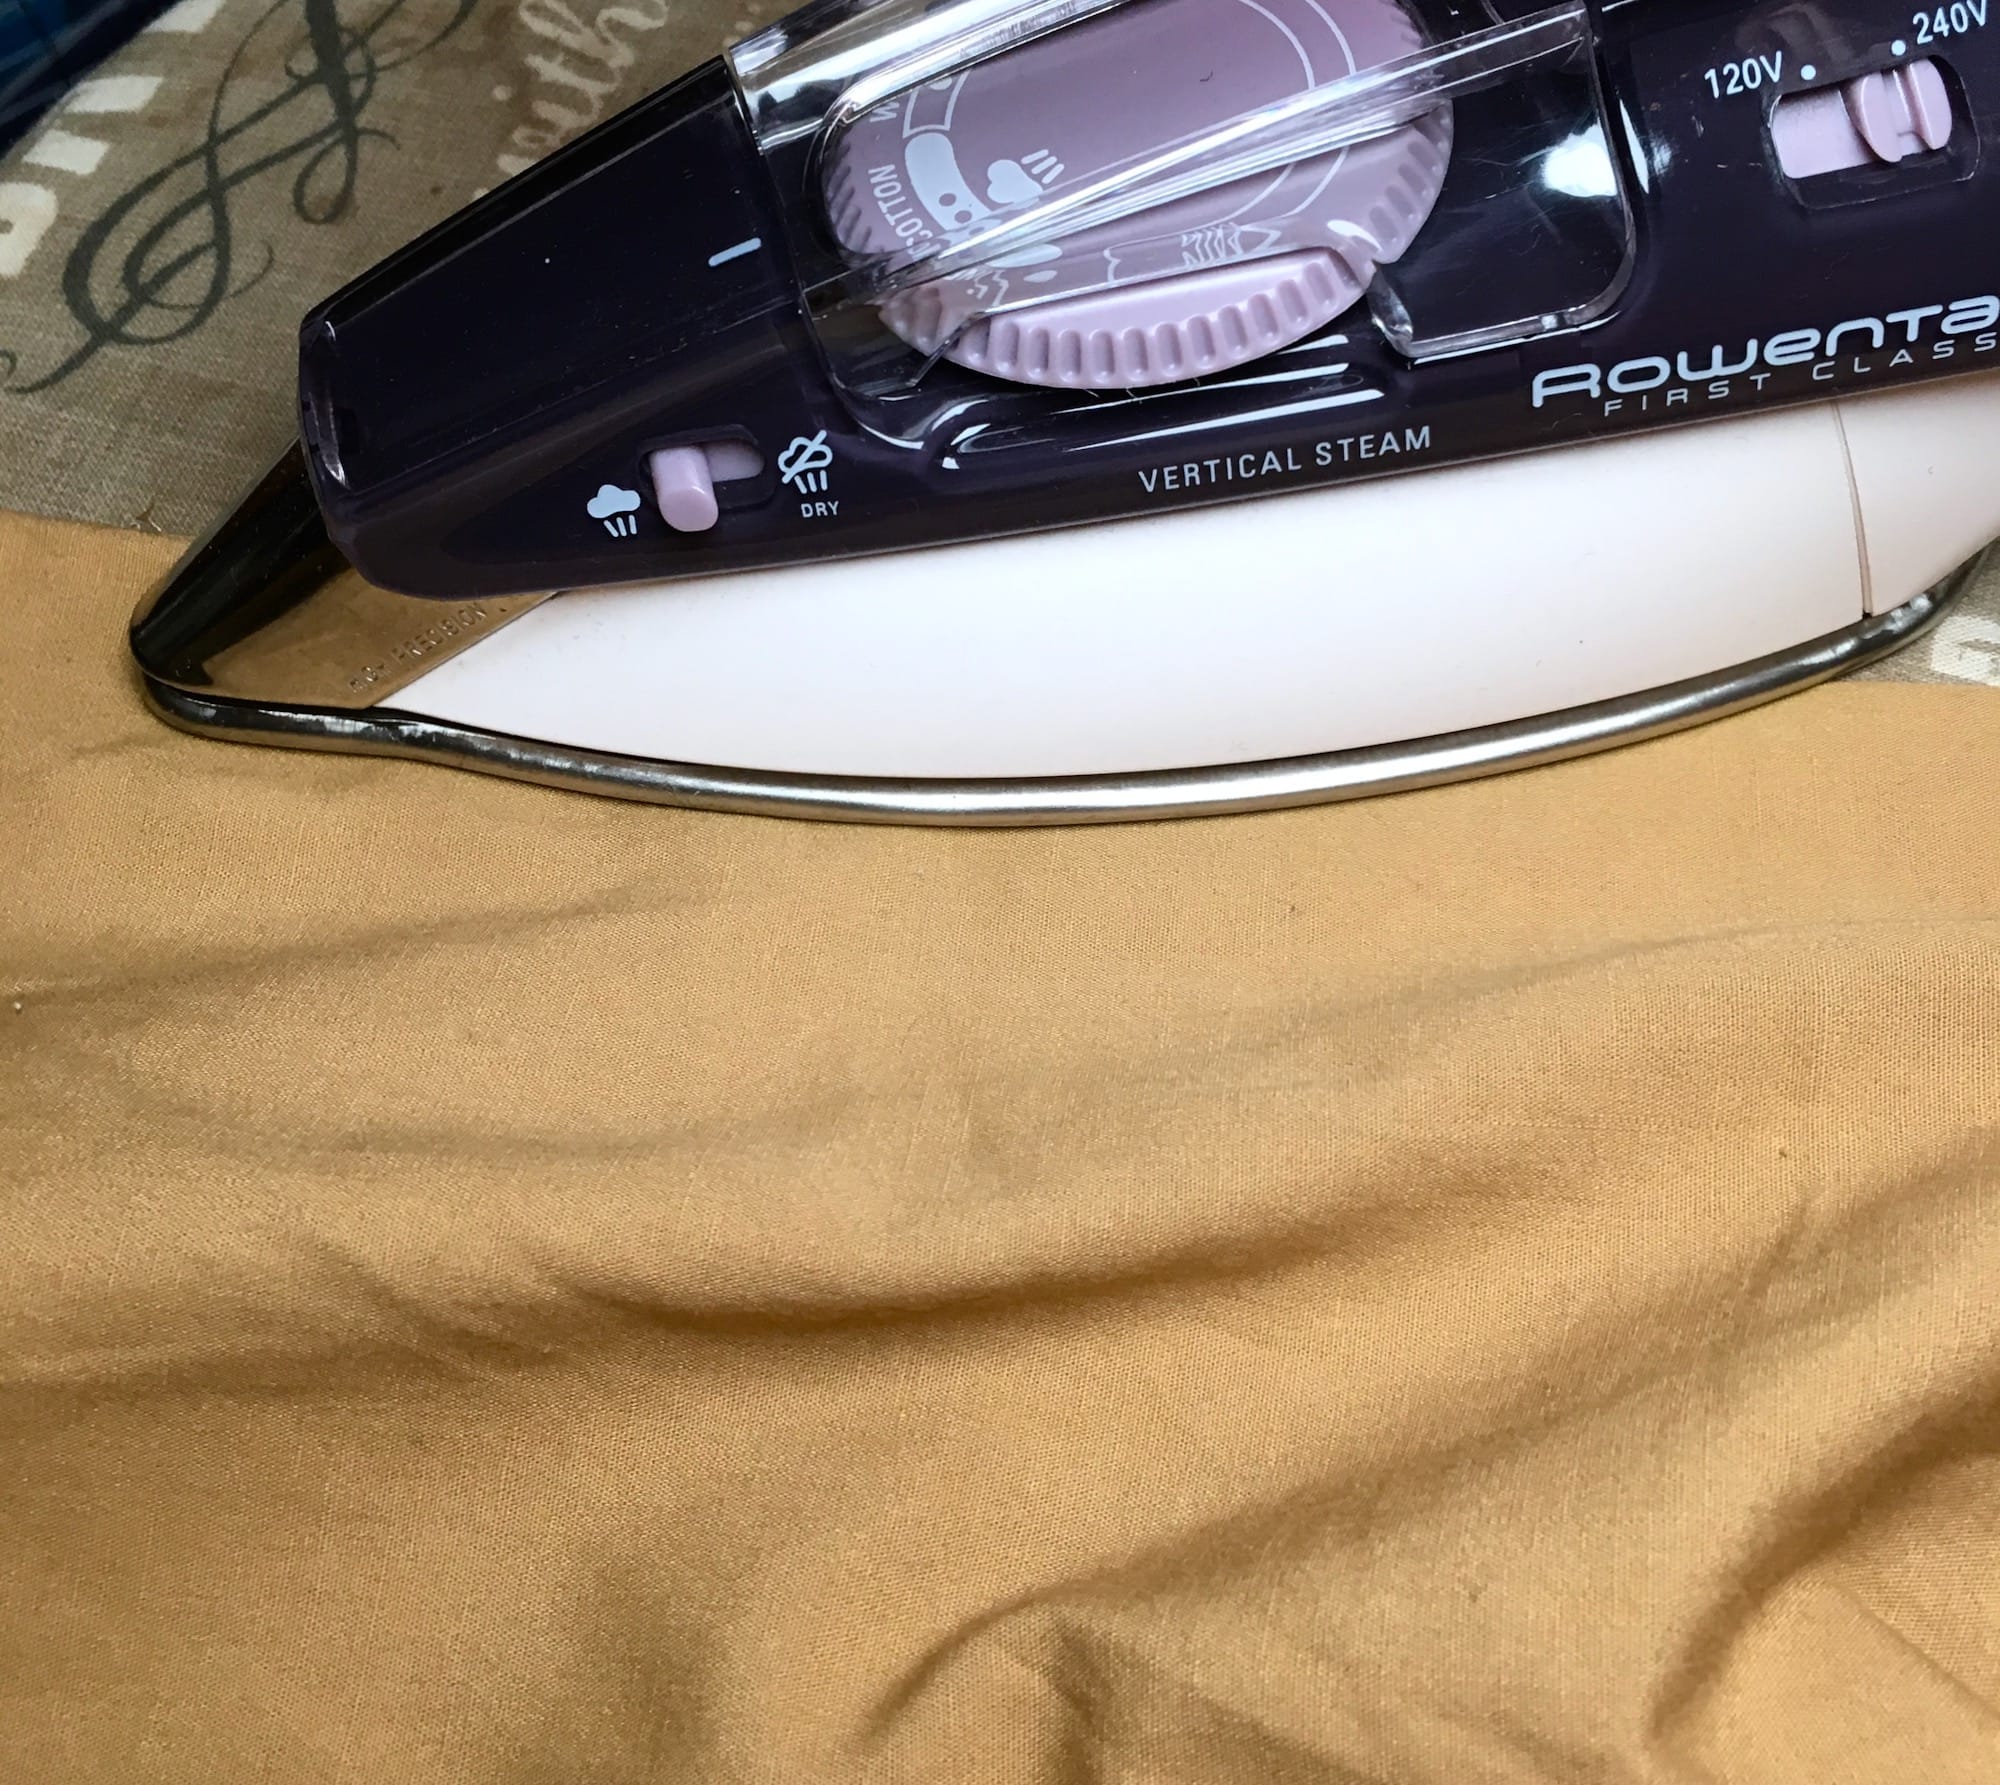
5. Using a hot, DRY iron setting, press the edge of the fabric tab to dry the glue. You might need to keep it in place for several seconds to ensure it dries. (Make sure the glue dries completely so that it doesn’t get on your sewing machine needle. I have done this dozens of times, and I have never had trouble with my machine, but just be mindful.)
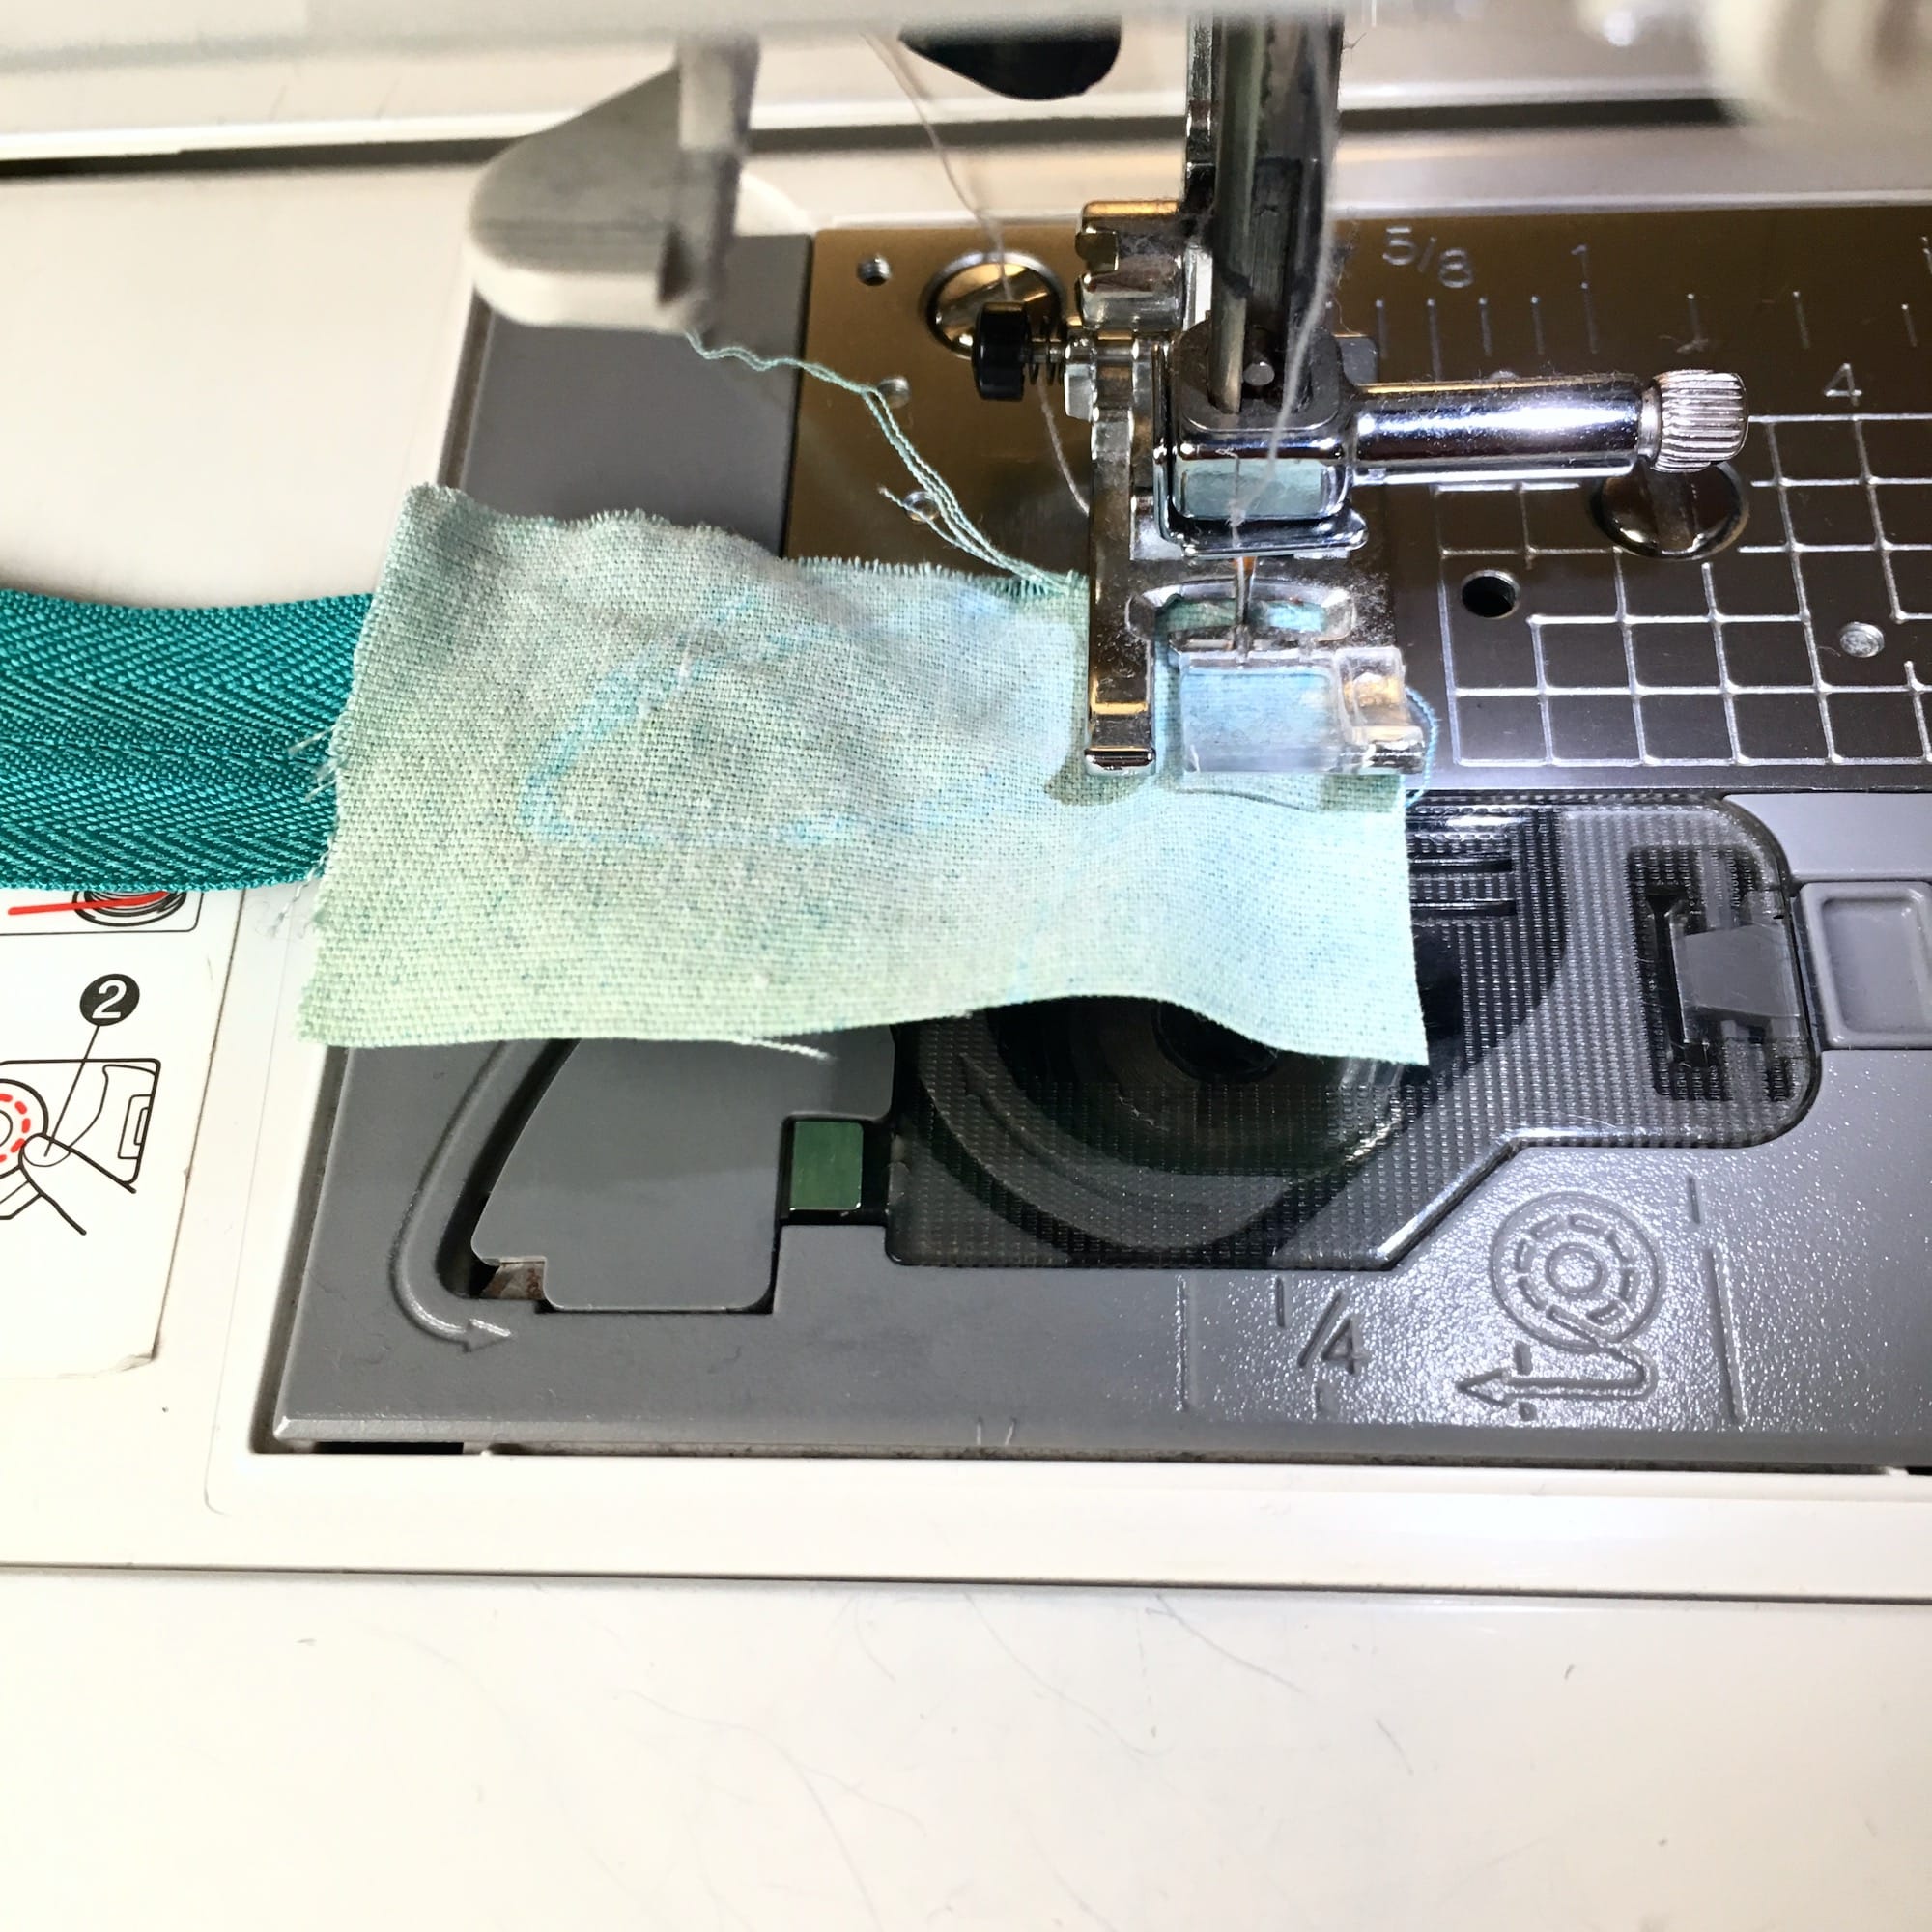
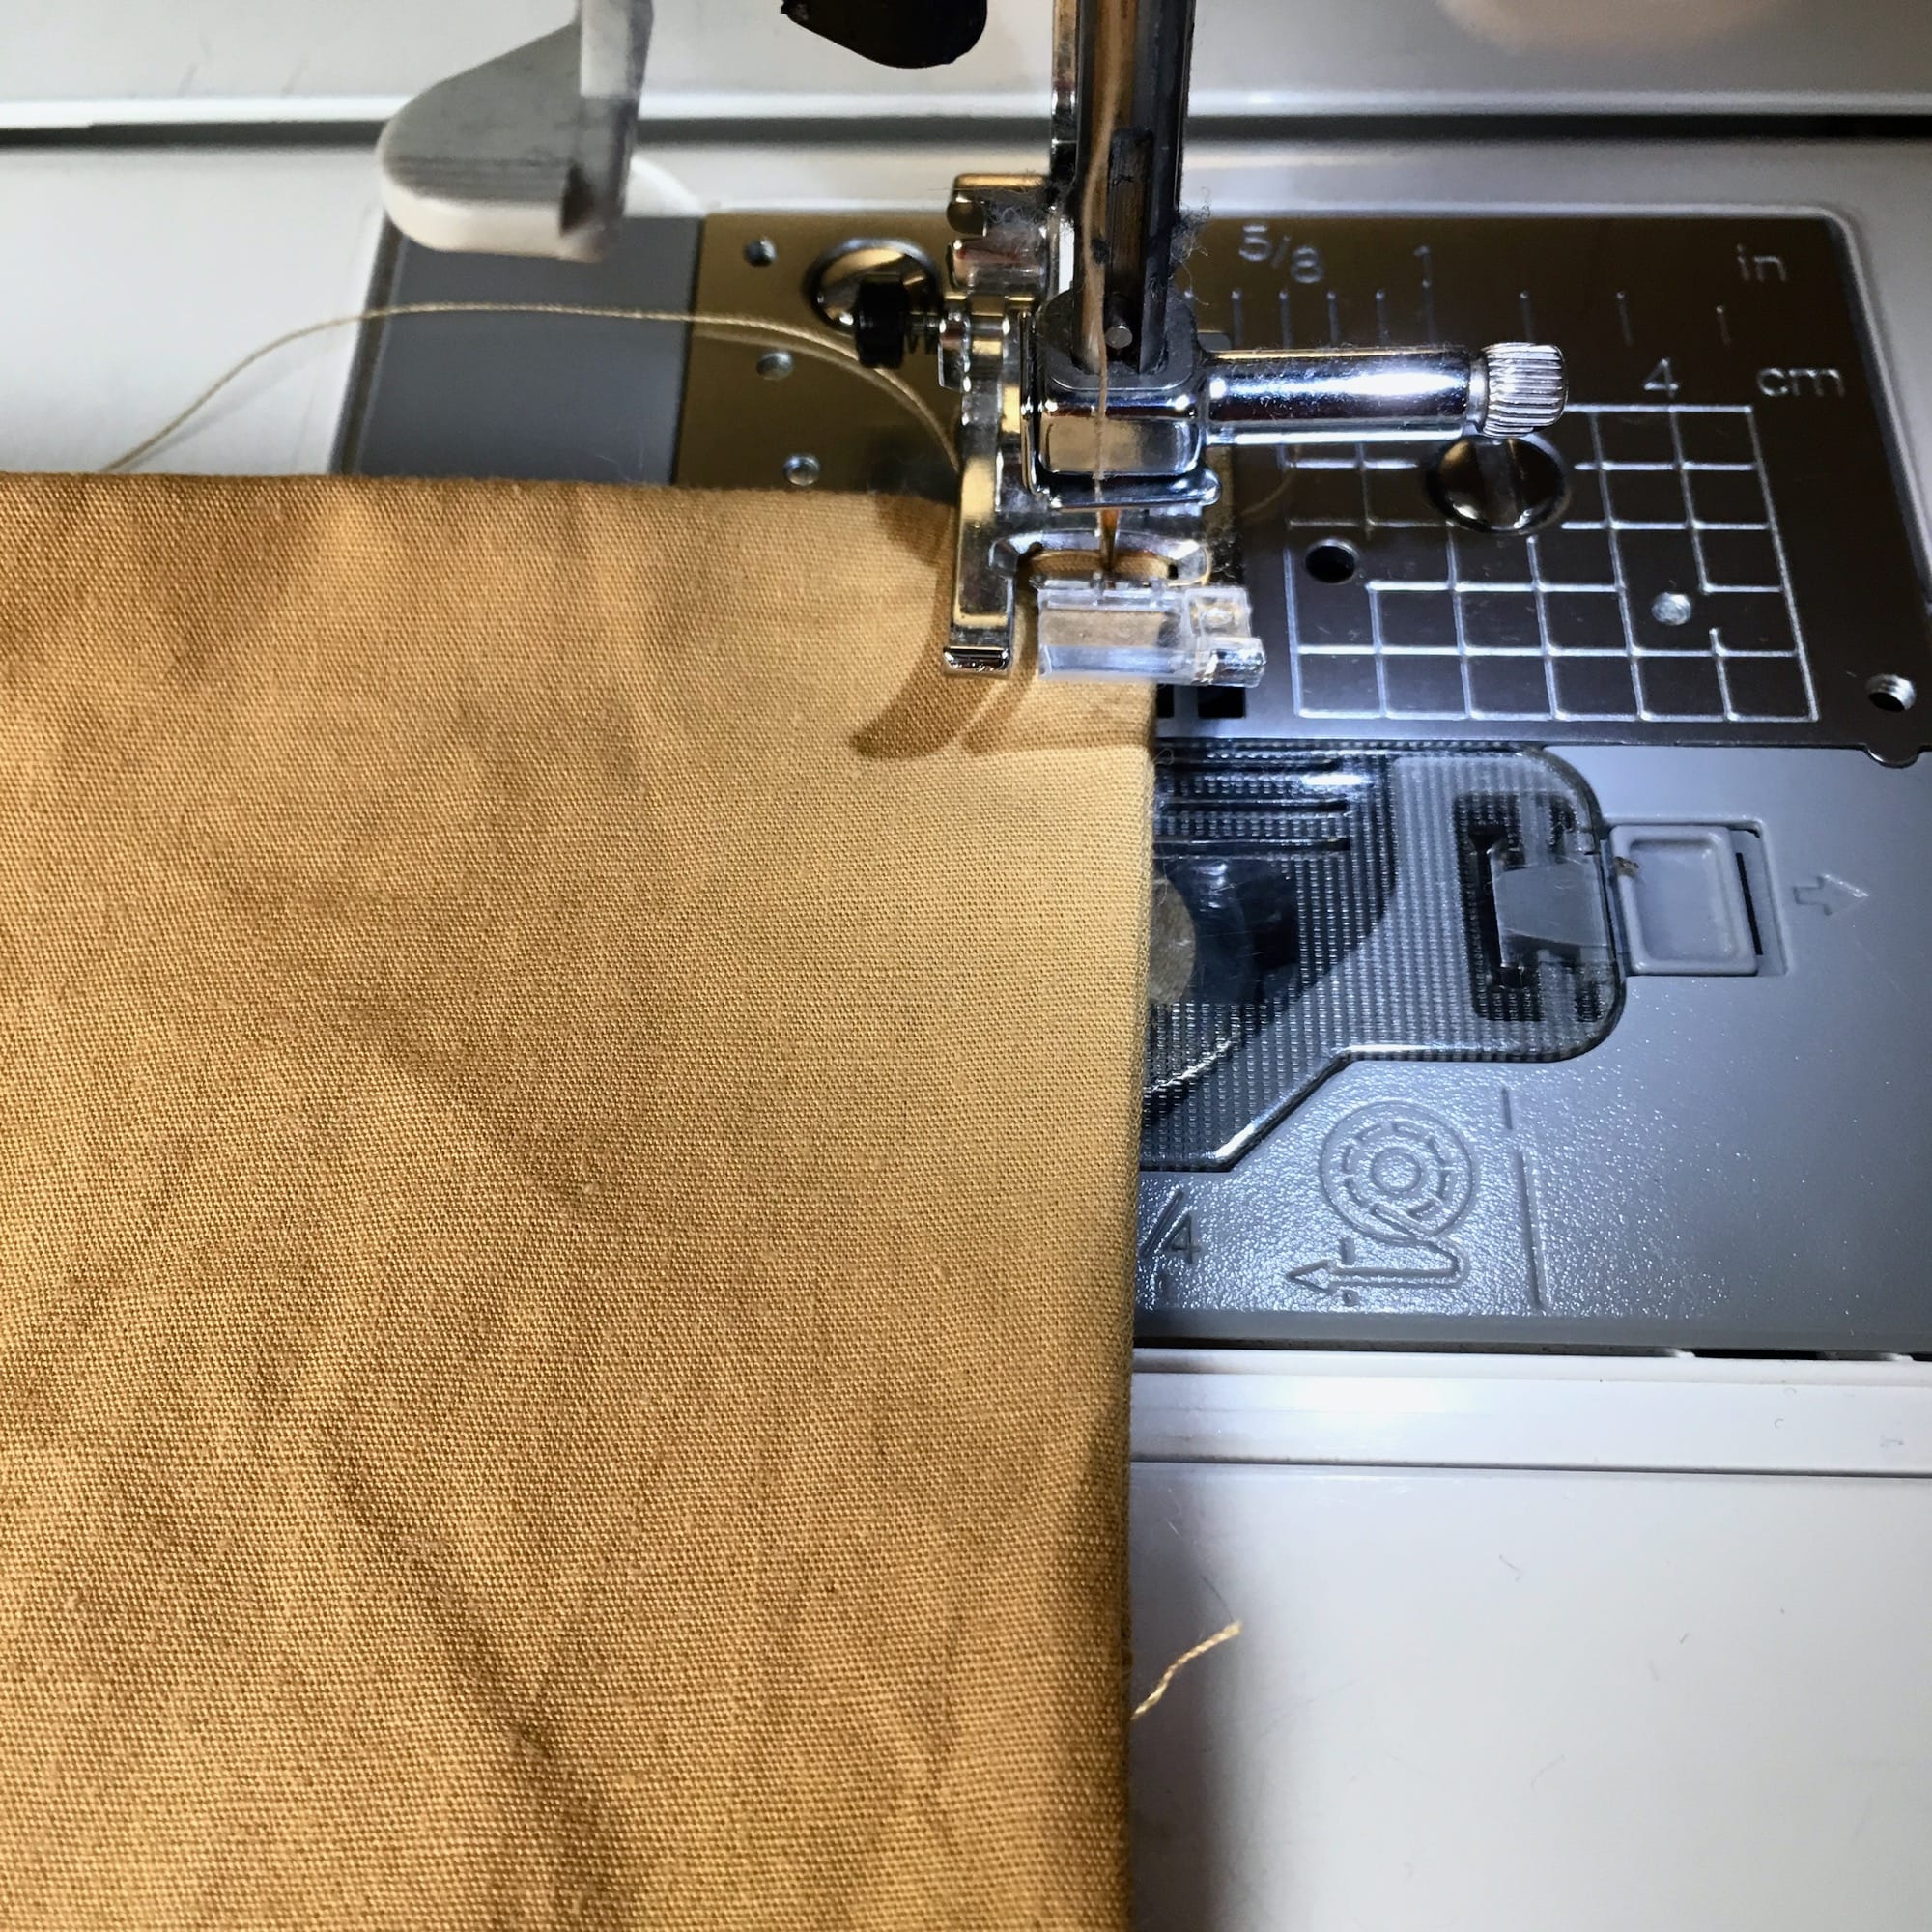
6. Go to your machine, and sew the fabric tab to the zipper. I usually use about a 1/4”-3/8” seam allowance.
7. Press the fabric tab away from the zipper.
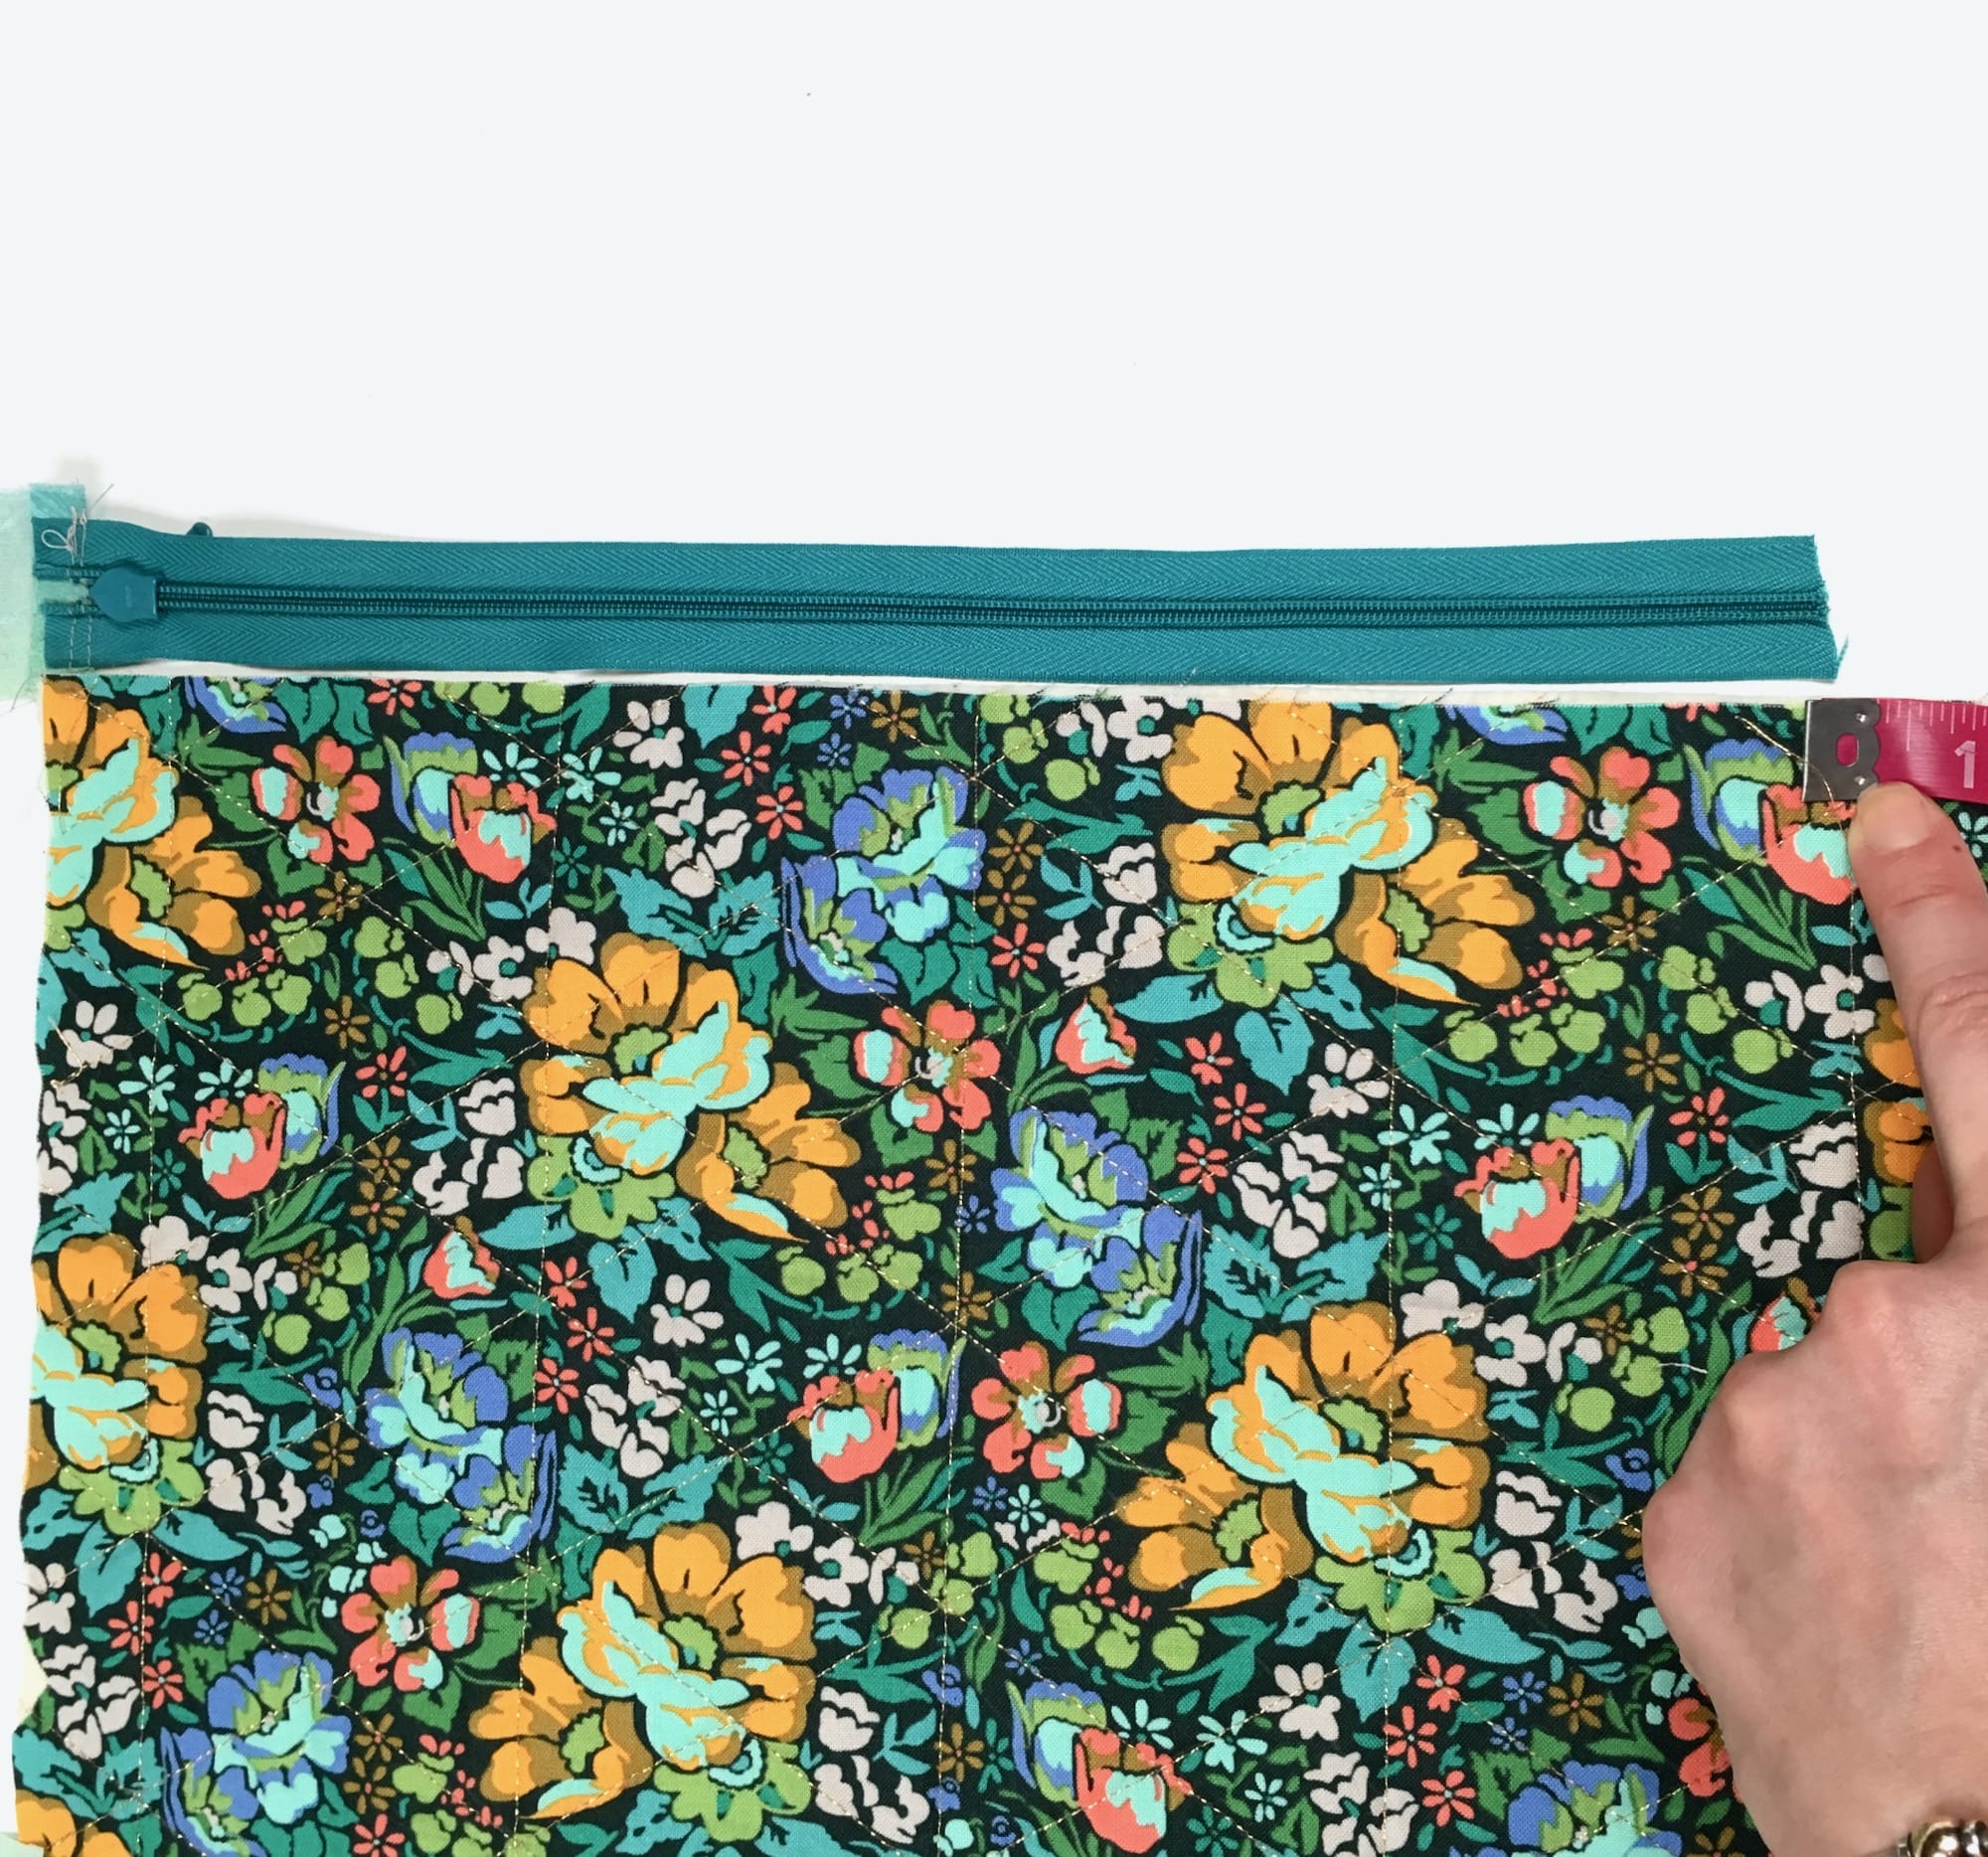
8. Before continuing, you now have to measure the correct length of your zipper. Measure the length of the pouch panel, then trim the zipper itself to 1” less than the length of the pouch panel’s side. (In this case, my panel measured 12.5” so I trimmed my zipper to 11.5”.
Note that this is the length of the zipper itself, NOT the length including the fabric tab you just sewed on.)
Of Note:
Do NOT use fabric scissors to trim your zipper. Use a pair of kitchen scissors or paper scissors to cut through the plastic or metal teeth of the zipper.
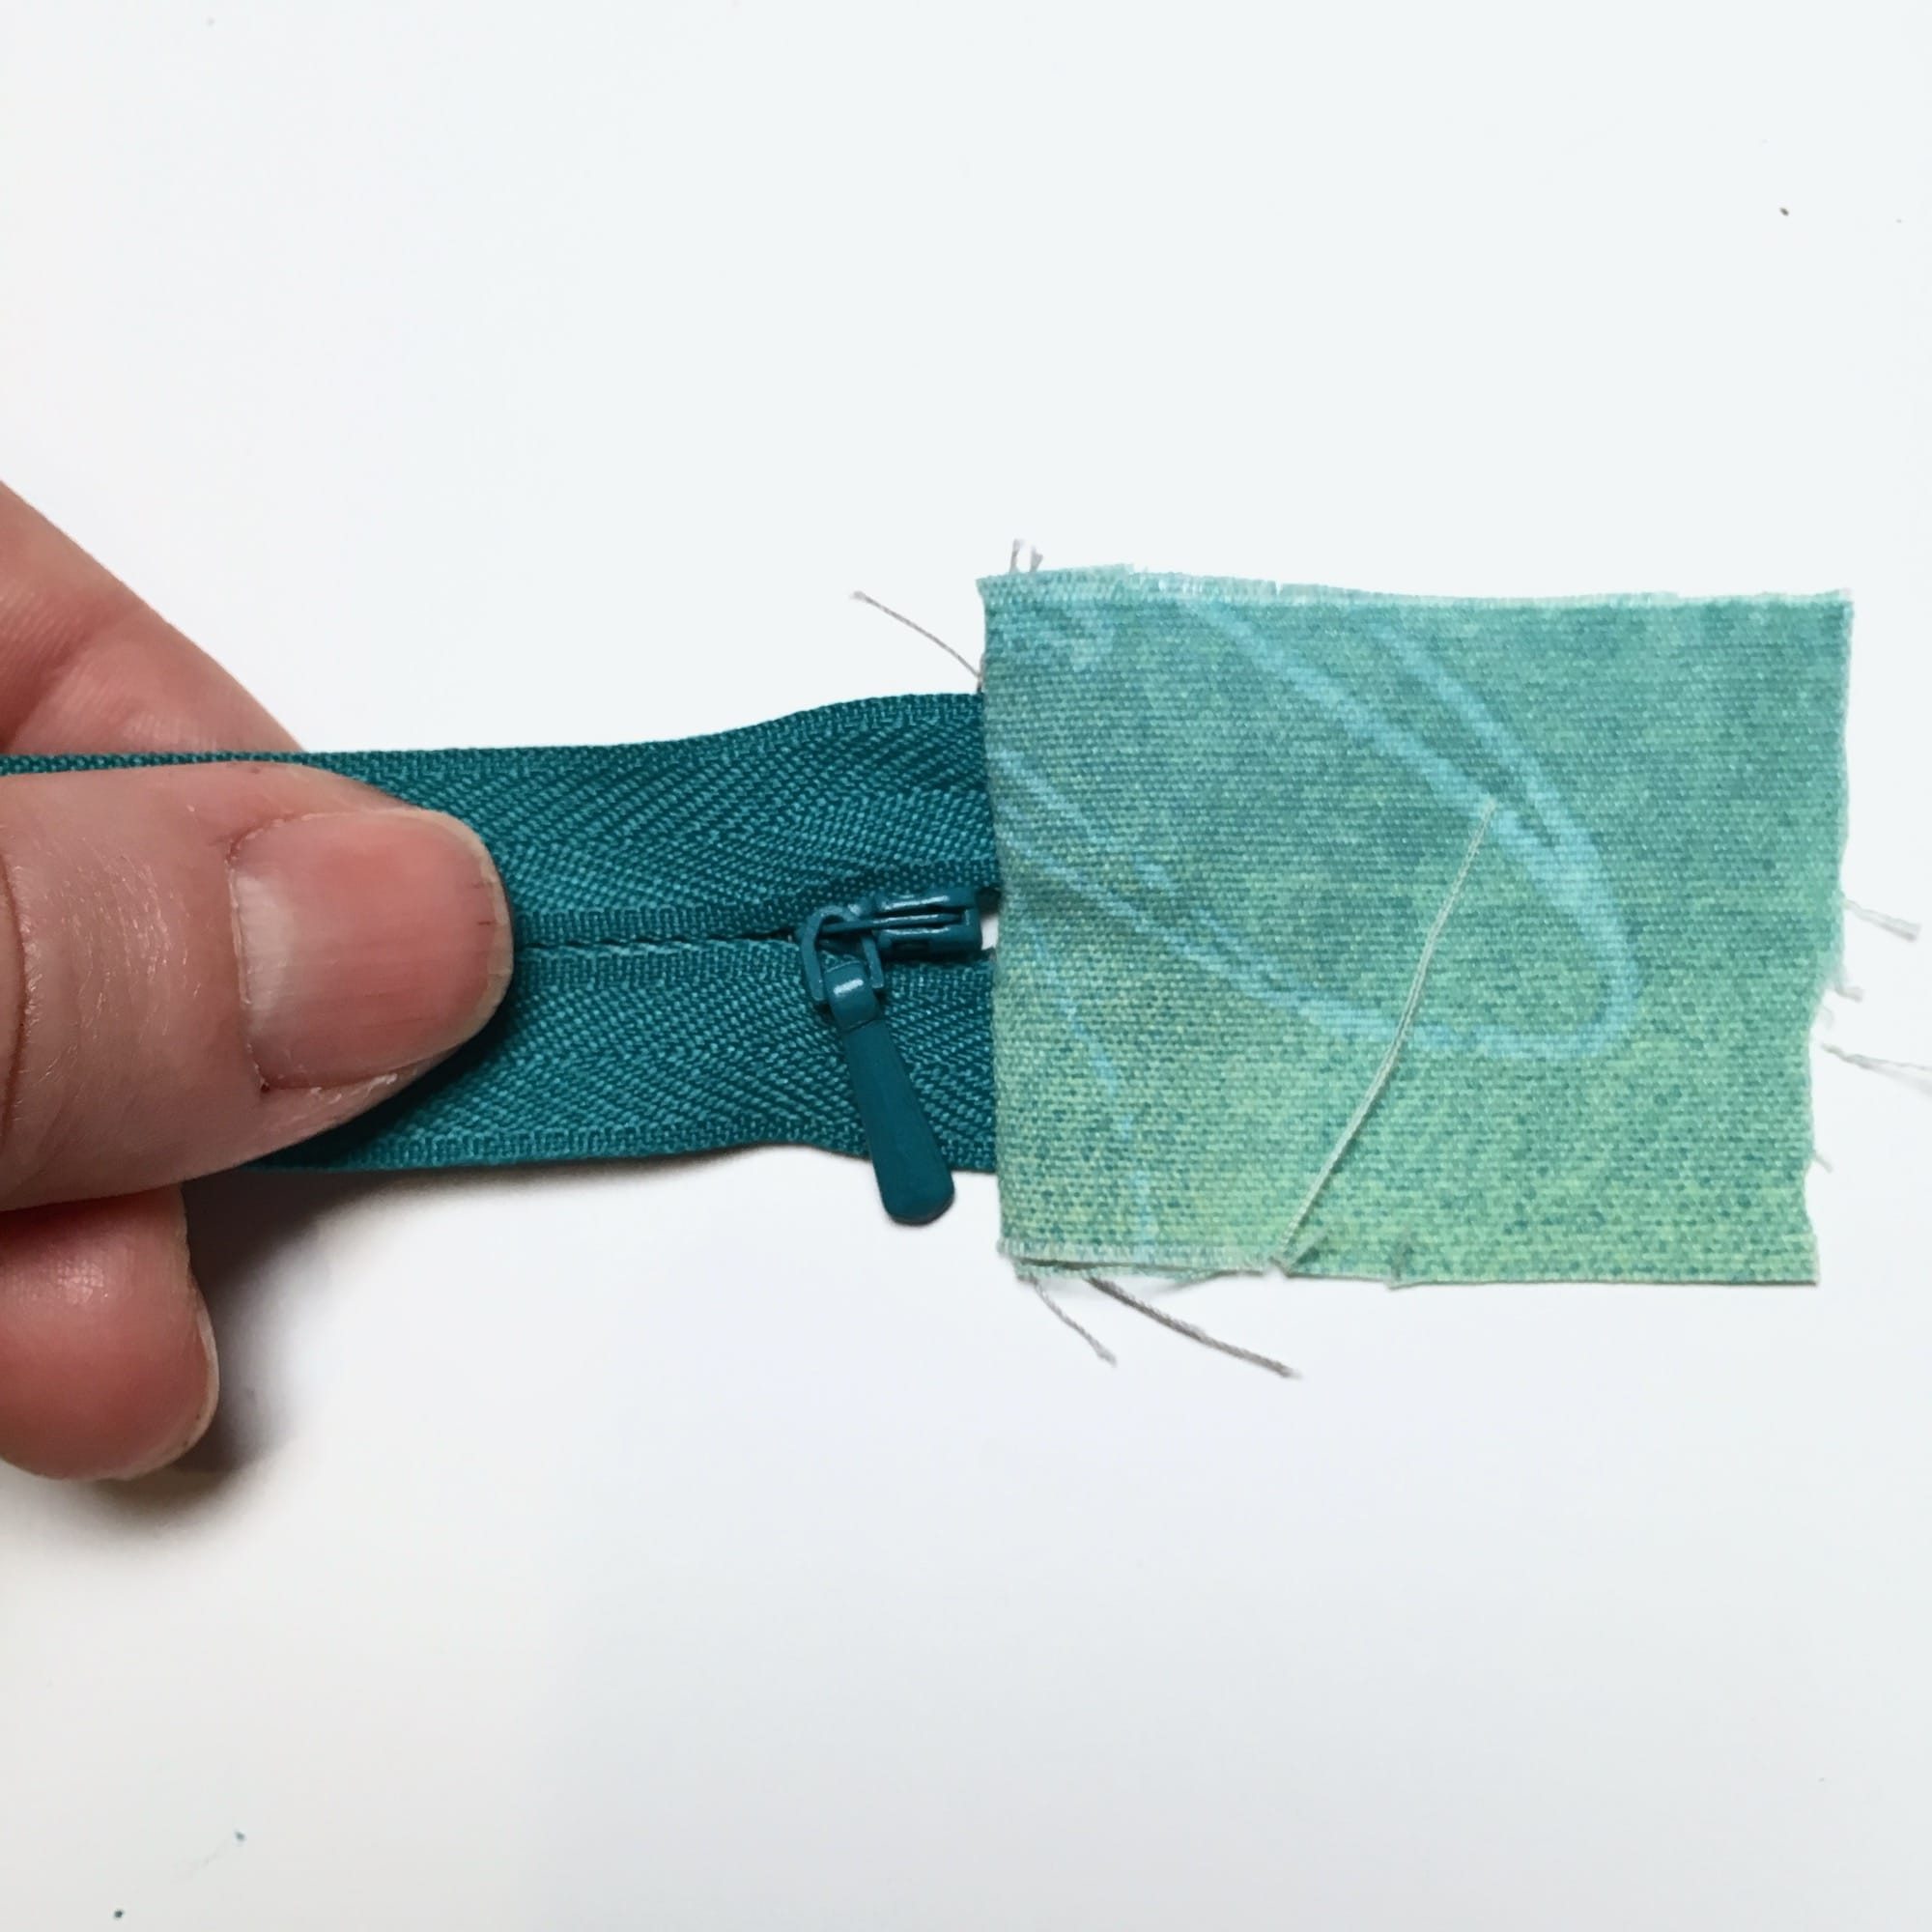
9. Repeat steps 4-7 to add the remaining fabric tab to the other end of the zipper. Then, center the zipper on the pouch panel and trim the excess ends of the fabric tabs to align with the length of the pouch panel.
10. Now, trim the fabric tabs so they are flush in width with the side of the zipper.
Yay! You're ready to install the zipper!
Install the Zipper
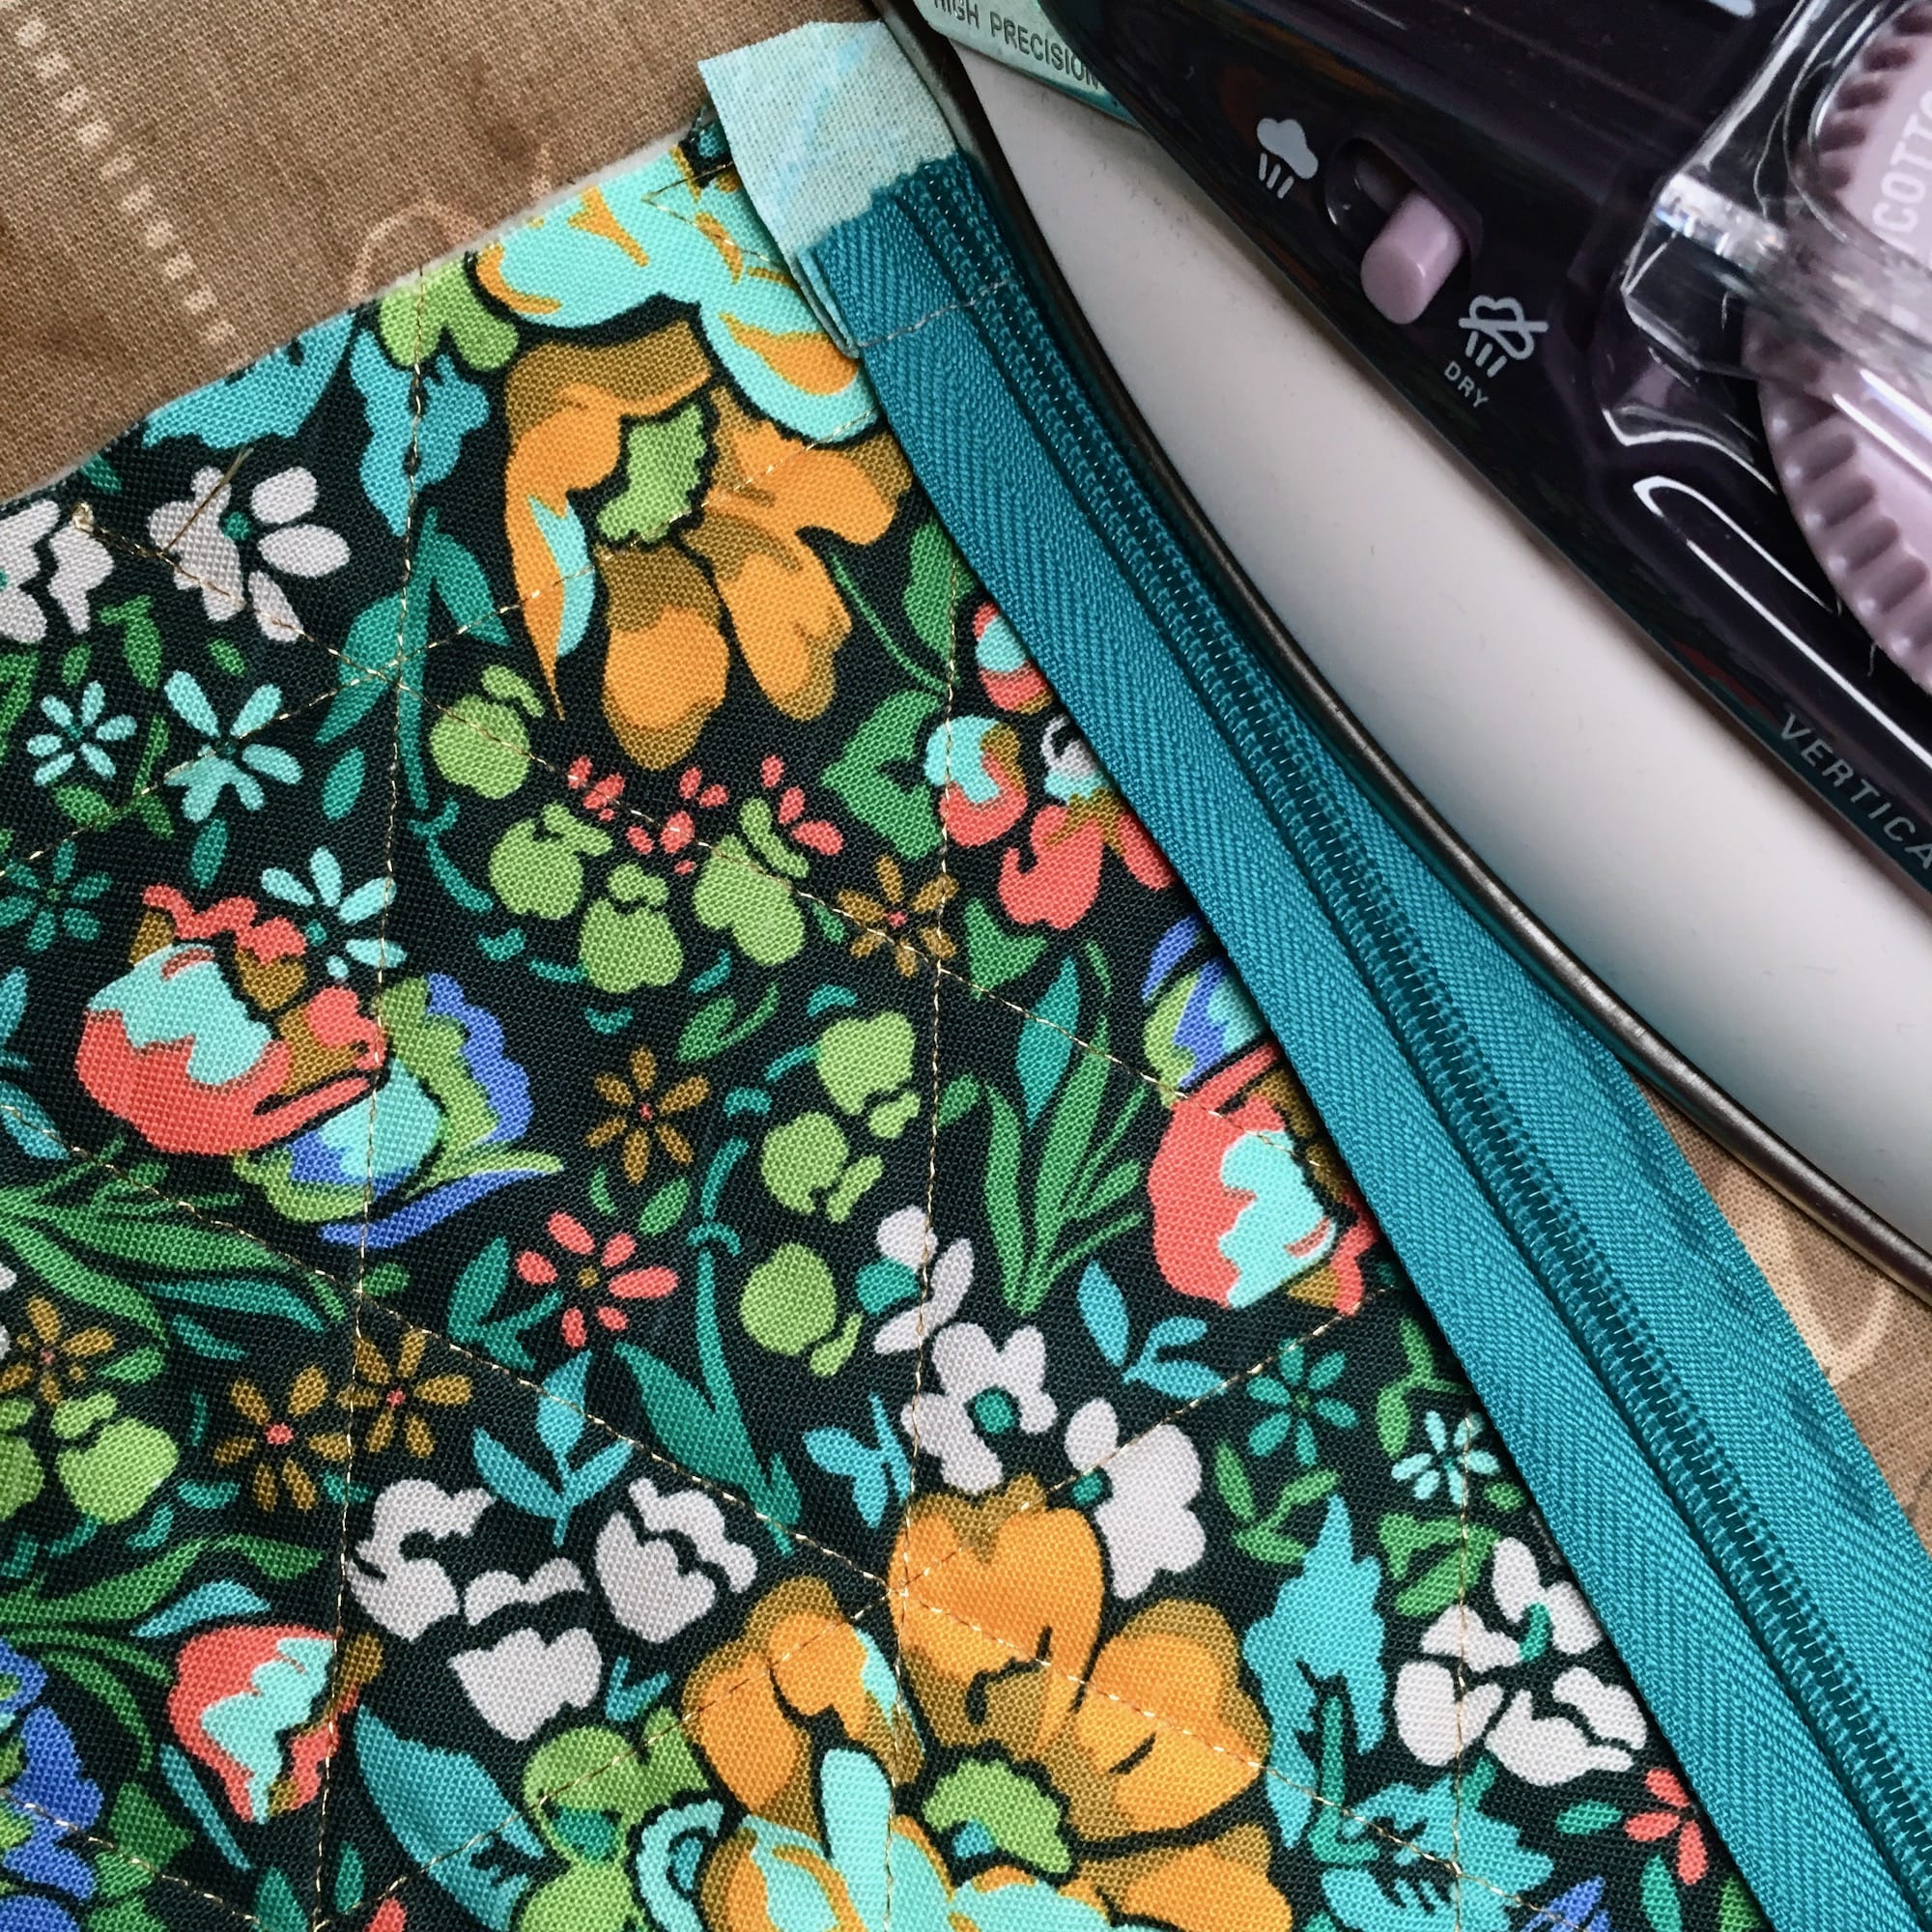
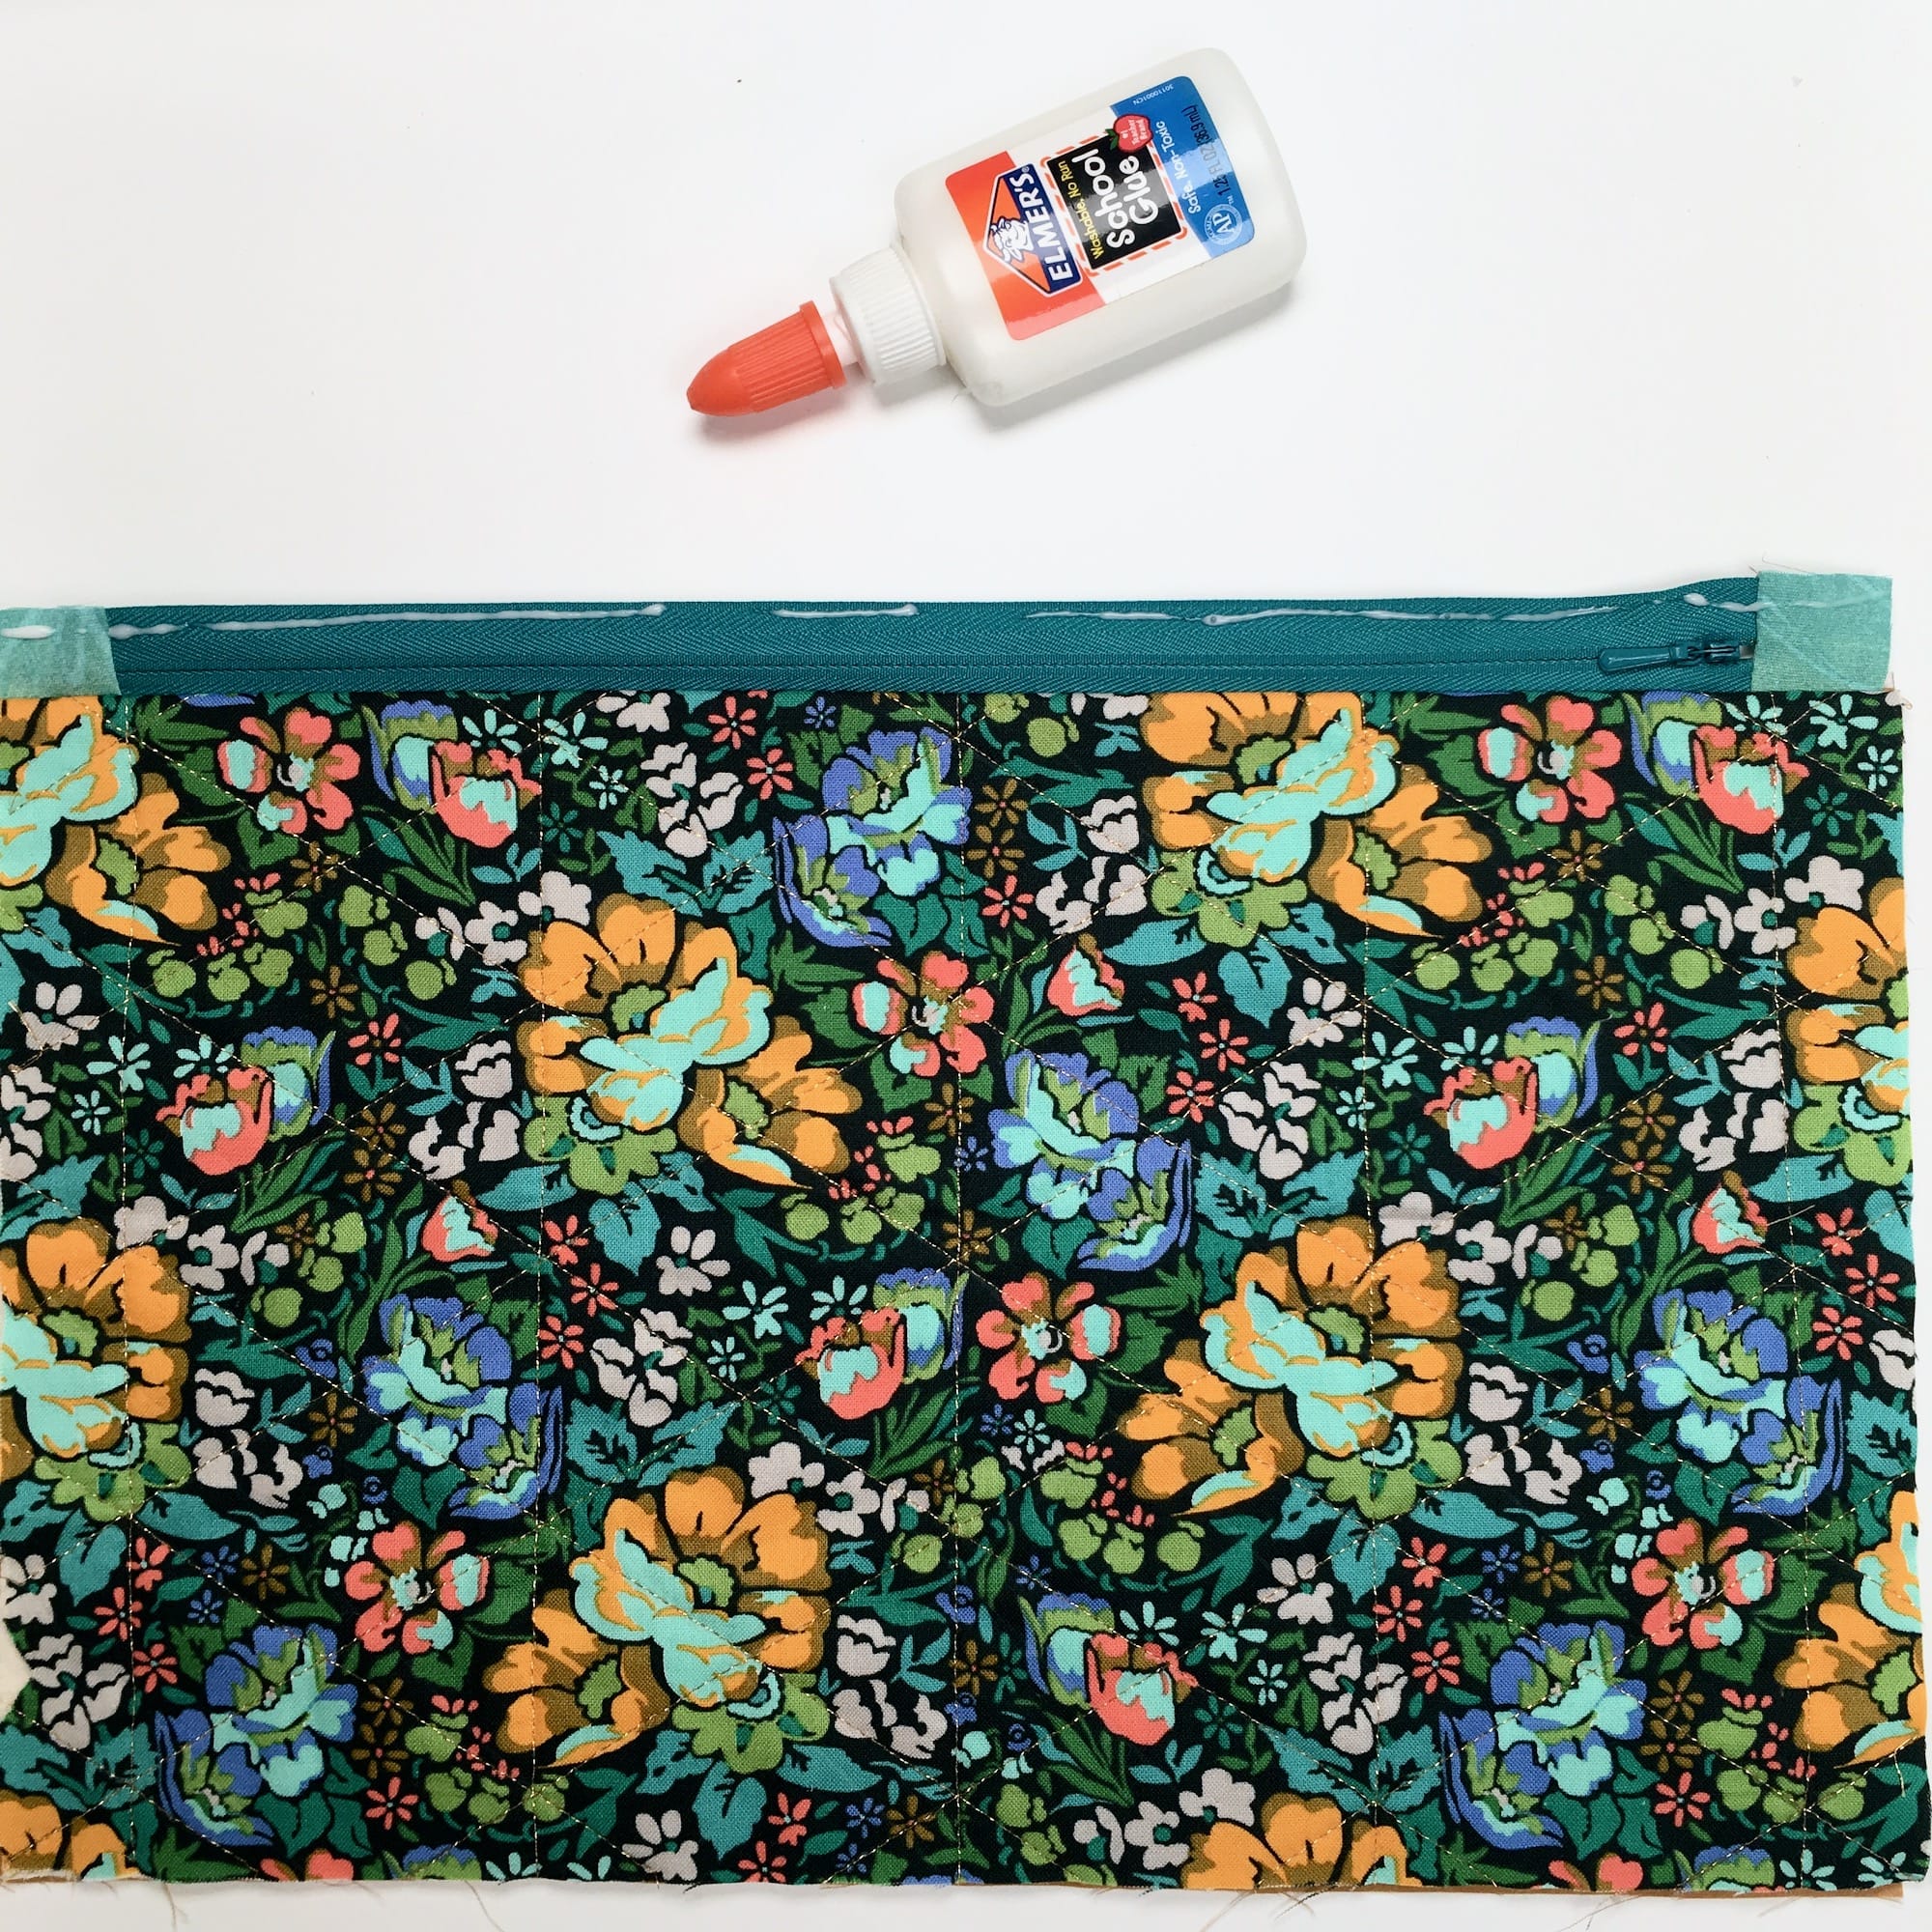
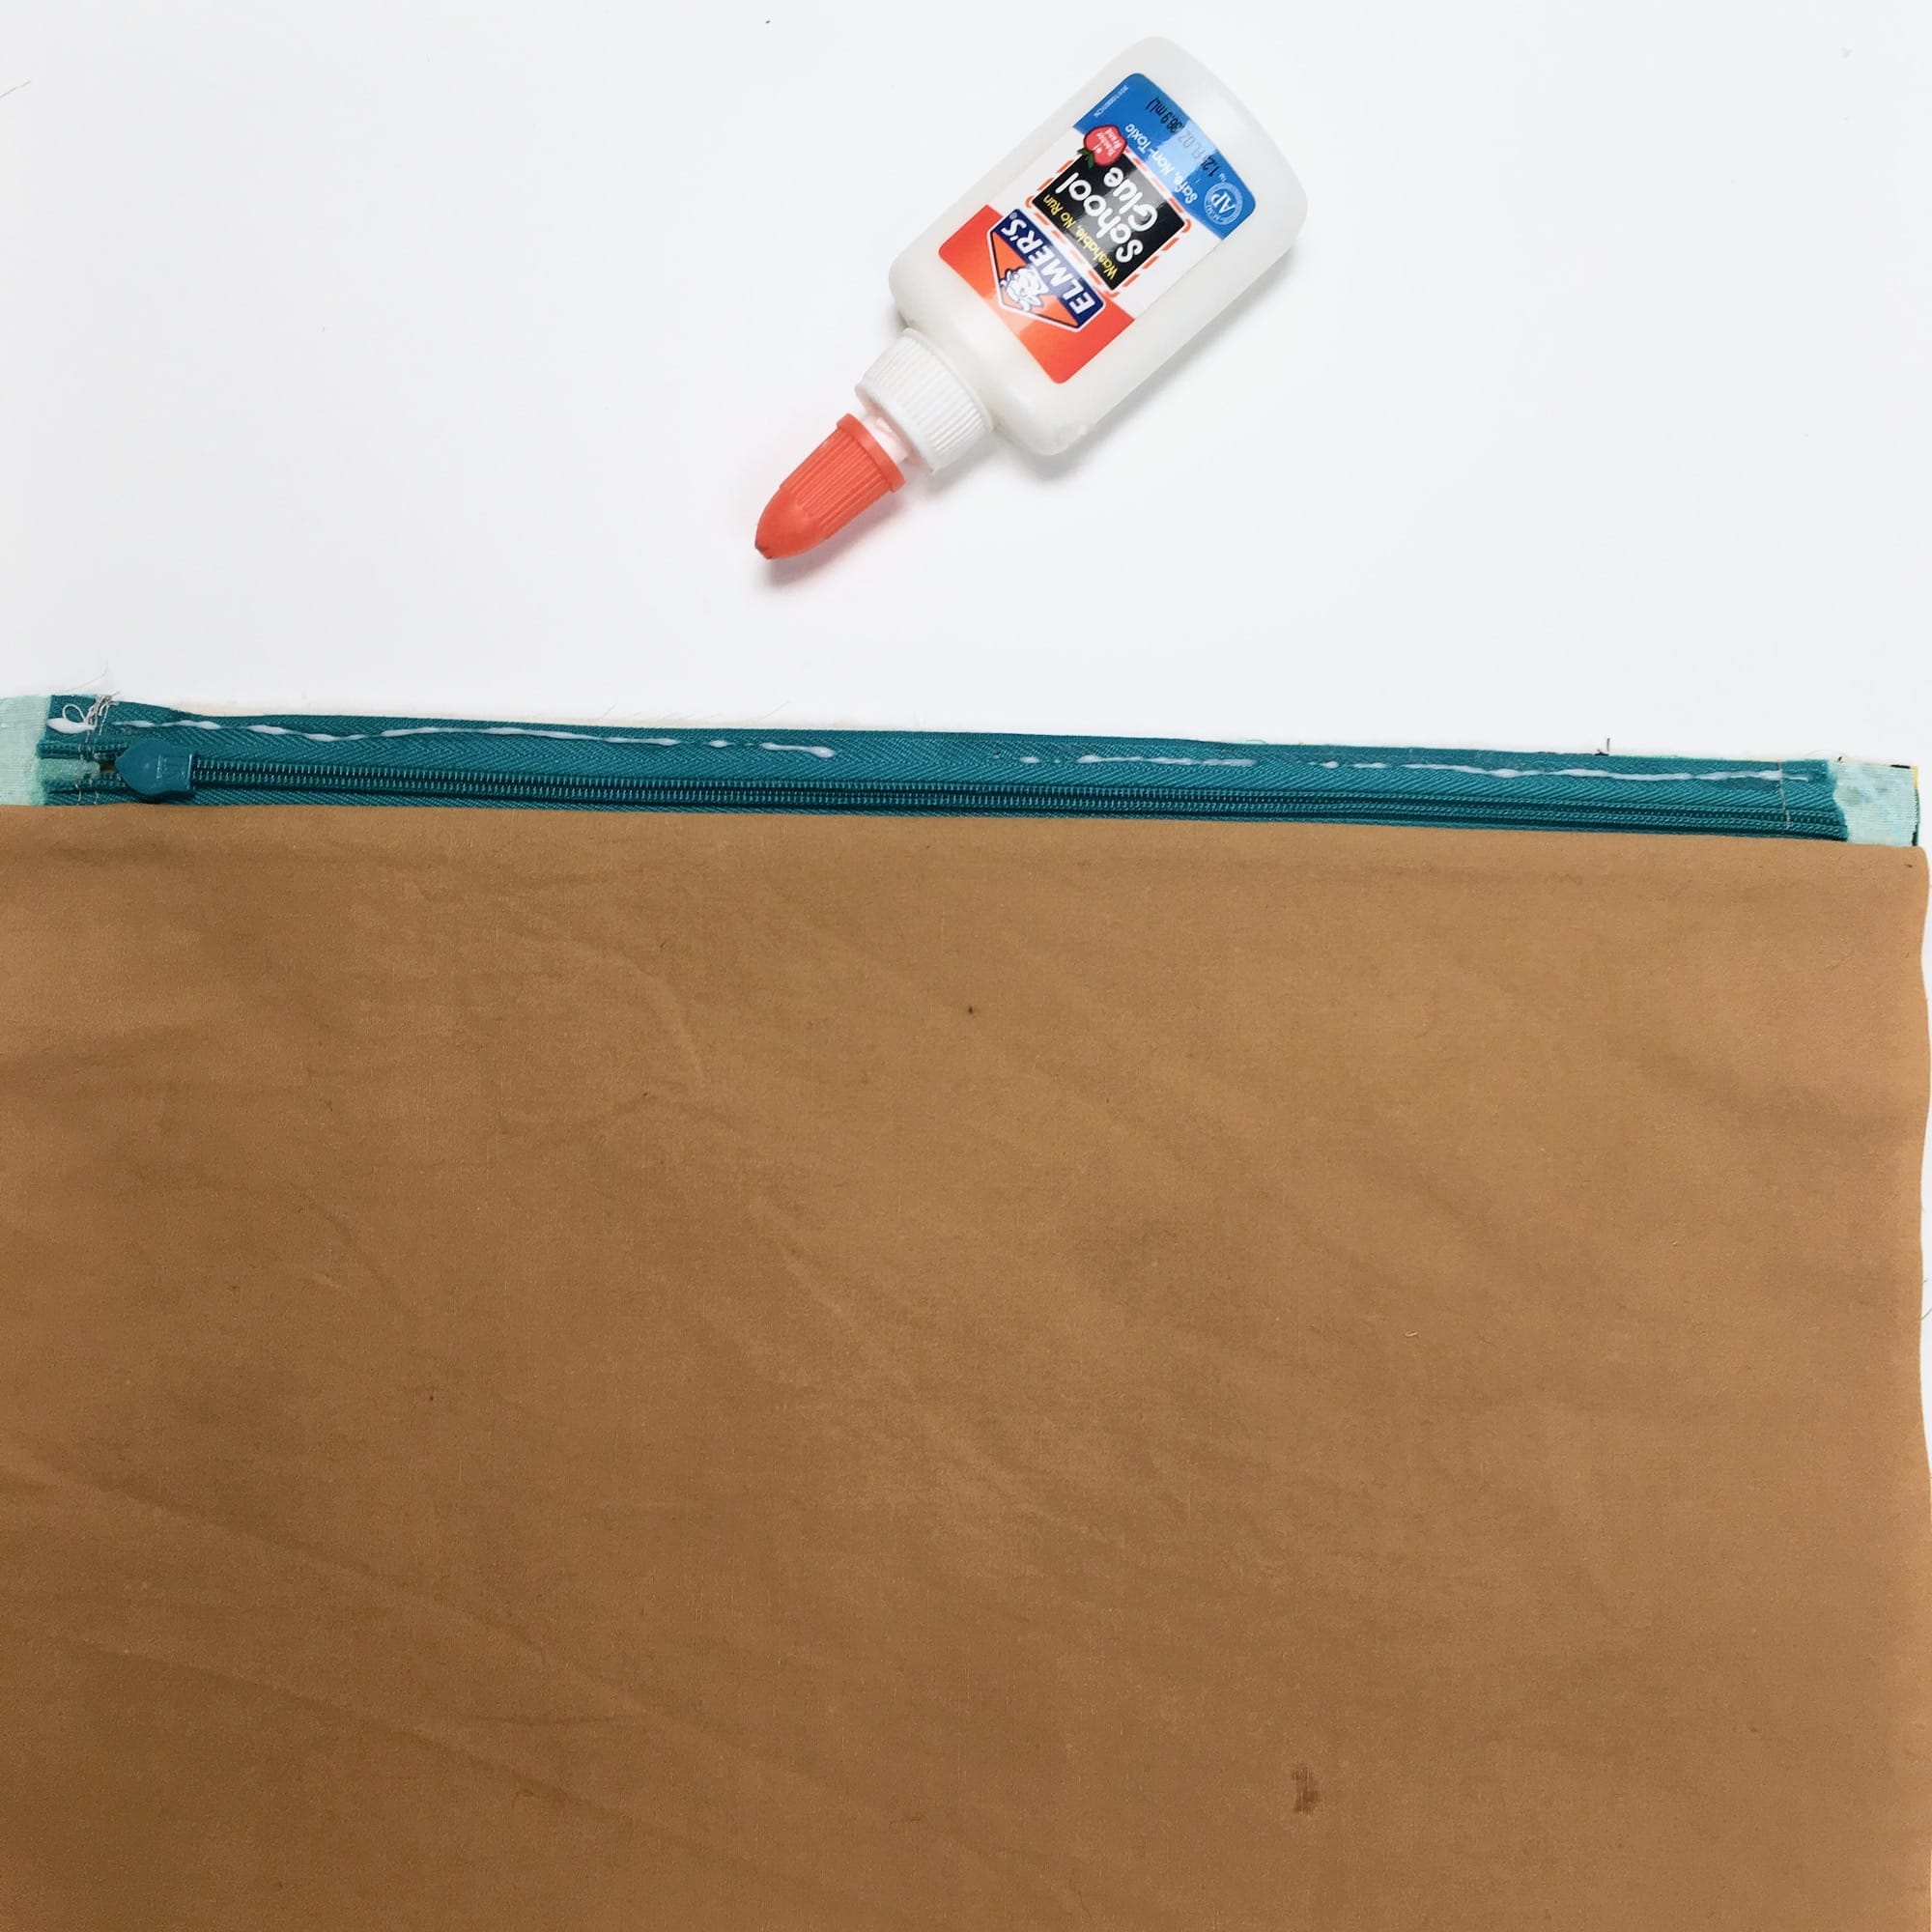
1. Run a very thin line of glue along the top, front edge of the zipper.
2. Position one of the external pouch panels right sides together (RST) with the zipper so the top edges of both are flush.
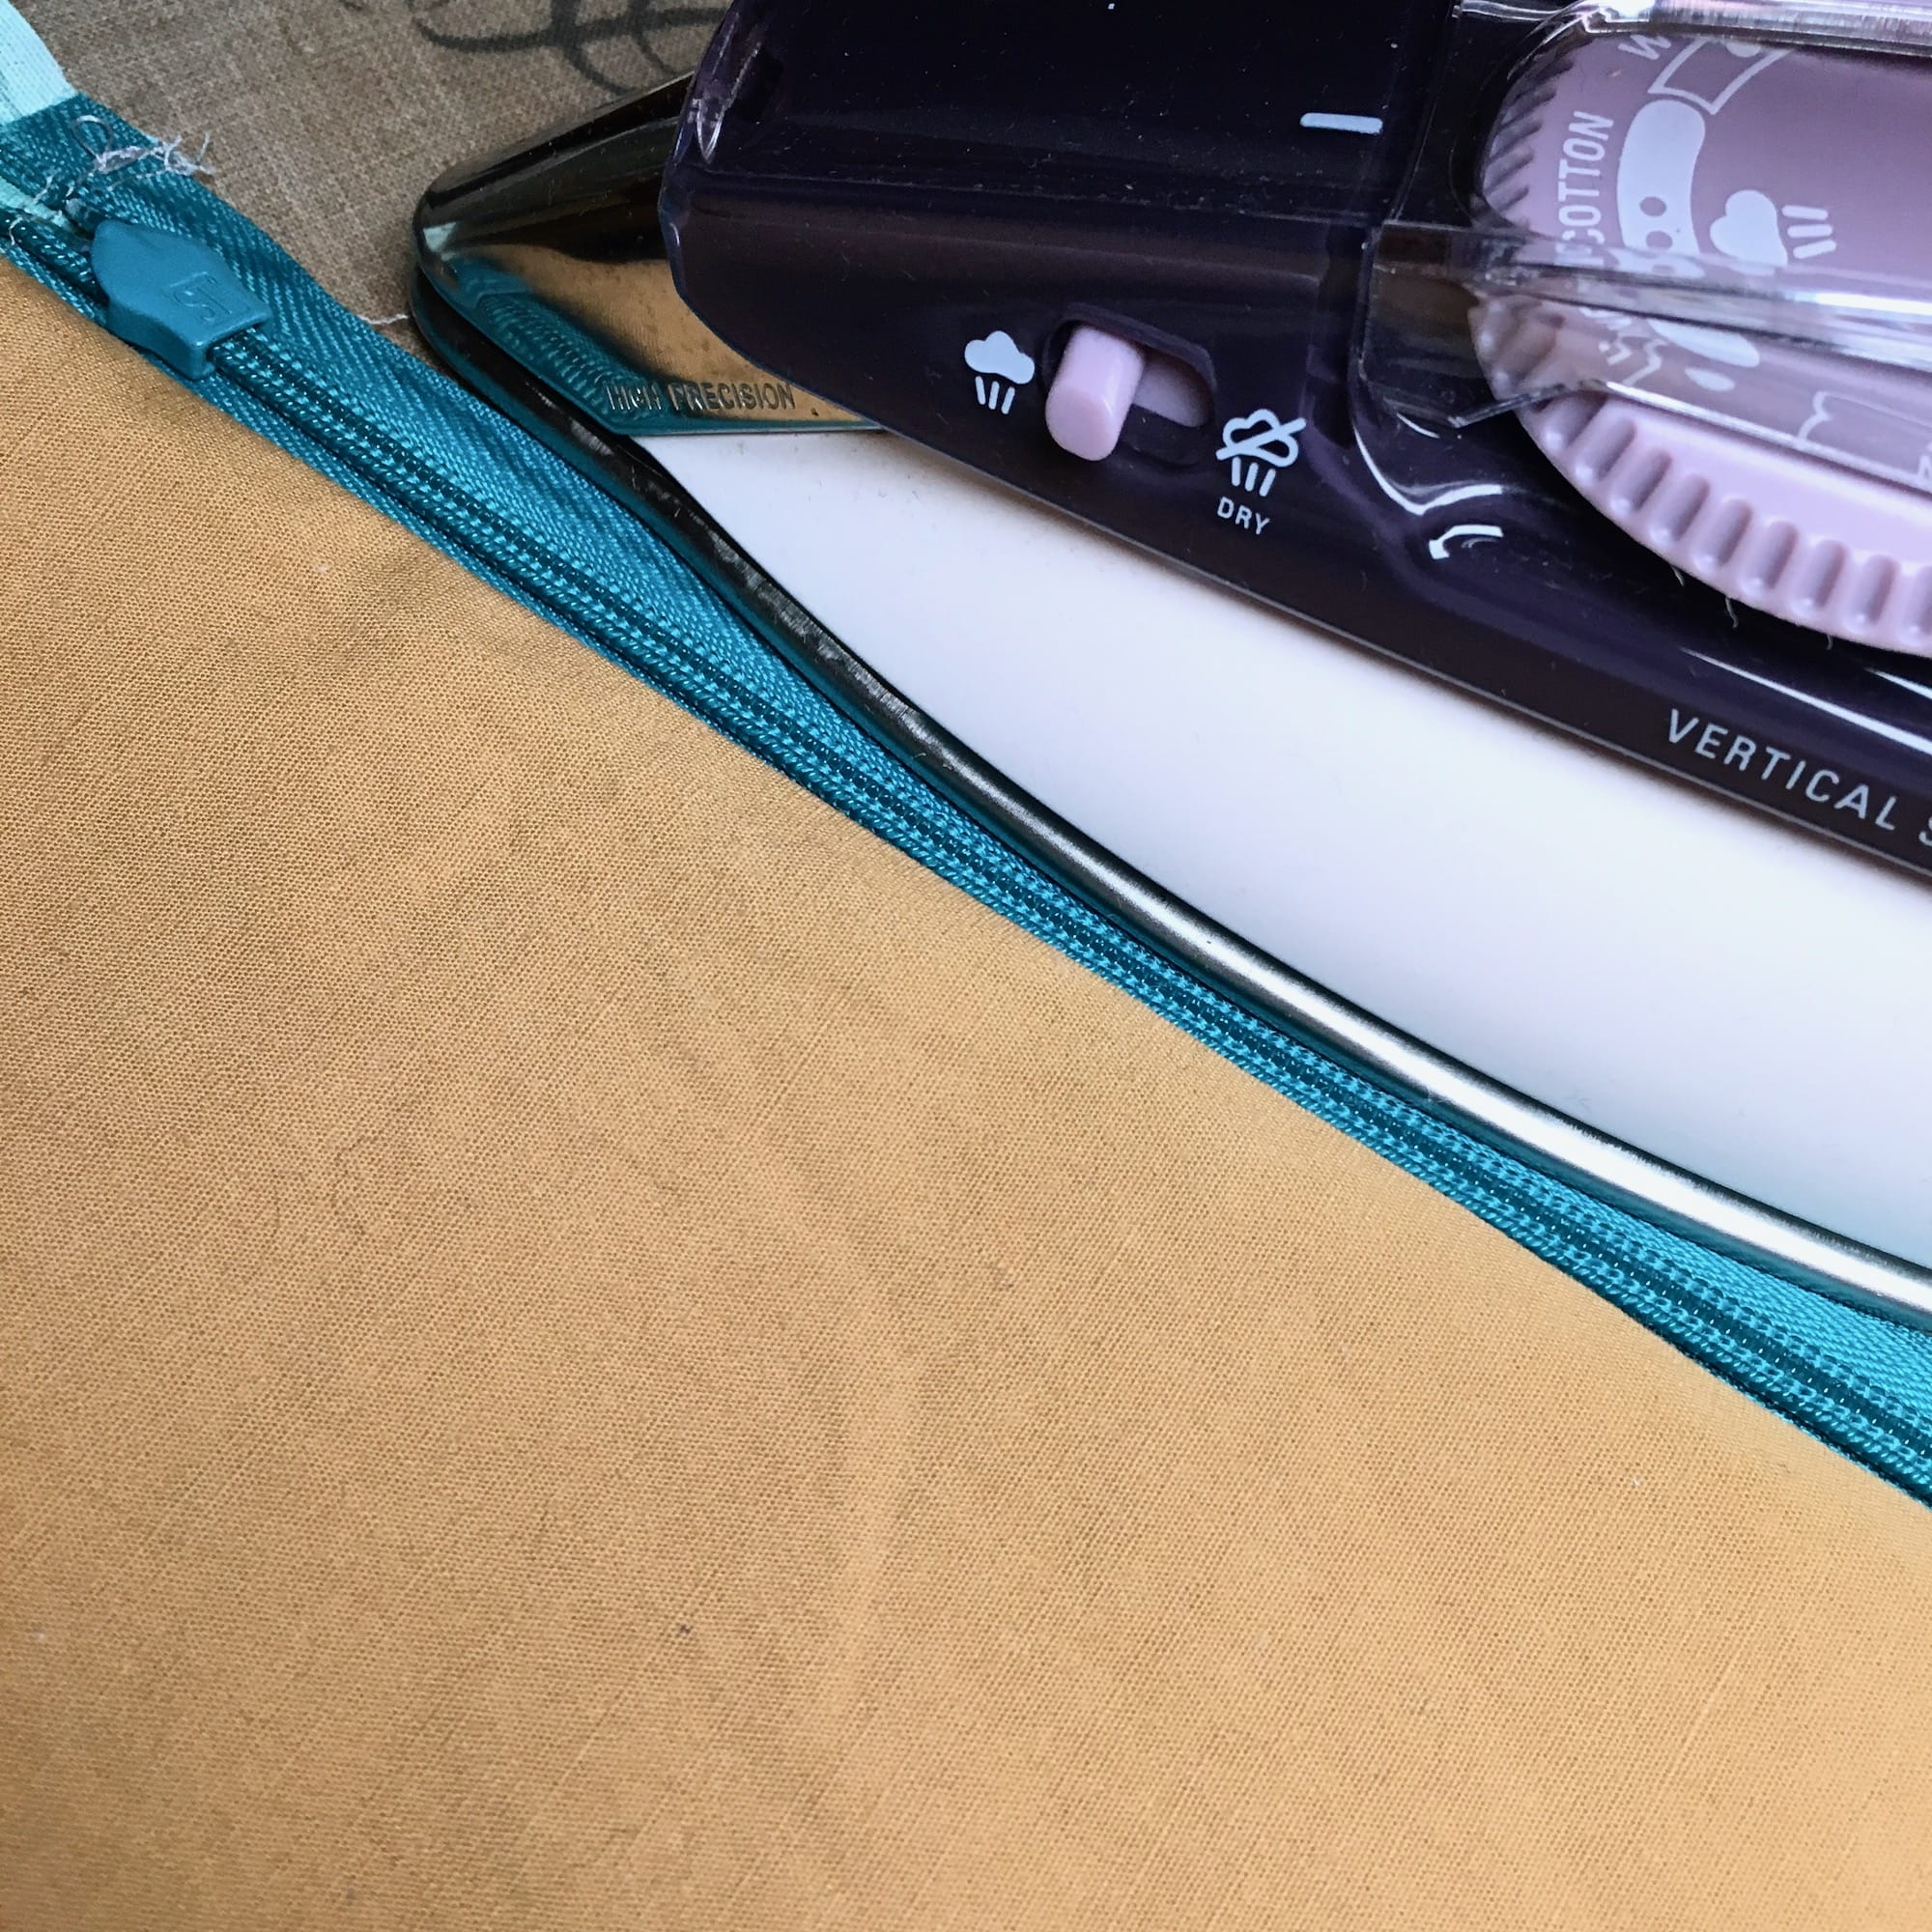
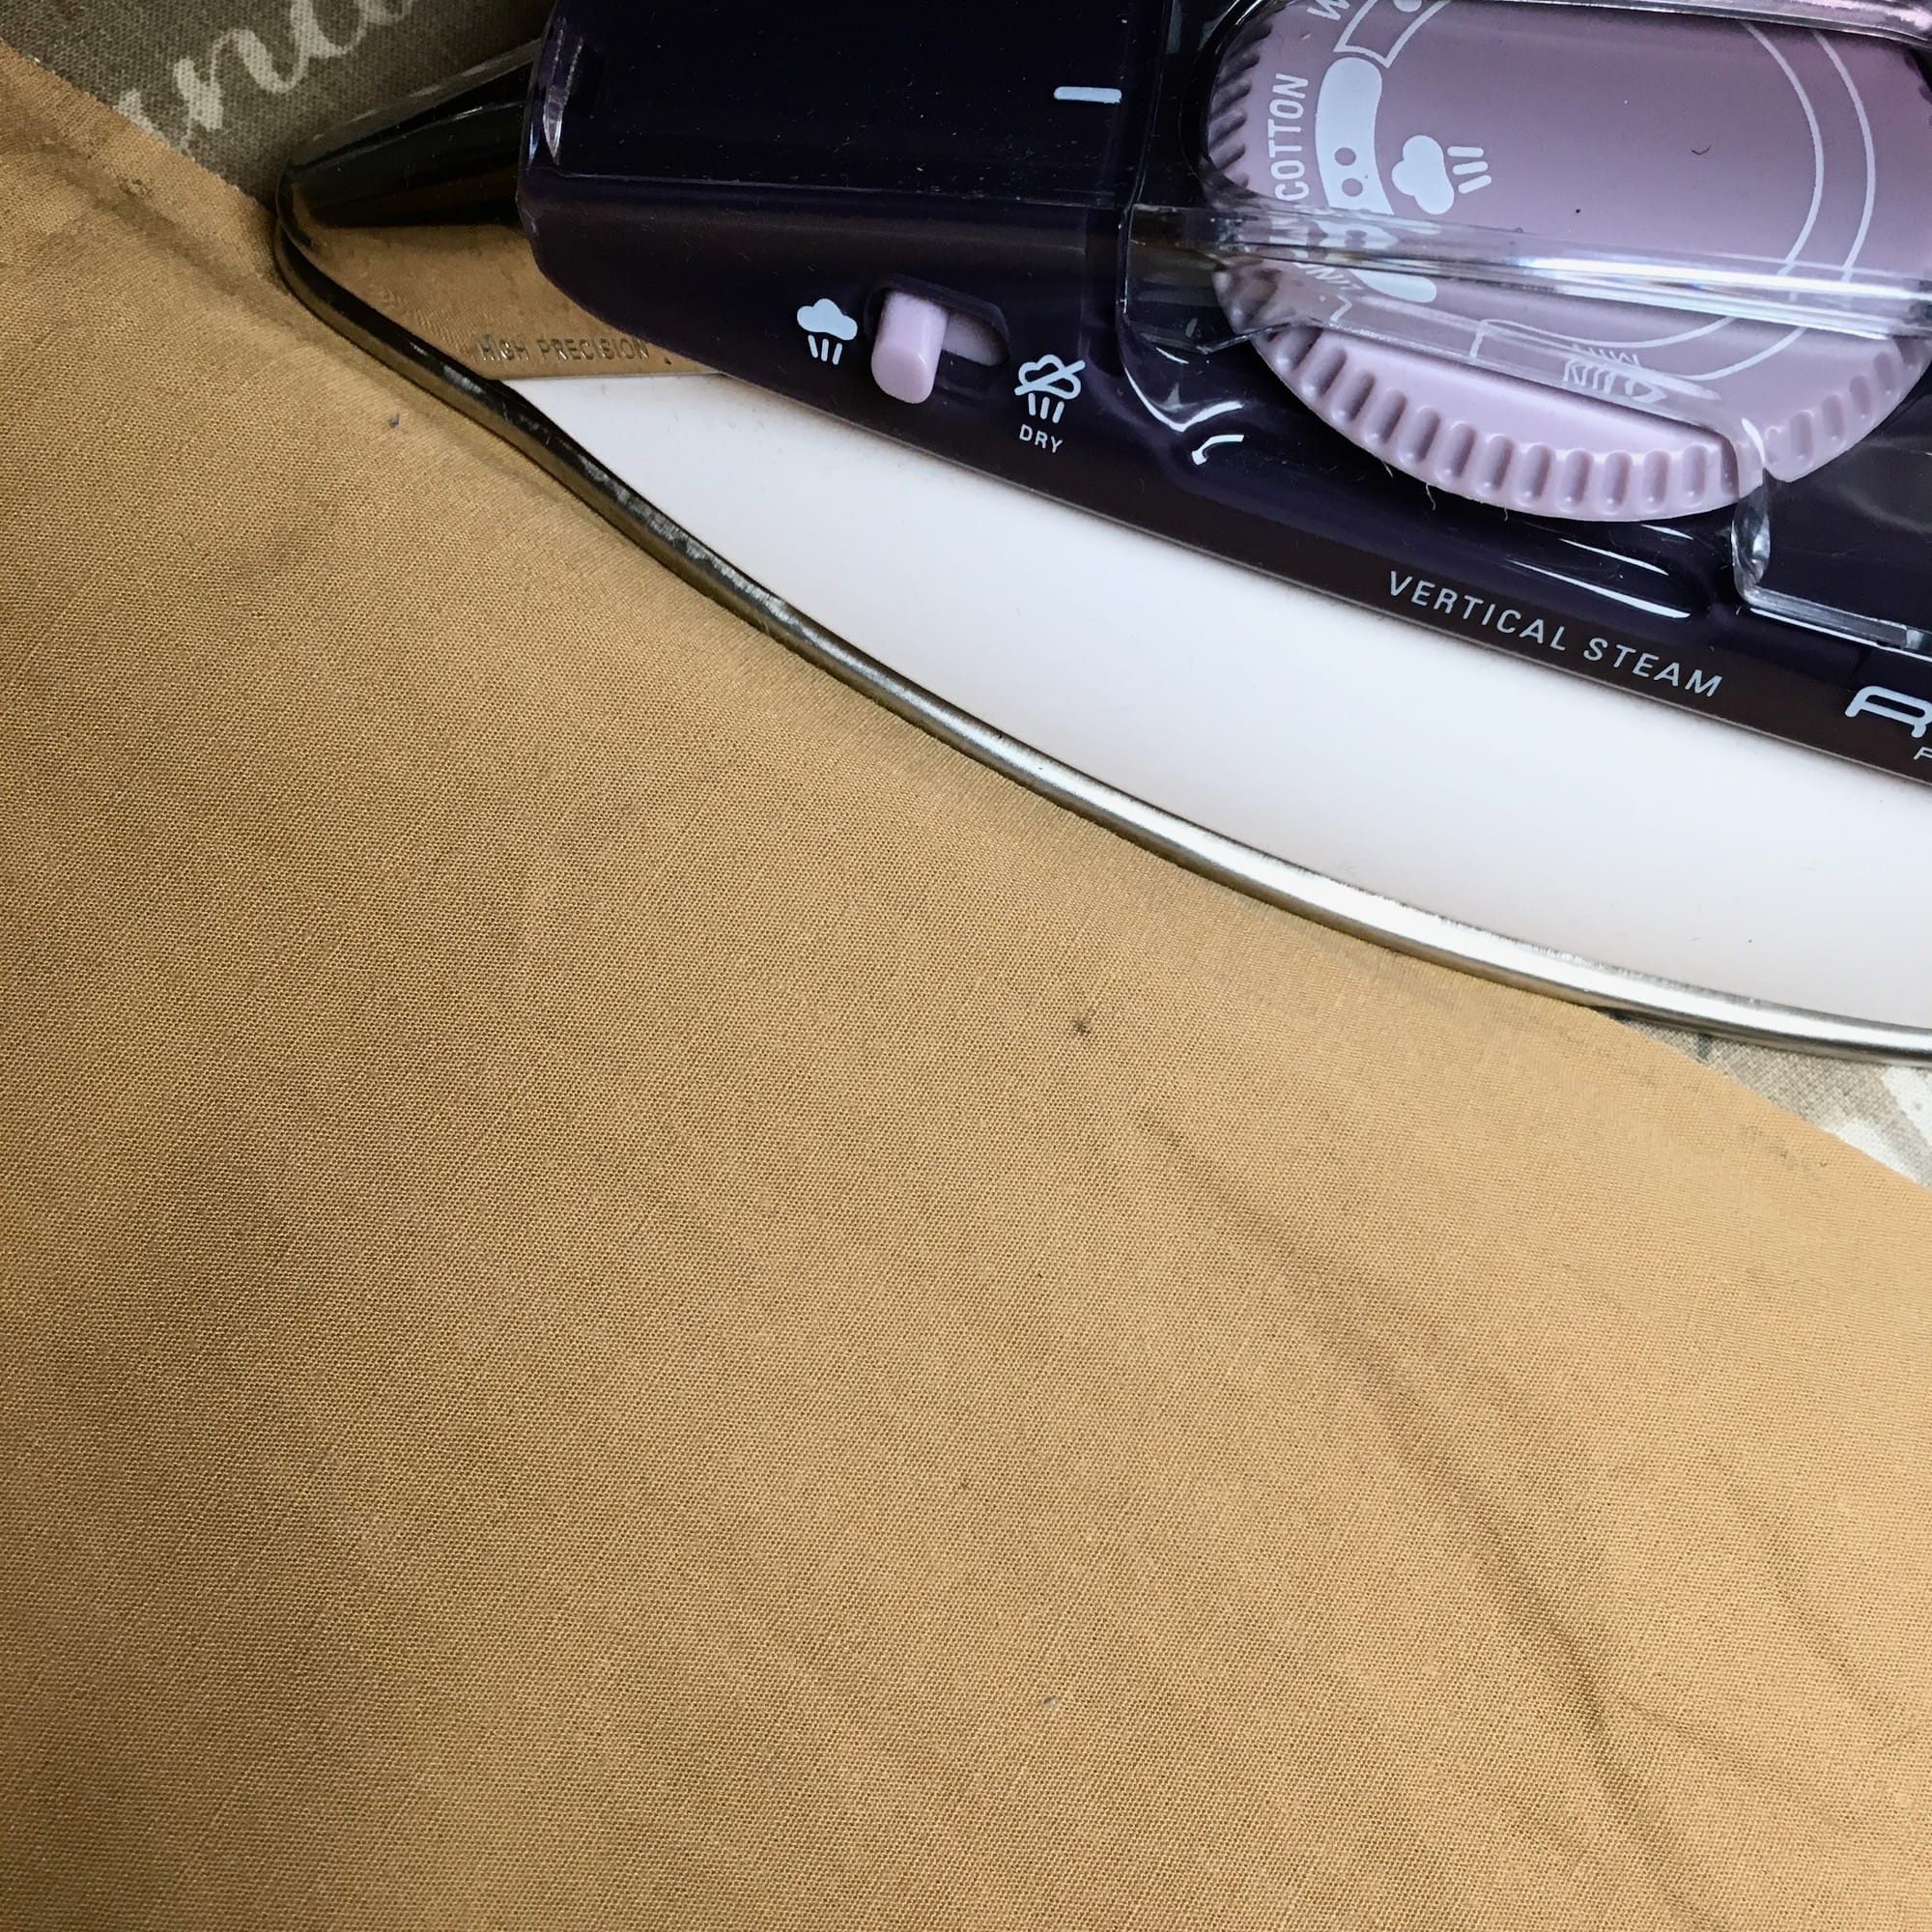
3. Using a hot, dry iron, press the zipper from the wrong side to dry the glue, securing the external panel of the pouch in place.
4. Run a very thin line of glue along the top, back edge of the zipper. (This is where you just pressed the zipper to dry the glue.)
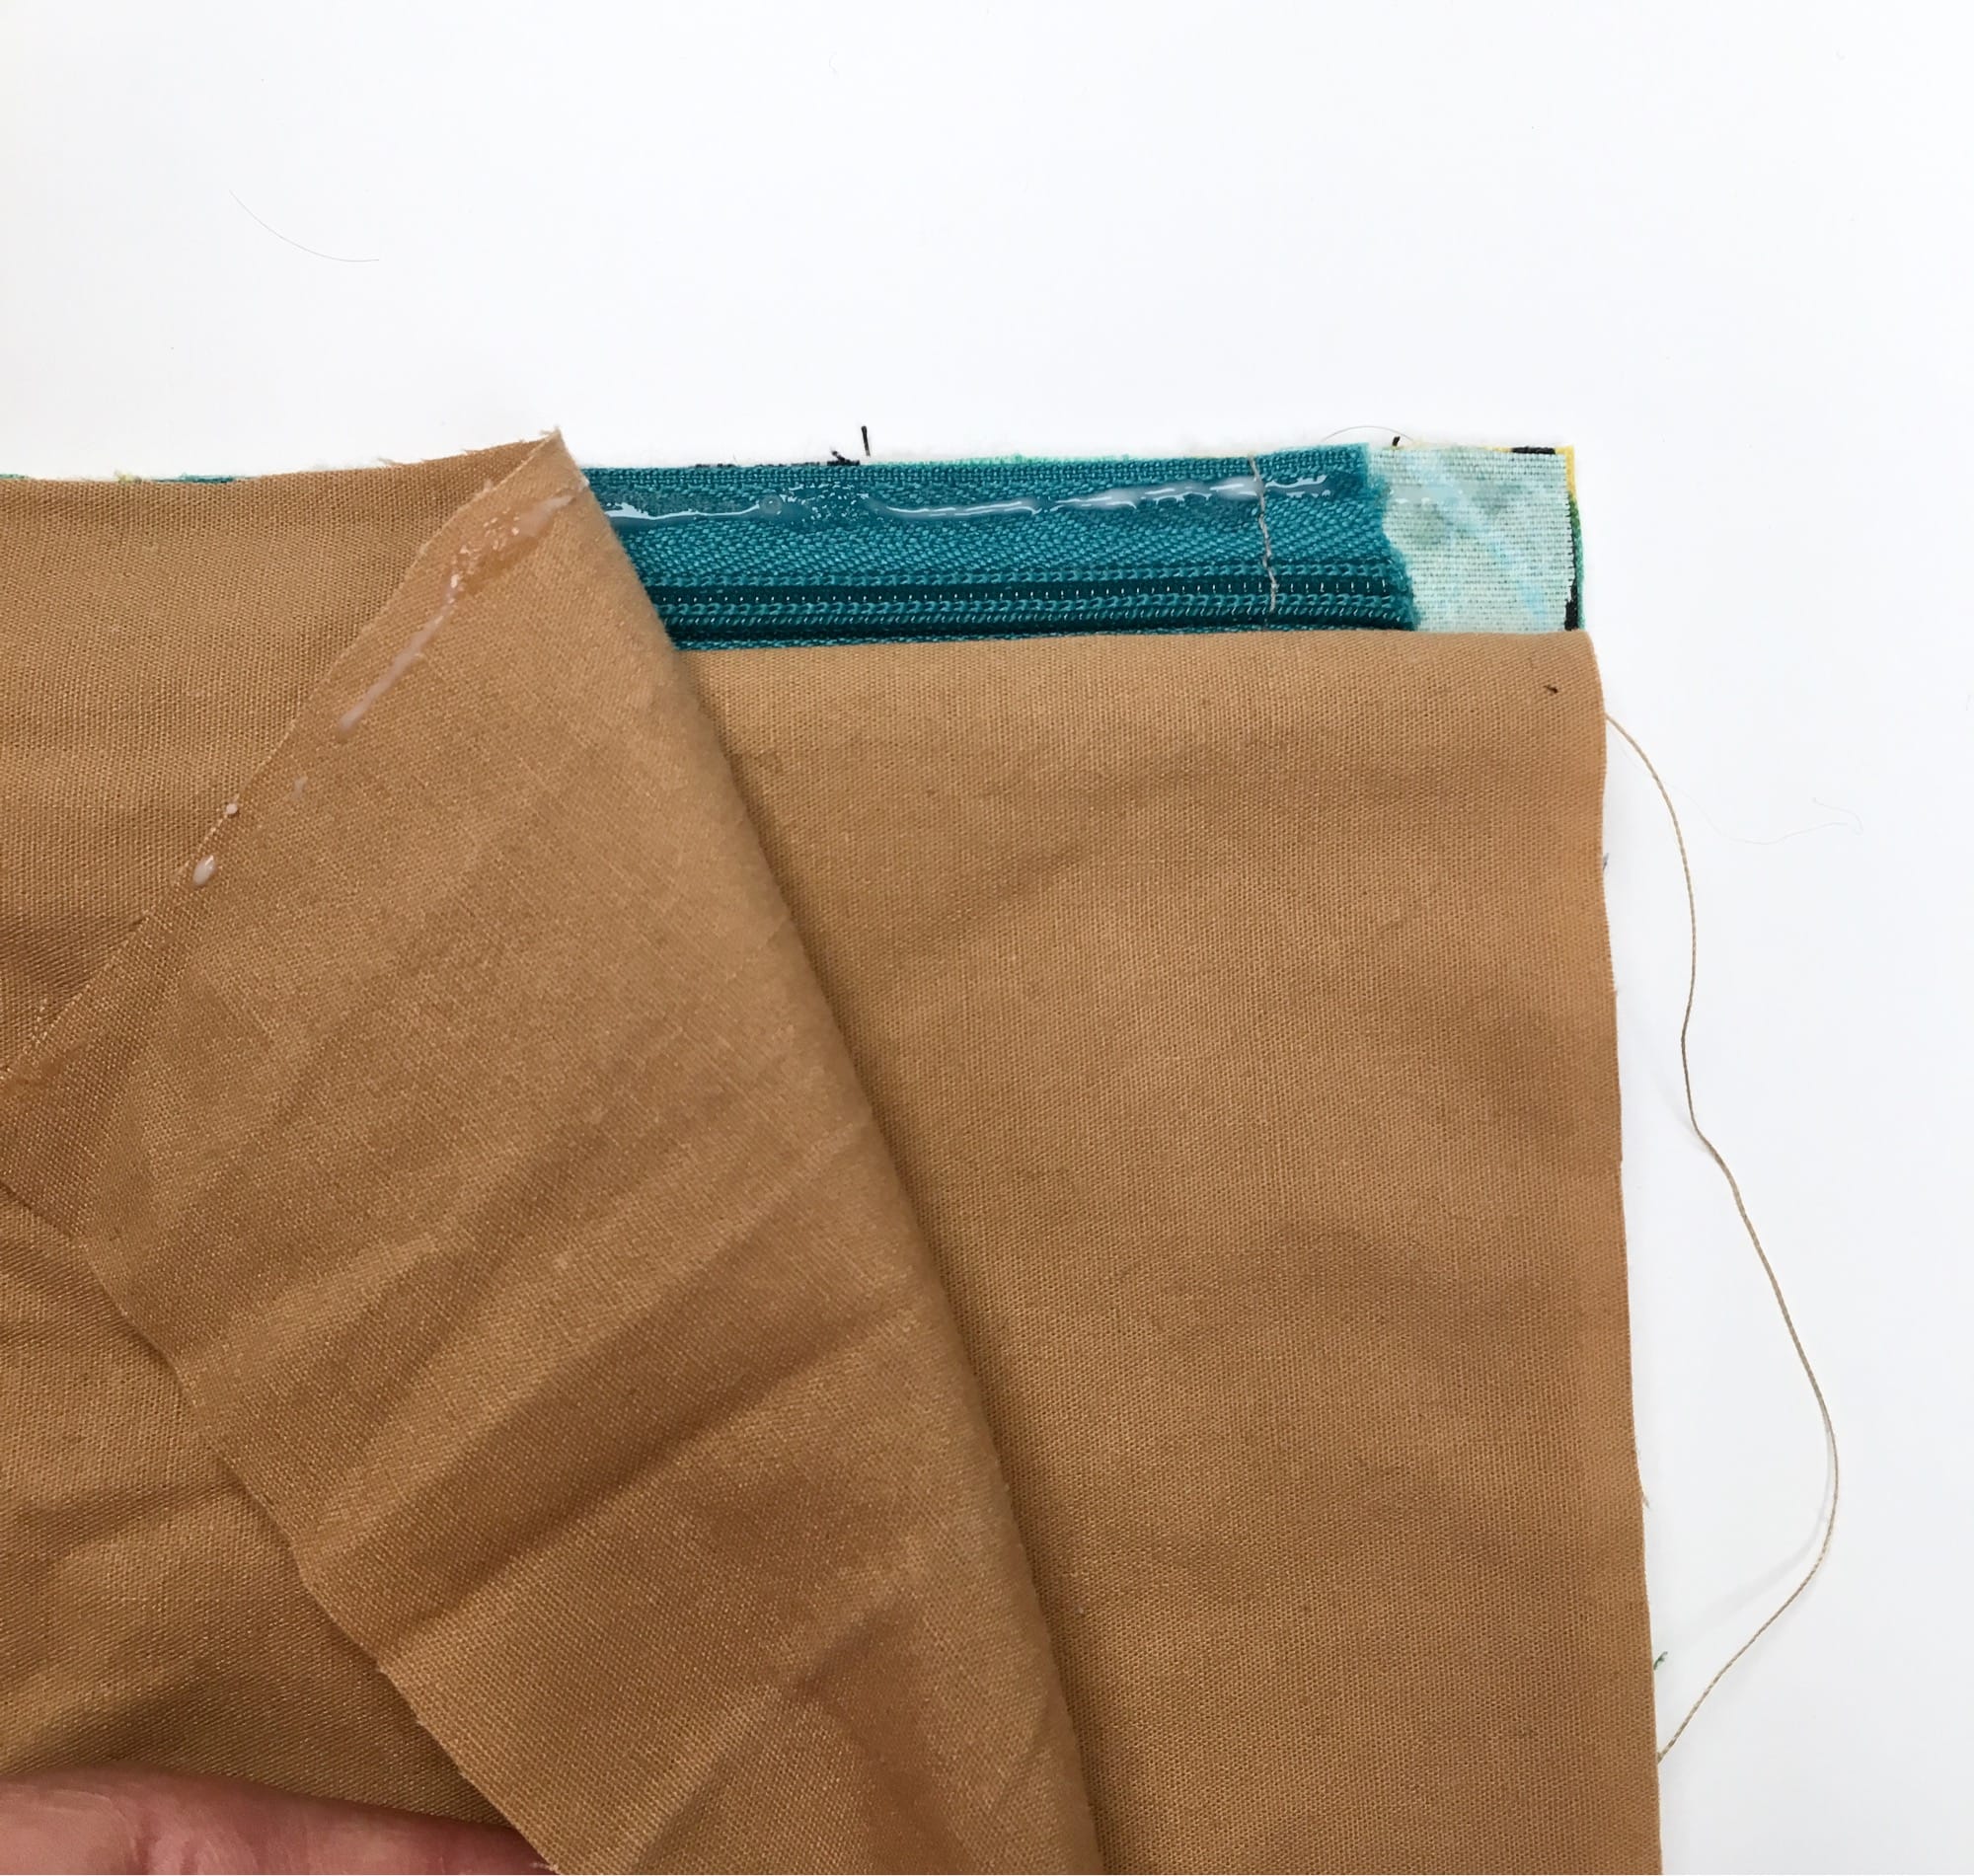
5. Position one of the inner pouch panels right side down, so the top edges of both the zipper and the panel are flush.
6. Press the edge of the panel to dry the glue, securing the inner panel to the zipper.
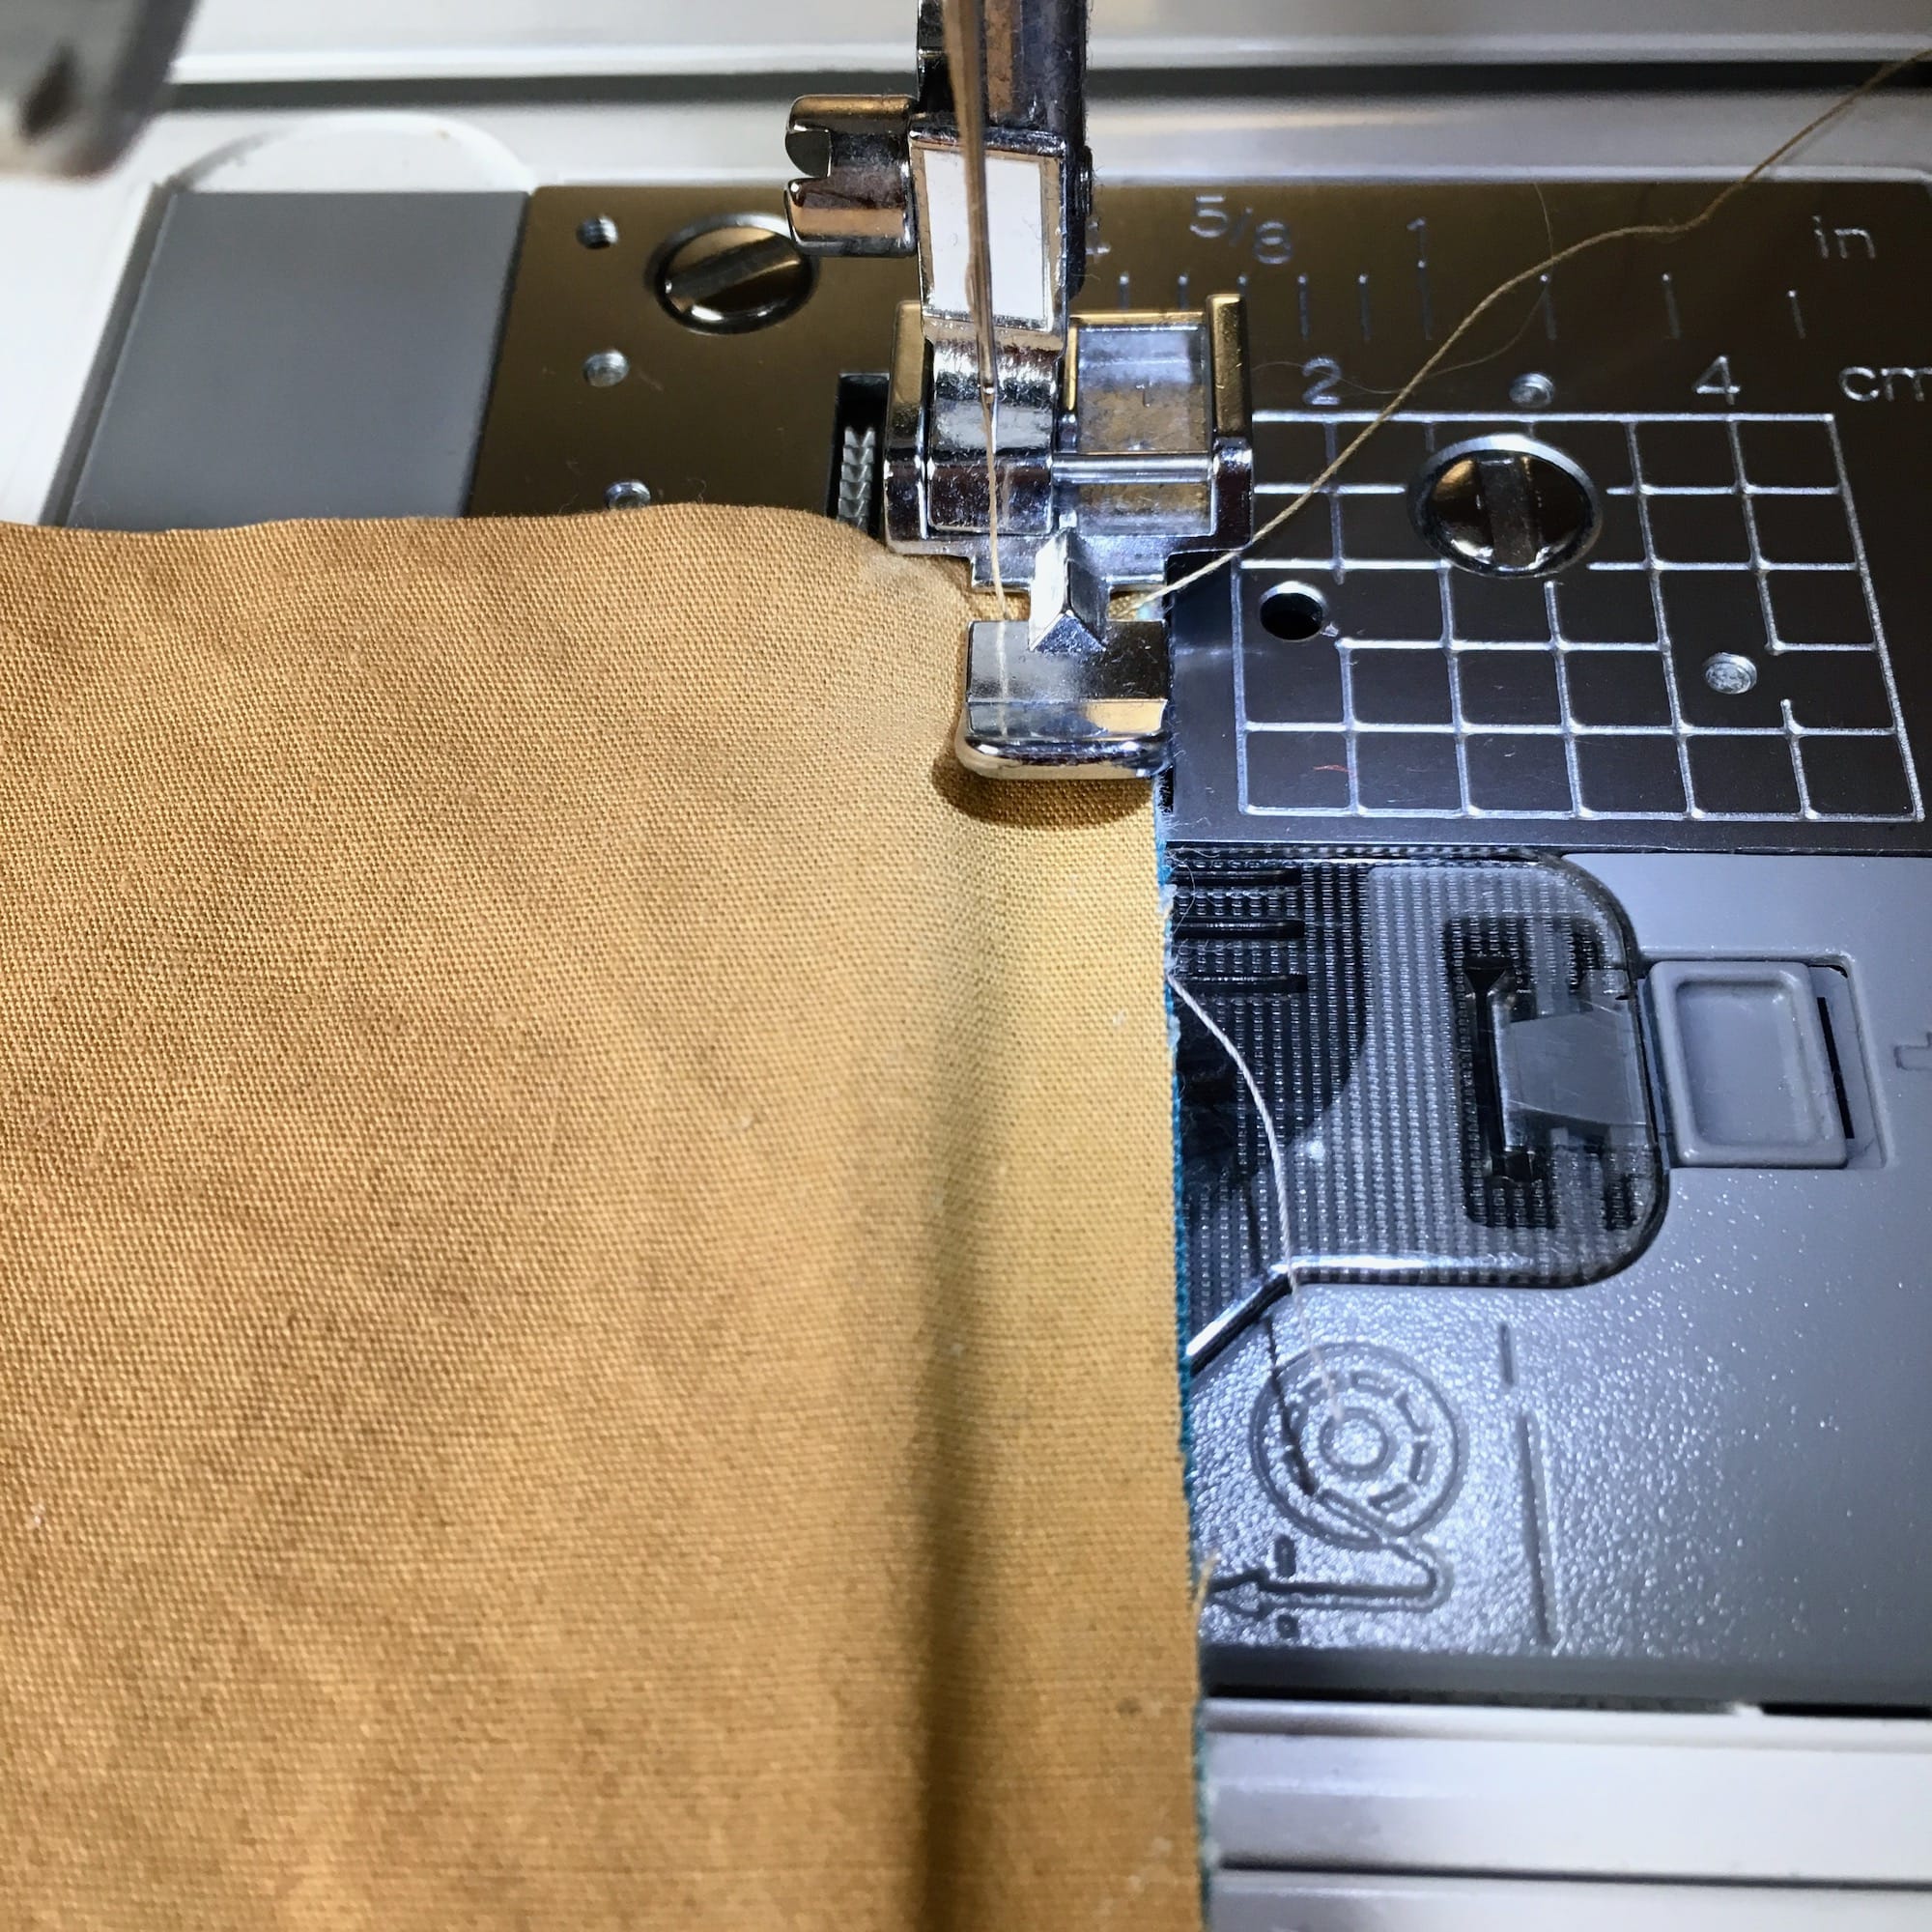
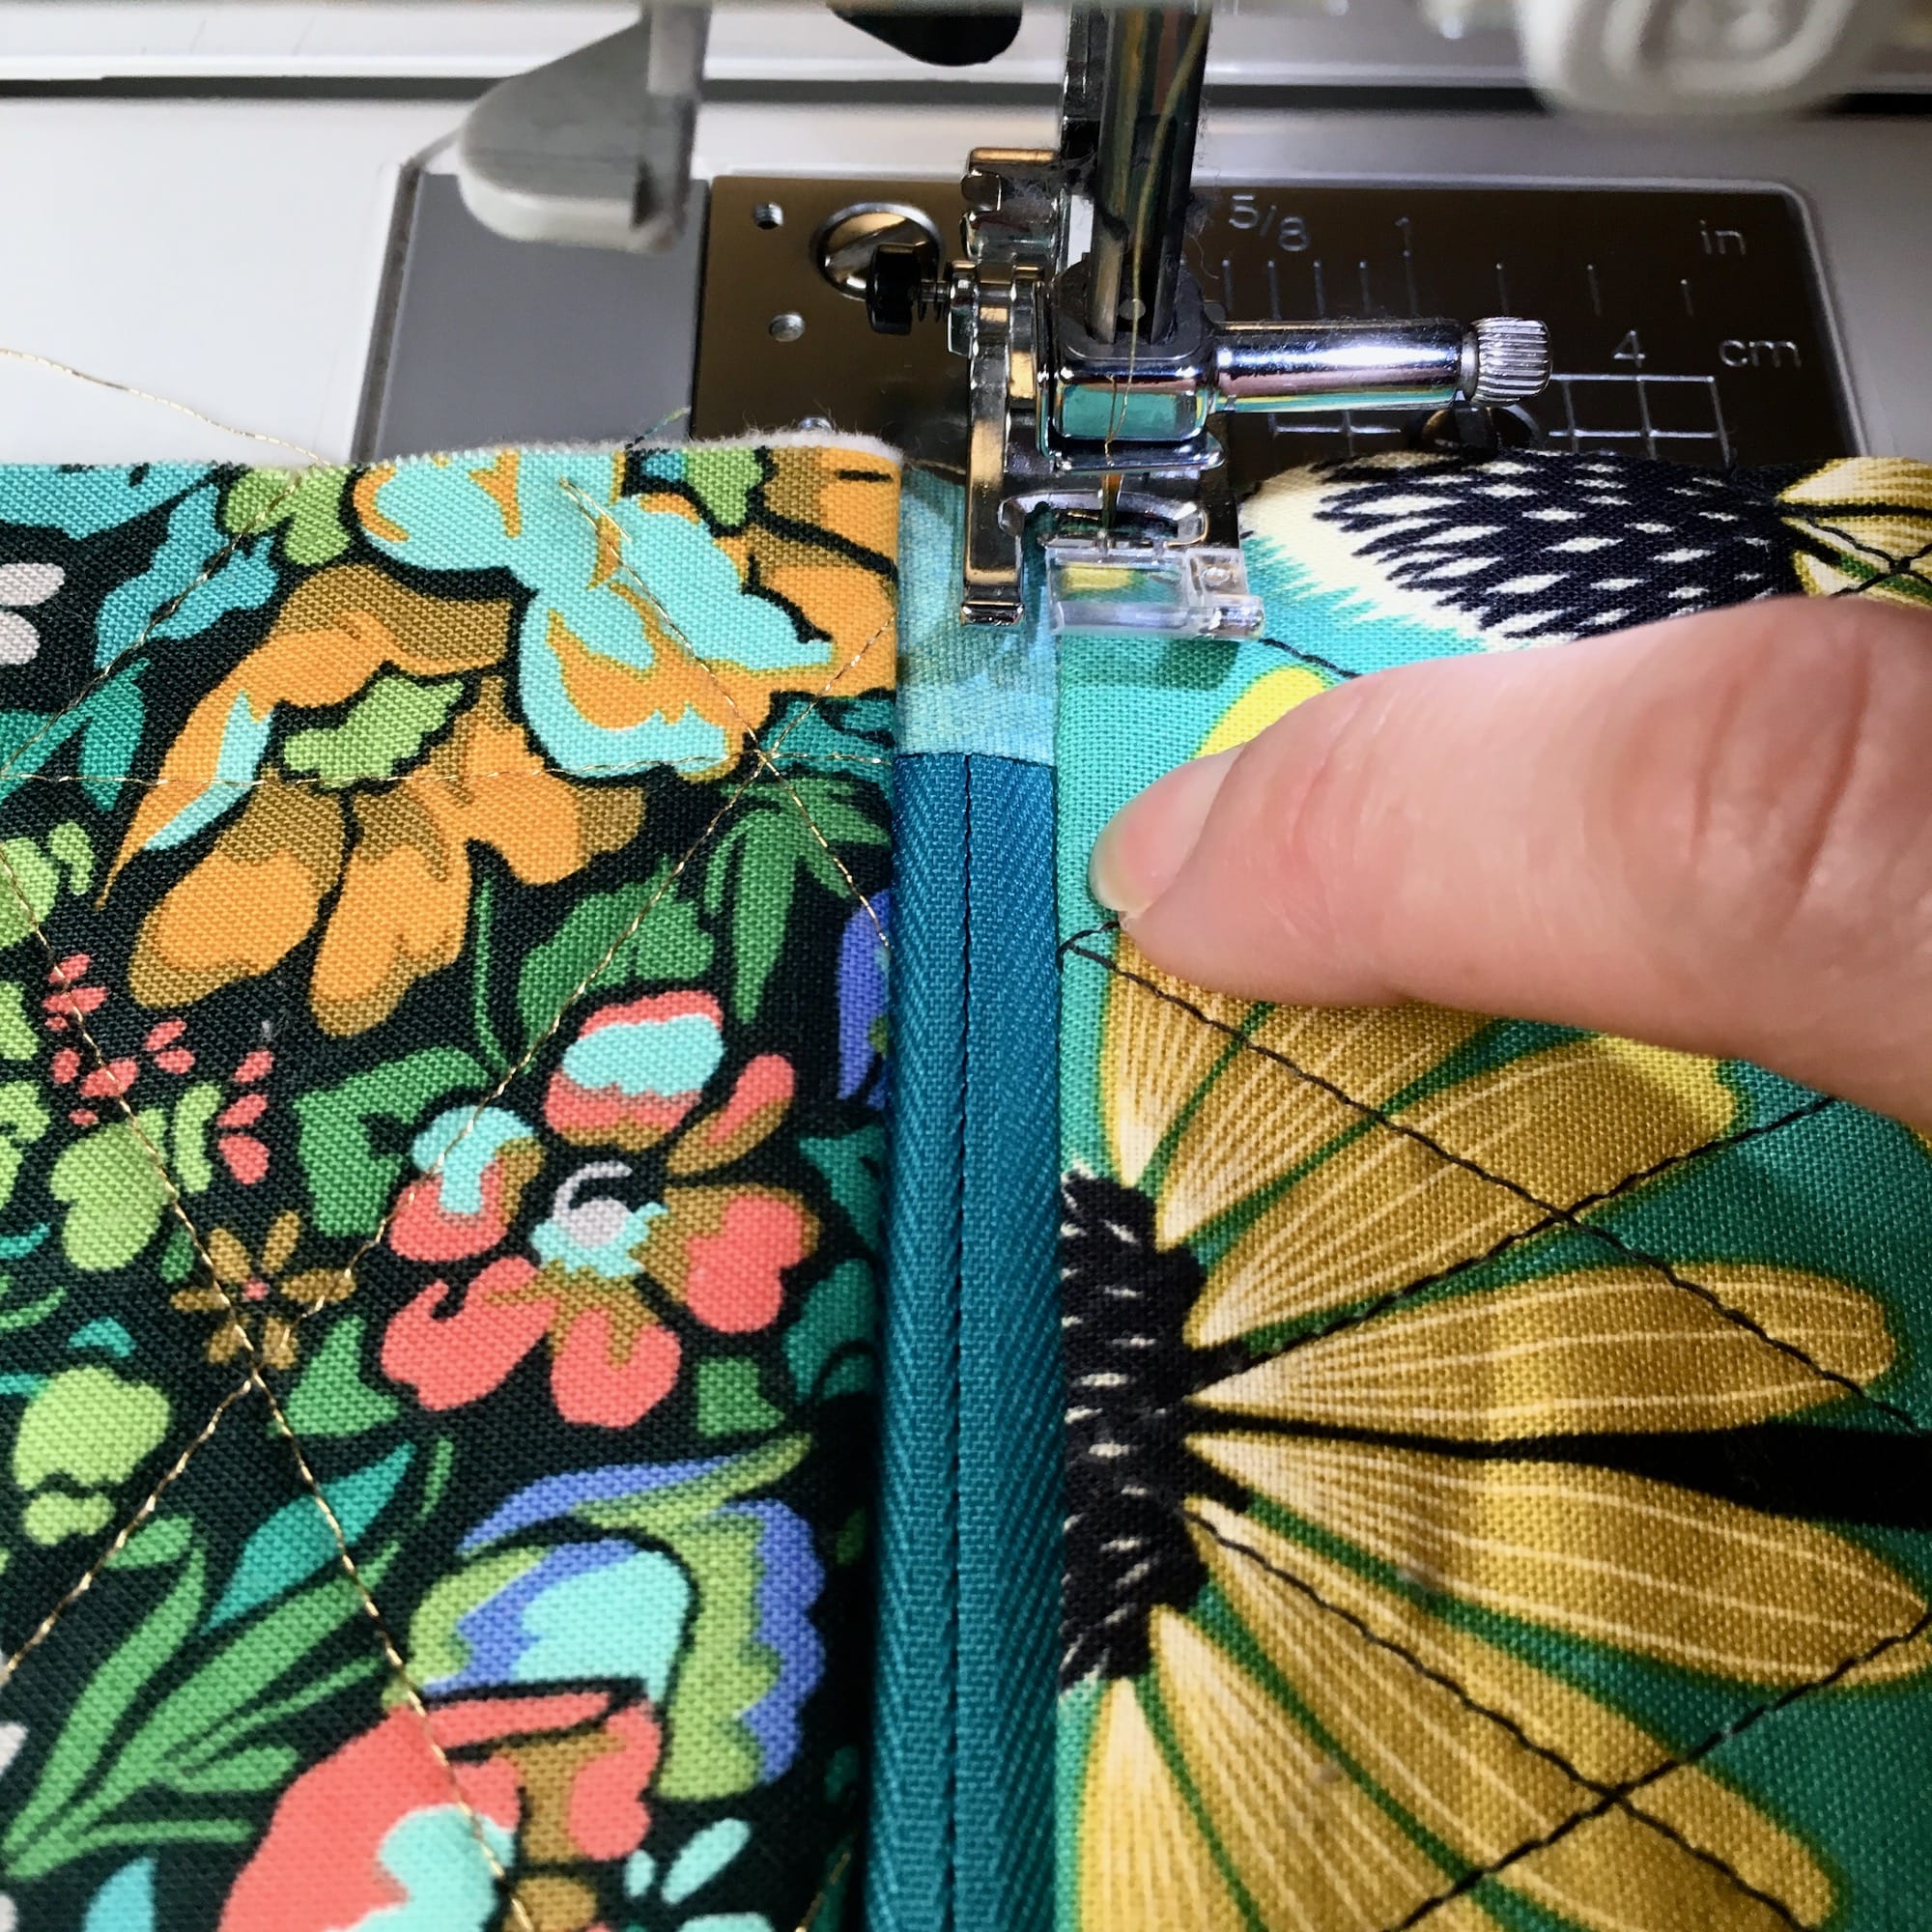
7. Using a zipper foot on your machine, begin sewing all three layers together.
8. When you get to the lump/spot where the zipper pull is, stop sewing, and leave the needle in the down position.
9. Lift your presser foot.
10. Pivot your work so that the seam is at an angle with the presser foot.
11. Lift up the top panel to reveal the zipper pull. Carefully unzip the zipper so that it passes the presser foot on your machine.
12. Then, reposition your work, lower your presser foot, and complete sewing the seam.
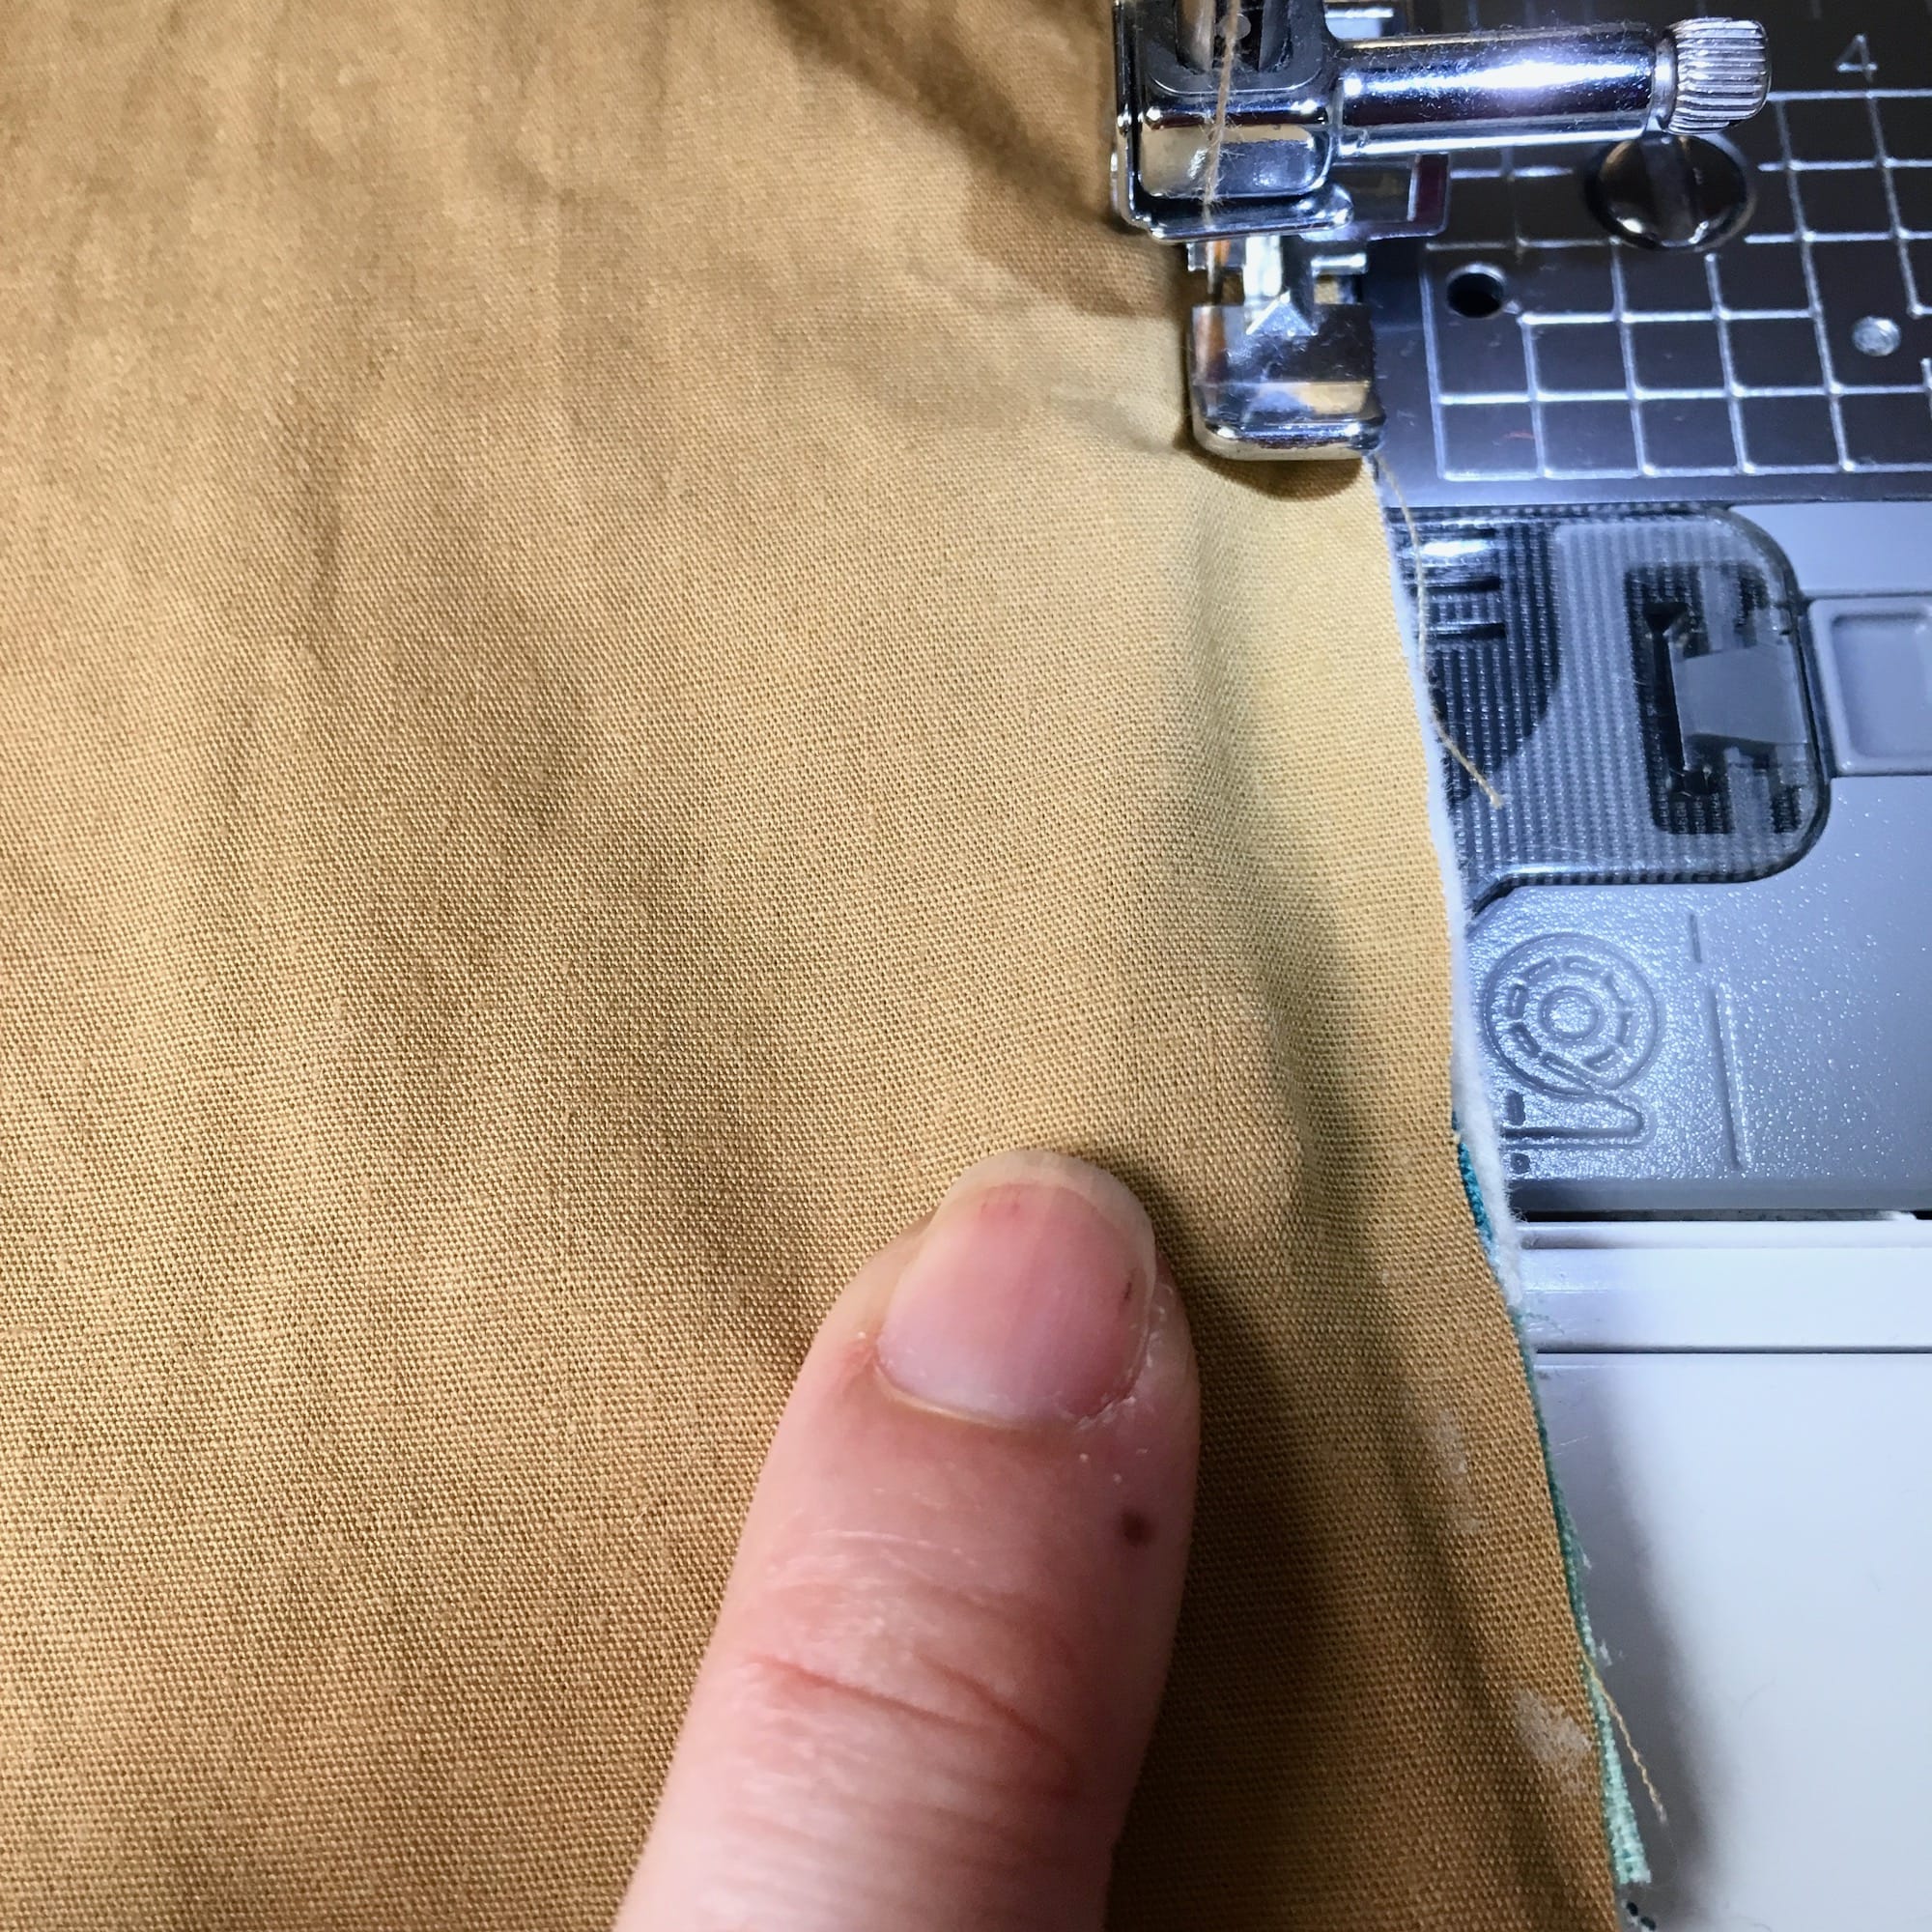
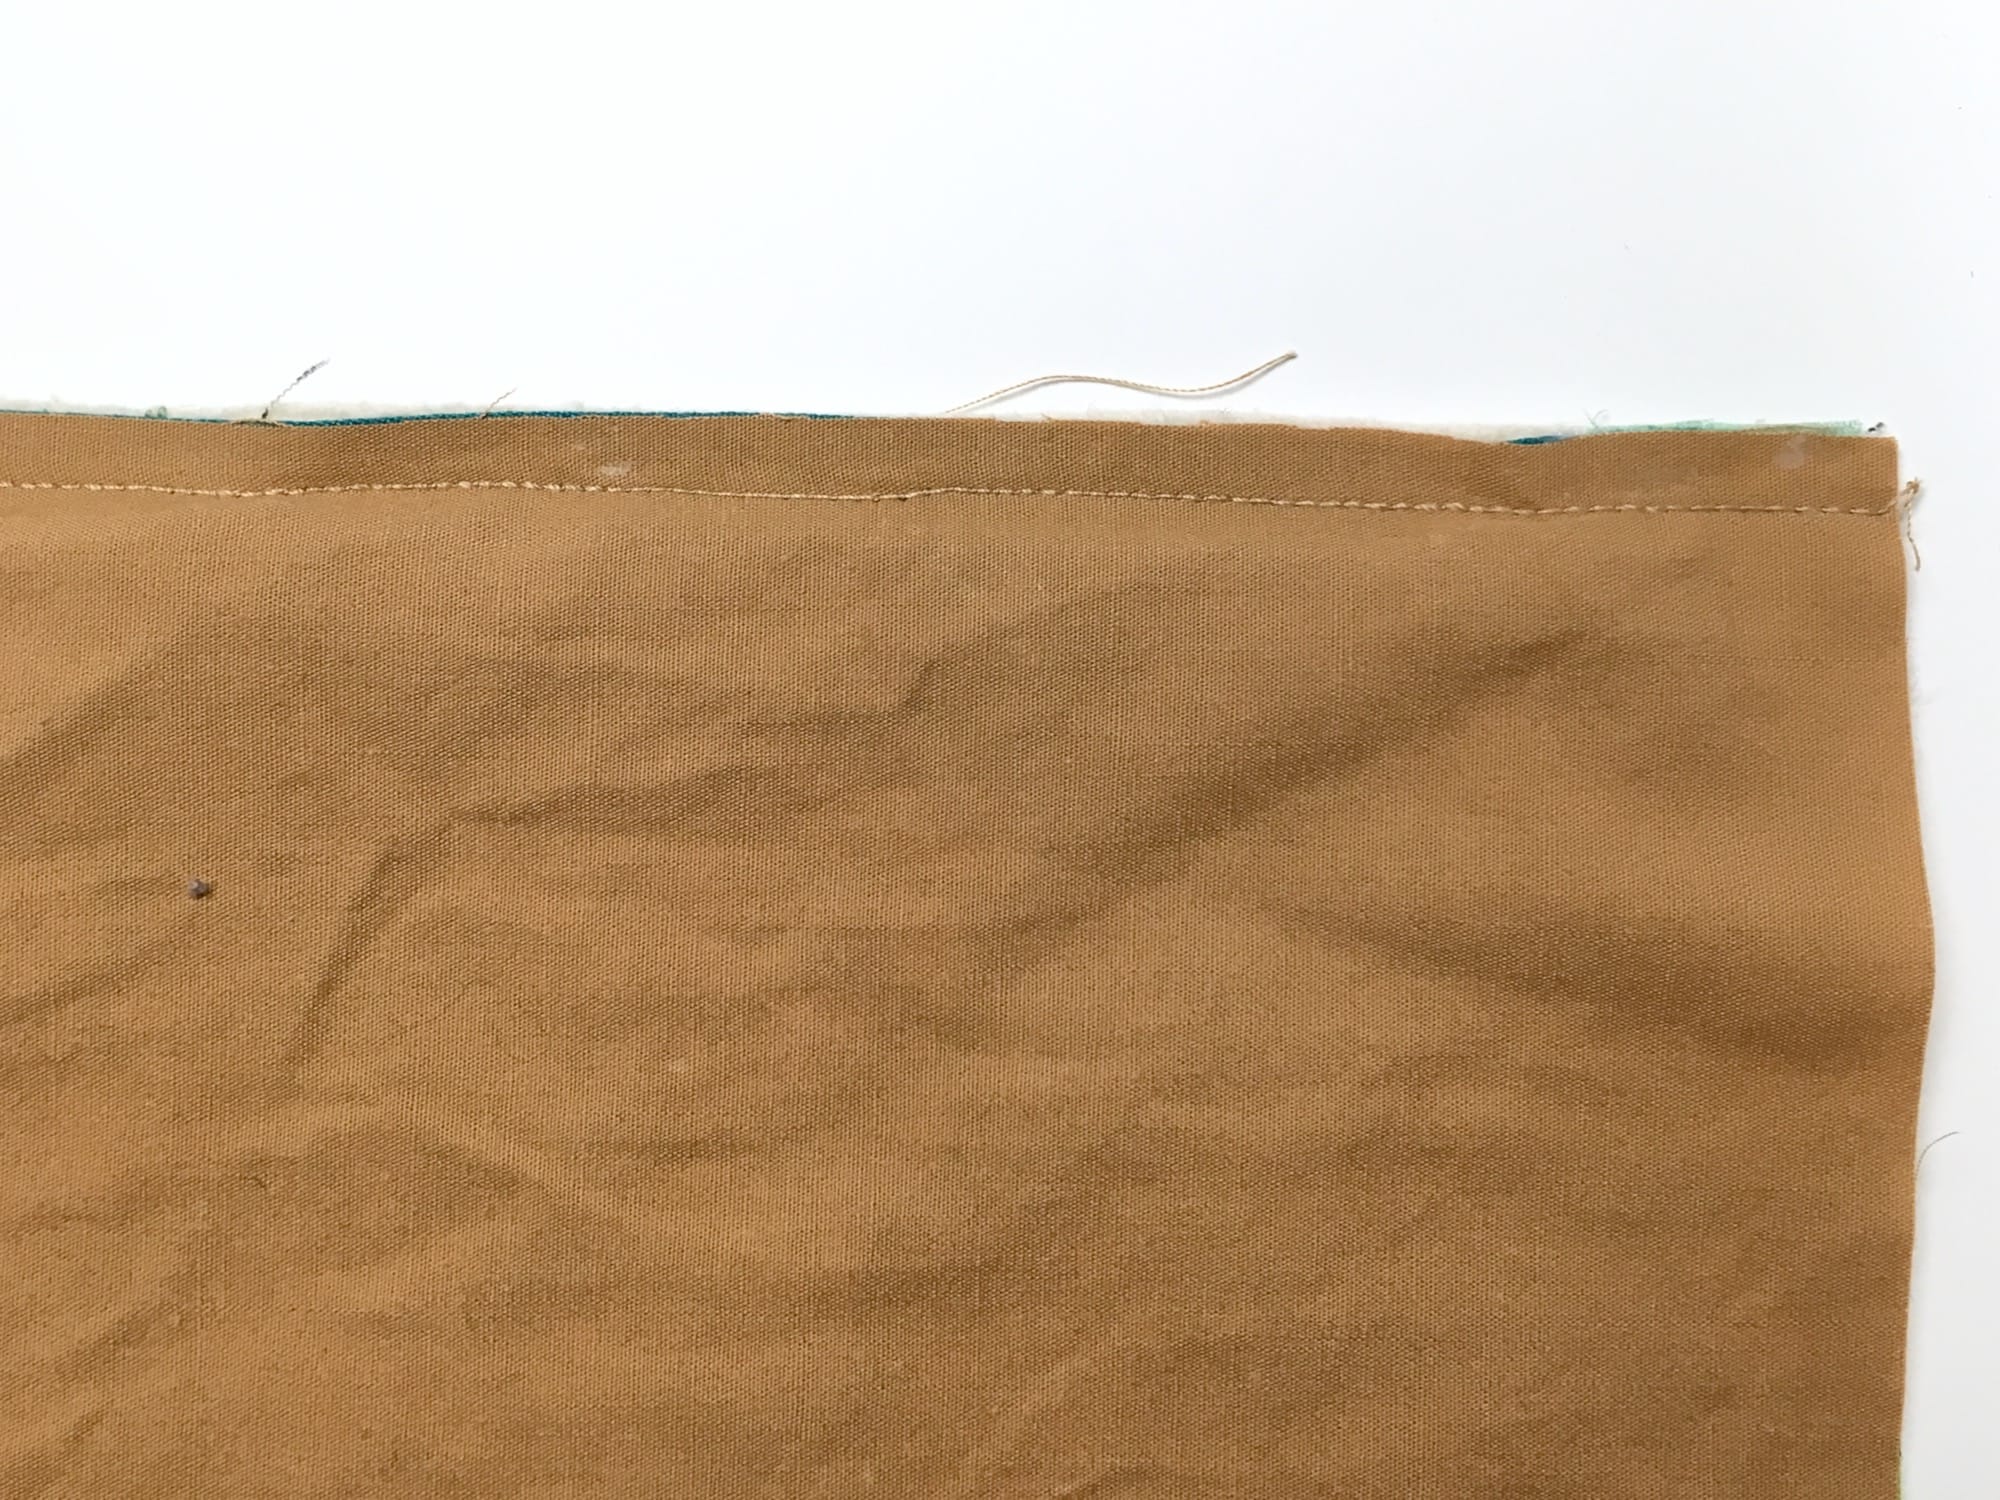
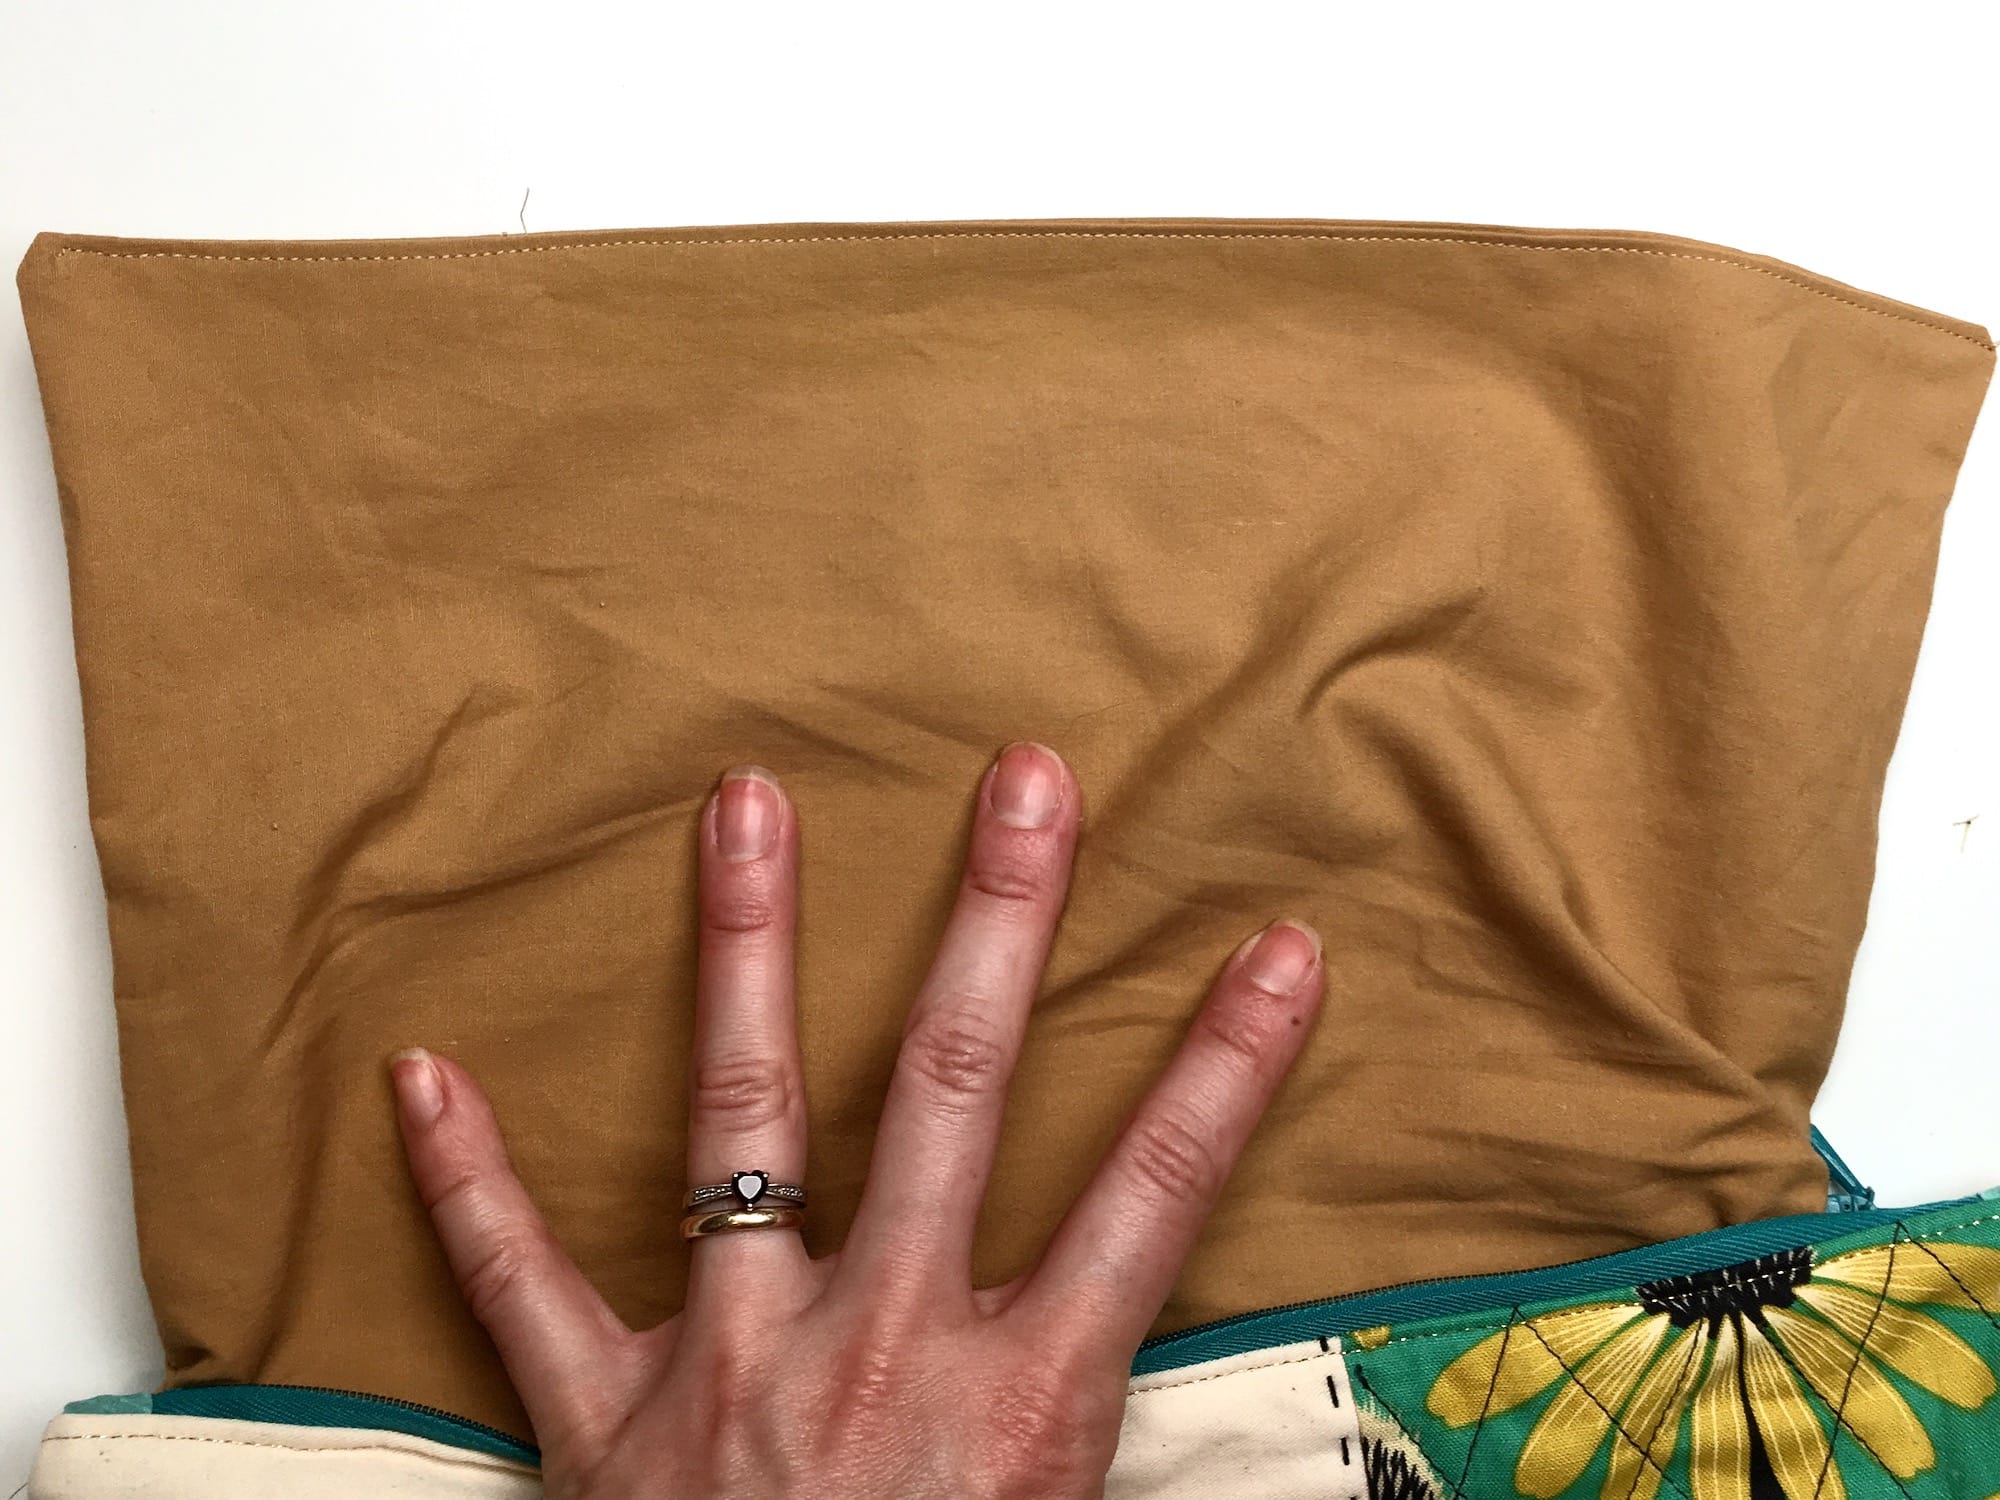
13. Next, press the inner panel away from the zipper.
14. Then, press the outer panel away from the zipper.
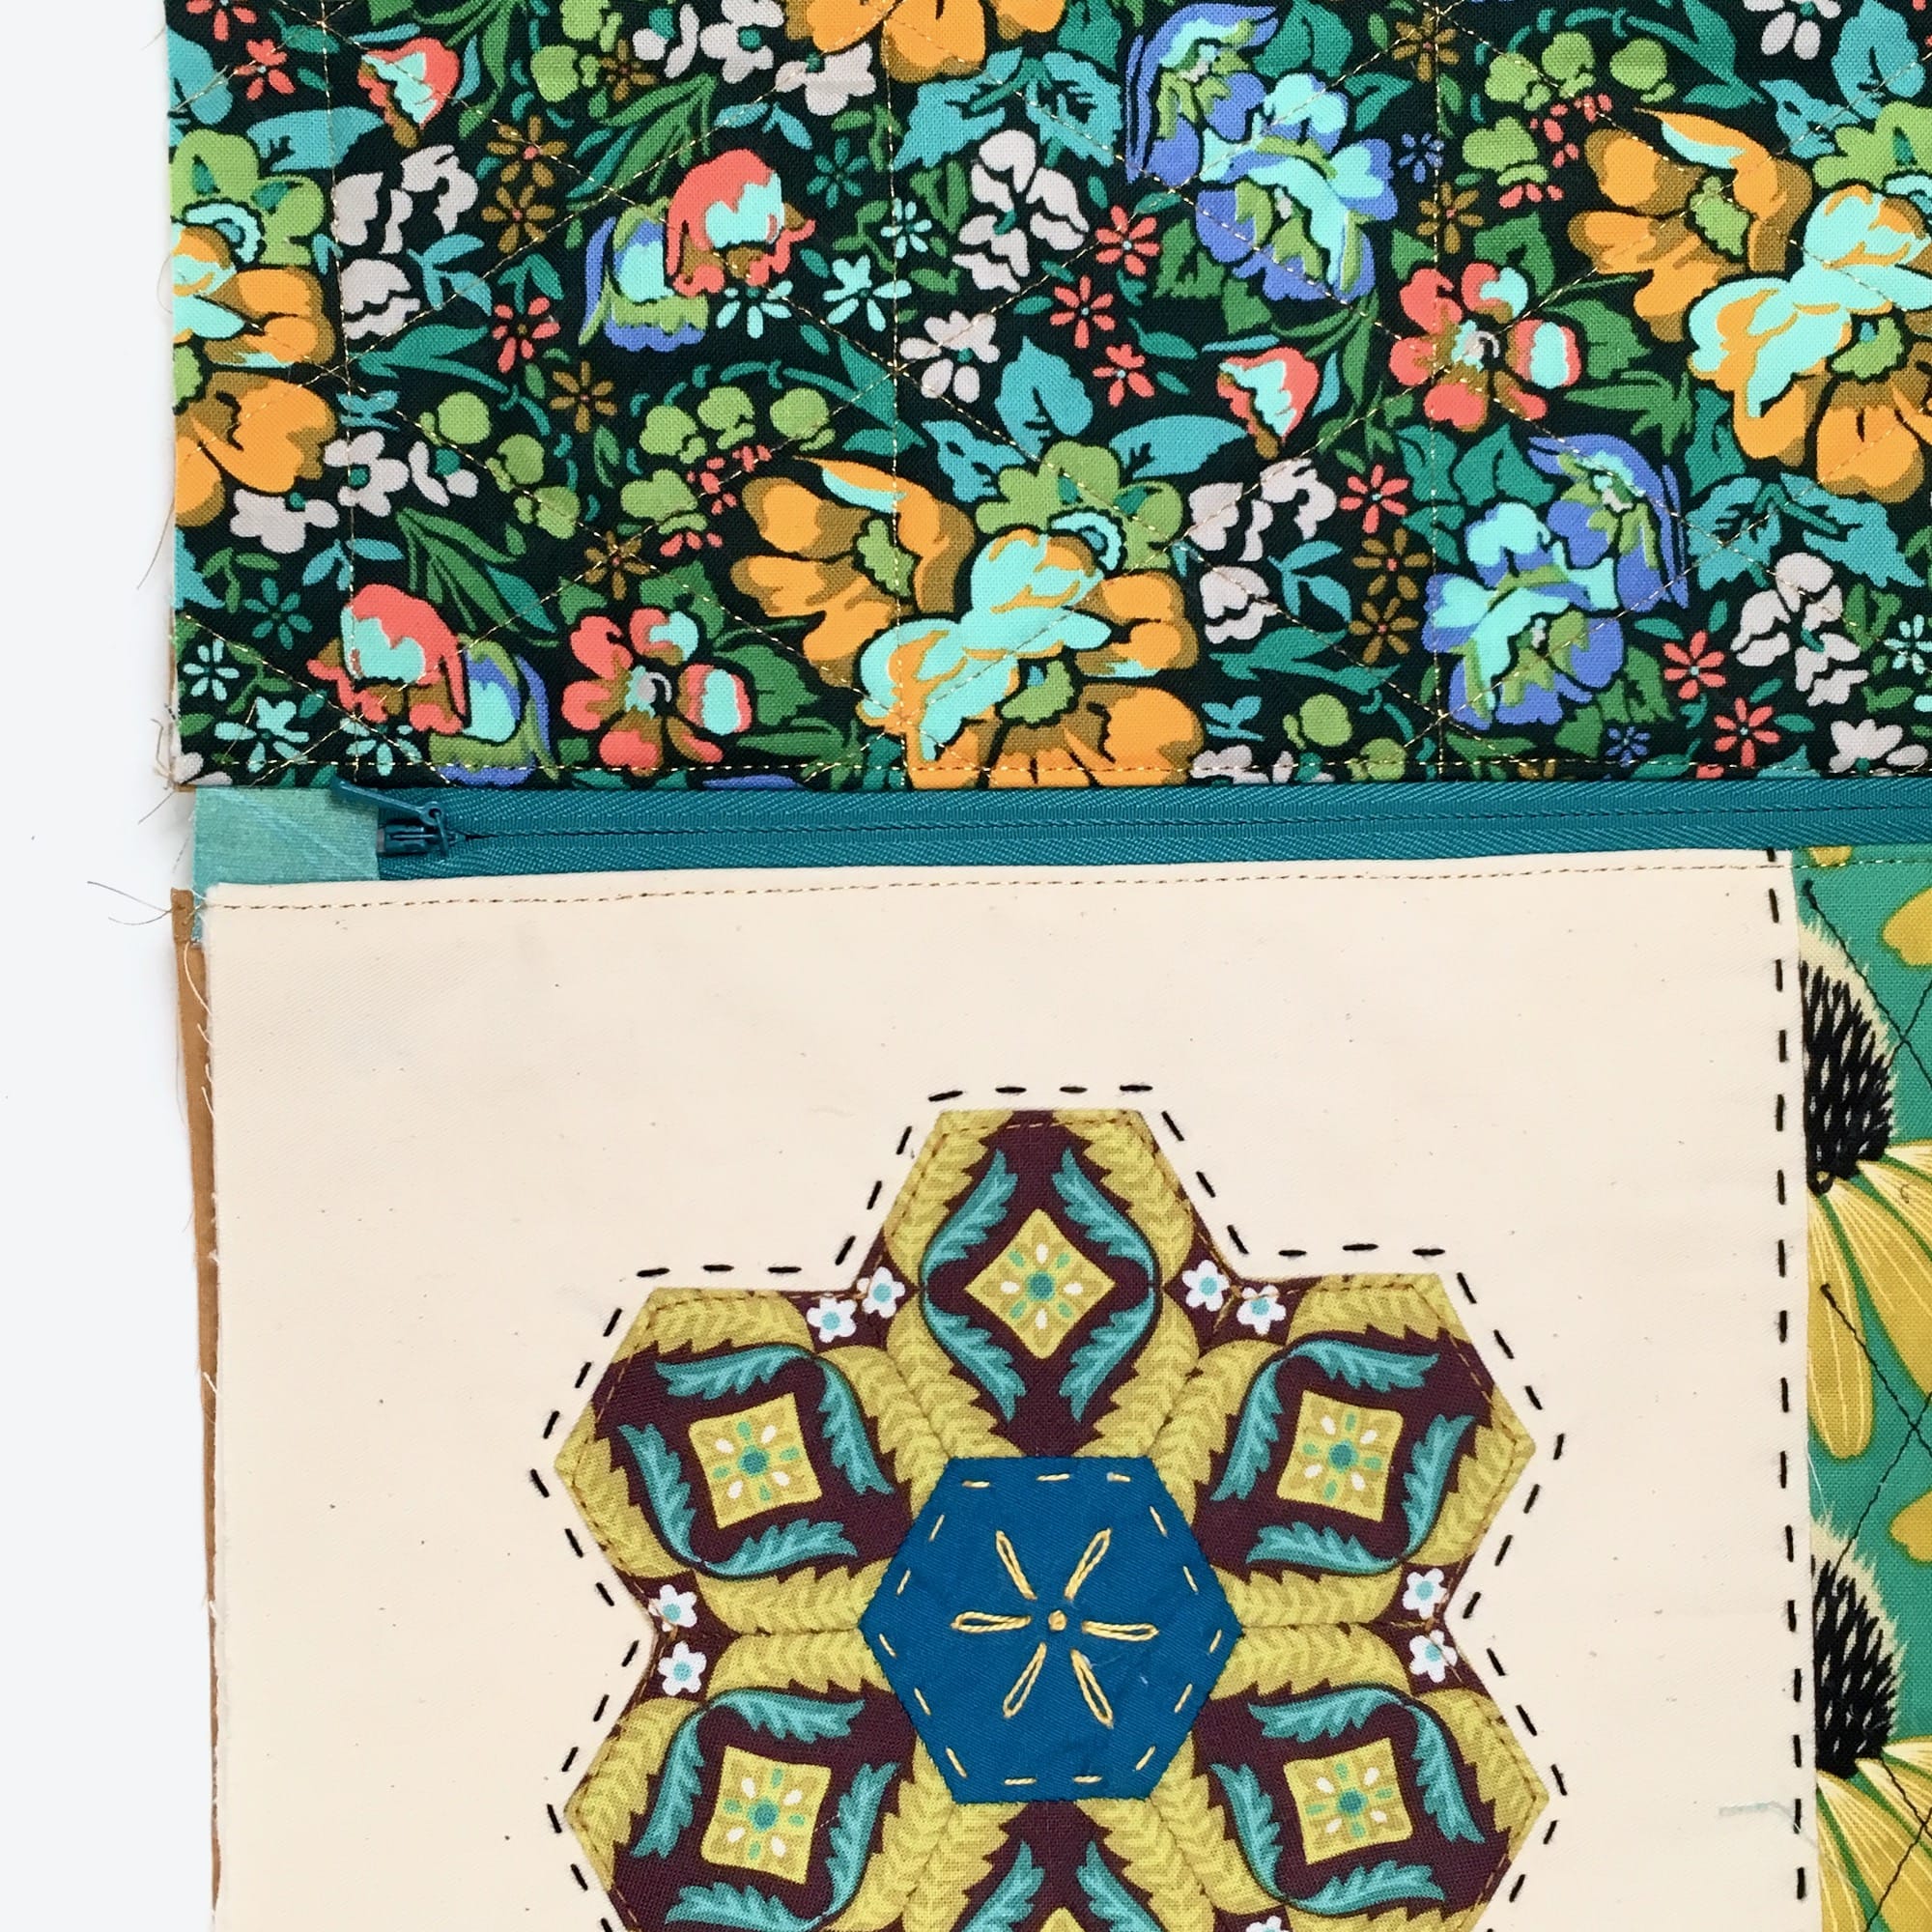
Woohoo! One side of your zipper is already installed!
15. Next, run a thin line of glue along the other front side of the zipper.
16. Position the other external pouch panel RST with the zipper so the top edges of both are flush.
17. Press the back of the zipper to dry the glue, securing the outer panel in place.
18. Run a thin line of glue on the back of the zipper where you just pressed.
19. Position the other inner pouch panel right side down, so the top edges of both the zipper and the panel are flush.
20. Press the edge of the panel to dry the glue, securing the inner panel to the zipper.
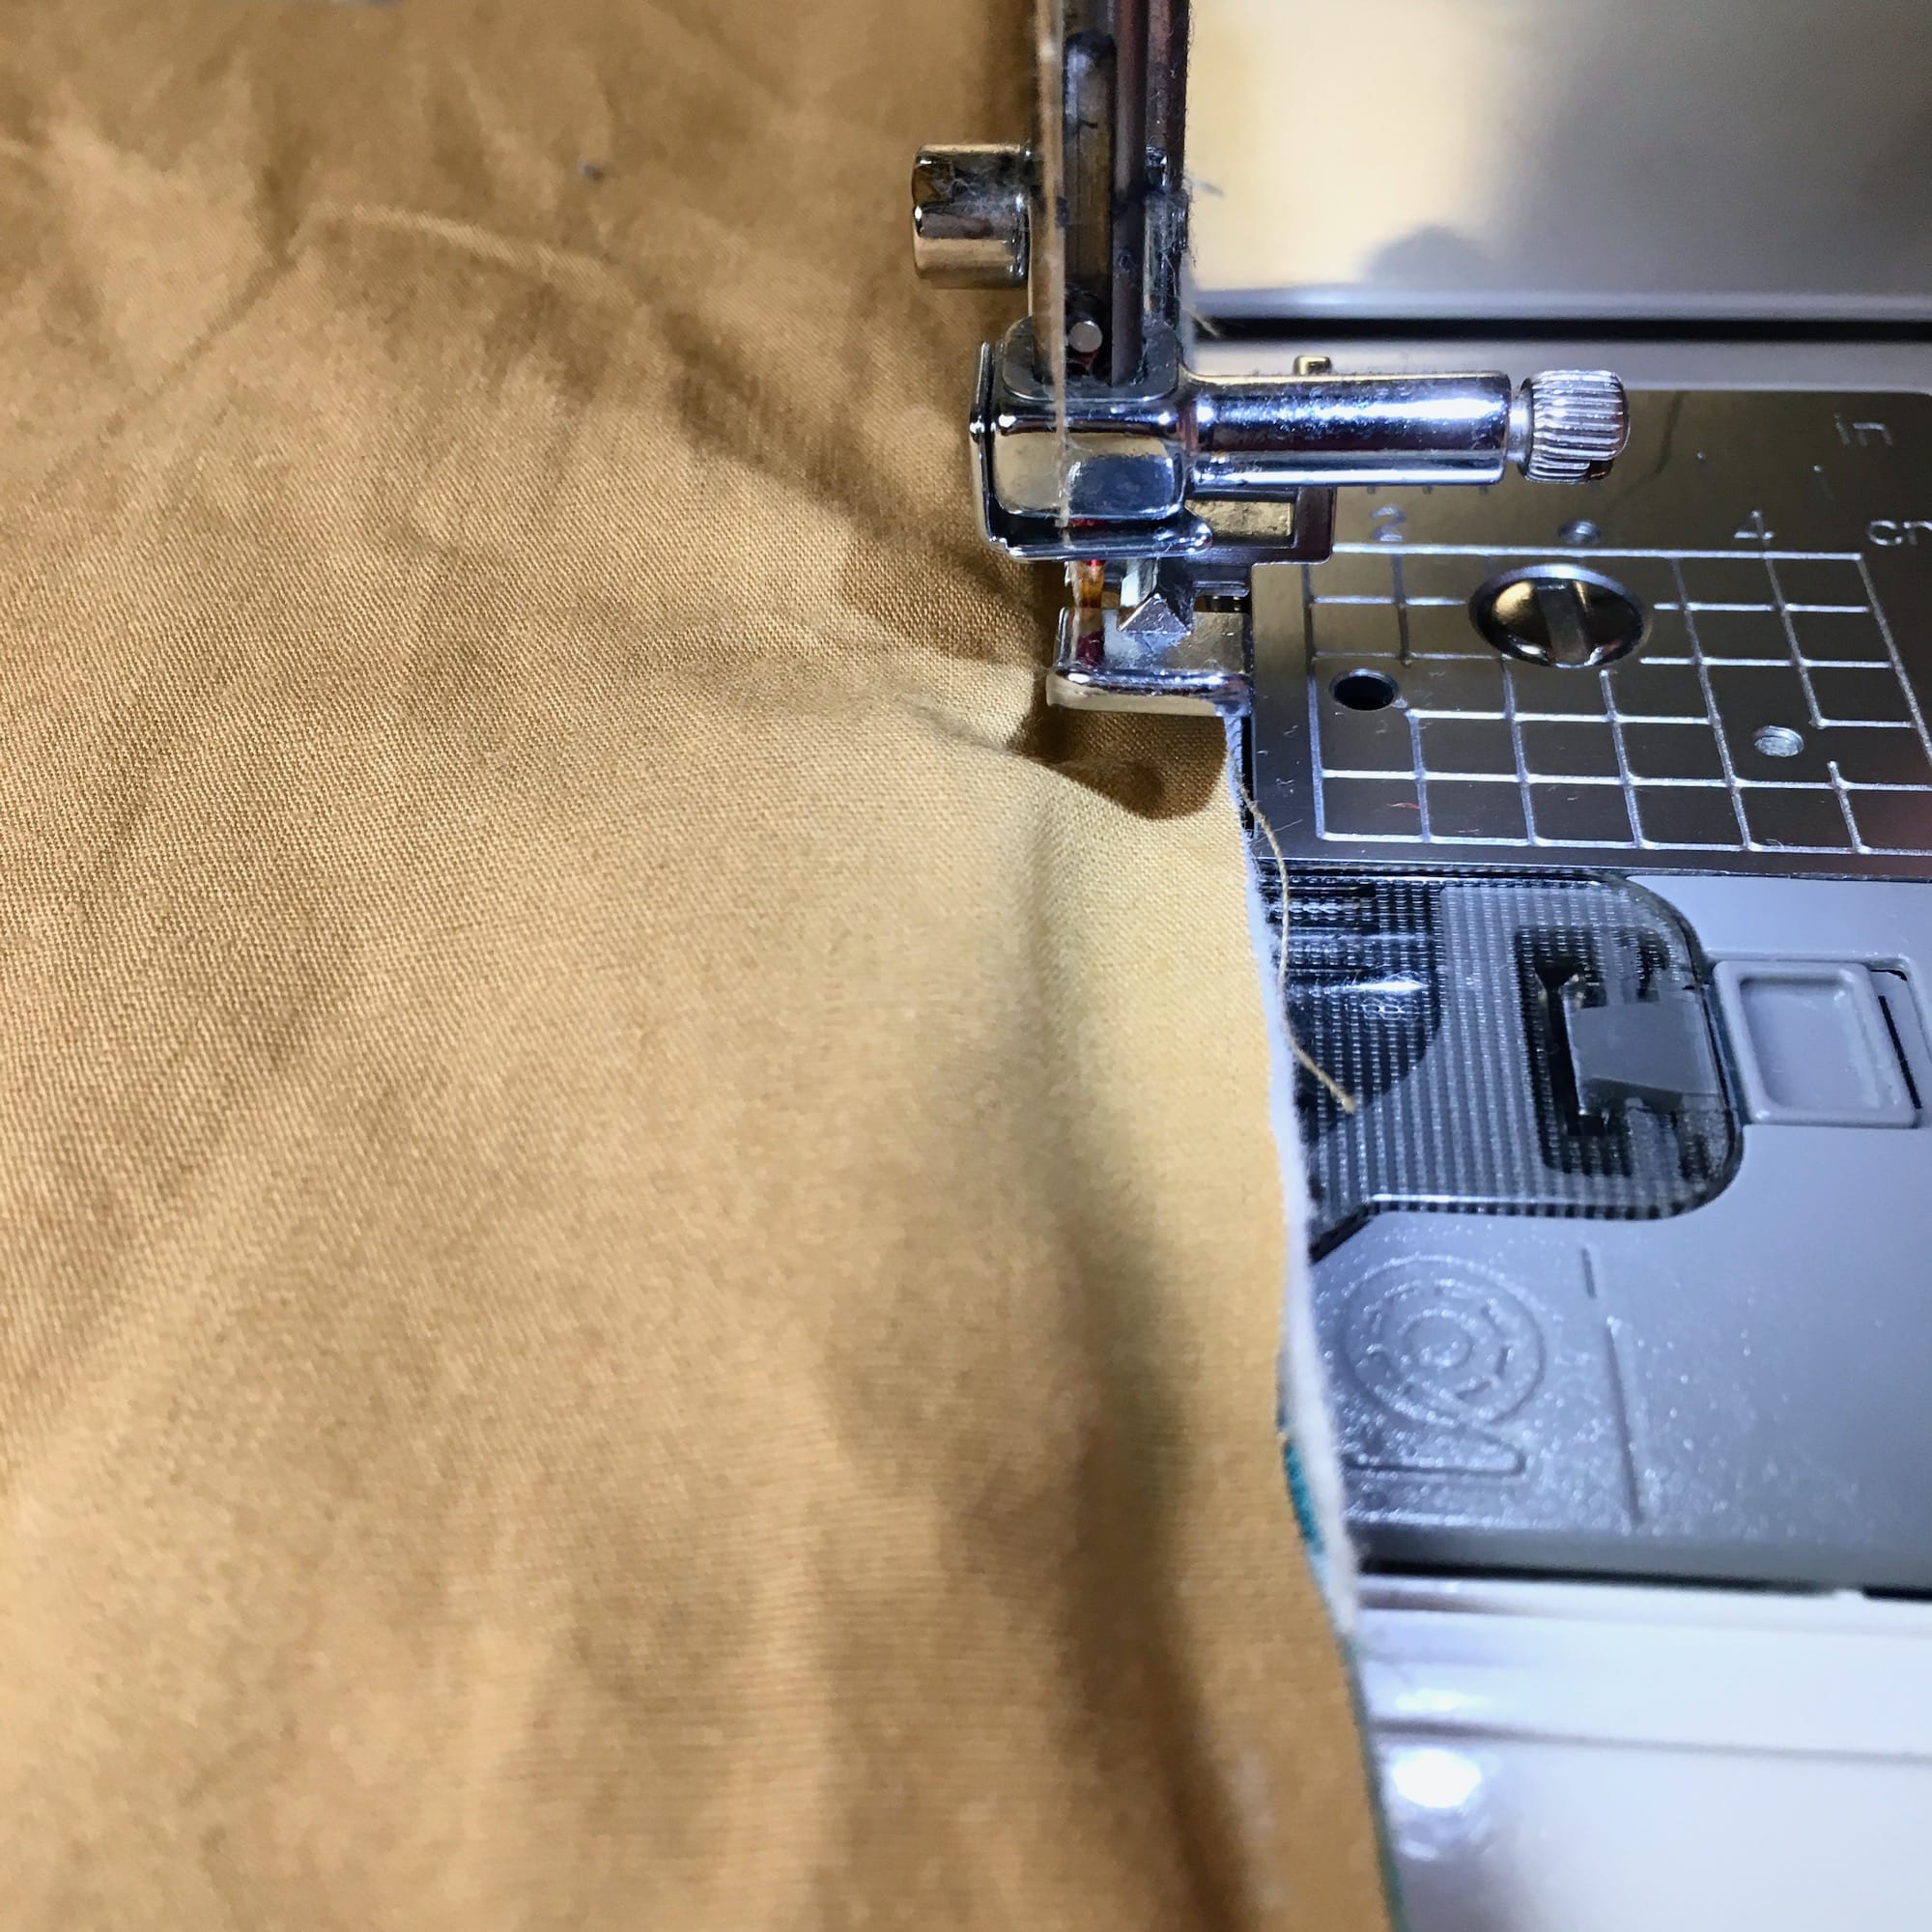
21. Repeat steps 7-14 to install the other side of the zipper.
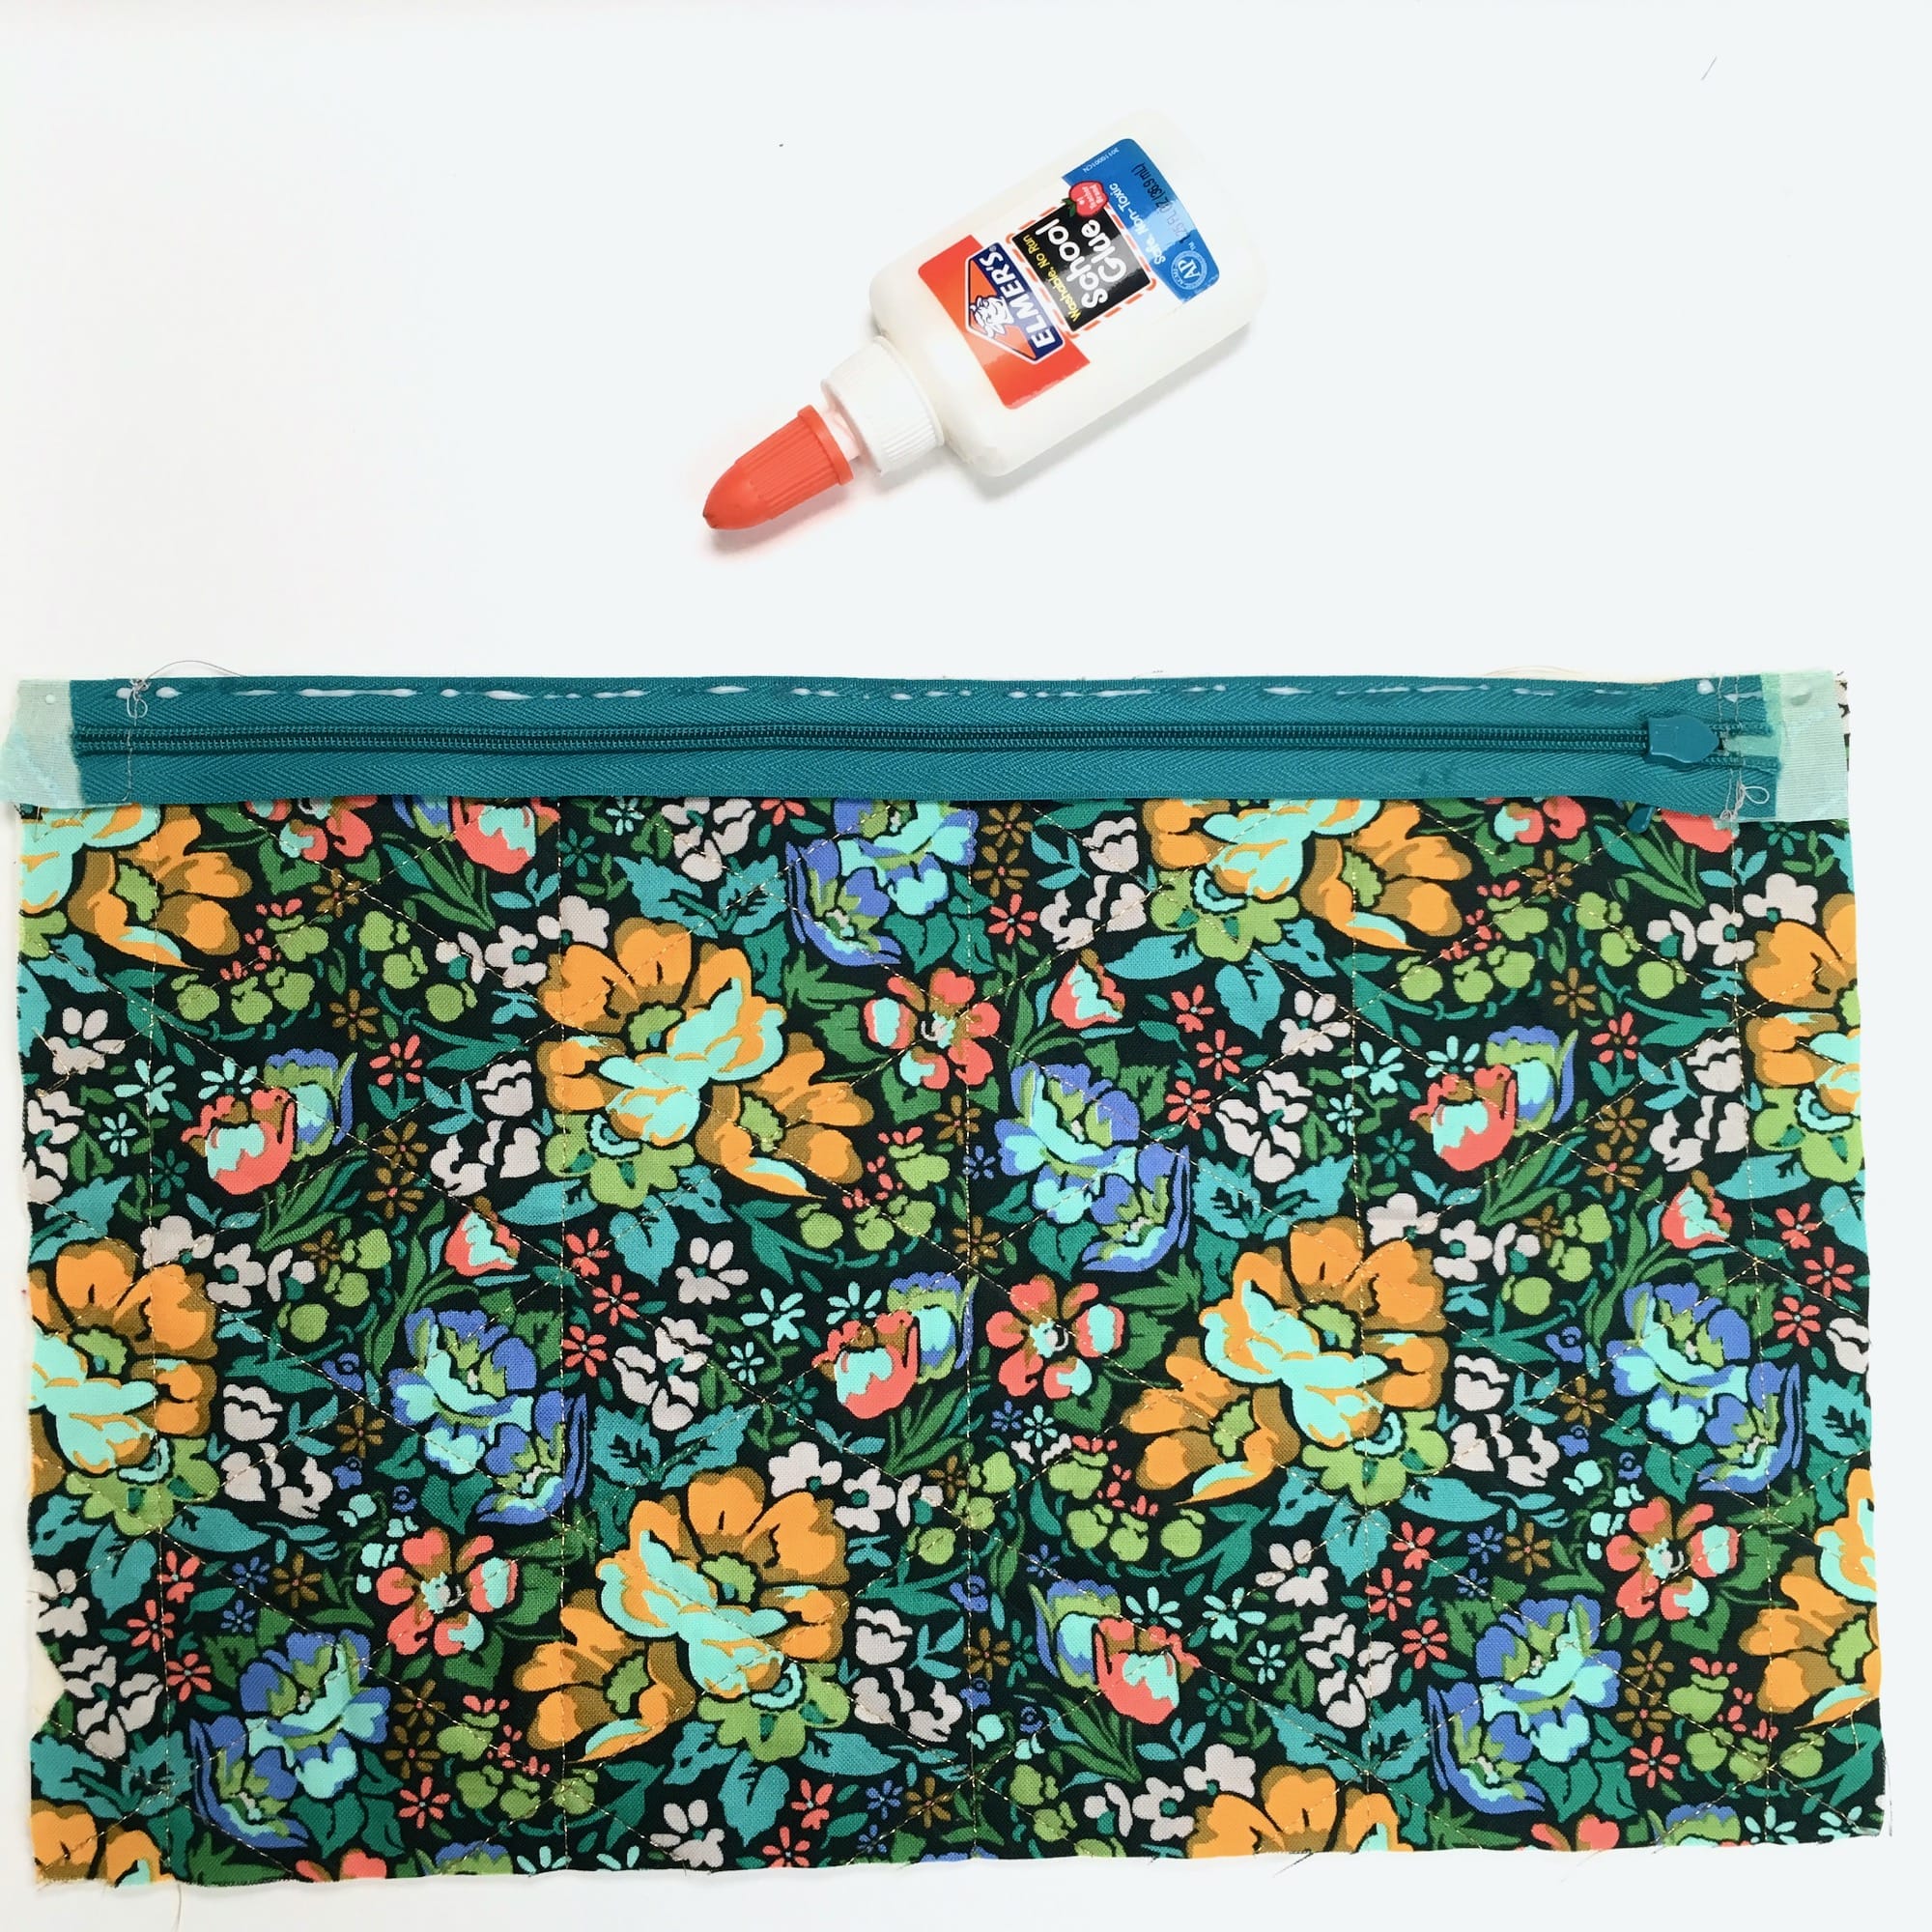
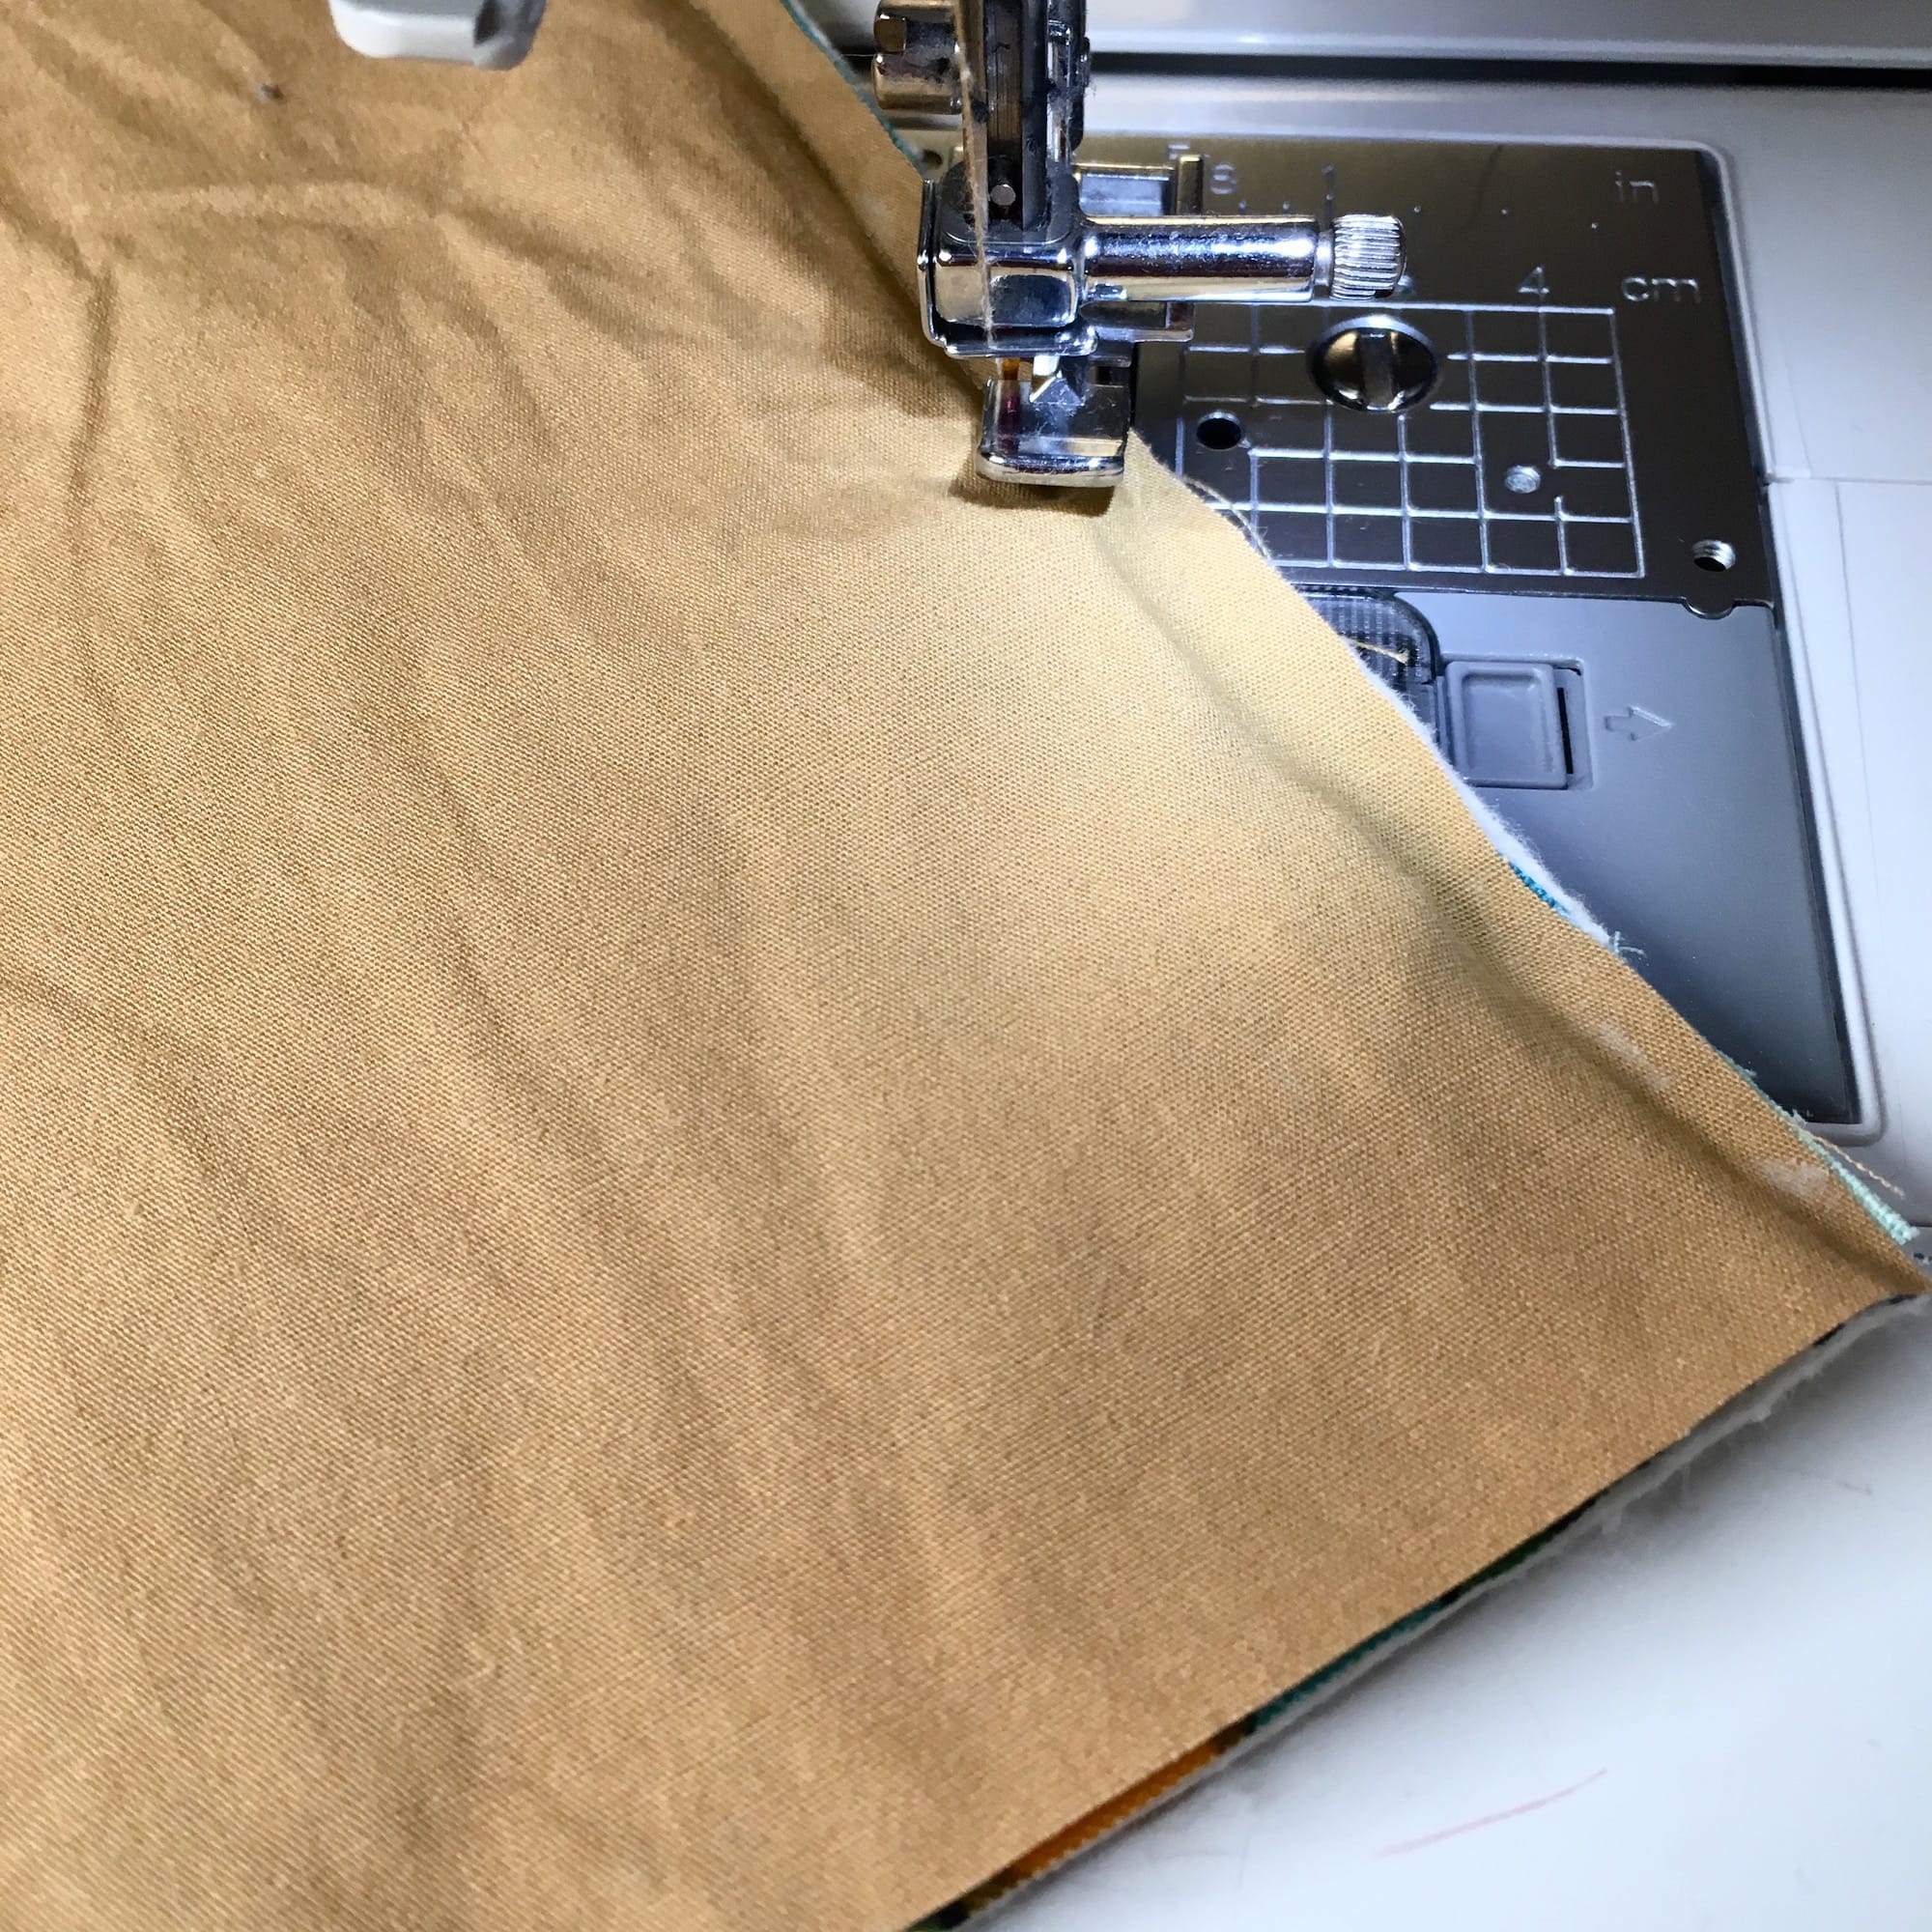
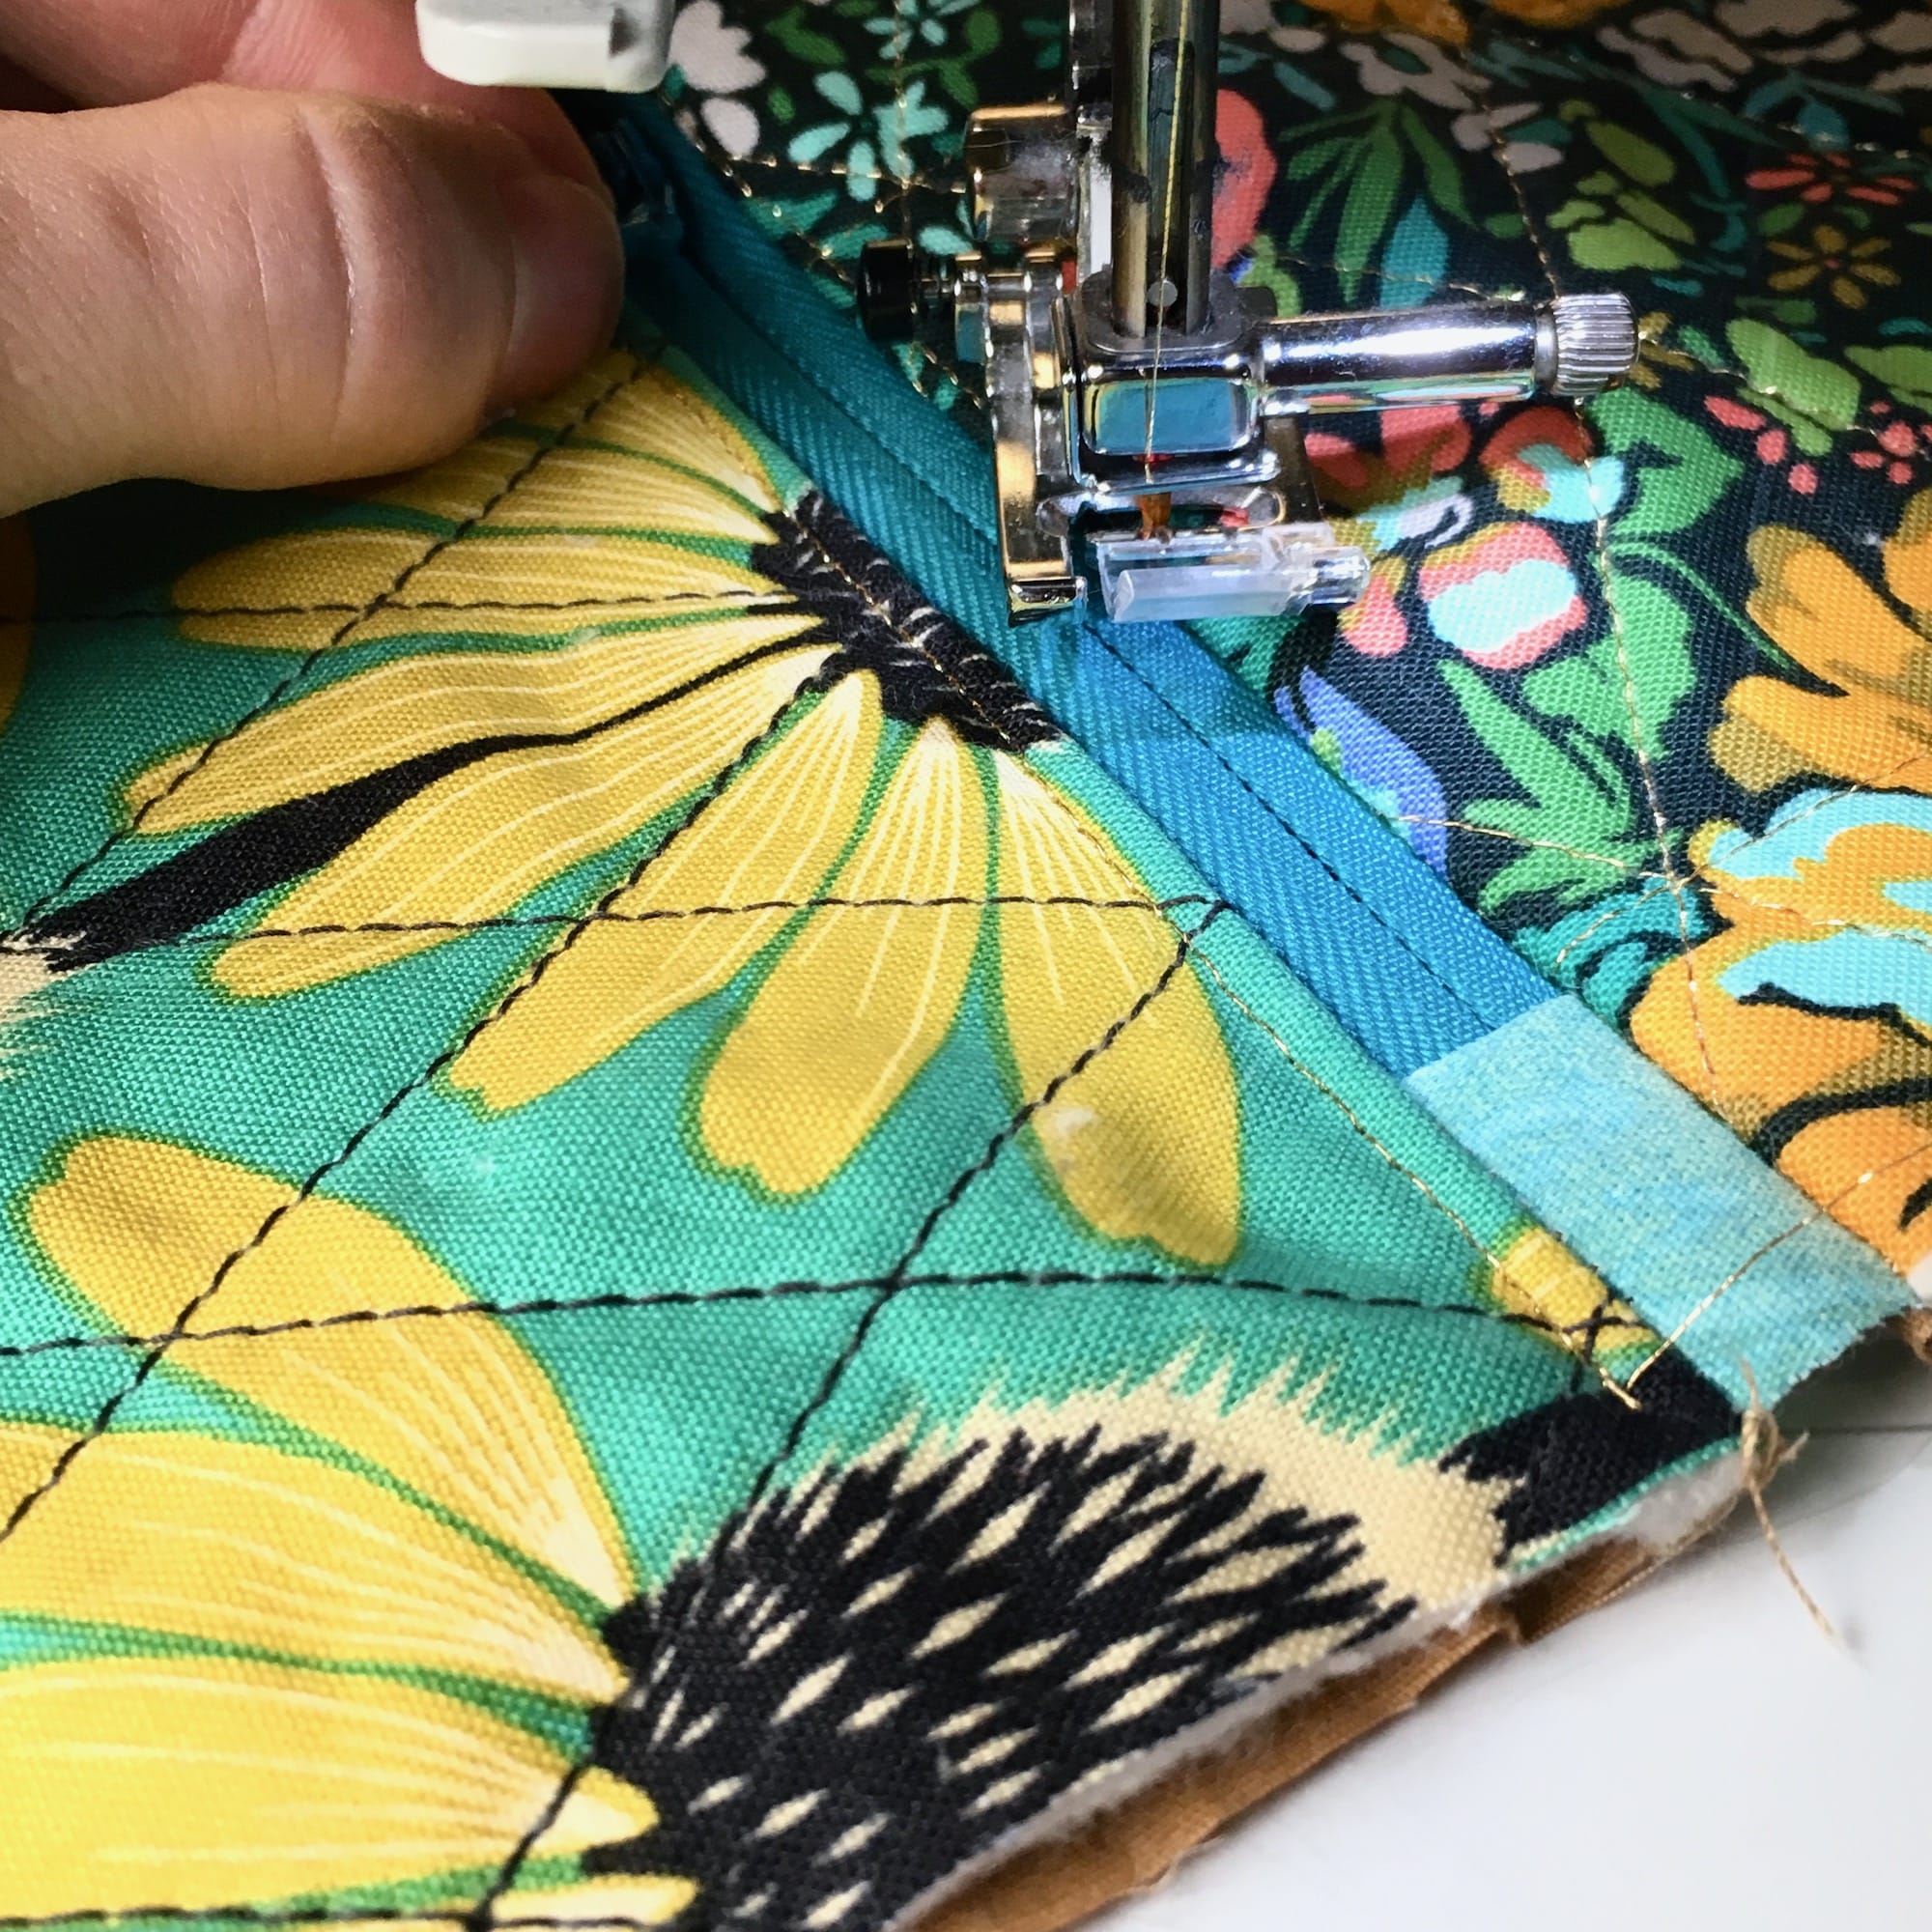
22. Top stitch along either side of the zipper. (Make sure that both of the inner panels are safely pressed away from your sewing line.)
23. Make sure to rotate your work with the needle down to pass the zipper pull out of the way to complete stitching.
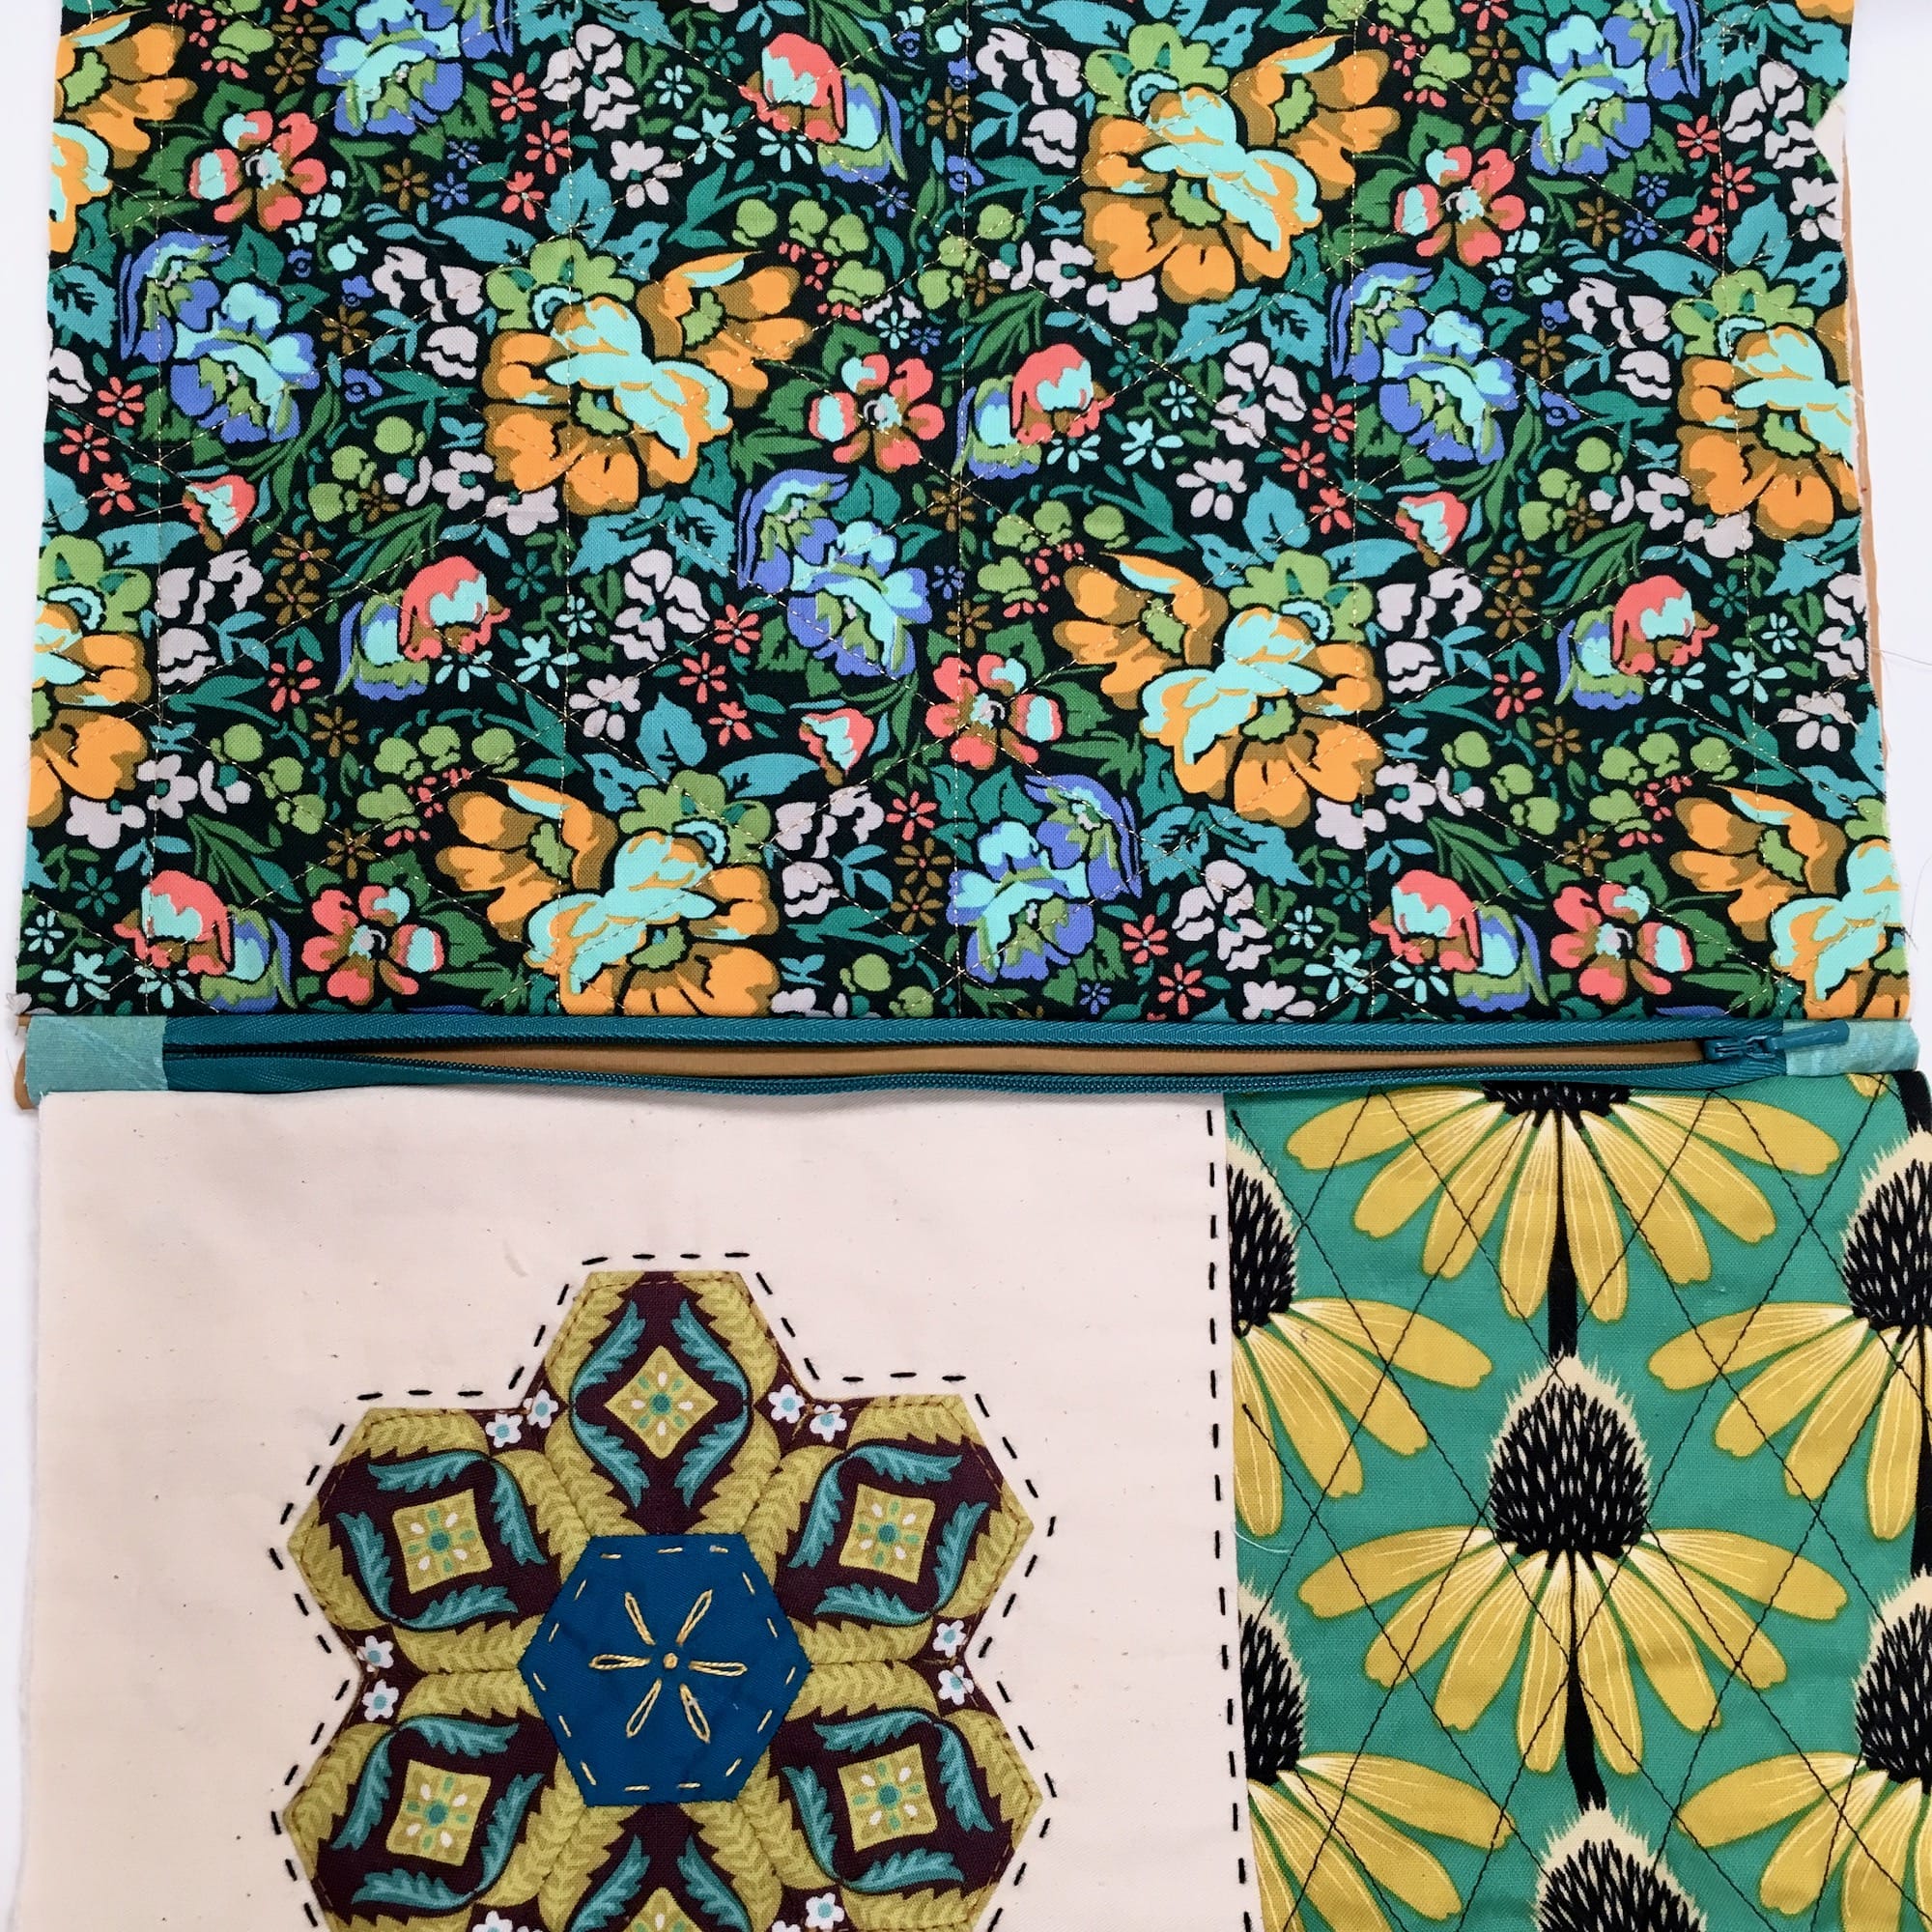
Hooray! You’ve installed your first zipper! Now let’s complete the pouch.
Complete the Zipper Pouch
1. Begin by opening the zipper greater than halfway open. DO NOT FORGET THIS STEP!
2. Align the two outer panels with each other and the two inner panels with each other, RST.
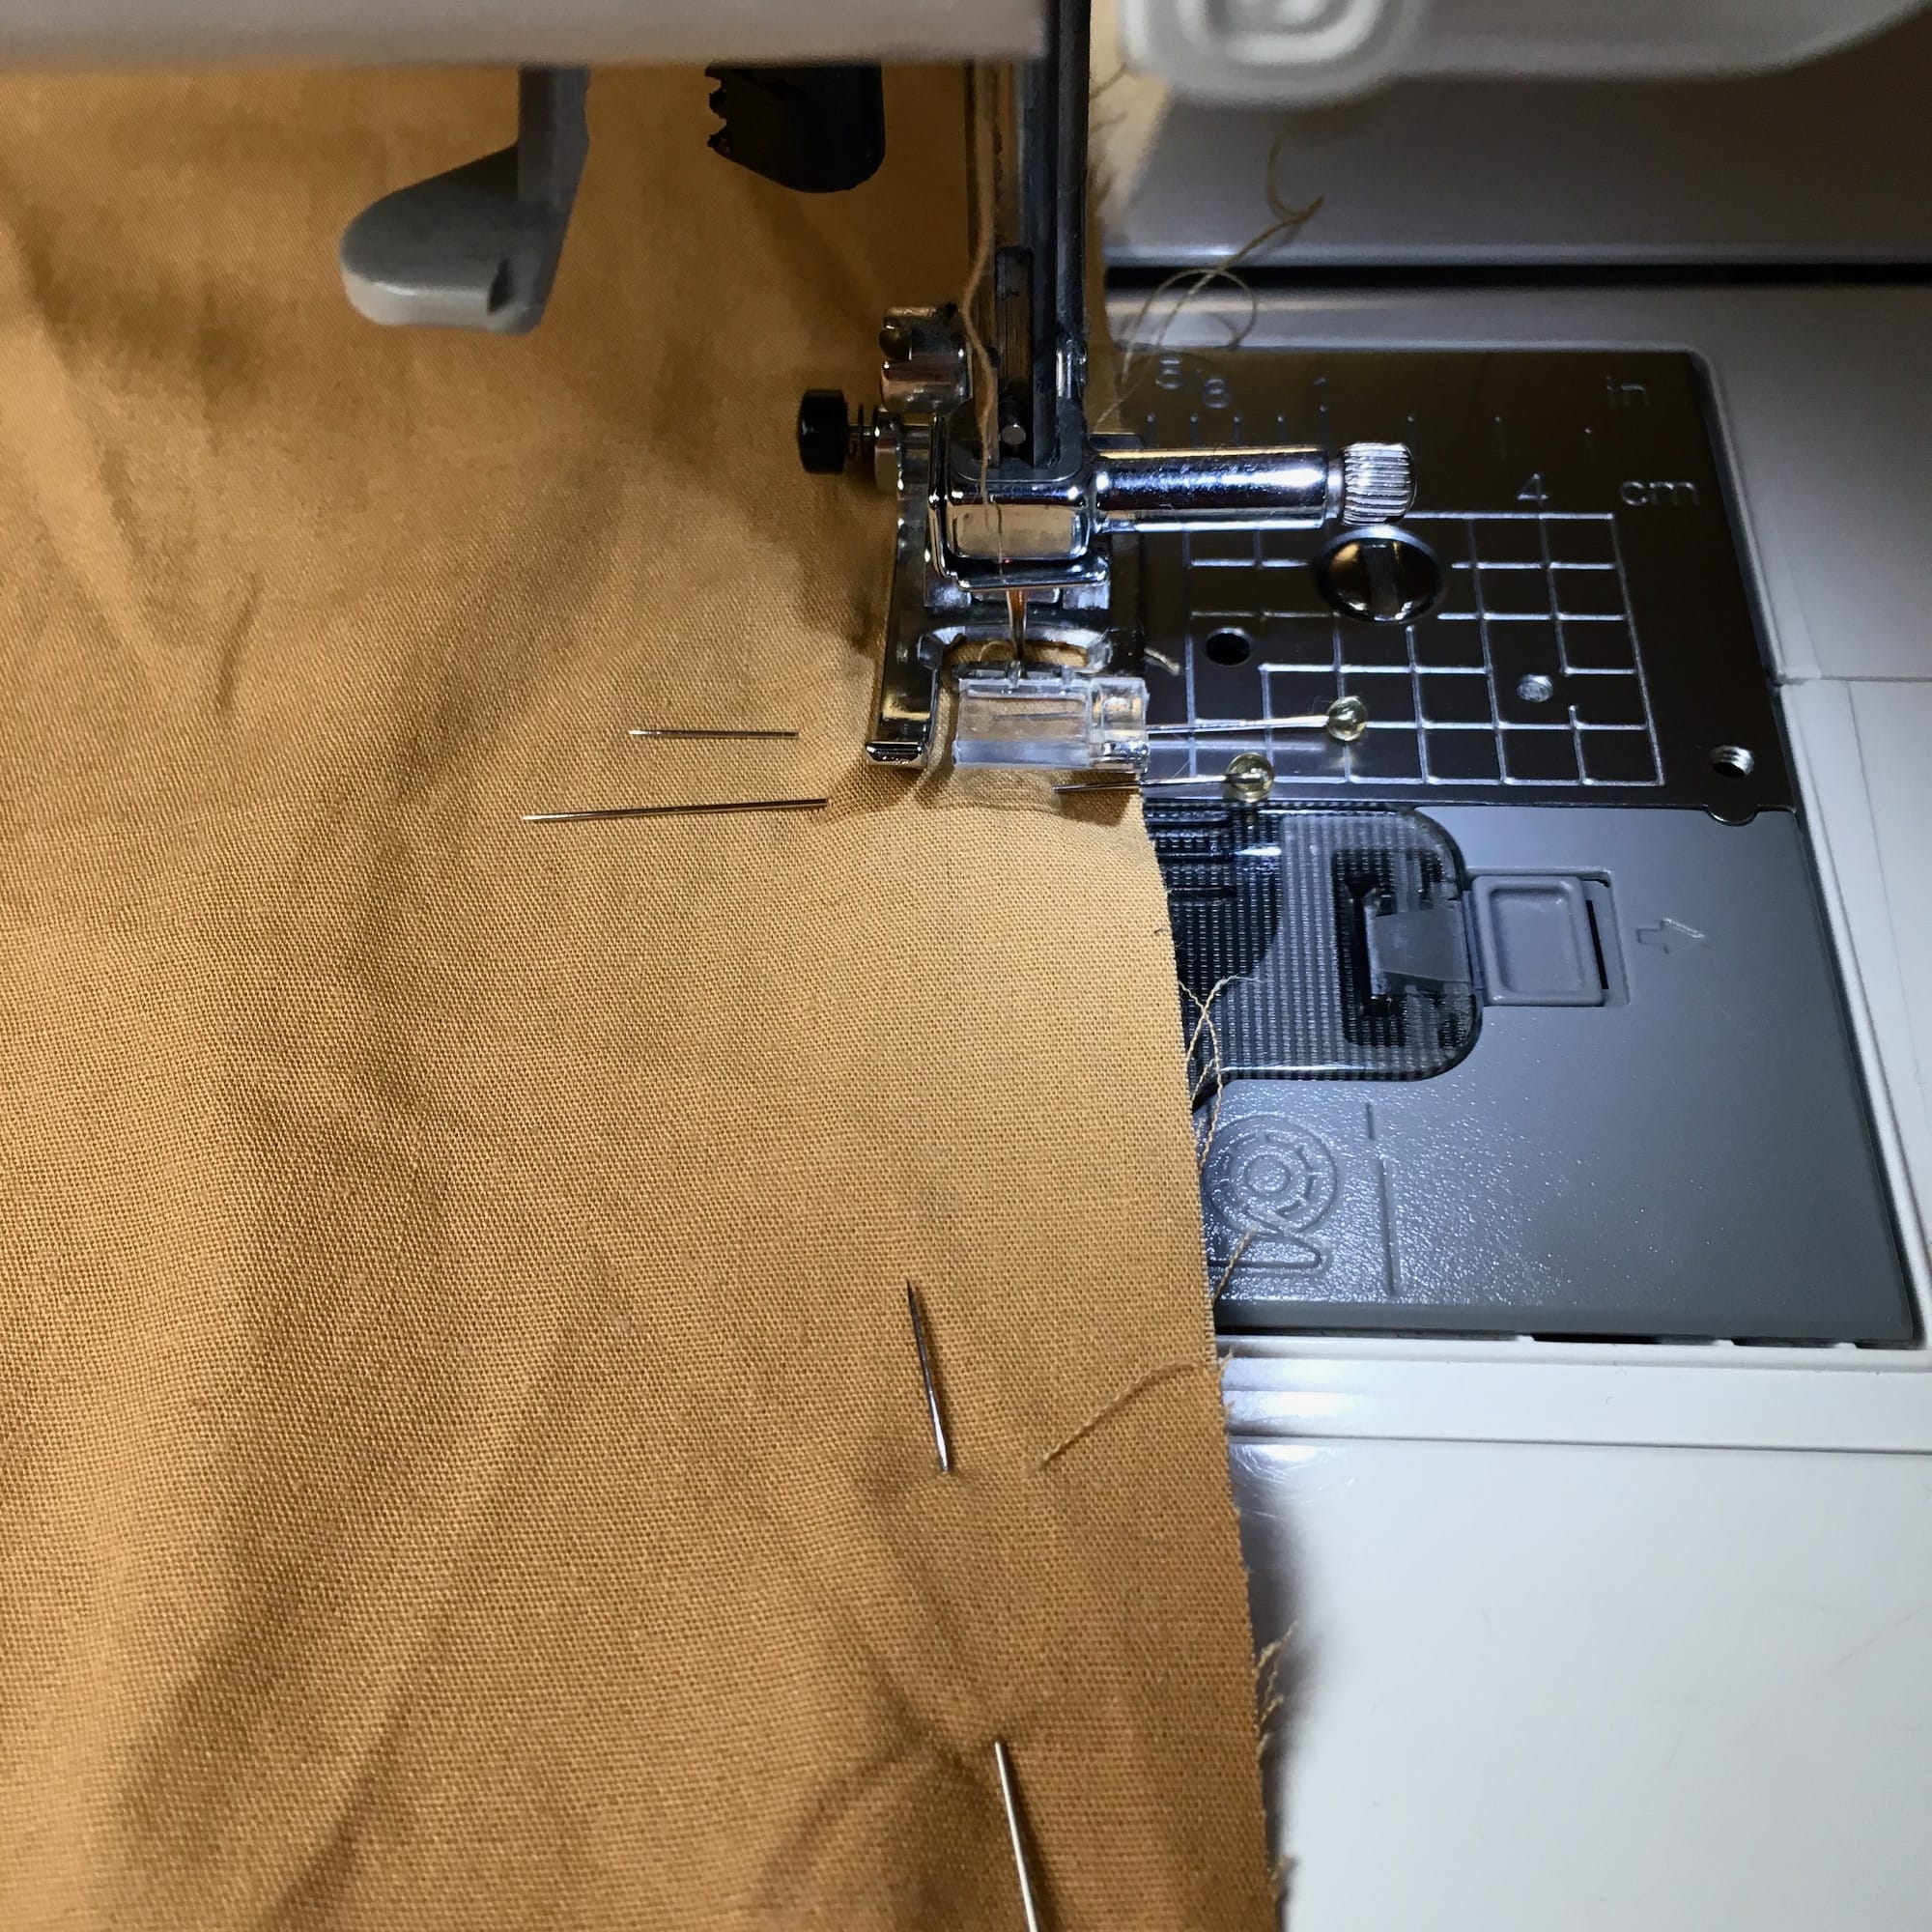
3. Beginning a short distance away from right corner of the inner panels, insert two pins. (This will be where you begin sewing around the pouch.)
4. Continue pinning around the entire perimeter of the pouch.
5. Stop and insert two pins when you get a short distance from the other corner on the side where you started. (This will be where you stop sewing. Notice that there is a gap left for turning your pouch after sewing.)
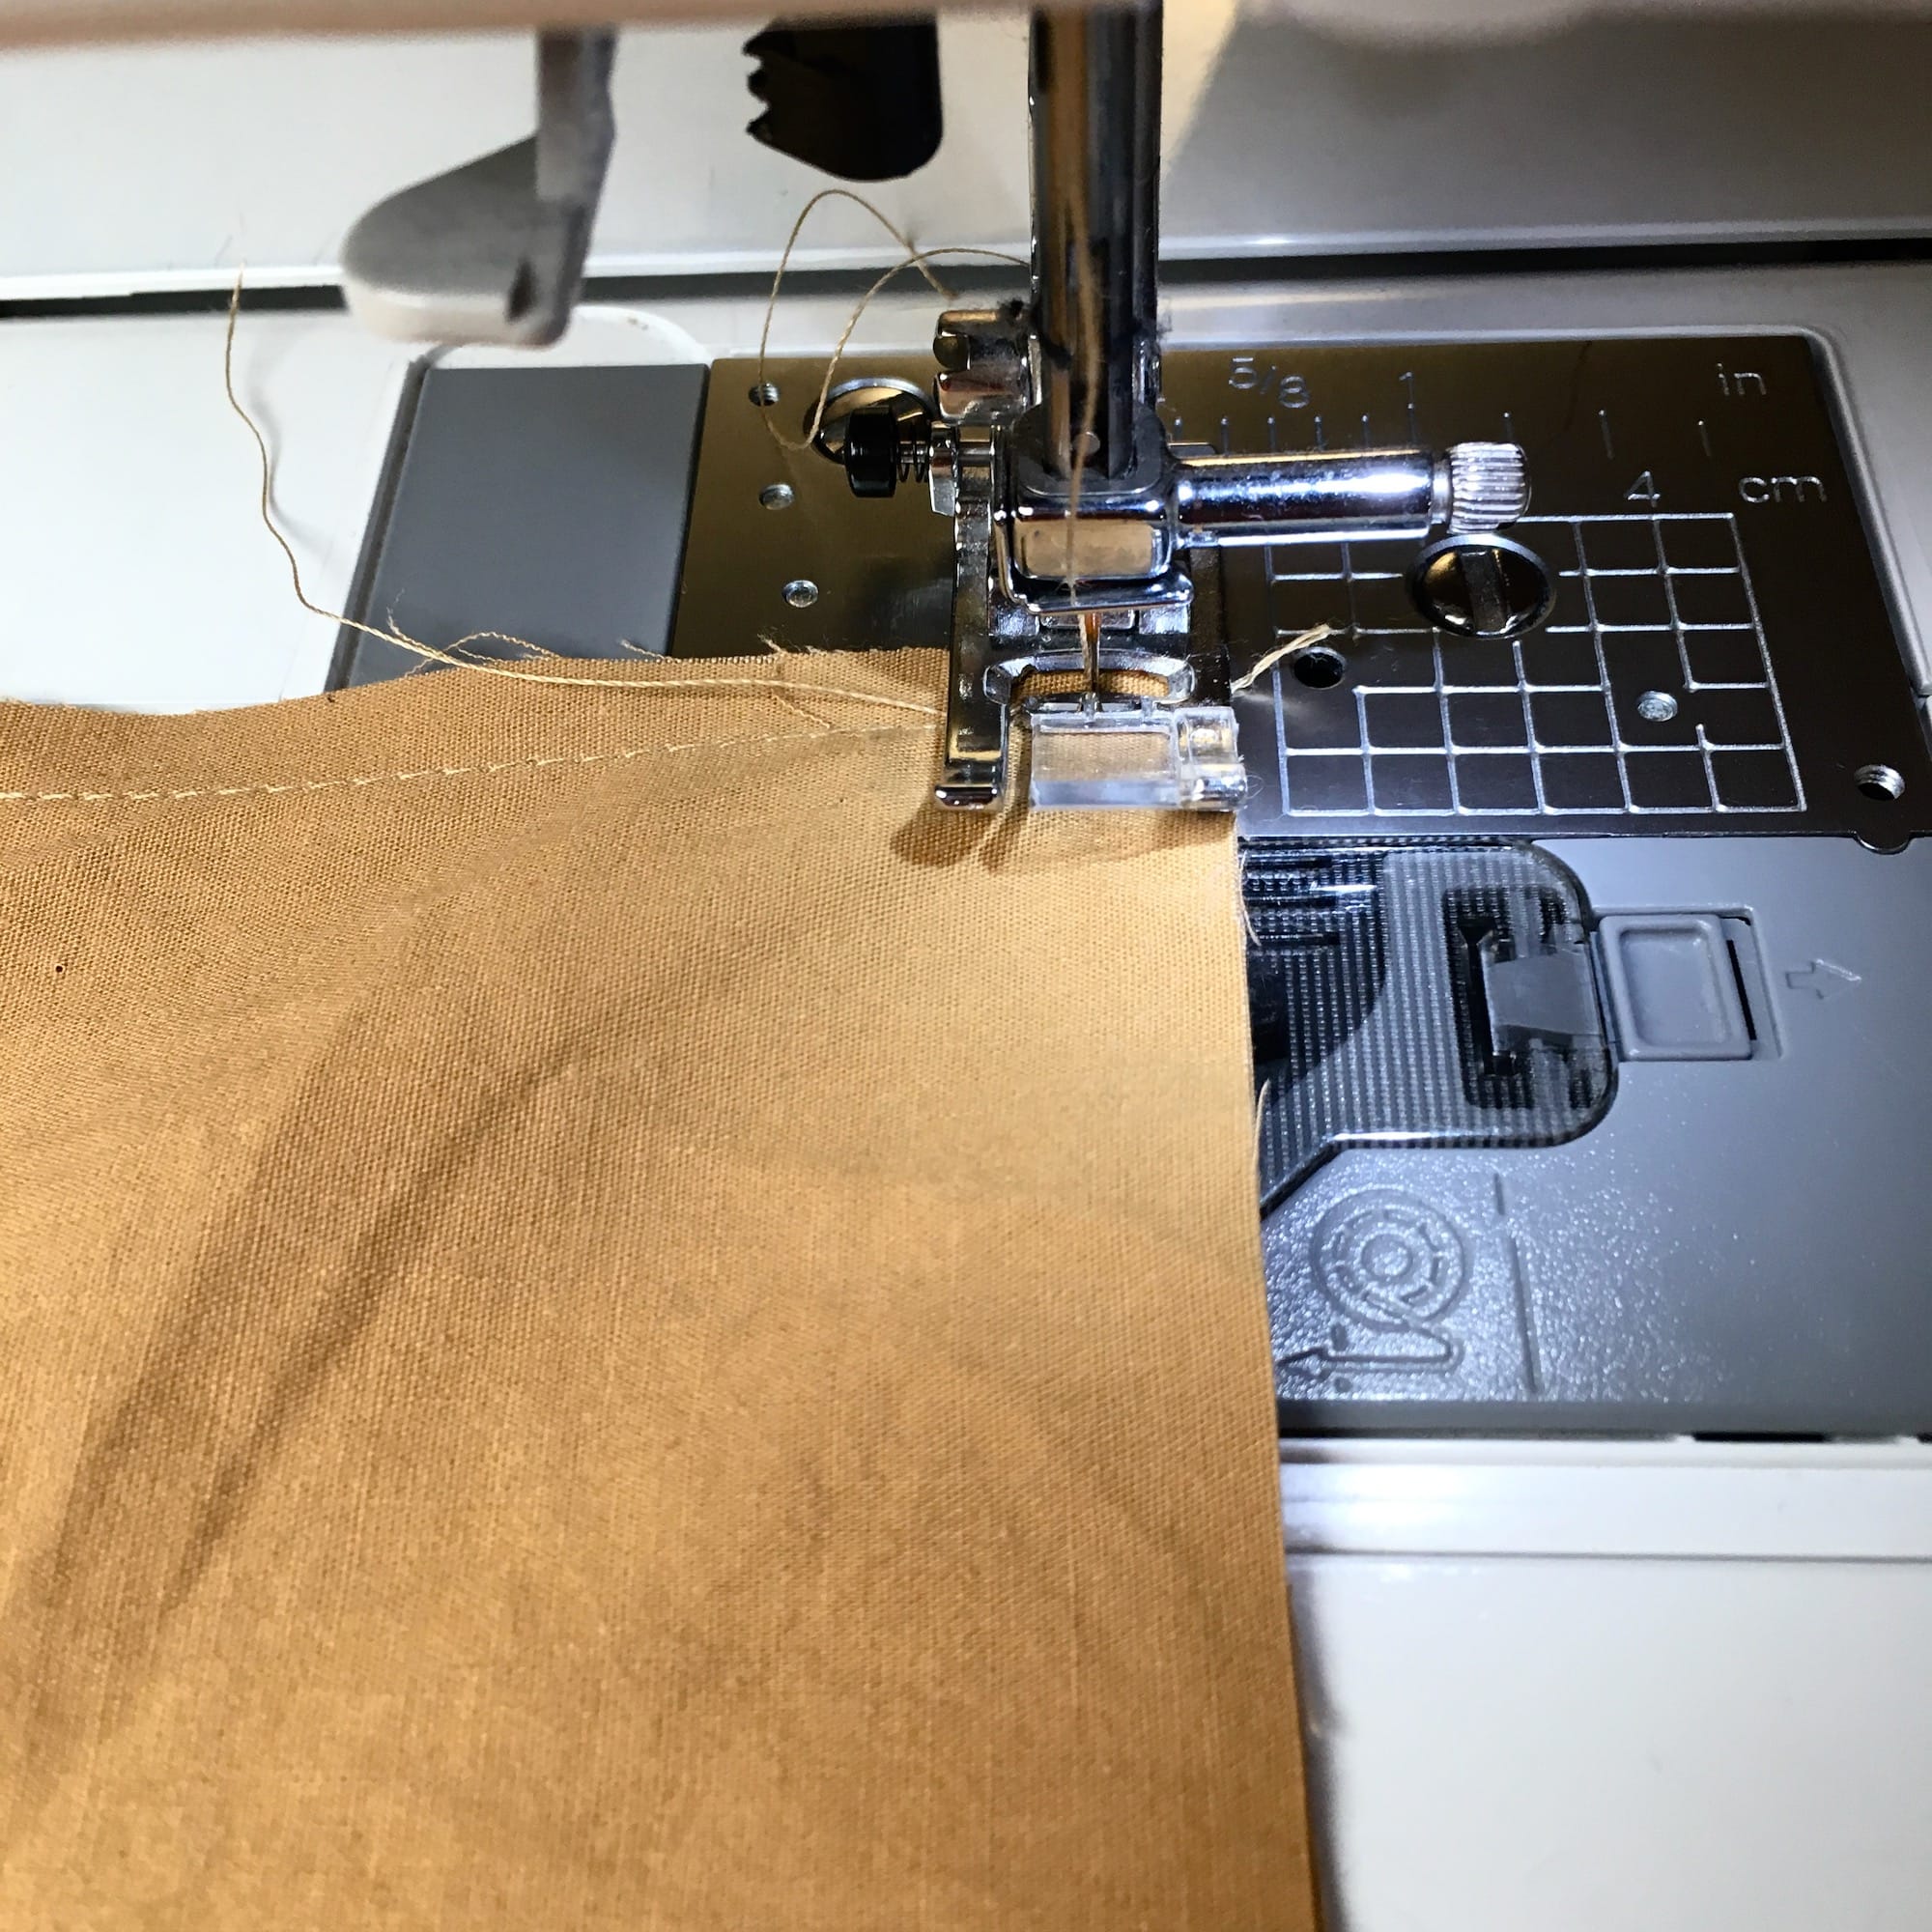
6. Begin sewing at the first set of double pins, being sure to backstitch before you set off, and sew off the edge of the seam.
7. Begin sewing the next side, starting just before the line of sewing you just completed. (I find that this helps secure the corners nicely later.)
8. Sew around the entire perimeter of the pouch until you reach the other set of double pins, and backstitch to secure.
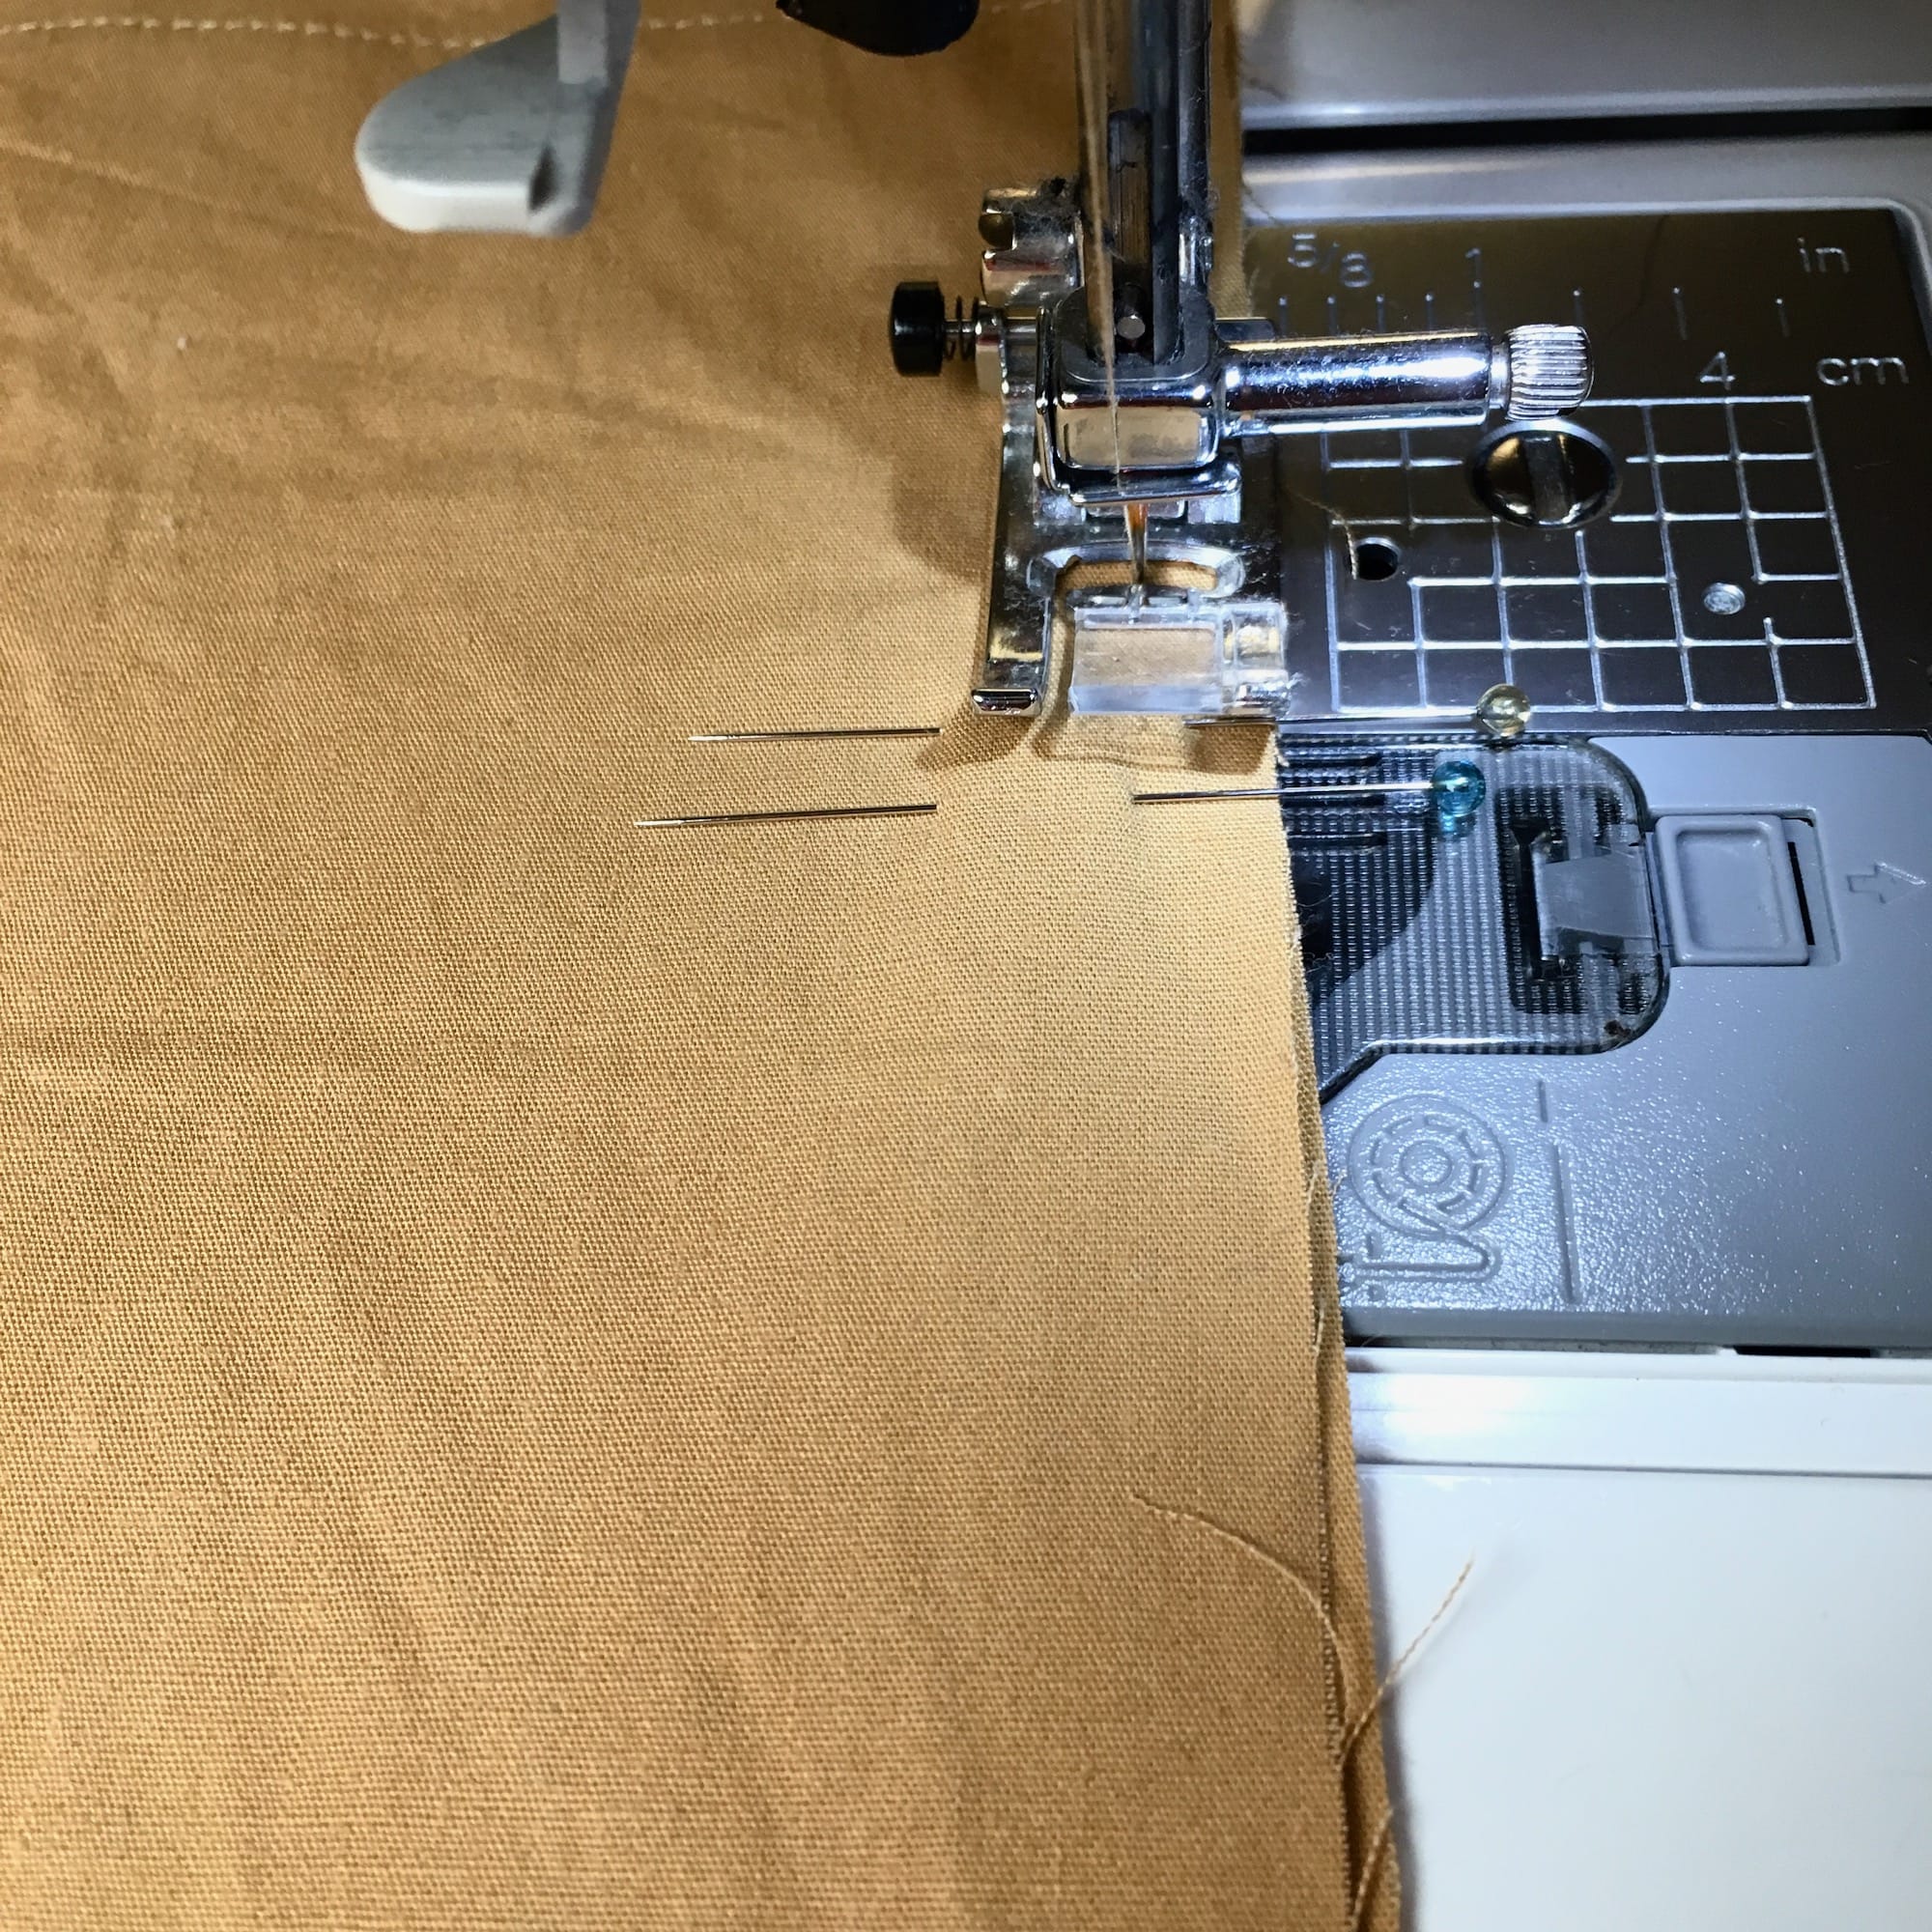
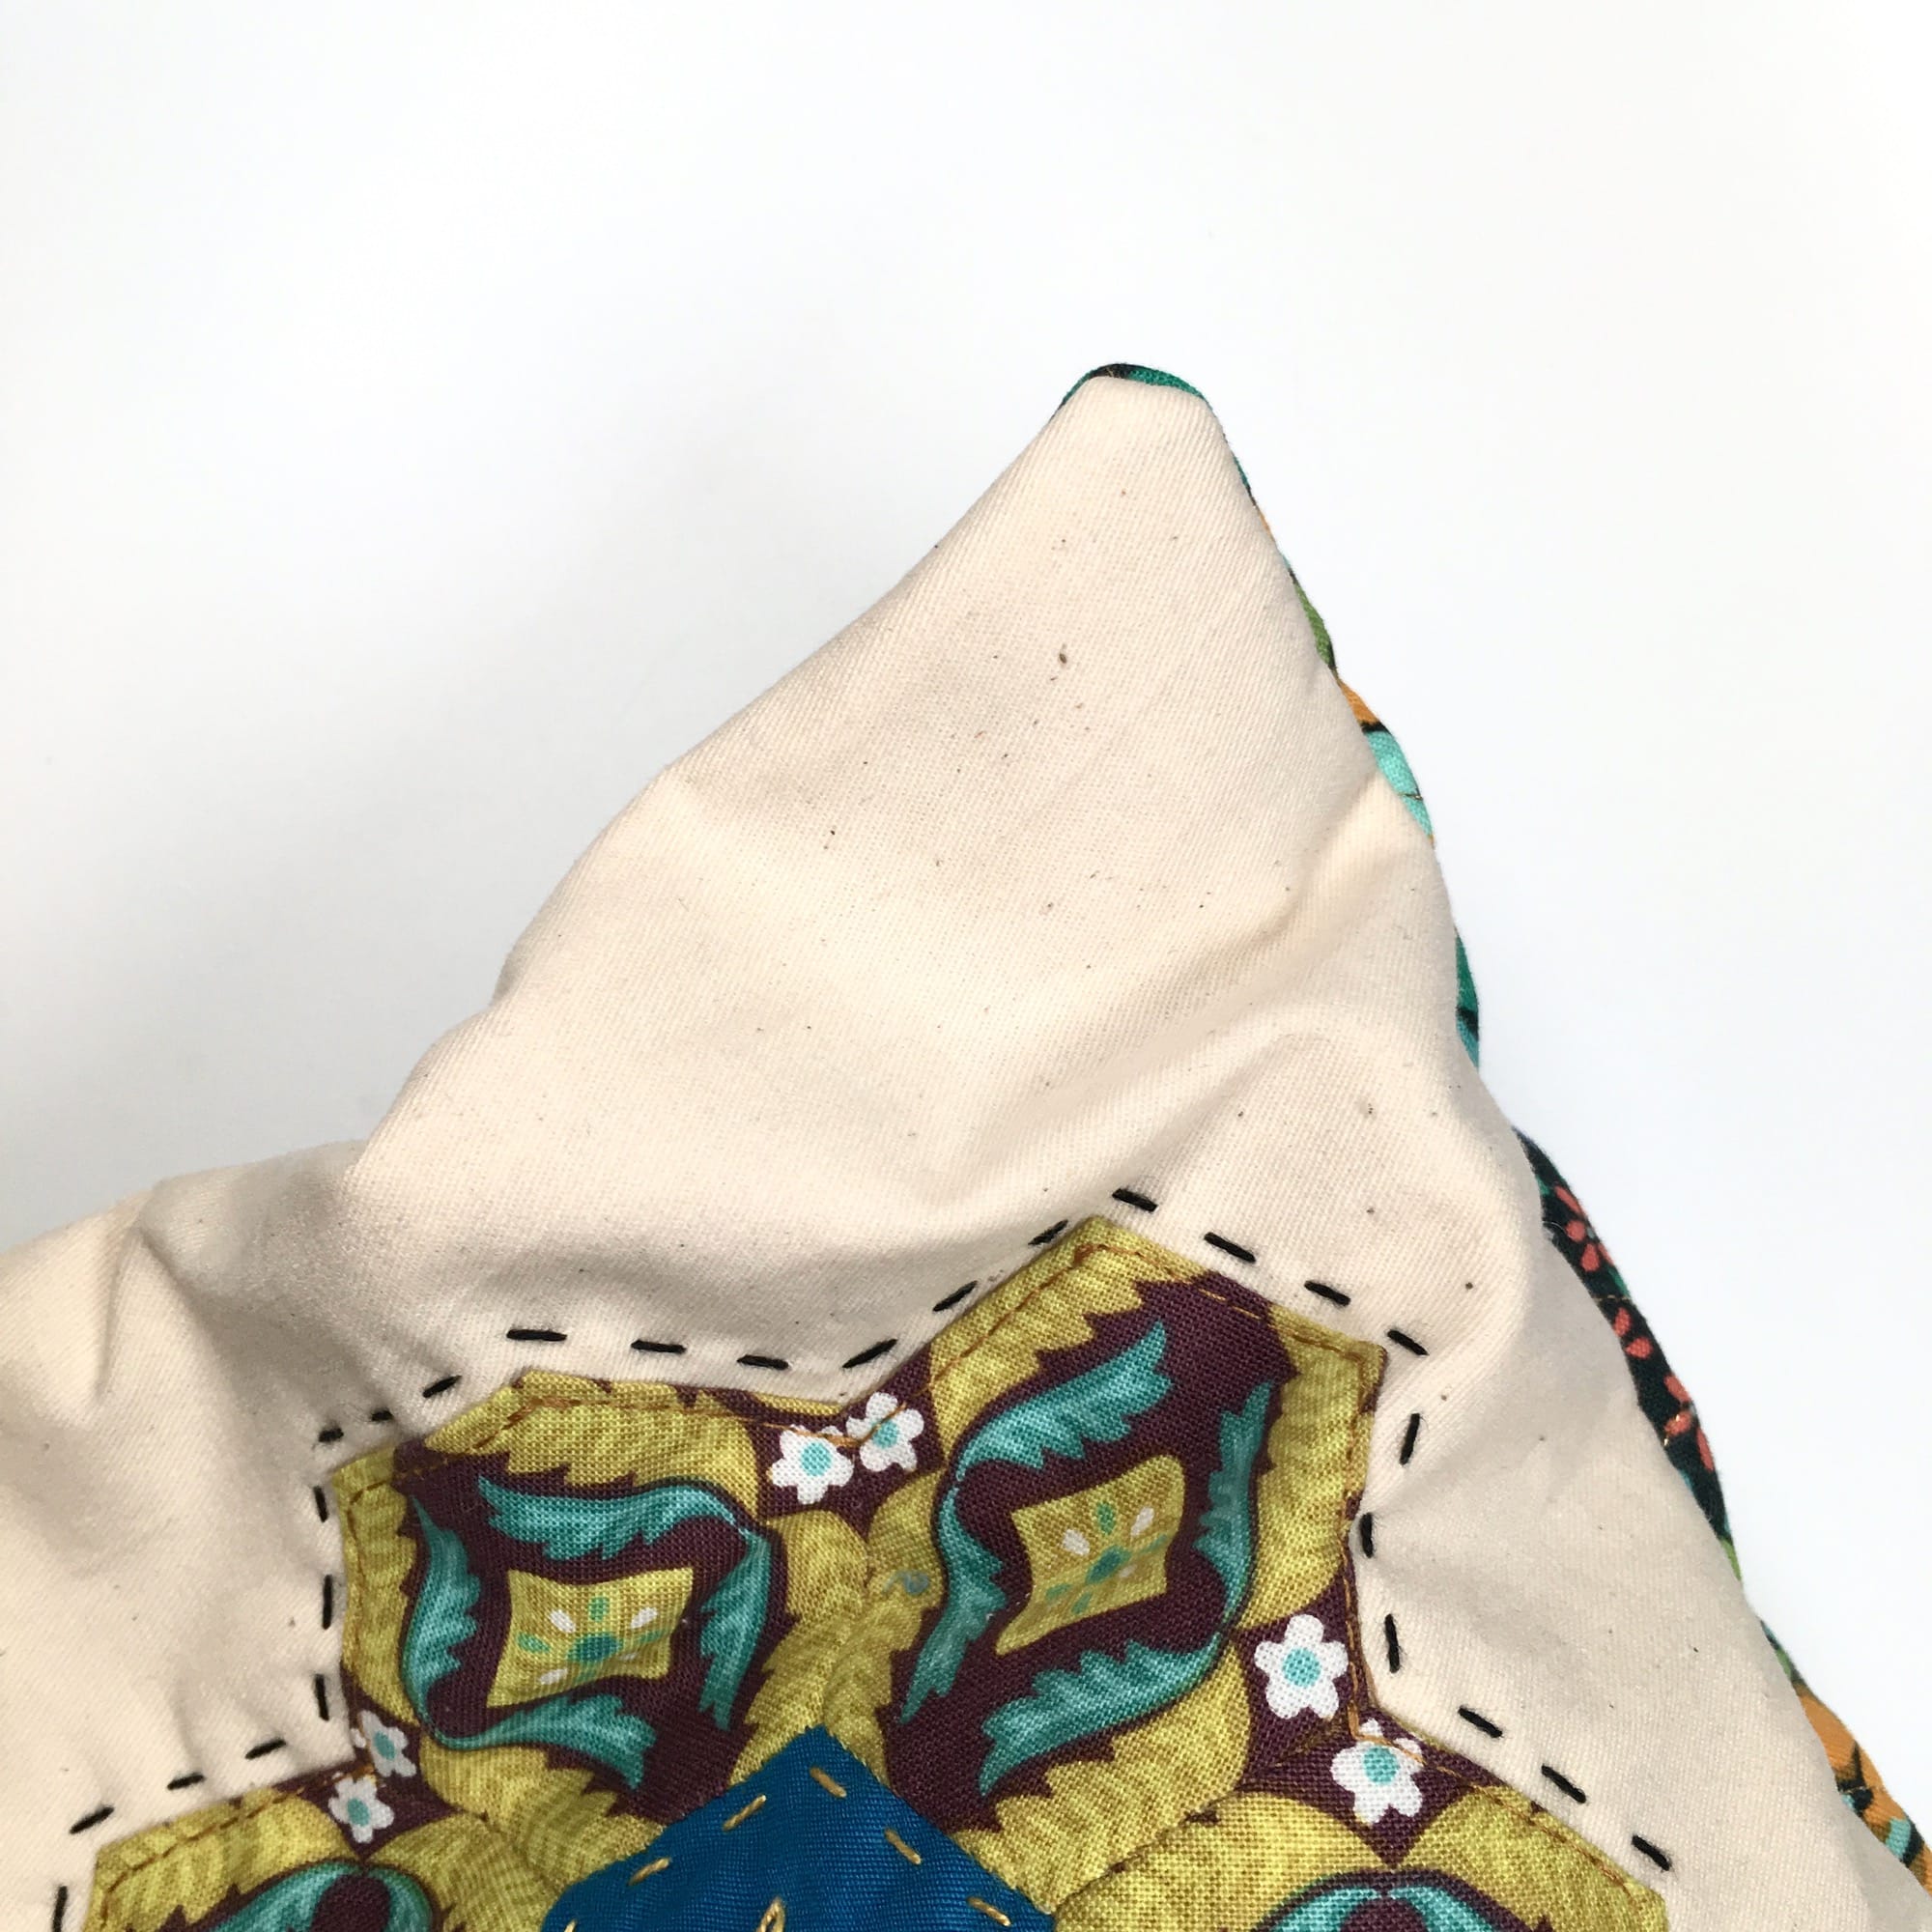
9. Trim the corners just outside your stitching line on all four corners. (This helps reduce bulk when turning out your corners in the coming steps.)
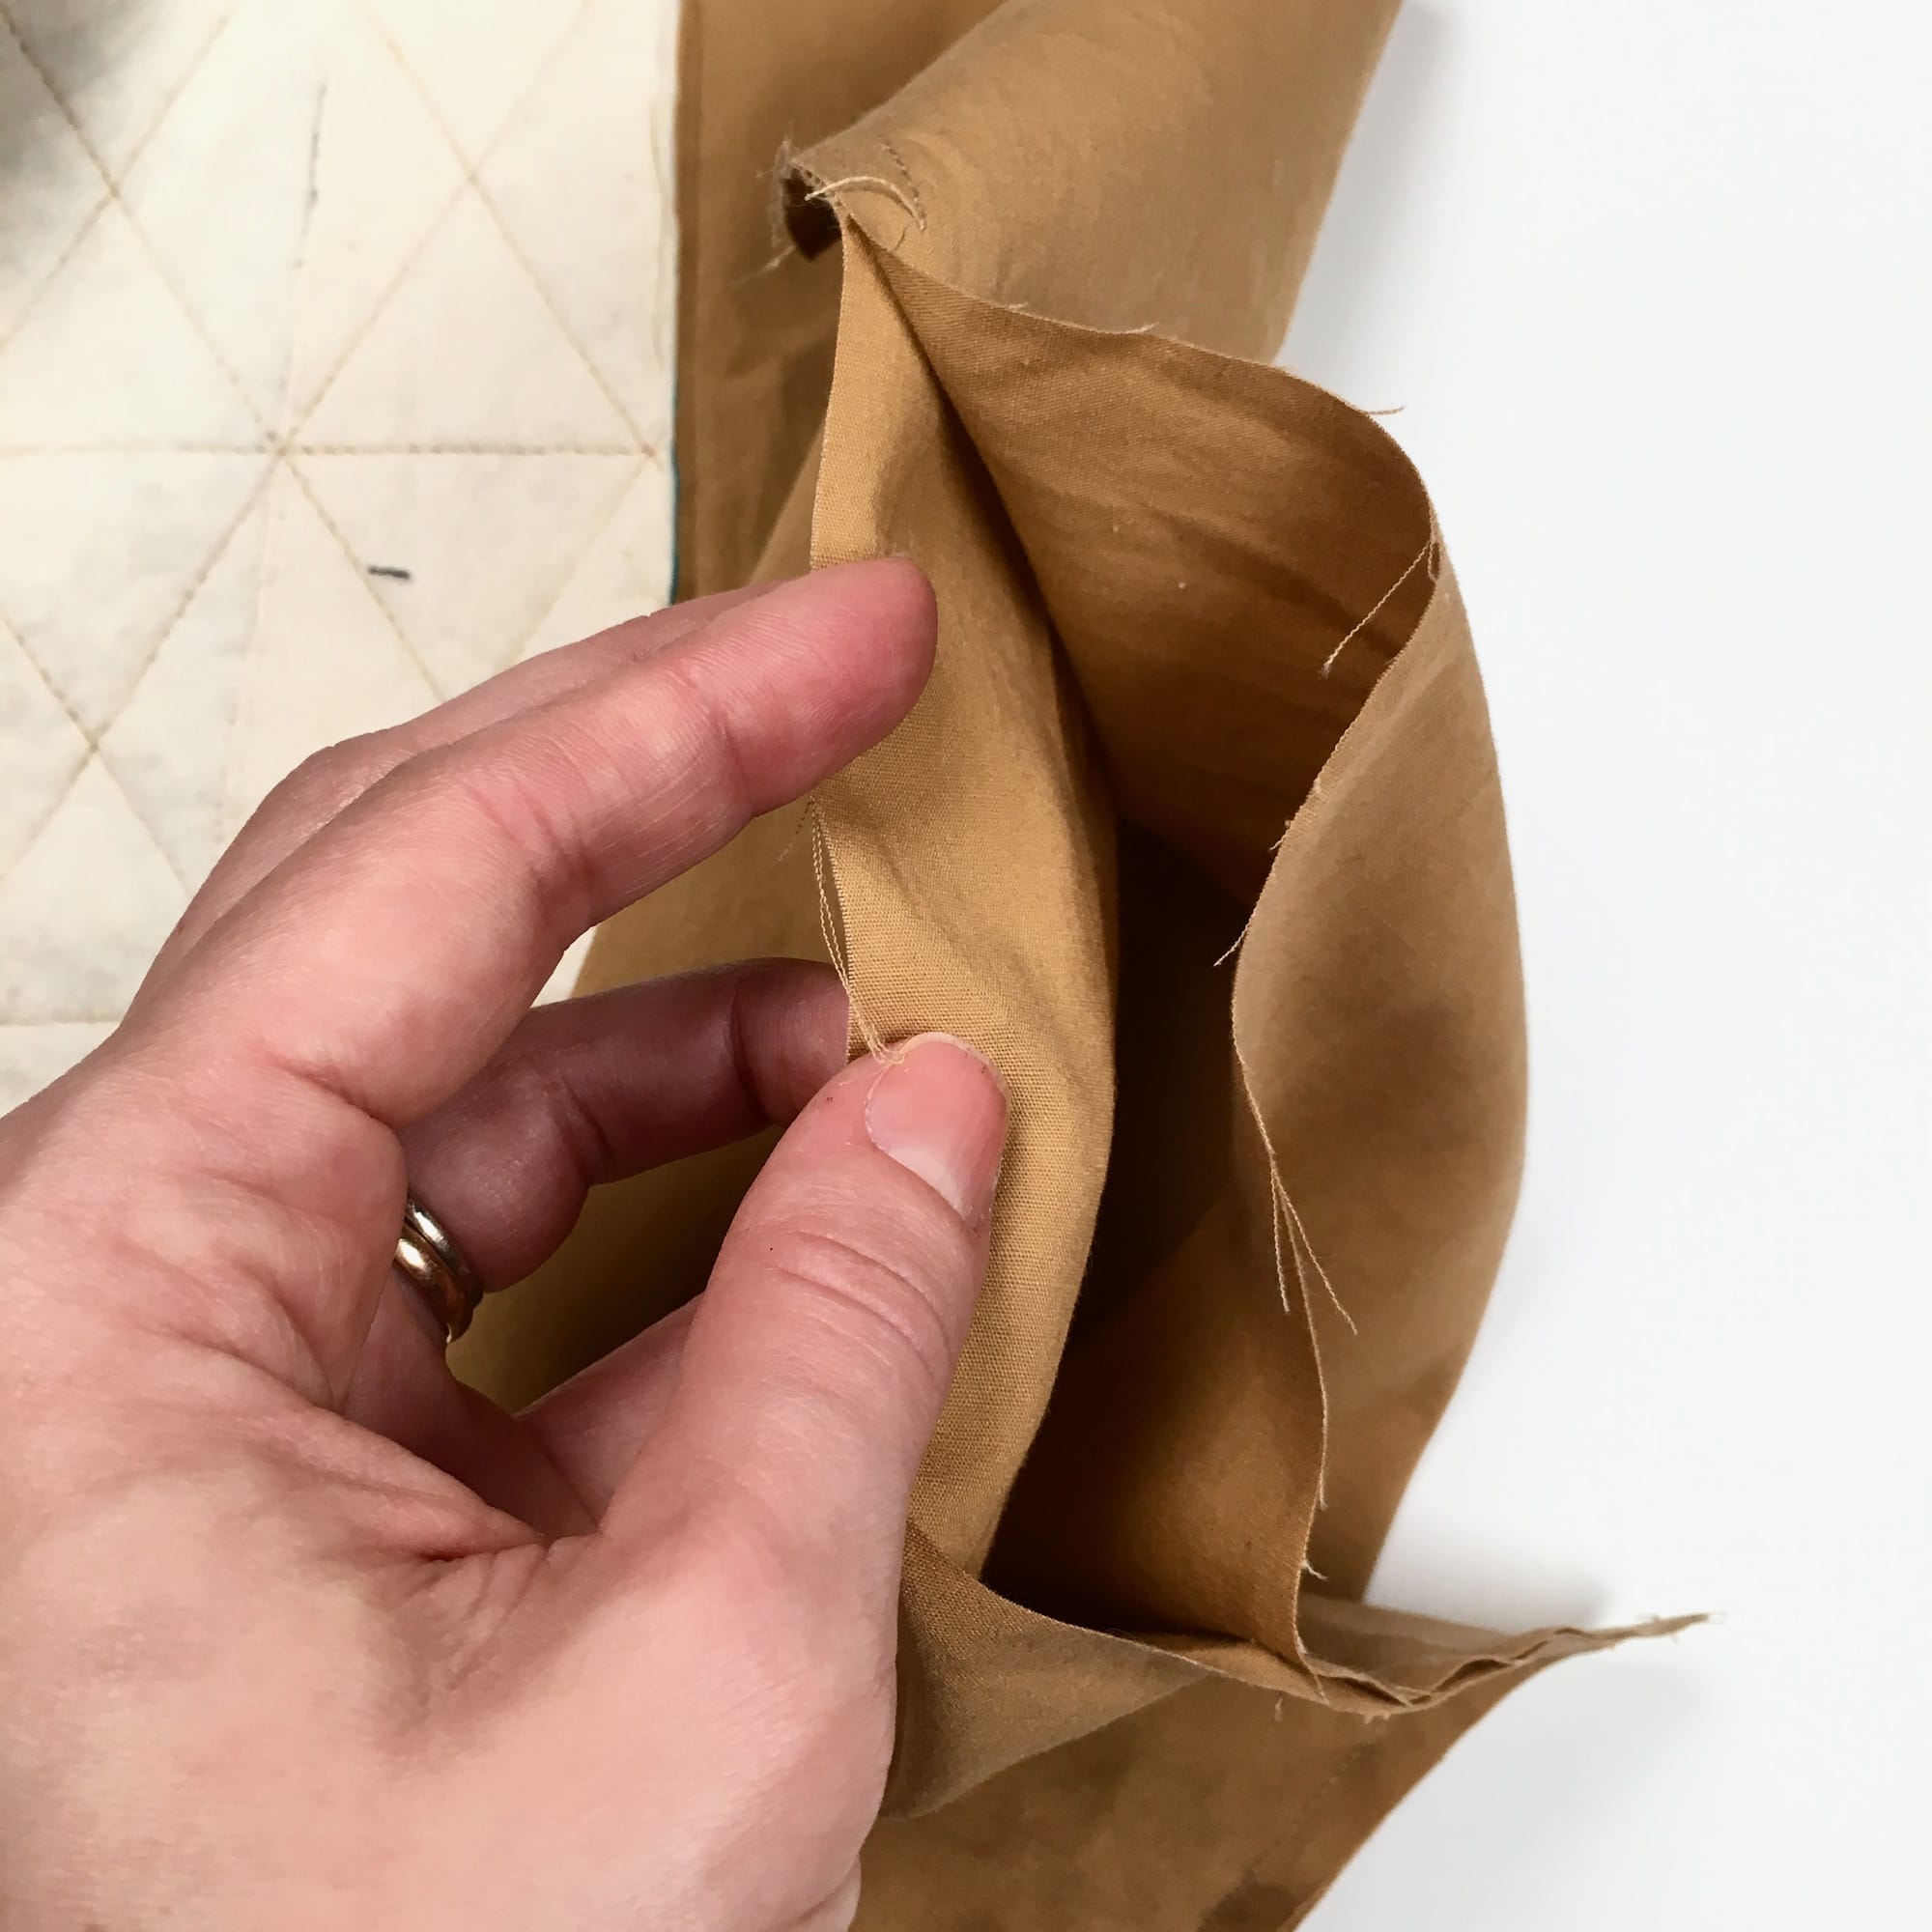
10. Open the gap in your stitching on inner panel.
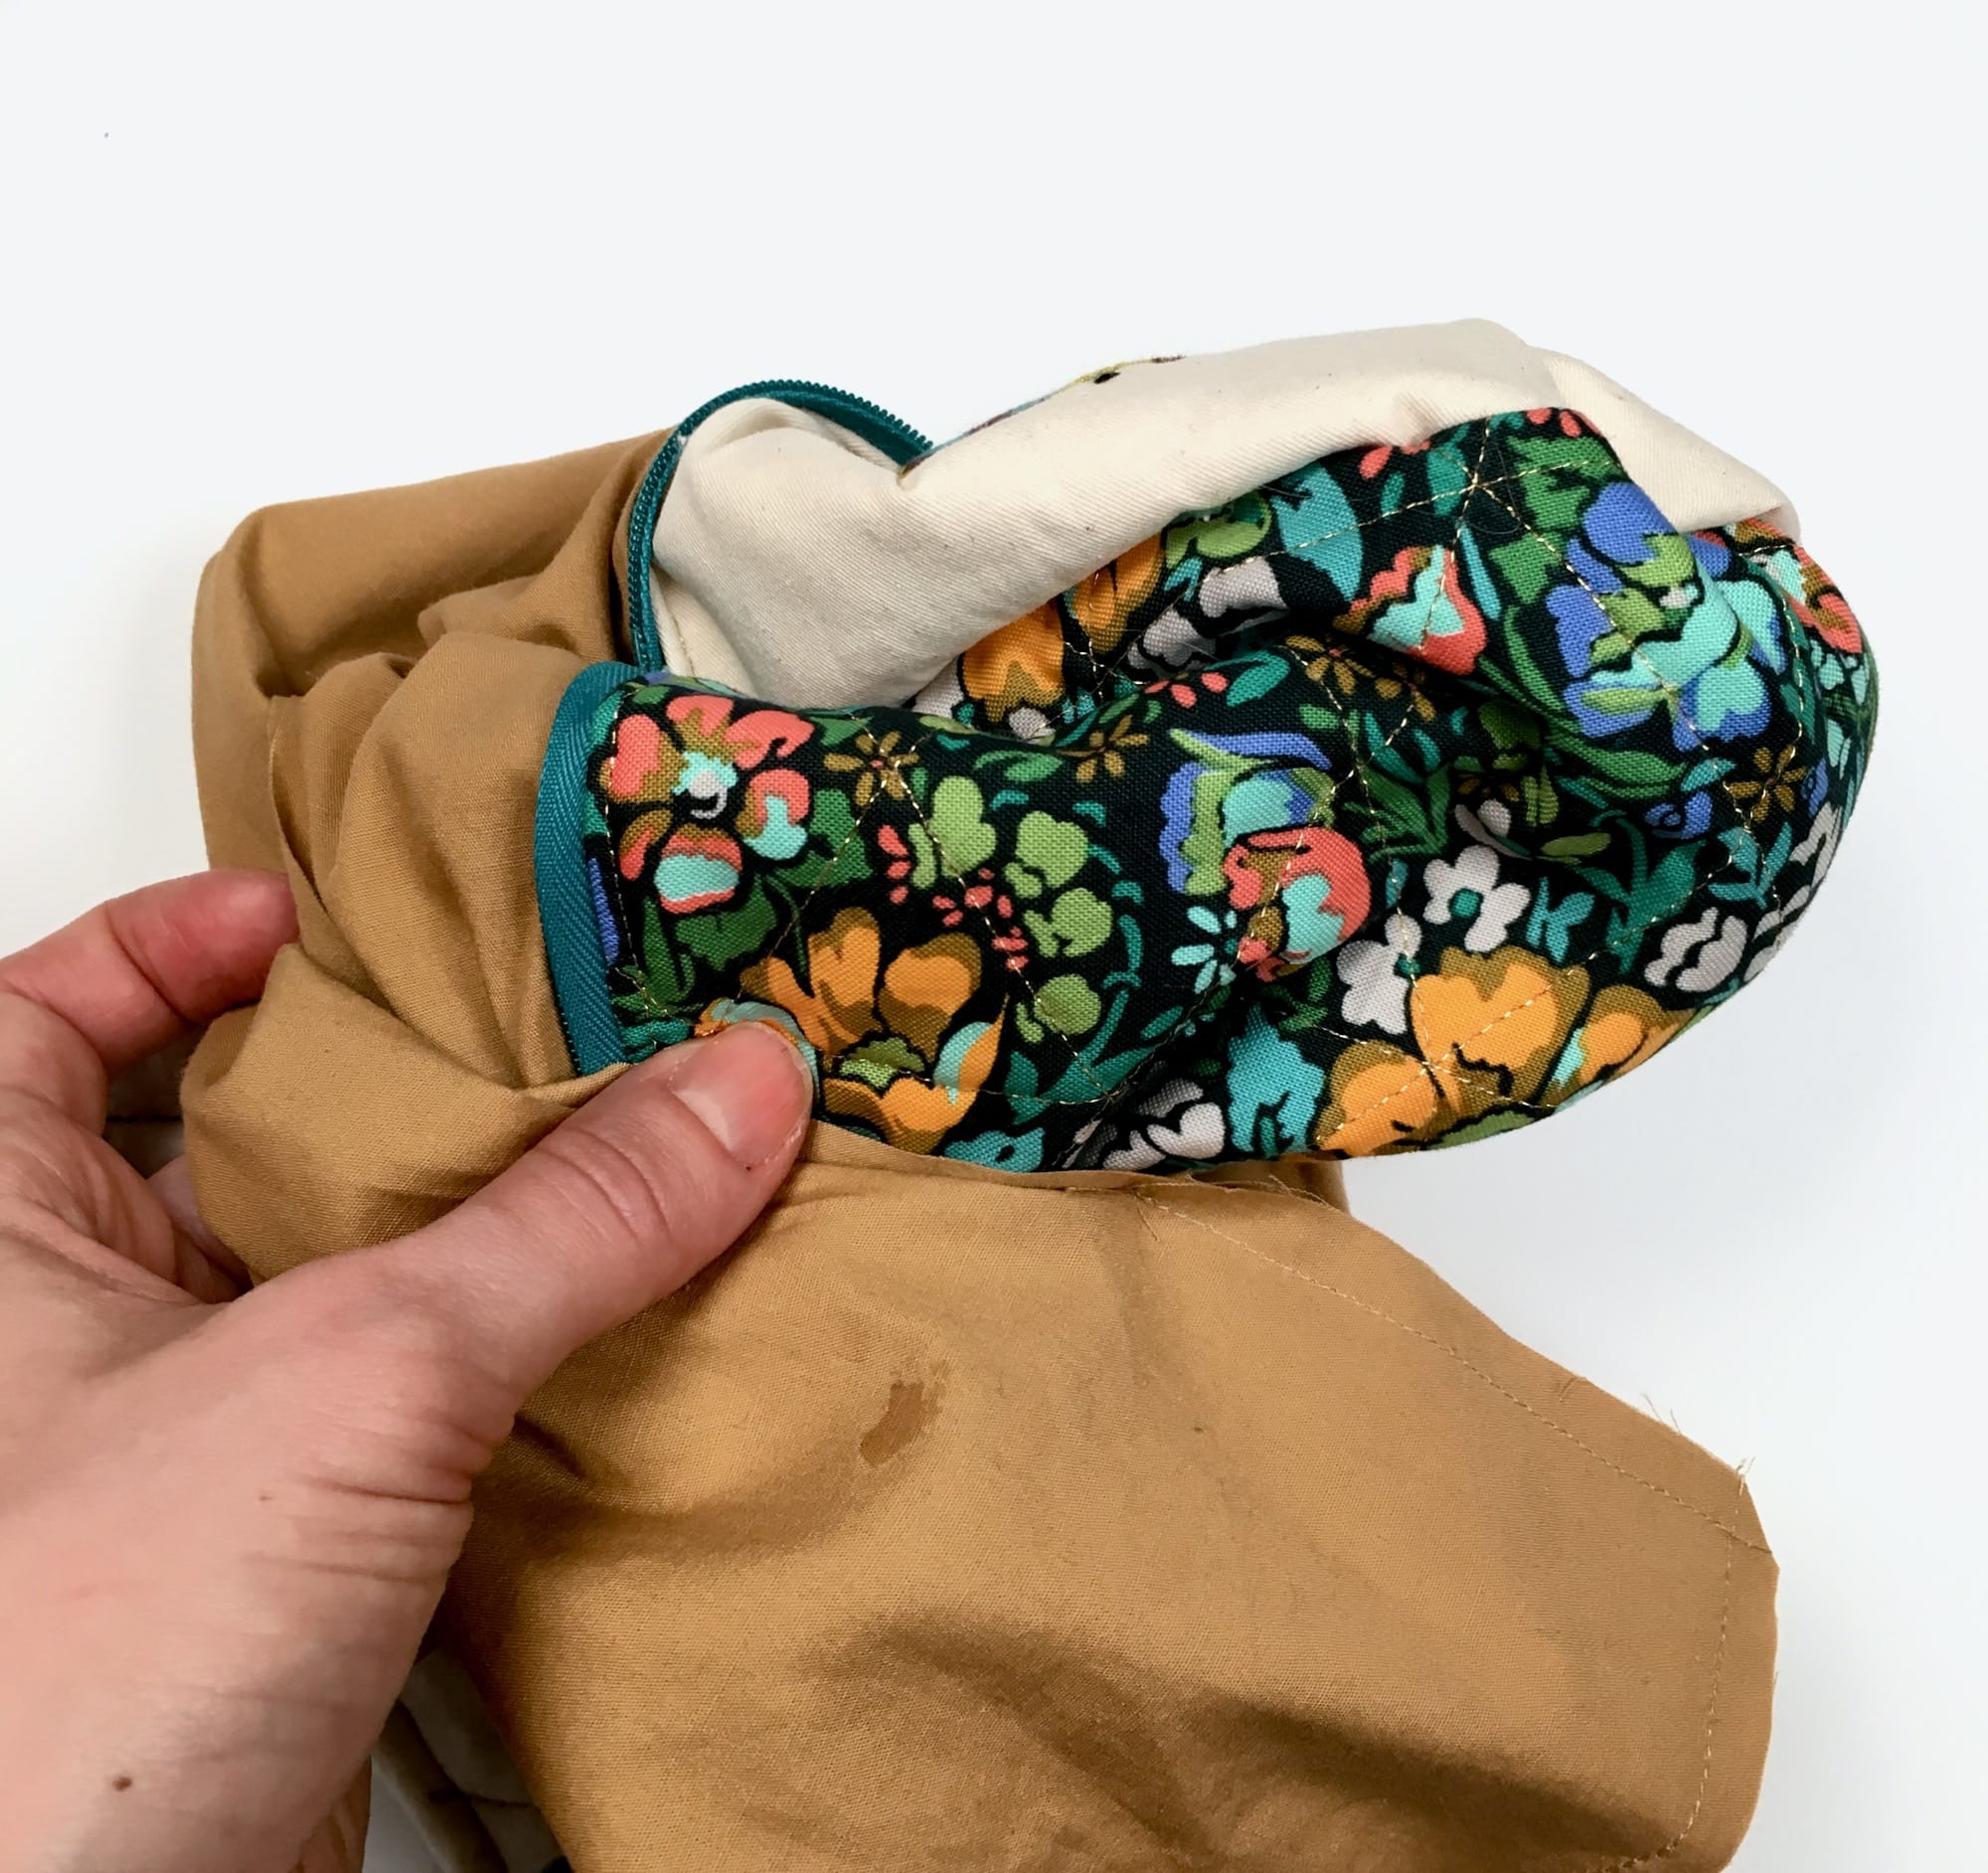
11. Insert your hand into the gap, through the open zipper inside the pouch, and grasp the outer panels of the pouch. Pull the external panel right side out.
Almost there!
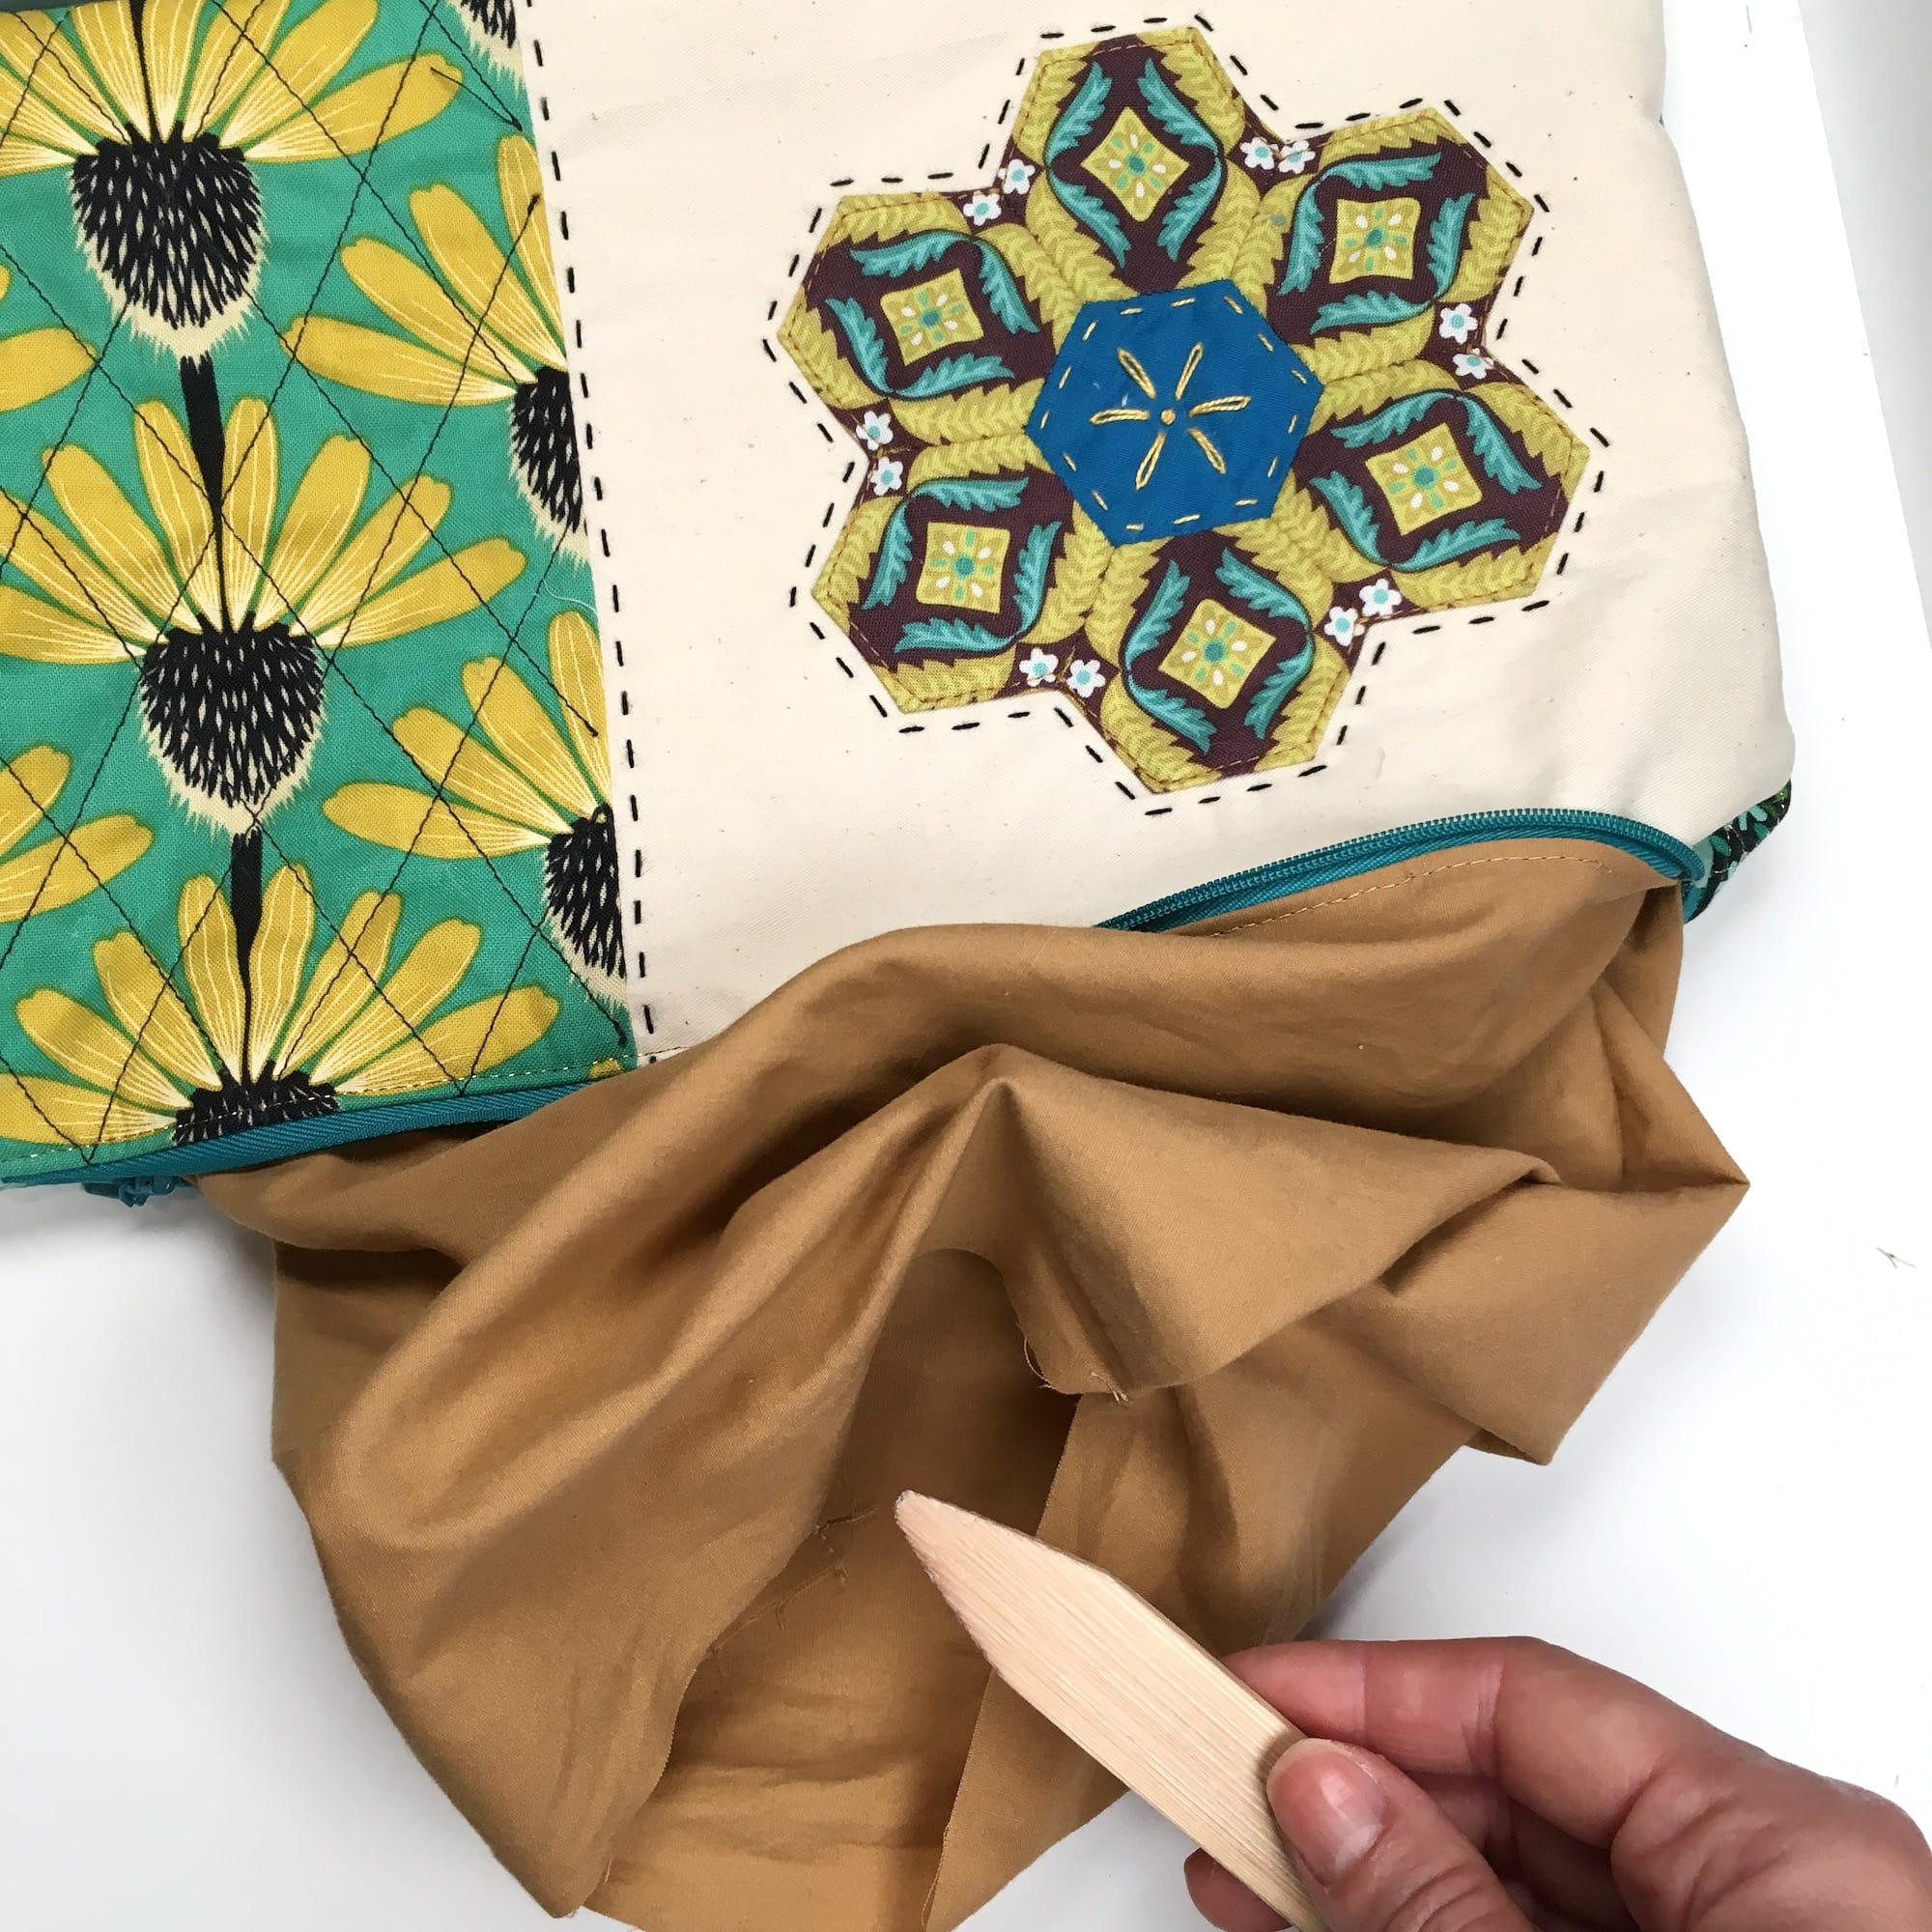
12. With a blunt pencil or point turner, turn out the corners of the outer and inner pouch panels by inserting the point turner into the gap in the inner panels.
13. Do your best to get nice crisp corners.
14. Don’t forget to make the edges of the zipper nice and crisp, too.
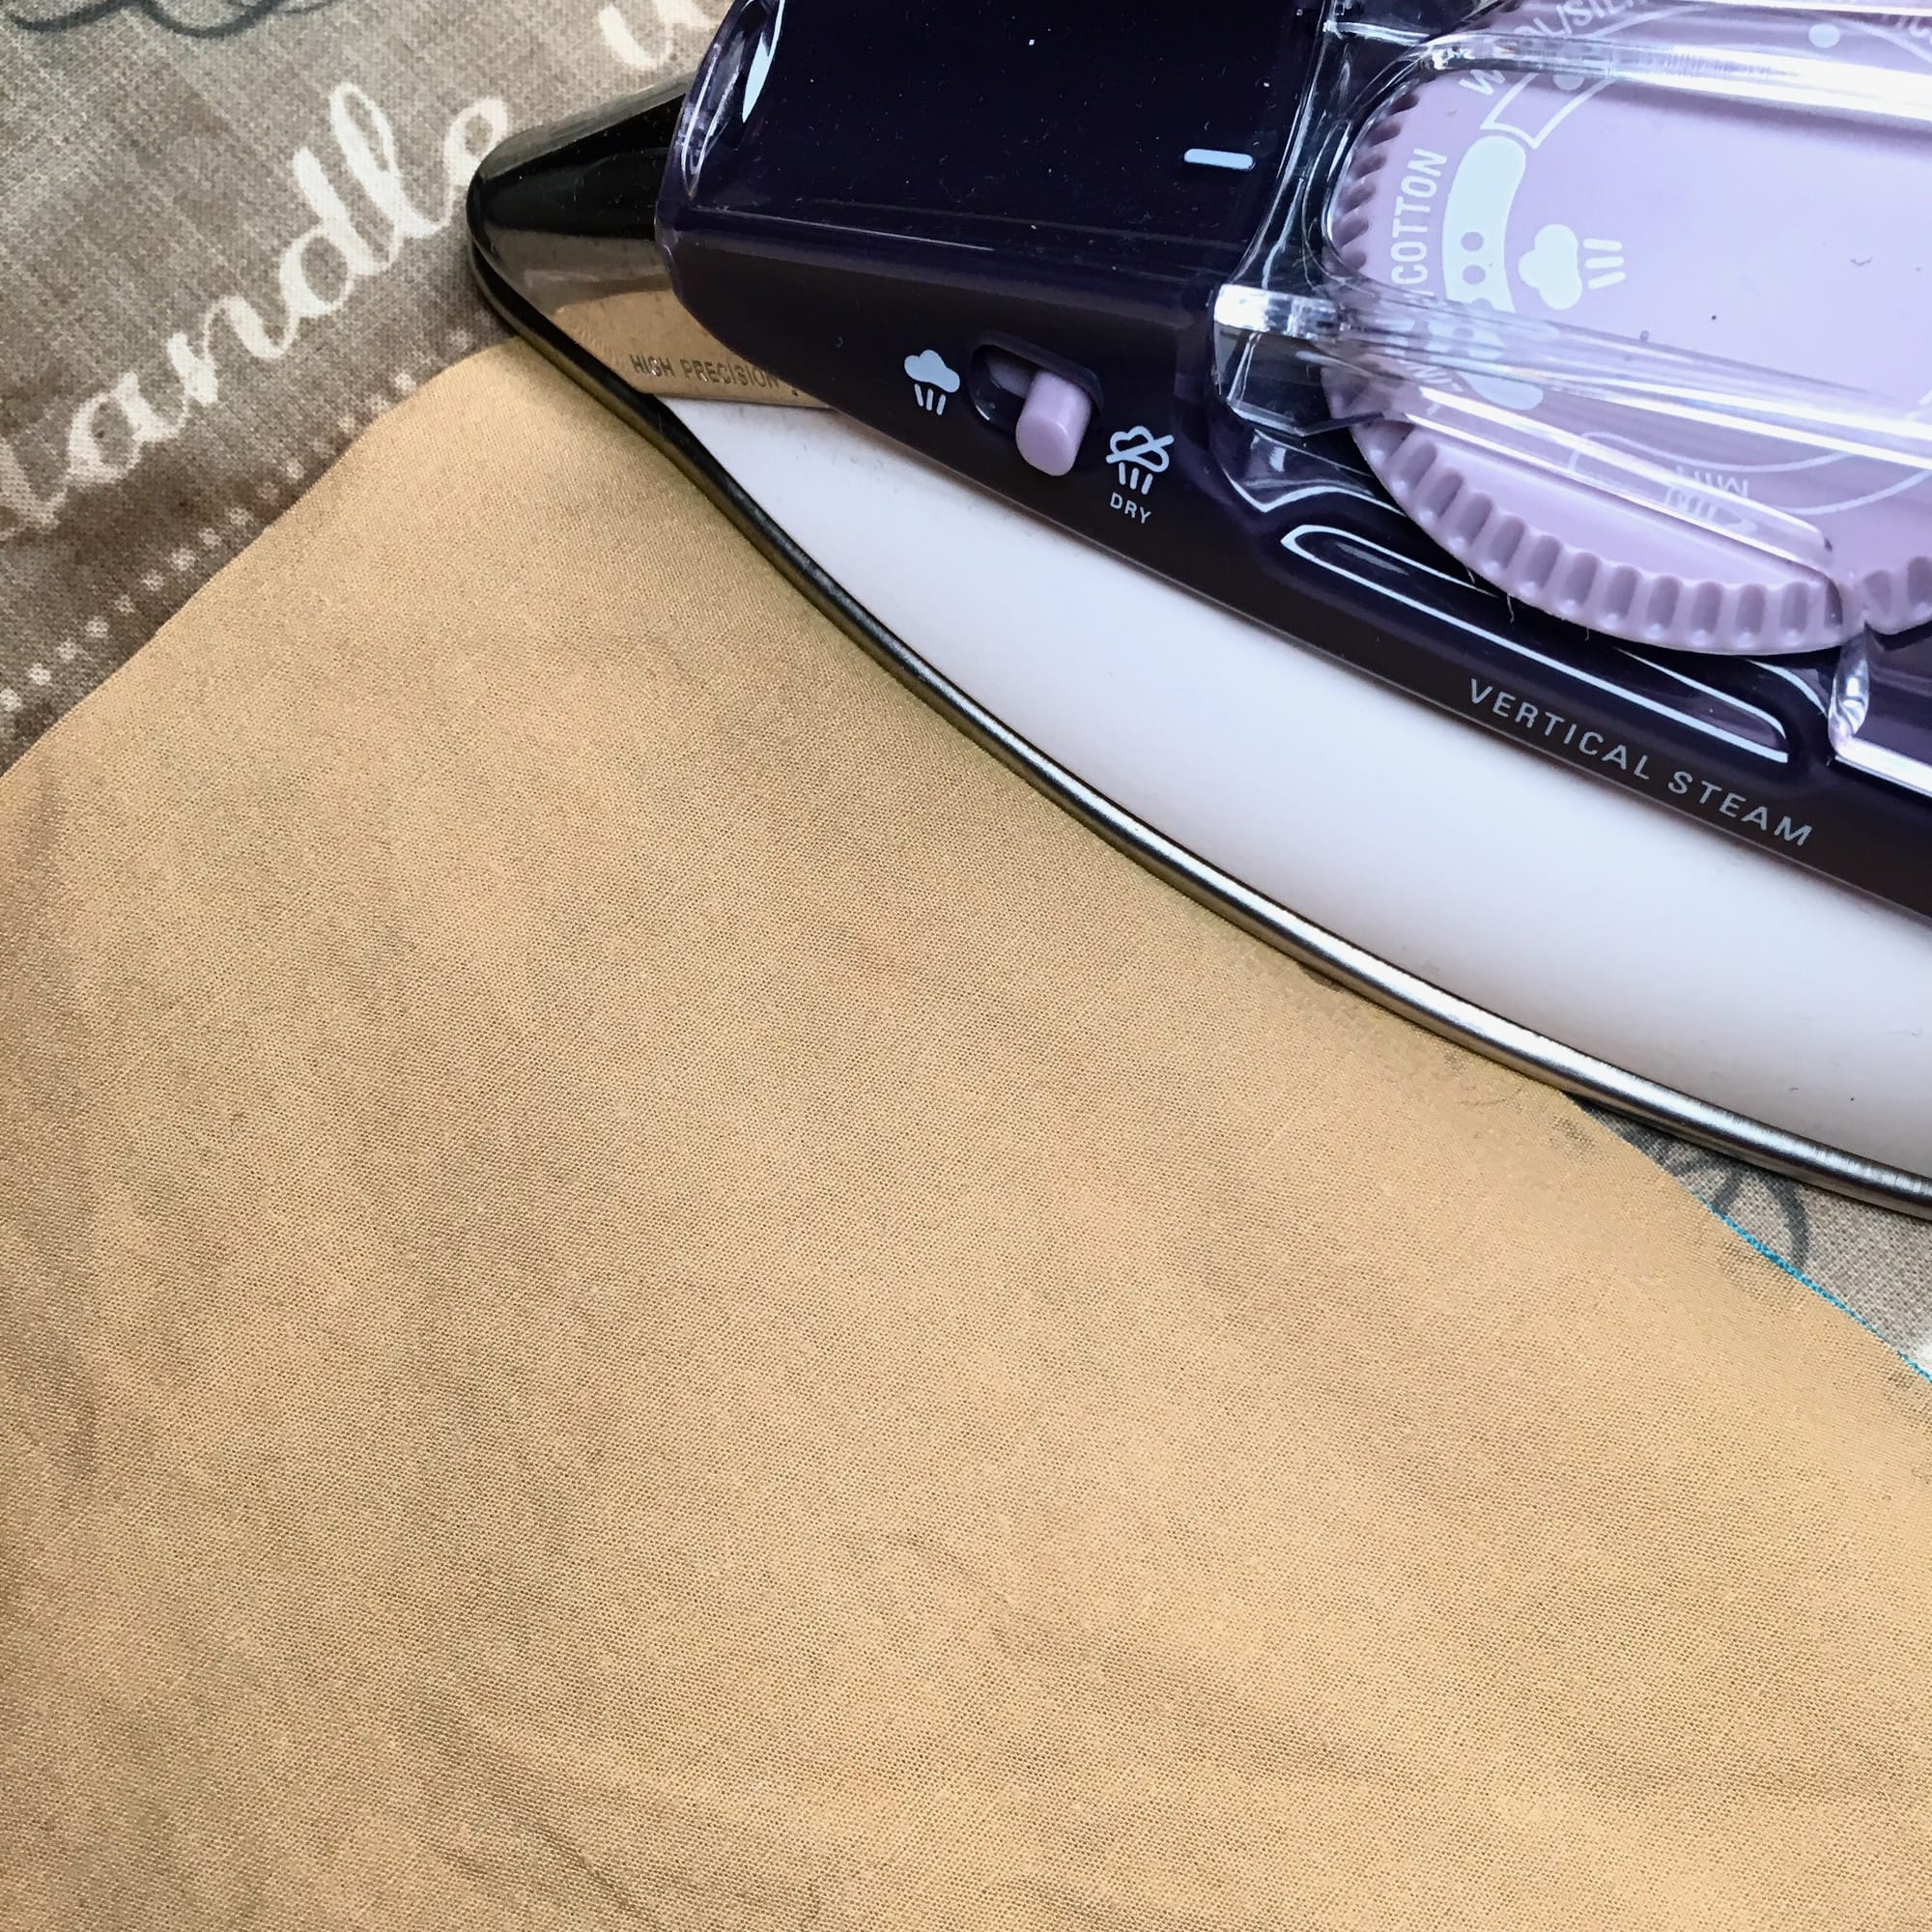
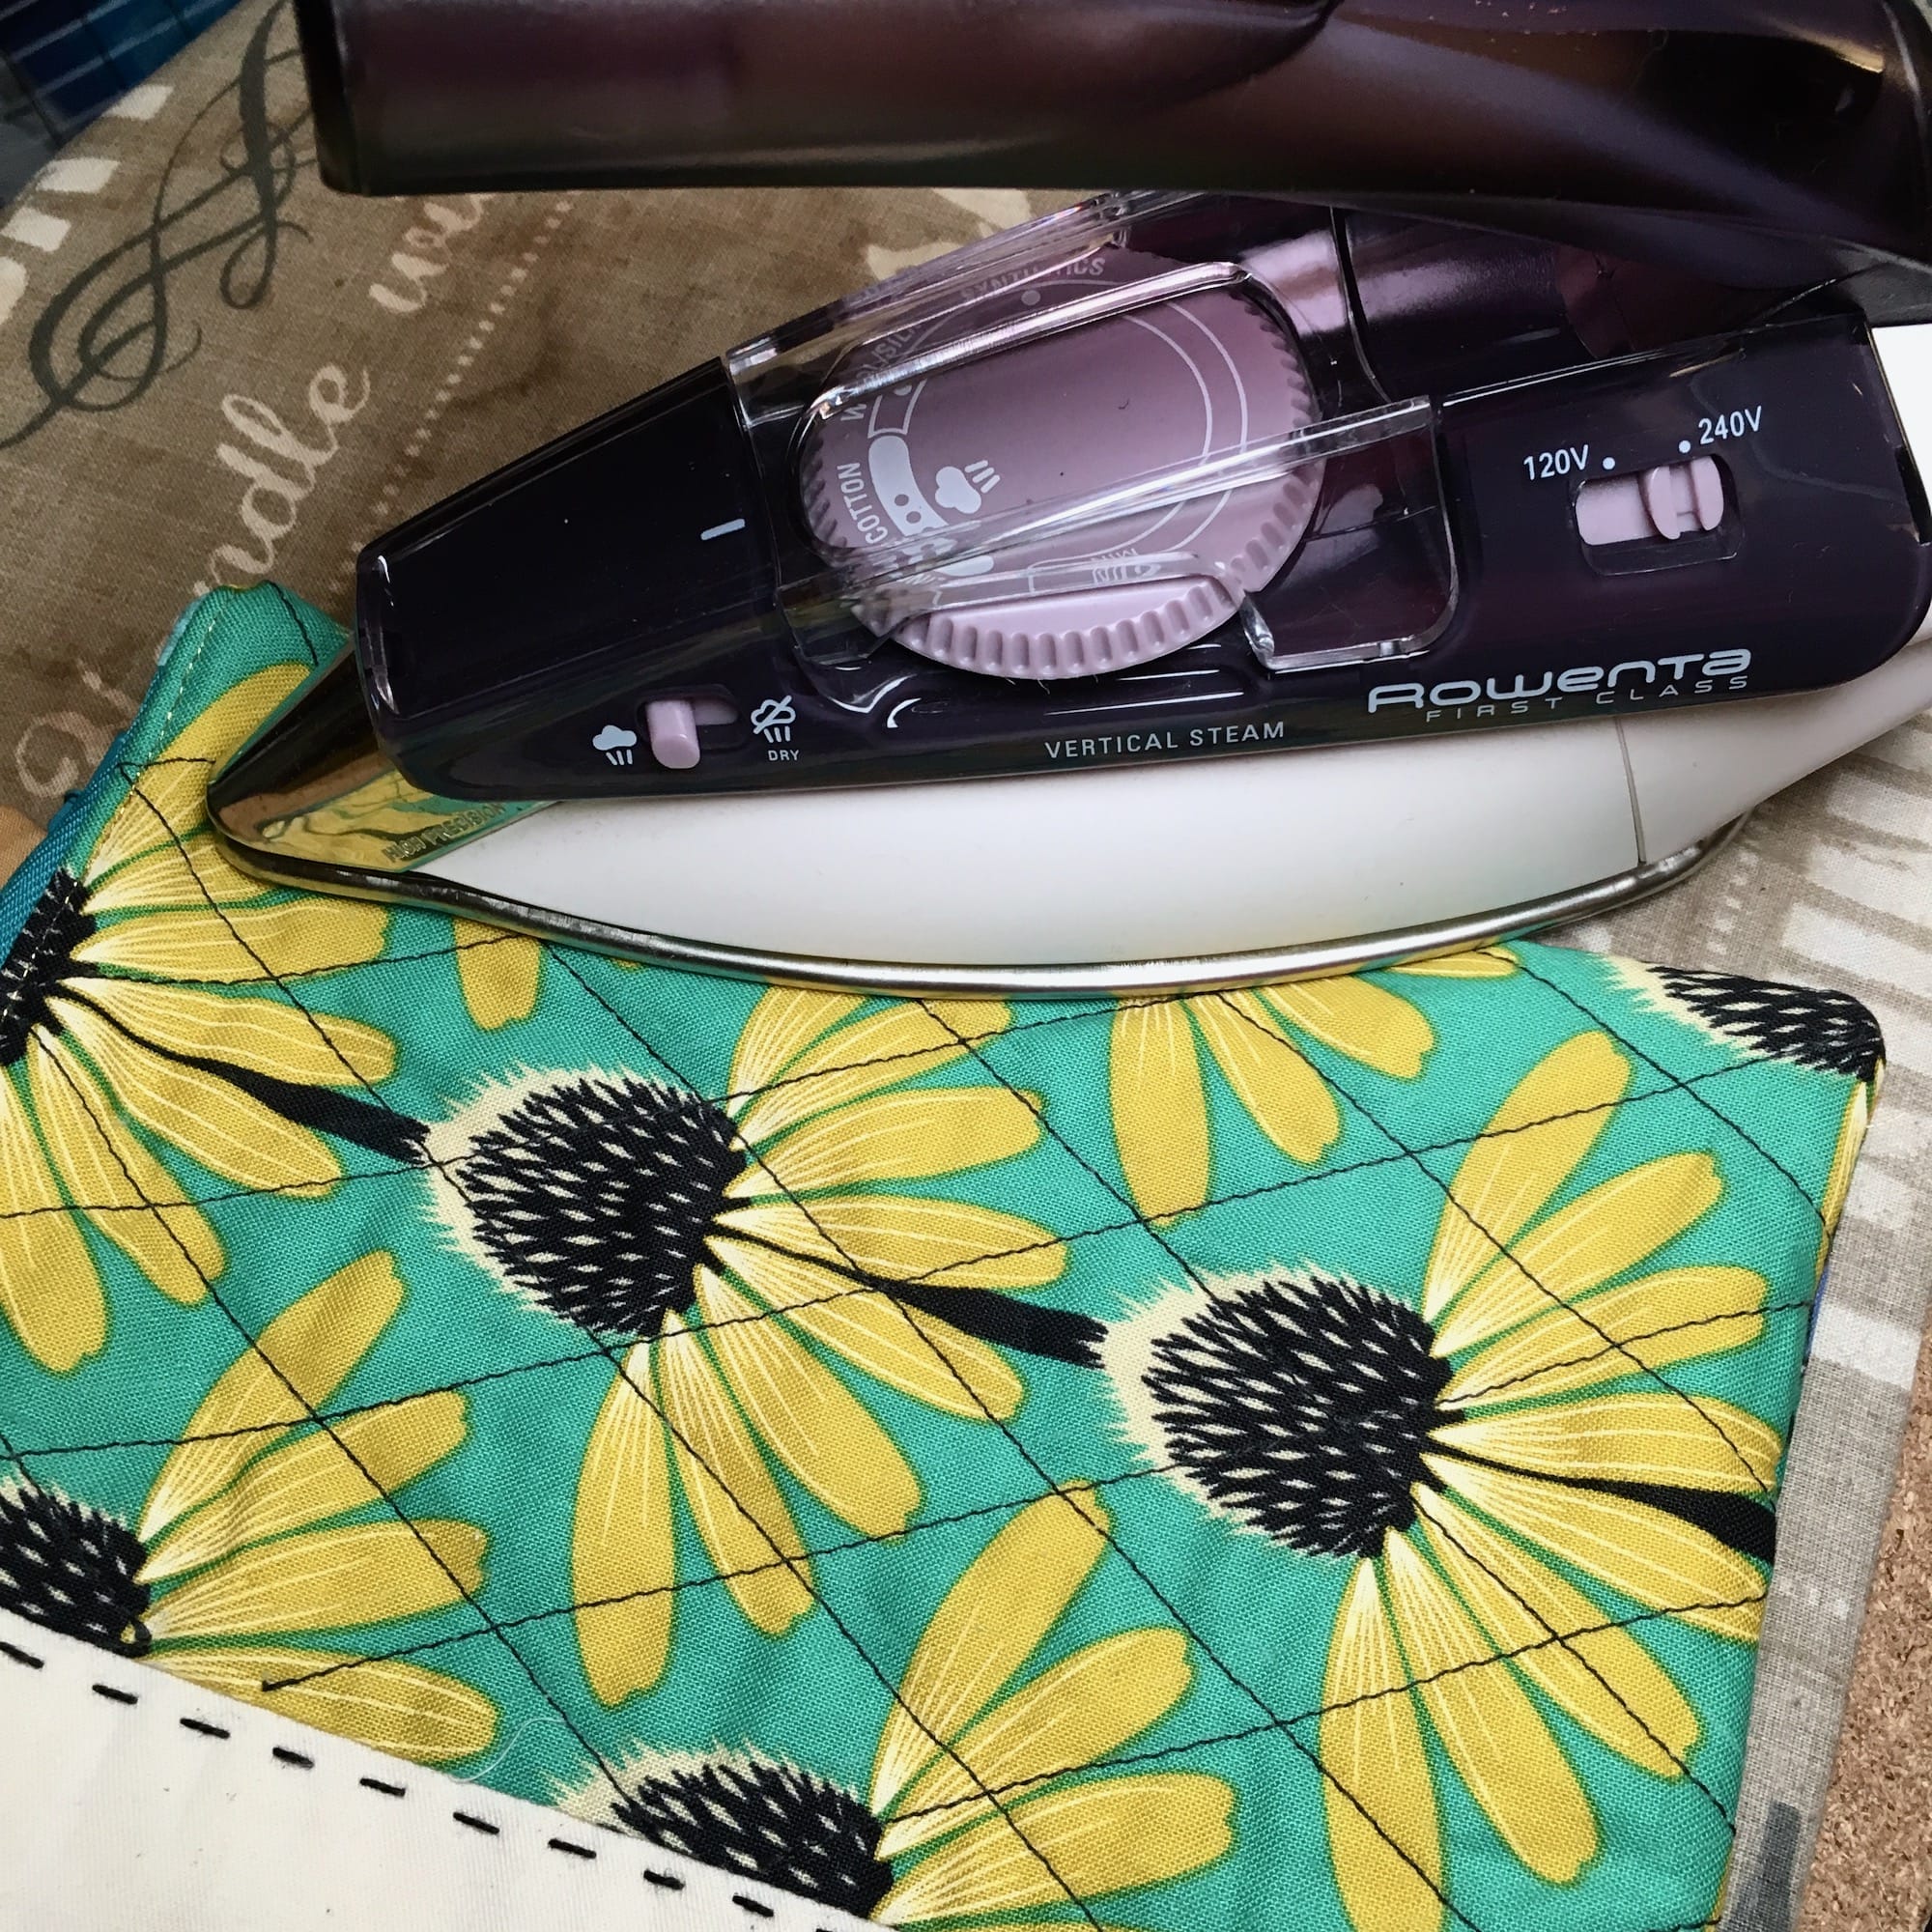
15. Press the entire perimeter of the pouch to set the edges and corners.
16. Then, fold the seam allowance into the gap along the bottom of the inner lining, where you turned the pouch right side out.
17. Press the bottom edge to set the seam allowance in place.
18. Now it should look nice and sharp, like this.
19. Top stitch along the bottom edge of the inner lining to close the opening.
20. I like doing it along the entire edge because I think it looks nicer, but just make sure the gap is closed. (Alternatively, you could stitch it closed by hand. I just like to finish it more quickly.)
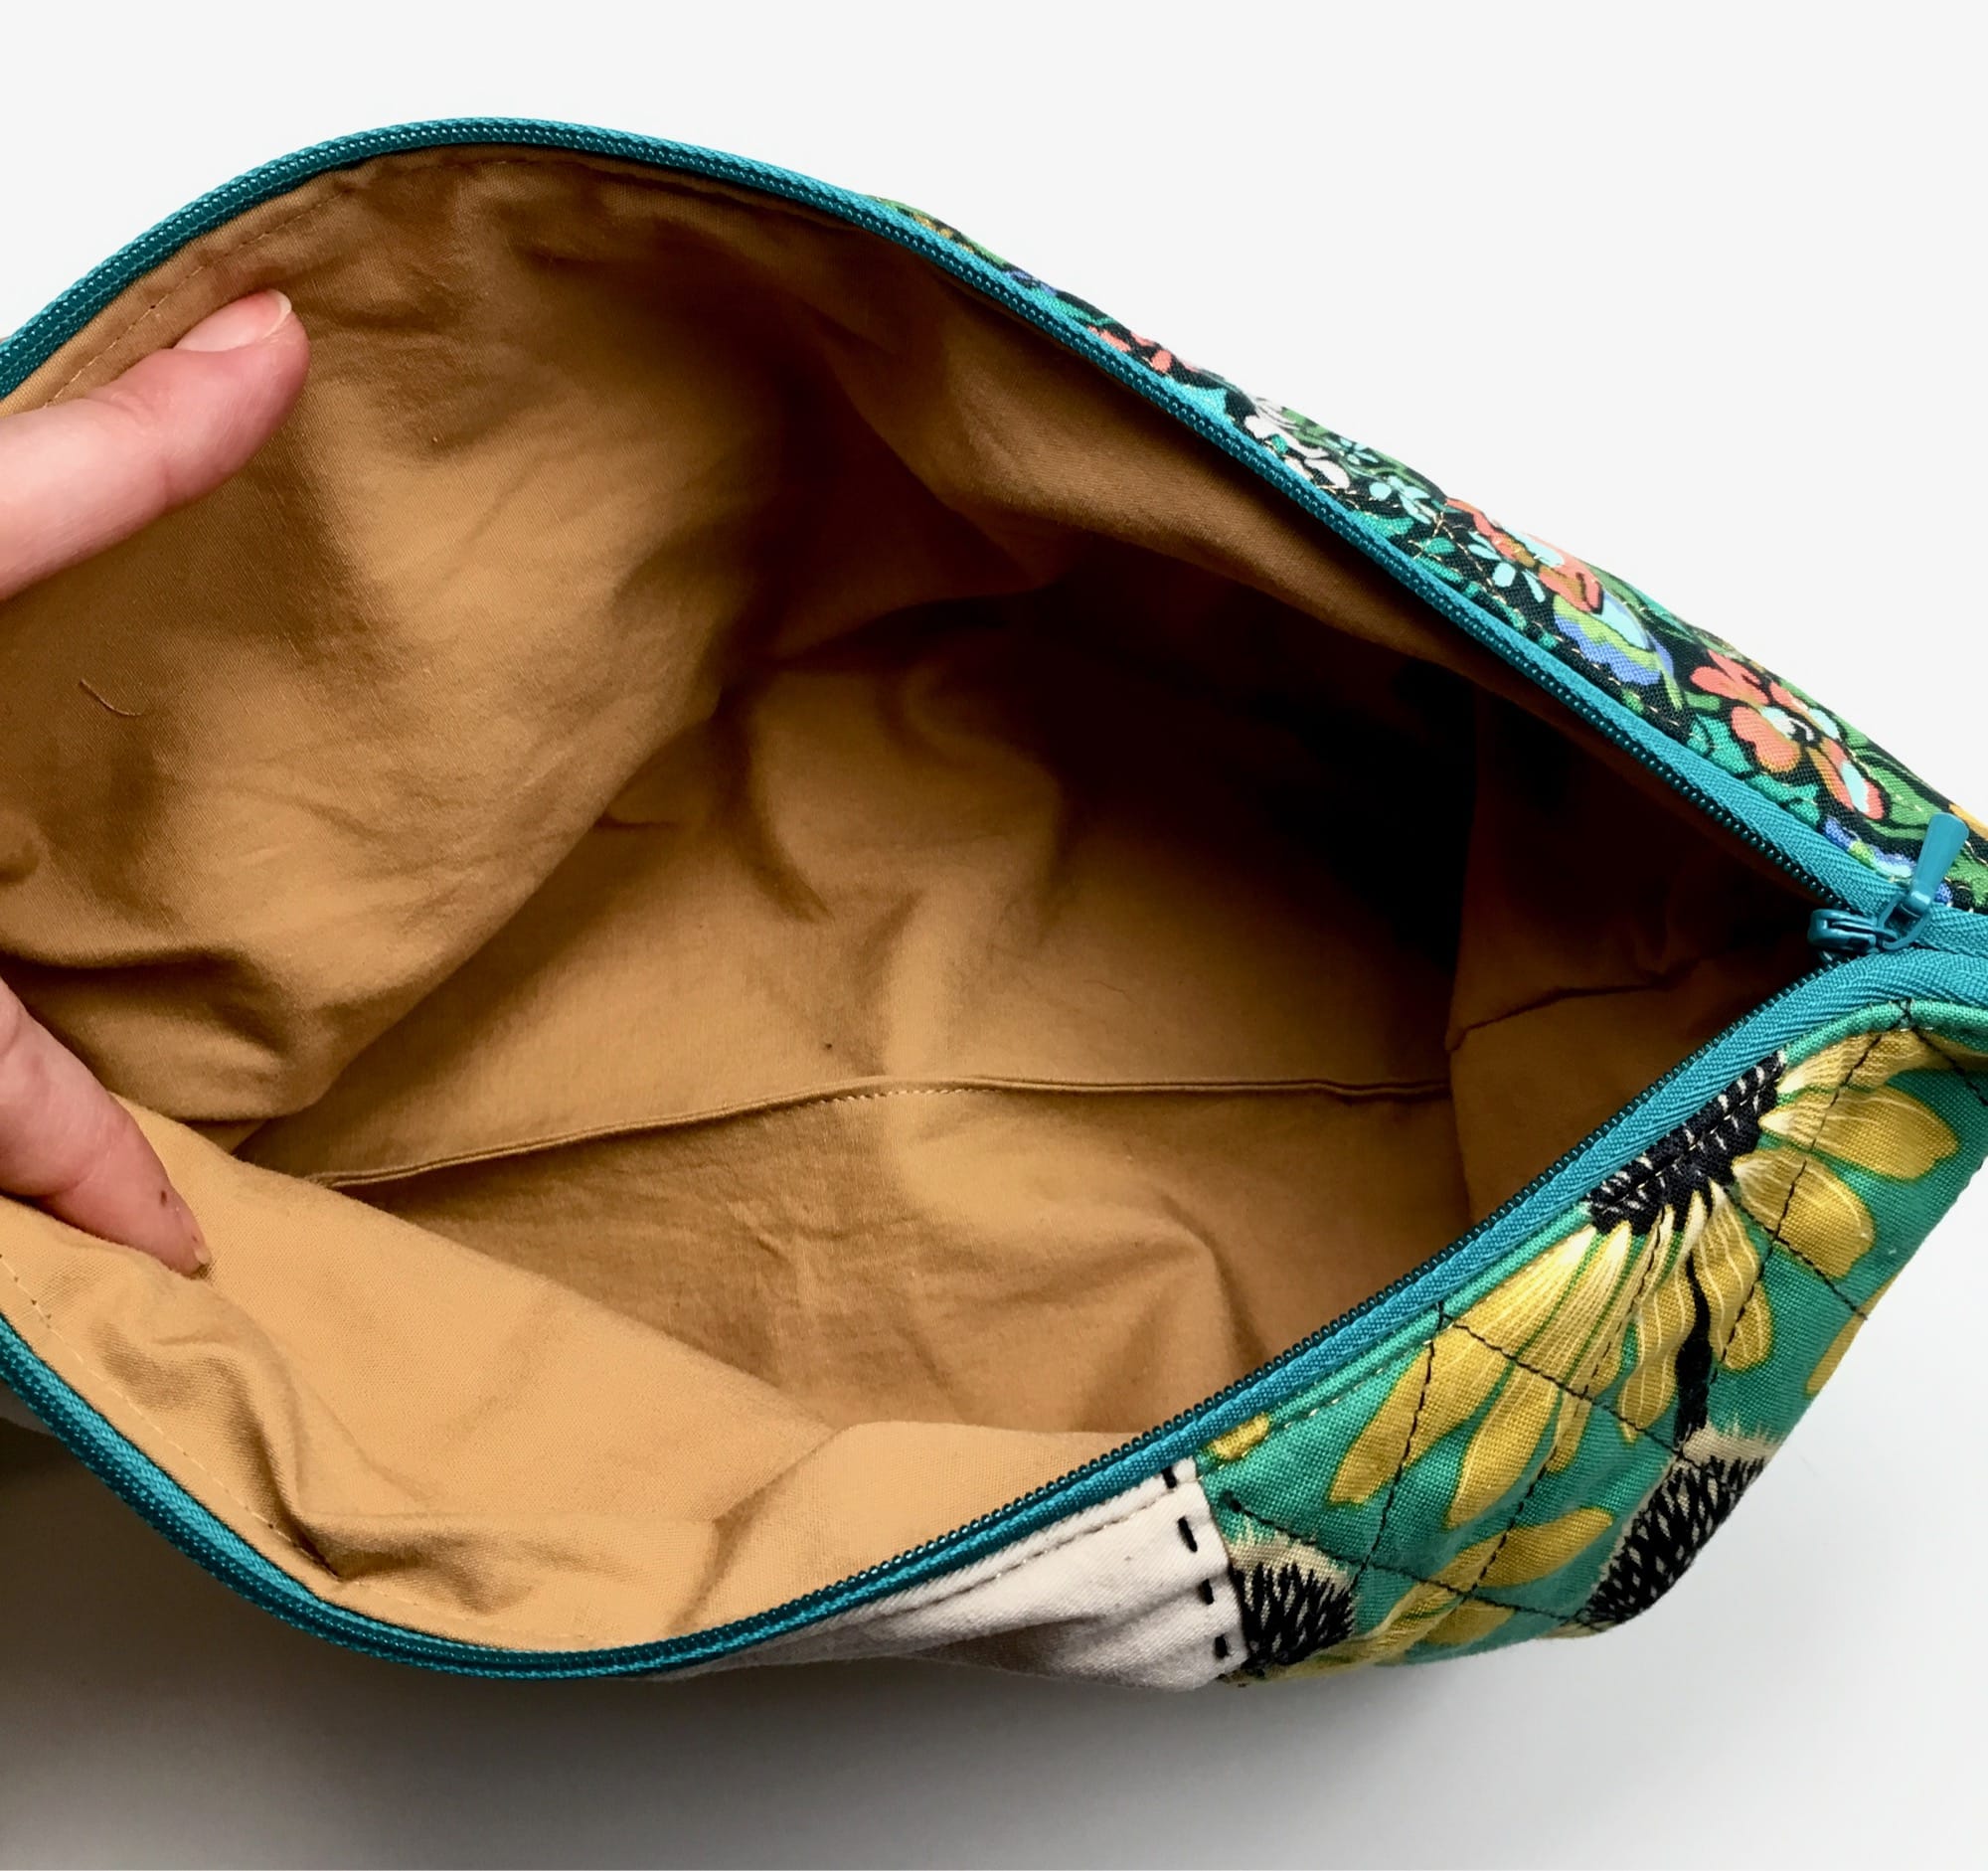
21. Tuck the inner lining down into the pouch.
Voila! You have a brand new zipper pouch!
Phew! That was A LOT, but I hope it helped break down the process into achievable steps. I’d love your feedback in the comments if you have any other tips or tricks that you have found make the process easier or more enjoyable. And, feel free to comment with any other questions you might have!
Don’t forget that you can always pin this post to Pinterest for easy access later.
This post may contain affiliate links. You can read my affiliate disclosure here.