In sewing at large, basting is the process of temporarily holding something in place until the permanent fixation can be completed. When sewing garments or bags, temporary basting stitches will be called for to help keep the pieces secured during the final steps of assembly. In quilting, basting is used to keep the layers of the quilt sandwich together until the final quilting lines are sewn.
Similarly in English Paper Piecing, basting is used to temporarily hold the fabric to the papers as the fabric is stitched together. (Do you need some papers to practice on, by the way? I’ll drop some free printable hexagons right into your inbox here, if you need some to get started.) The two most common ways of accomplishing the basting step in EPP utilize thread or glue.
Thread vs. Glue
The traditional way to baste EPP papers uses thread to tack the fabric down around the EPP shape. Sometimes it is necessary to stitch through the papers at intervals in order to more adequately secure the fabric to the paper, particularly with larger papers. If stitches are made through the papers, these basting stitches will necessarily be removed later before removing the papers. However, basting stitches that do not pierce the paper may remain.
Some folks greatly enjoy the process of basting their paper pieces this way, and I love keeping it in my back pocket when certain situations arise in which glue is not the ideal option. However, I learned early on in my EPP journey that if I needed to stitch before I started stitching, I would never get anywhere with EPP.
Enter the Glue Stick
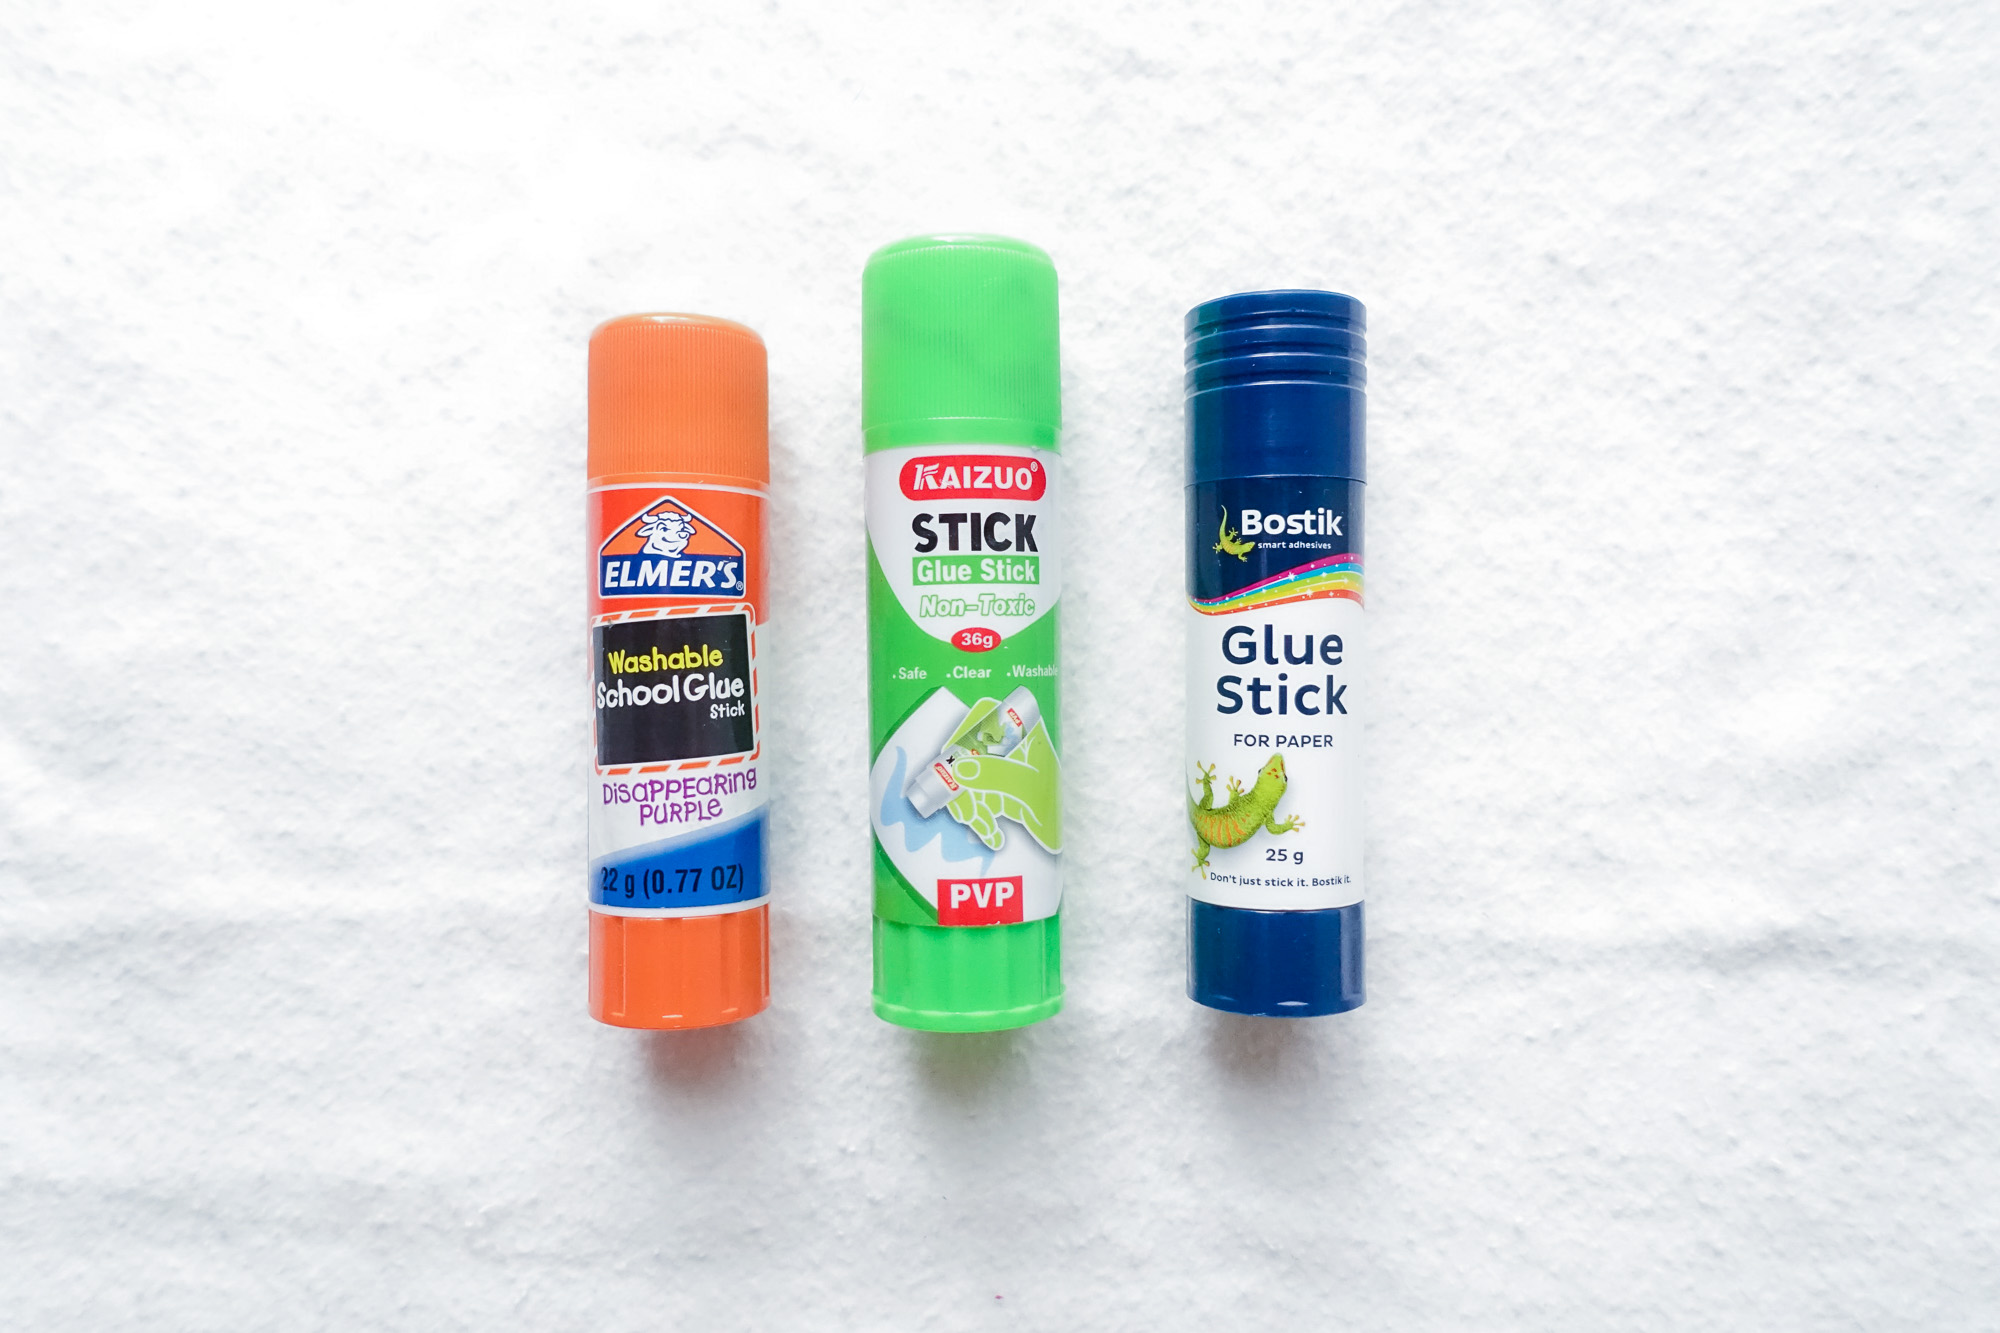
Glue sticks are a great way to baste paper pieces because they are very often water soluble/washable and rather cost effective, not to mention much faster to apply. (You can find my favorite types of glue sticks in the Starter Supplies section of this EPP Primer.)
I wrote a guest blog post for Tales of Cloth sharing some answers to commonly asked questions about glue basting and the safety/affordability of it that lots of stitchers have found helpful. You can find that post here.
A Personal Note on Basting Time
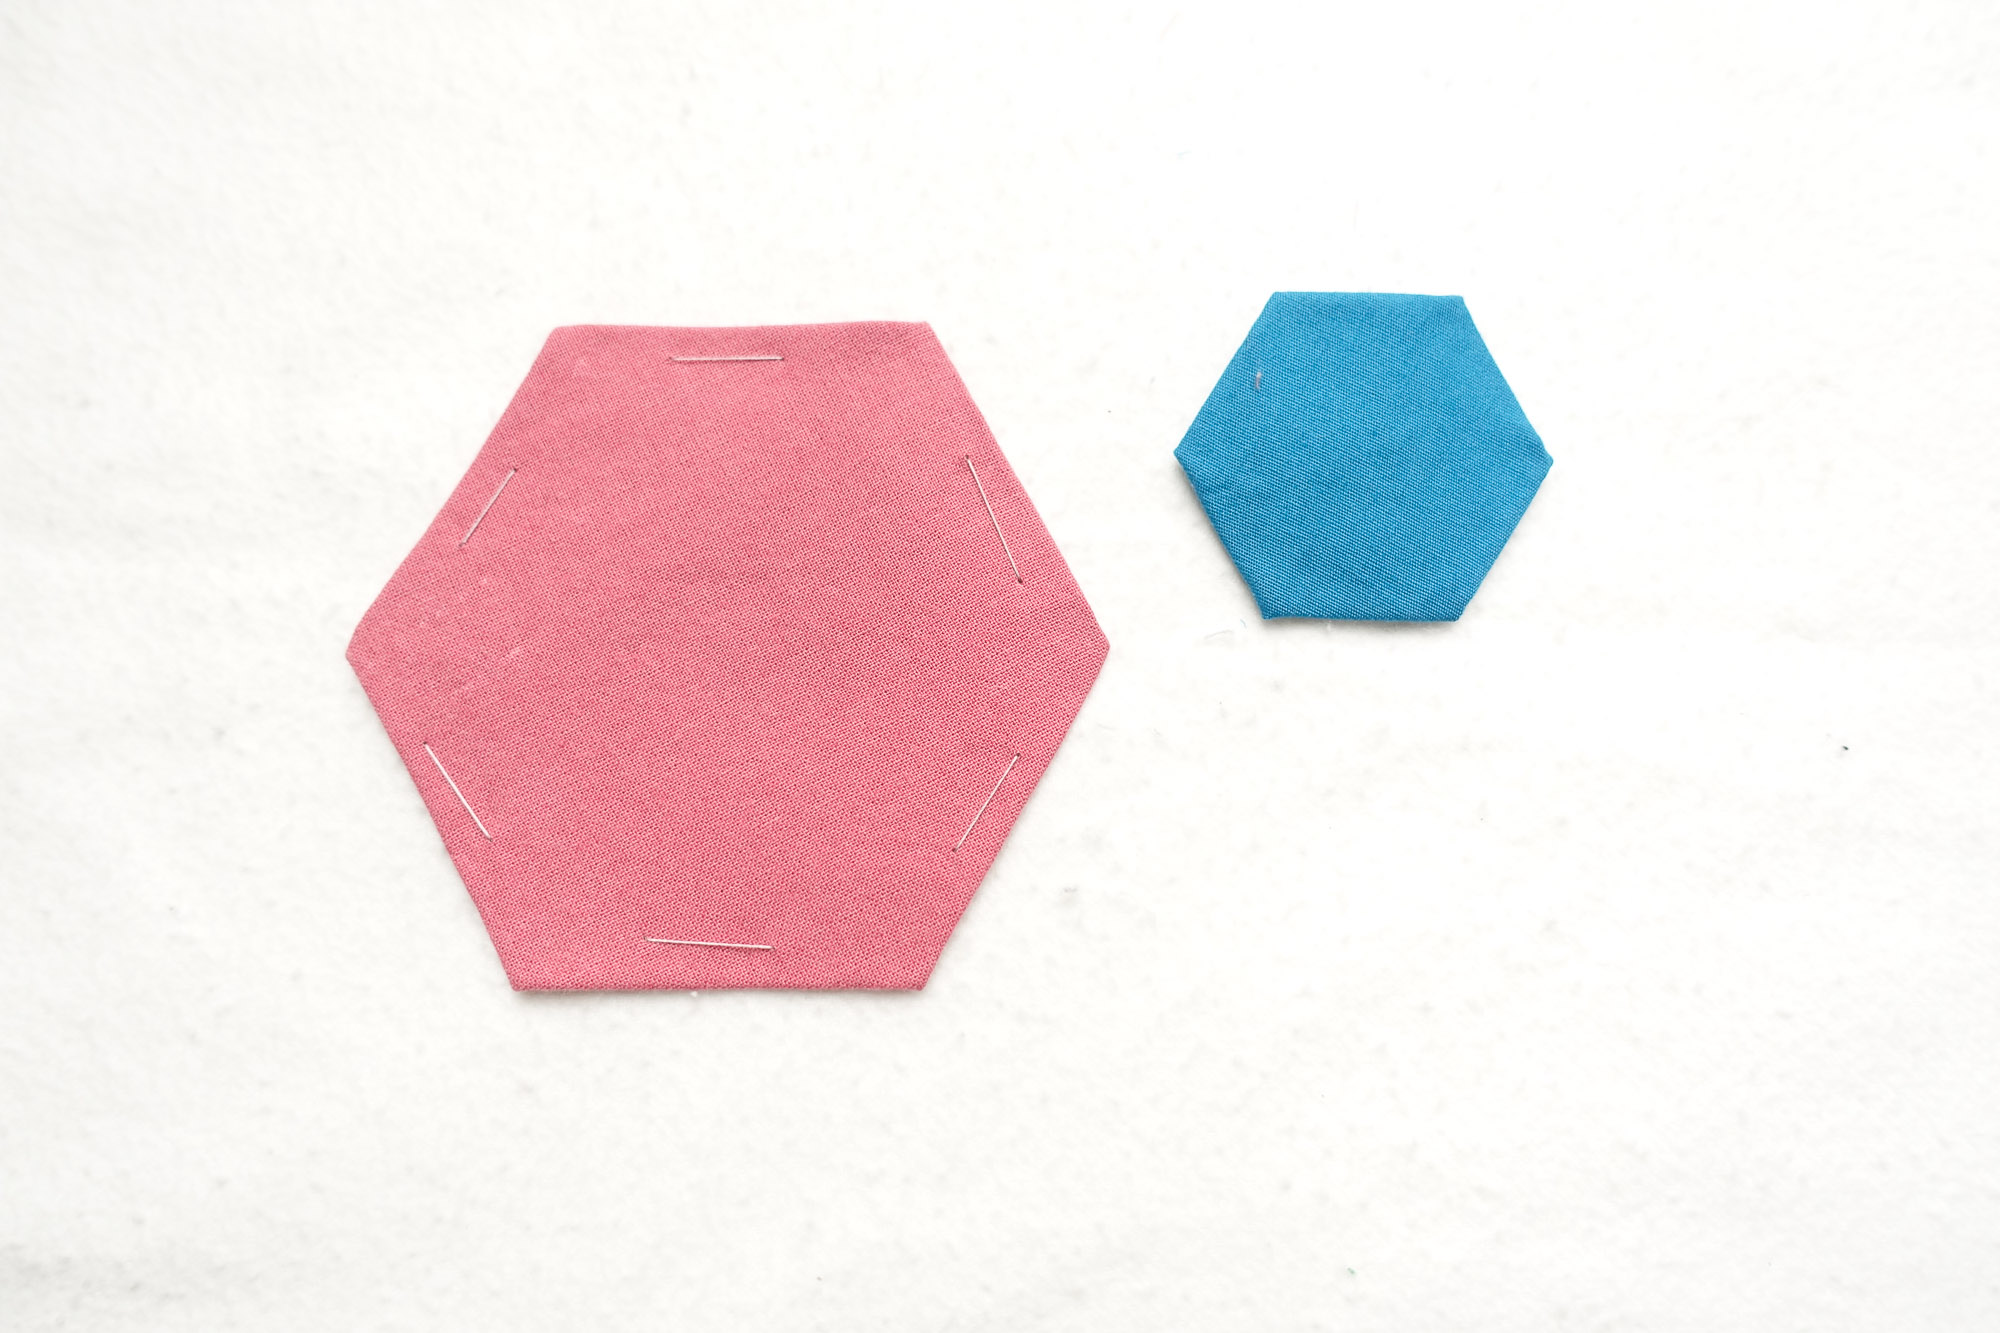
One interesting observation I’ve made personally is that the size of the paper piece seems to be irrelevant to the amount of time it takes to baste it. It seems to me that the number of sides has more to do with the speed, rather than the length of the side. For example, I initially imagined that basting a 1/2” diamond would take me less time to baste than a 2” diamond. In the end, they both have four sides and it actually took me just about the same amount of time. By contrast, I find diamonds much faster to baste than hexagons because they have four sides instead of six. I have not done the research (i.e. timed myself basting), but logically it seems to make sense? But, I digress.
So how do I actually baste a paper piece?
Well let’s dive in to that! I will share how to both thread baste as well as glue baste, since I think it’s good to try both and decide for yourself. Some of us are purists and prefer to stand by tradition, while others of us are pragmatists and side with the element of speed. (I personally think of myself as a pragmatic purist…whatever that means?) Whichever you choose, I hope that these steps will be helpful.
One last thing before we begin. I have endeavored to create as aesthetically pleasing a layout as possible with this post in order to enhance readability. As such, desktop users will notice that each step of the tutorial is staggered with an alternating text block and image. If the images appear too small at any time, simply click on the image and a full scale version will pop up.
Thread Basting
Of Note:
You can use any thread and needle for this step. Knotting your thread at the end of the strand before beginning is helpful but not necessary.
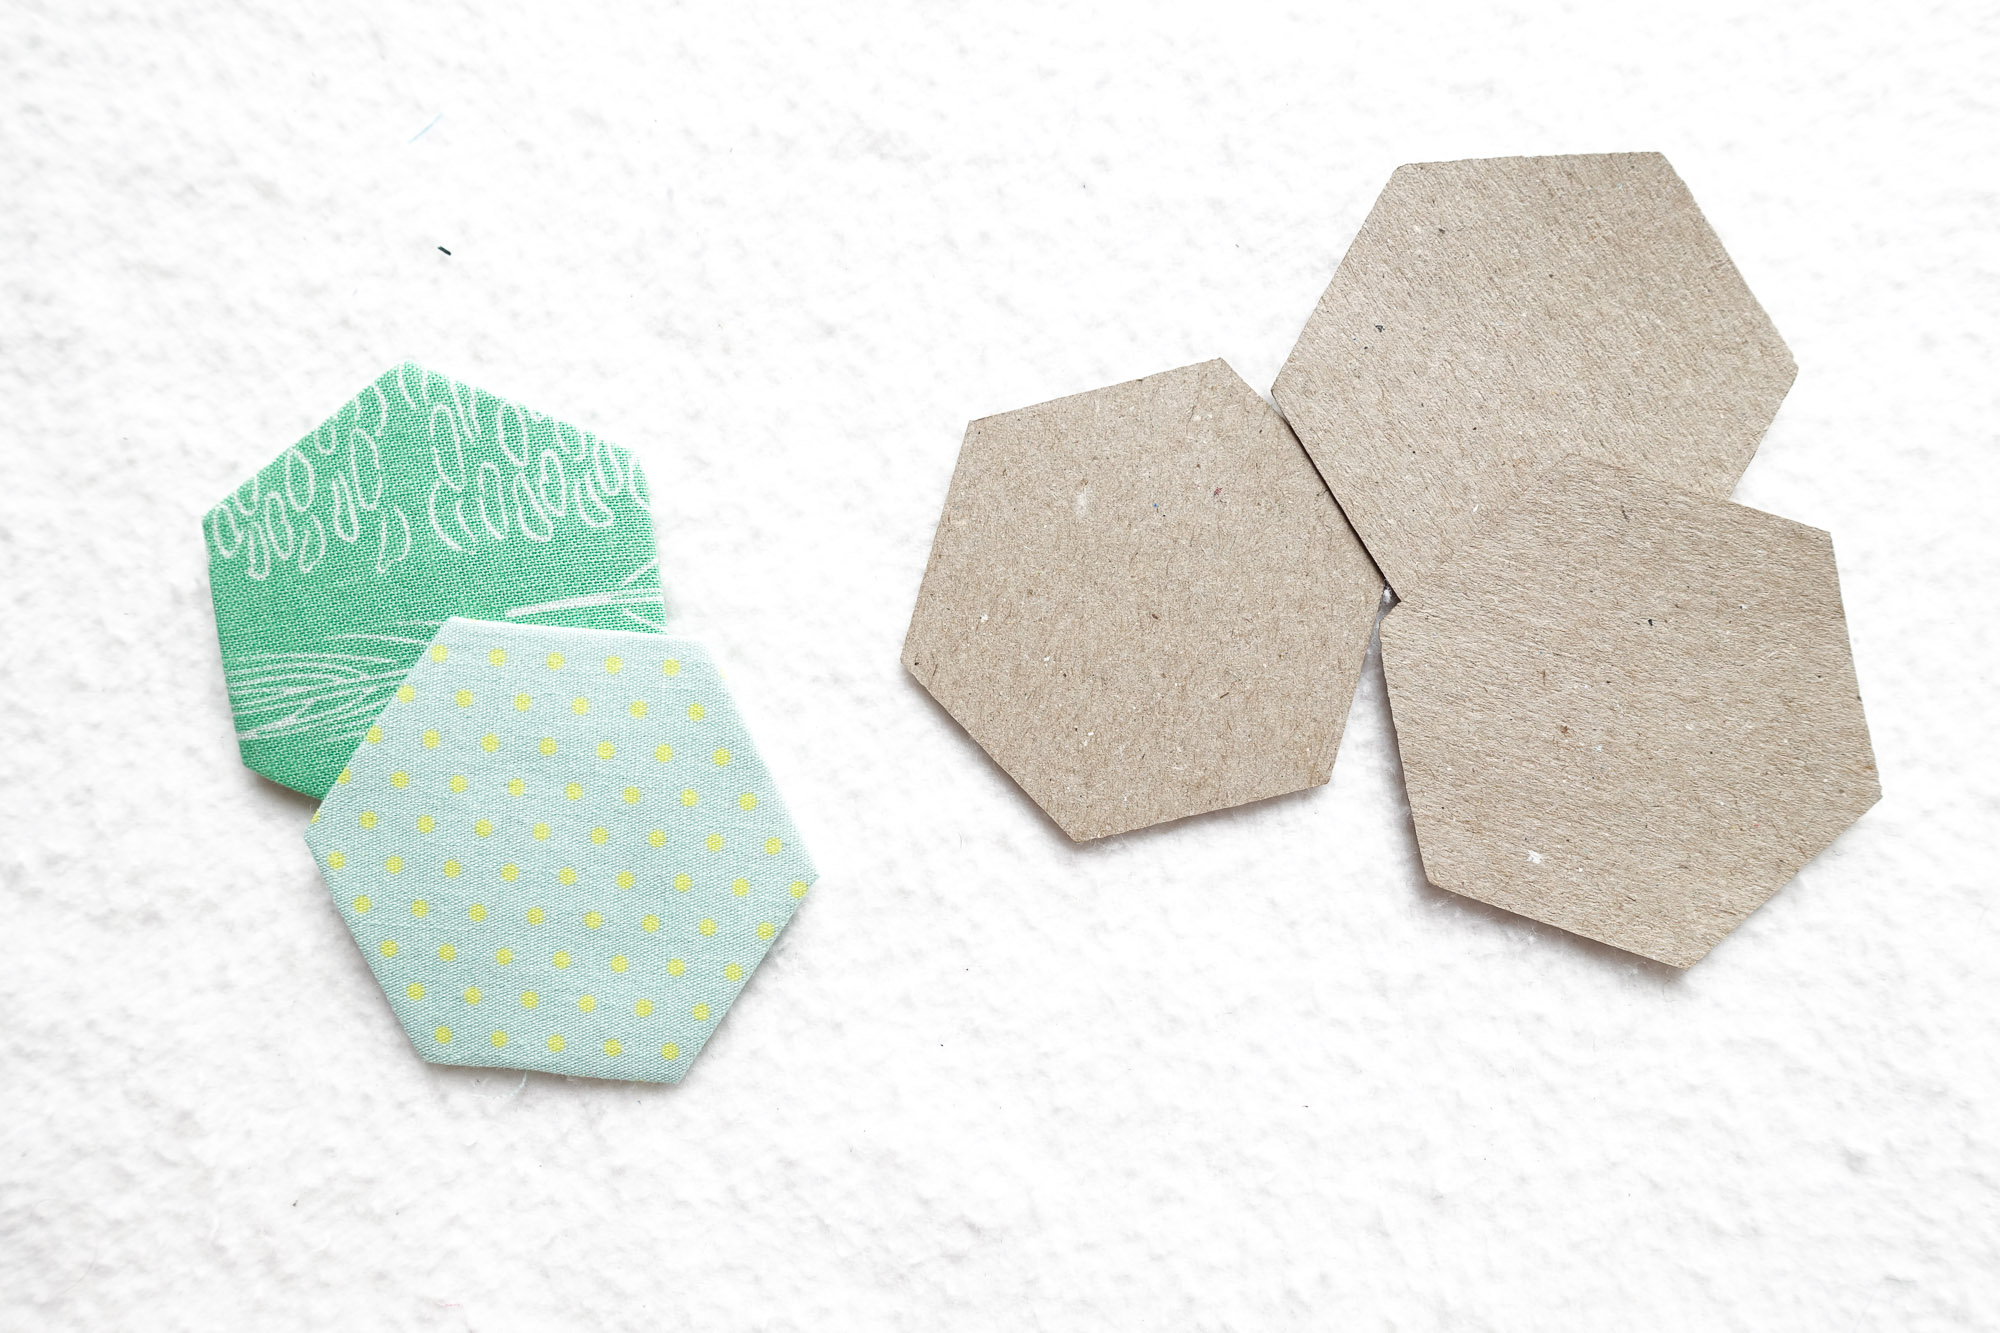
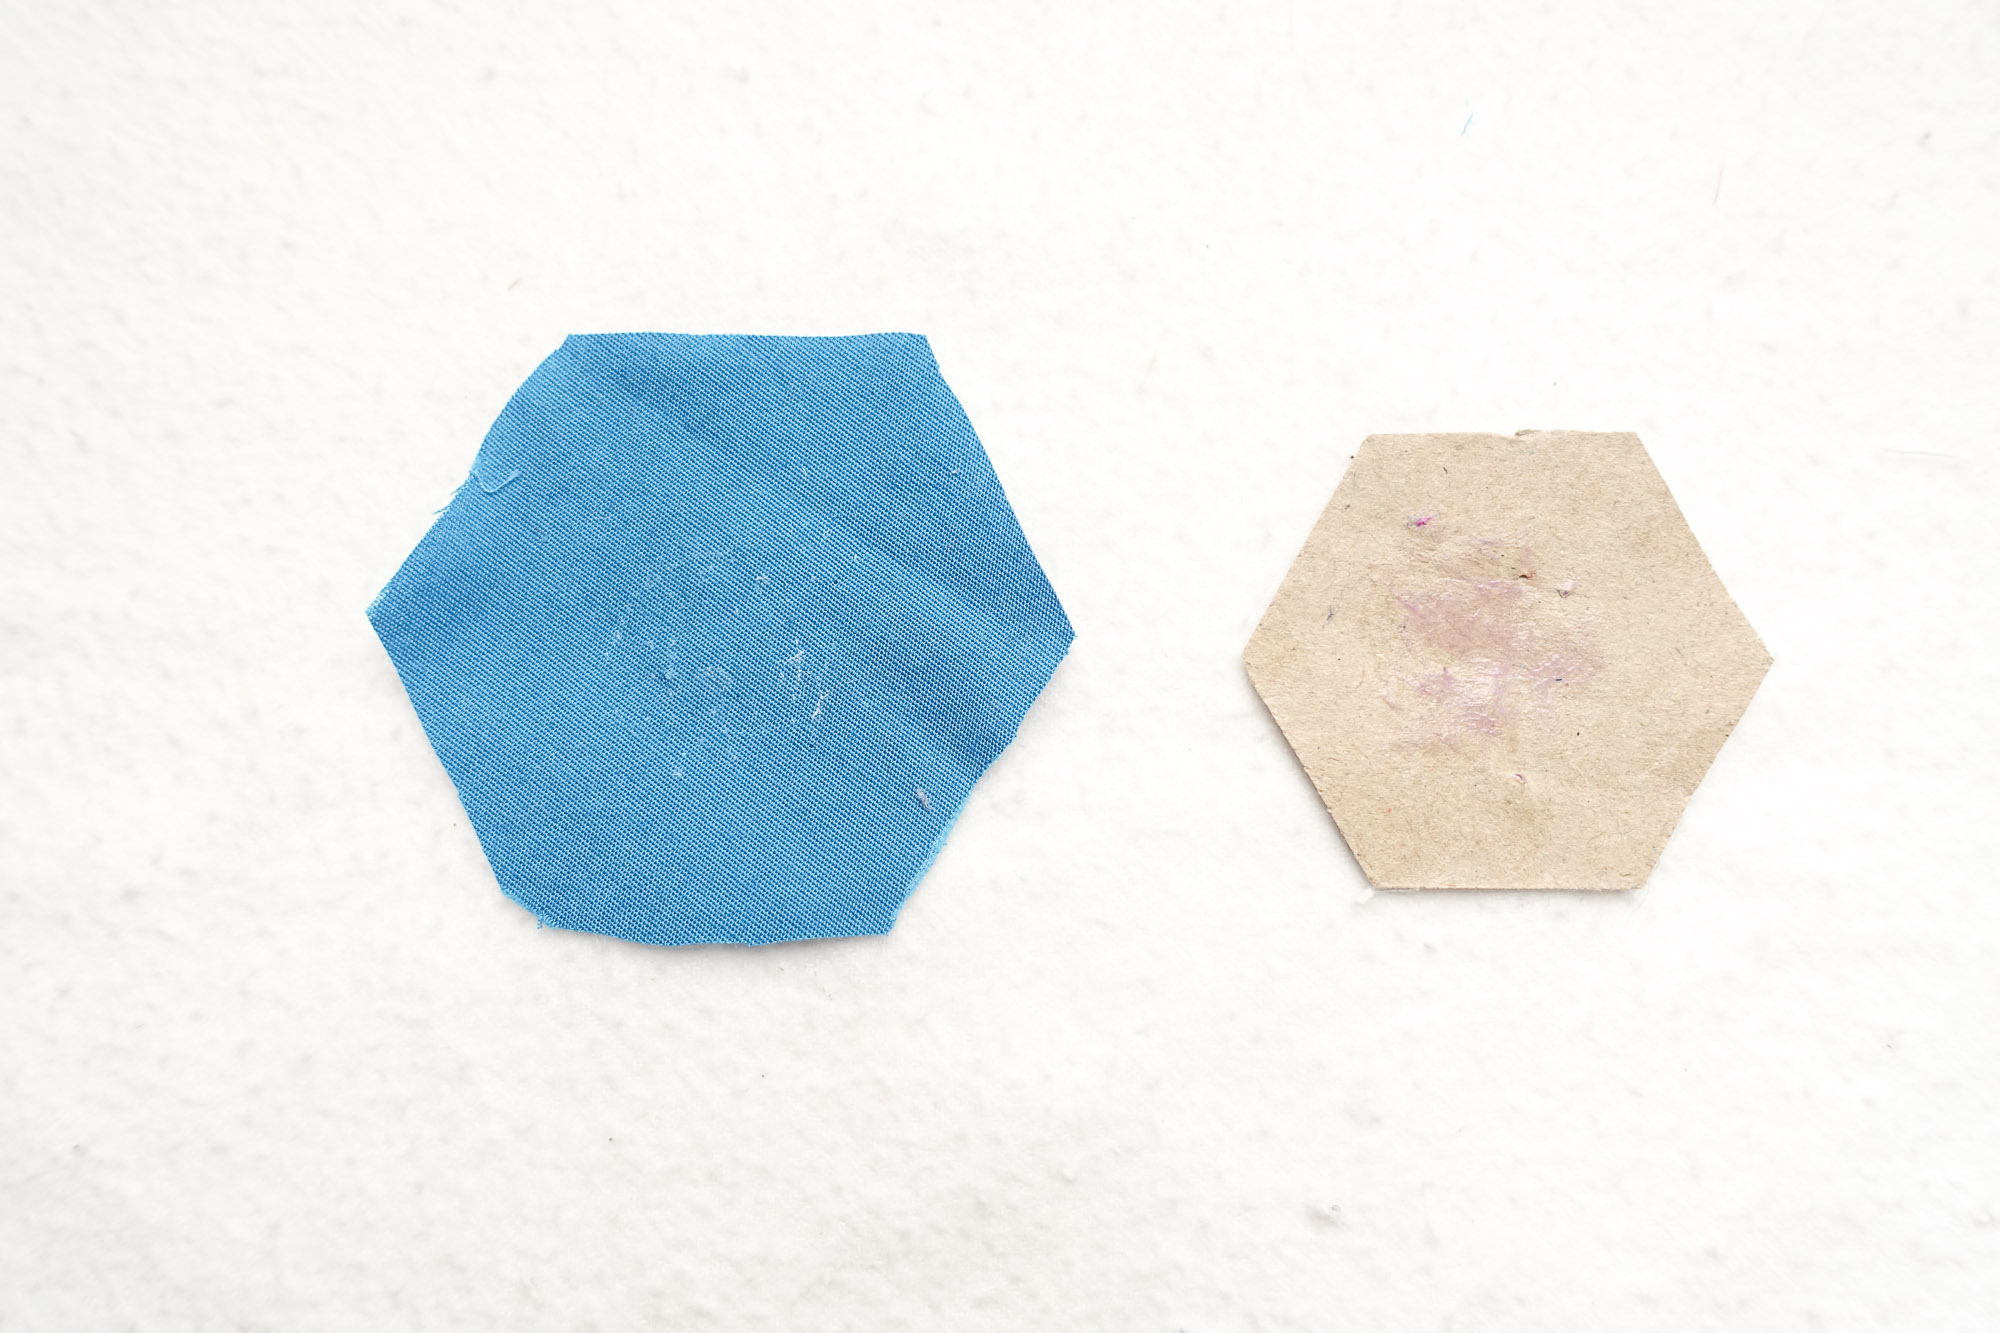
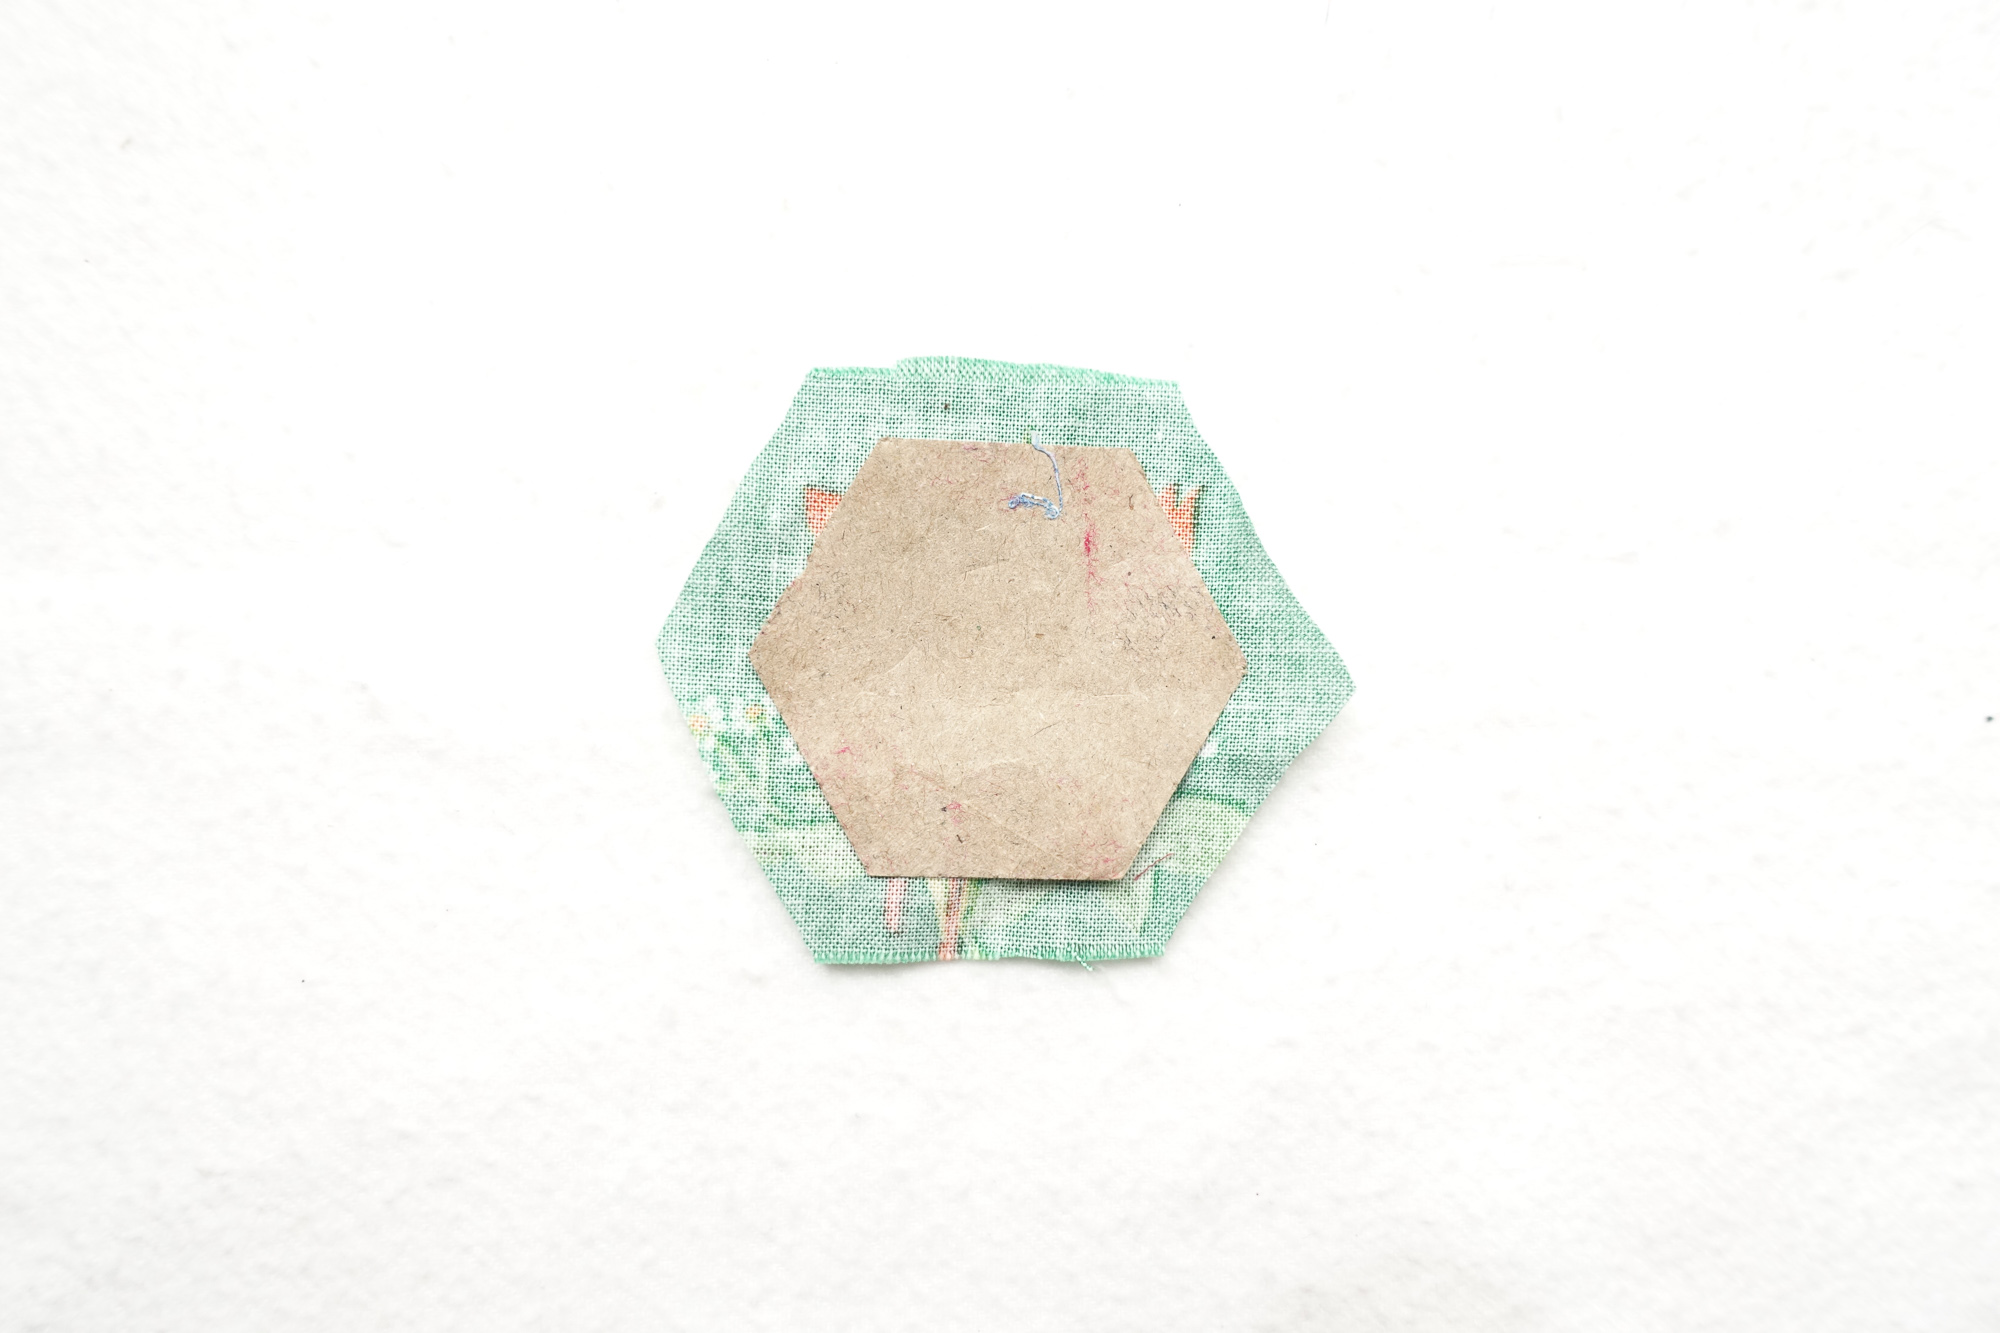
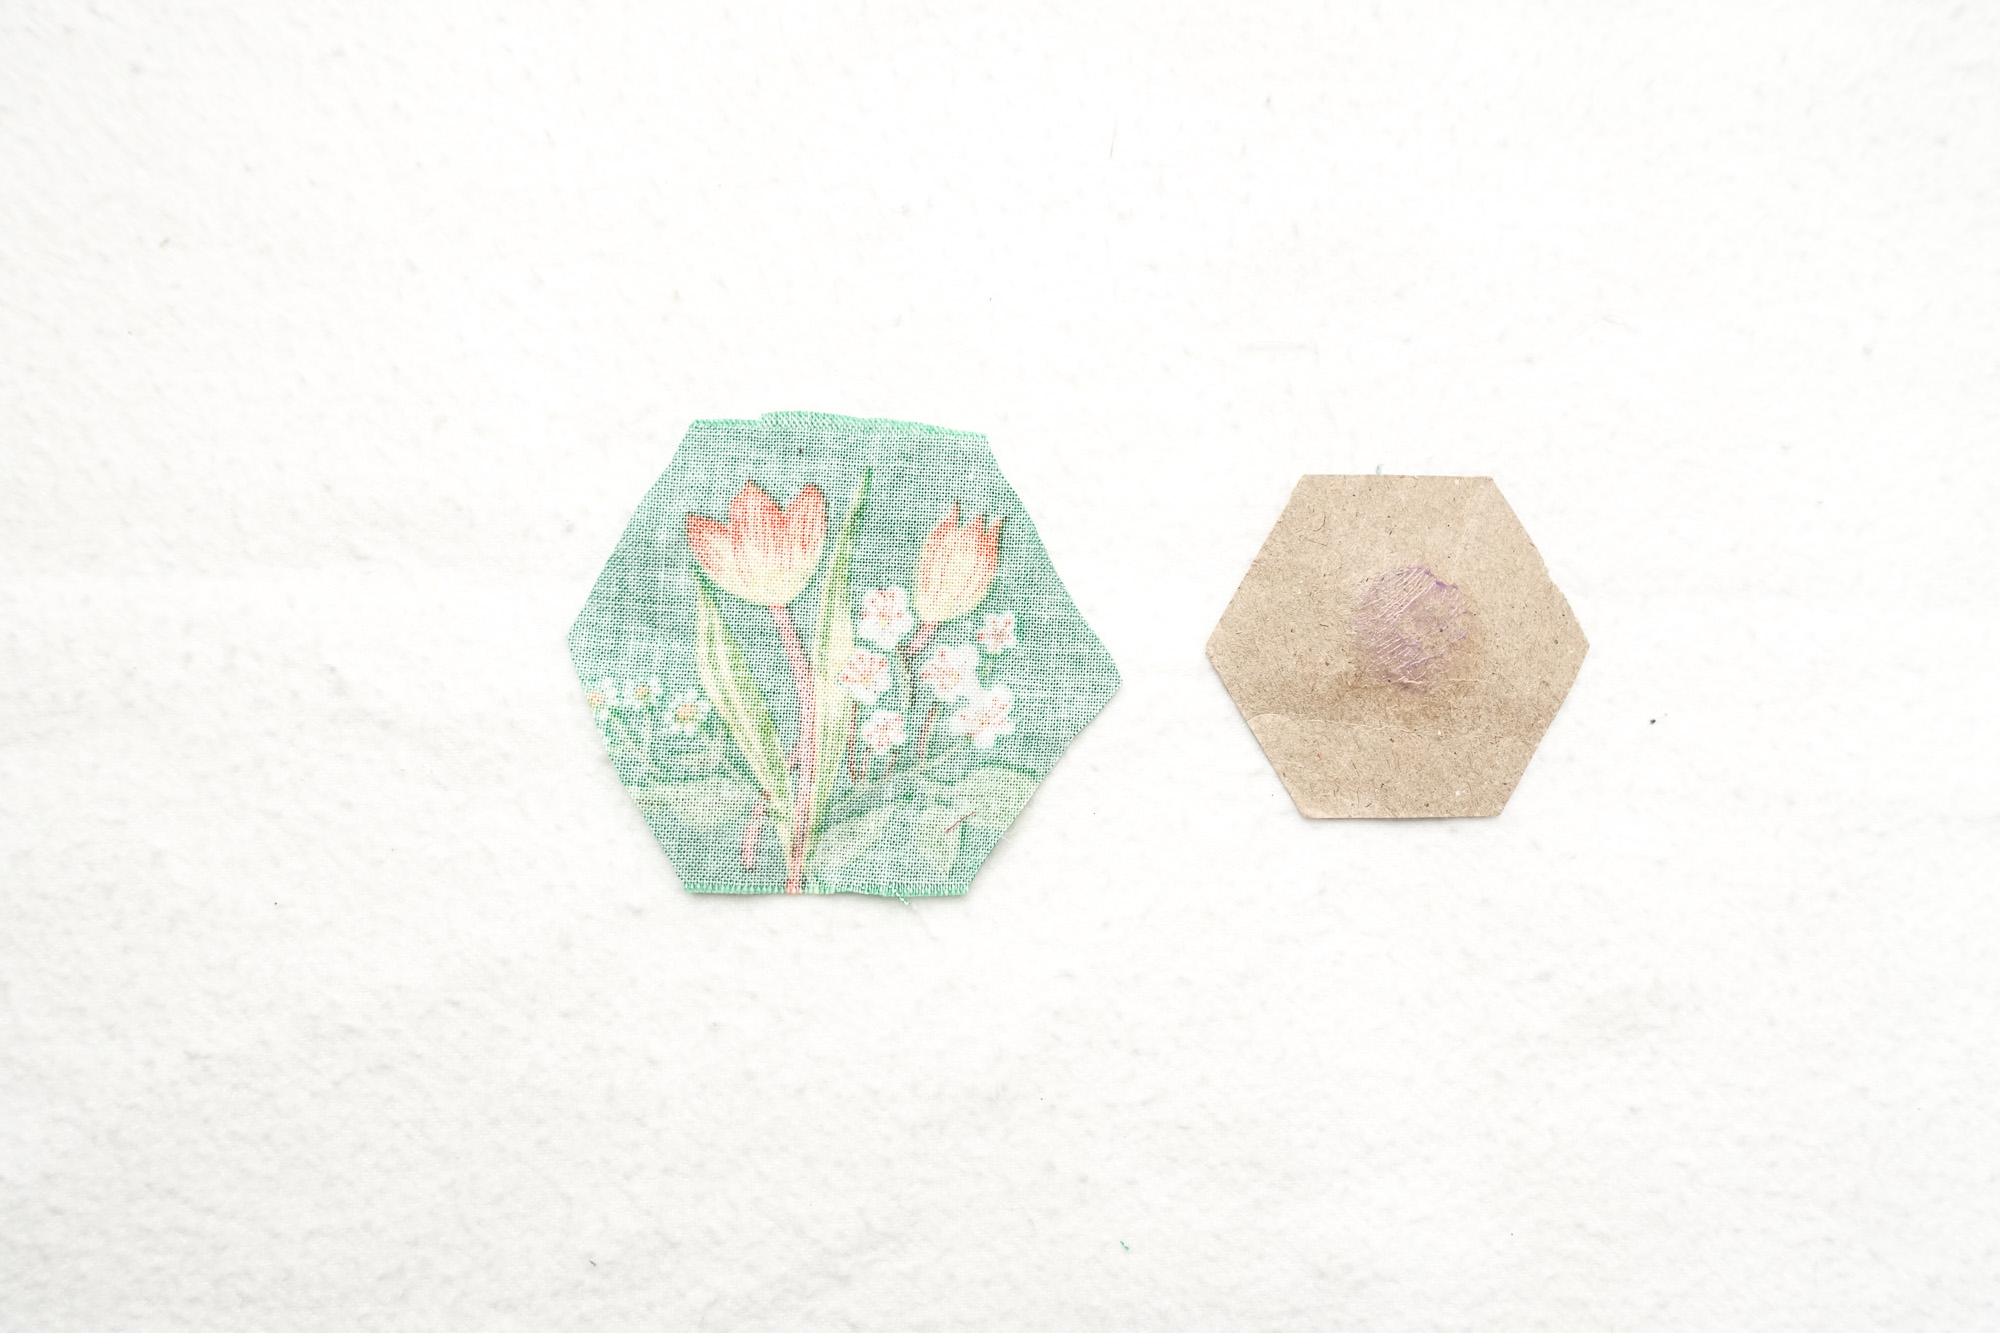
1. Begin by cutting your fabric about 1/4” to 3/8” larger on all sides of the paper piece to create a seam allowance.
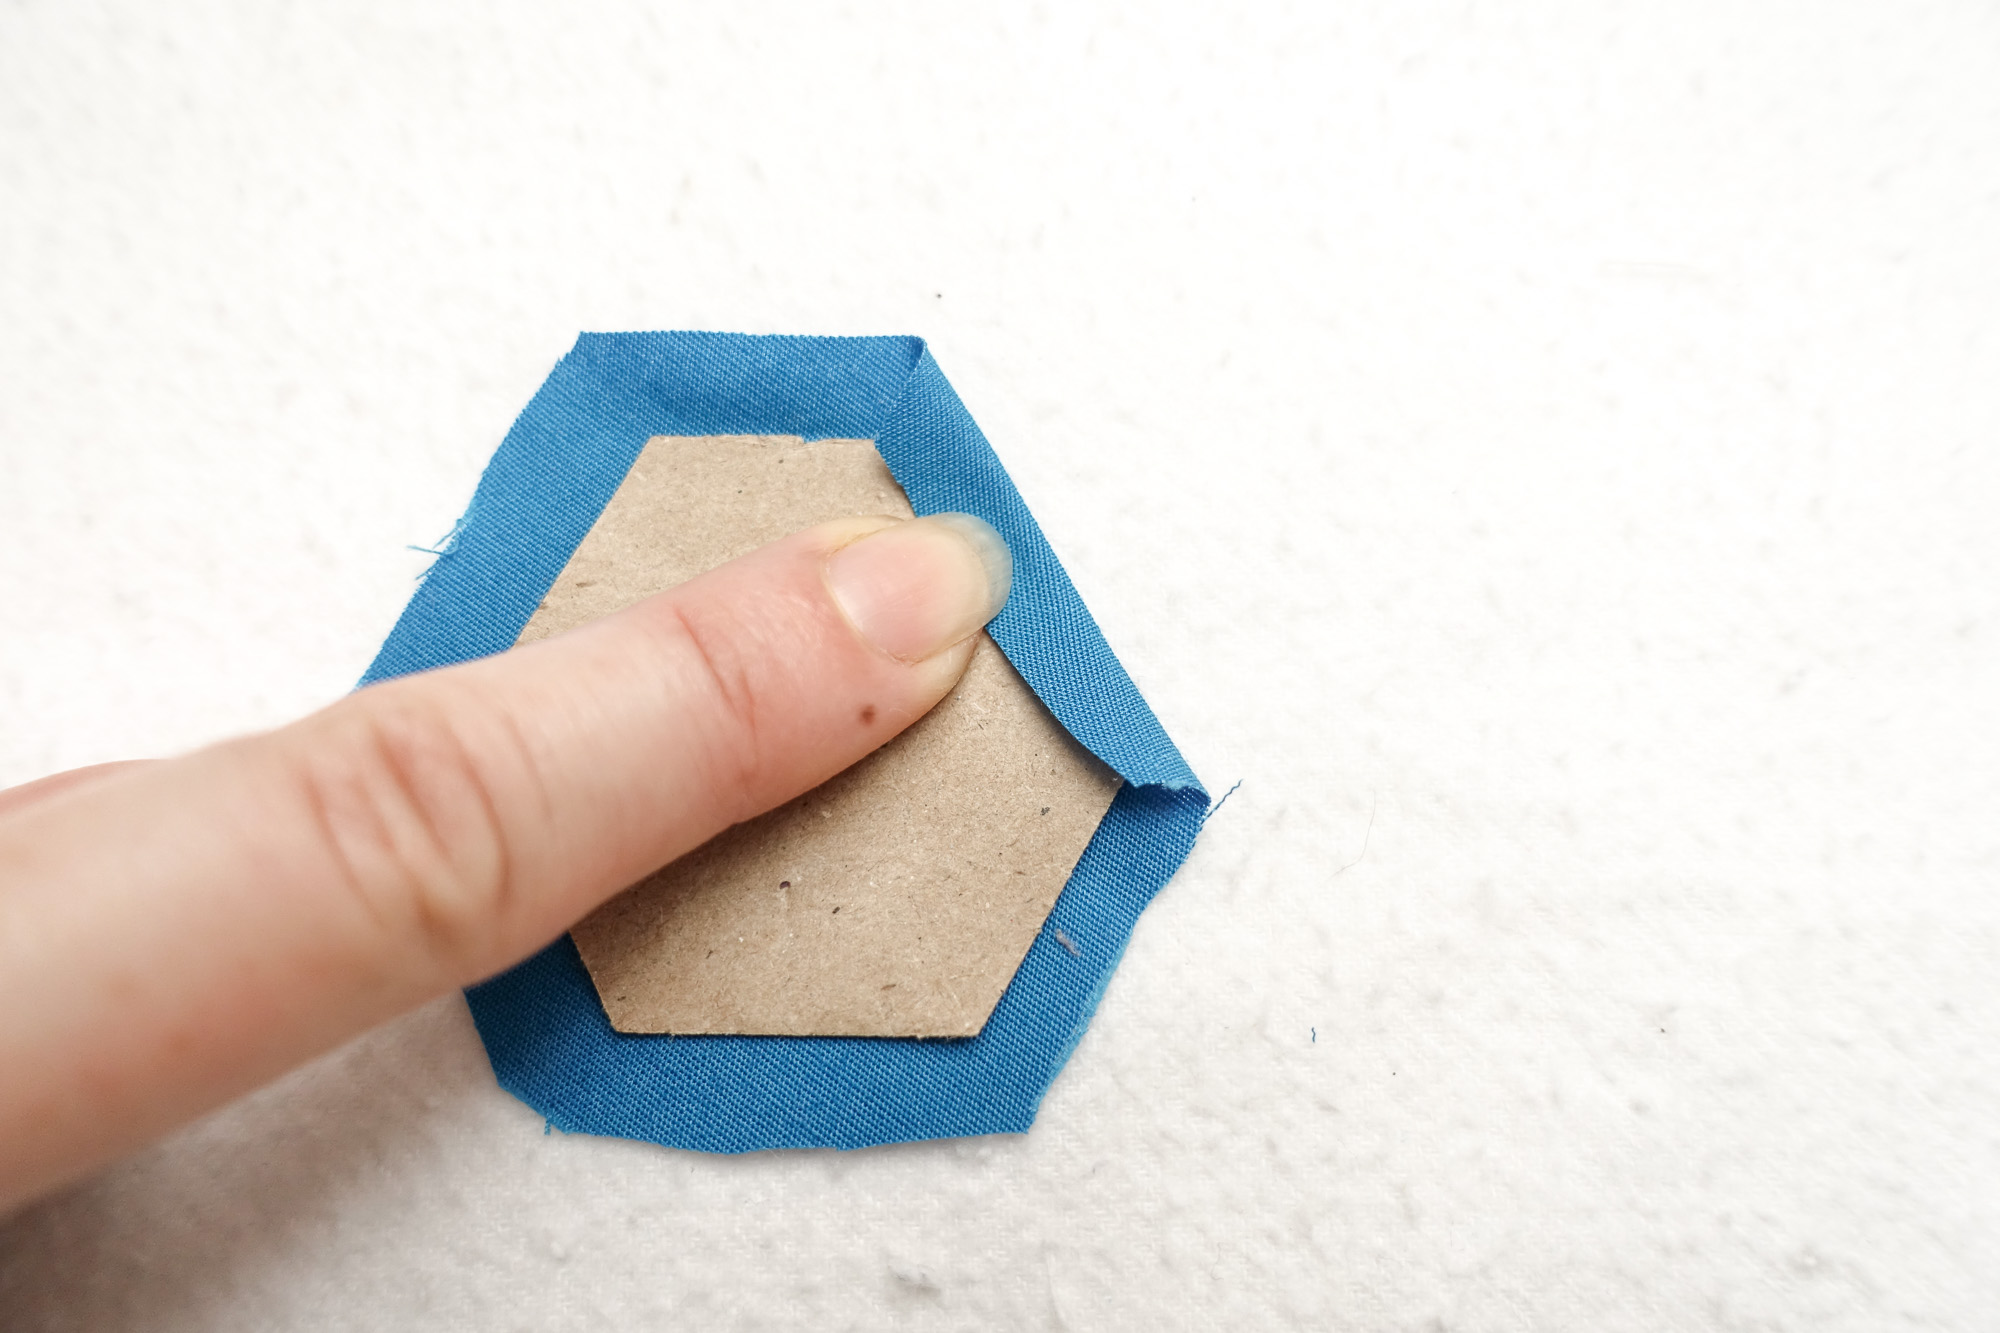
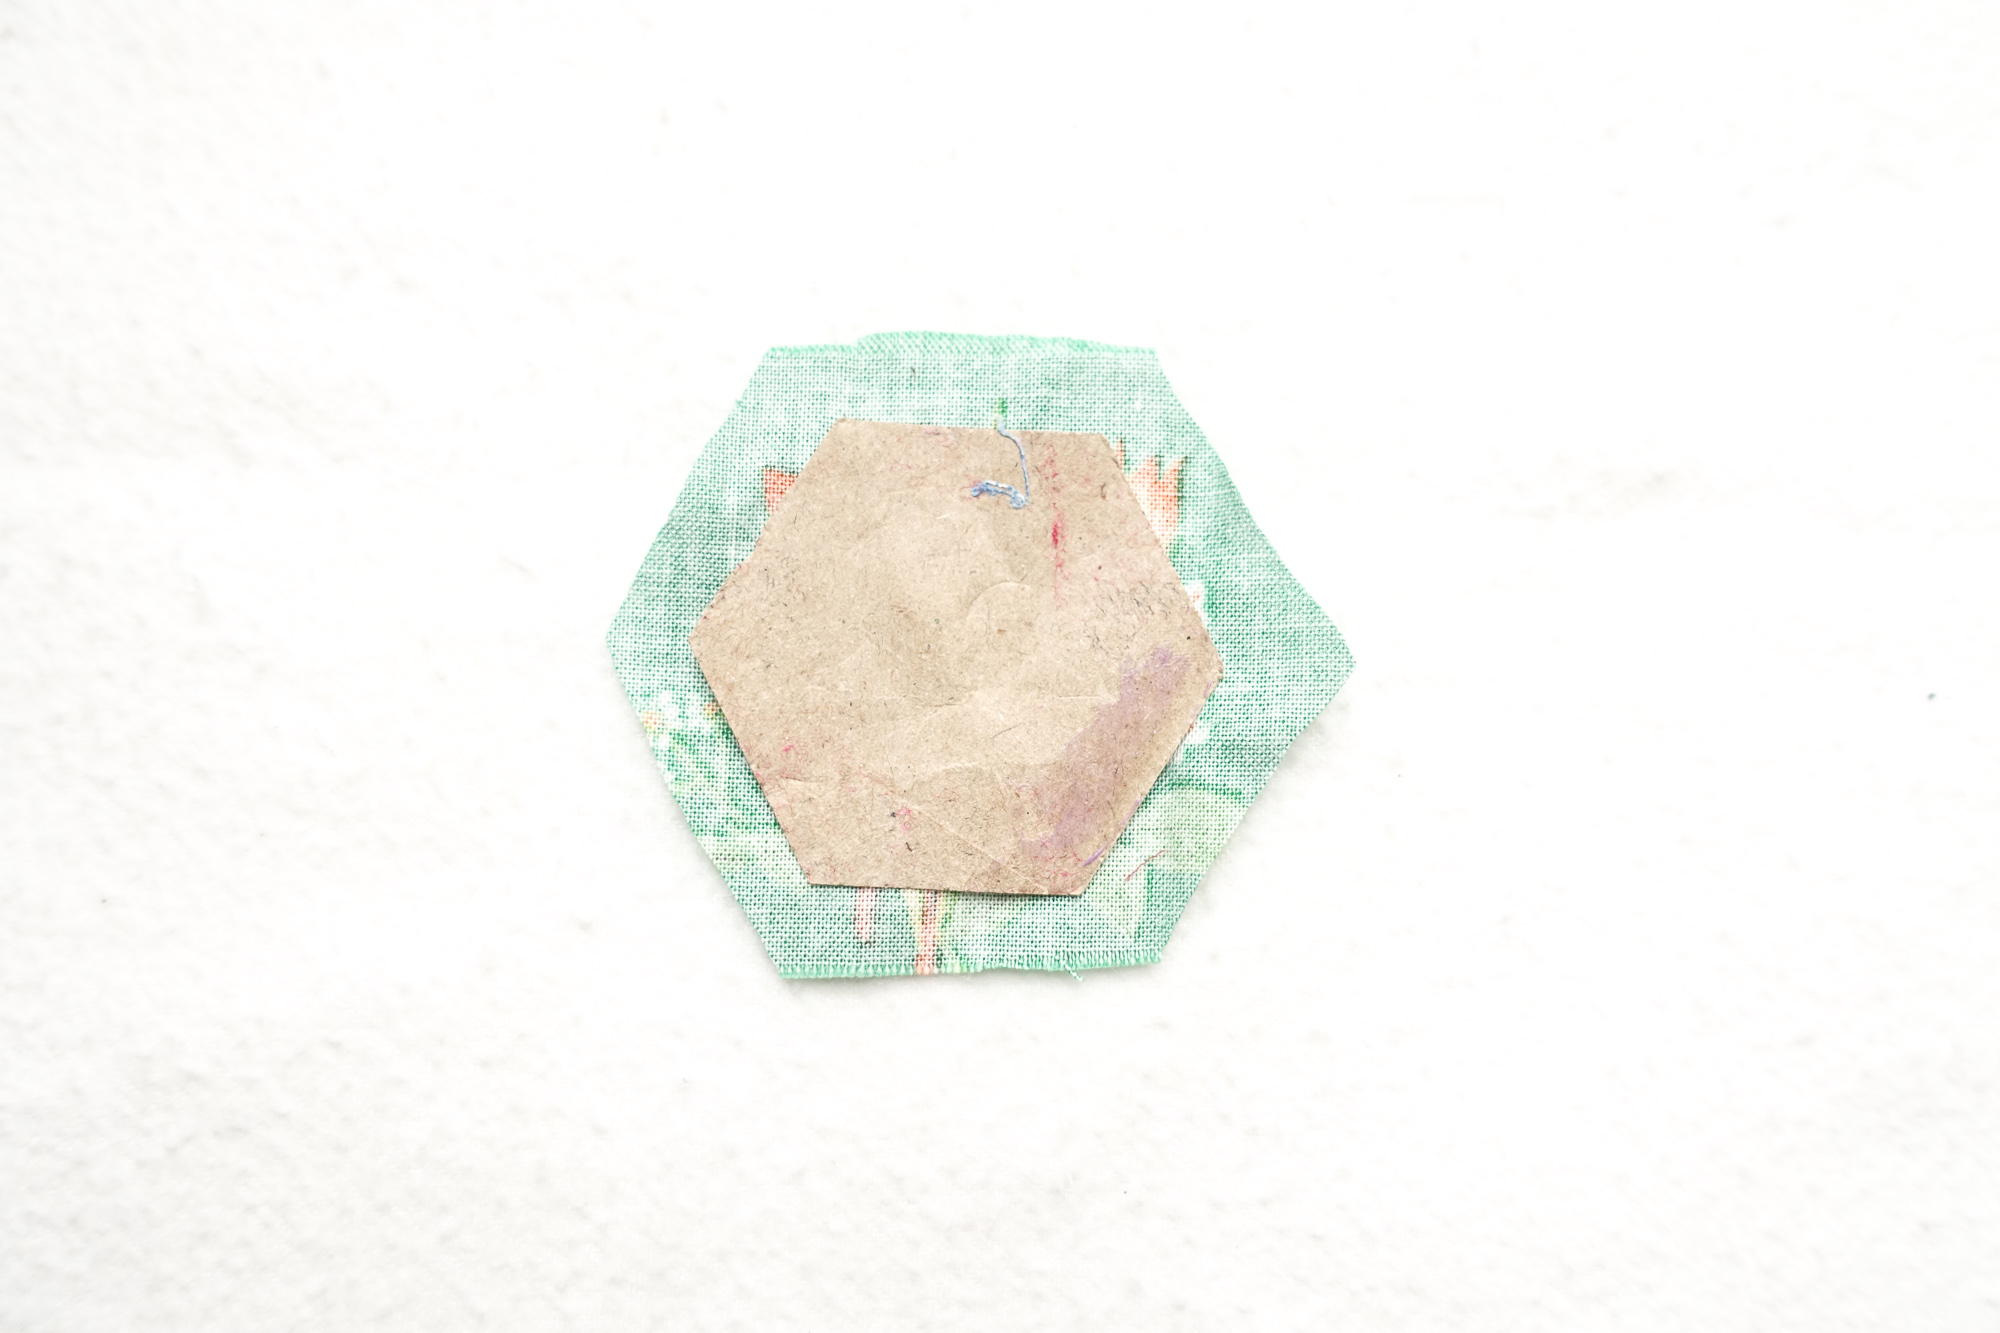
2. Pin or glue your fabric to the paper to keep the paper in place as you baste.
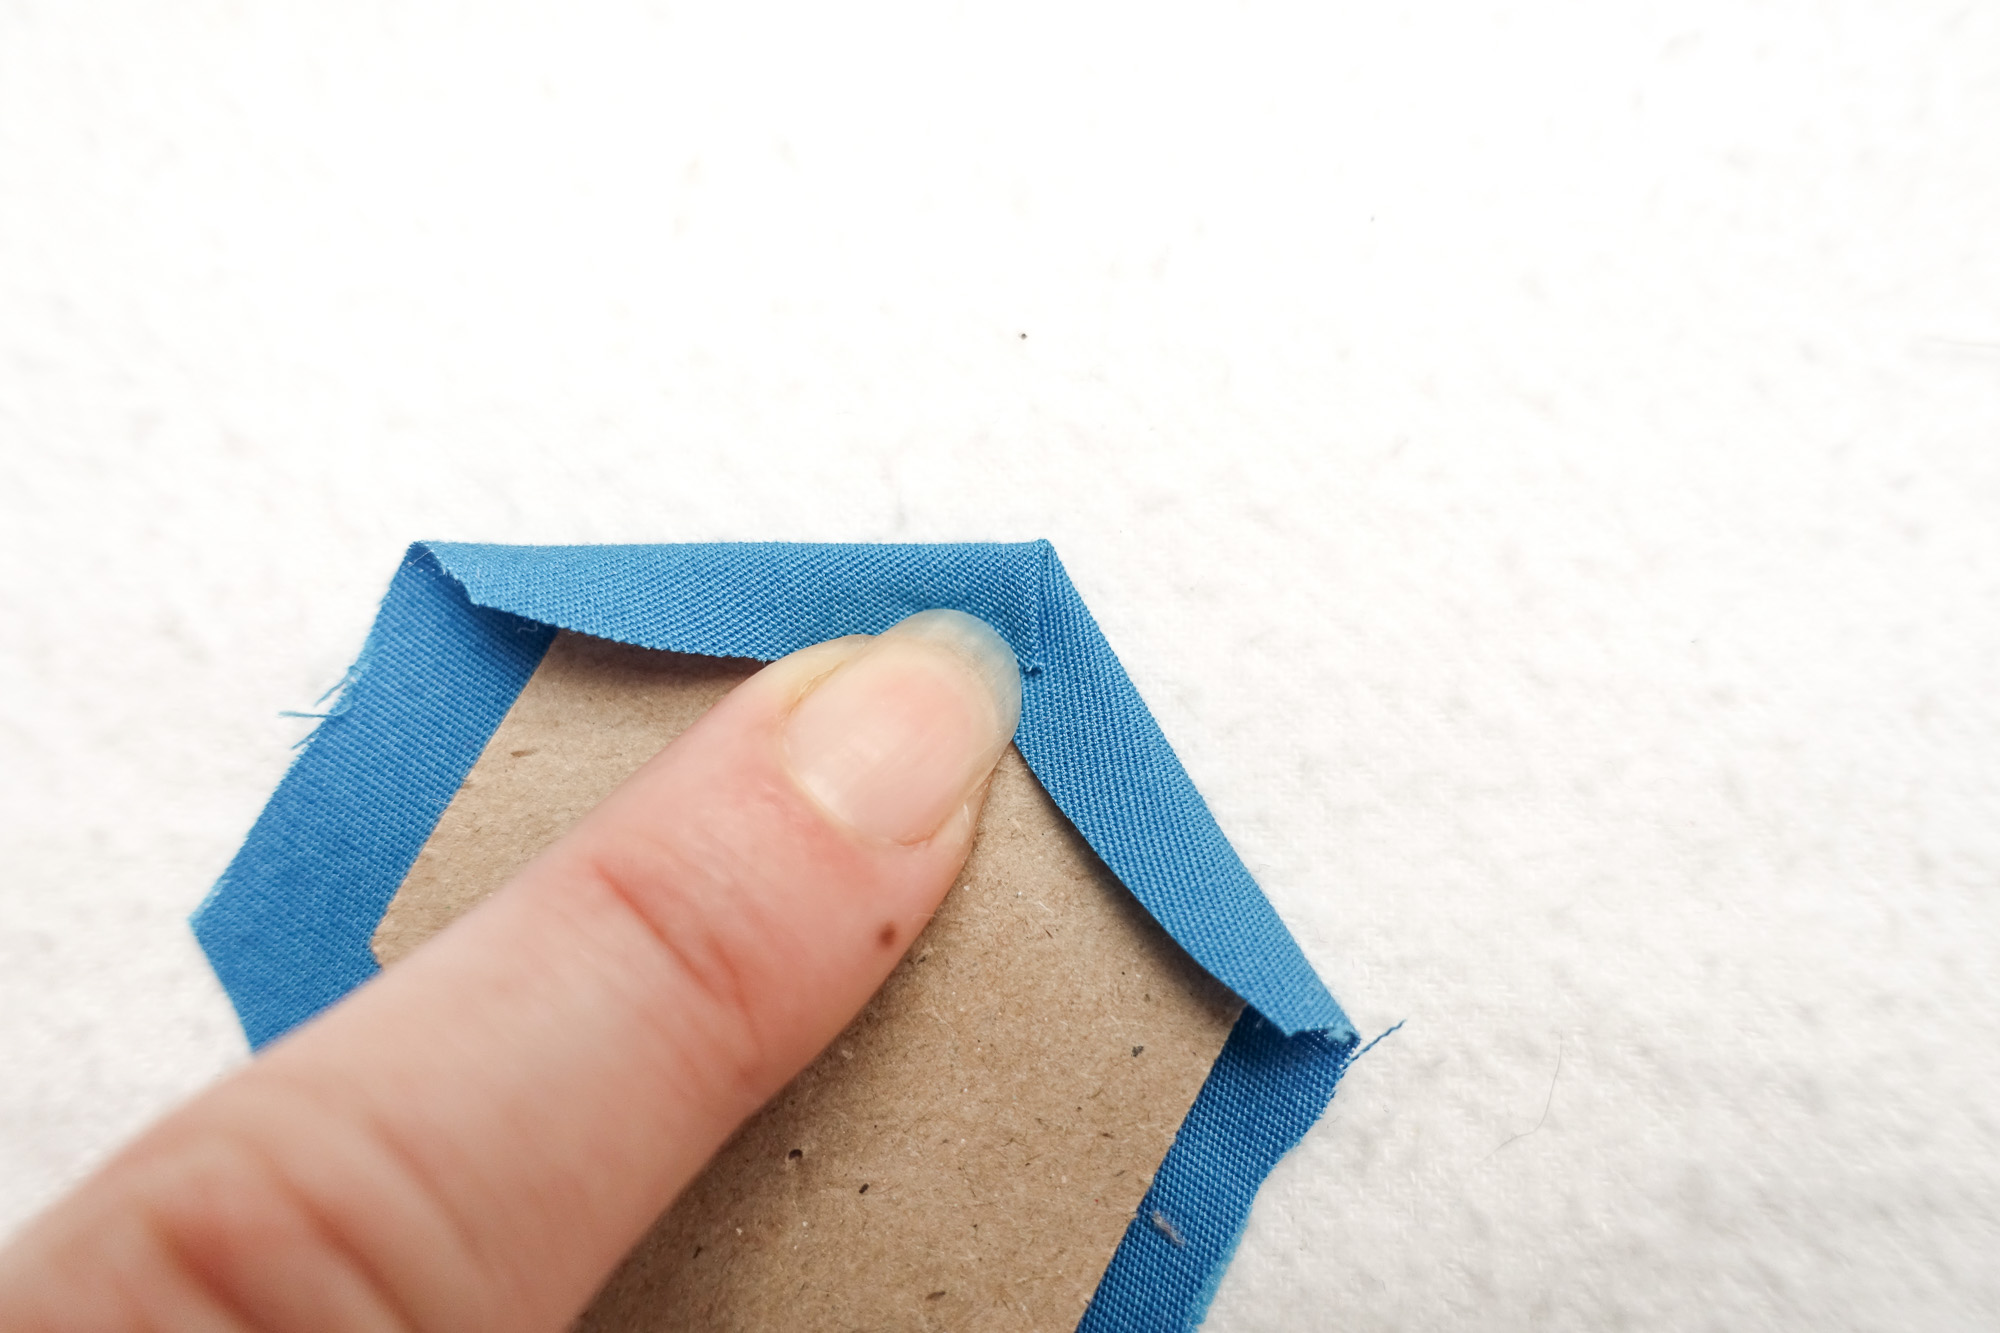
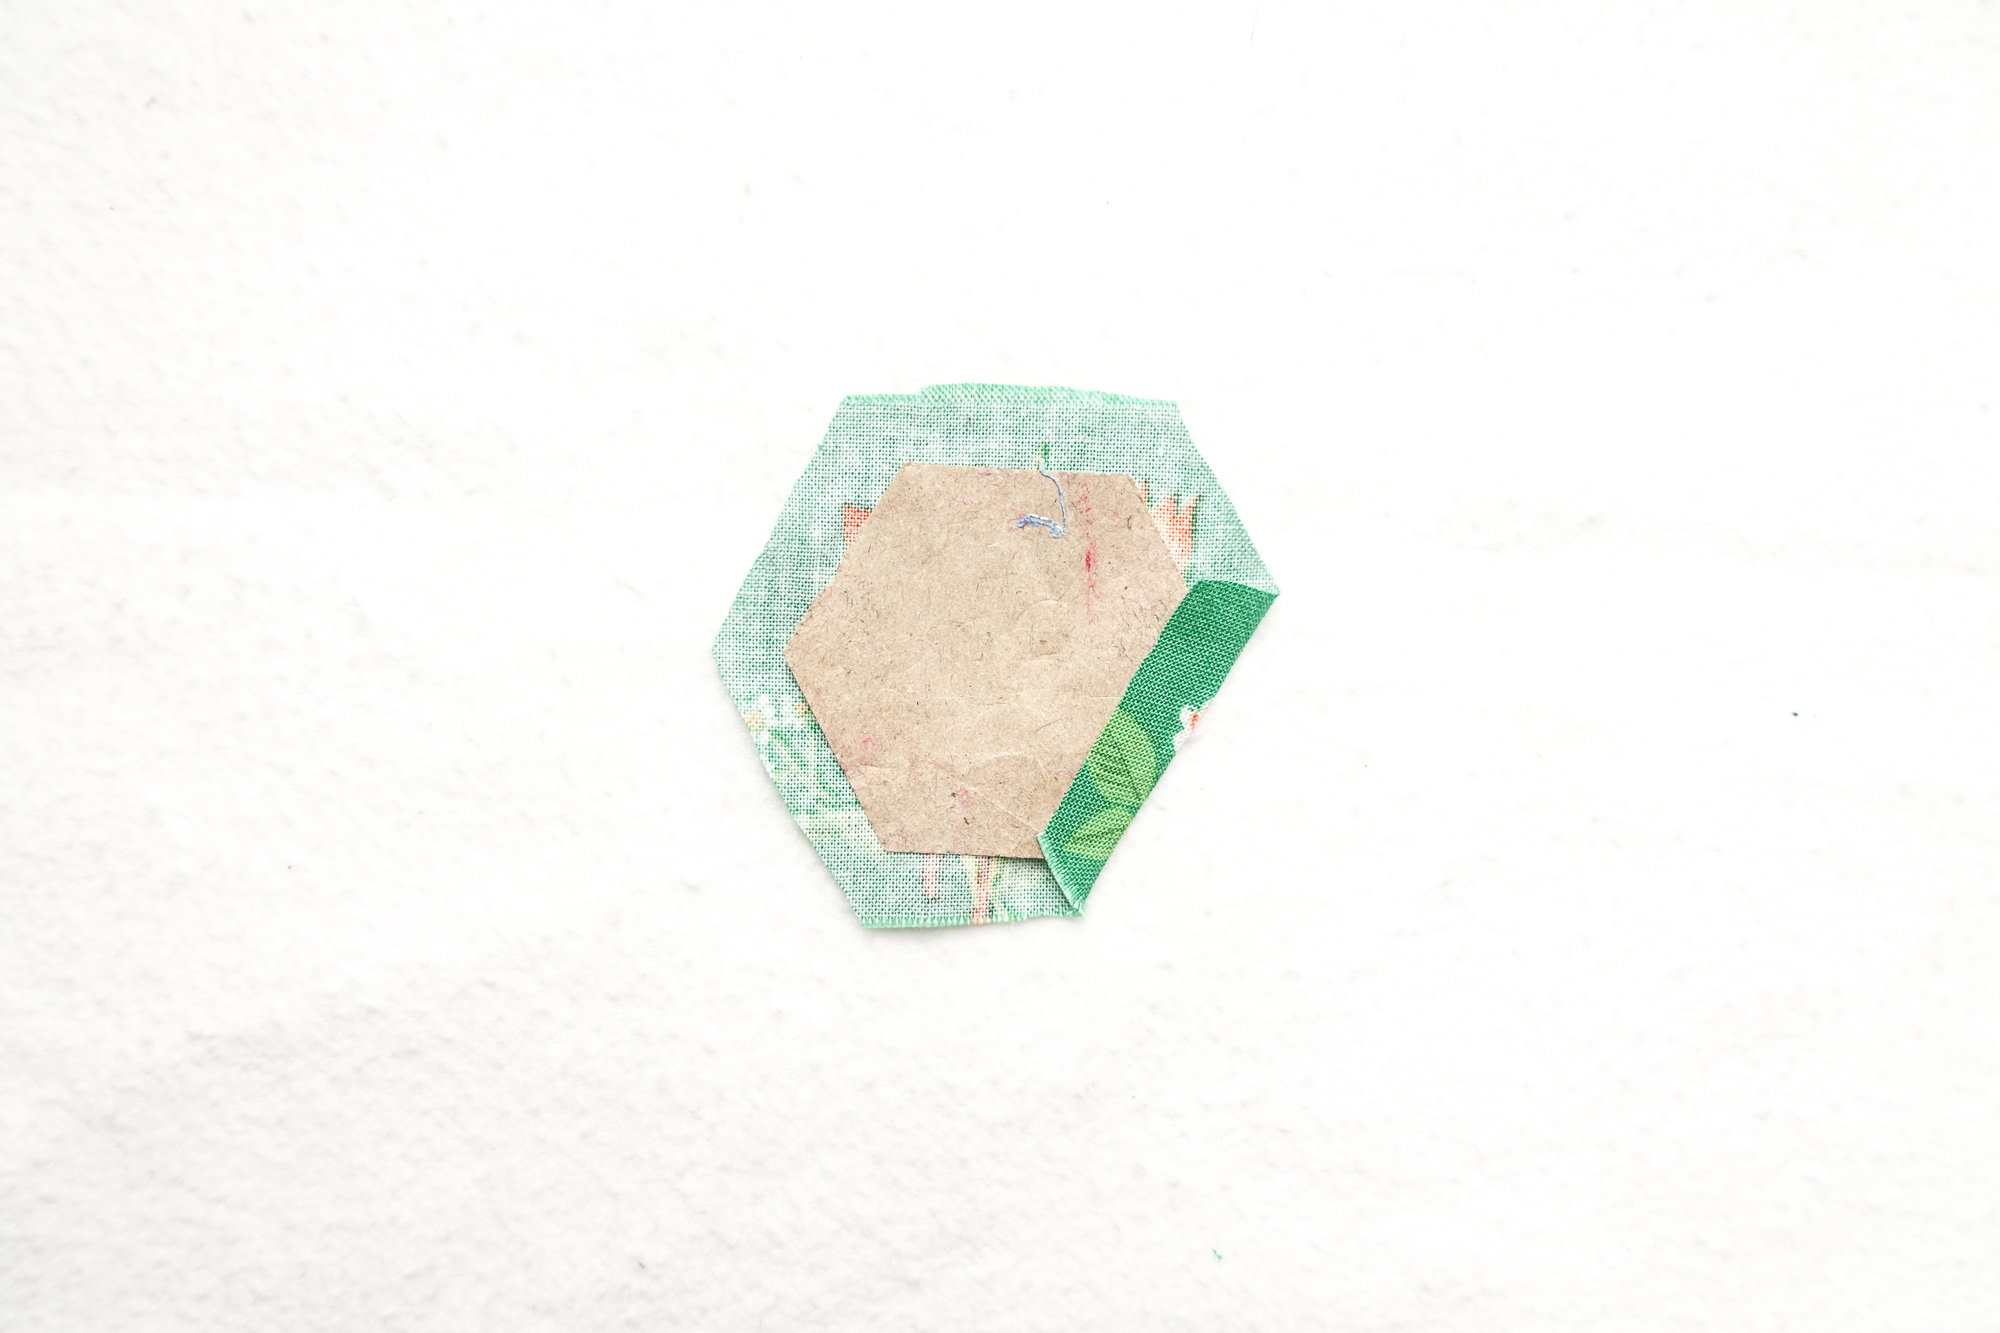
3. Fold one side of your fabric down over the paper piece and create a crease by finger pressing in place.
4. Fold the next side of your fabric over the paper piece to create a corner.
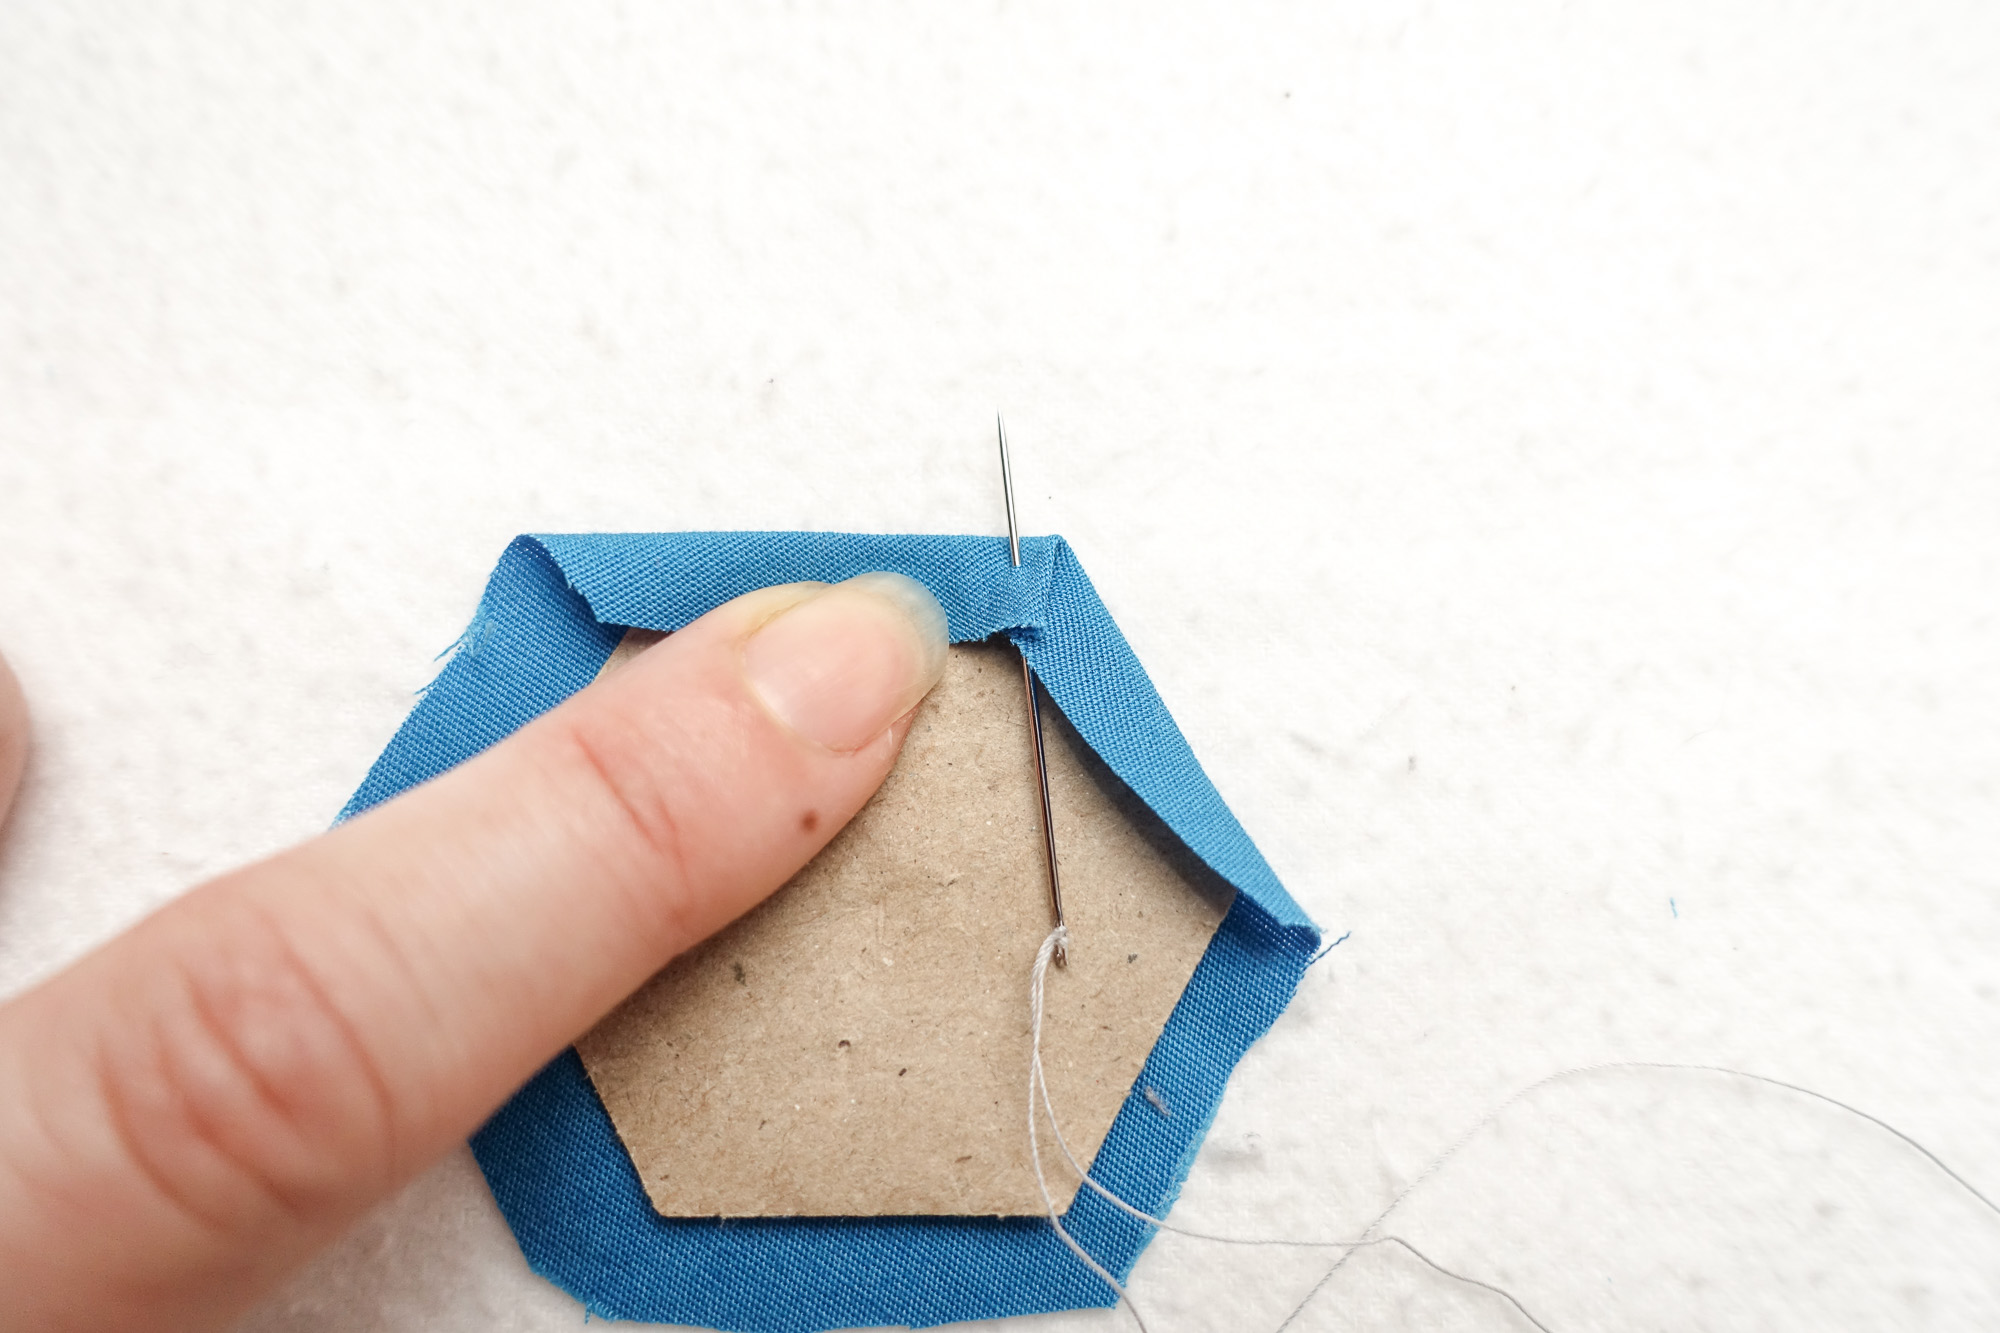
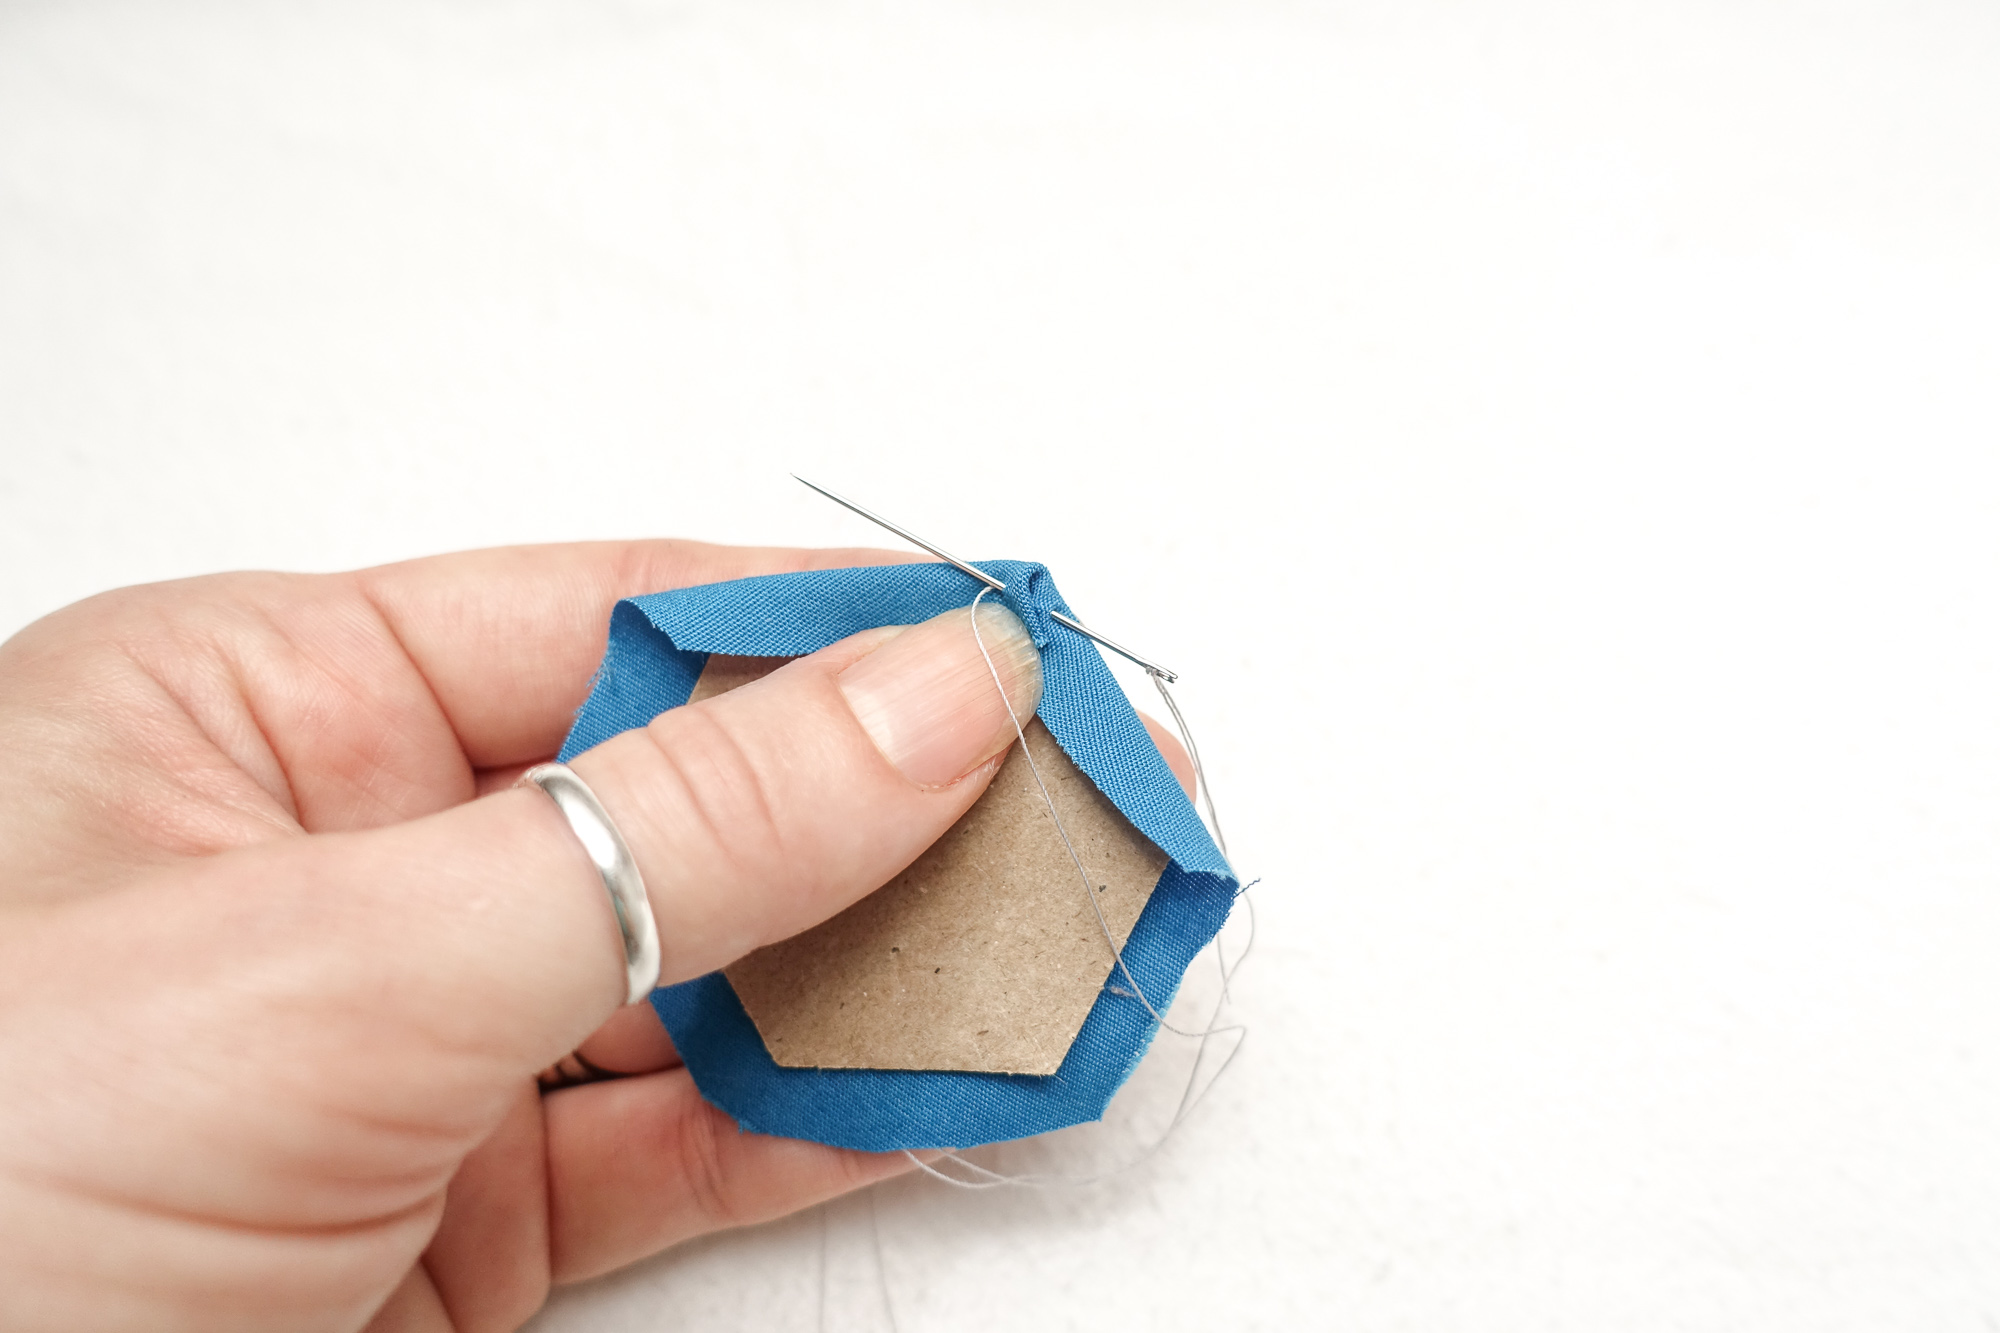
5. Take your needle and slip it under the seam allowance, bringing it up on the left side of the corner and pull your thread taught.
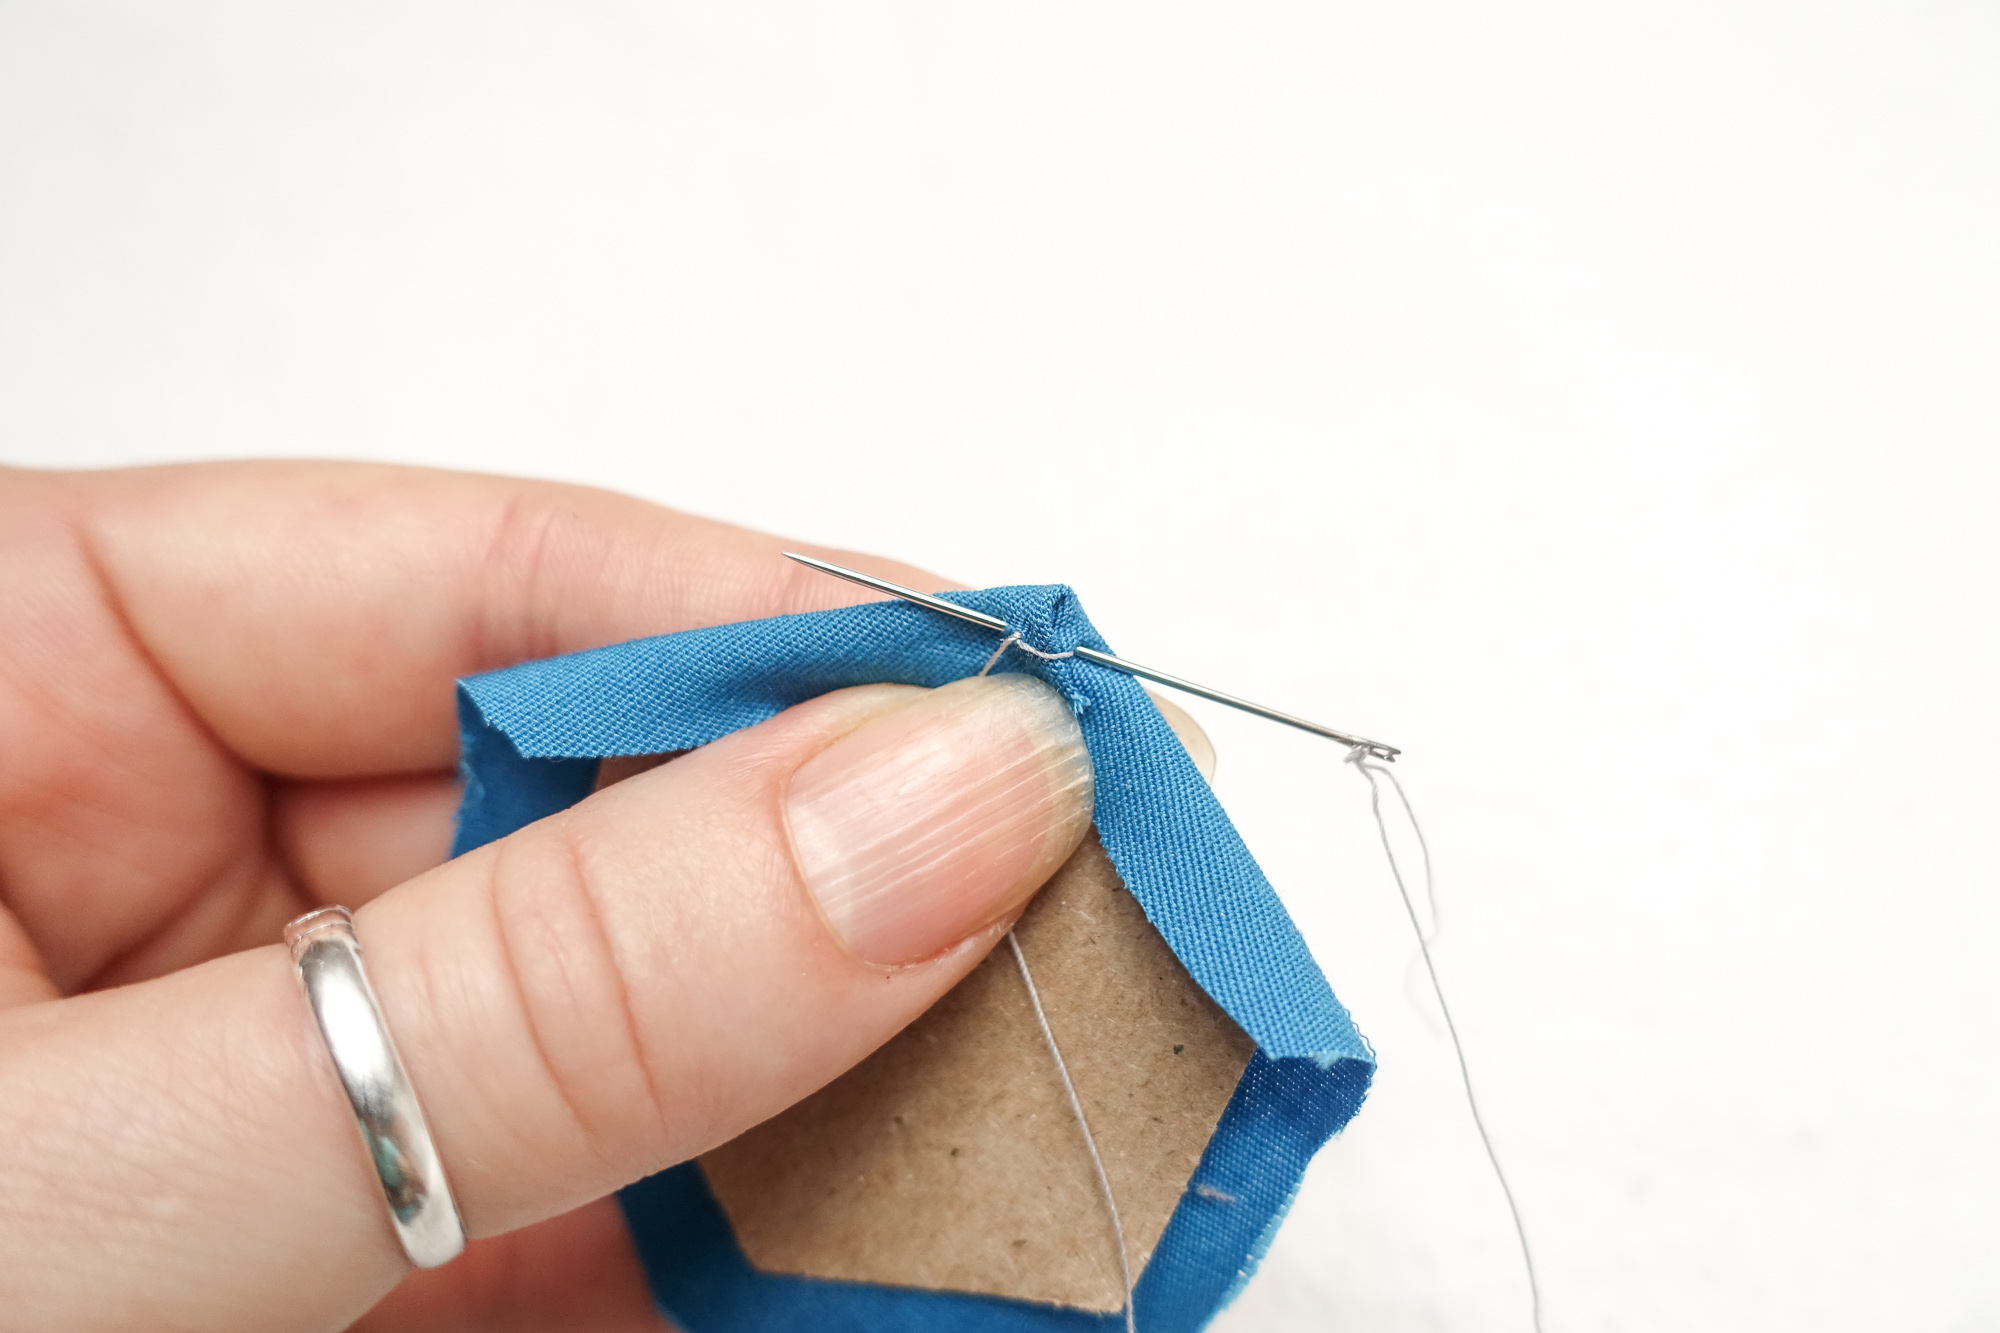
6. Take your needle and bring it across to the right side of the corner and take a stitch, coming out where your thread exited on the left side of the corner.
7. Repeat step 6 to secure the first corner.*
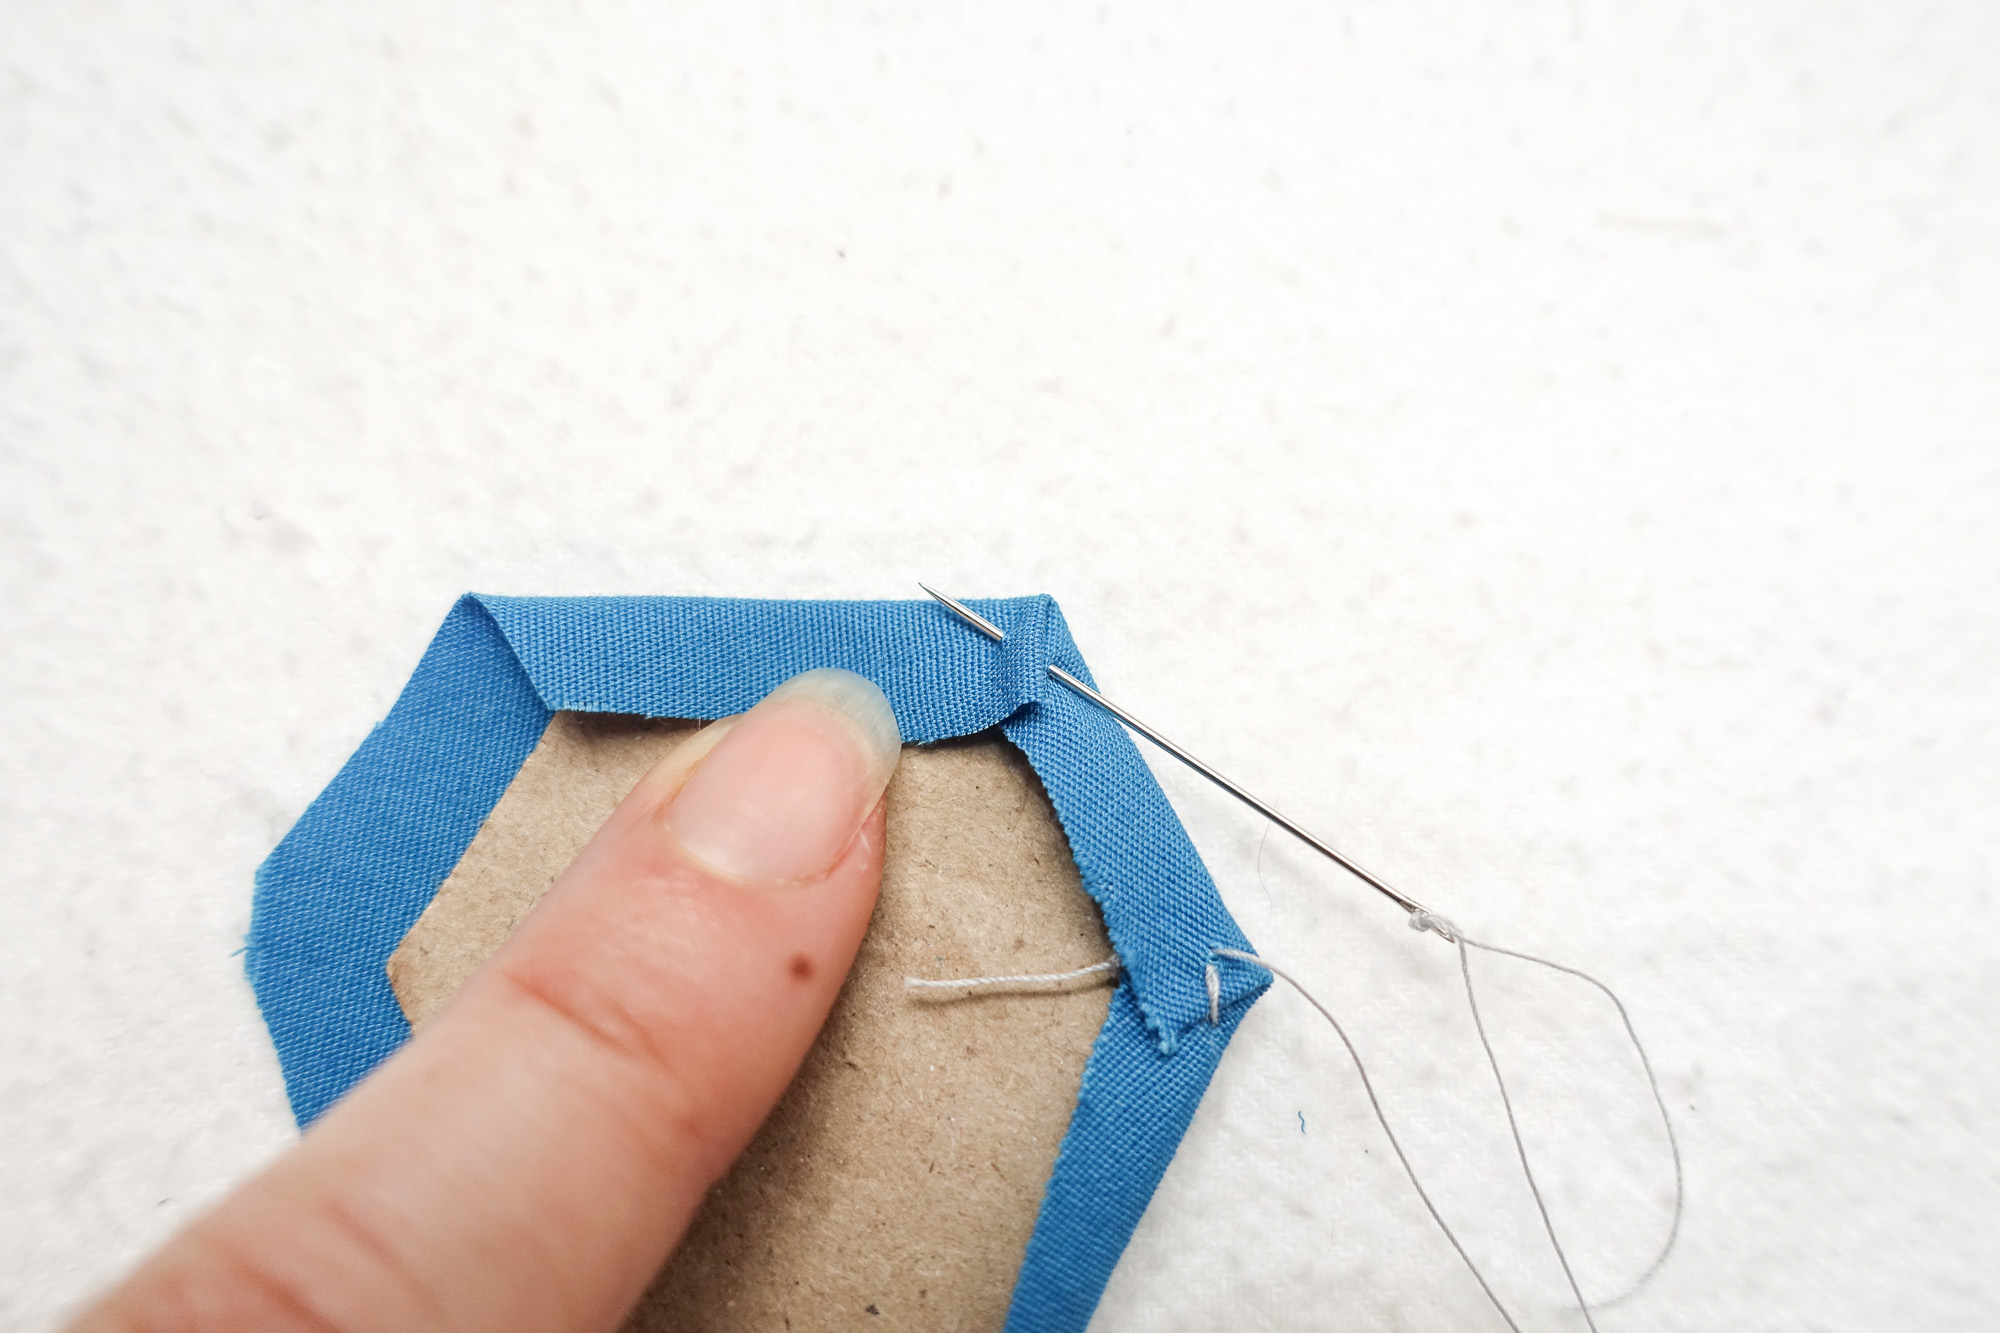
8. Turn your piece and fold the next side of fabric over the paper piece as you did in step 3.
9. Holding your fabric in place, take a stitch by piercing your needle from right to left through the corner, ensuring that you catch both layers of fabric.
10. Take another stitch in the same fashion to secure.
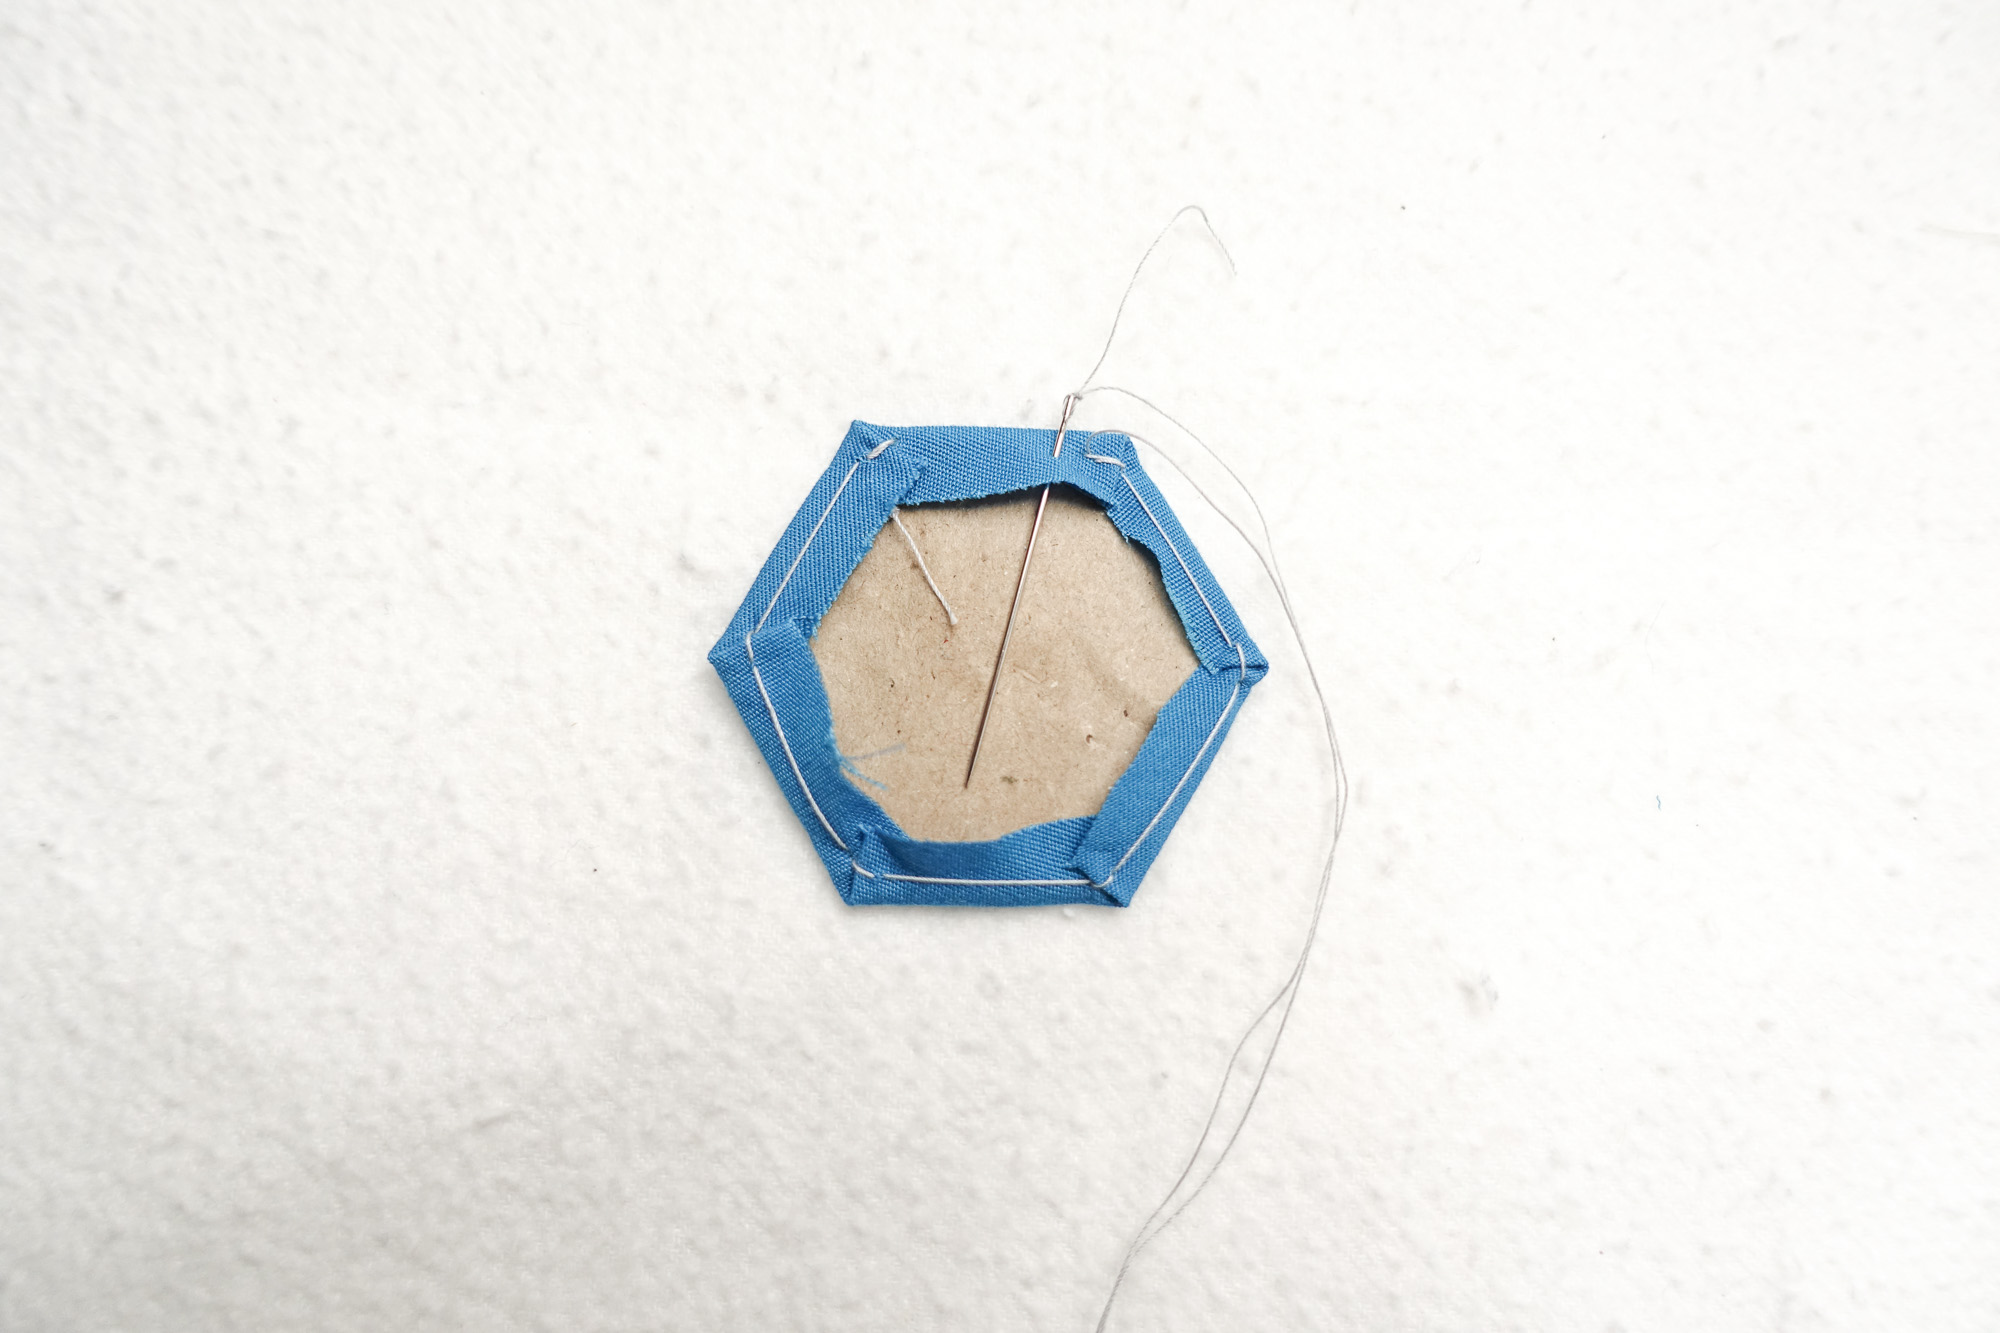
11. Continue folding and tacking your corners in this fashion until all corners are secured. At the end, slip your thread under the seam allowance towards the center of the piece and clip.
Well done!
*When basting larger pieces with sides greater than 1.5” it can be helpful to tack down the sides of the fabric as well as the corners. If this is the case, utilize the following steps.
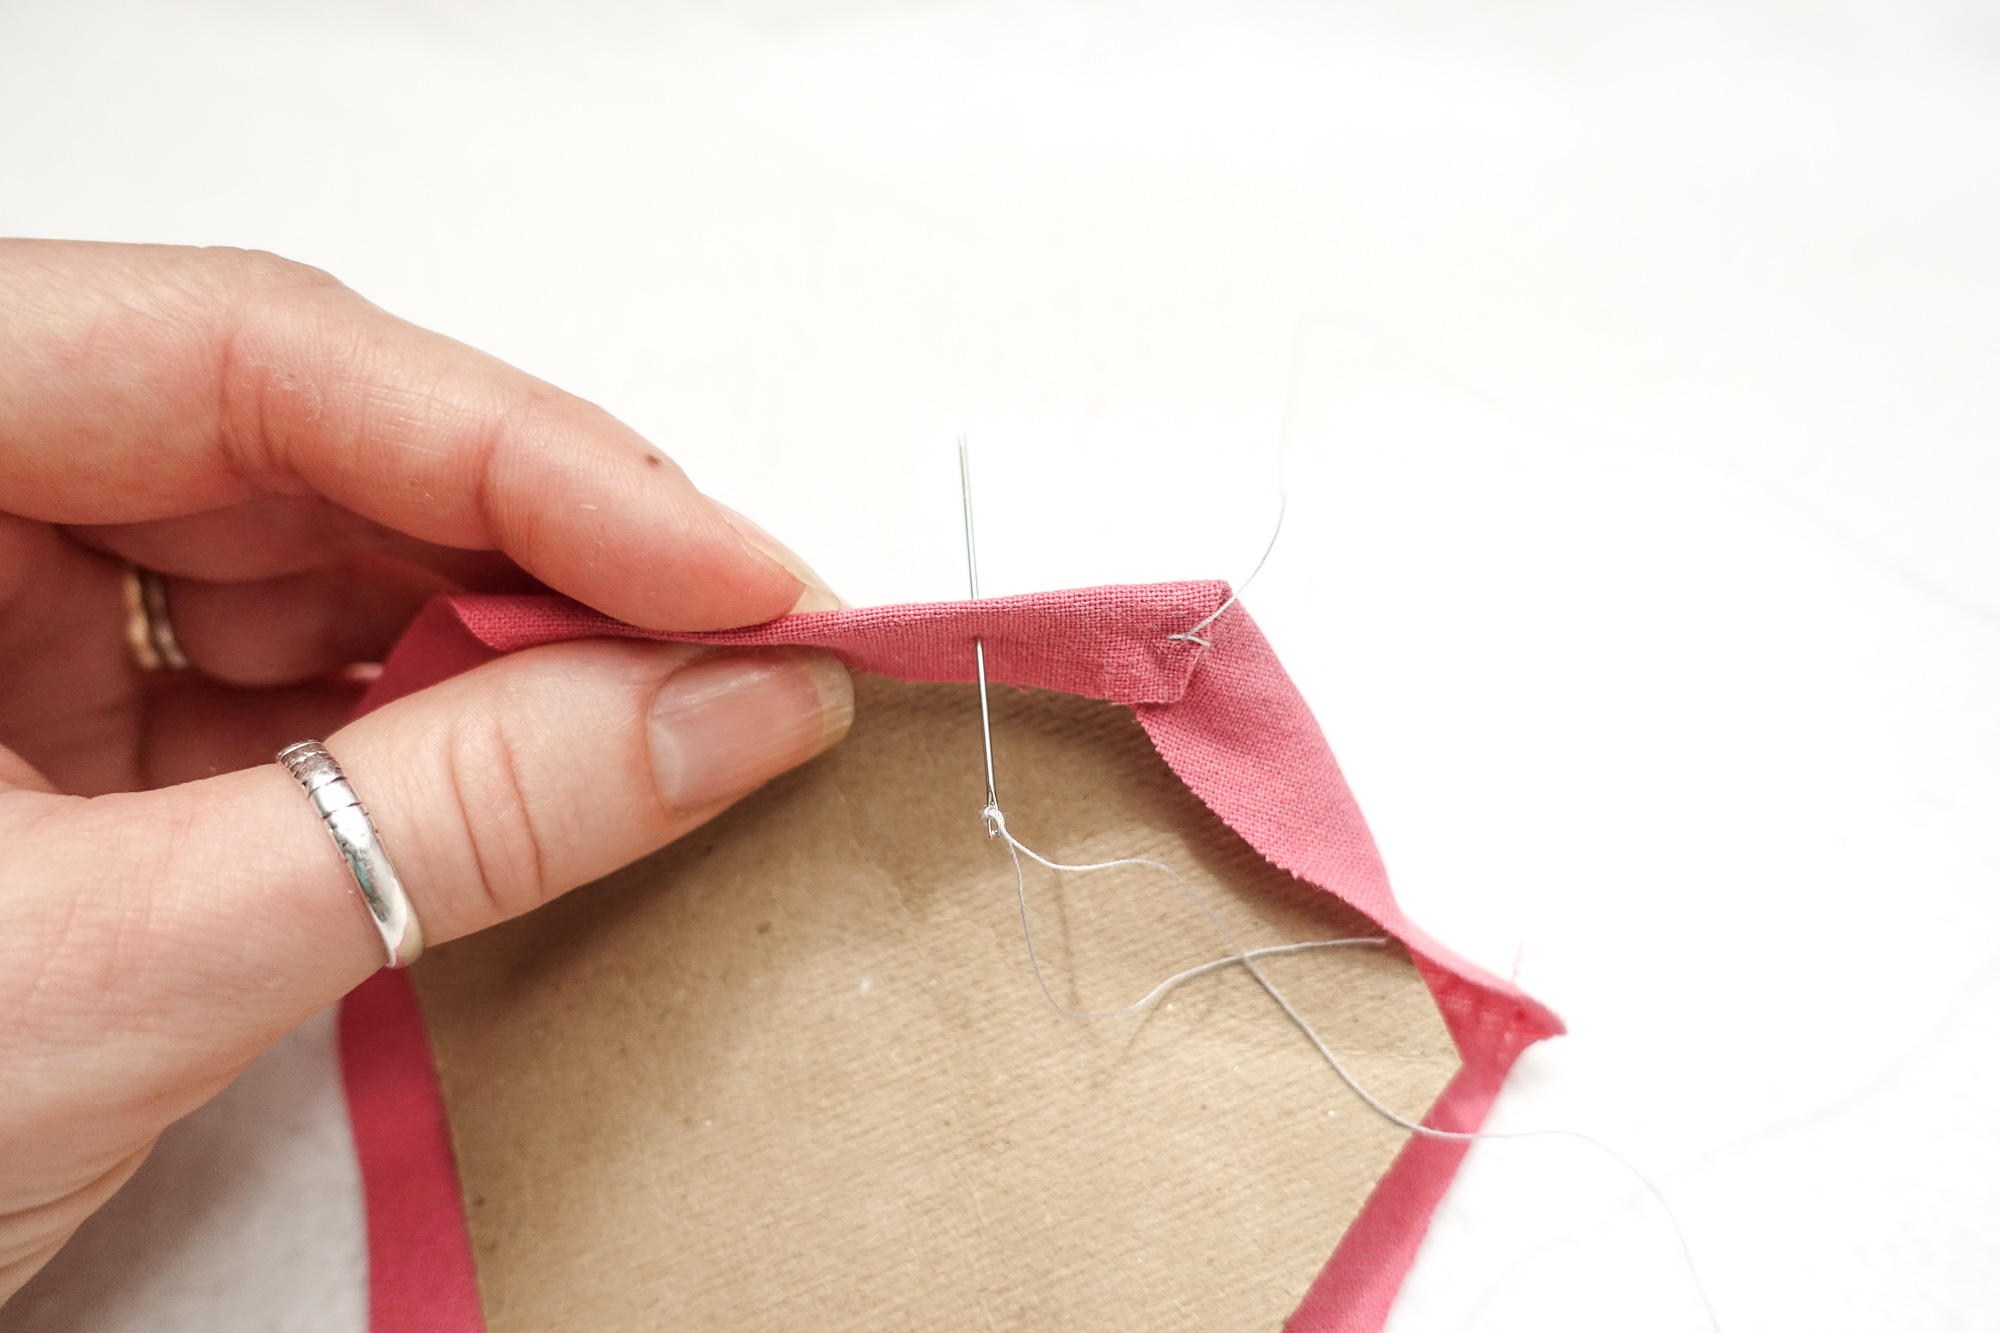
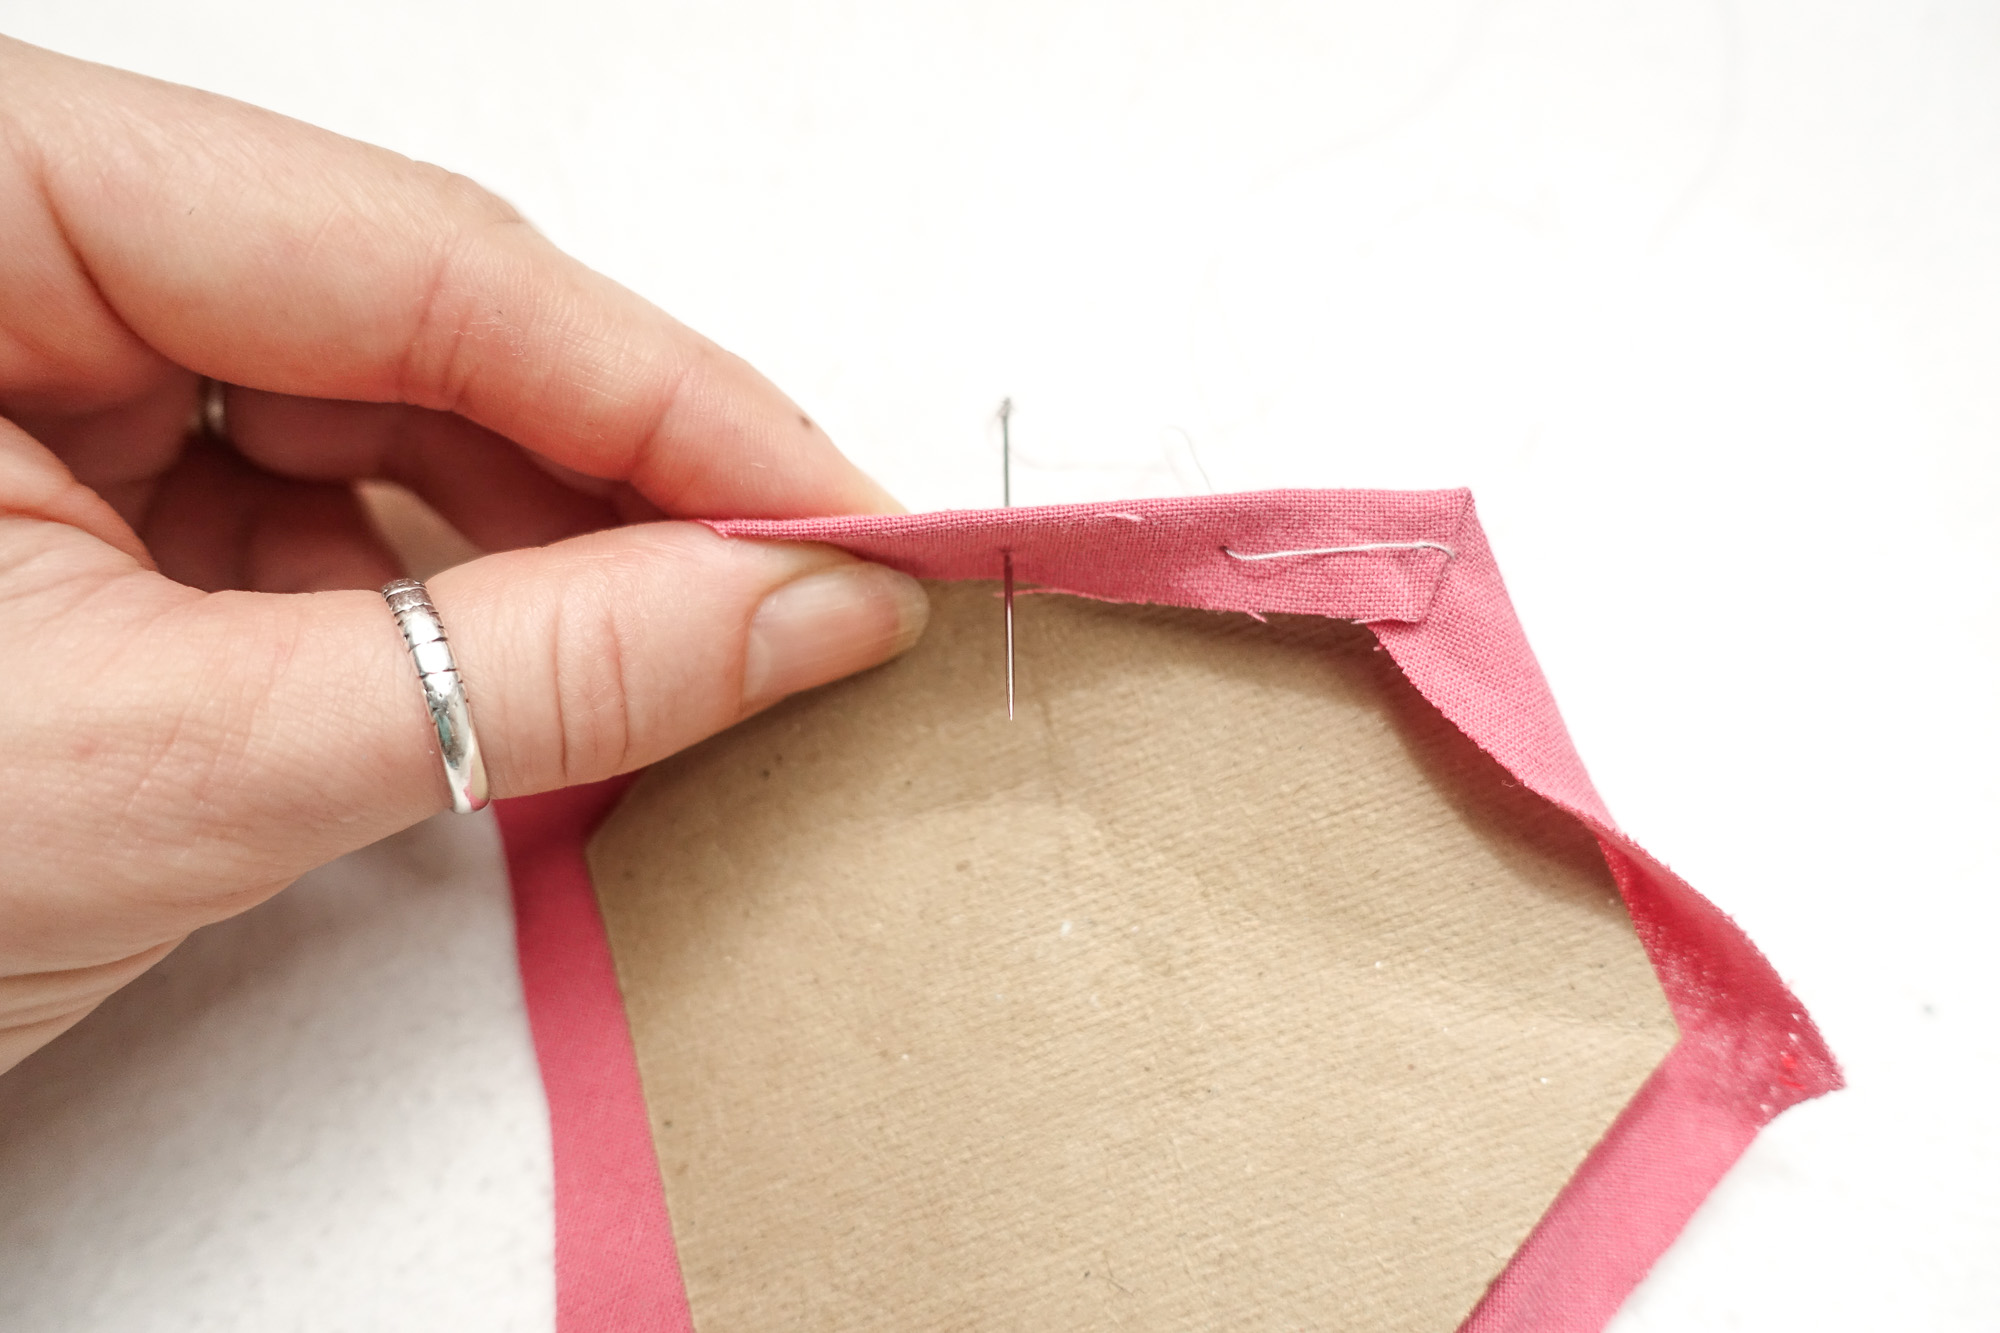
7a. After you secure the corner in step 7, pierce your needle through the seam allowance straight through the paper to the front of the fabric.
7b. Complete the basting stitch by returning the needle to the back of the paper piece. Then, proceed to step 8.
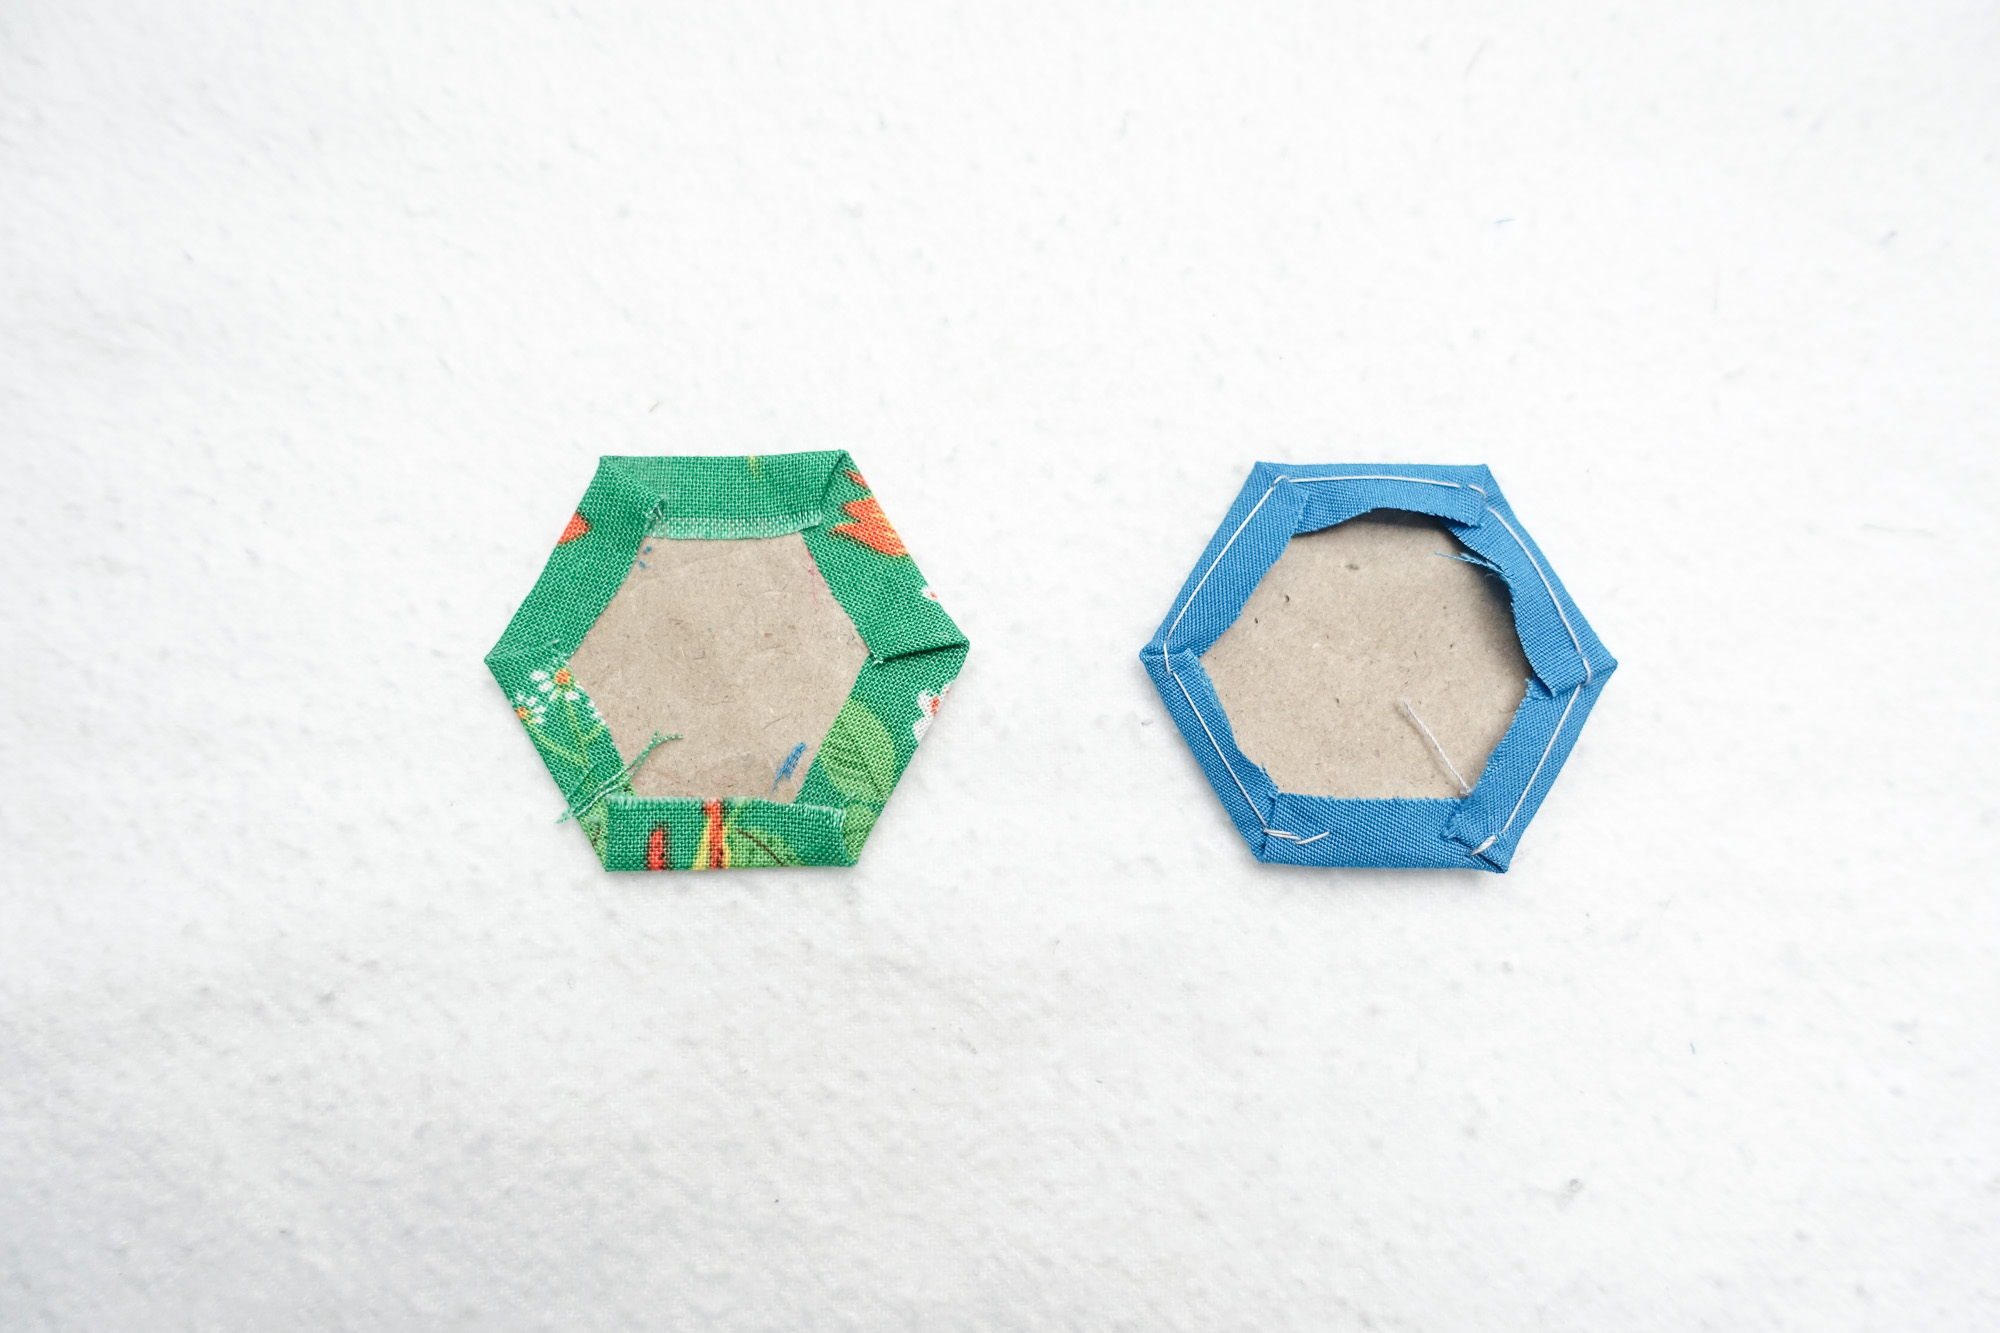
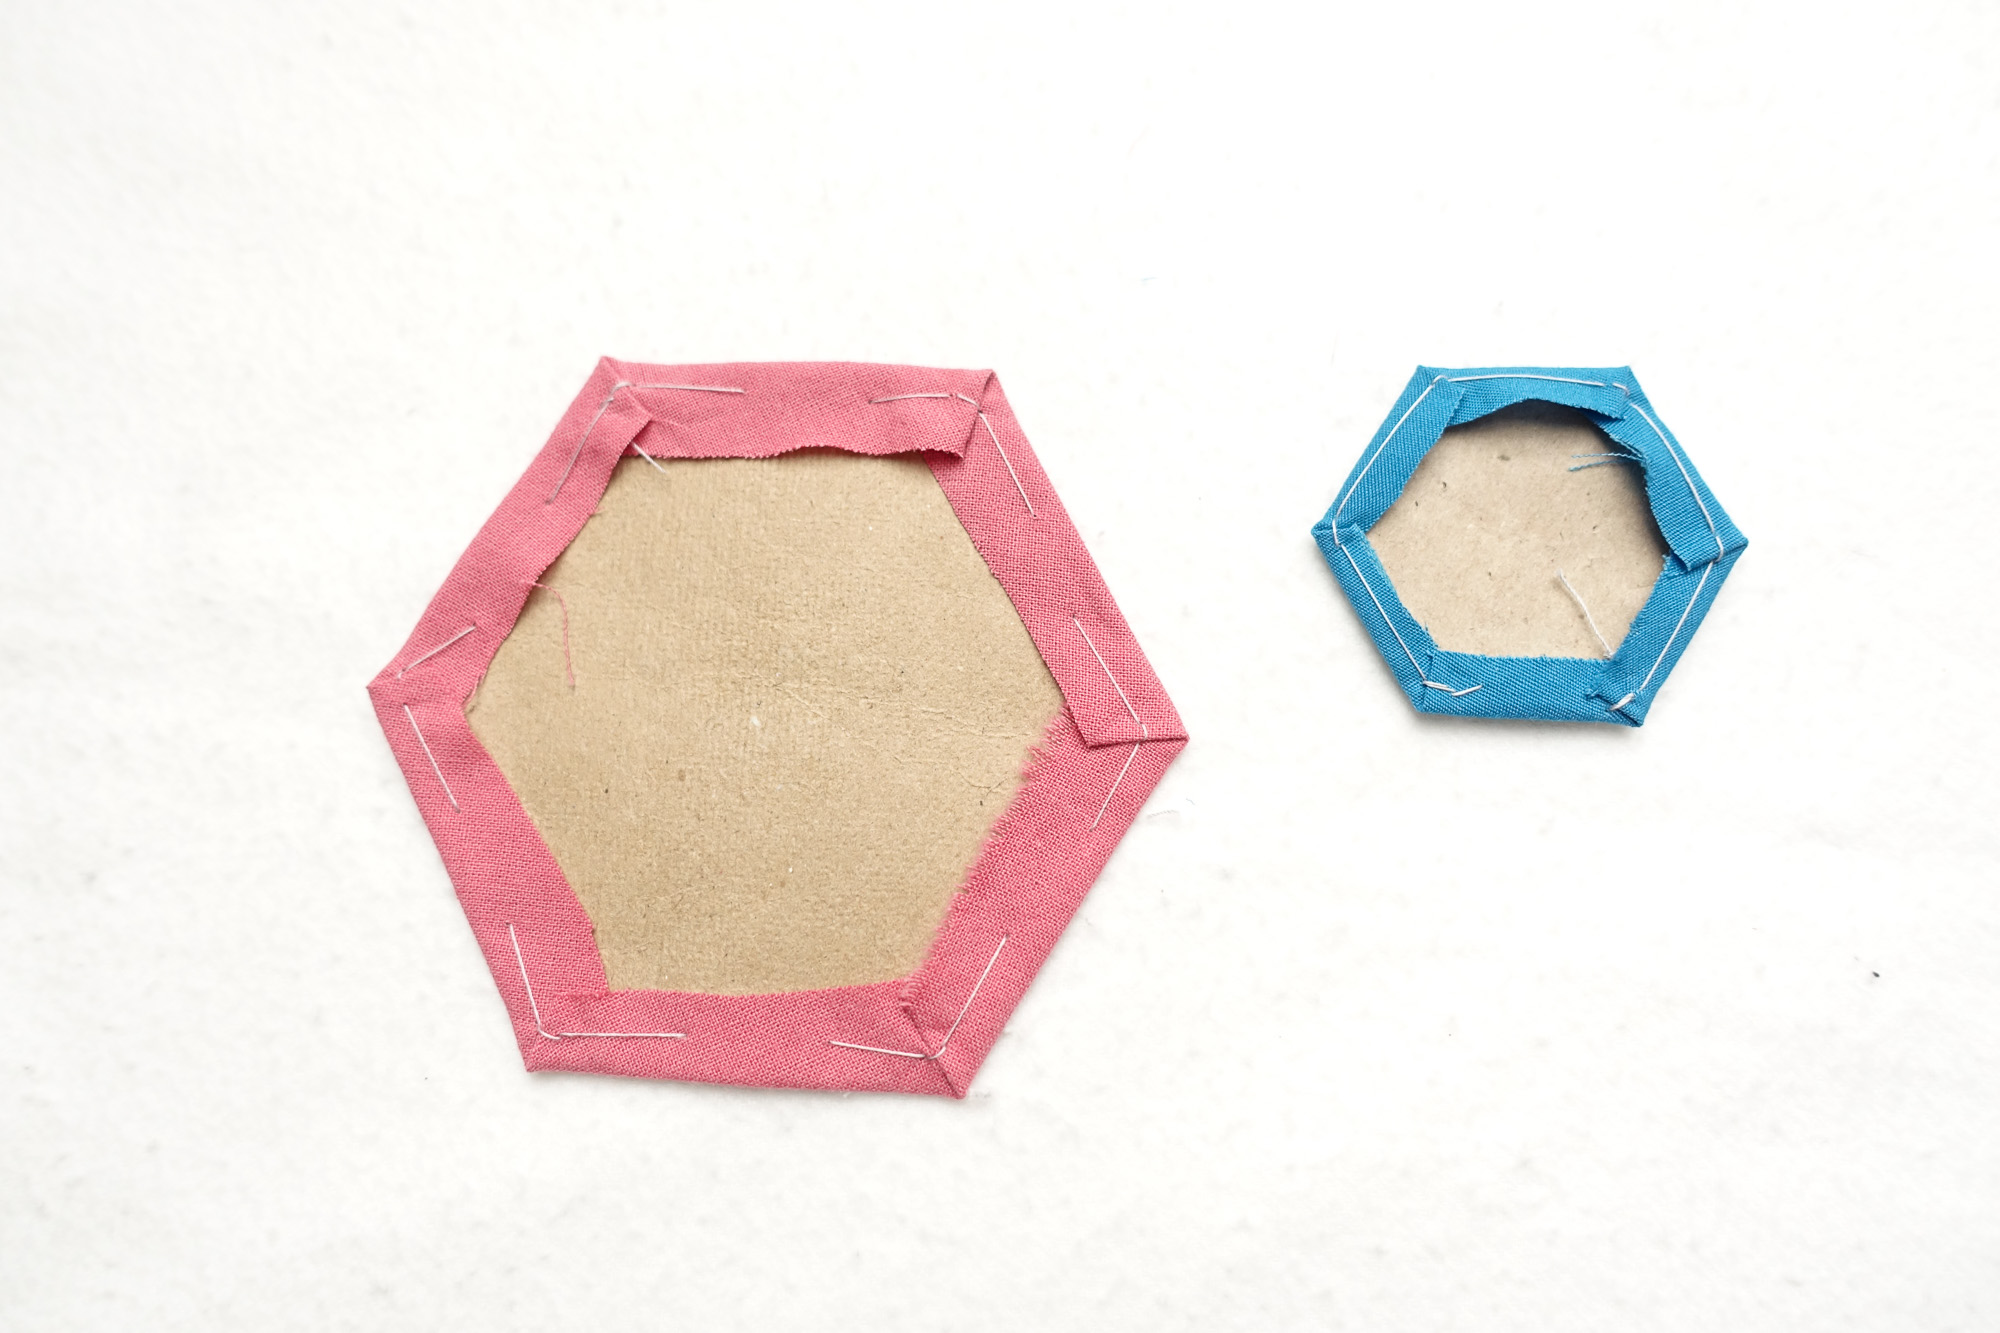
7c. Repeat these basting stitches in between tacking each corner as demonstrated in step 8. Your thread basted paper piece should like the following photos upon completion.
Of Note:
These basting stitches will need to be removed in order to pull out the papers at the completion of your patchwork assembly. It can be helpful to use a contrasting thread for ease of removal later.
Glue Basting
Of Note:
This process can be applied to any shape of any size, generally speaking. However, very small pieces with sides of 1/2″ or less may require special handling. But, for the purposes of this EPP Primer, the following procedure applies for the majority of EPP papers.
1. Begin by cutting your fabric about 1/4” to 3/8” larger on all sides of the paper piece to create a seam allowance.
2. Dab a bit of glue on the front of the paper to keep the fabric in place as you baste.
3. Take your glue stick and run a thin line of glue just inside the edge of the paper. (Smaller glue sticks can be helpful for greater precision as you learn this step.)
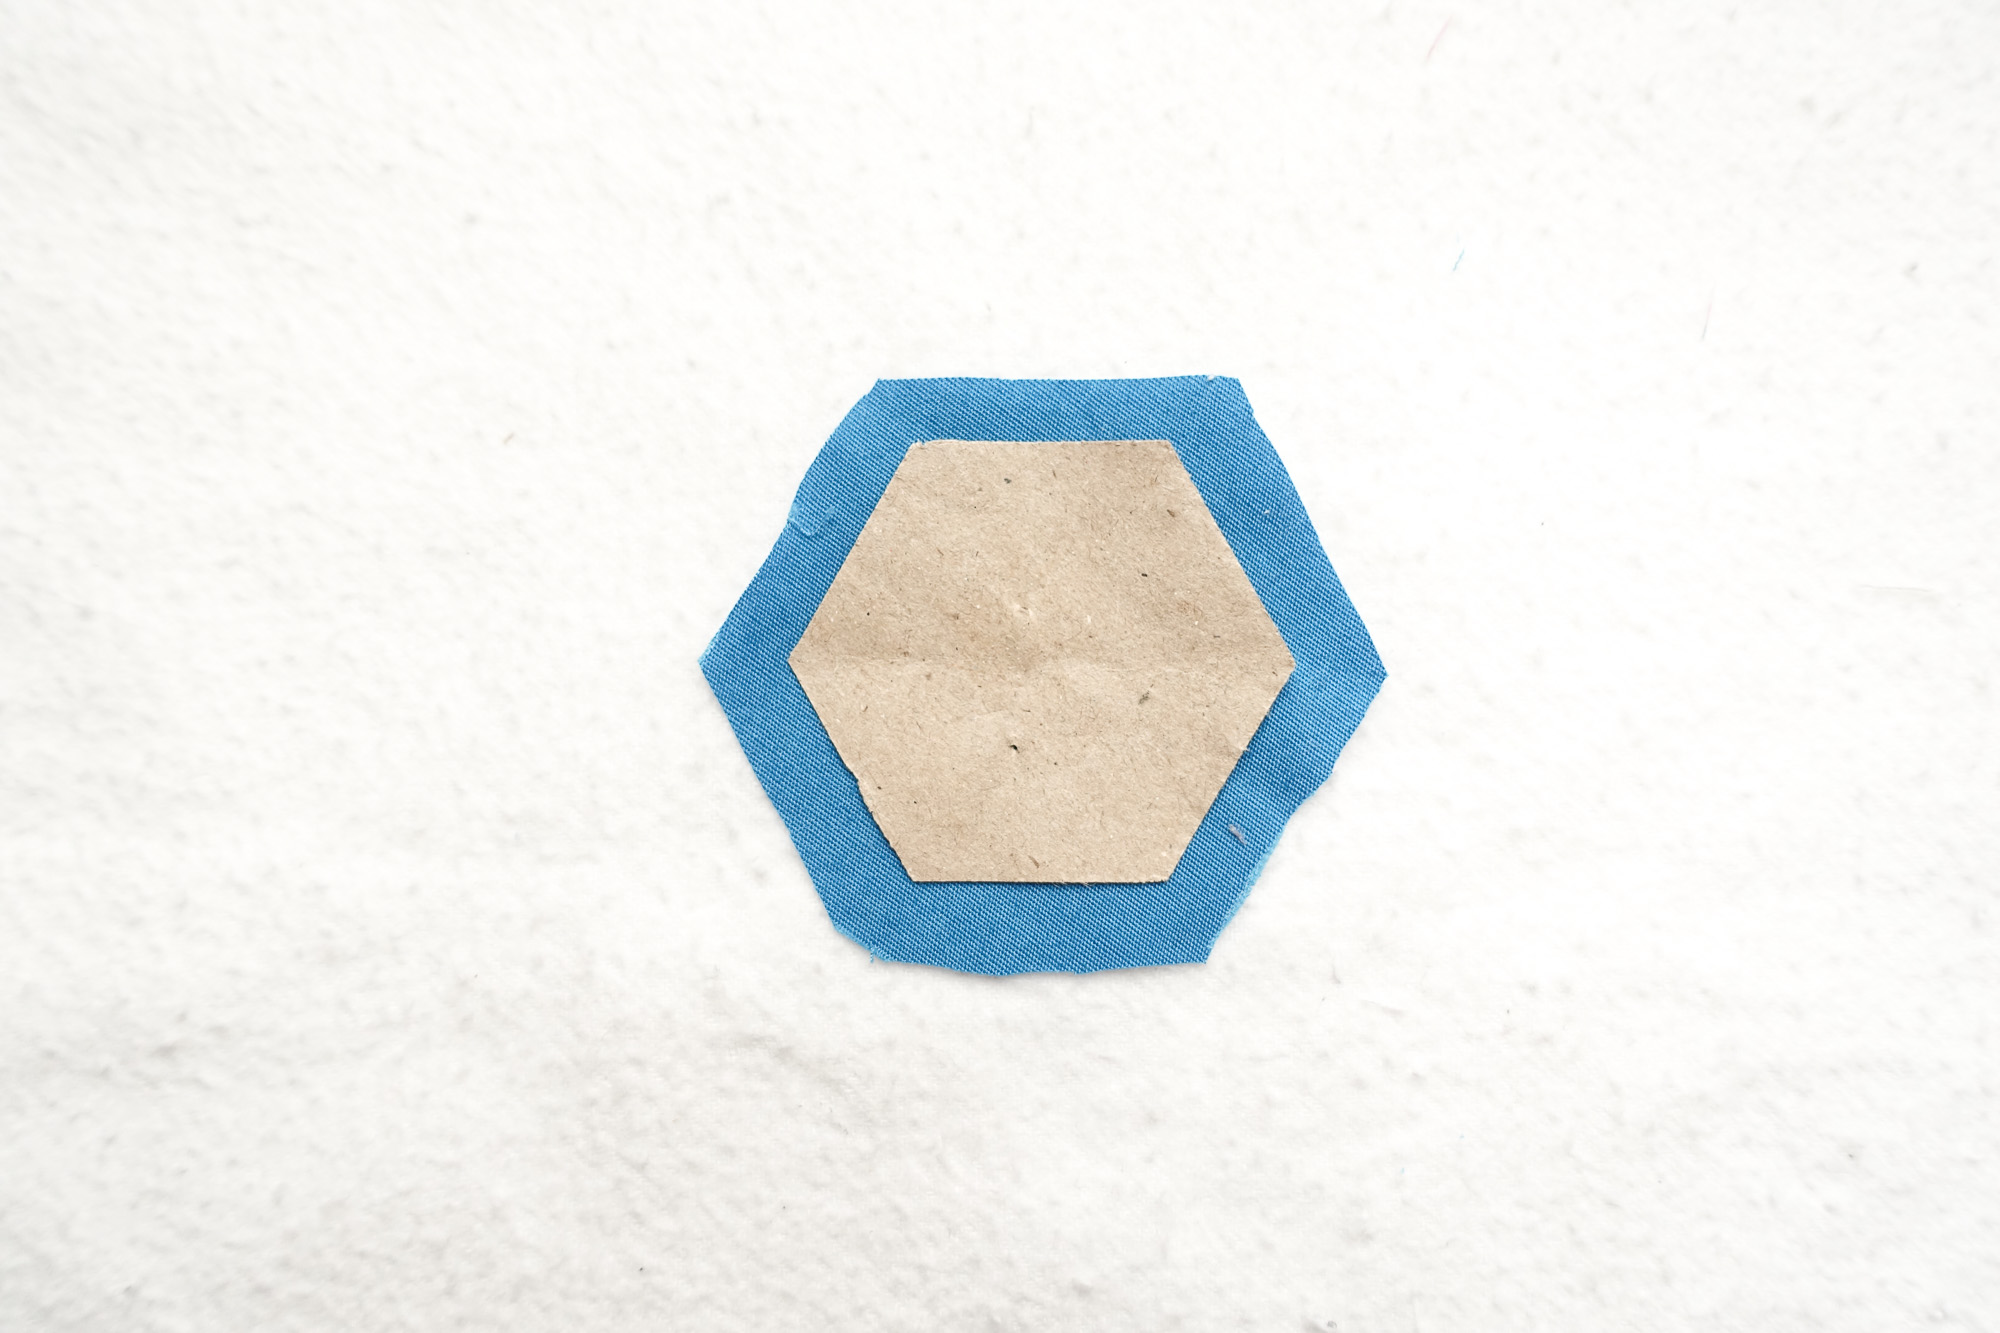
4. Fold the fabric of the seam allowance over the side of the paper and finger press to adhere the glue.
5. Turn your piece and repeat steps 3 and 4.
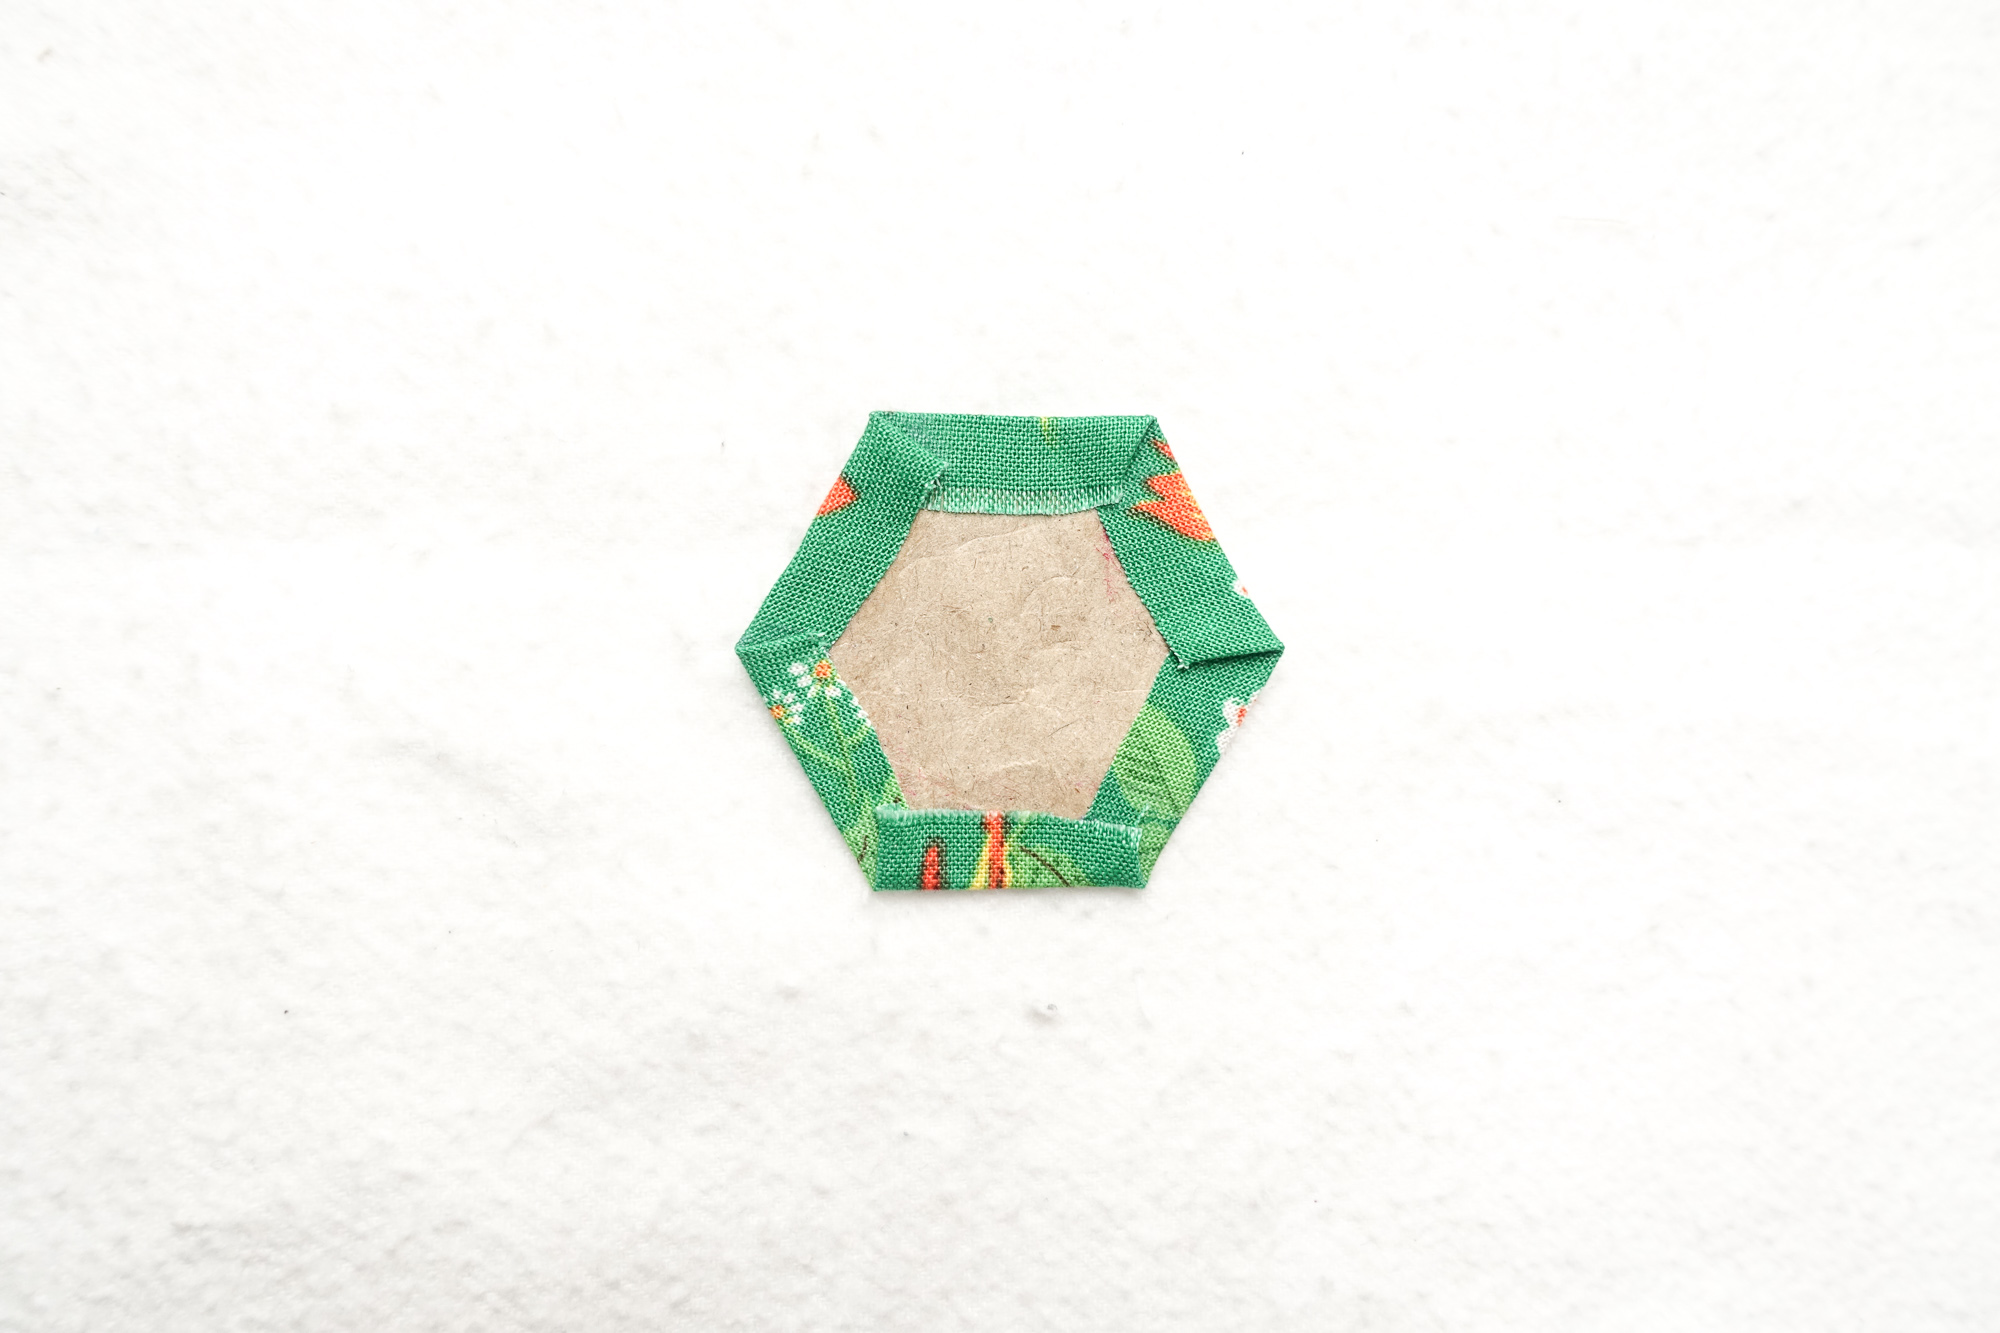
6. Continue this process until all sides are basted down.
Well done!
Happy Basting!
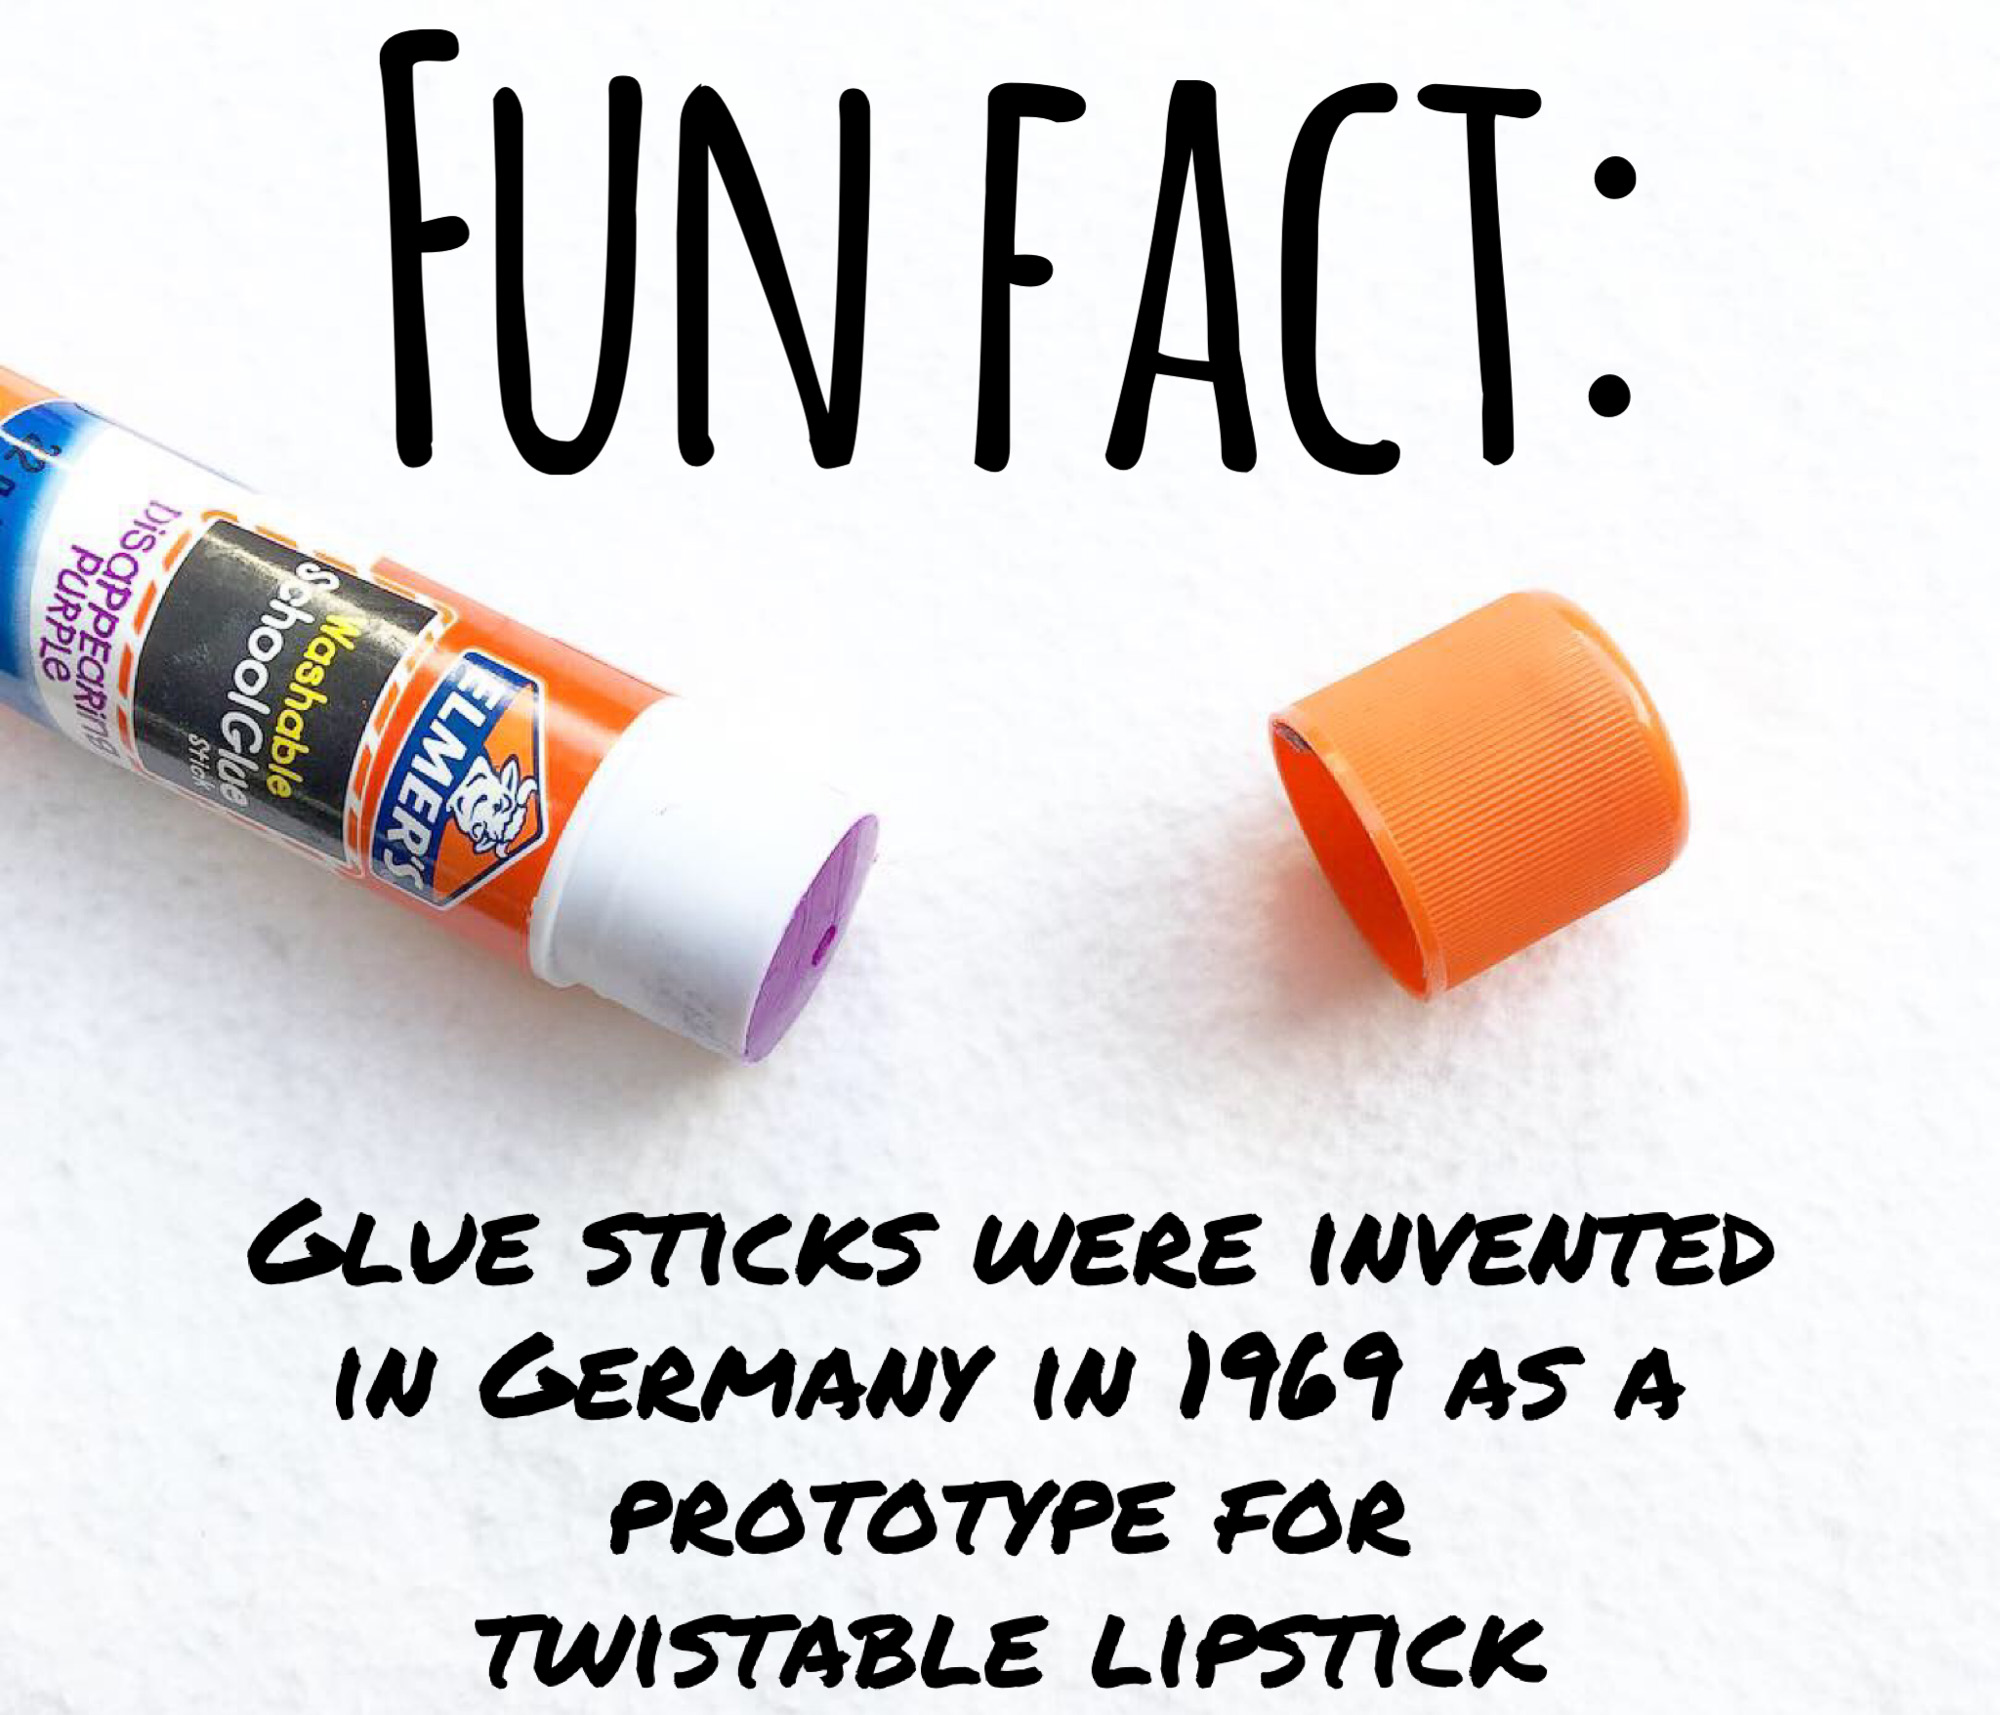
So there you have it! You have begun the process of learning how to English Paper Piece! The next section of this EPP Primer covers the stitching itself. But before you go, I’ll leave you with a little fun fact:
For future reference, you can always find all of the sections of the EPP Primer here. Or you can use this handy pin for easy access from Pinterest.
This post may contain affiliate links. You can read my affiliate disclosure here.