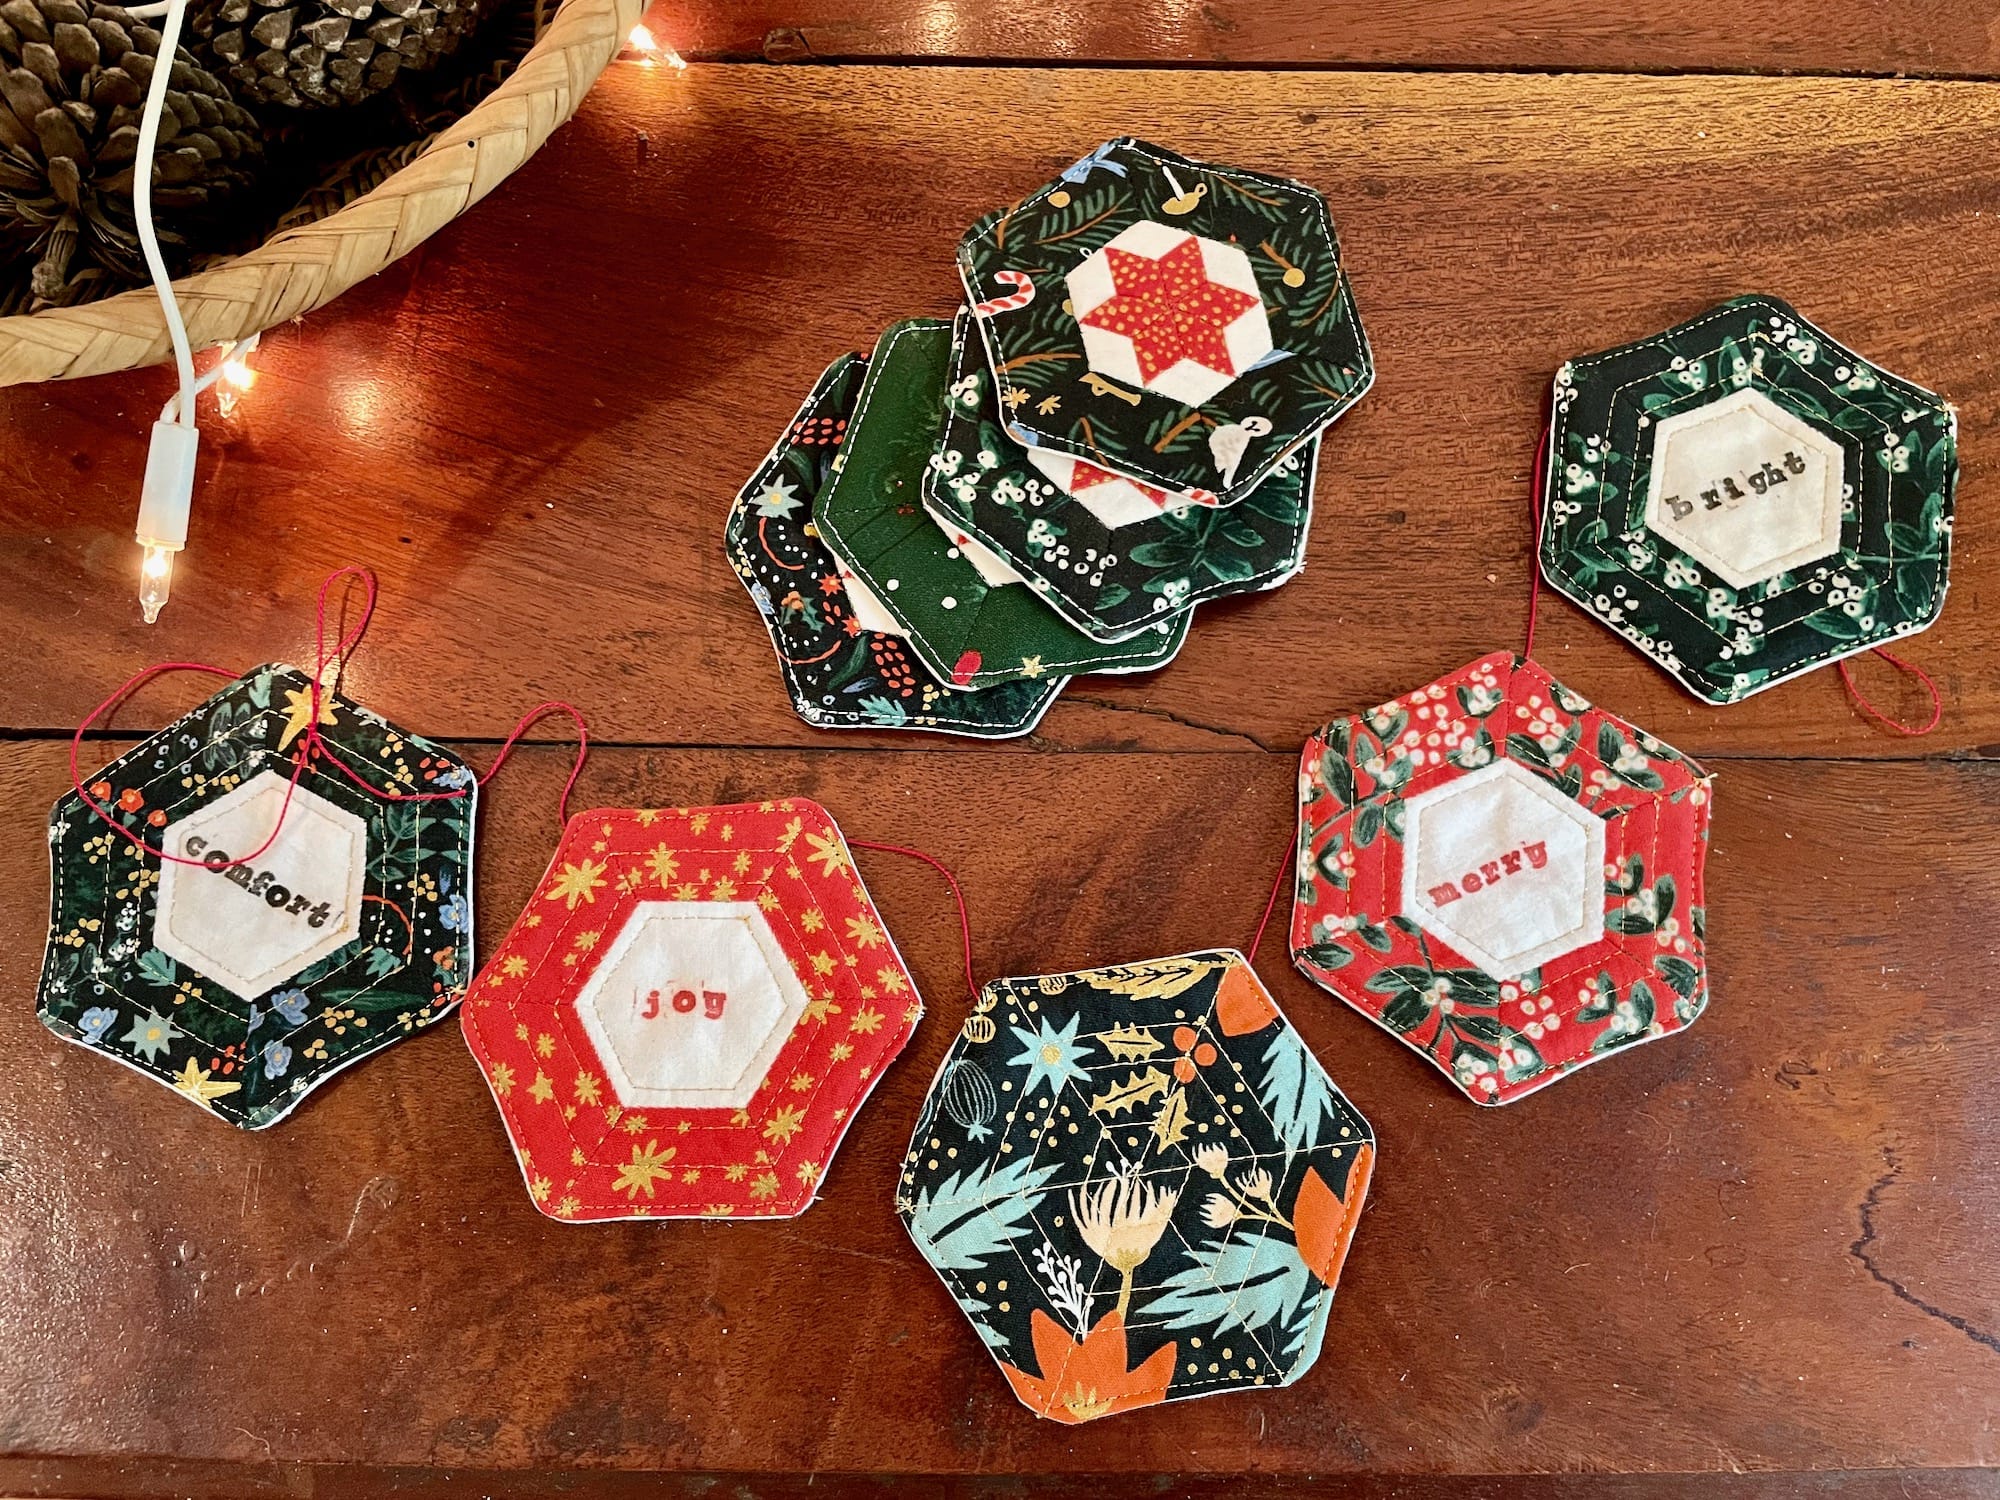
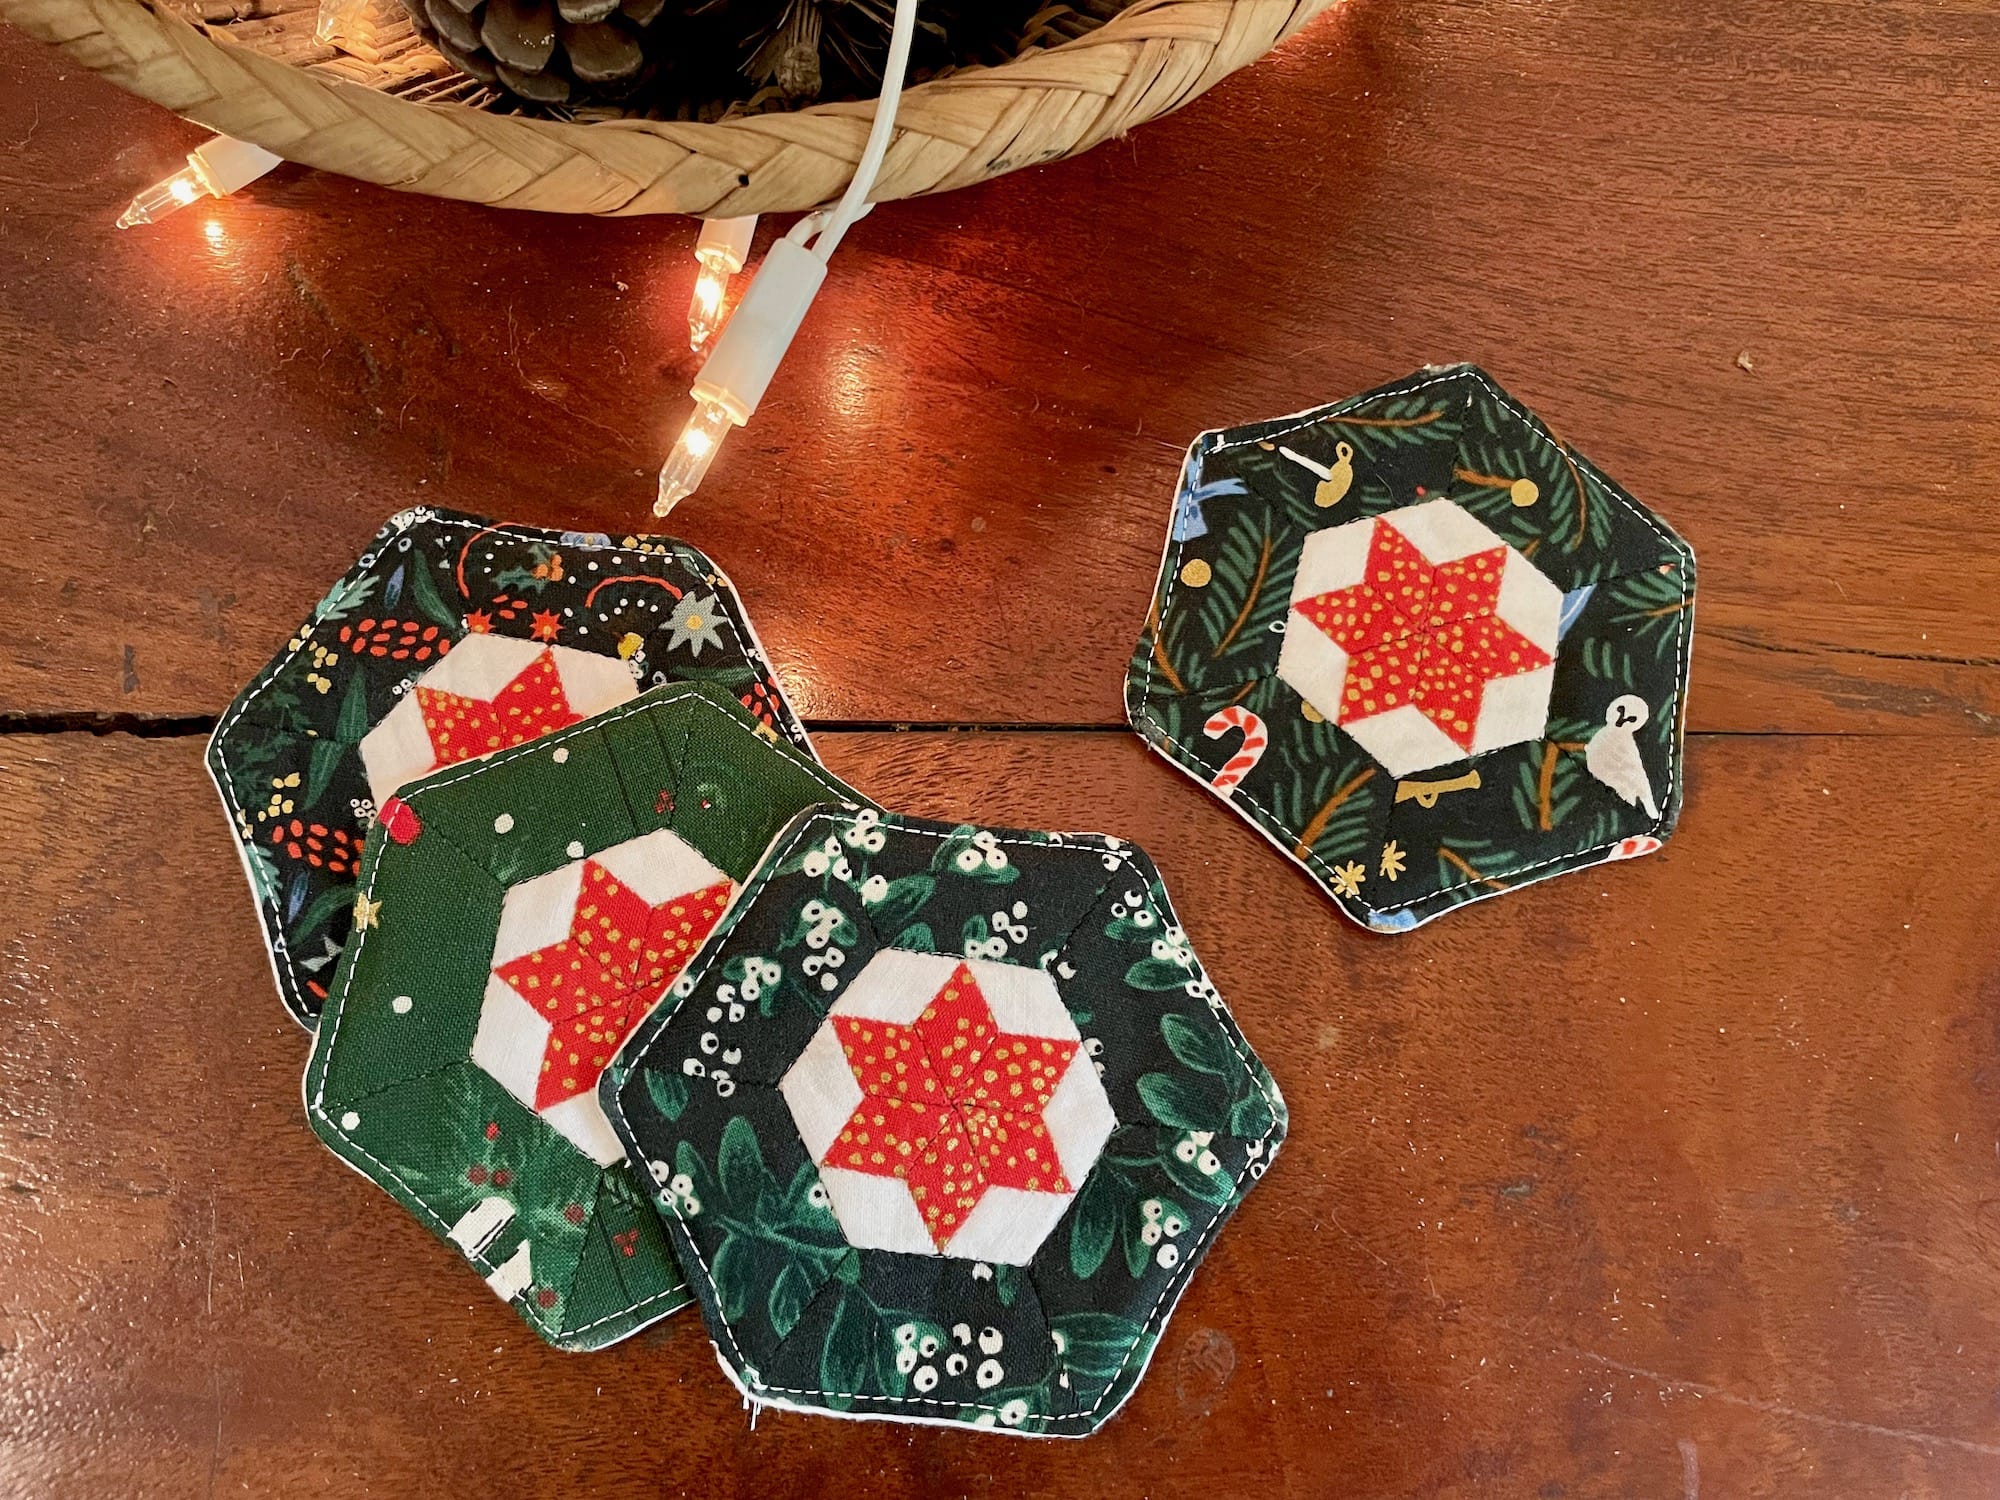
As the year draws to a close, and the holidays are just around the corner, I feel especially inspired to clear up my scrap stash. And, with the Sweet Selah Stitchalong in full swing, it seems that I have an extra abundance of festive fabric scraps littering my sewing space. Funny enough, these tiny scraps have been beckoning me to turn them into coasters, so this quilted hexagon coaster pattern was born!
As I mentioned, with the Sweet Selah SAL on my brain, it felt only natural to feature the Sweet Selah quilt’s tinier, but older, sister the Selah Pin Cushion. Finishing at the size of a 2” hexagon, the Selah Pin Cushion pattern contains three different design variations in a range of complexity. So, I thought it would be fun to feature each option to see what I could come up with. The result is an incredibly versatile, extremely quick, project that can be featured as everything from coasters to place cards, as well as ornaments or even bunting!
So, if you already have the Selah Pin Cushion pattern, all you need to do is print out the template page and get stitching! If you don’t have the Selah Pin Cushion pattern, you can find it in my shop here. Or, if you want to give the basic quilted hexagon coaster pattern a try, you can print out the 2” templates from my FREE hexagon printable here.
Let’s get started!
Quilted Hexagon Supplies
2” hexagon of any design
Scrap of batting at least 5” square
Scrap of fabric at least 5” square for the back of the coaster
One note before we begin. I have endeavored to create as aesthetically pleasing a layout as possible with this post in order to enhance readability. As such, desktop users will notice that each list of steps is staggered with an alternating text block and image. If the images appear too small at any time, simply click on the image and a full scale version will pop up.
Read all instructions before beginning.
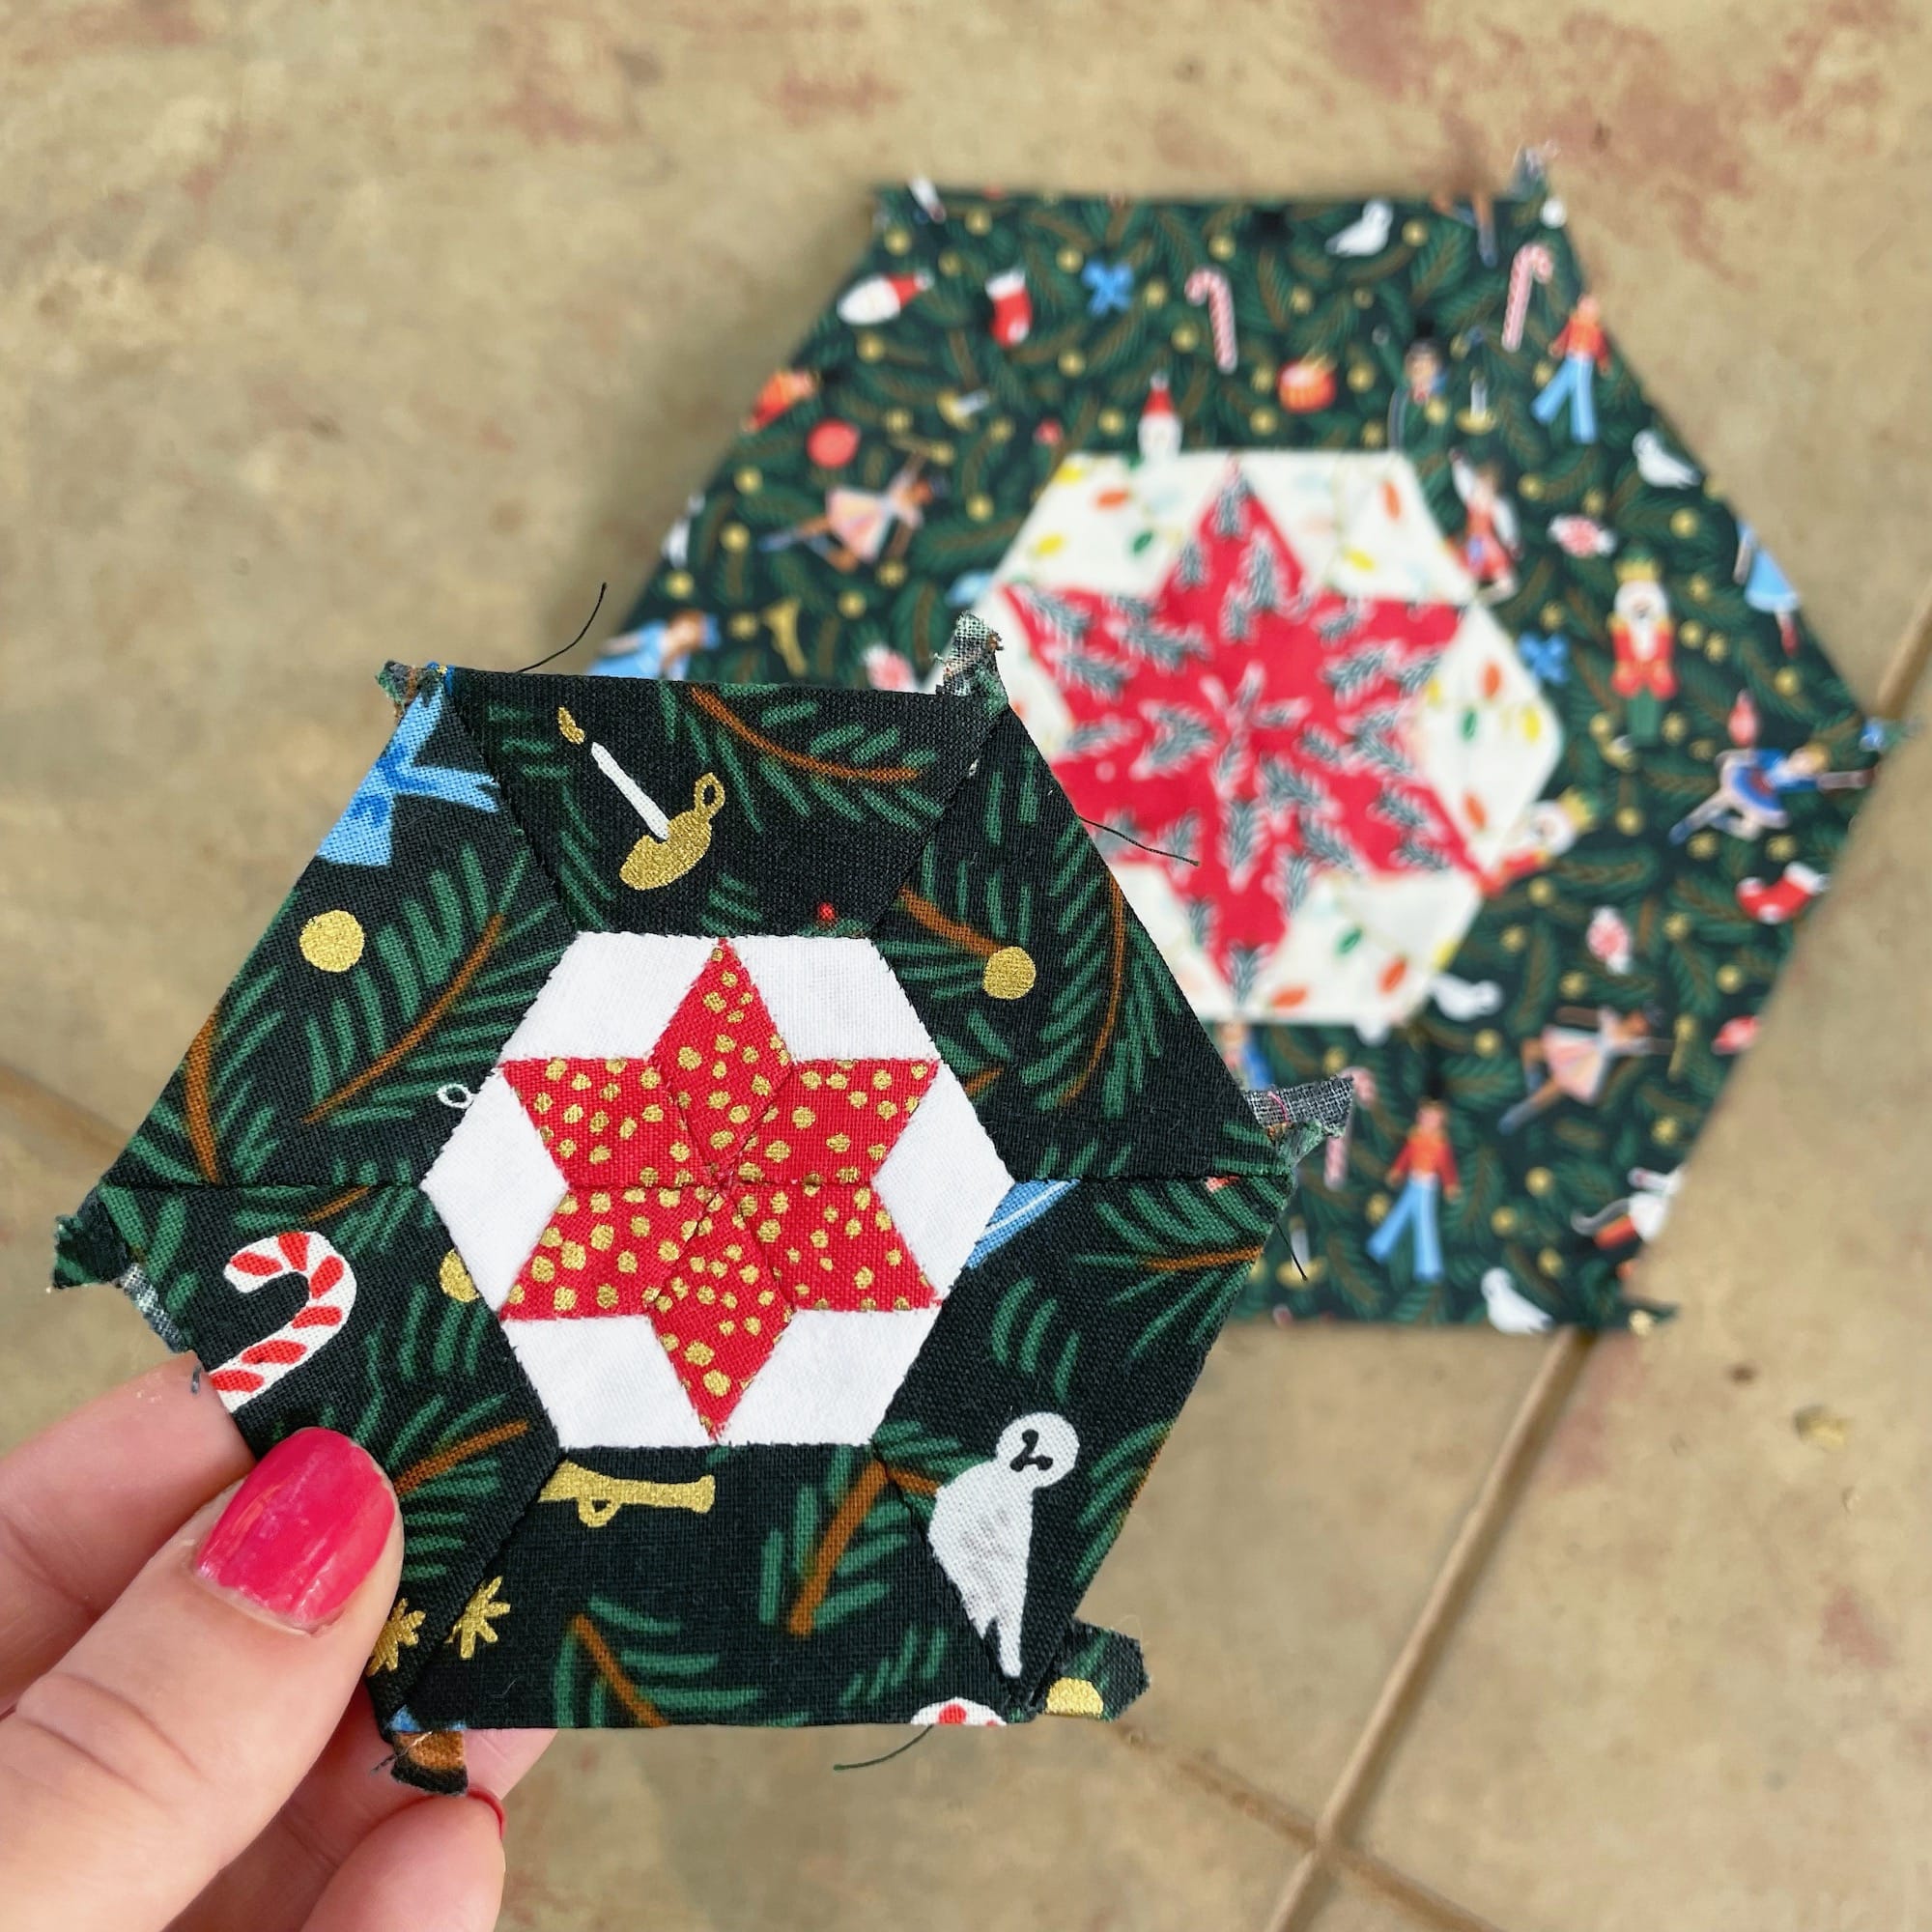
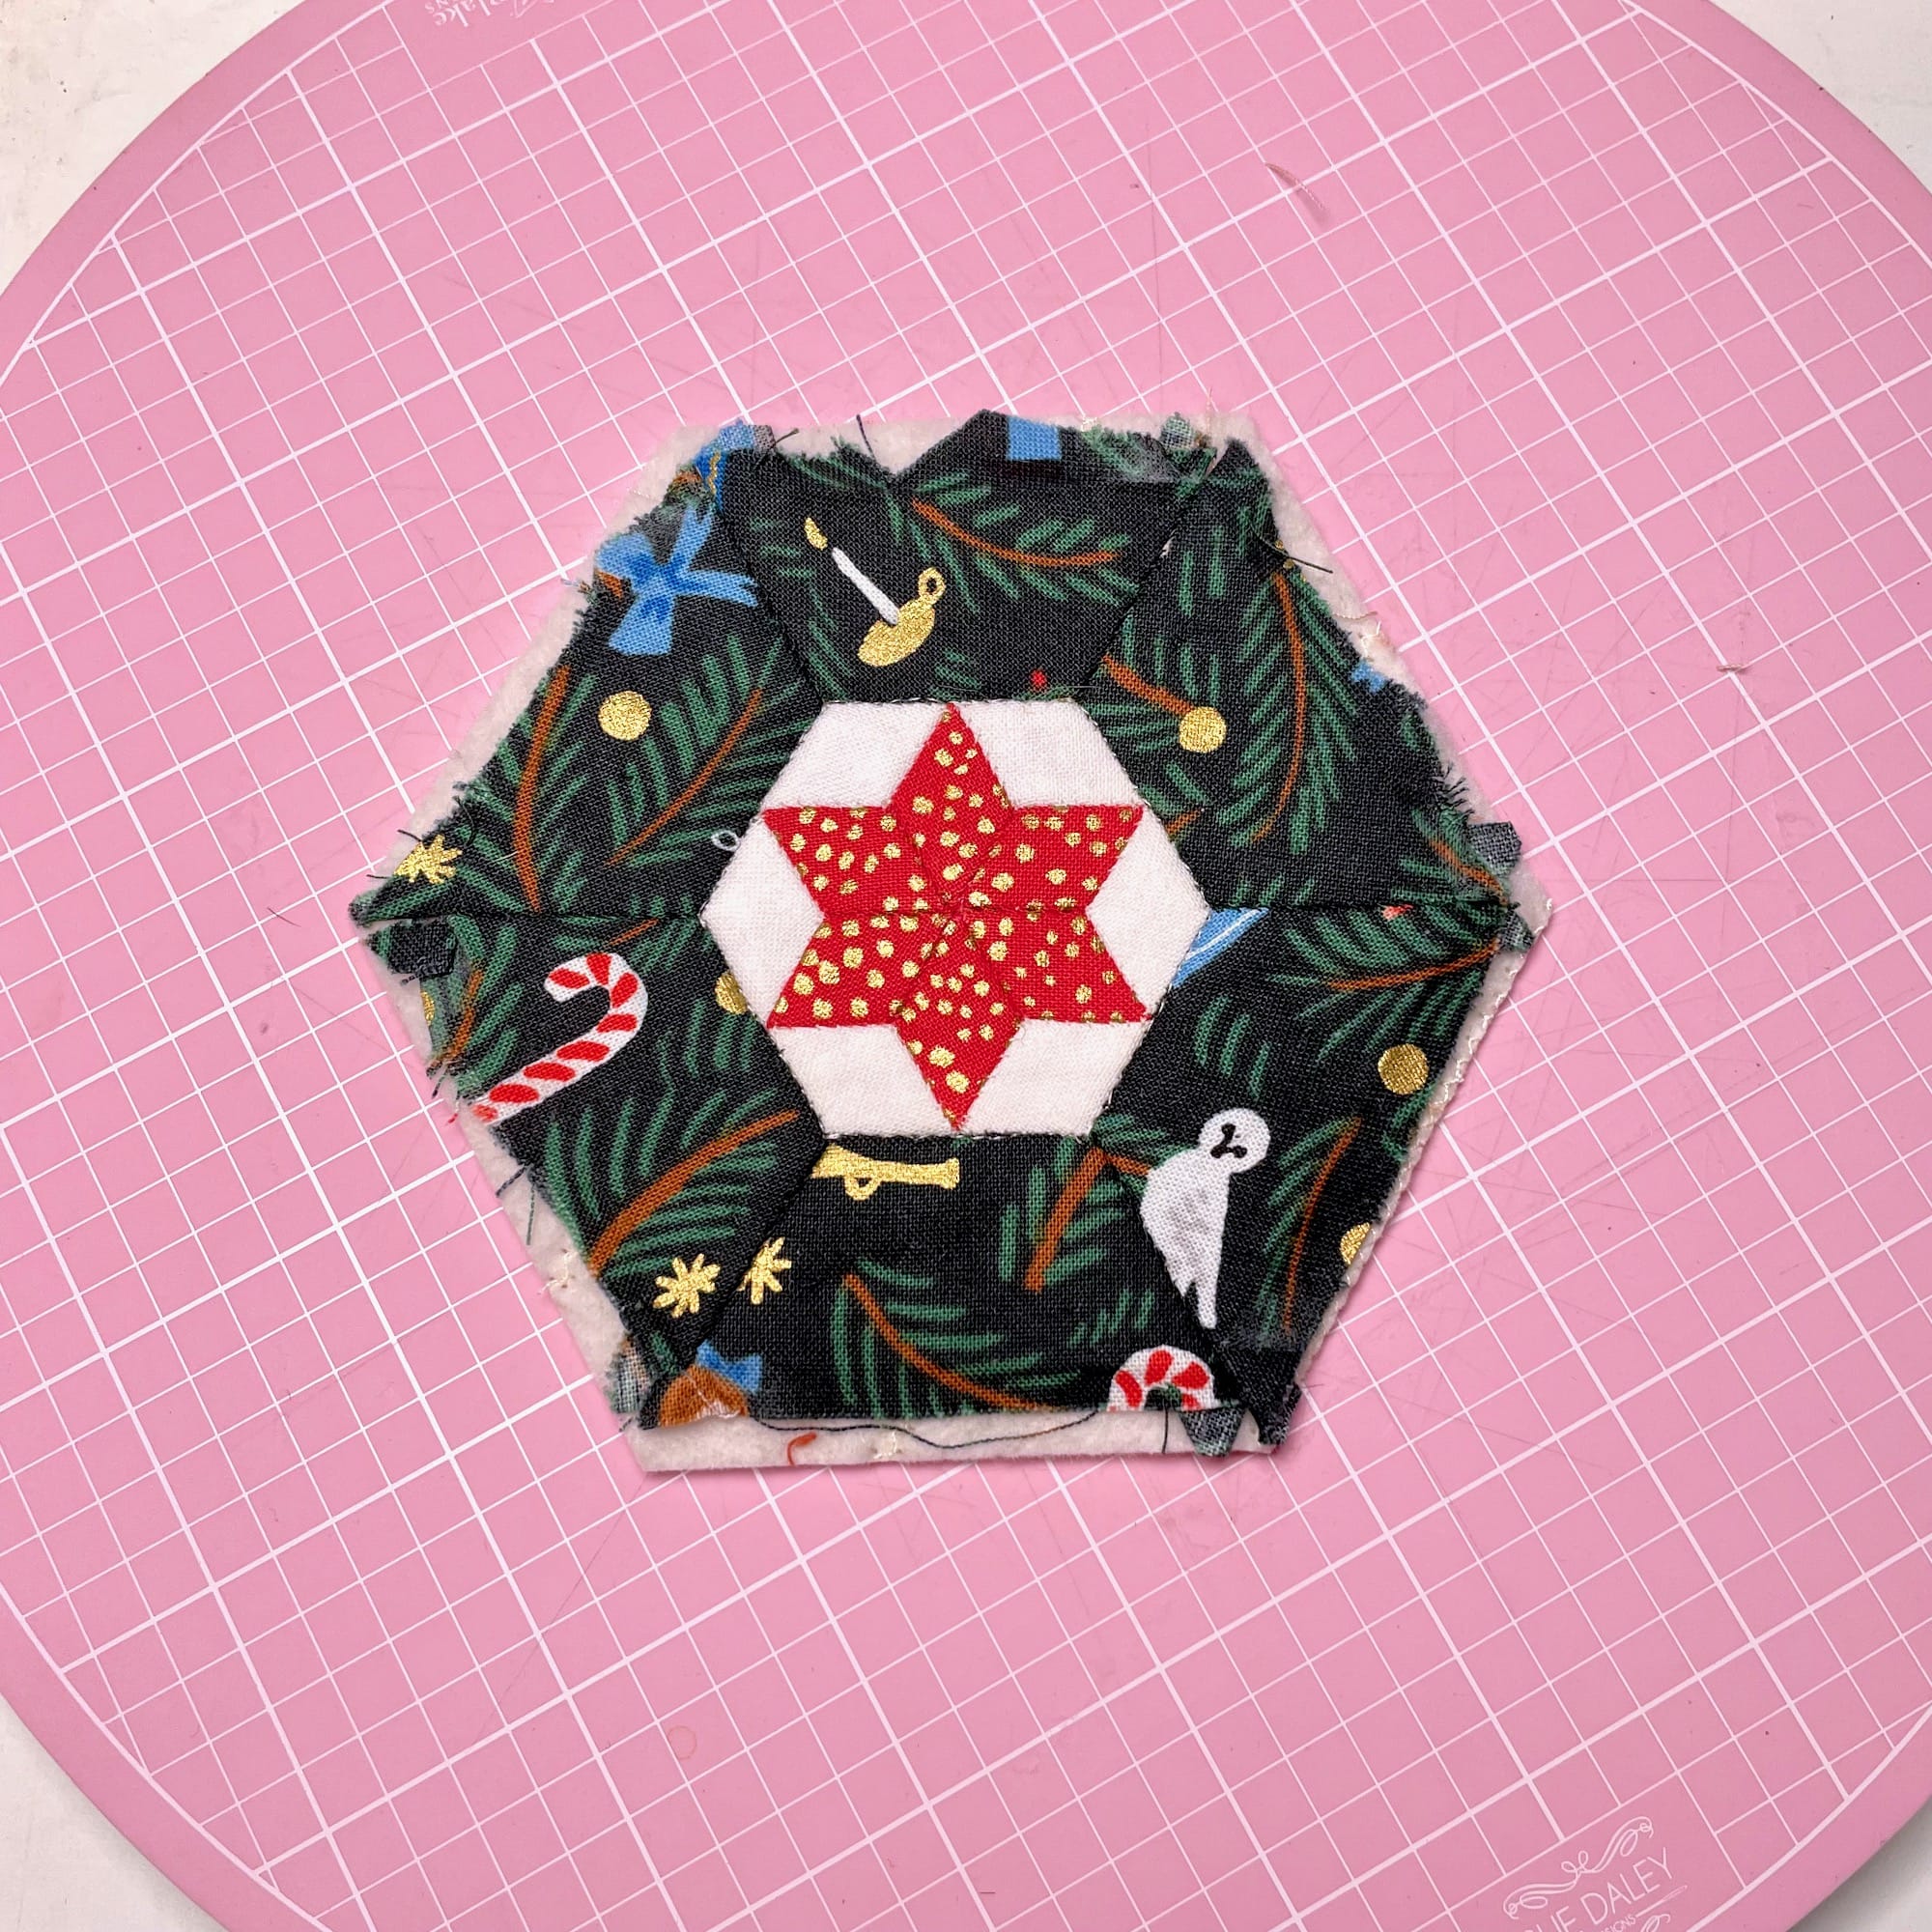
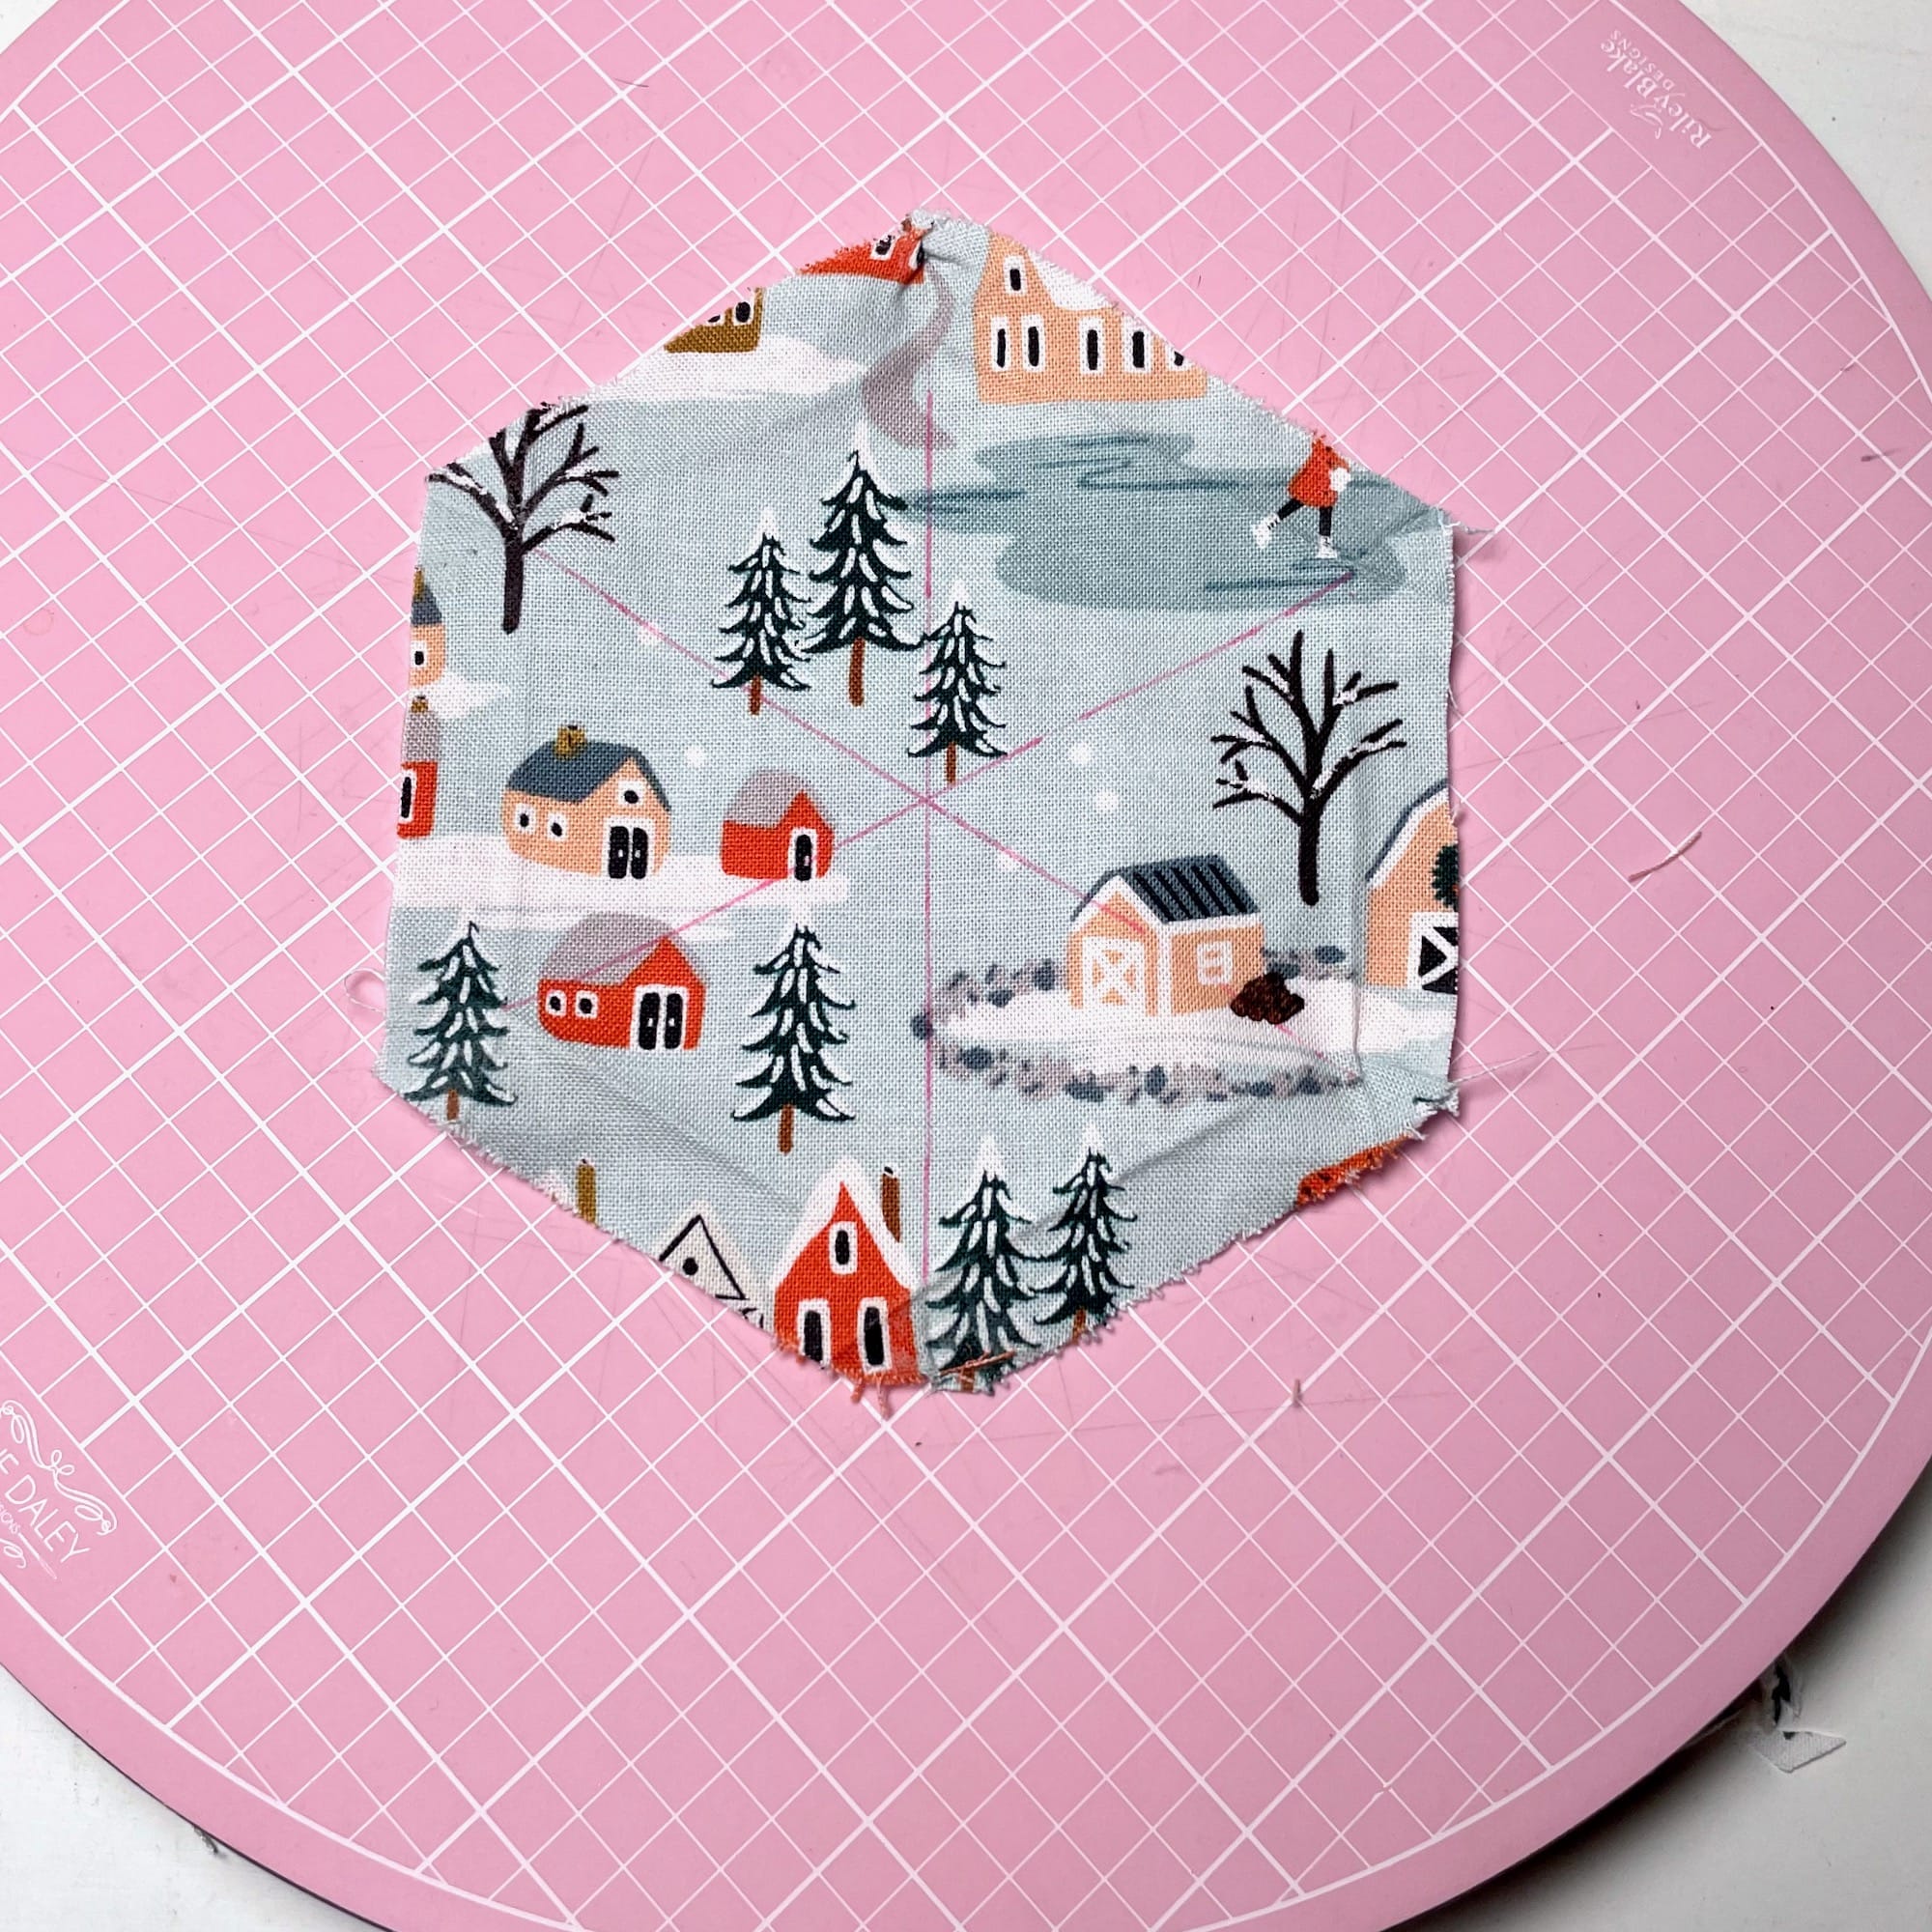
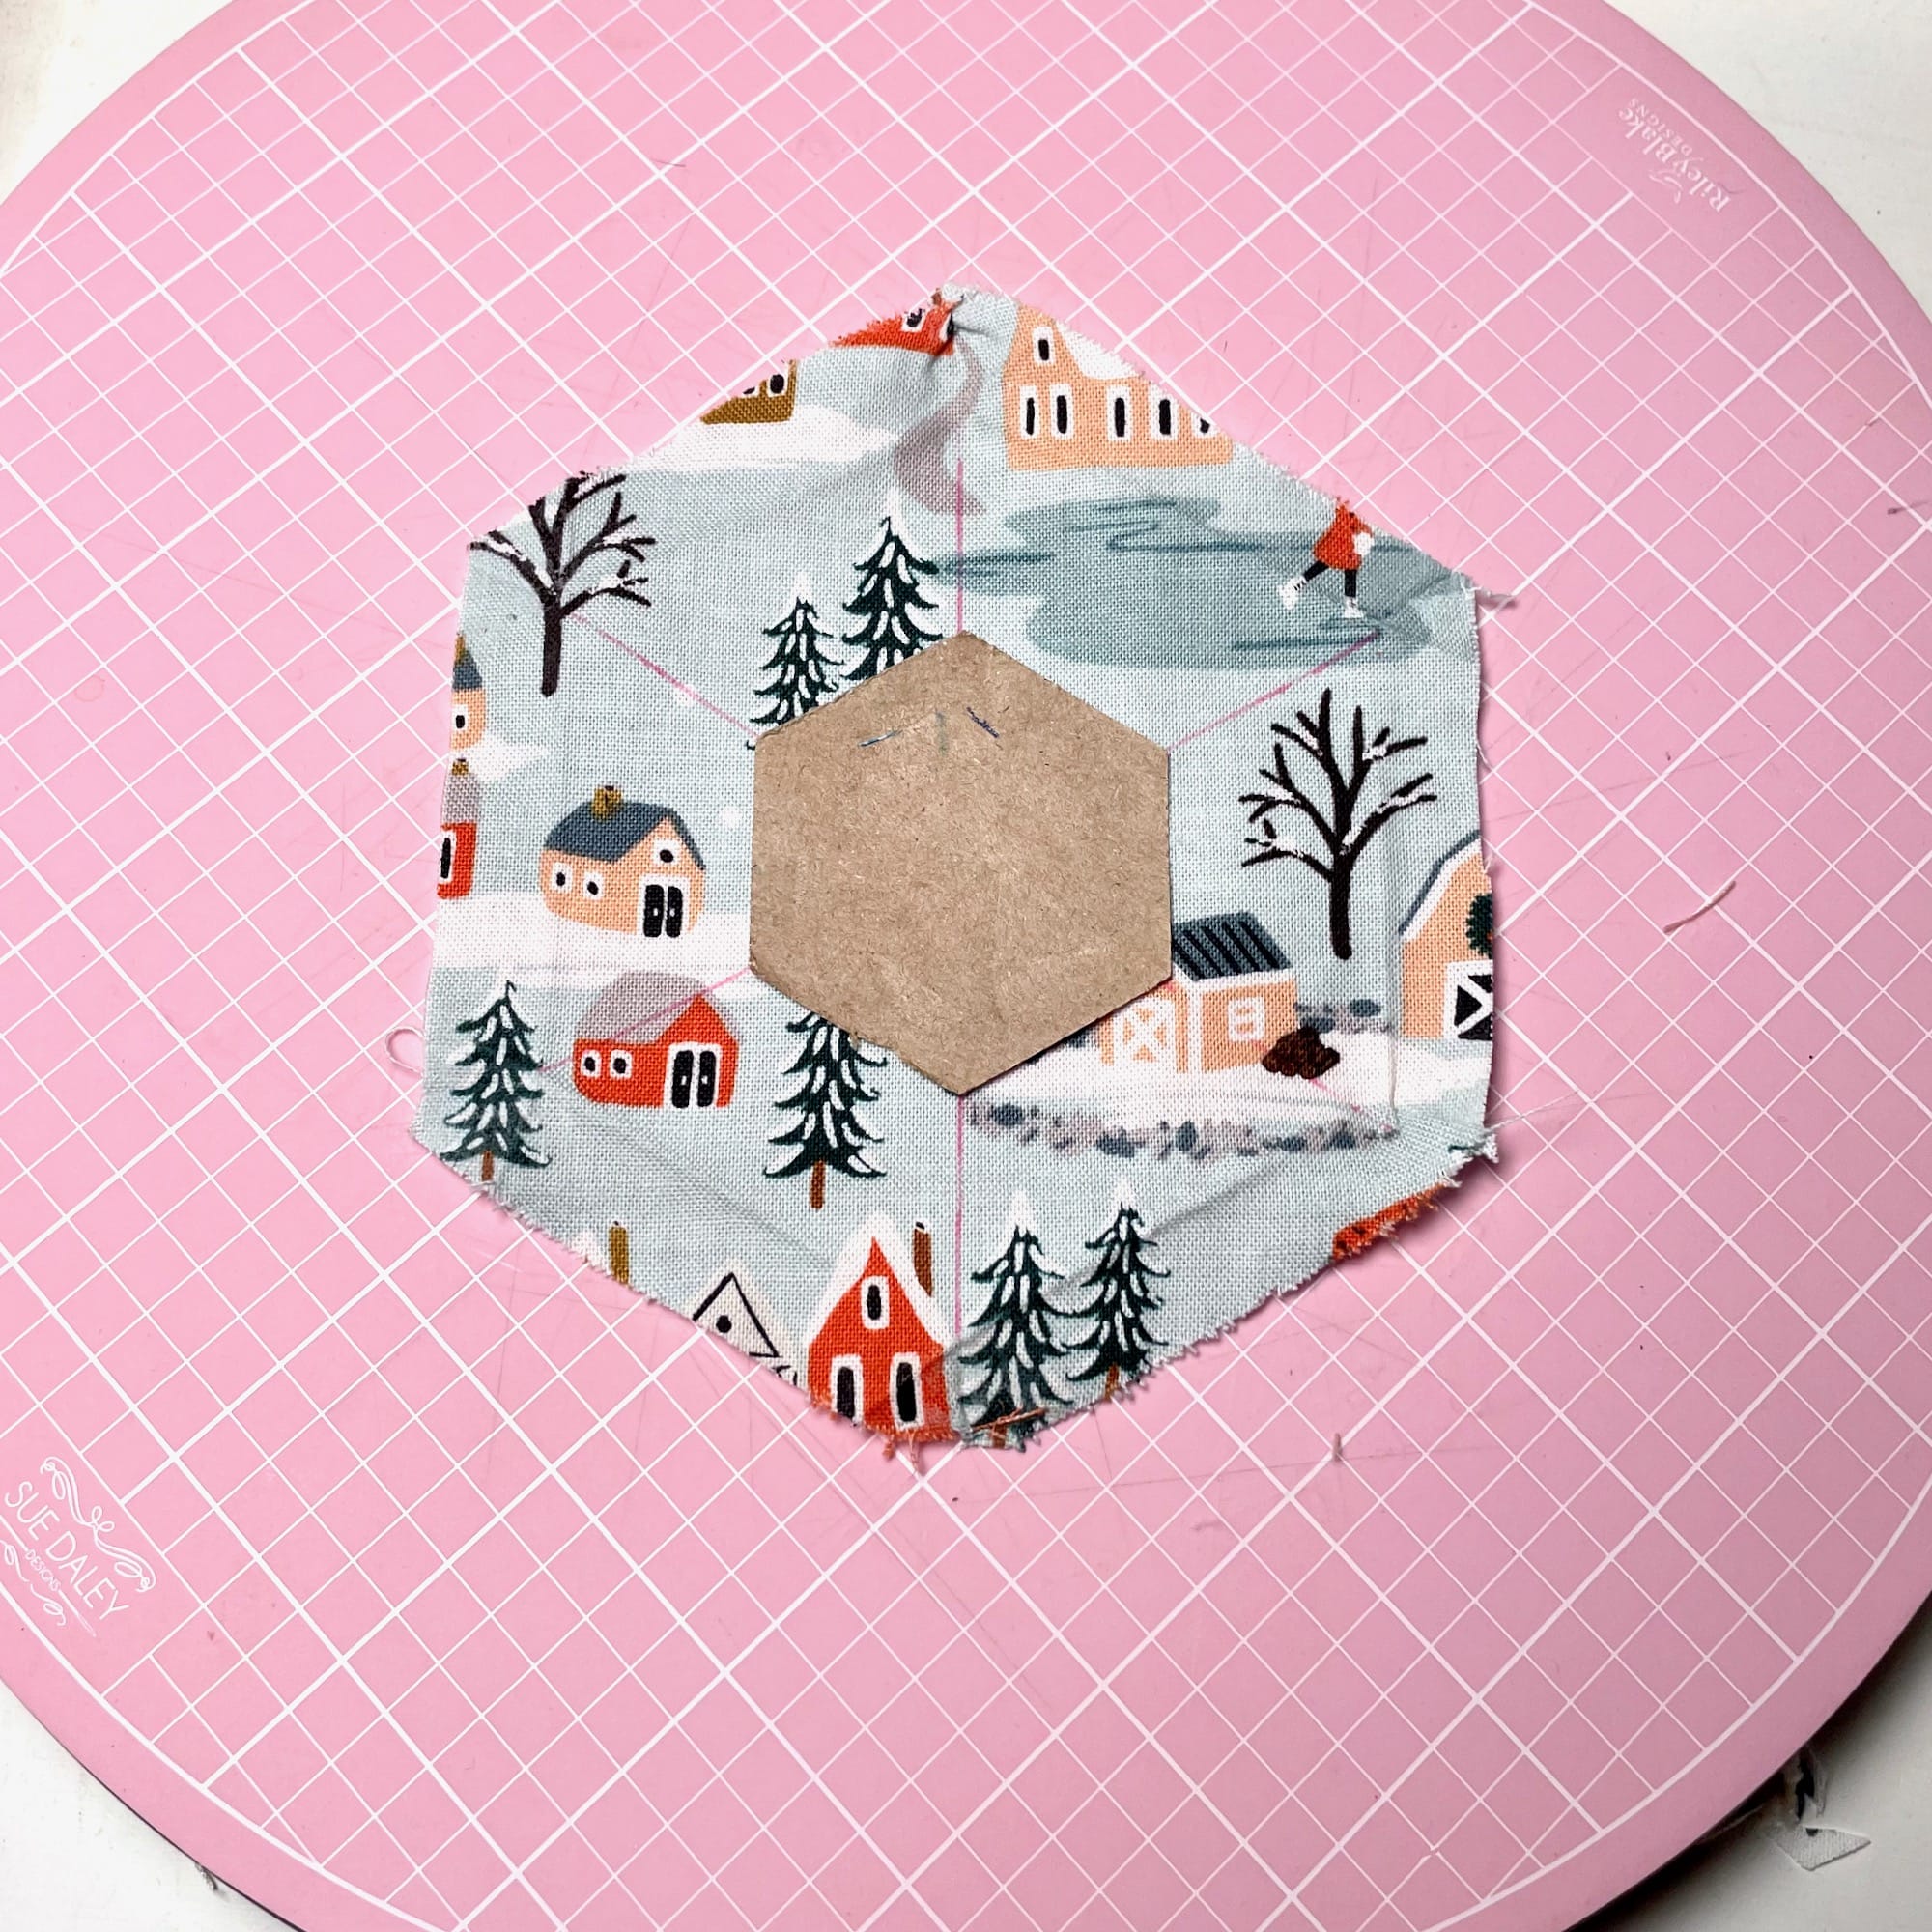
1. Begin with a 2” hexagon of any design.* I am using the Selah Pin Cushion design A.
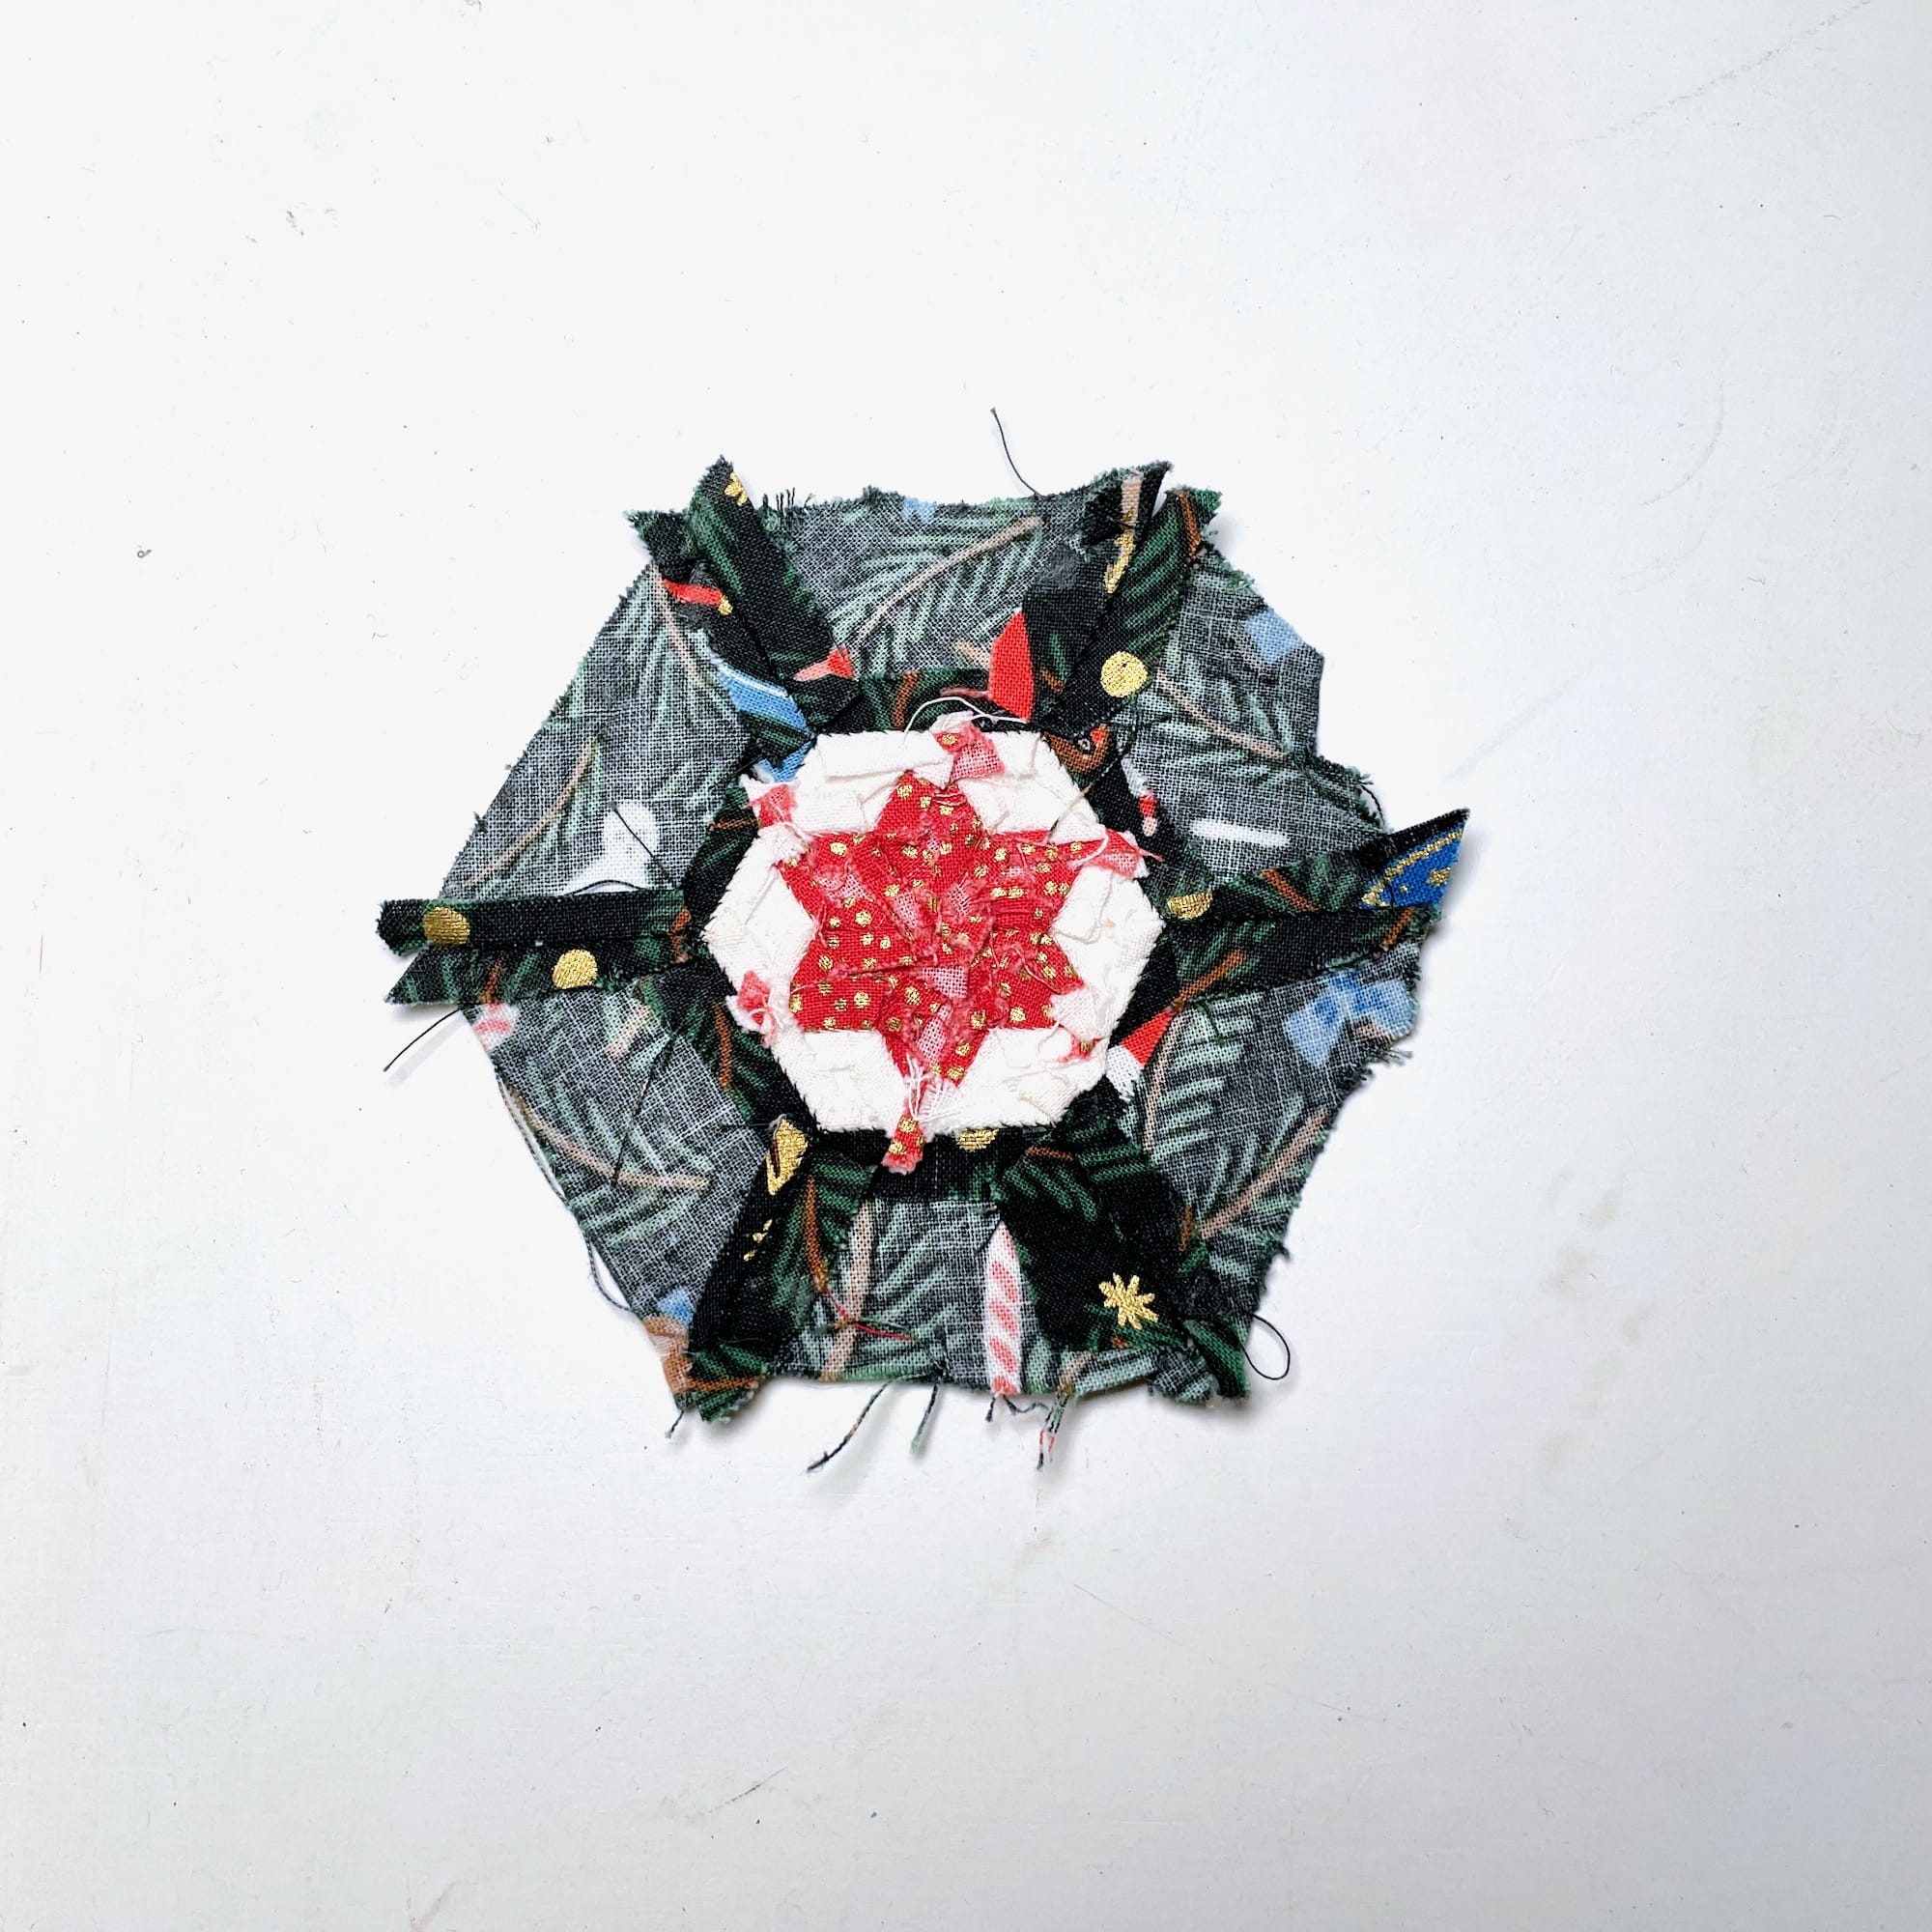
2. Remove all papers, and press the seam allowance around the perimeter of the hexagon open.
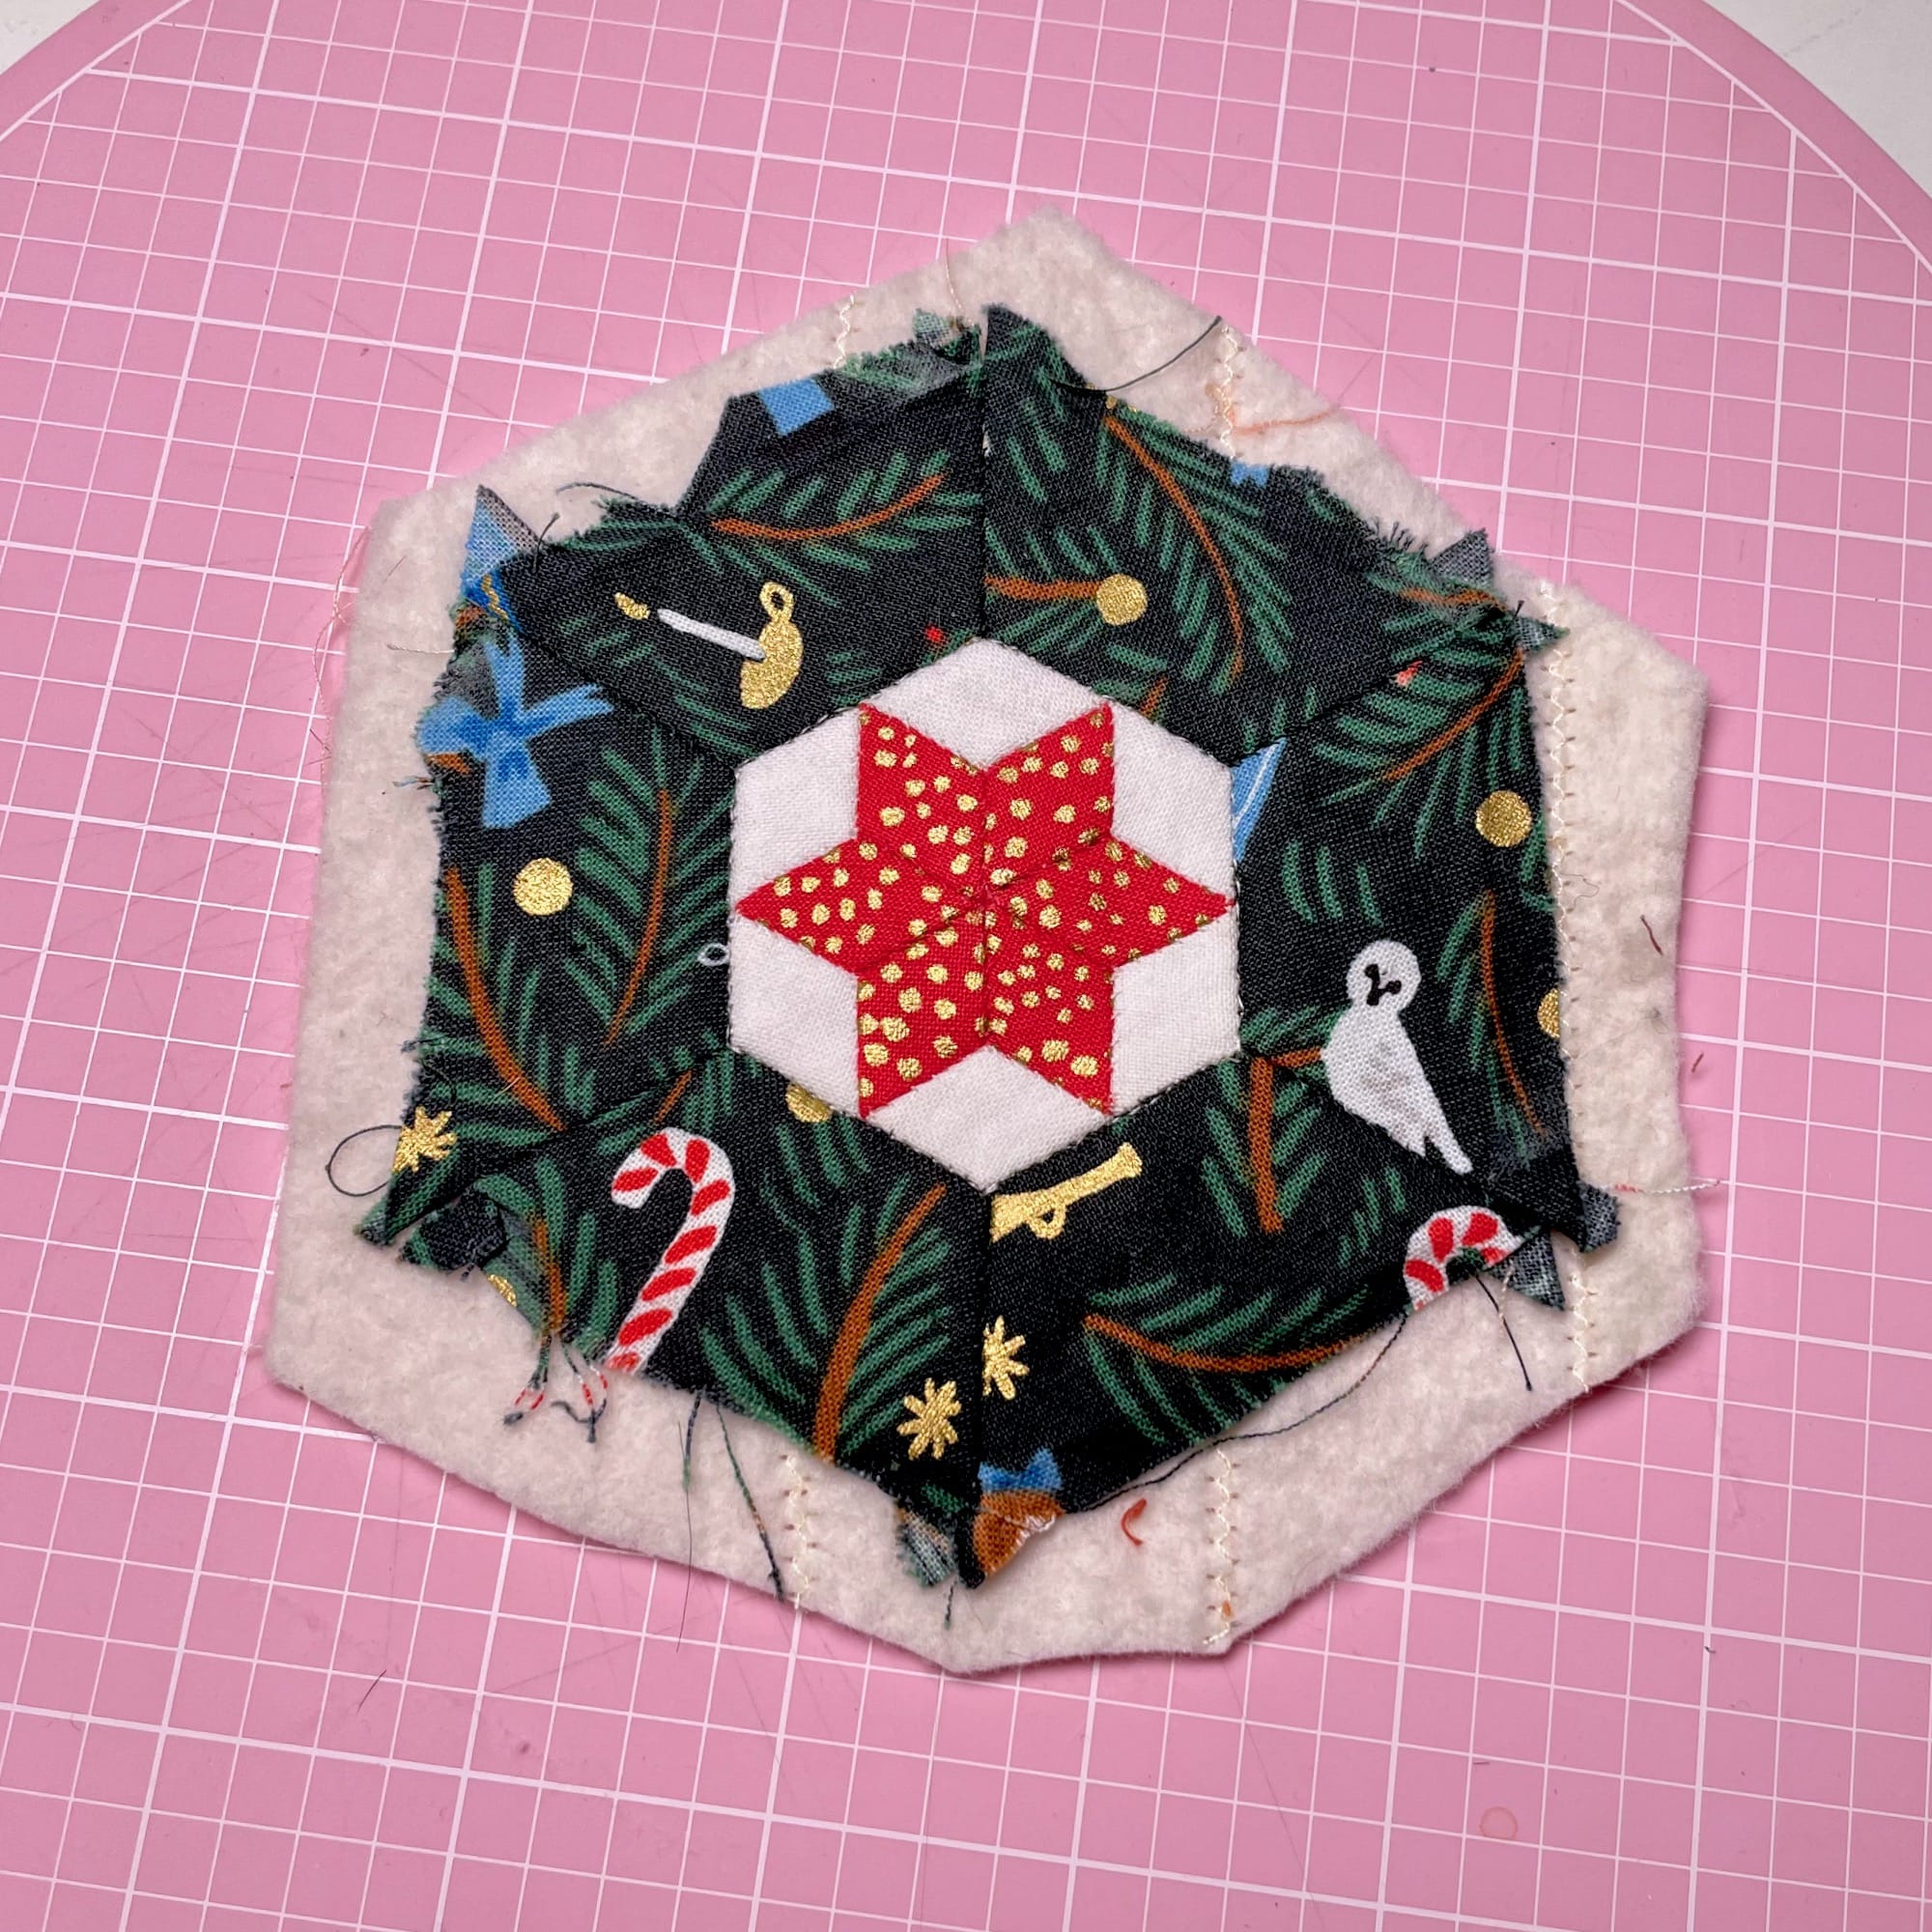
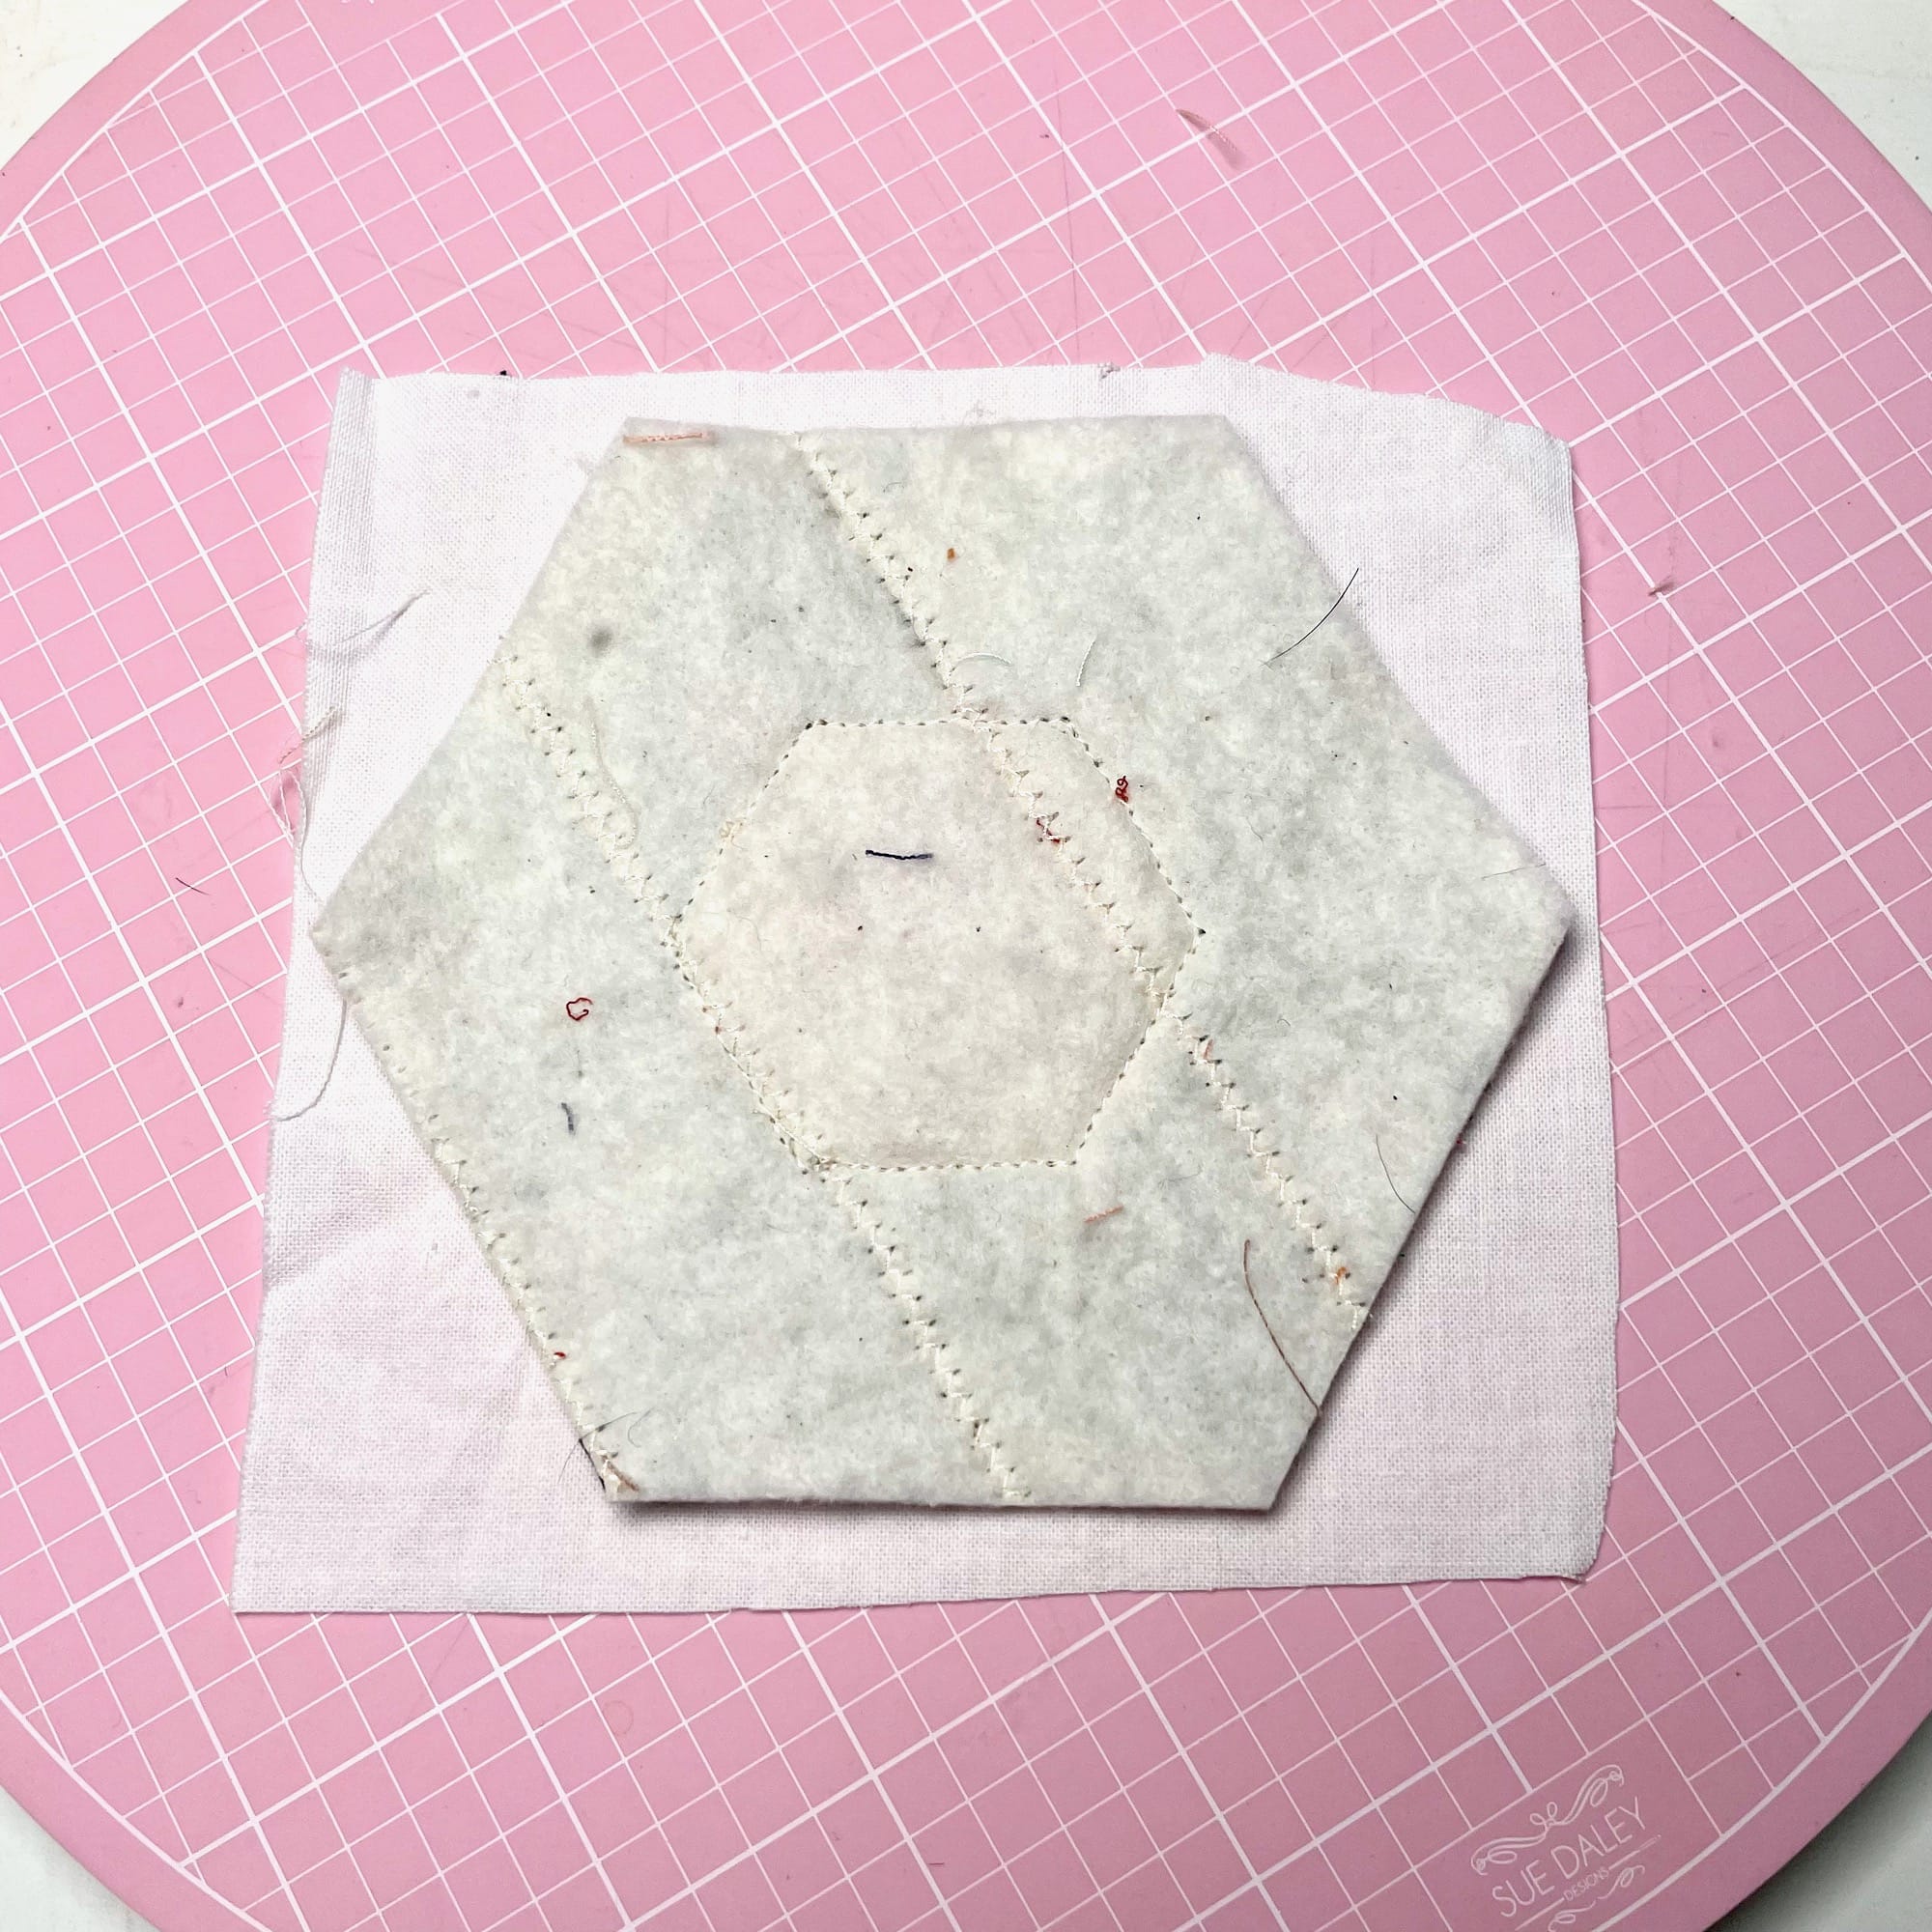
3. Layer the 2” hexagon on the scrap of batting.
4. Baste and quilt as desired. I sewed a simple stitch in the ditch around the center hexagon.
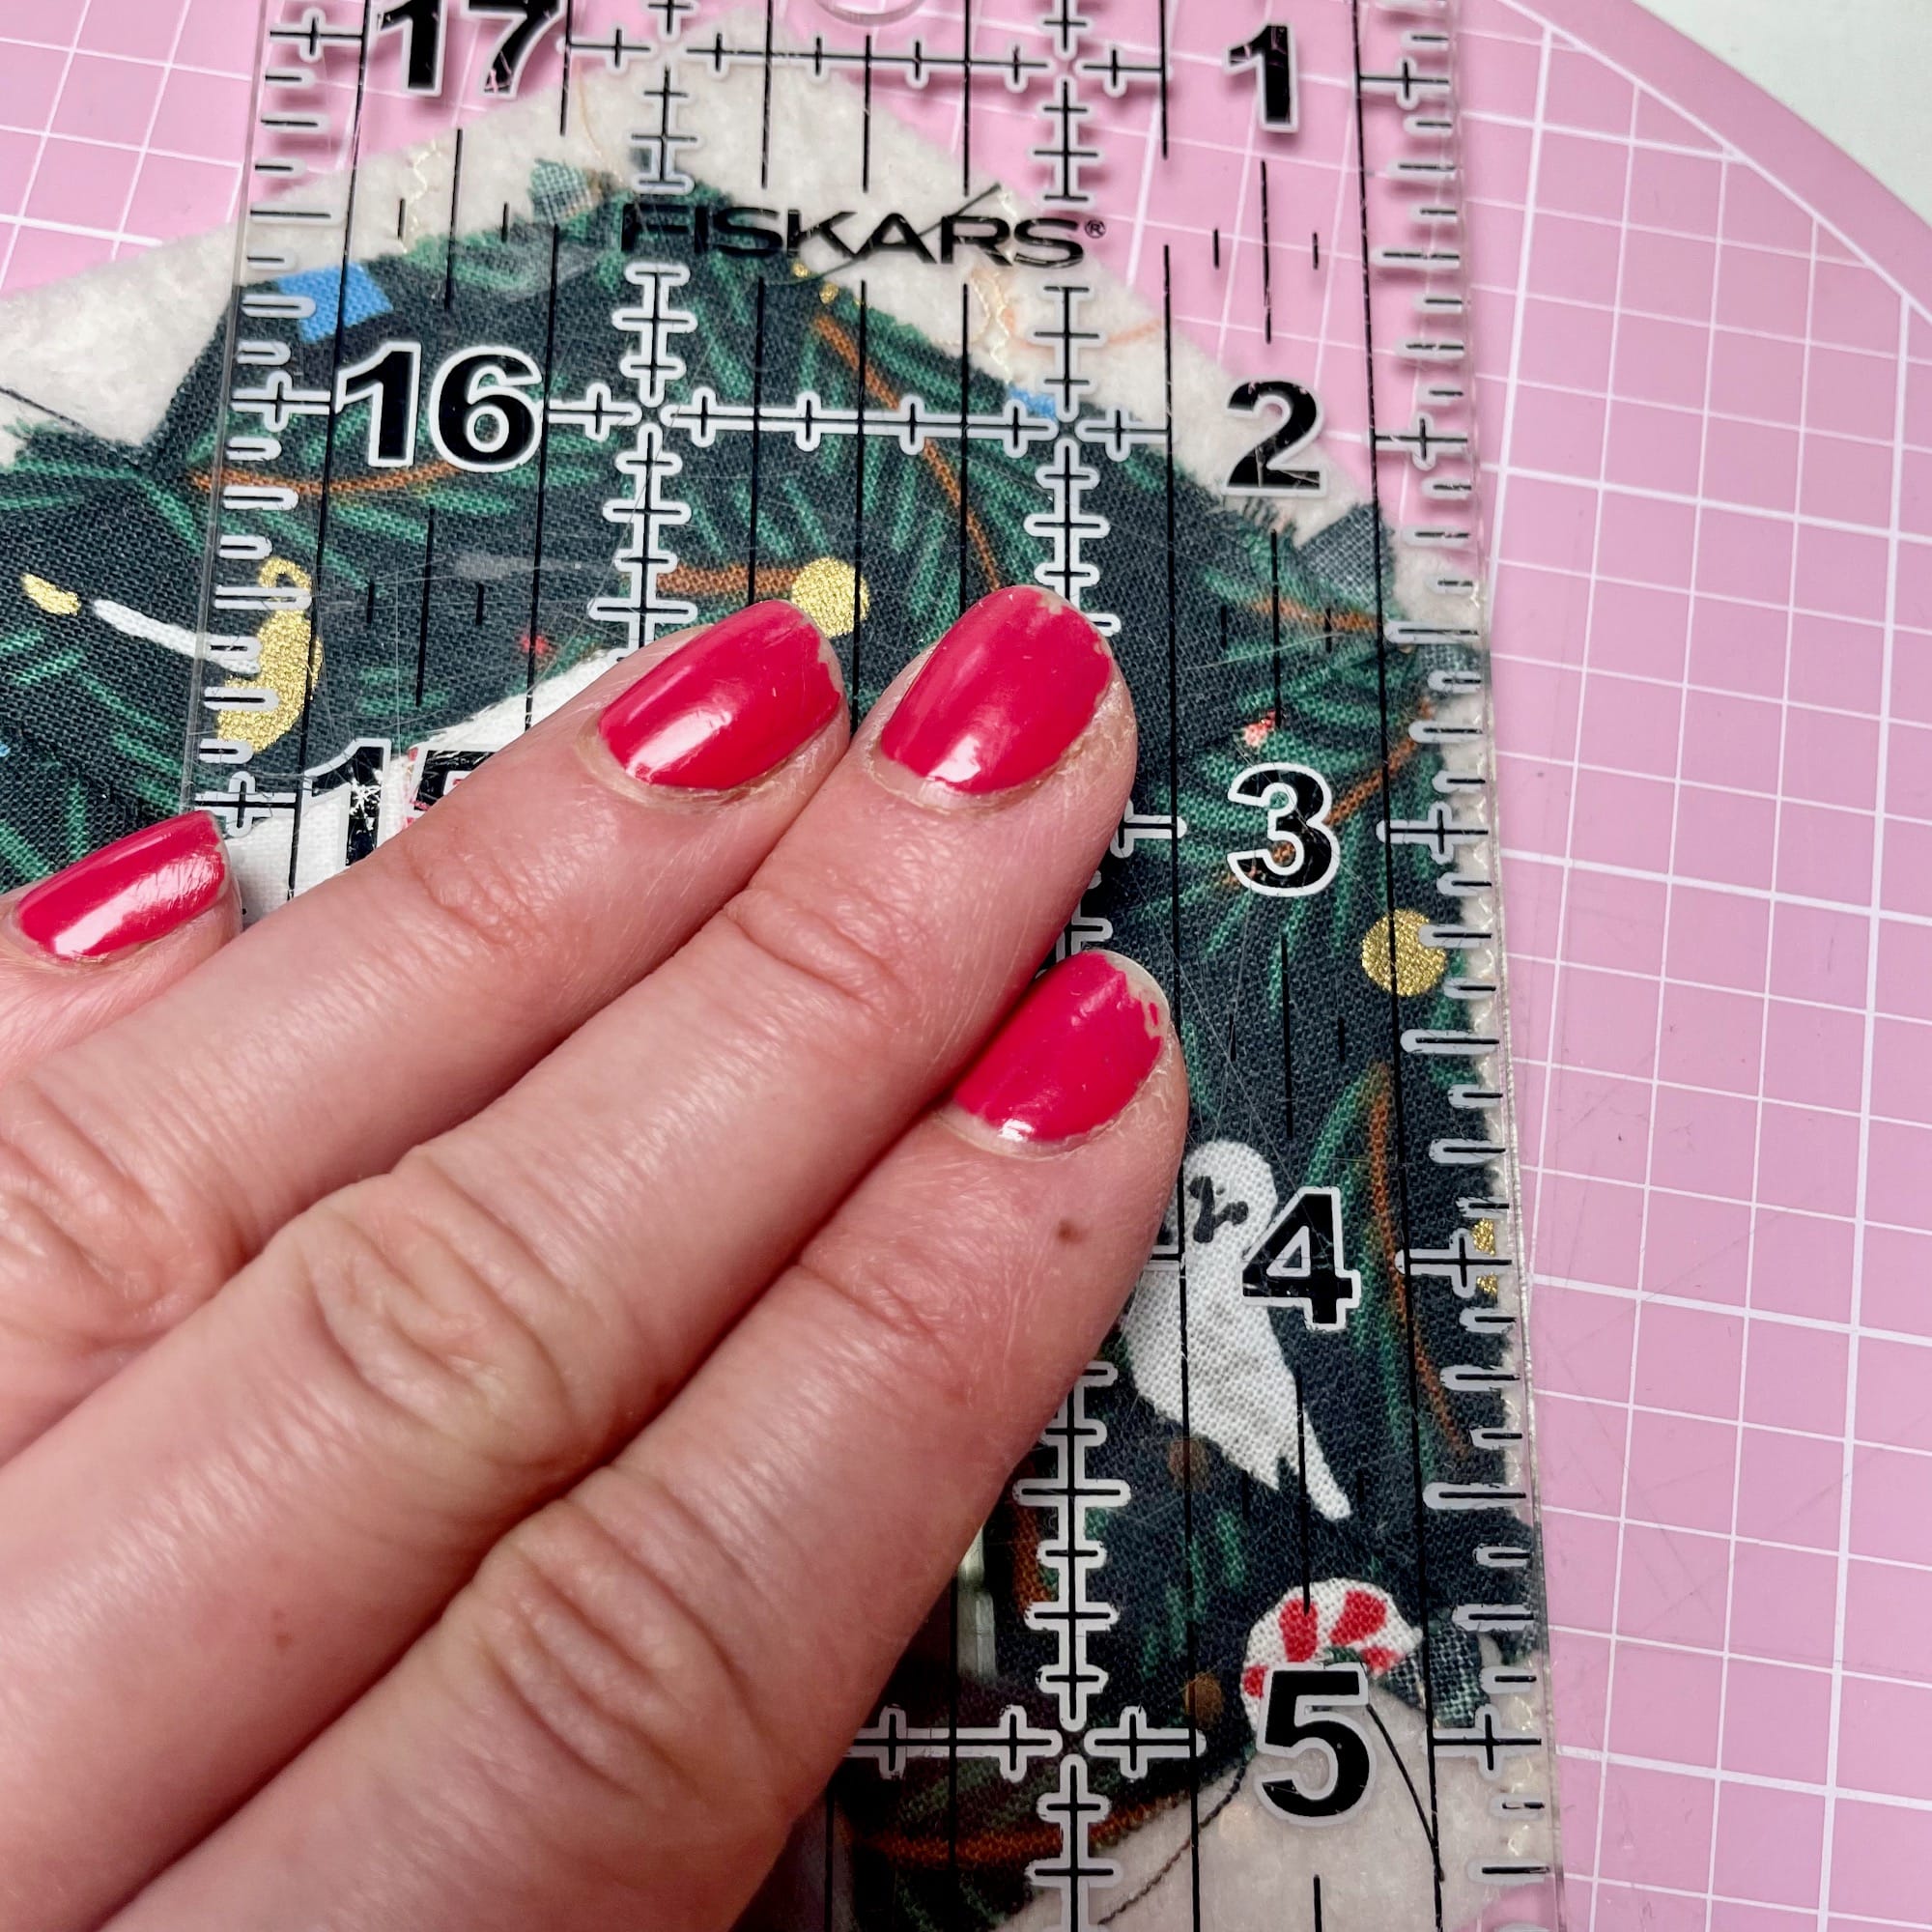
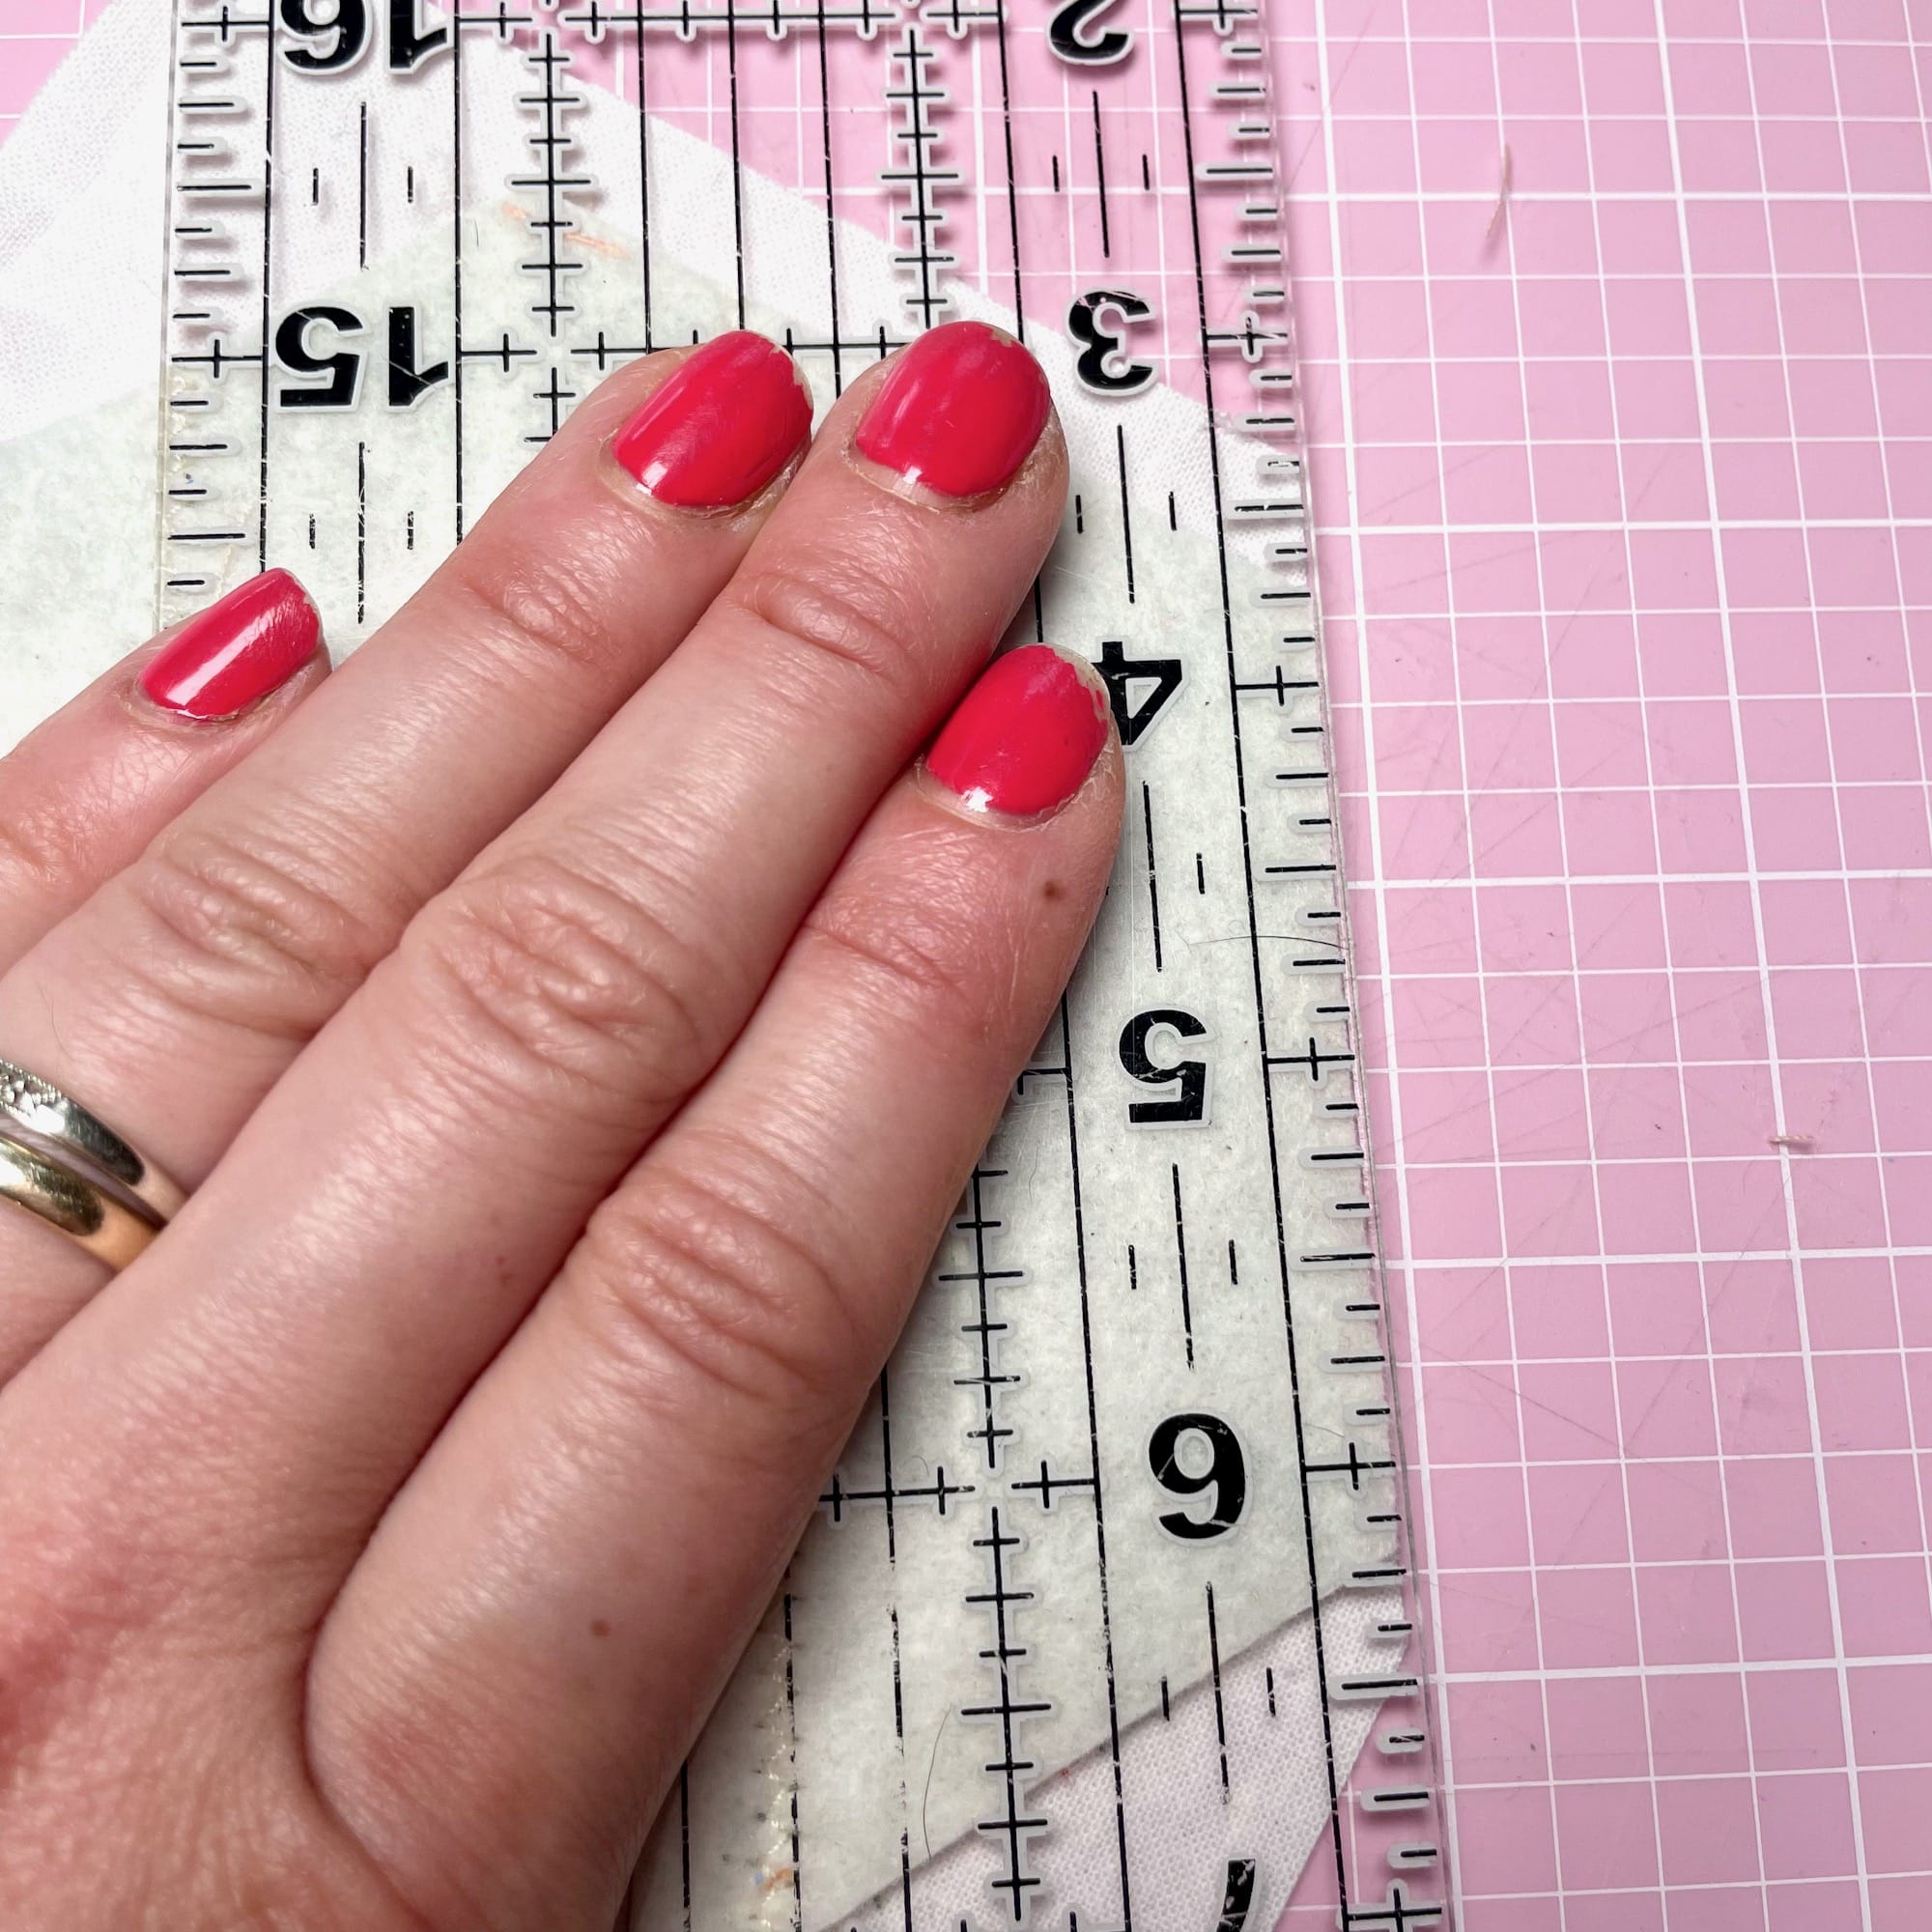
5. Trim your quilted hexagon 3/8” from where the papers have been, all around the perimeter of the hexagon. It’s ok if the seam allowance of the fabric doesn’t quite reach. That’s why we’re using a 3/8” seam allowance.
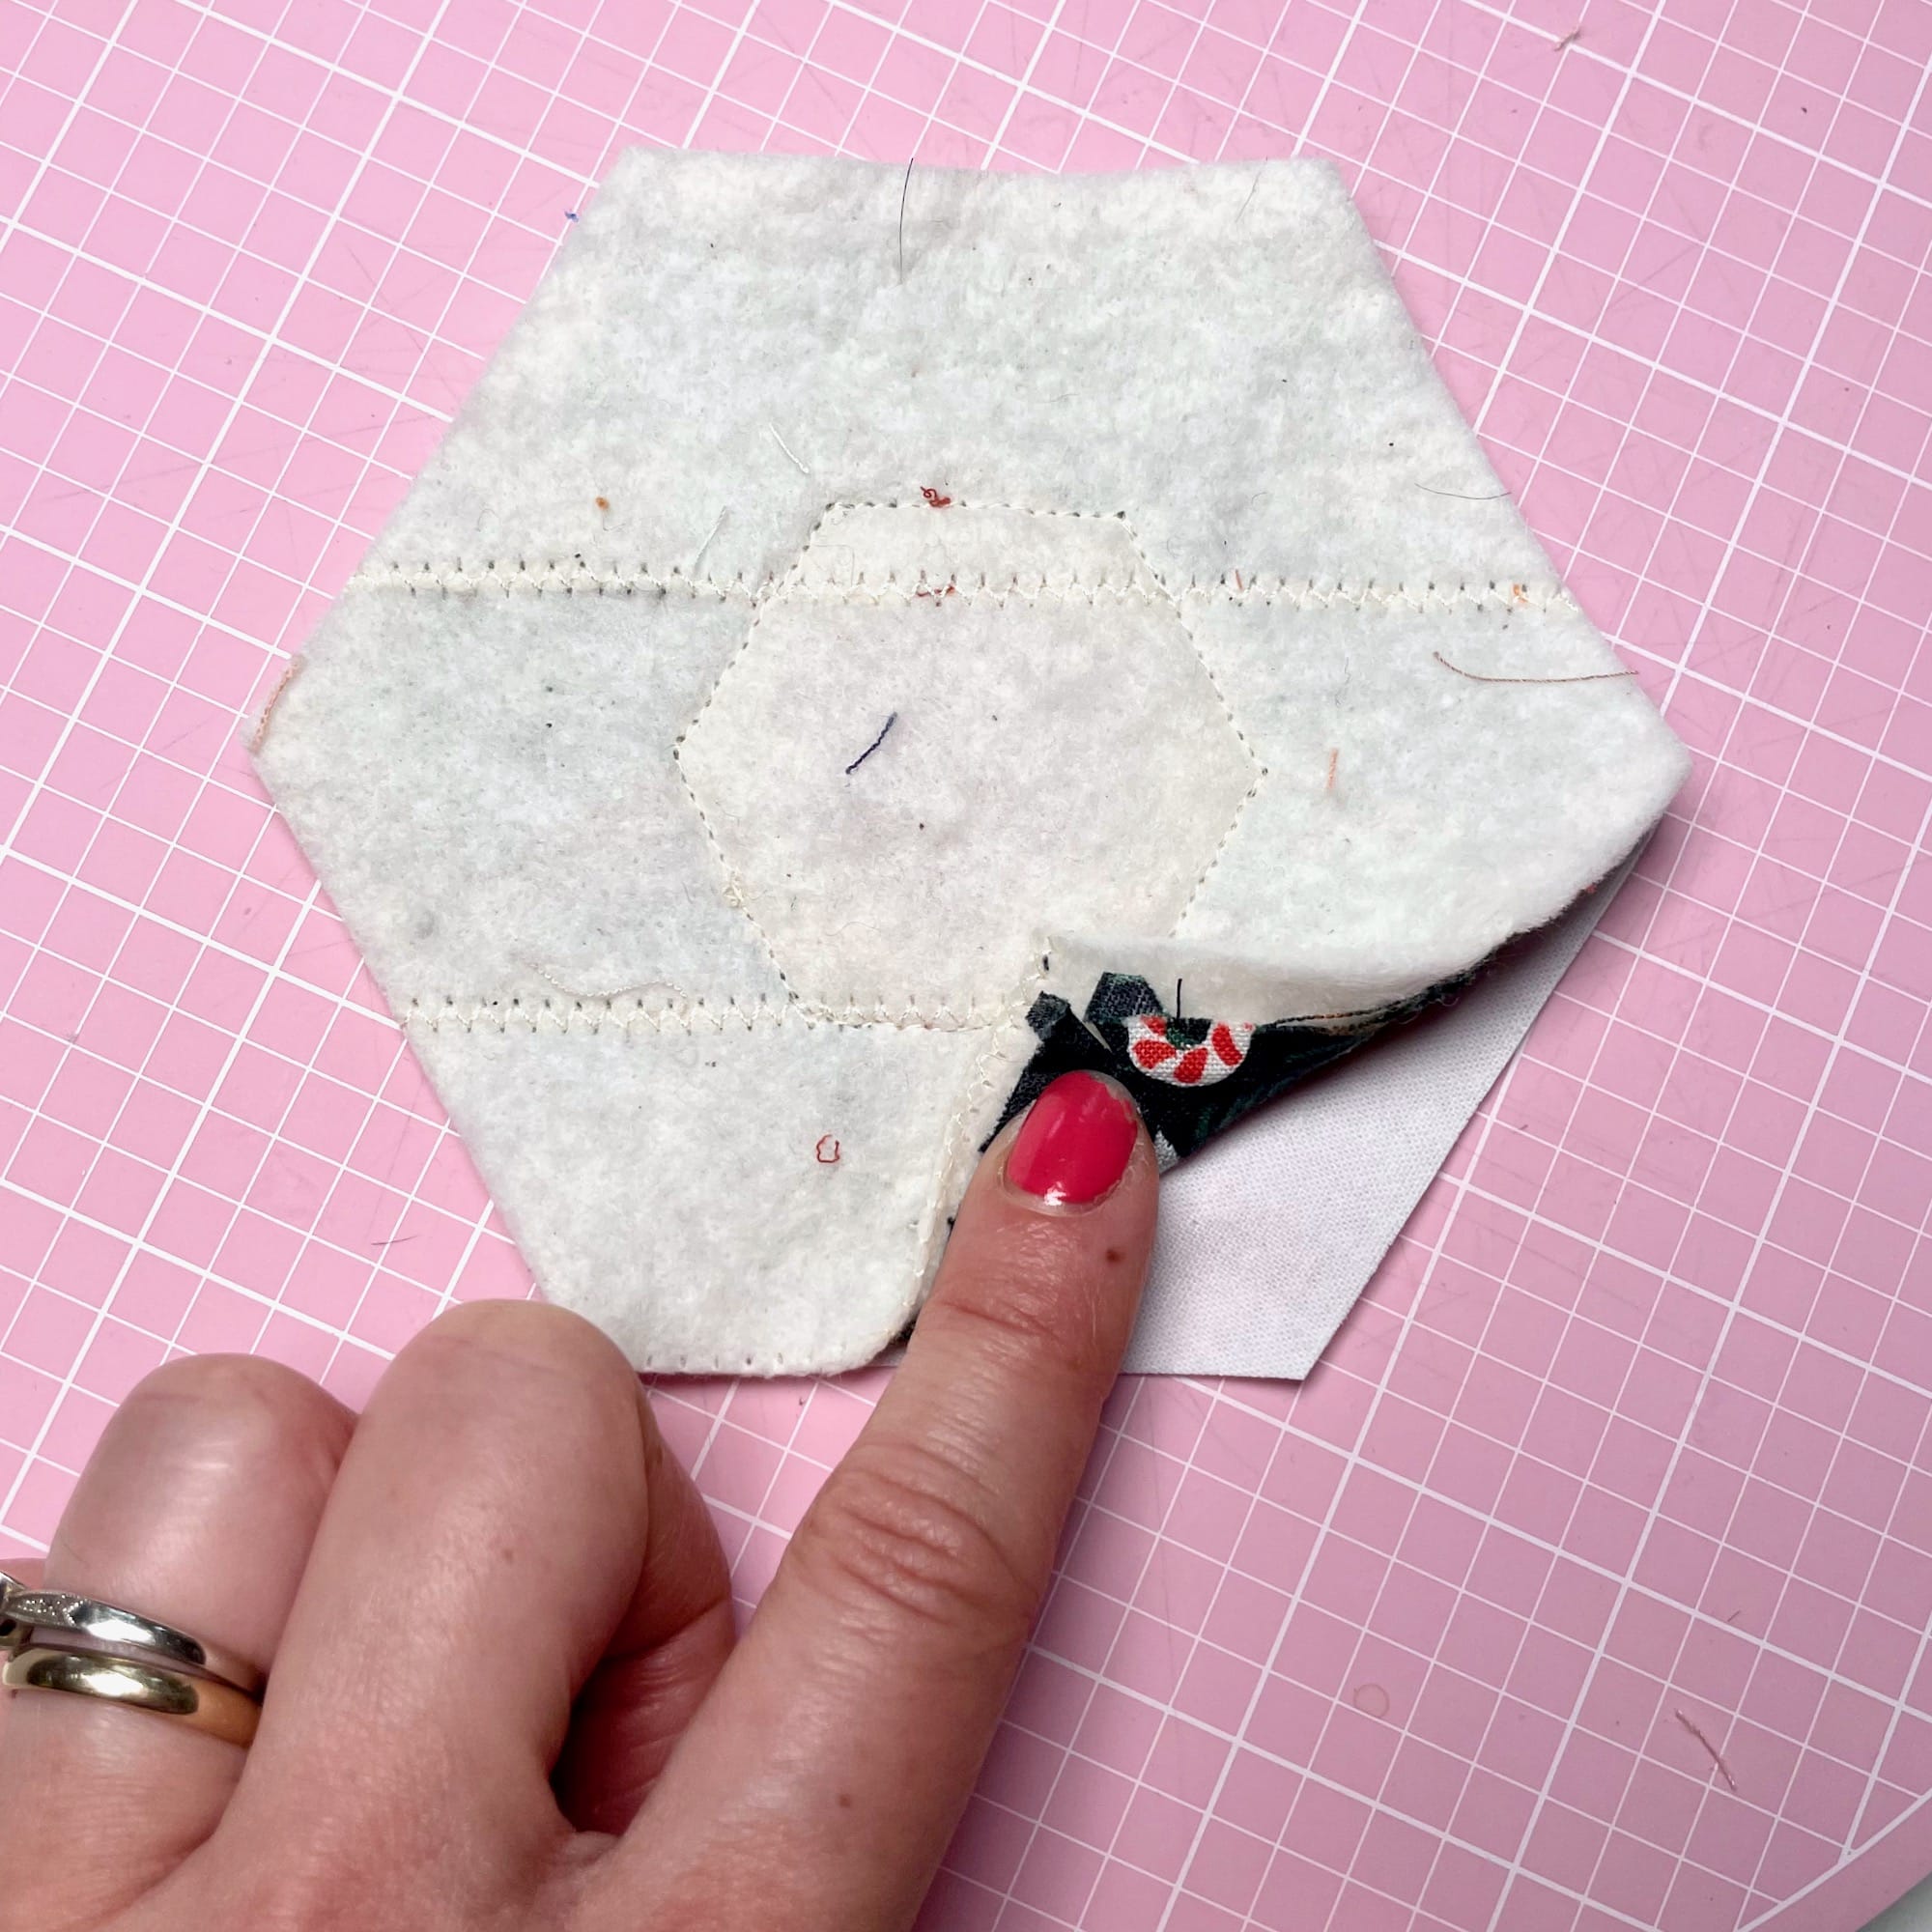
6. Layer the quilted hexagon face down, right sides together (RST), with the scrap of backing fabric.
7. Trim the backing fabric to the size of the quilted hexagon all around the perimeter of the hexagon.
8. Make sure to keep the two layers together.
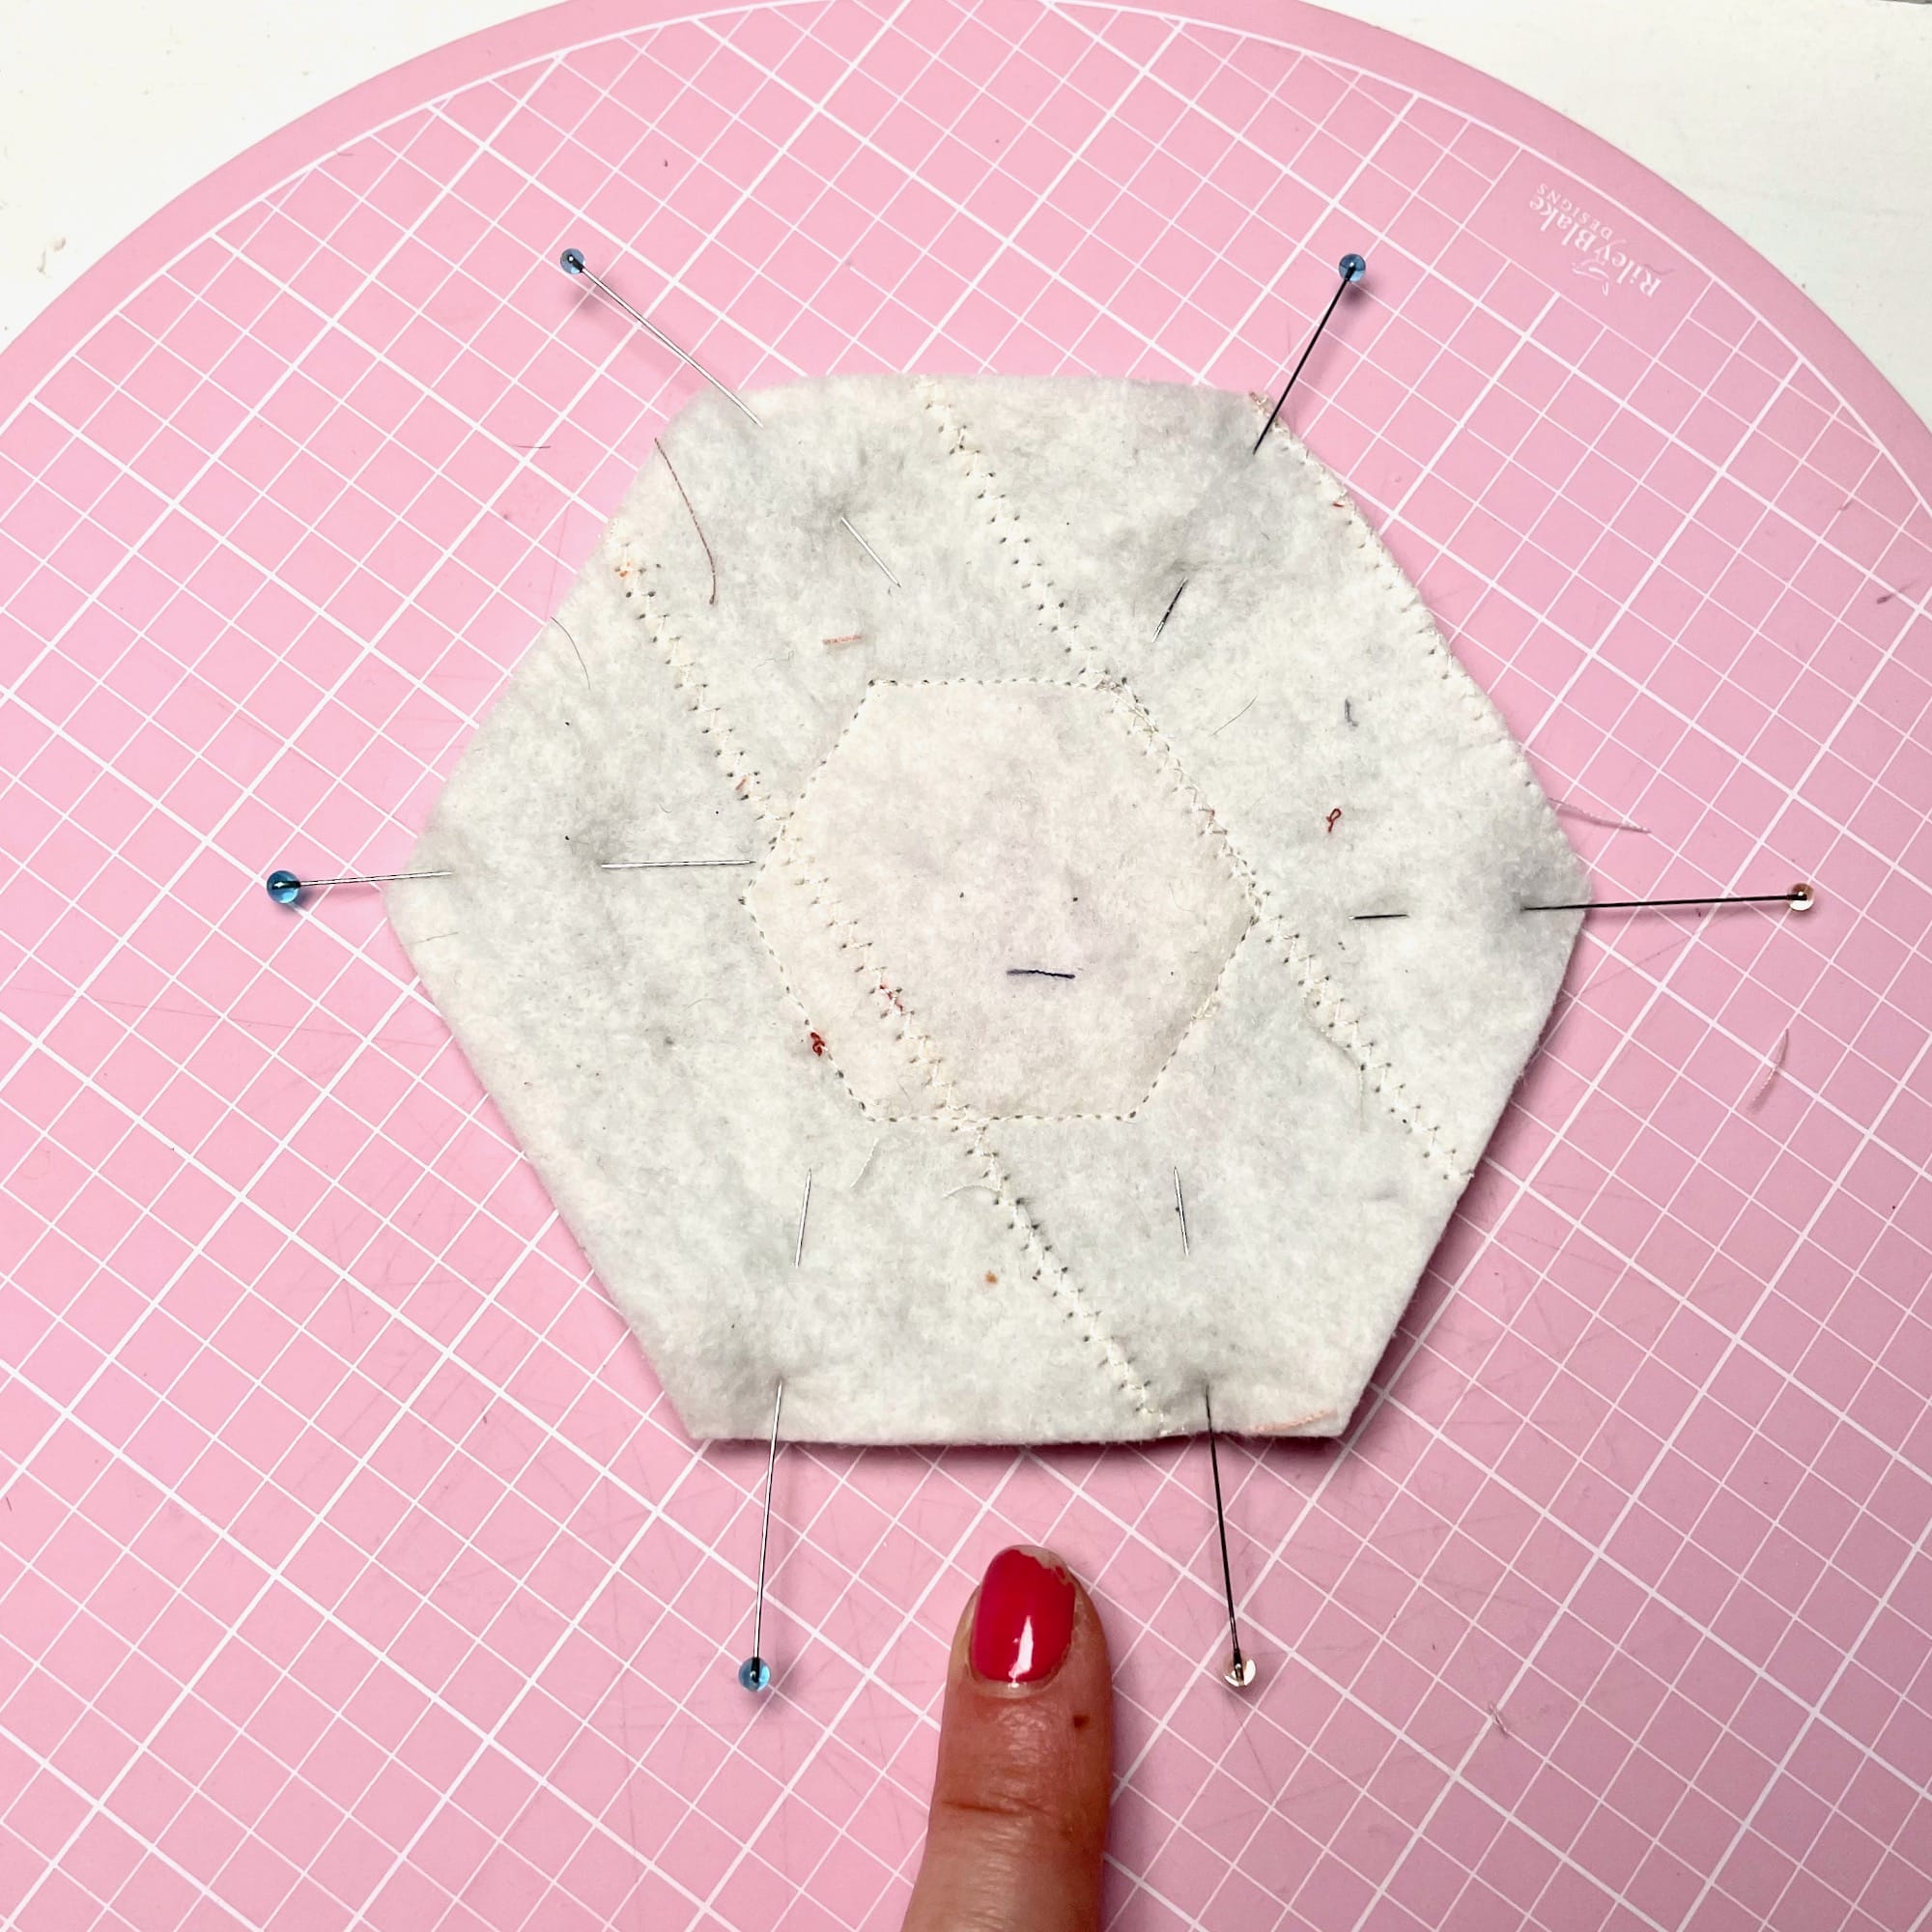
9. Pin the two layers together, leaving a space that will be an opening for turning later.
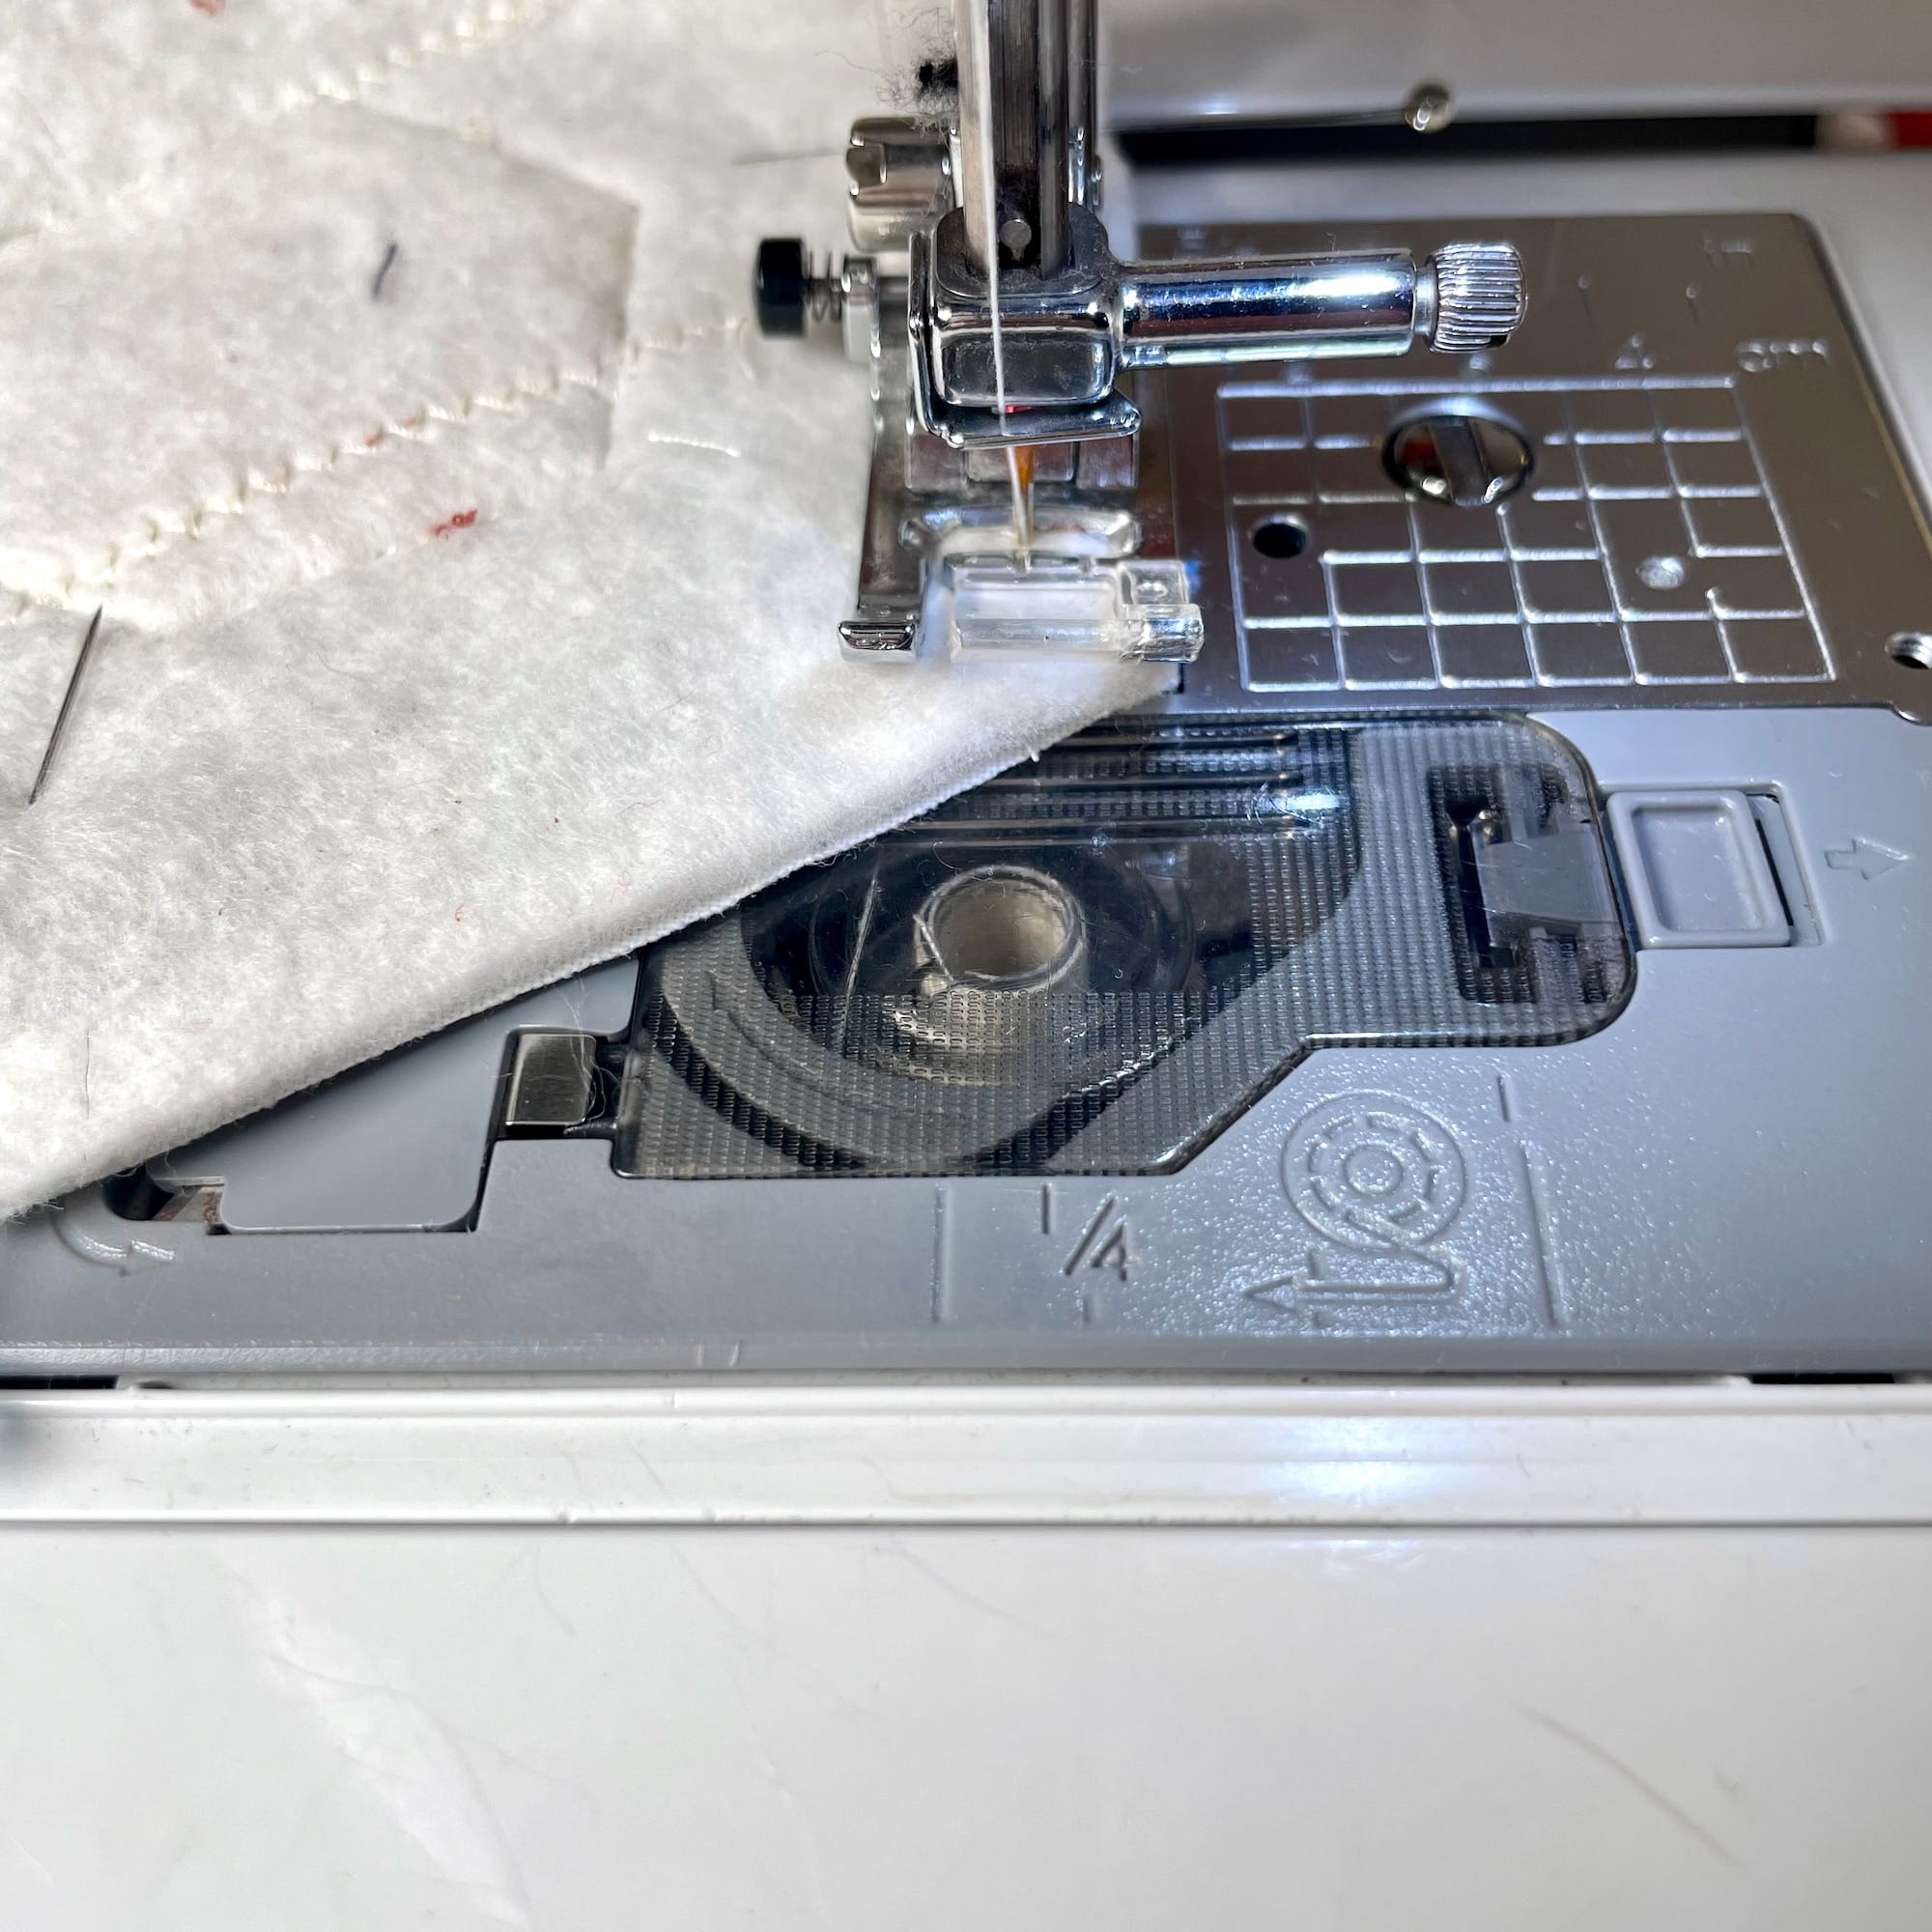
Let's sew it up!
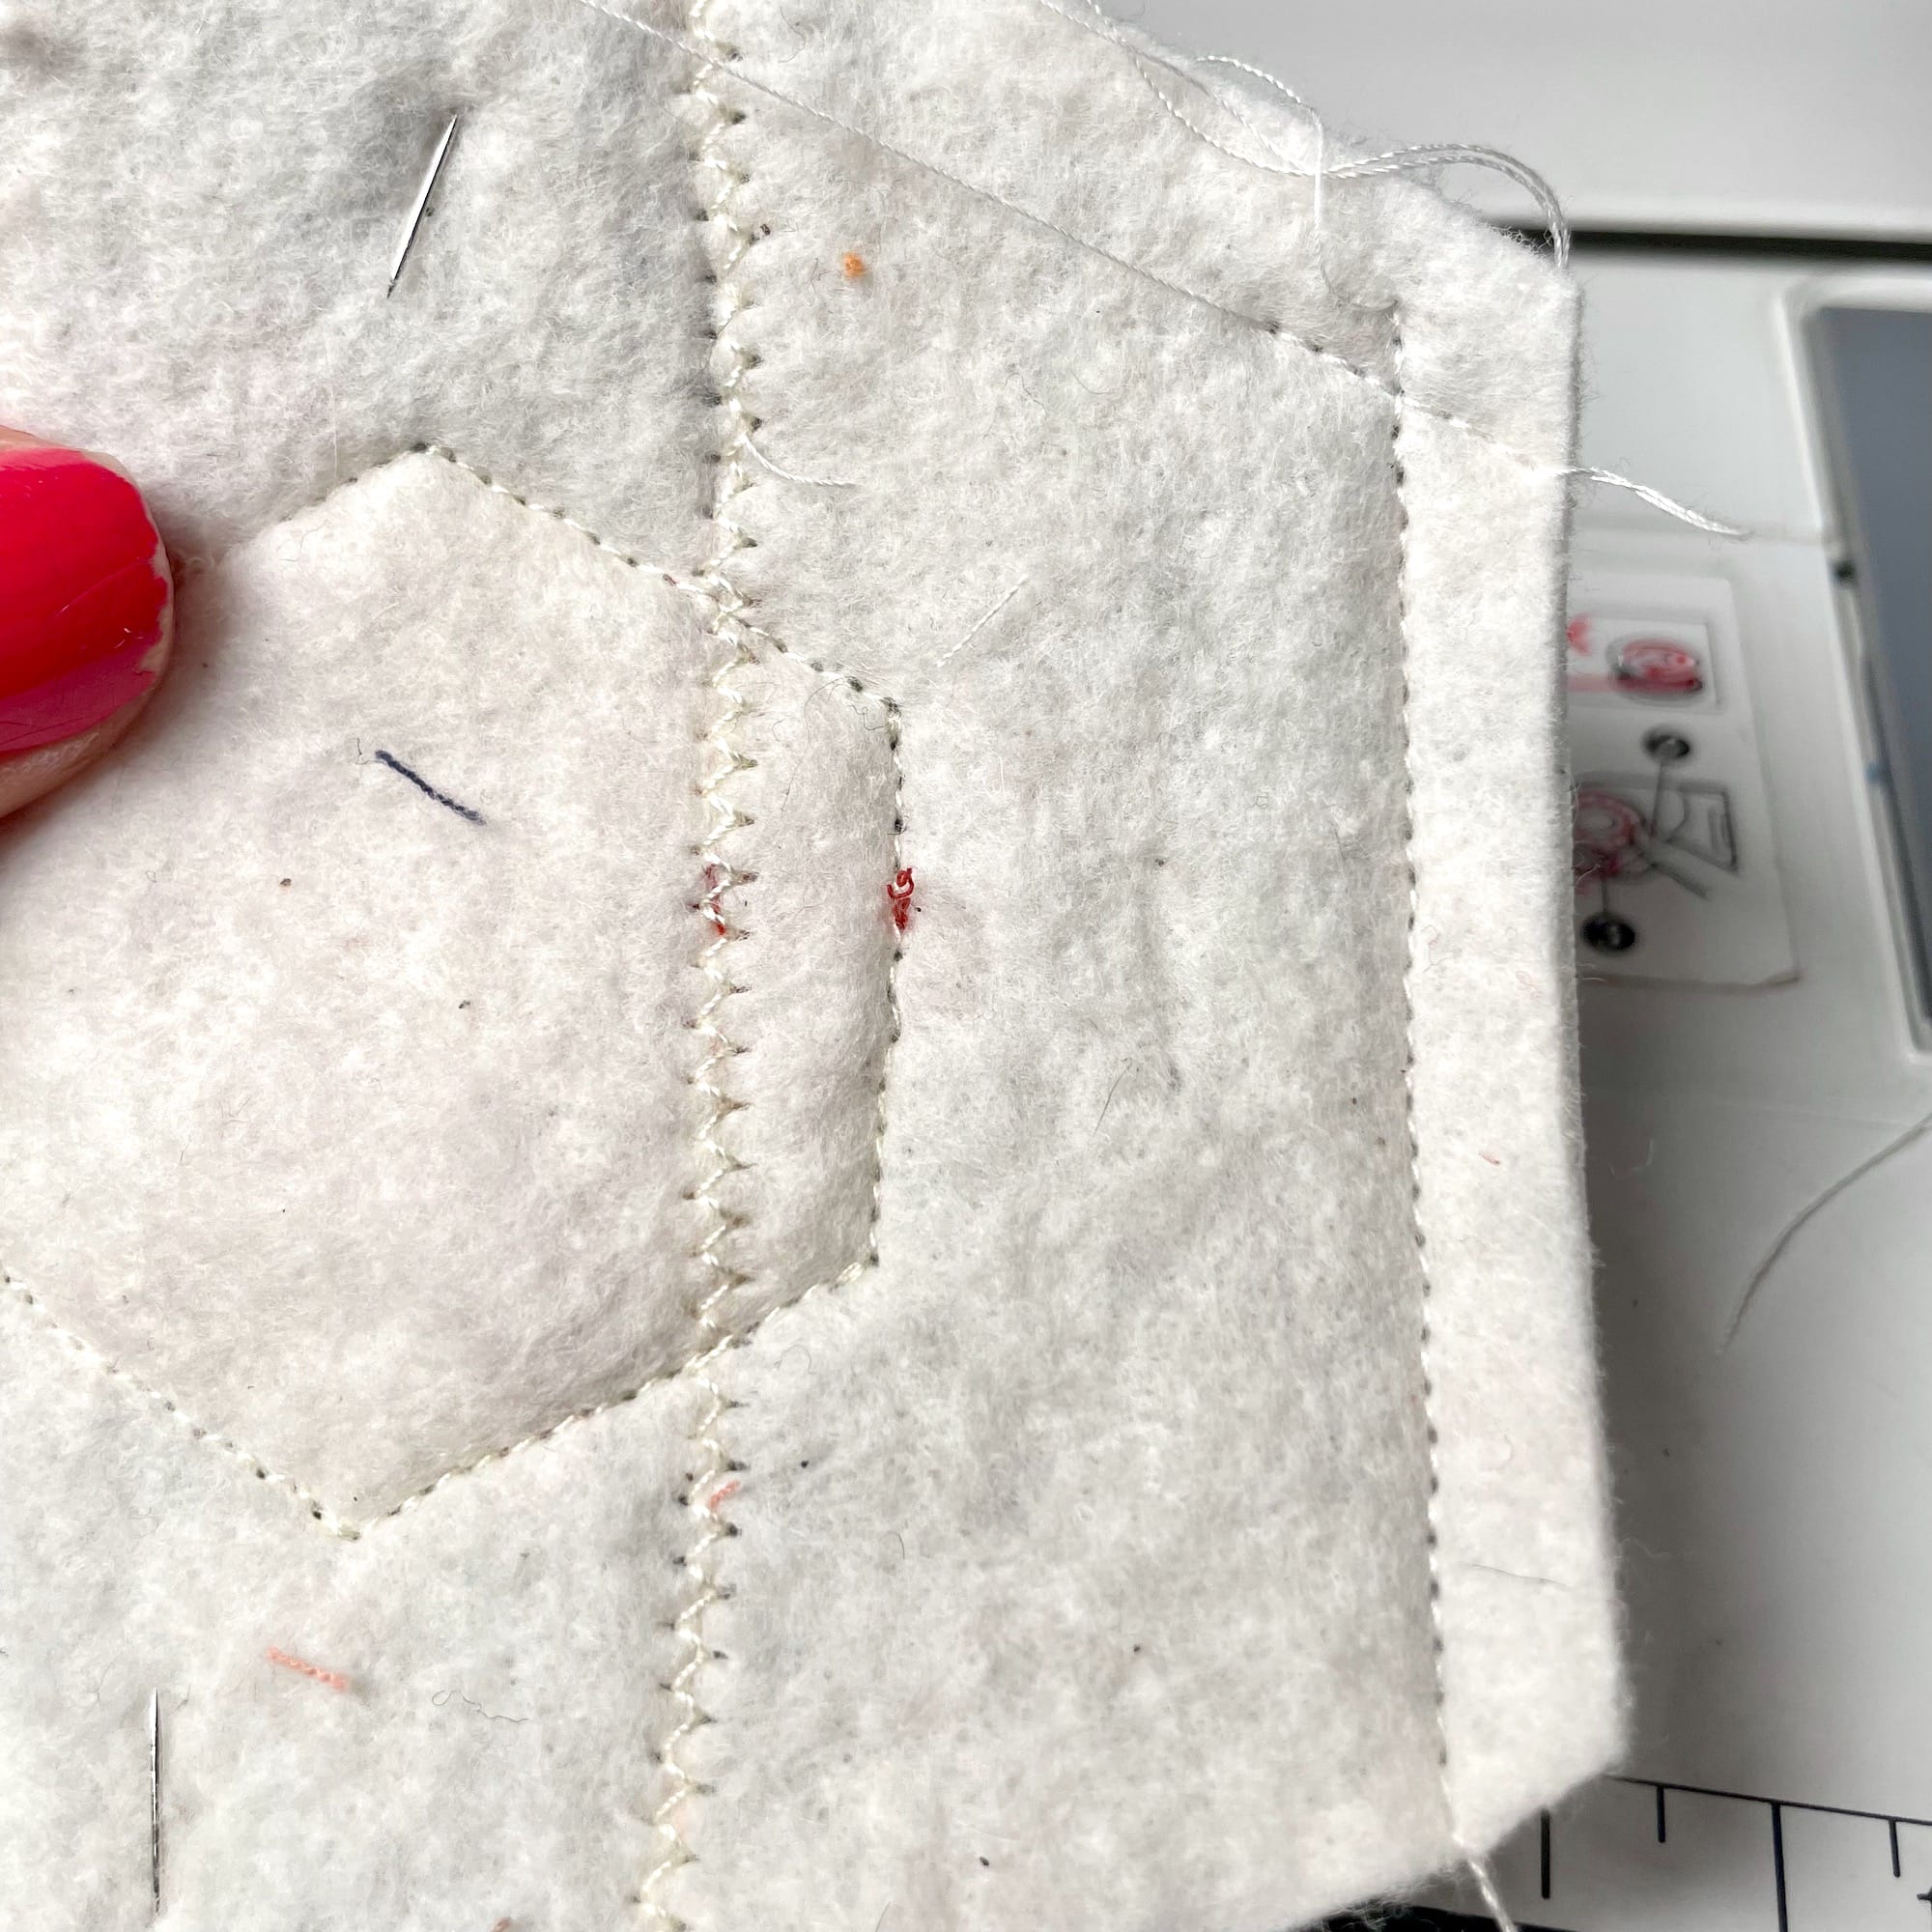
10. Begin sewing about 3/8” away from one corner, back stitching to secure, and sew off the edge of the coaster.
11. It should look like this.
12. Turn the coaster and sew all the way down the next seam and off the edge.
13. It should look like this. I like to sew off the edges so that I get nice crisp, secure corners later.
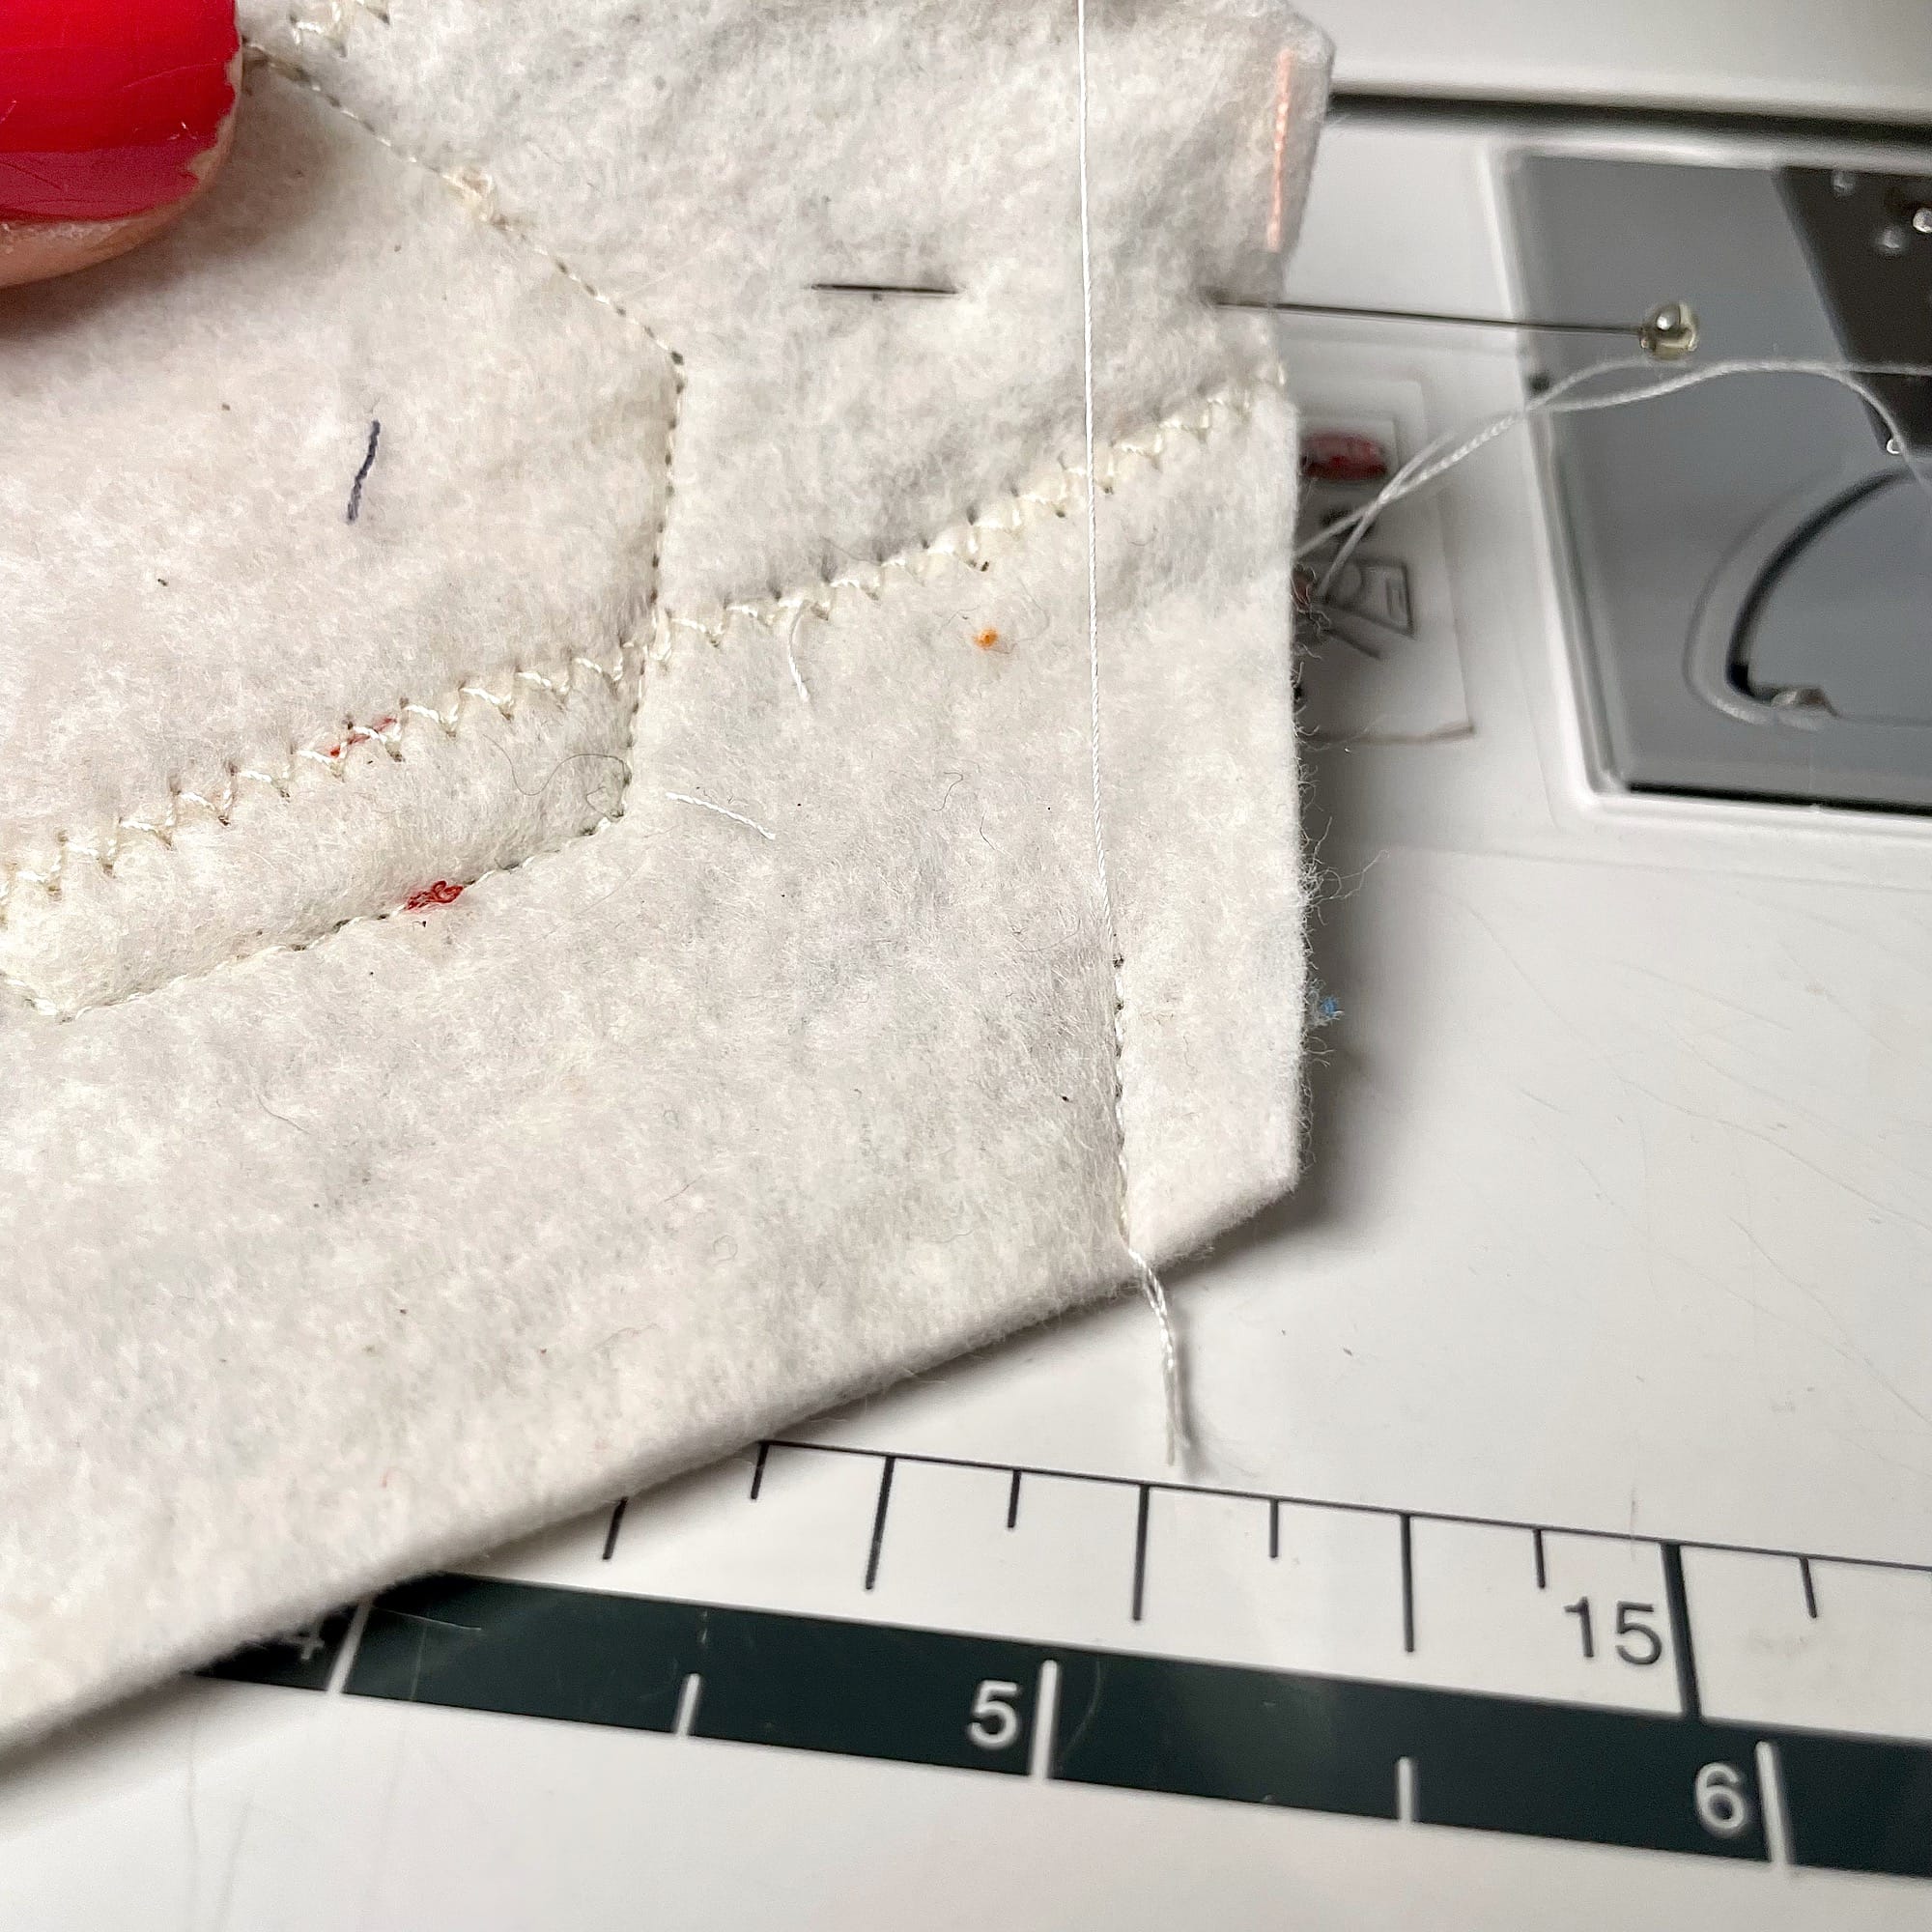
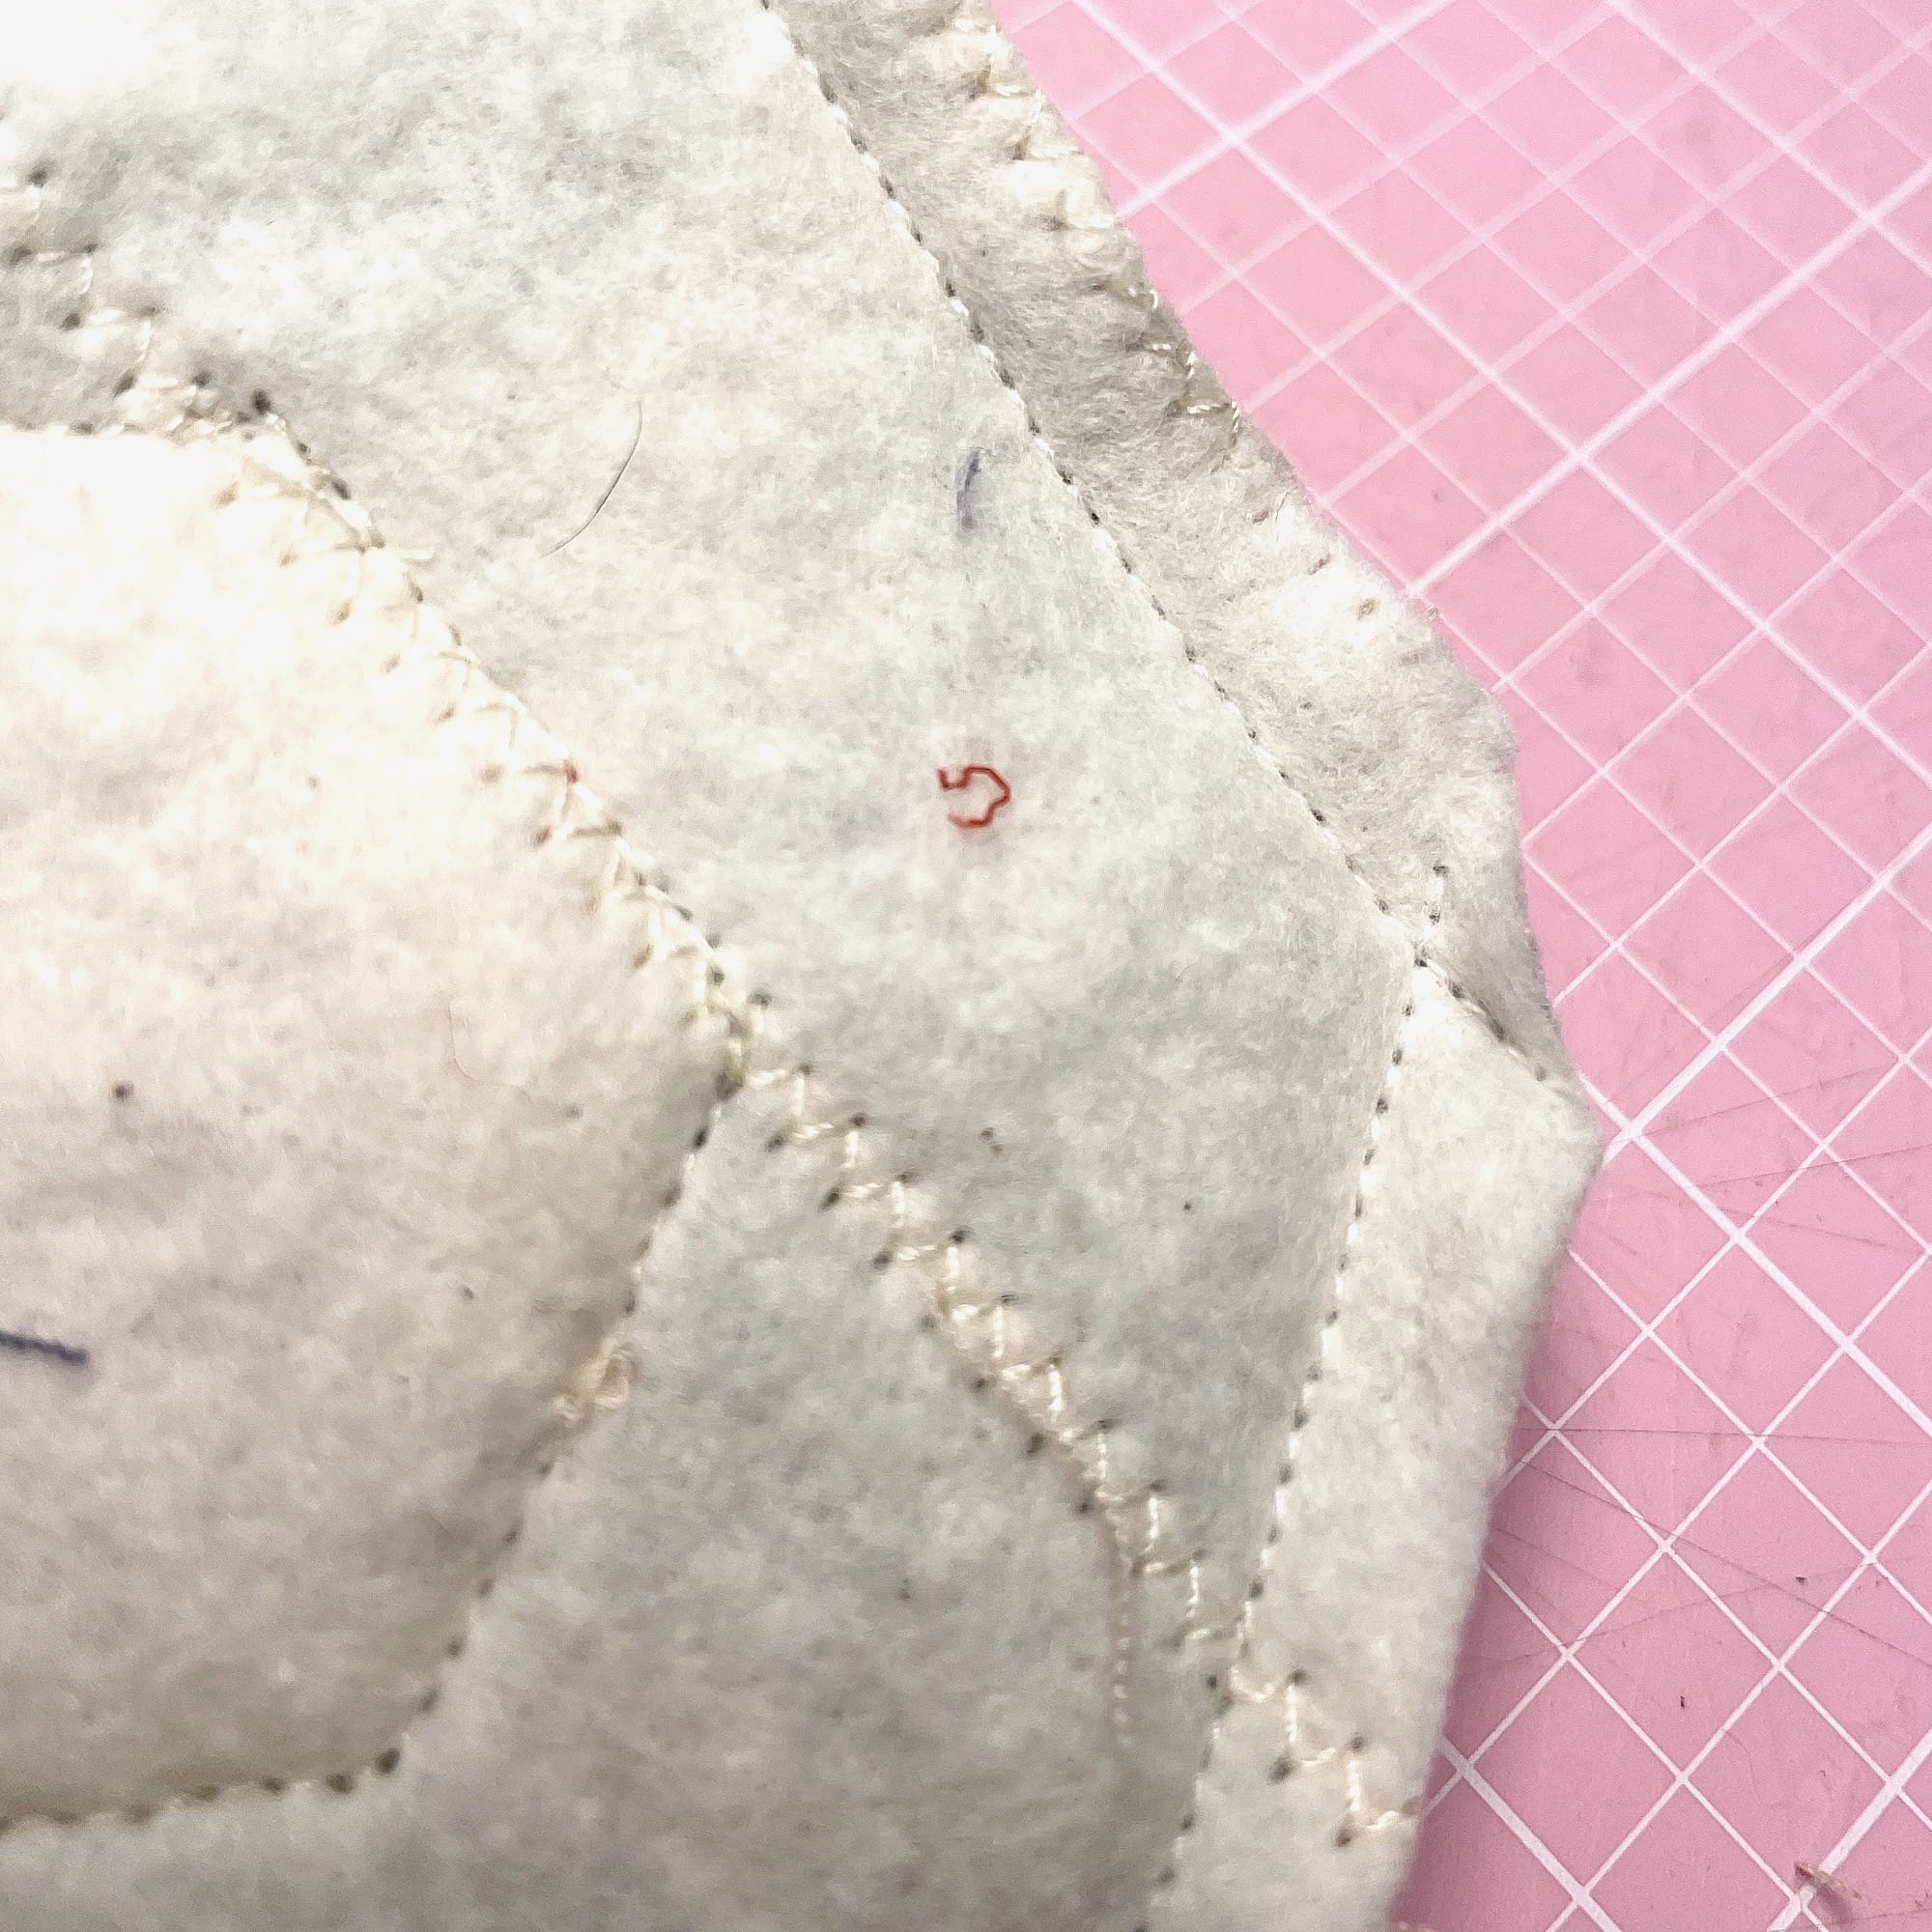
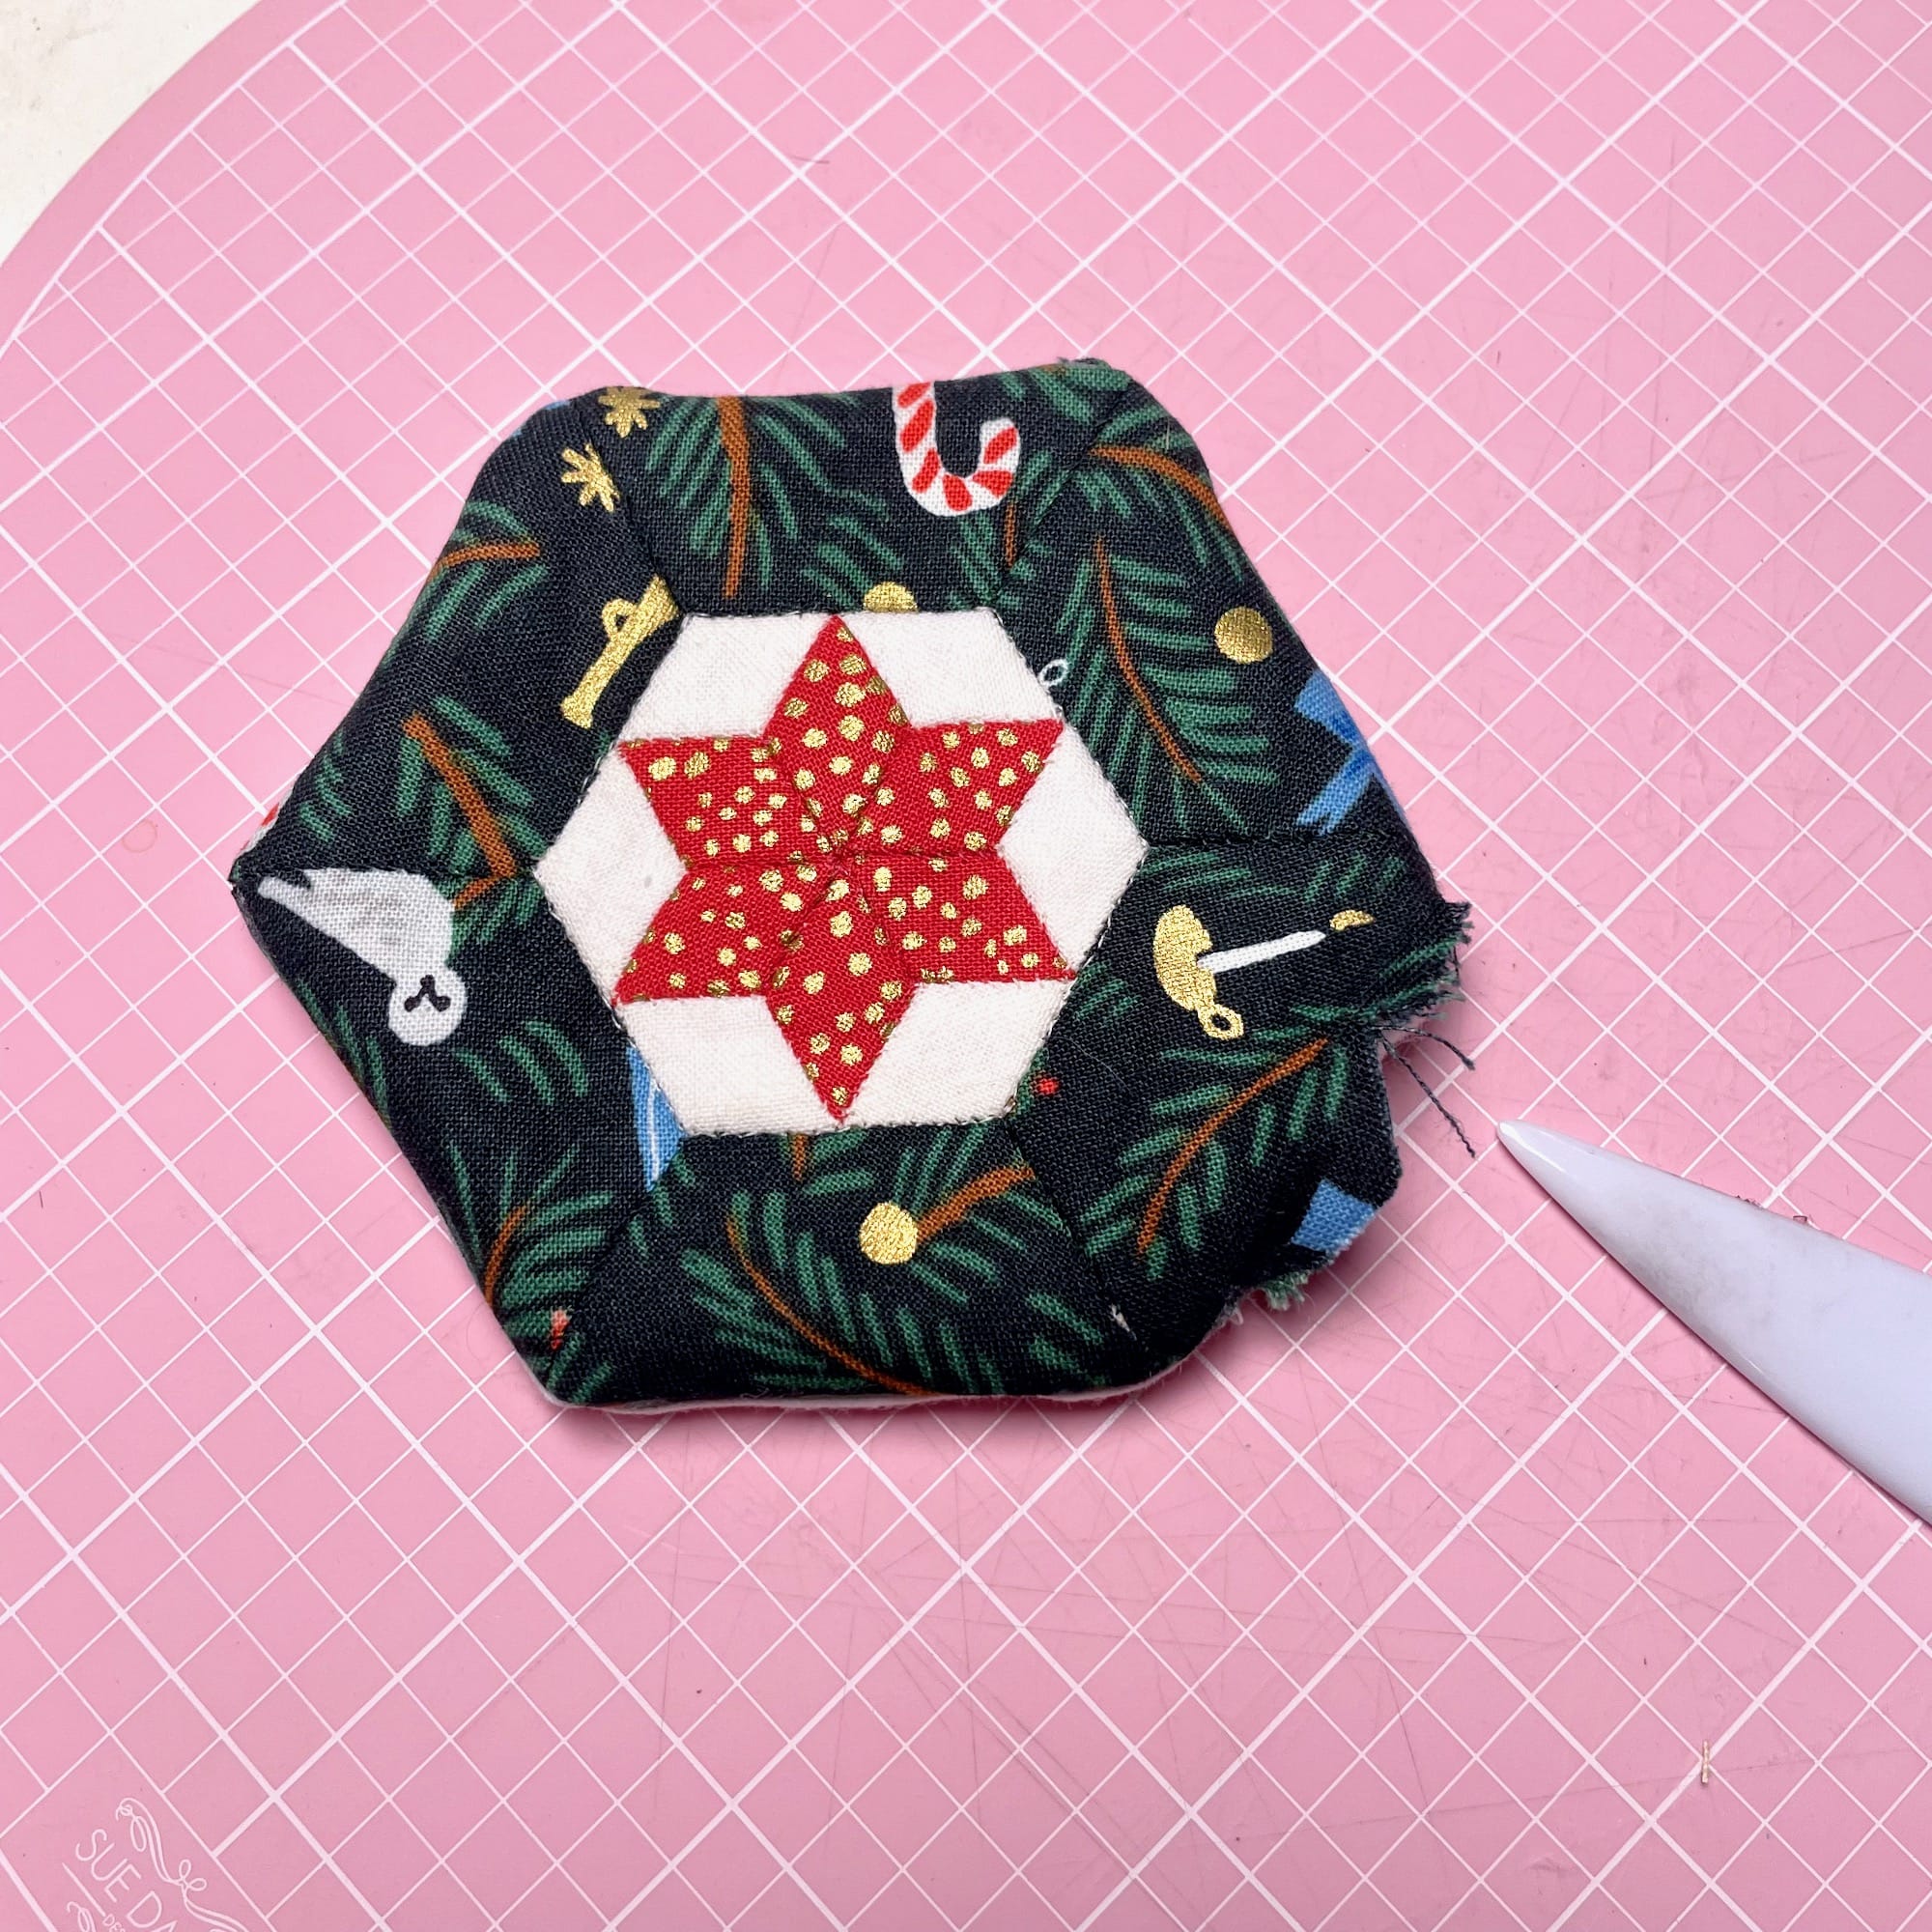
14. Continue all the way around the perimeter of the coaster until you get to the last side. Sew about 3/8” from the corner and secure with backstitches. Your coaster should look like this, with a short opening on one side.
15. Trim all of your corners to reduce bulk.
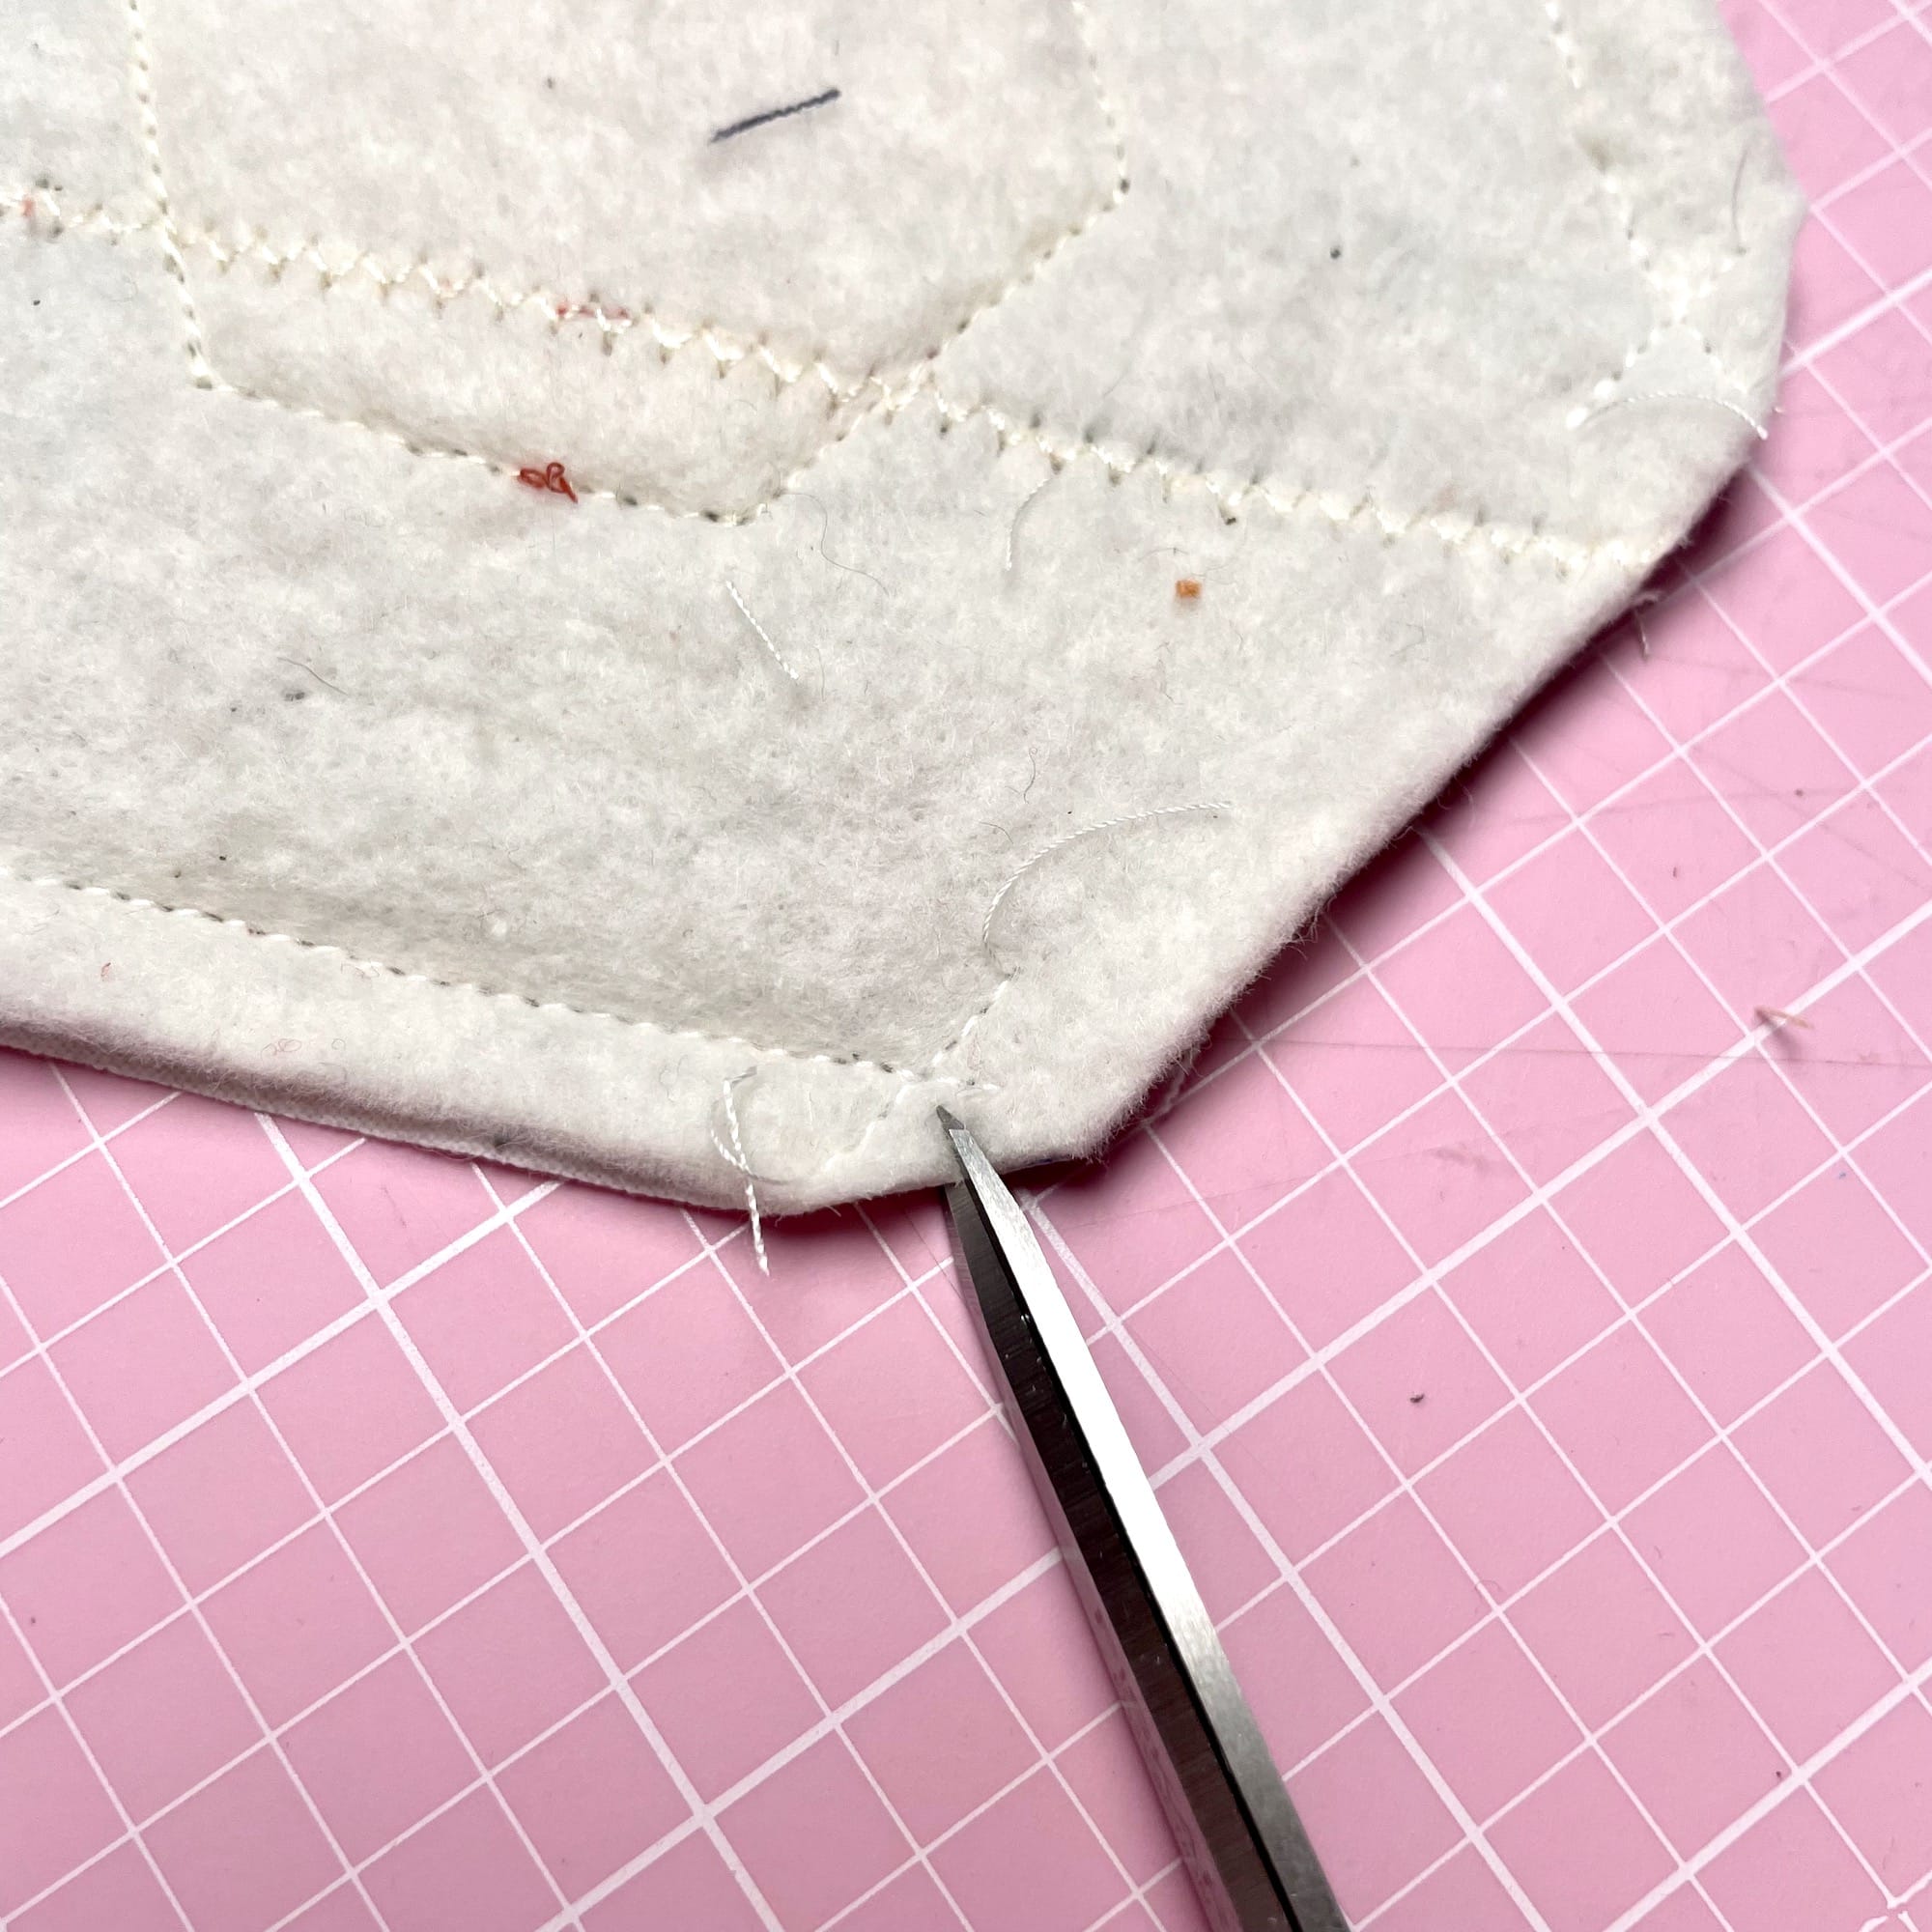
16. For added crispness, clip a tiny notch in each corner space, but be careful not to cut through the stitching.
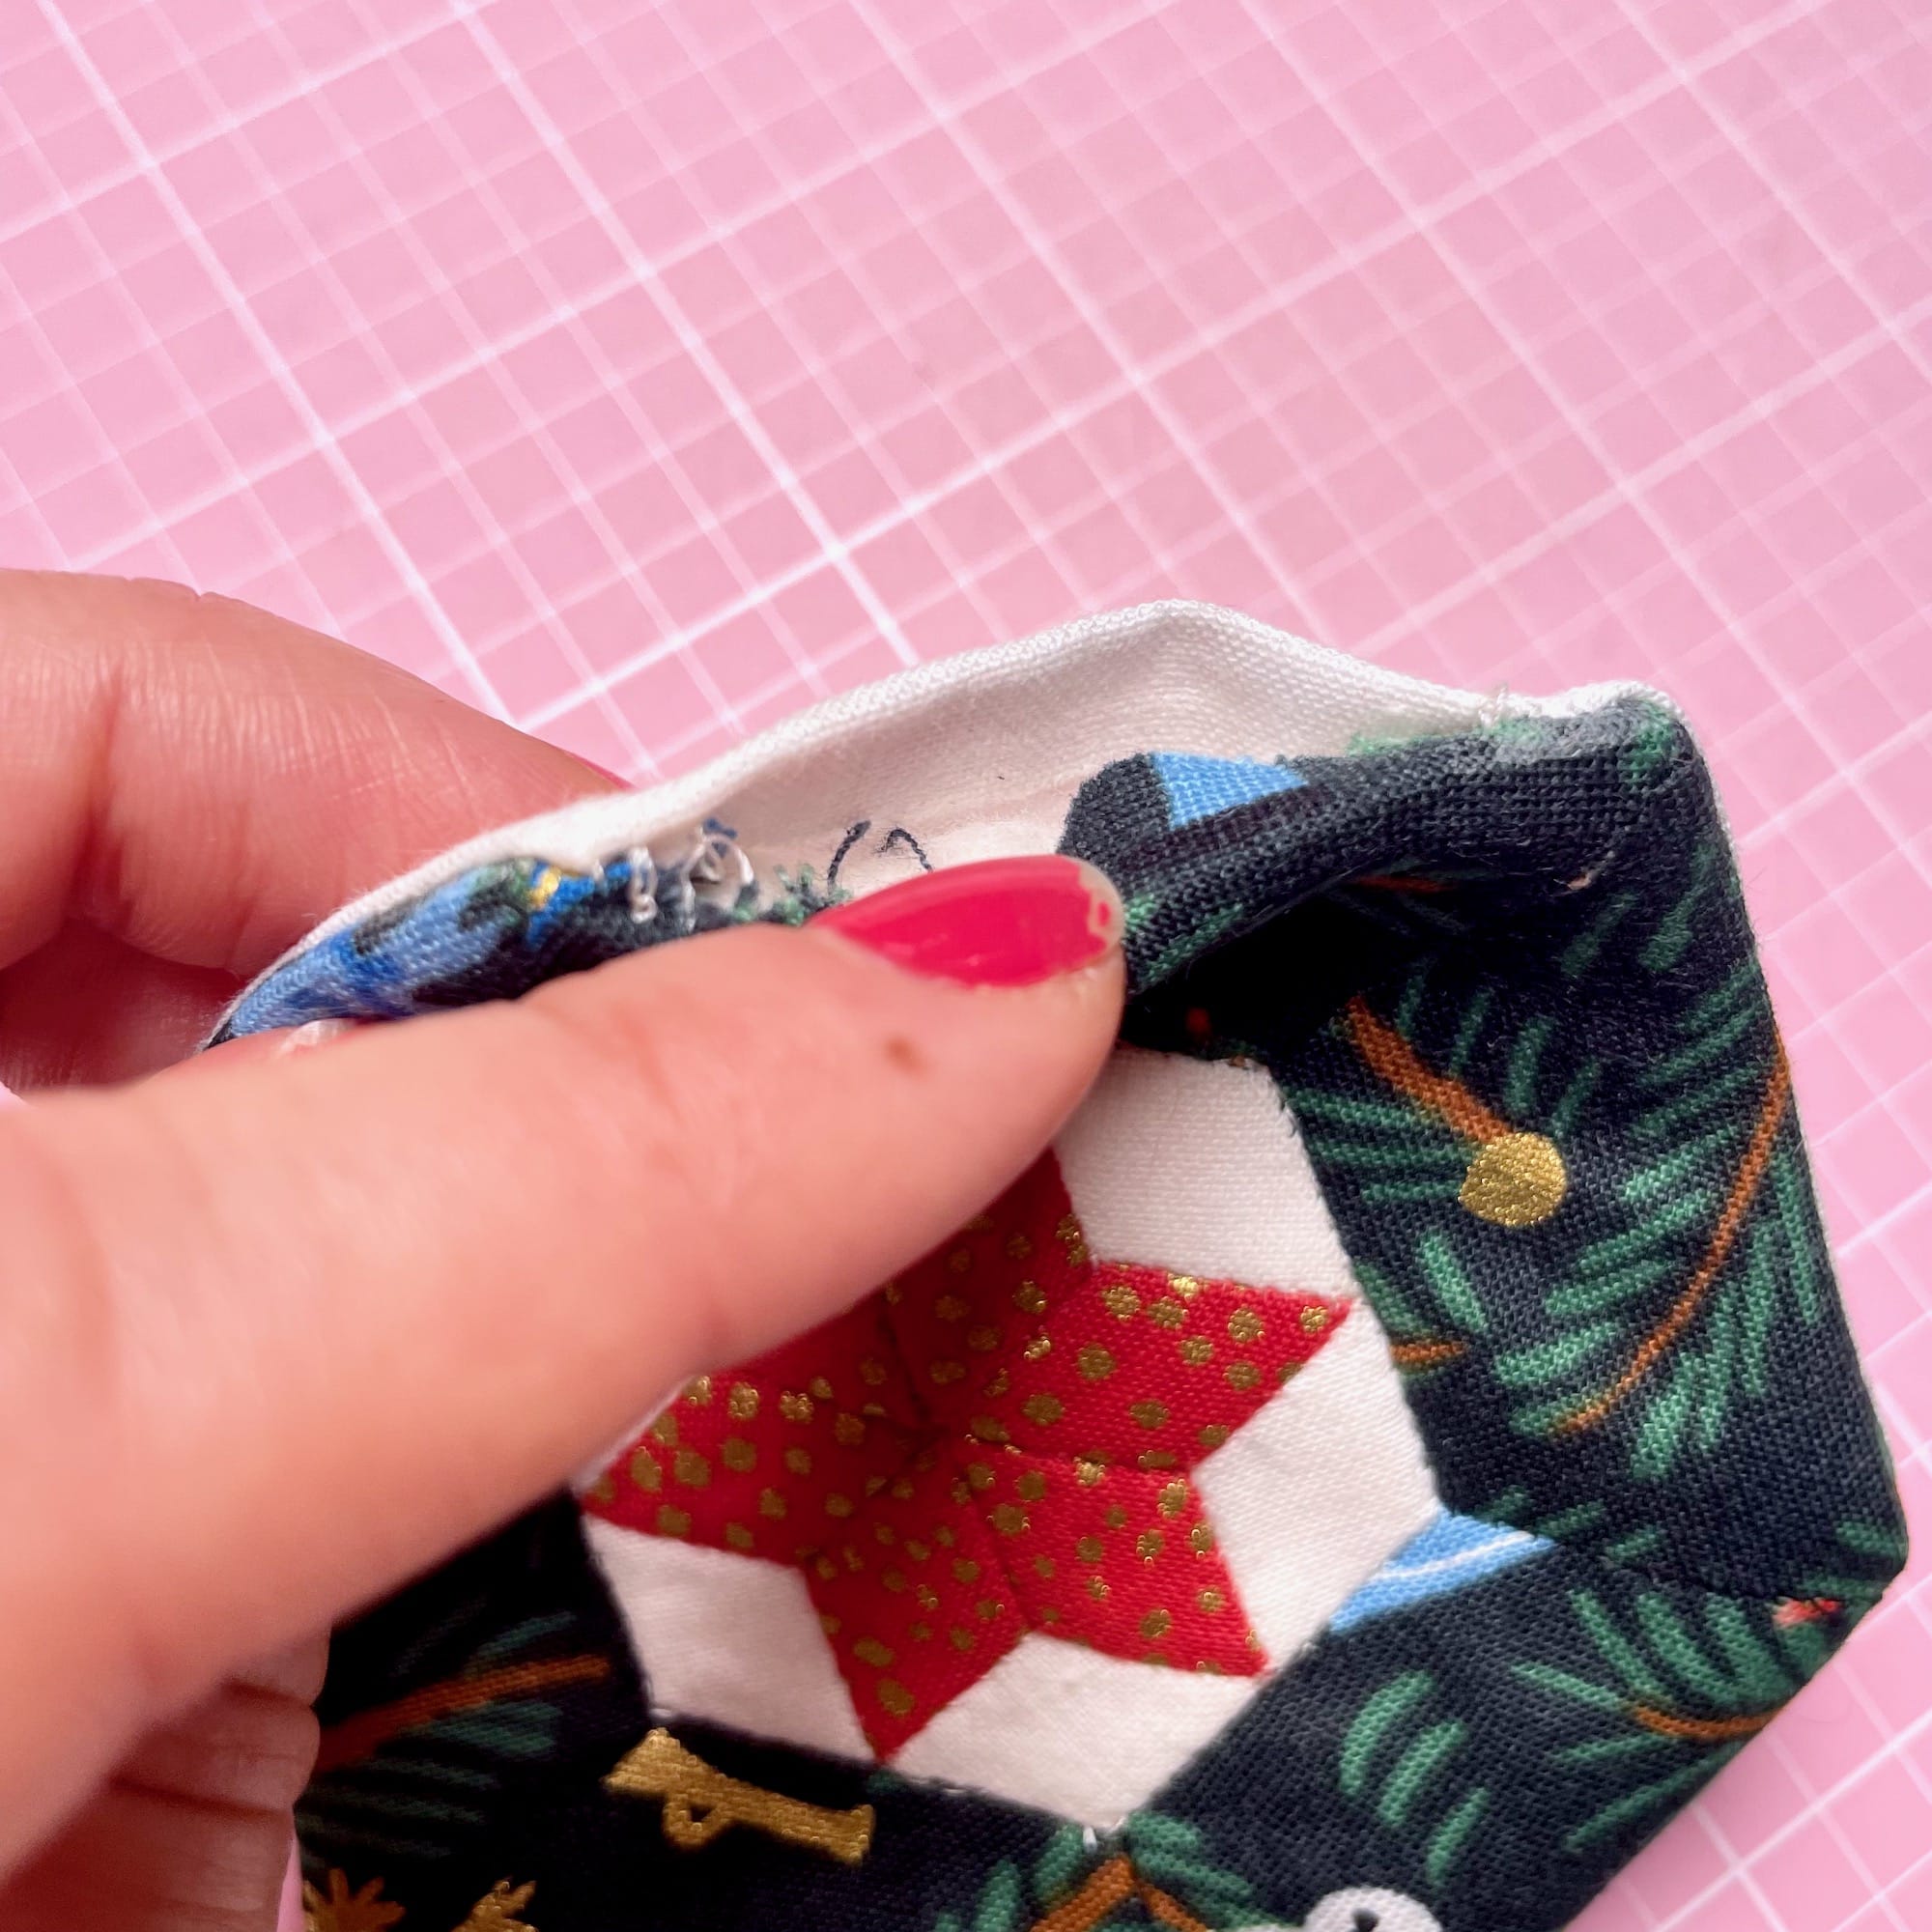
17. Turn the coaster right side out through the opening. This can be a bit fiddly, but take your time.
18. Push the corners out with a point turner, chopstick, or blunt pencil.
19. Press. Make sure to turn the seam allowance in on the open side.
20. Top stitch 1/8” around the perimeter of the coaster, closing the opening as you go.
You did it! Ready for a cup of cheer!
*If you are using a whole, unpieced 2” hexagon, baste the hexagon like you would for stitching, press, and then remove the paper. The creases will act as guides for step 5. Follow the rest of the instructions as written.
Quilted Hexagon Variations
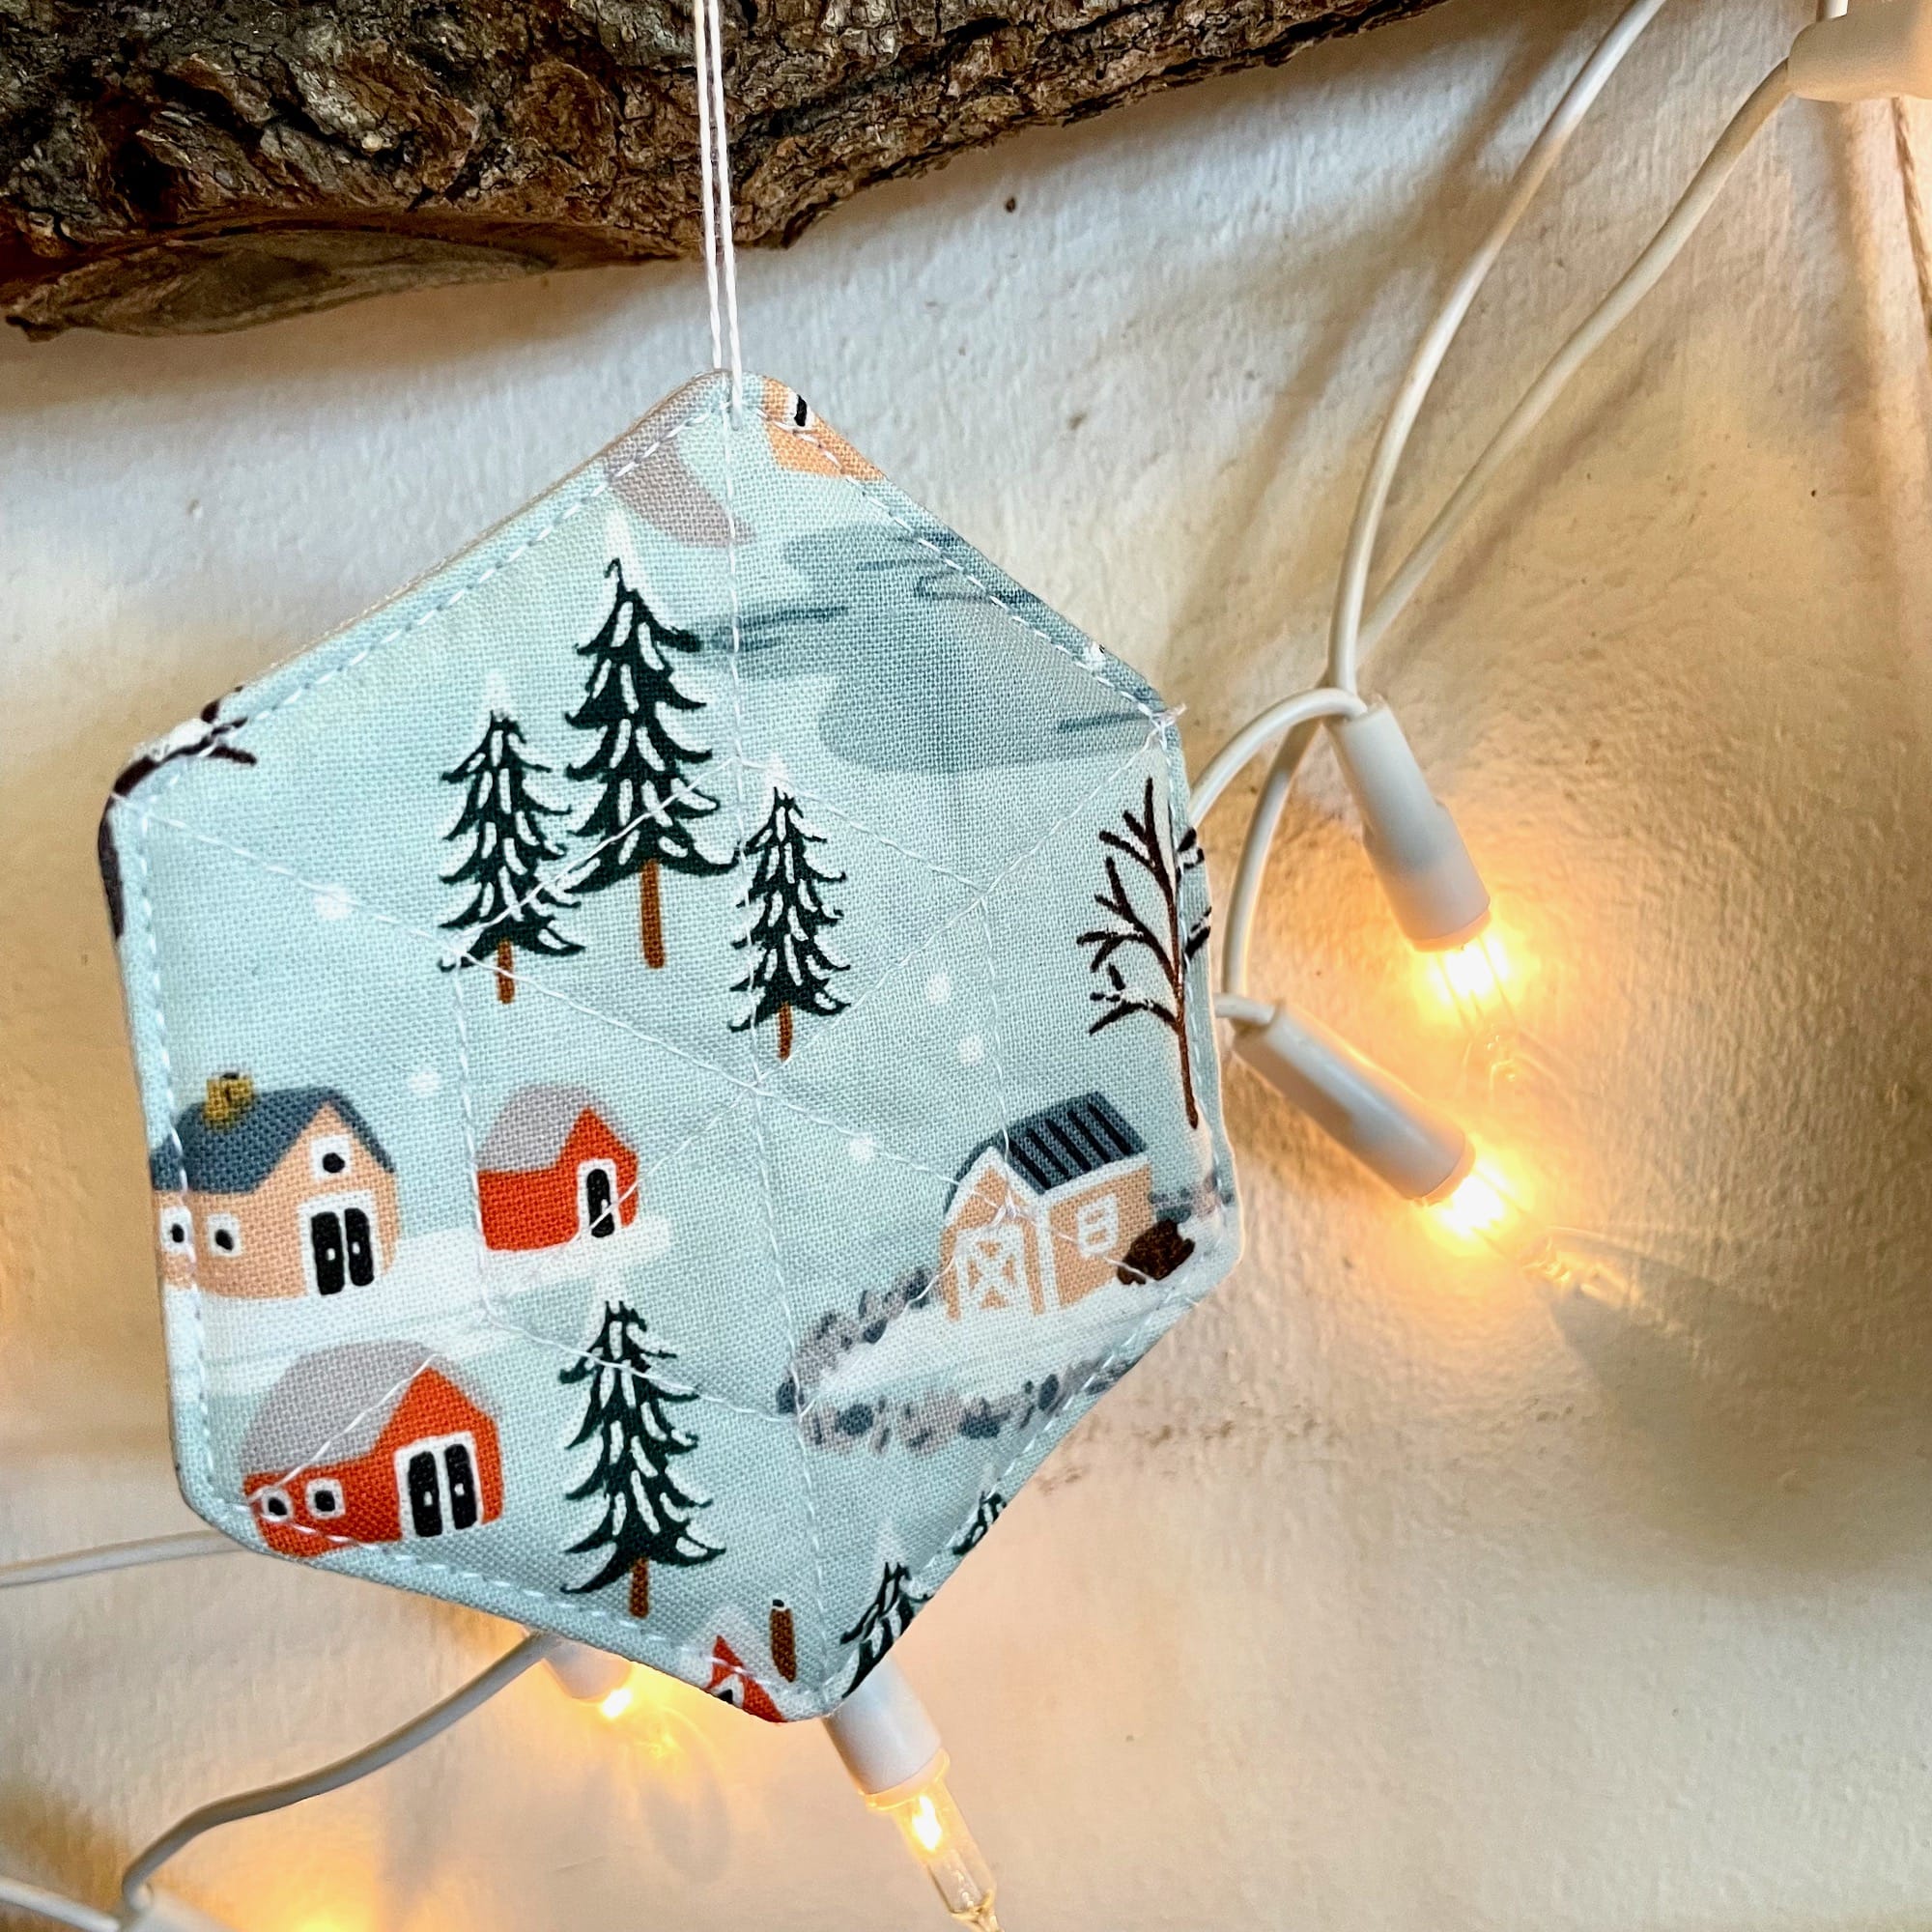
Ornaments
To turn your coaster into an ornament use the following method.
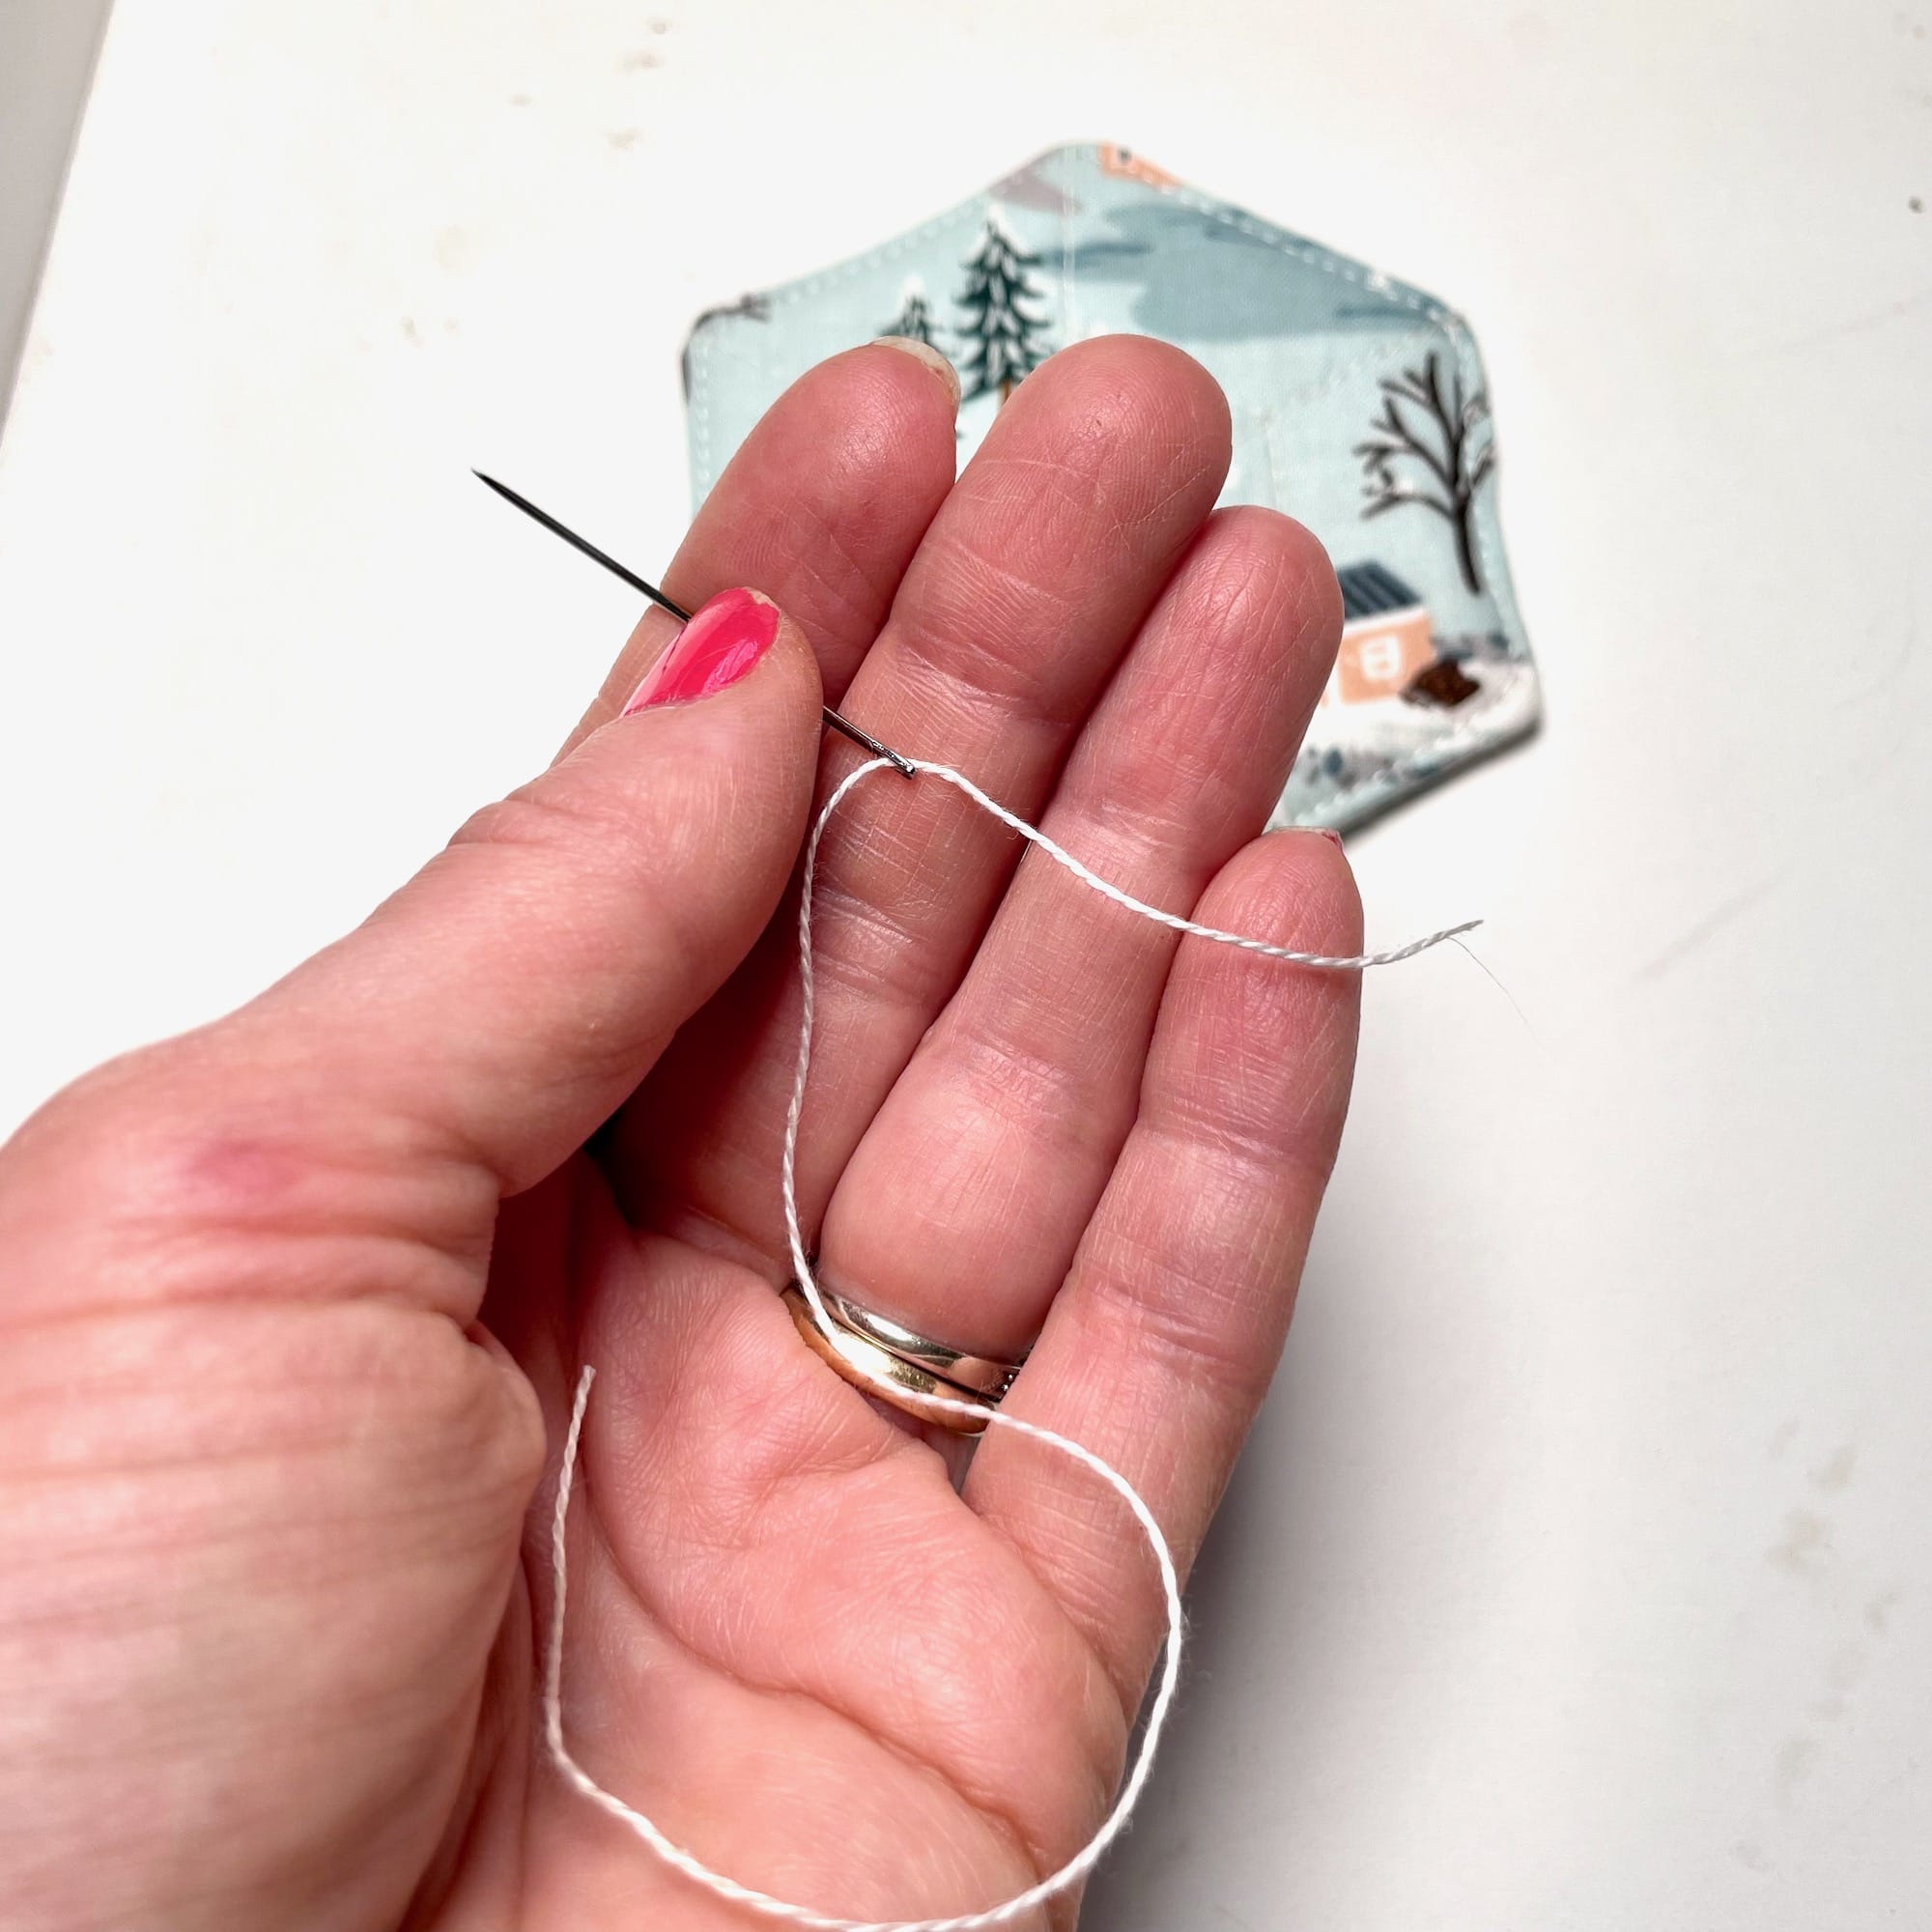
2. Cut a length of Perle cotton about 6-7” long, and thread a large eyed needle.
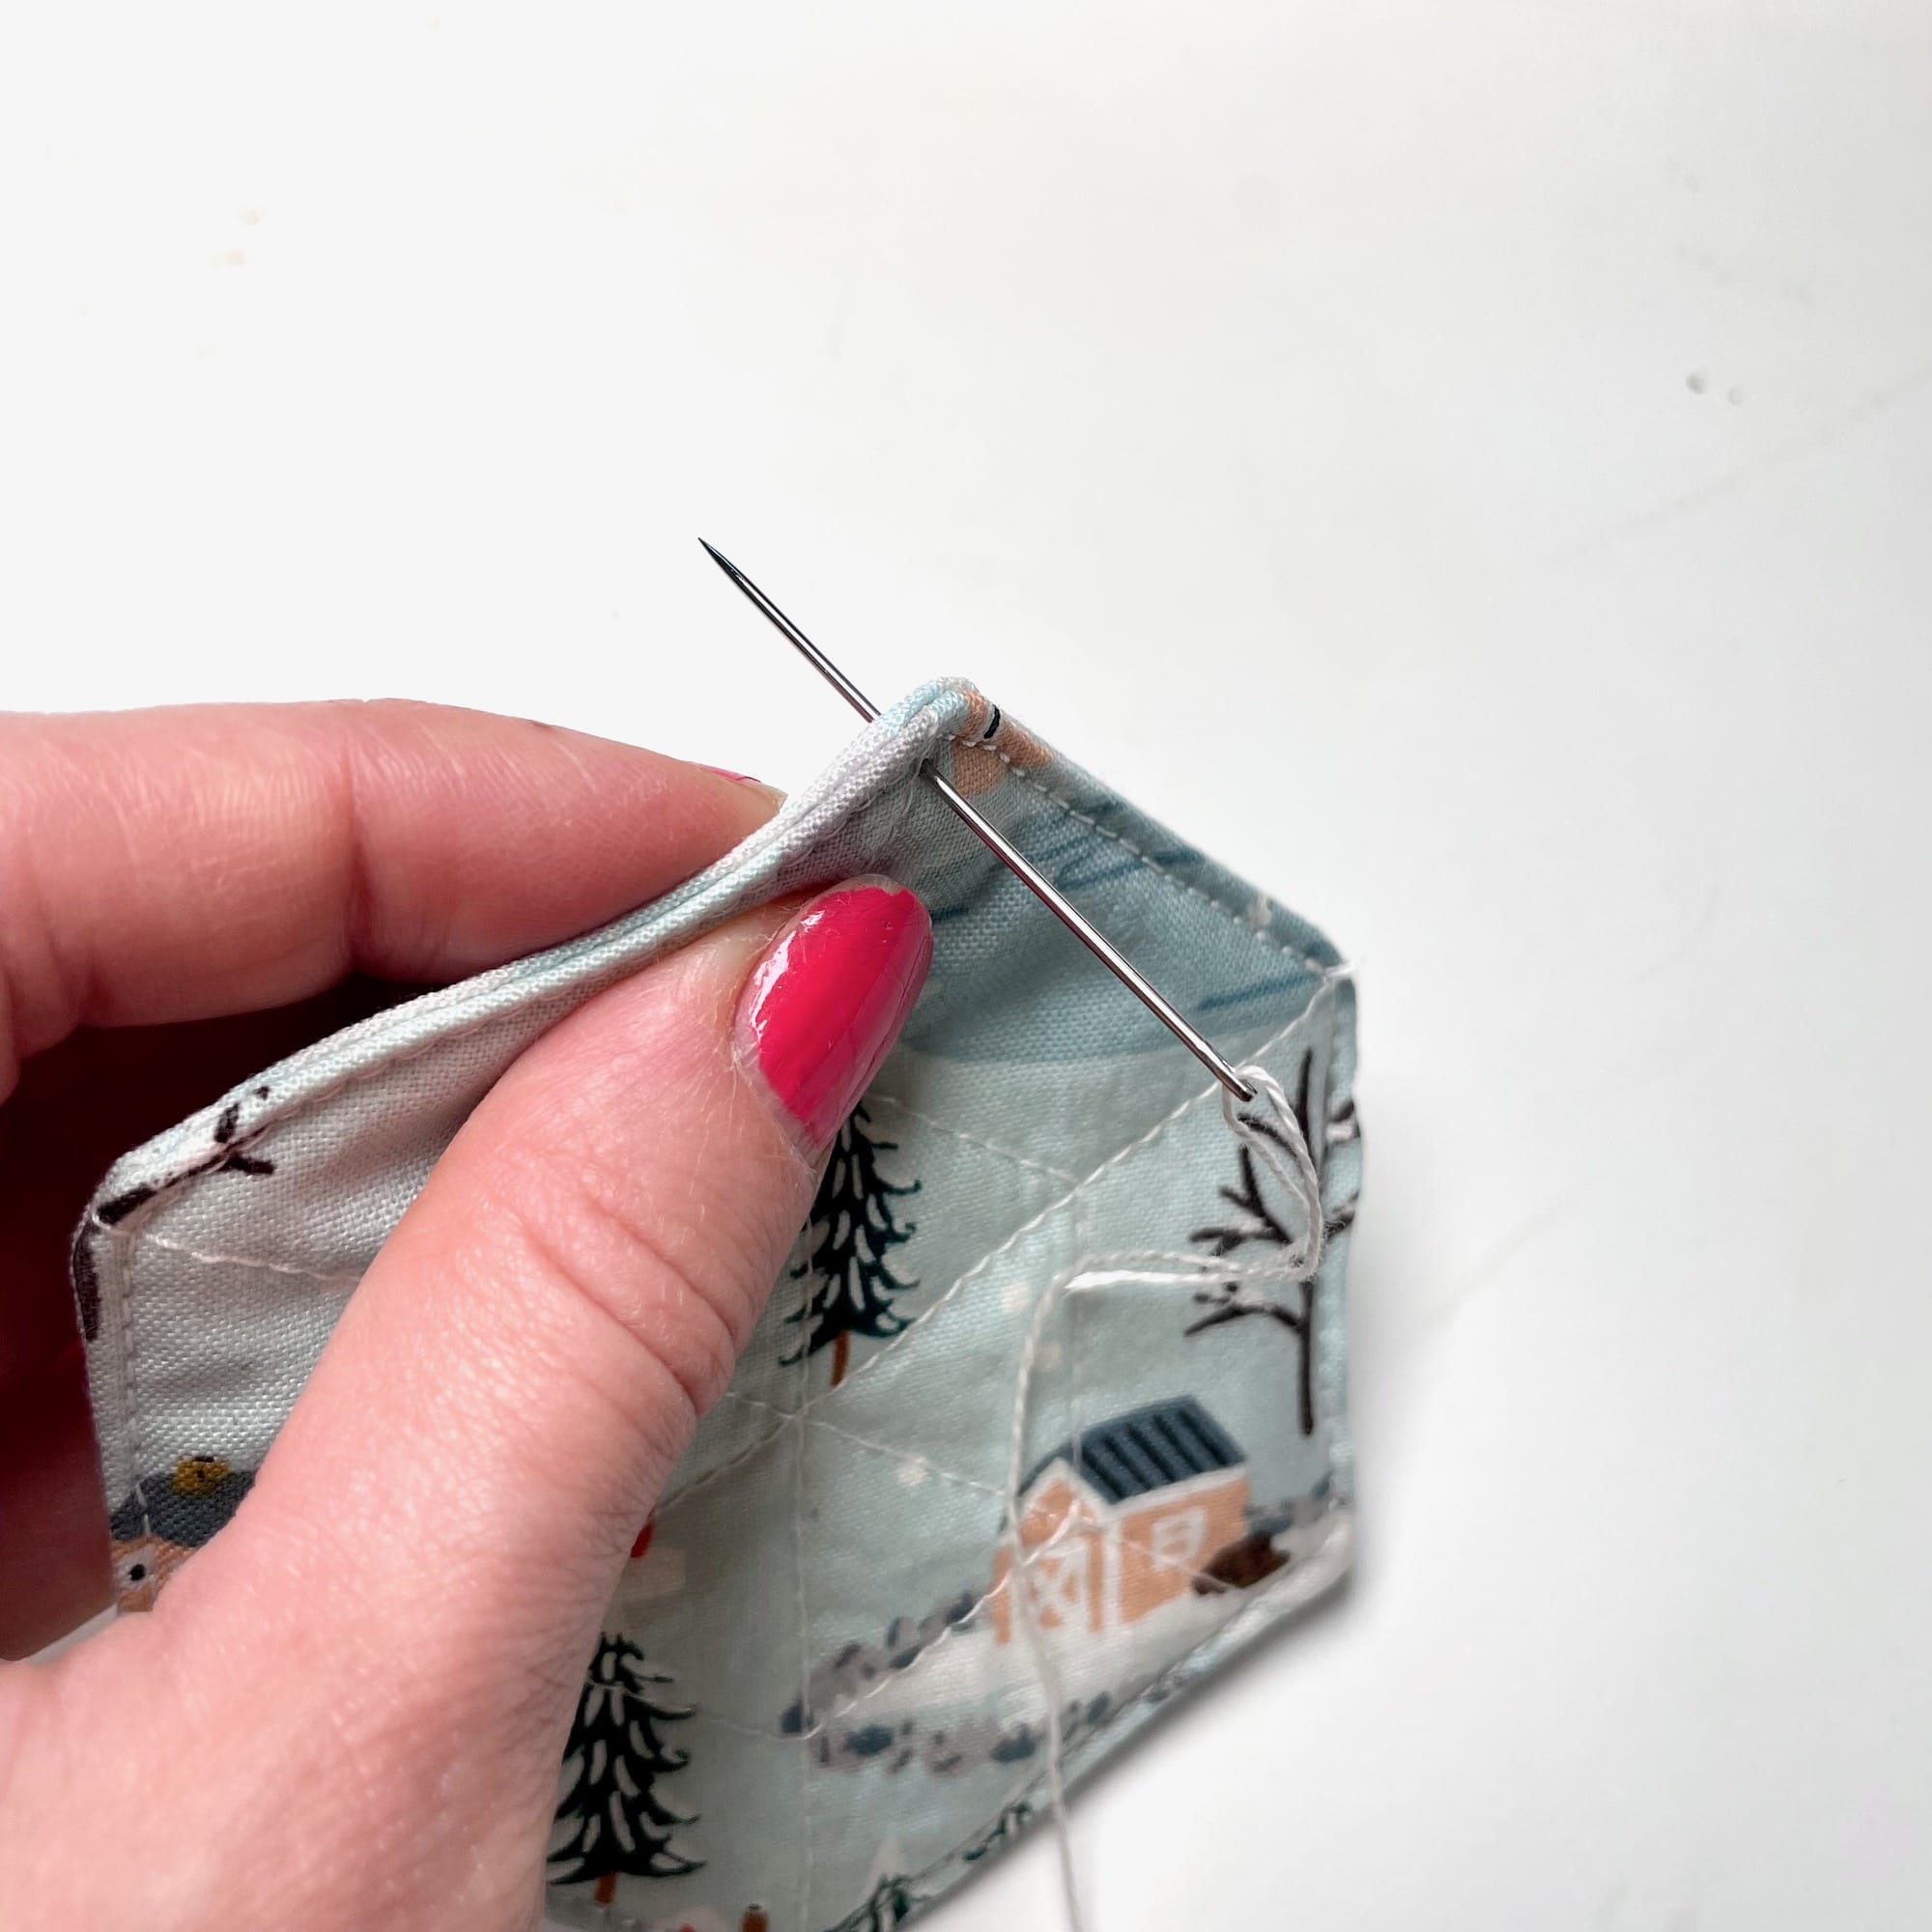
3. Pierce the needle through the top corner of the coaster-soon-to-be-ornament.
4. Pull the thread halfway through so the tails are about the same length.
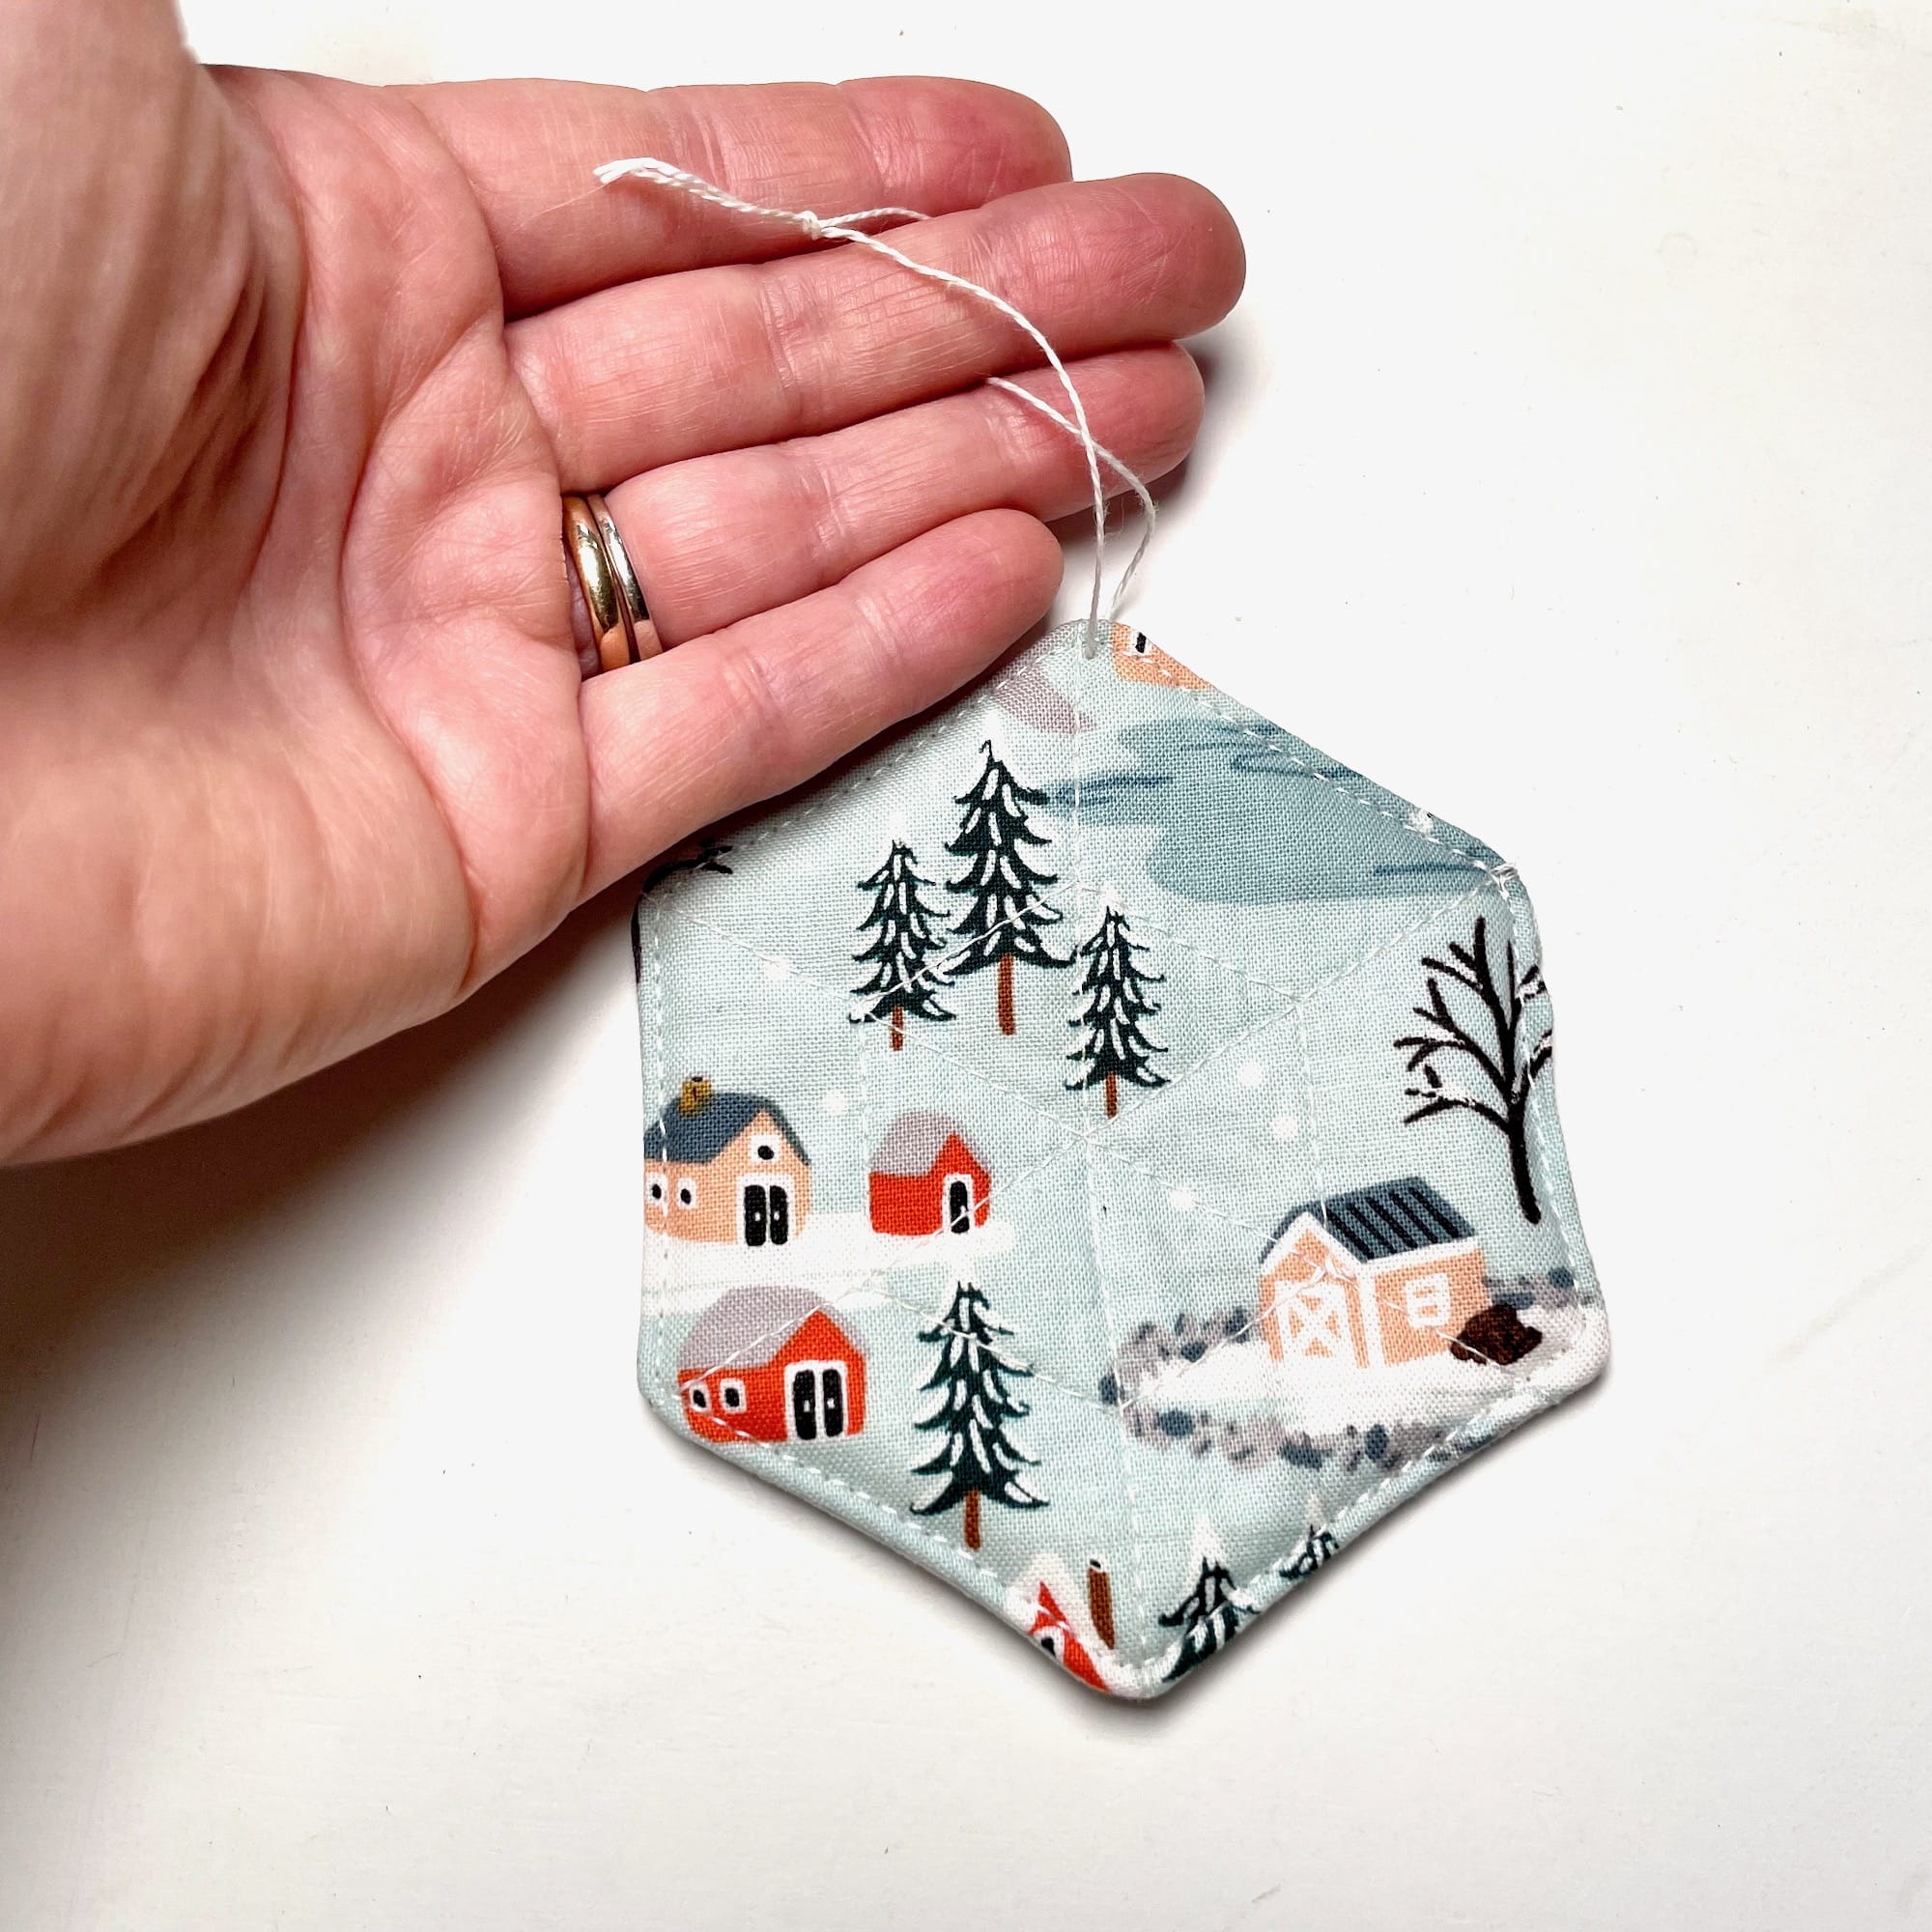
5. Knot the tails together to complete the ornament.
Snowflake Quilting
To create a little bit of a snowflake design with the quilting, use the following method. Mark your lines with a heat erasable or water soluble pen.
1. Draw three lines from corner to corner through the middle of the 2″ hexagon.
2. Take a 1” hexagon and center it so each corner lines up with one of the previously drawn lines.
3. Trace around the 1” hexagon. And, you’re all set to baste and quilt!
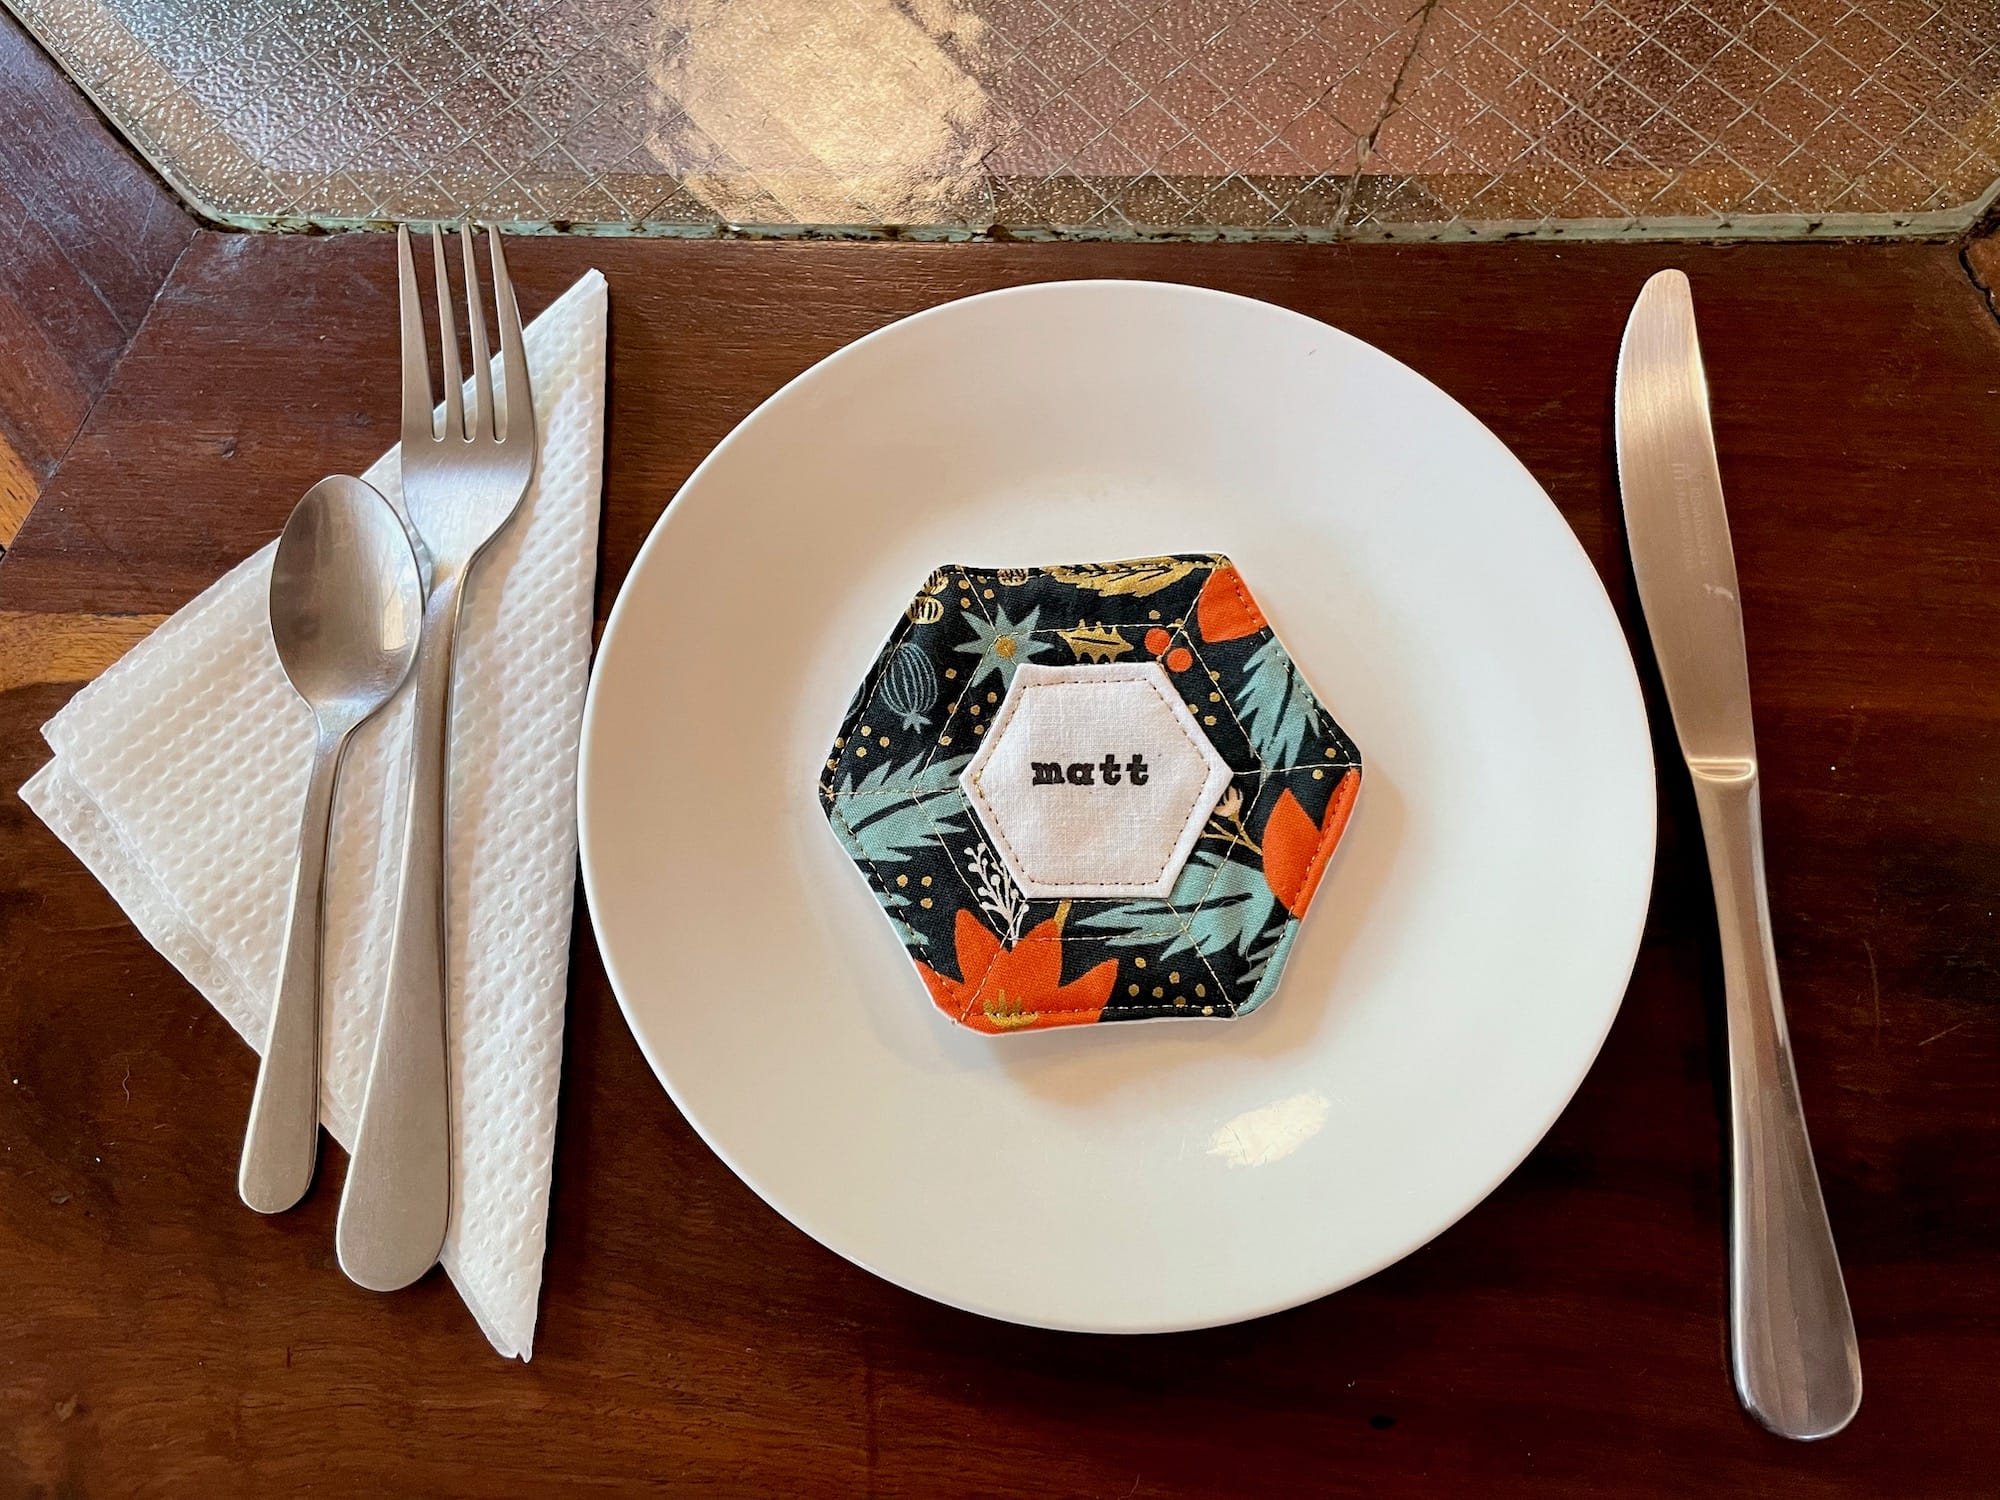
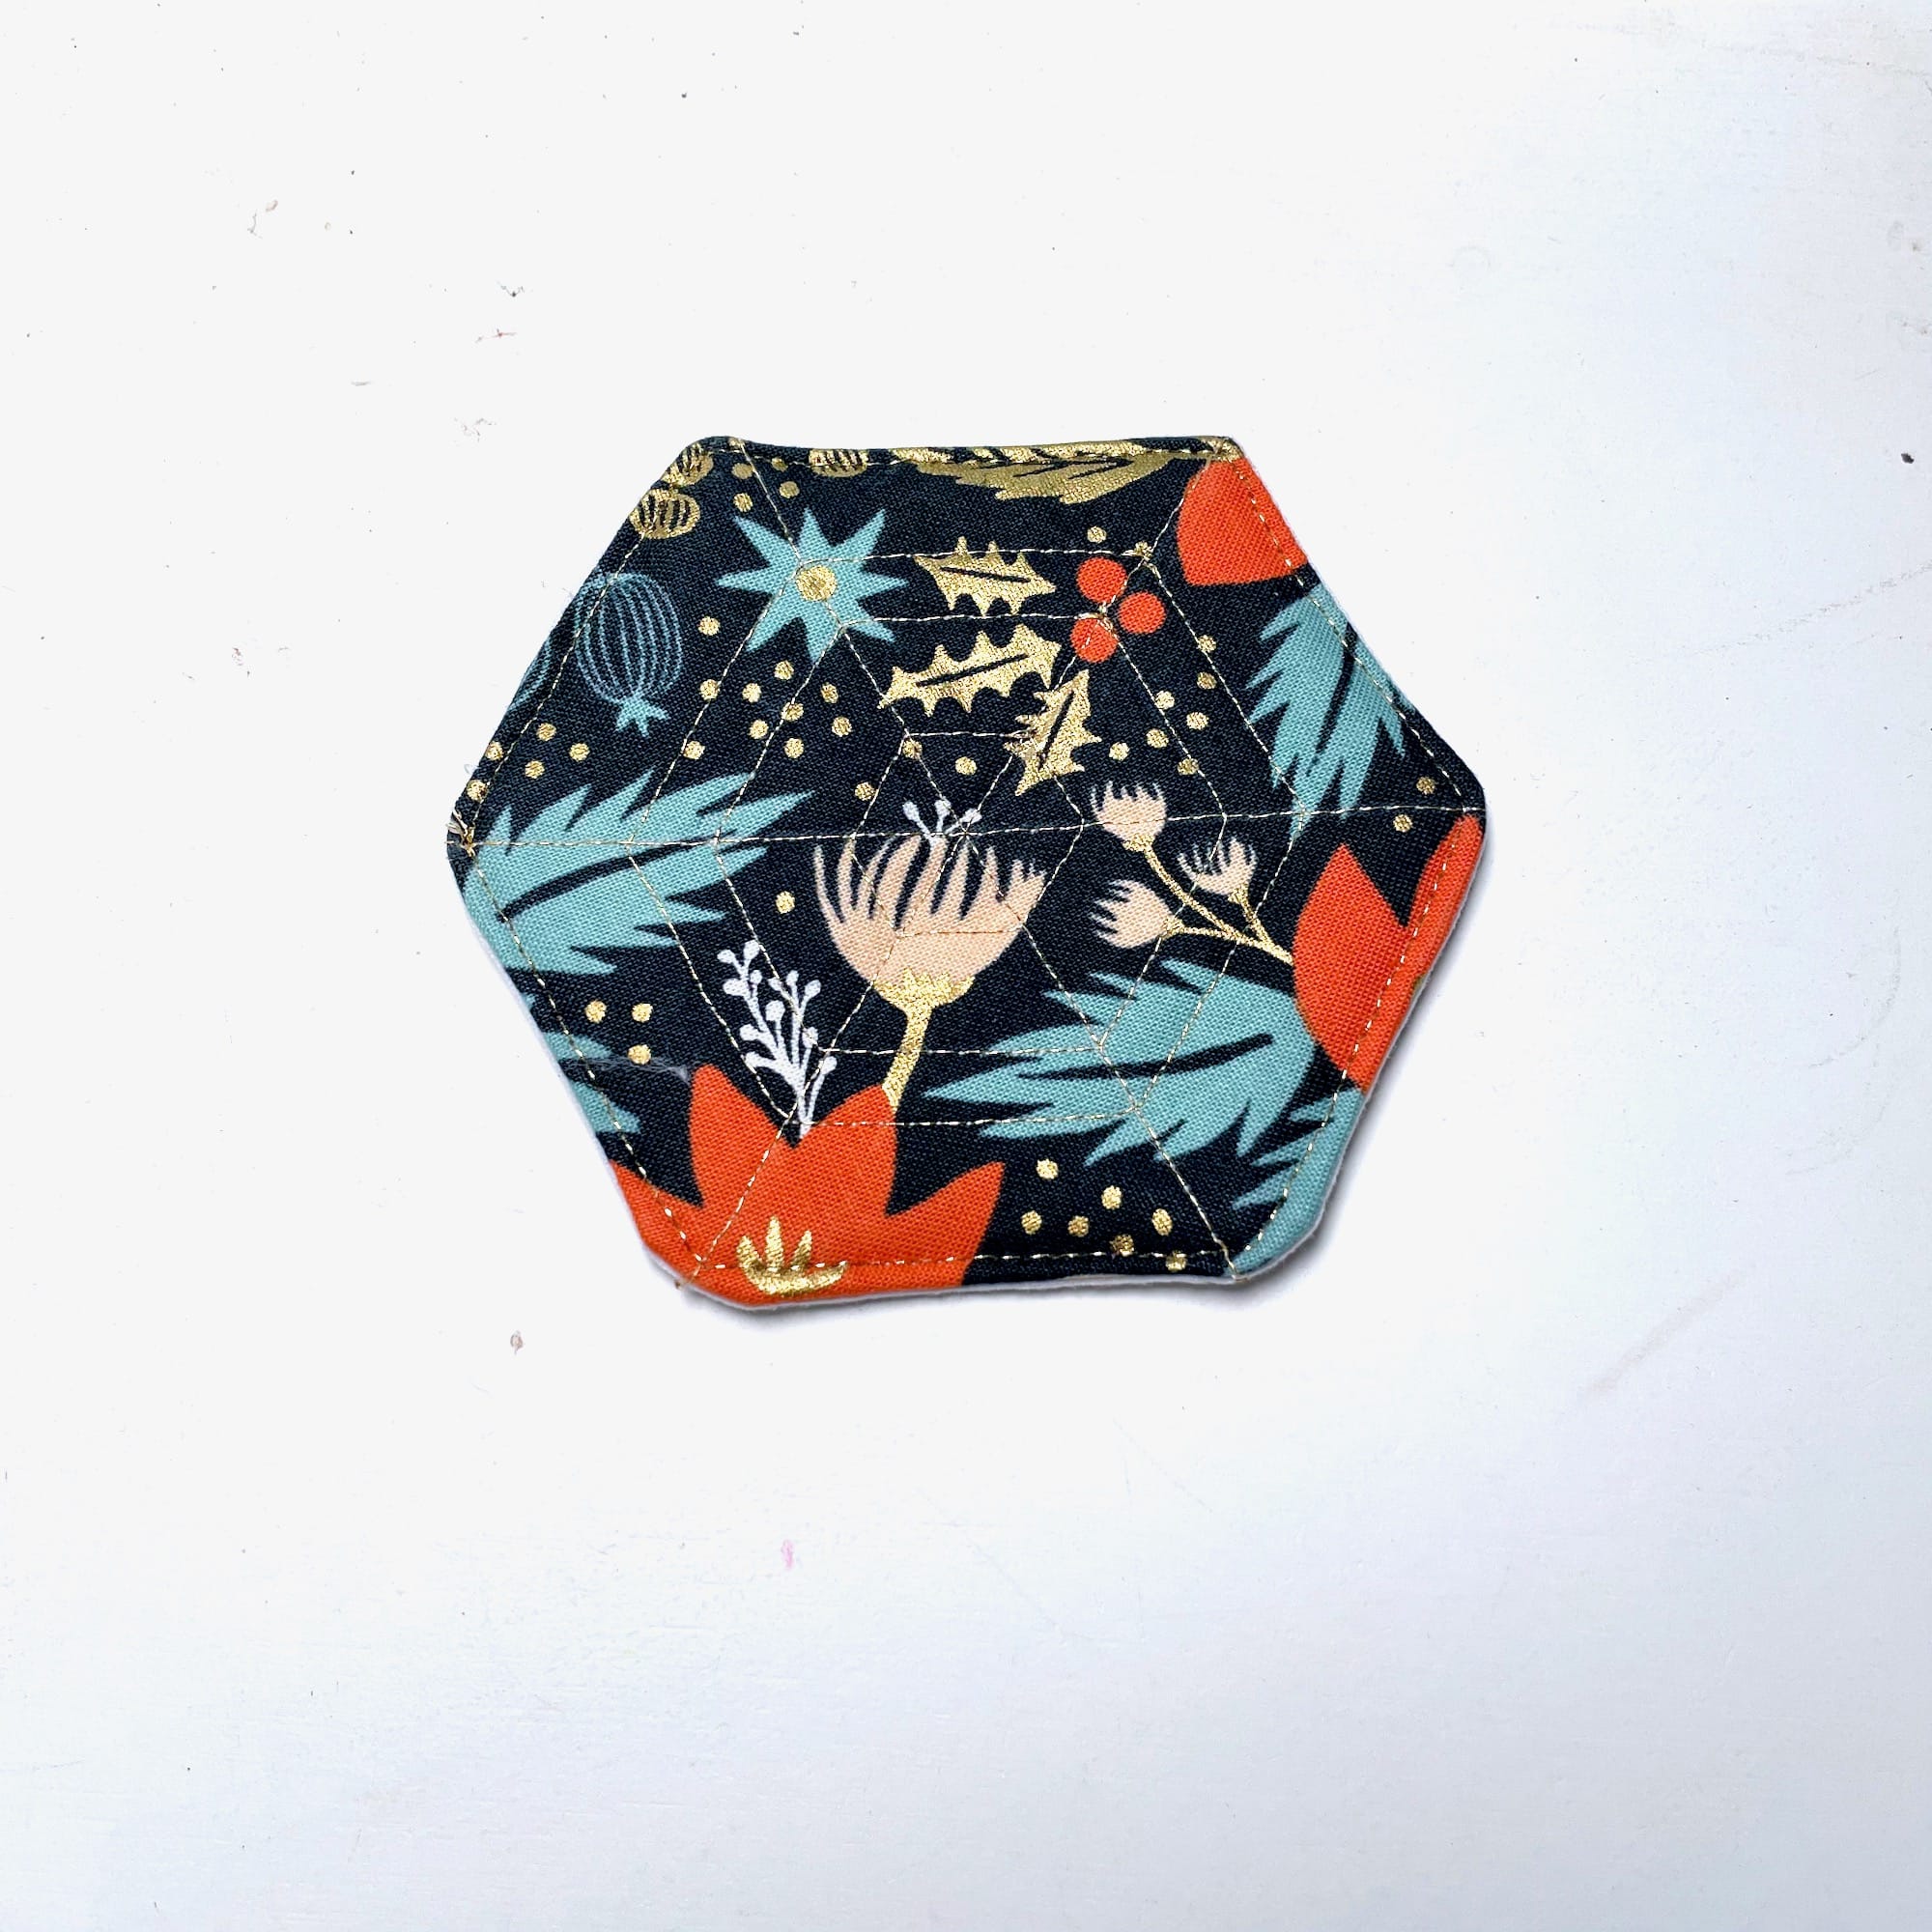
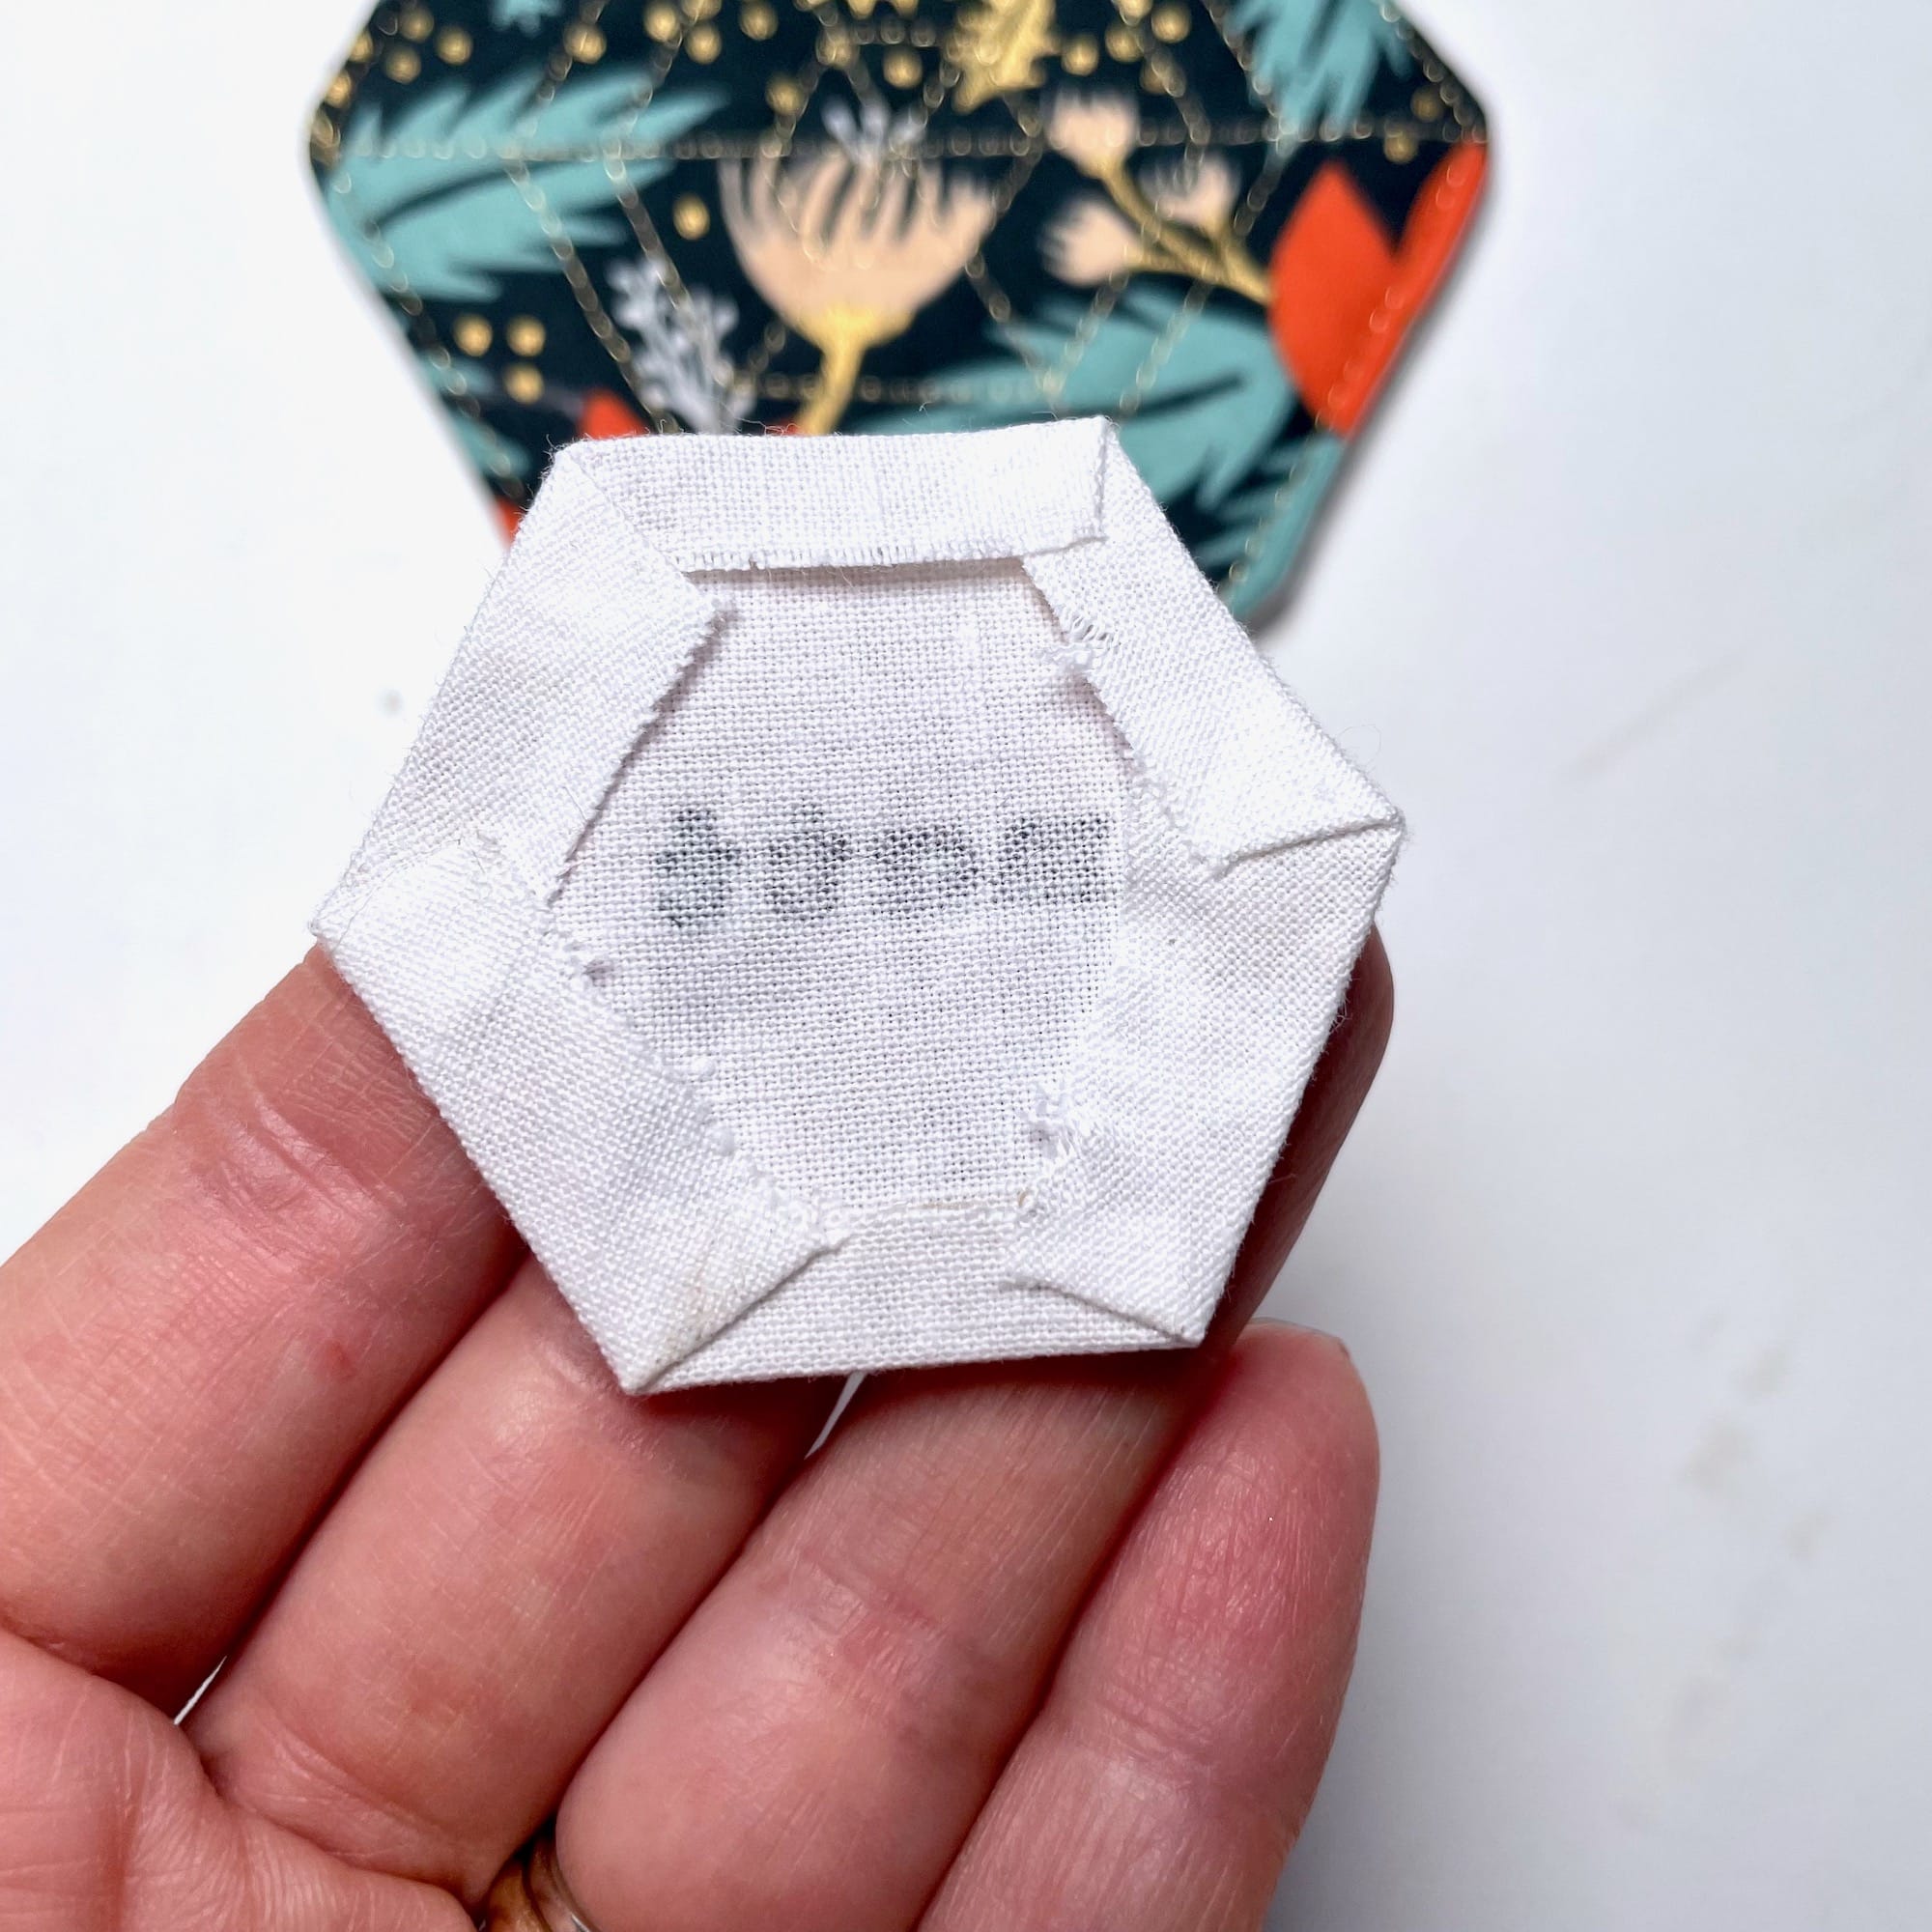
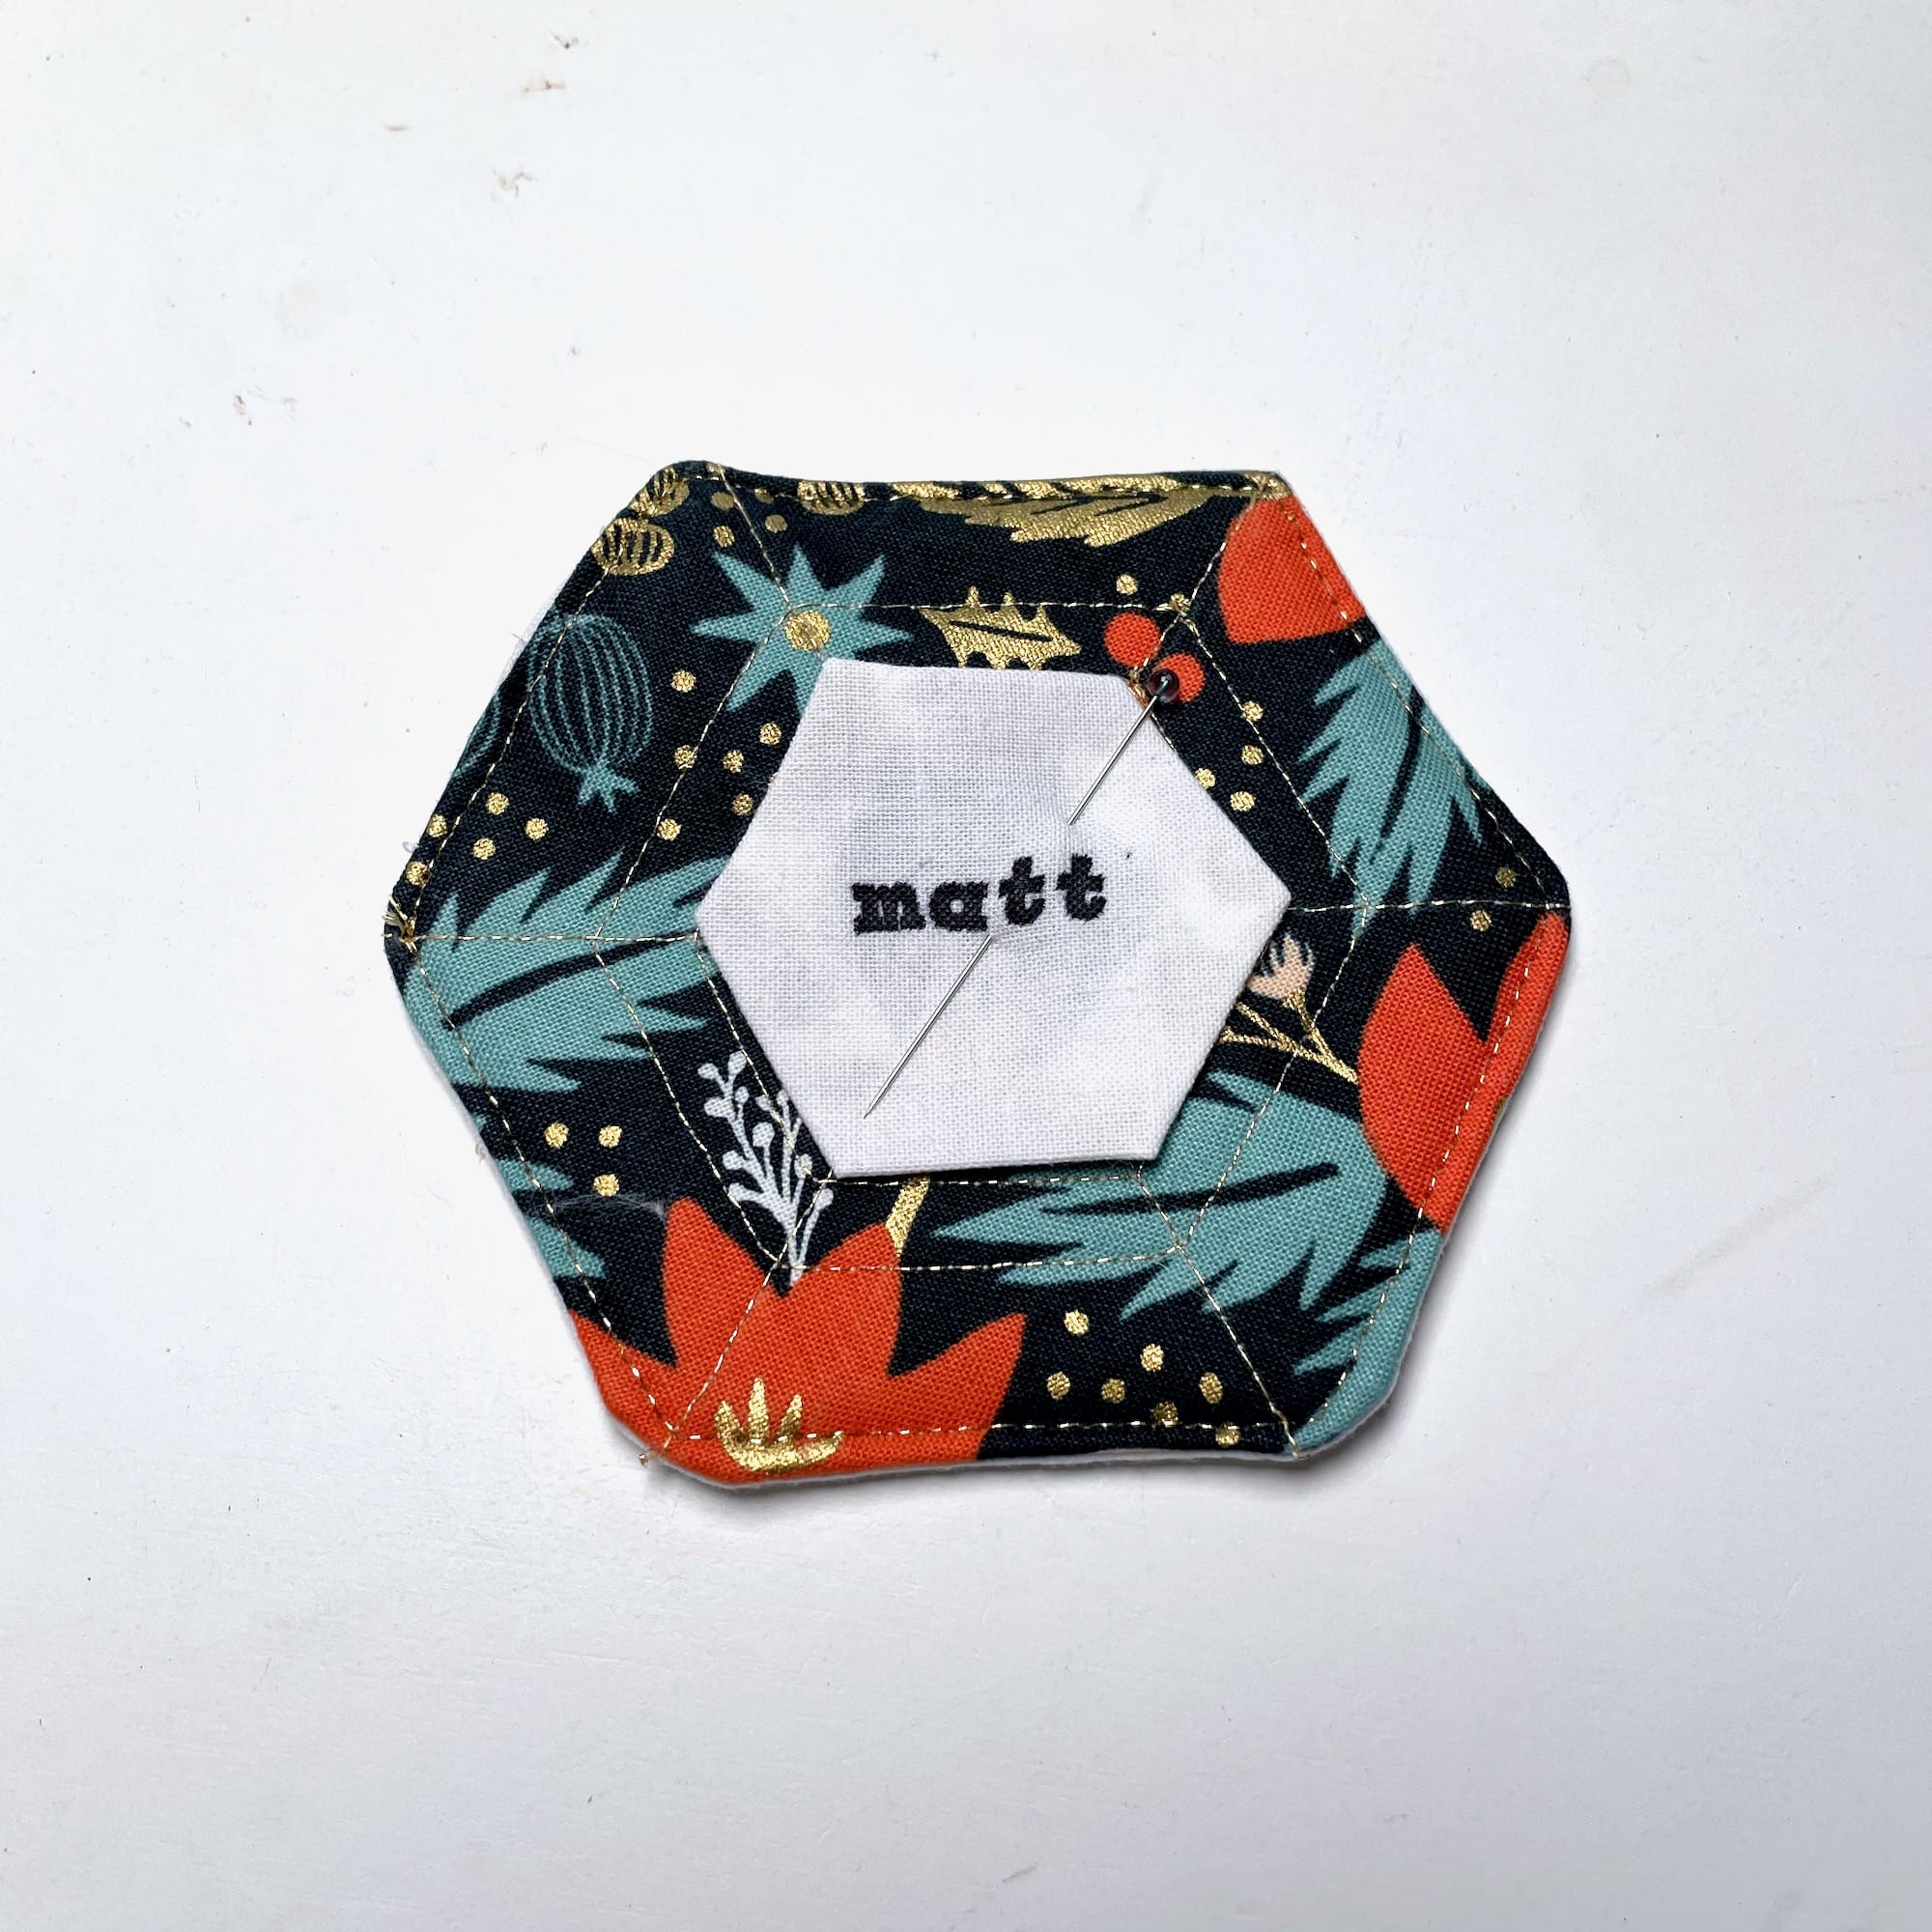
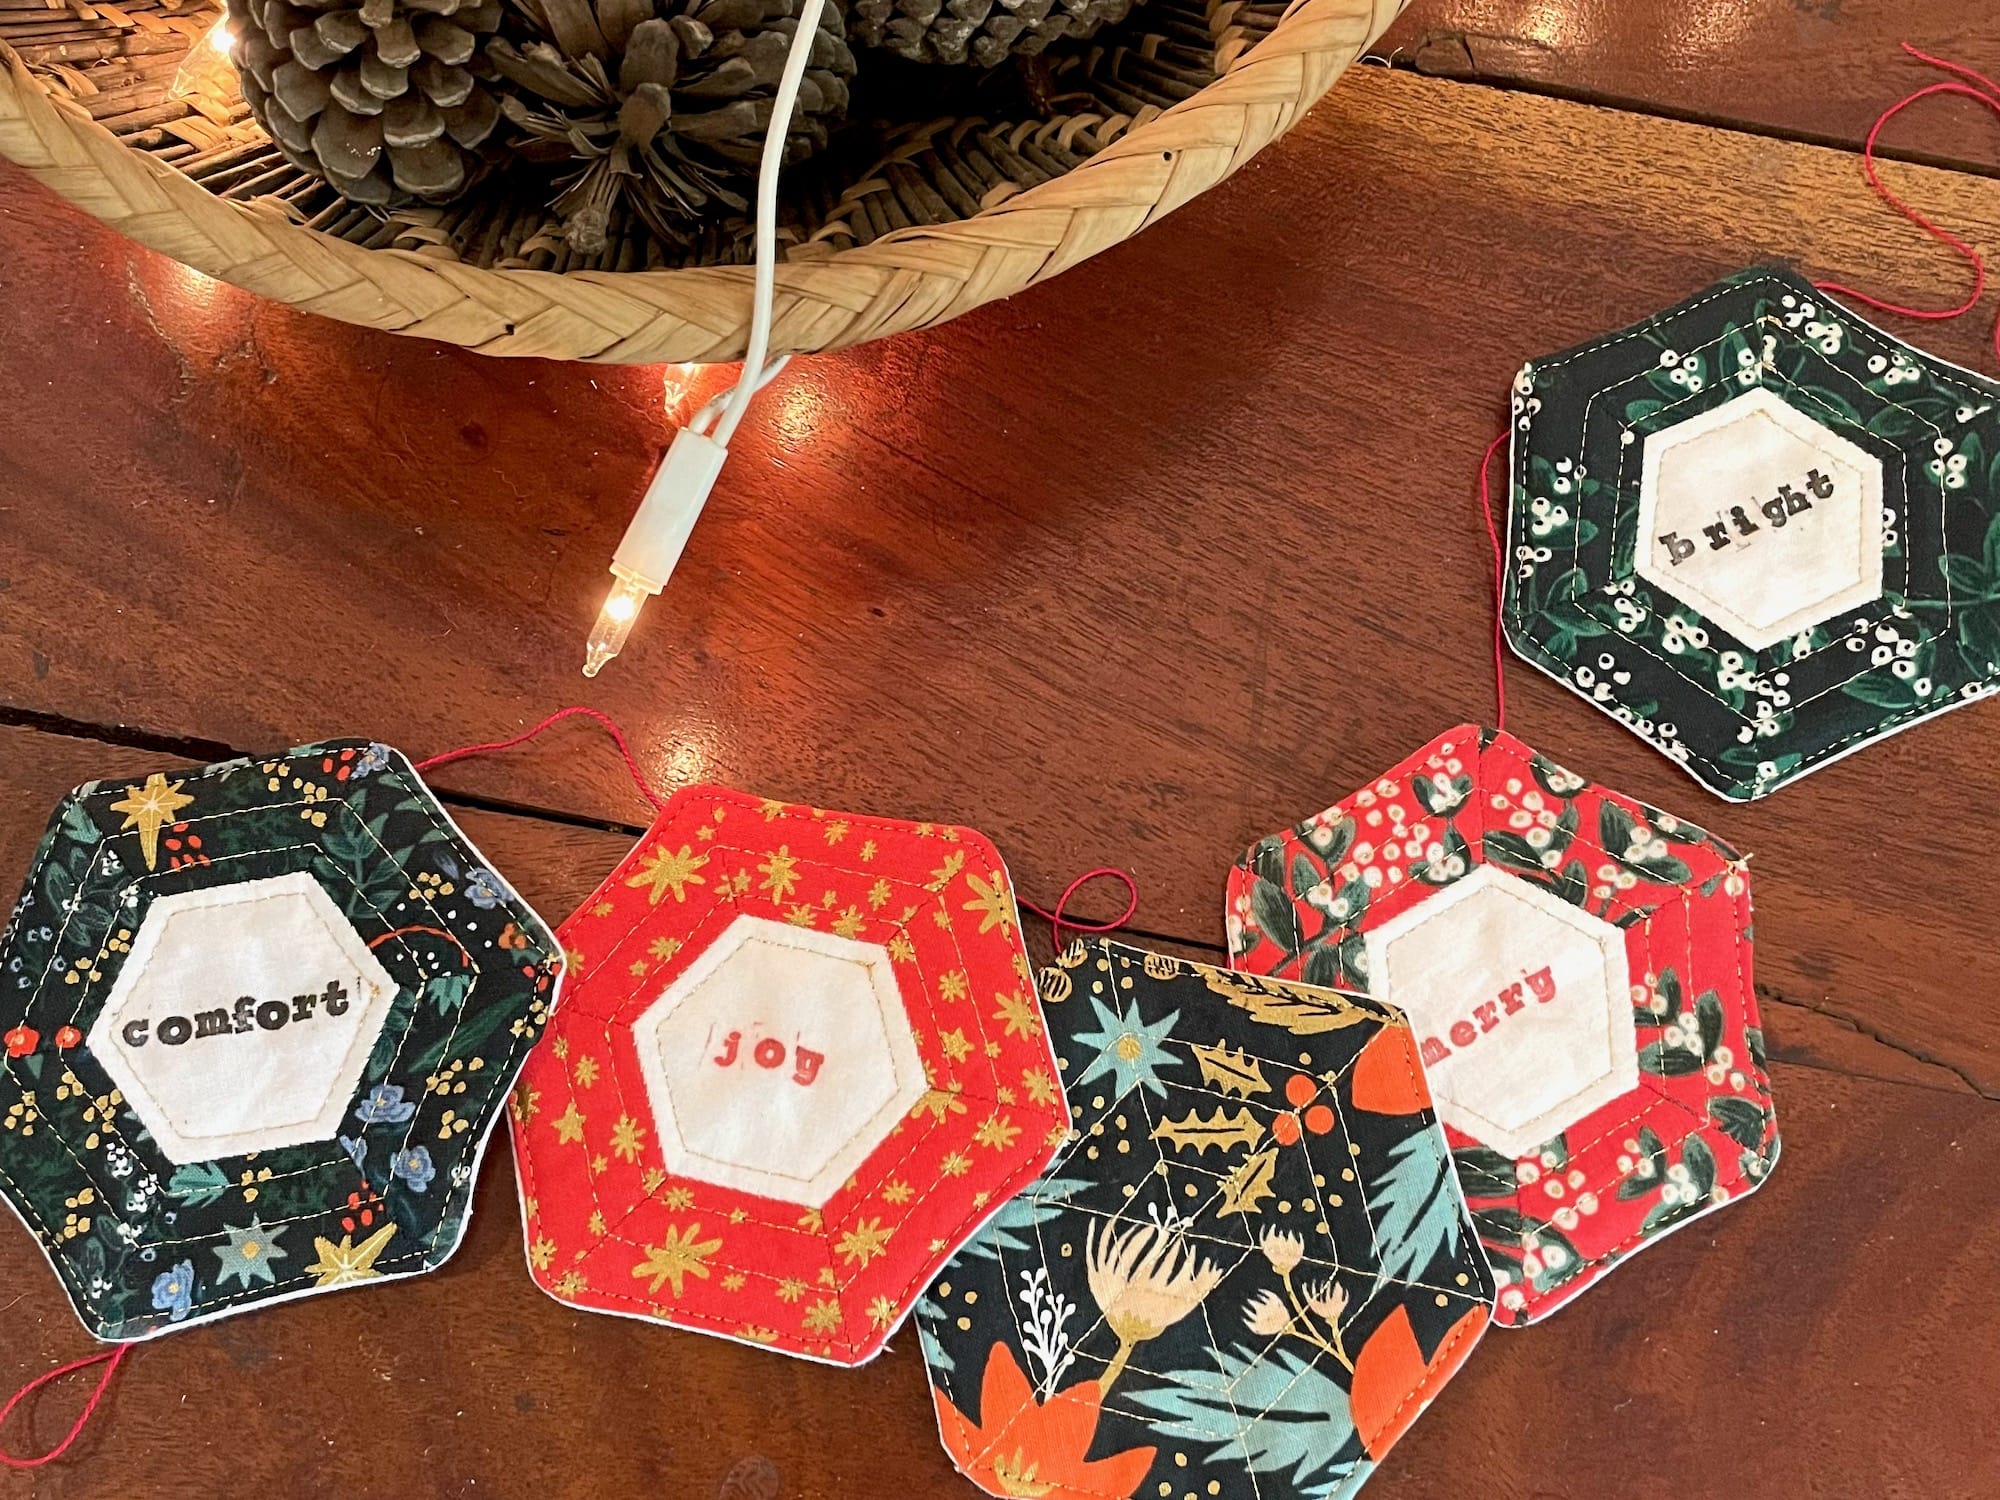
Place Cards
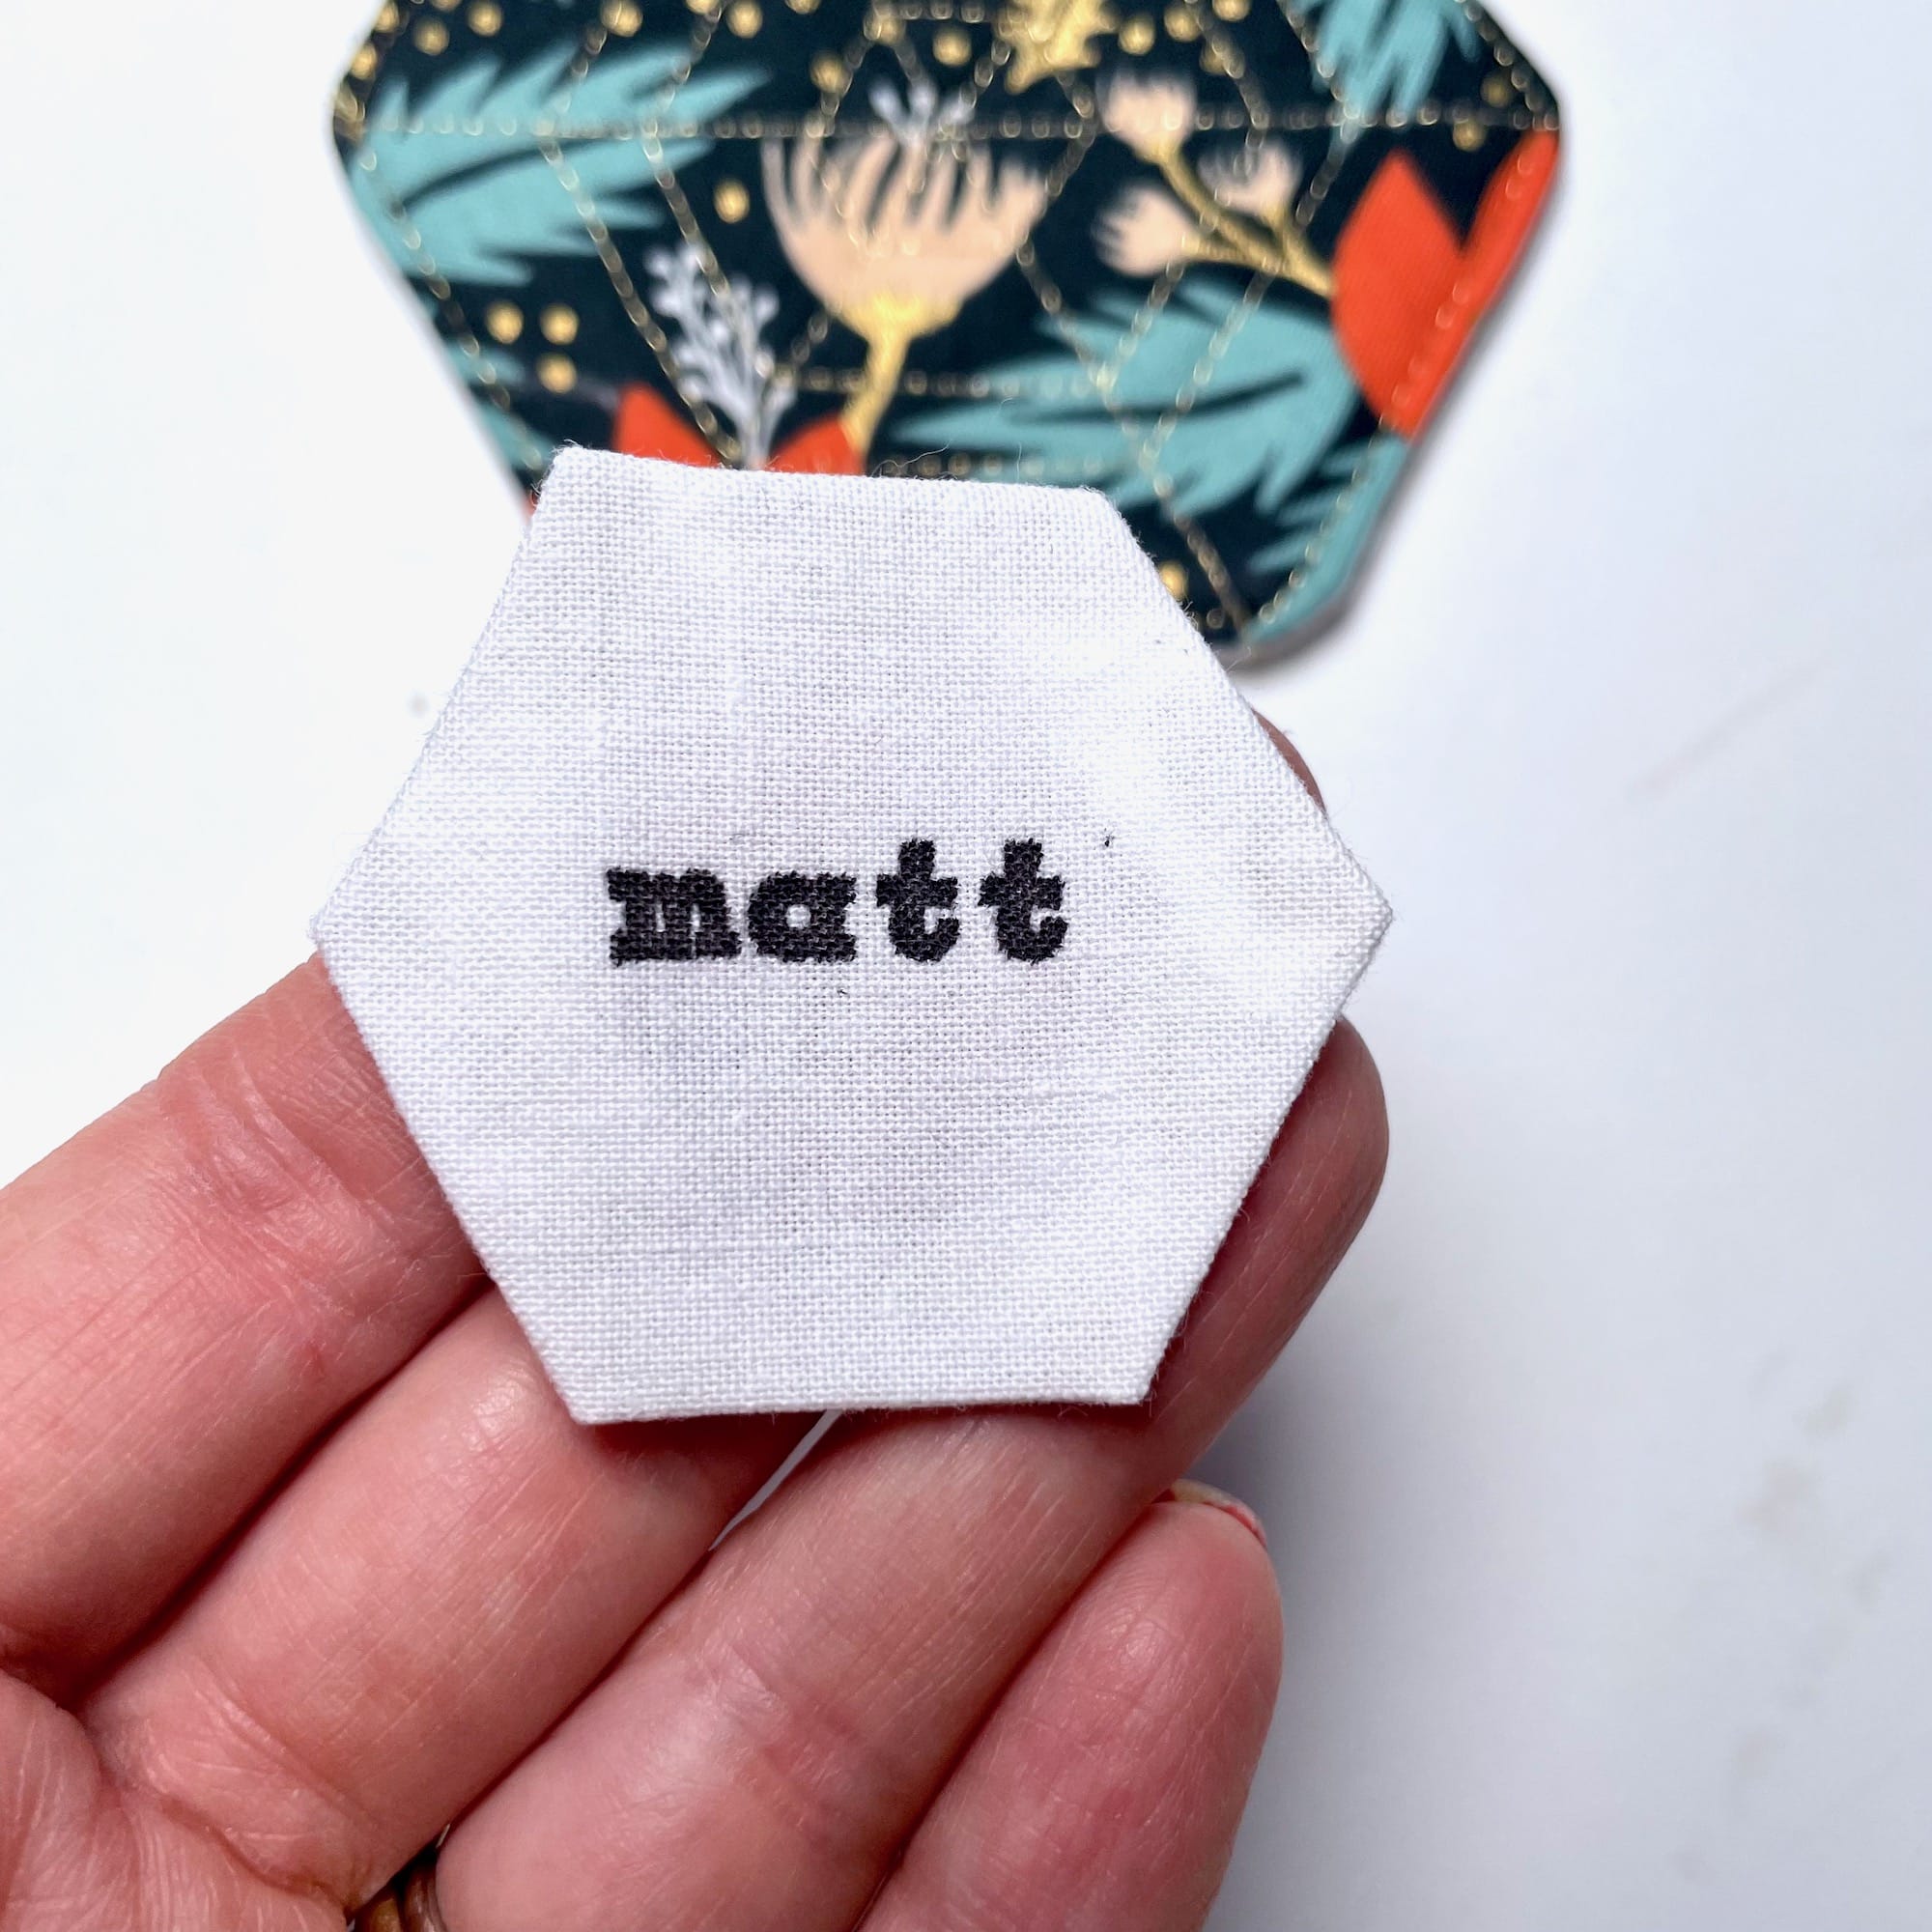
Choose Selah Pin Cushion design B, or (1) 1” hexagon and (6) 1” half hexagons, to create a 2” pieced hexagon. Then, stamp the name or a greeting onto the center hexagon using my quilt label tutorial. Finally, follow the instructions as written to turn them into place card coasters.
Wouldn’t these place cards be a great way for people to keep track of their drinks after dinner, too?
Place Card Hack
Don’t have time for hand stitching? No problem! Create a coaster using a whole, unpieced 2” hexagon, then machine appliqué a stamped 1” hexagon in the middle of the coaster. Using the following process.
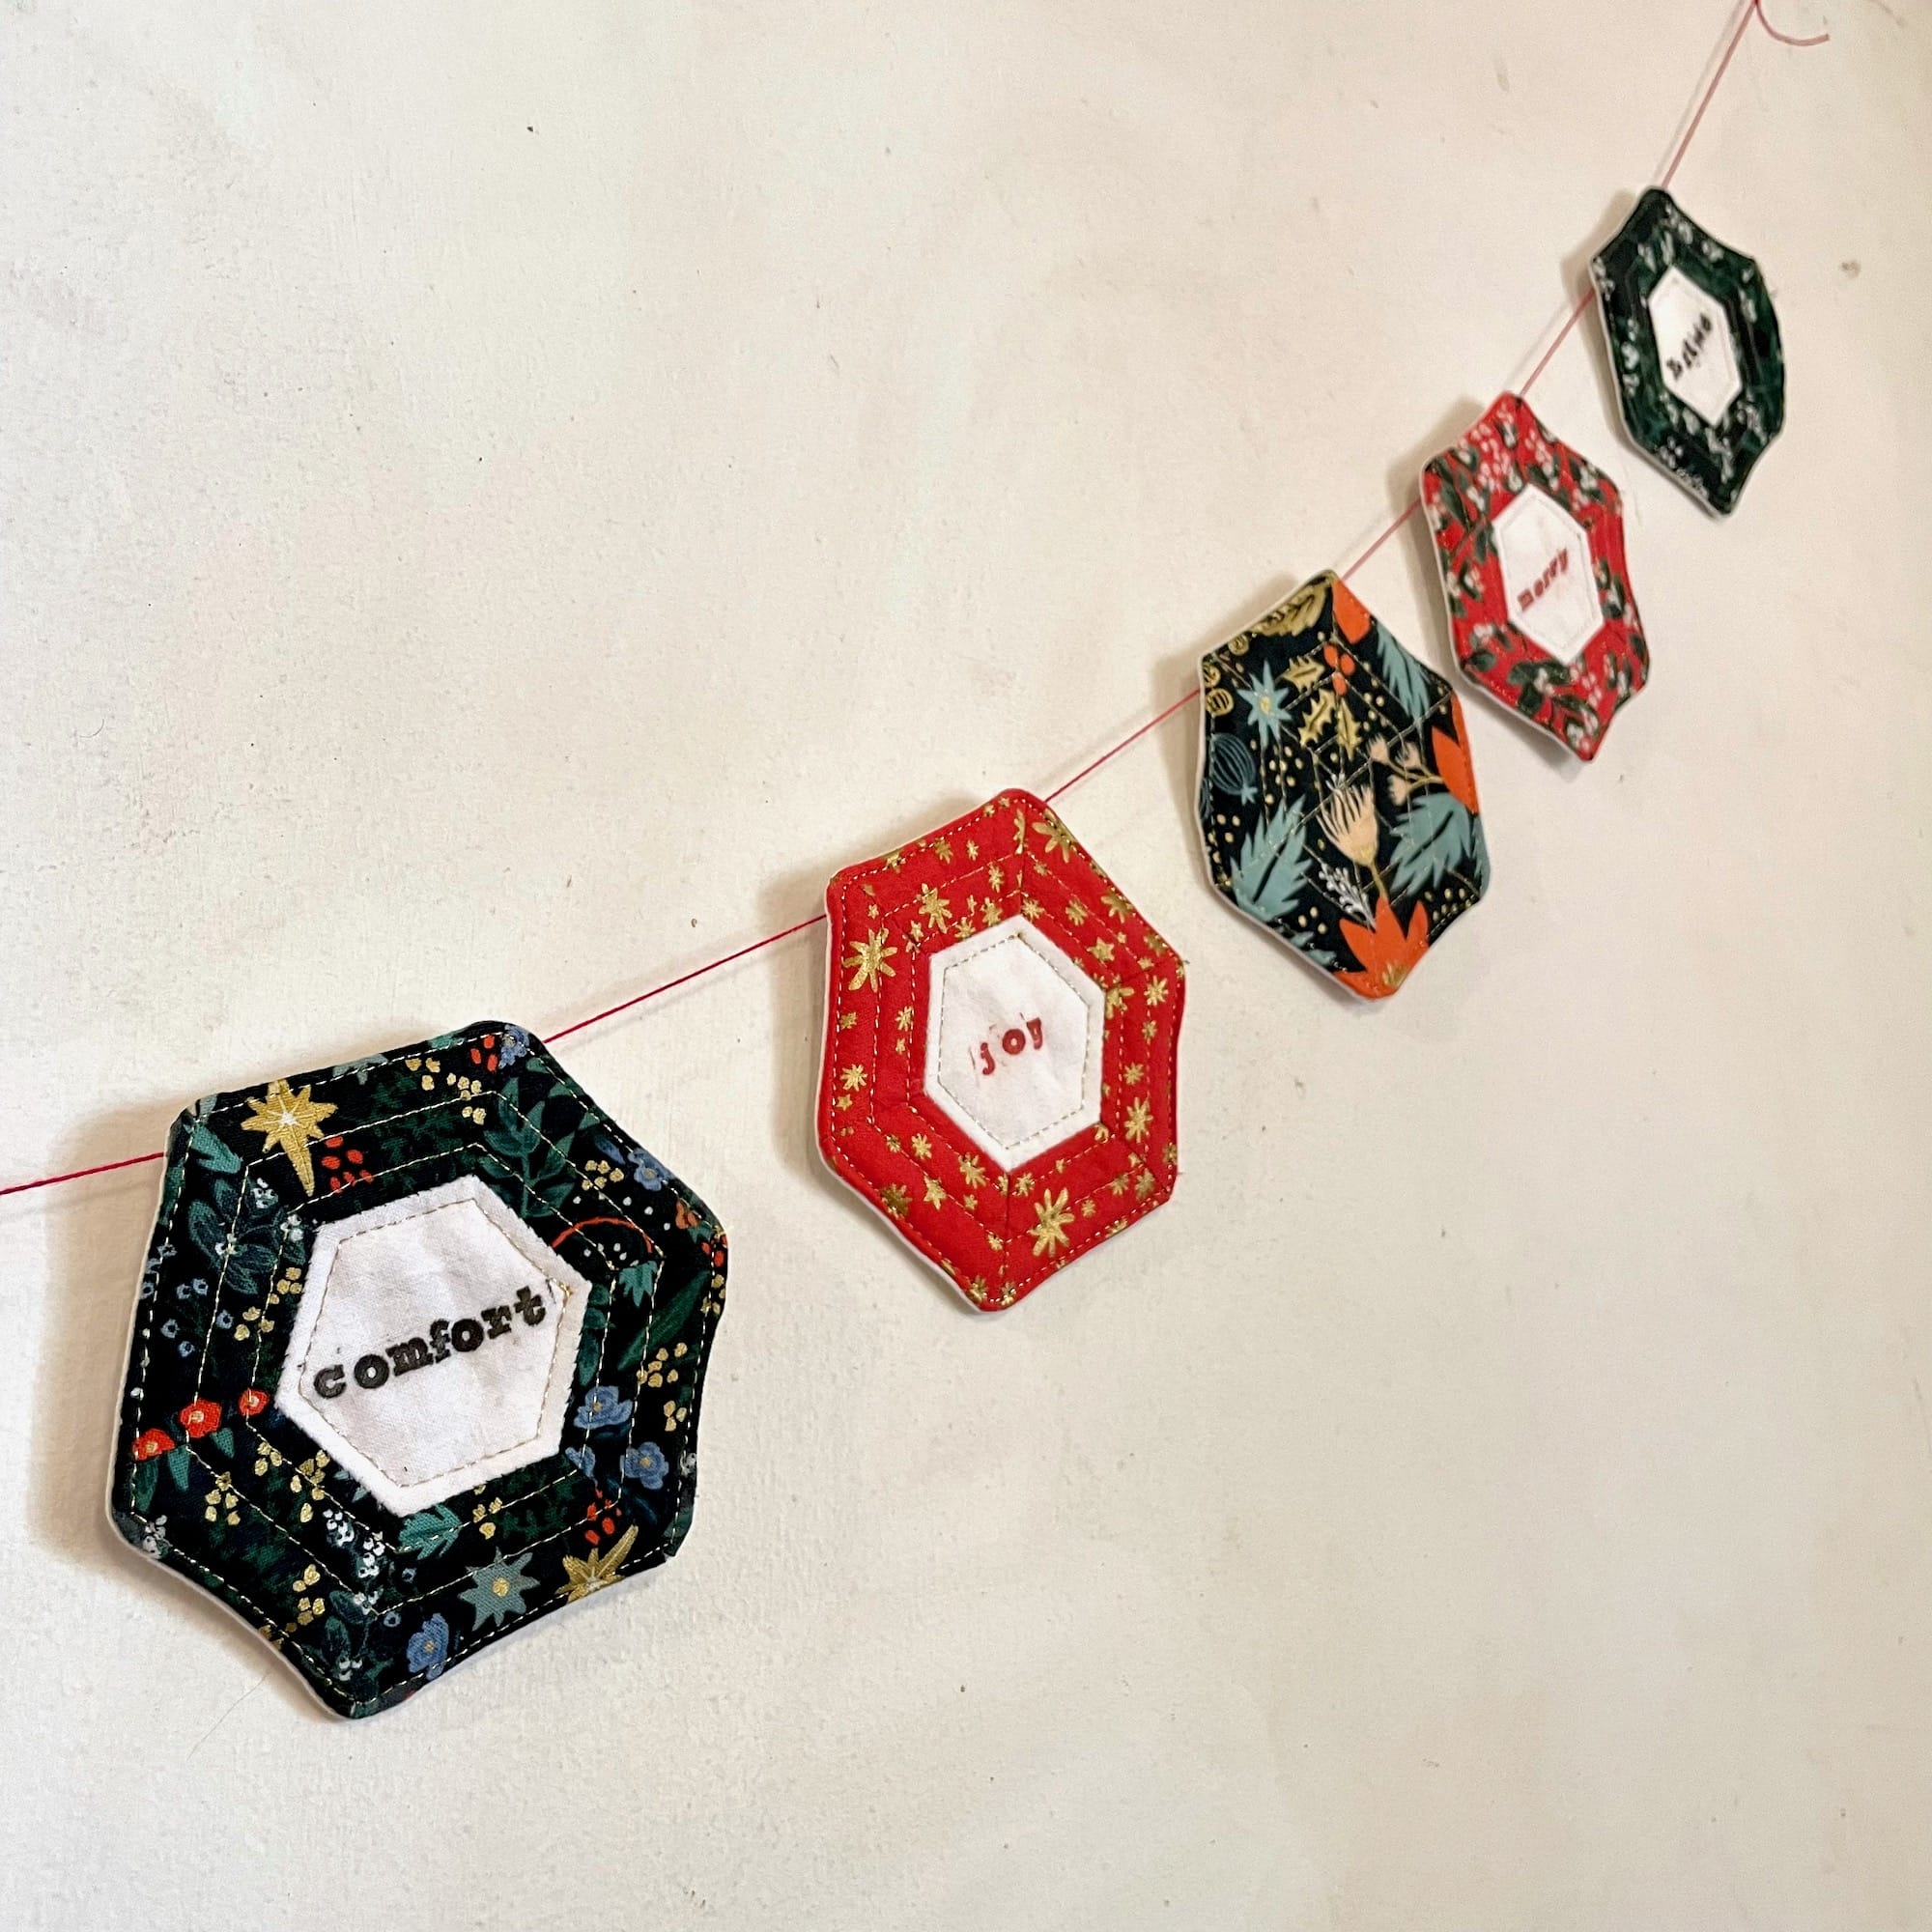
Create a festive bunting for over a doorway or mantle by stringing together a few quilted hexagon coasters. Use the following process, but feel free to customize it any way you want!
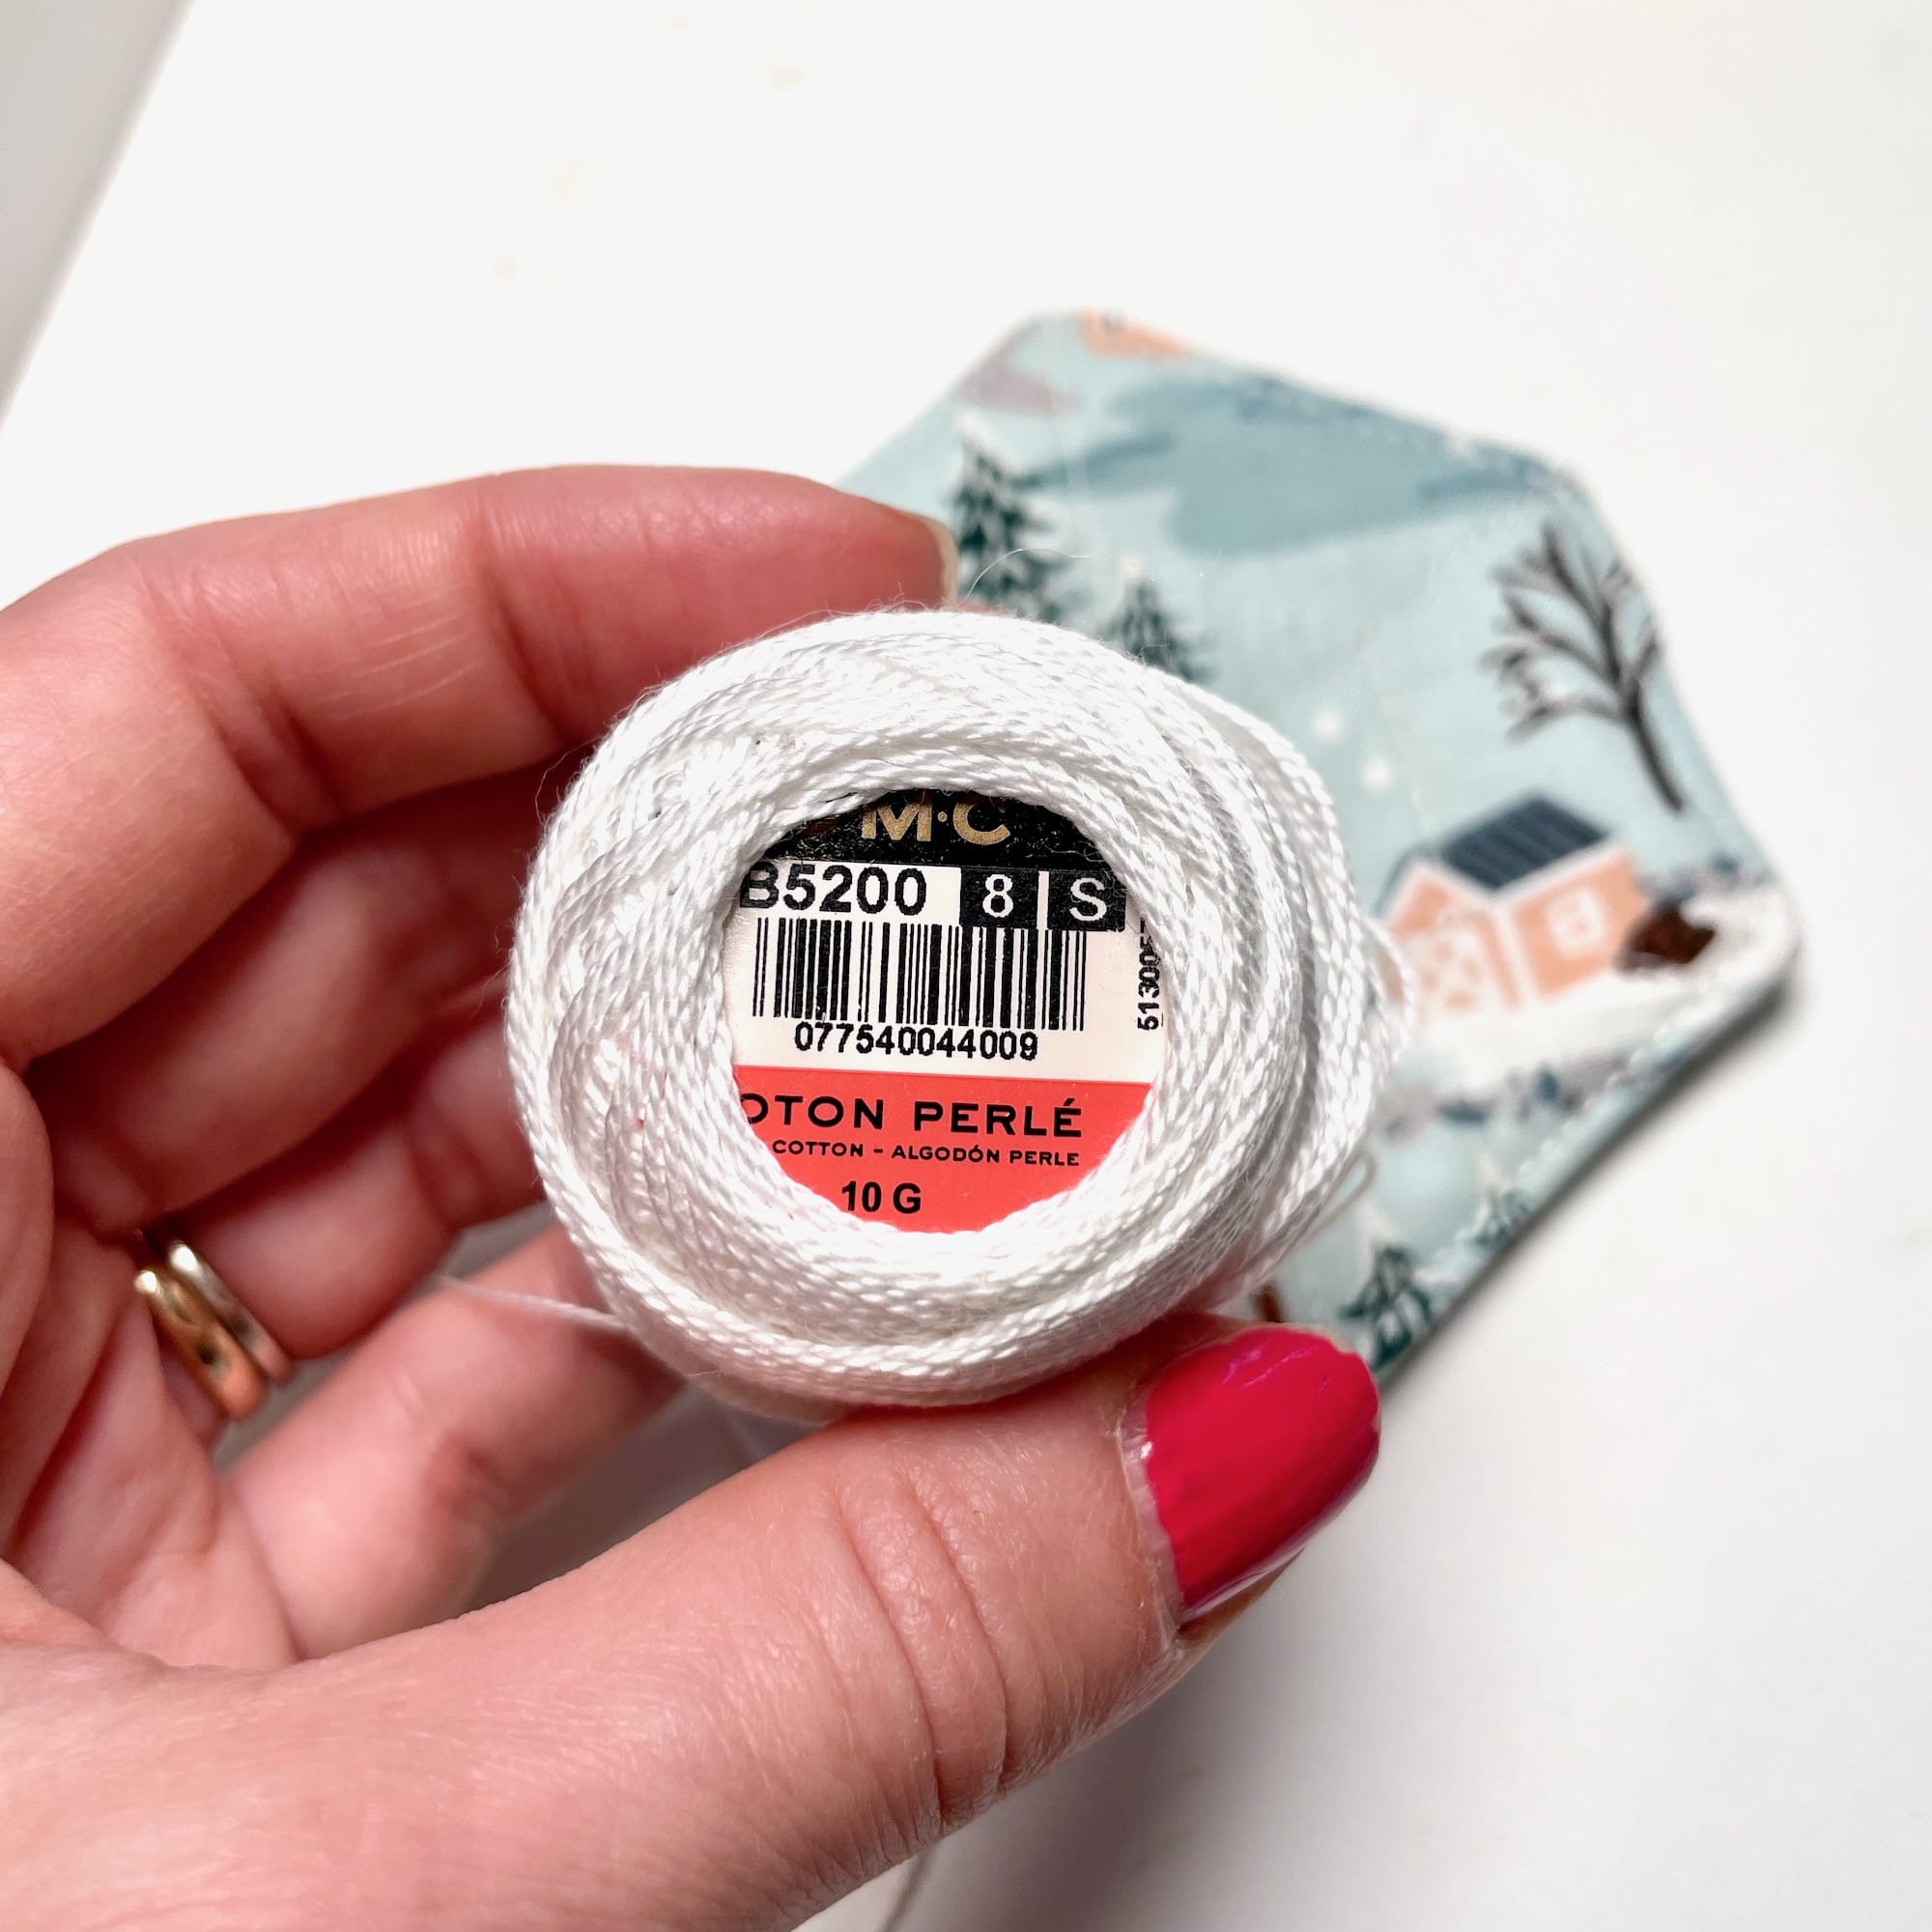
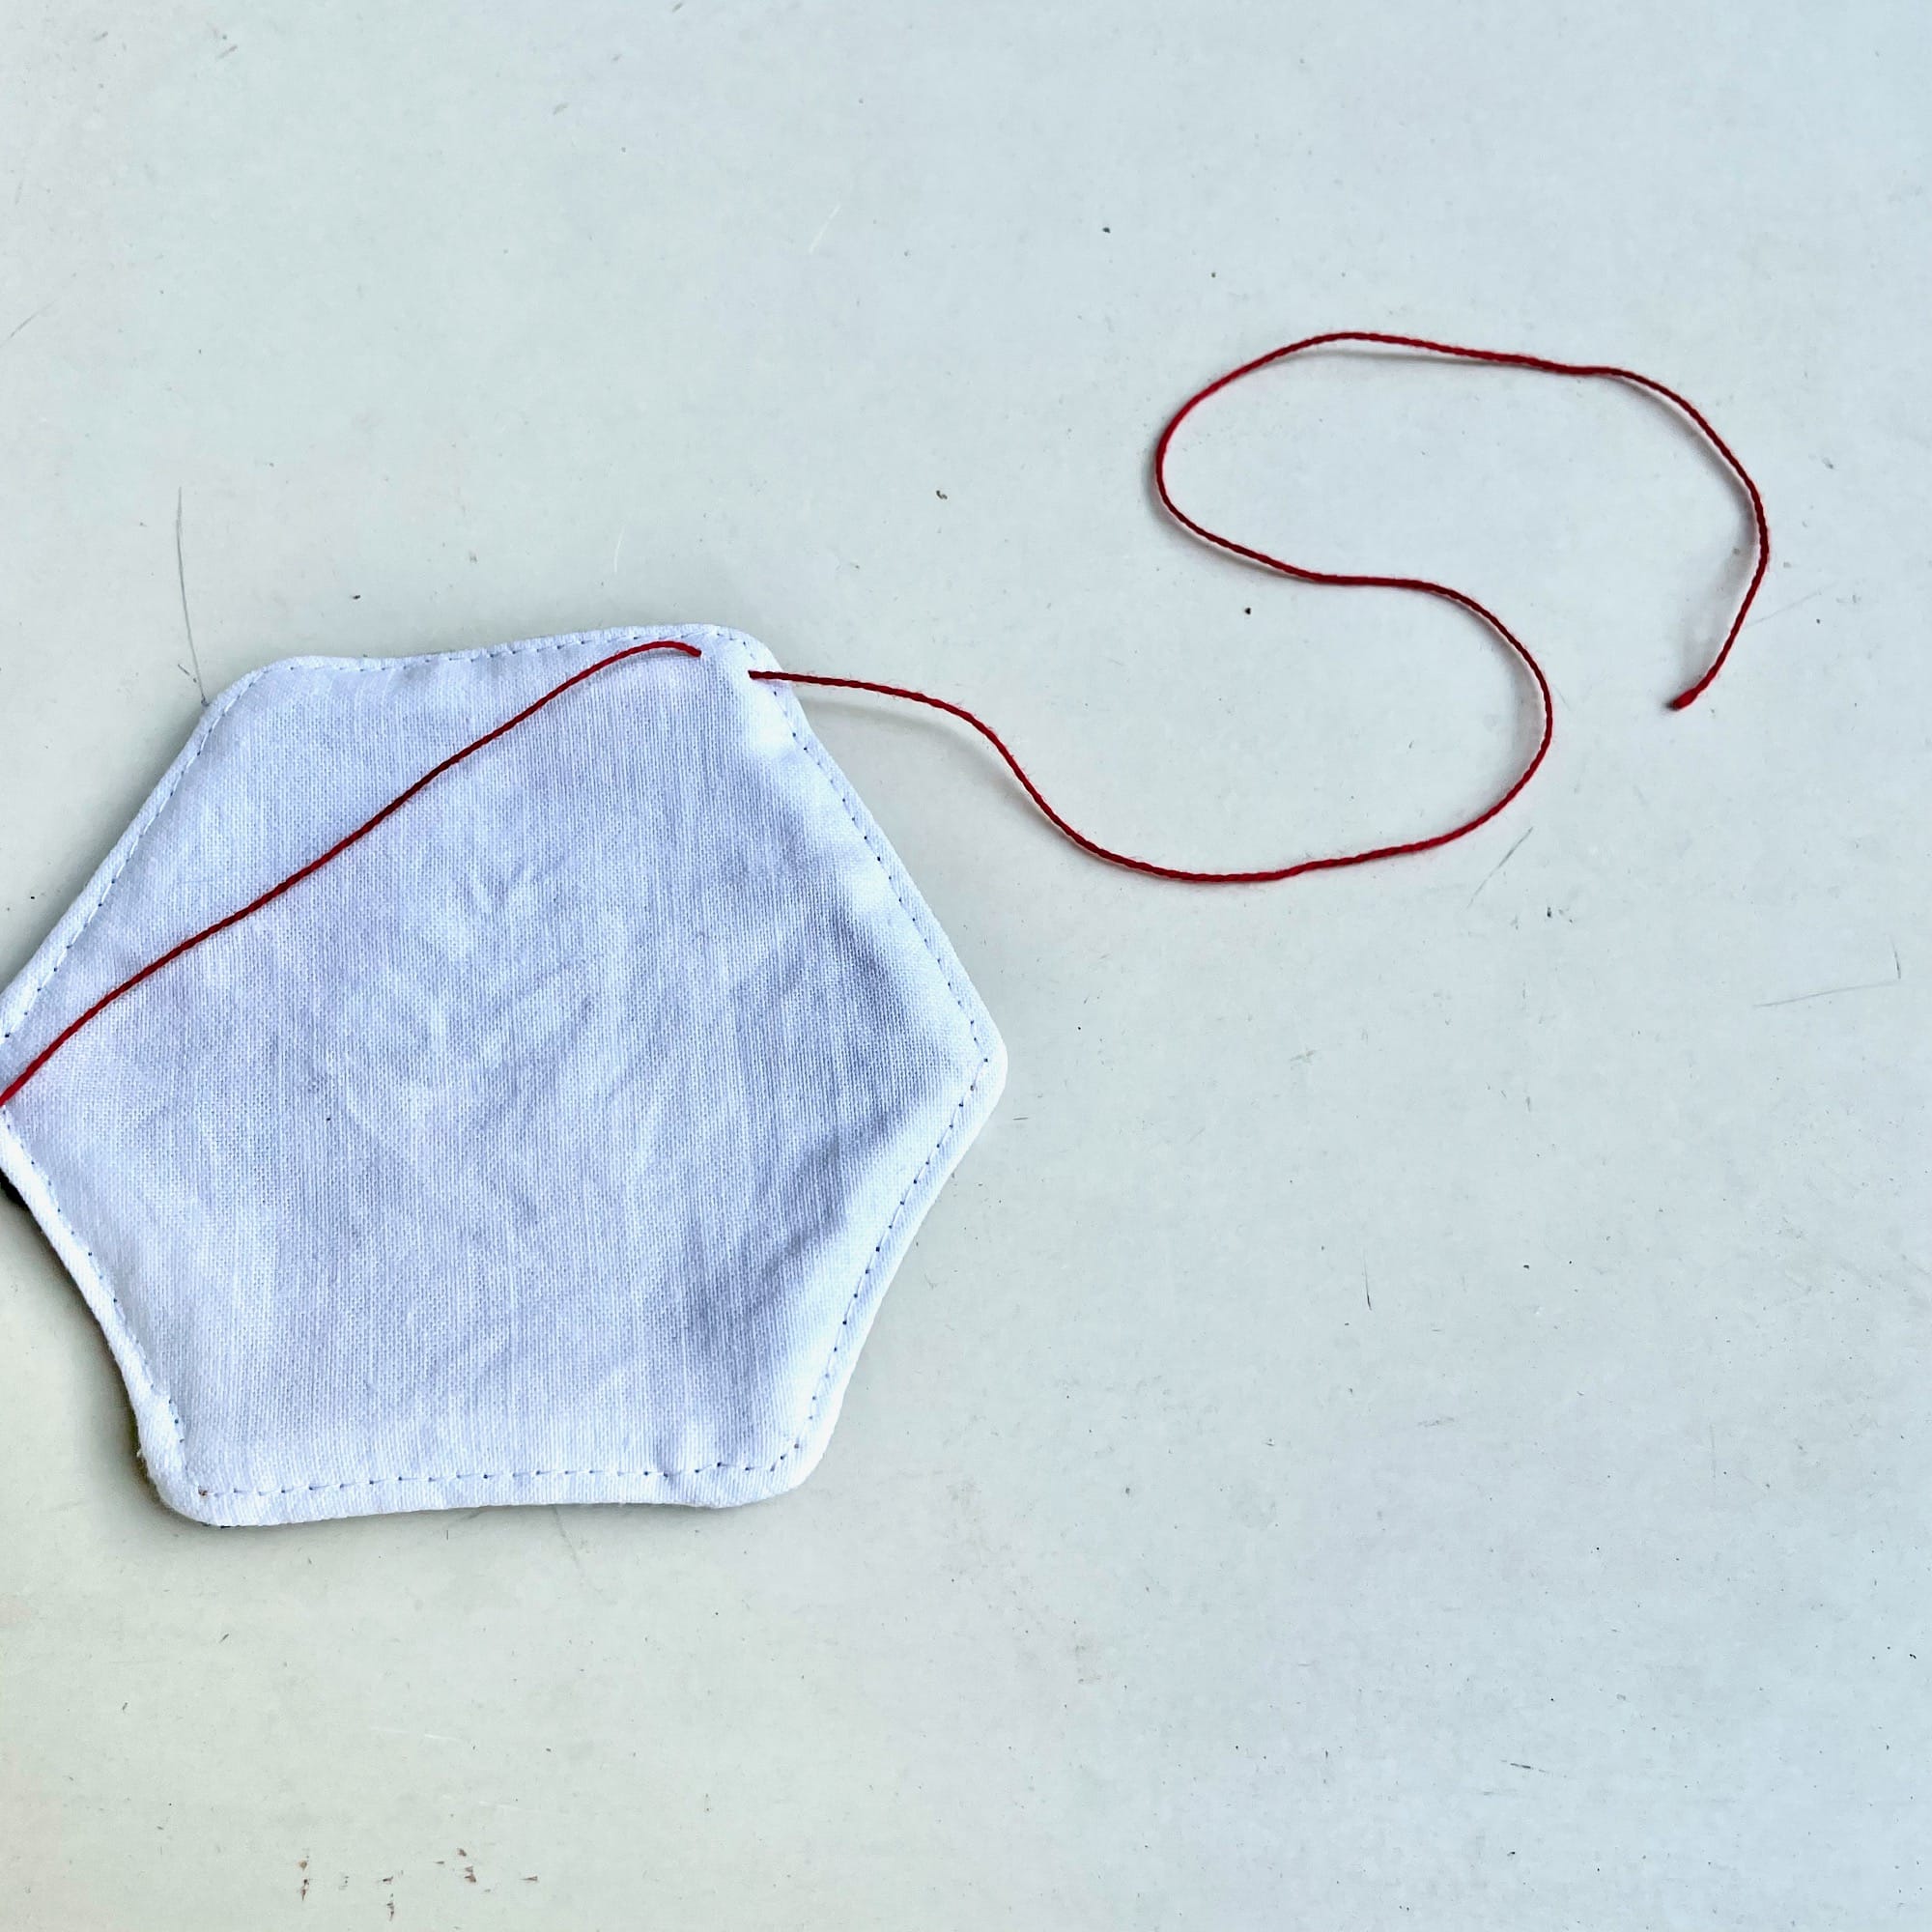
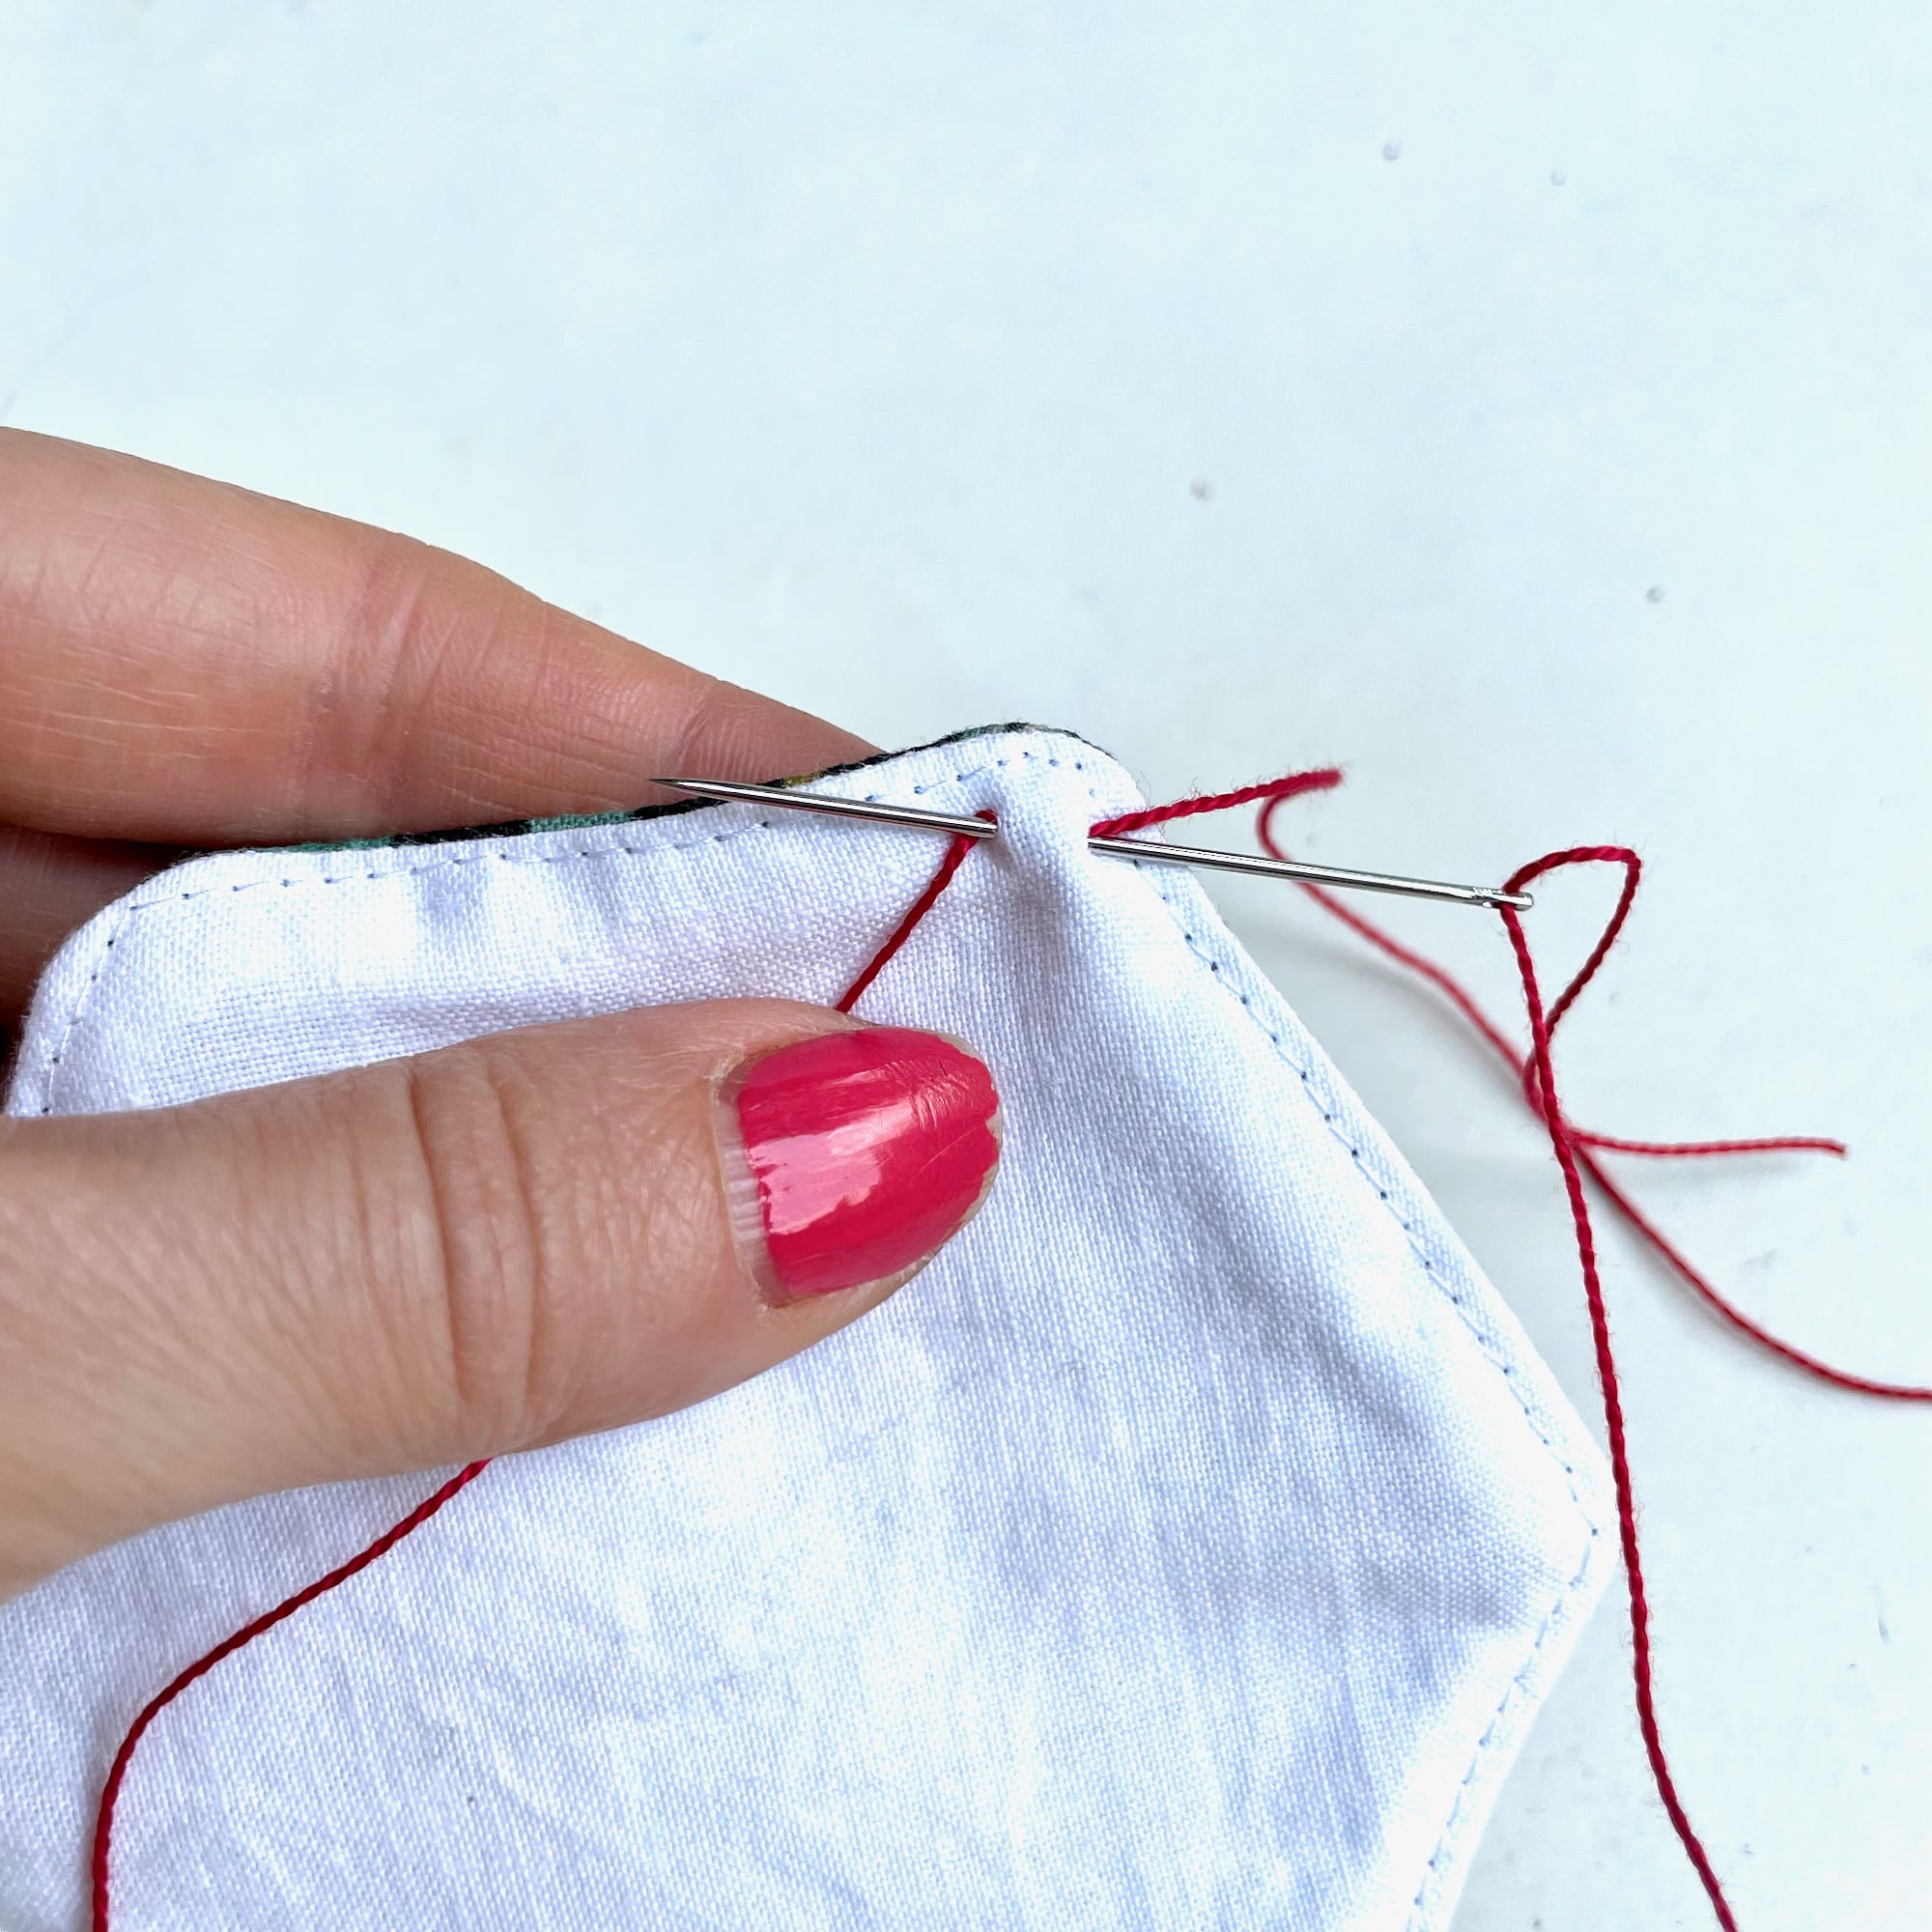
1. Begin by cutting a long piece of string, about 45-60” long. I used size #8 DMC Perle cotton in 321. Thread it on a large eyed needle and insert it into the top back corner of the first coaster on your bunting.
2. Pull the thread through leaving a 10-12” tail.
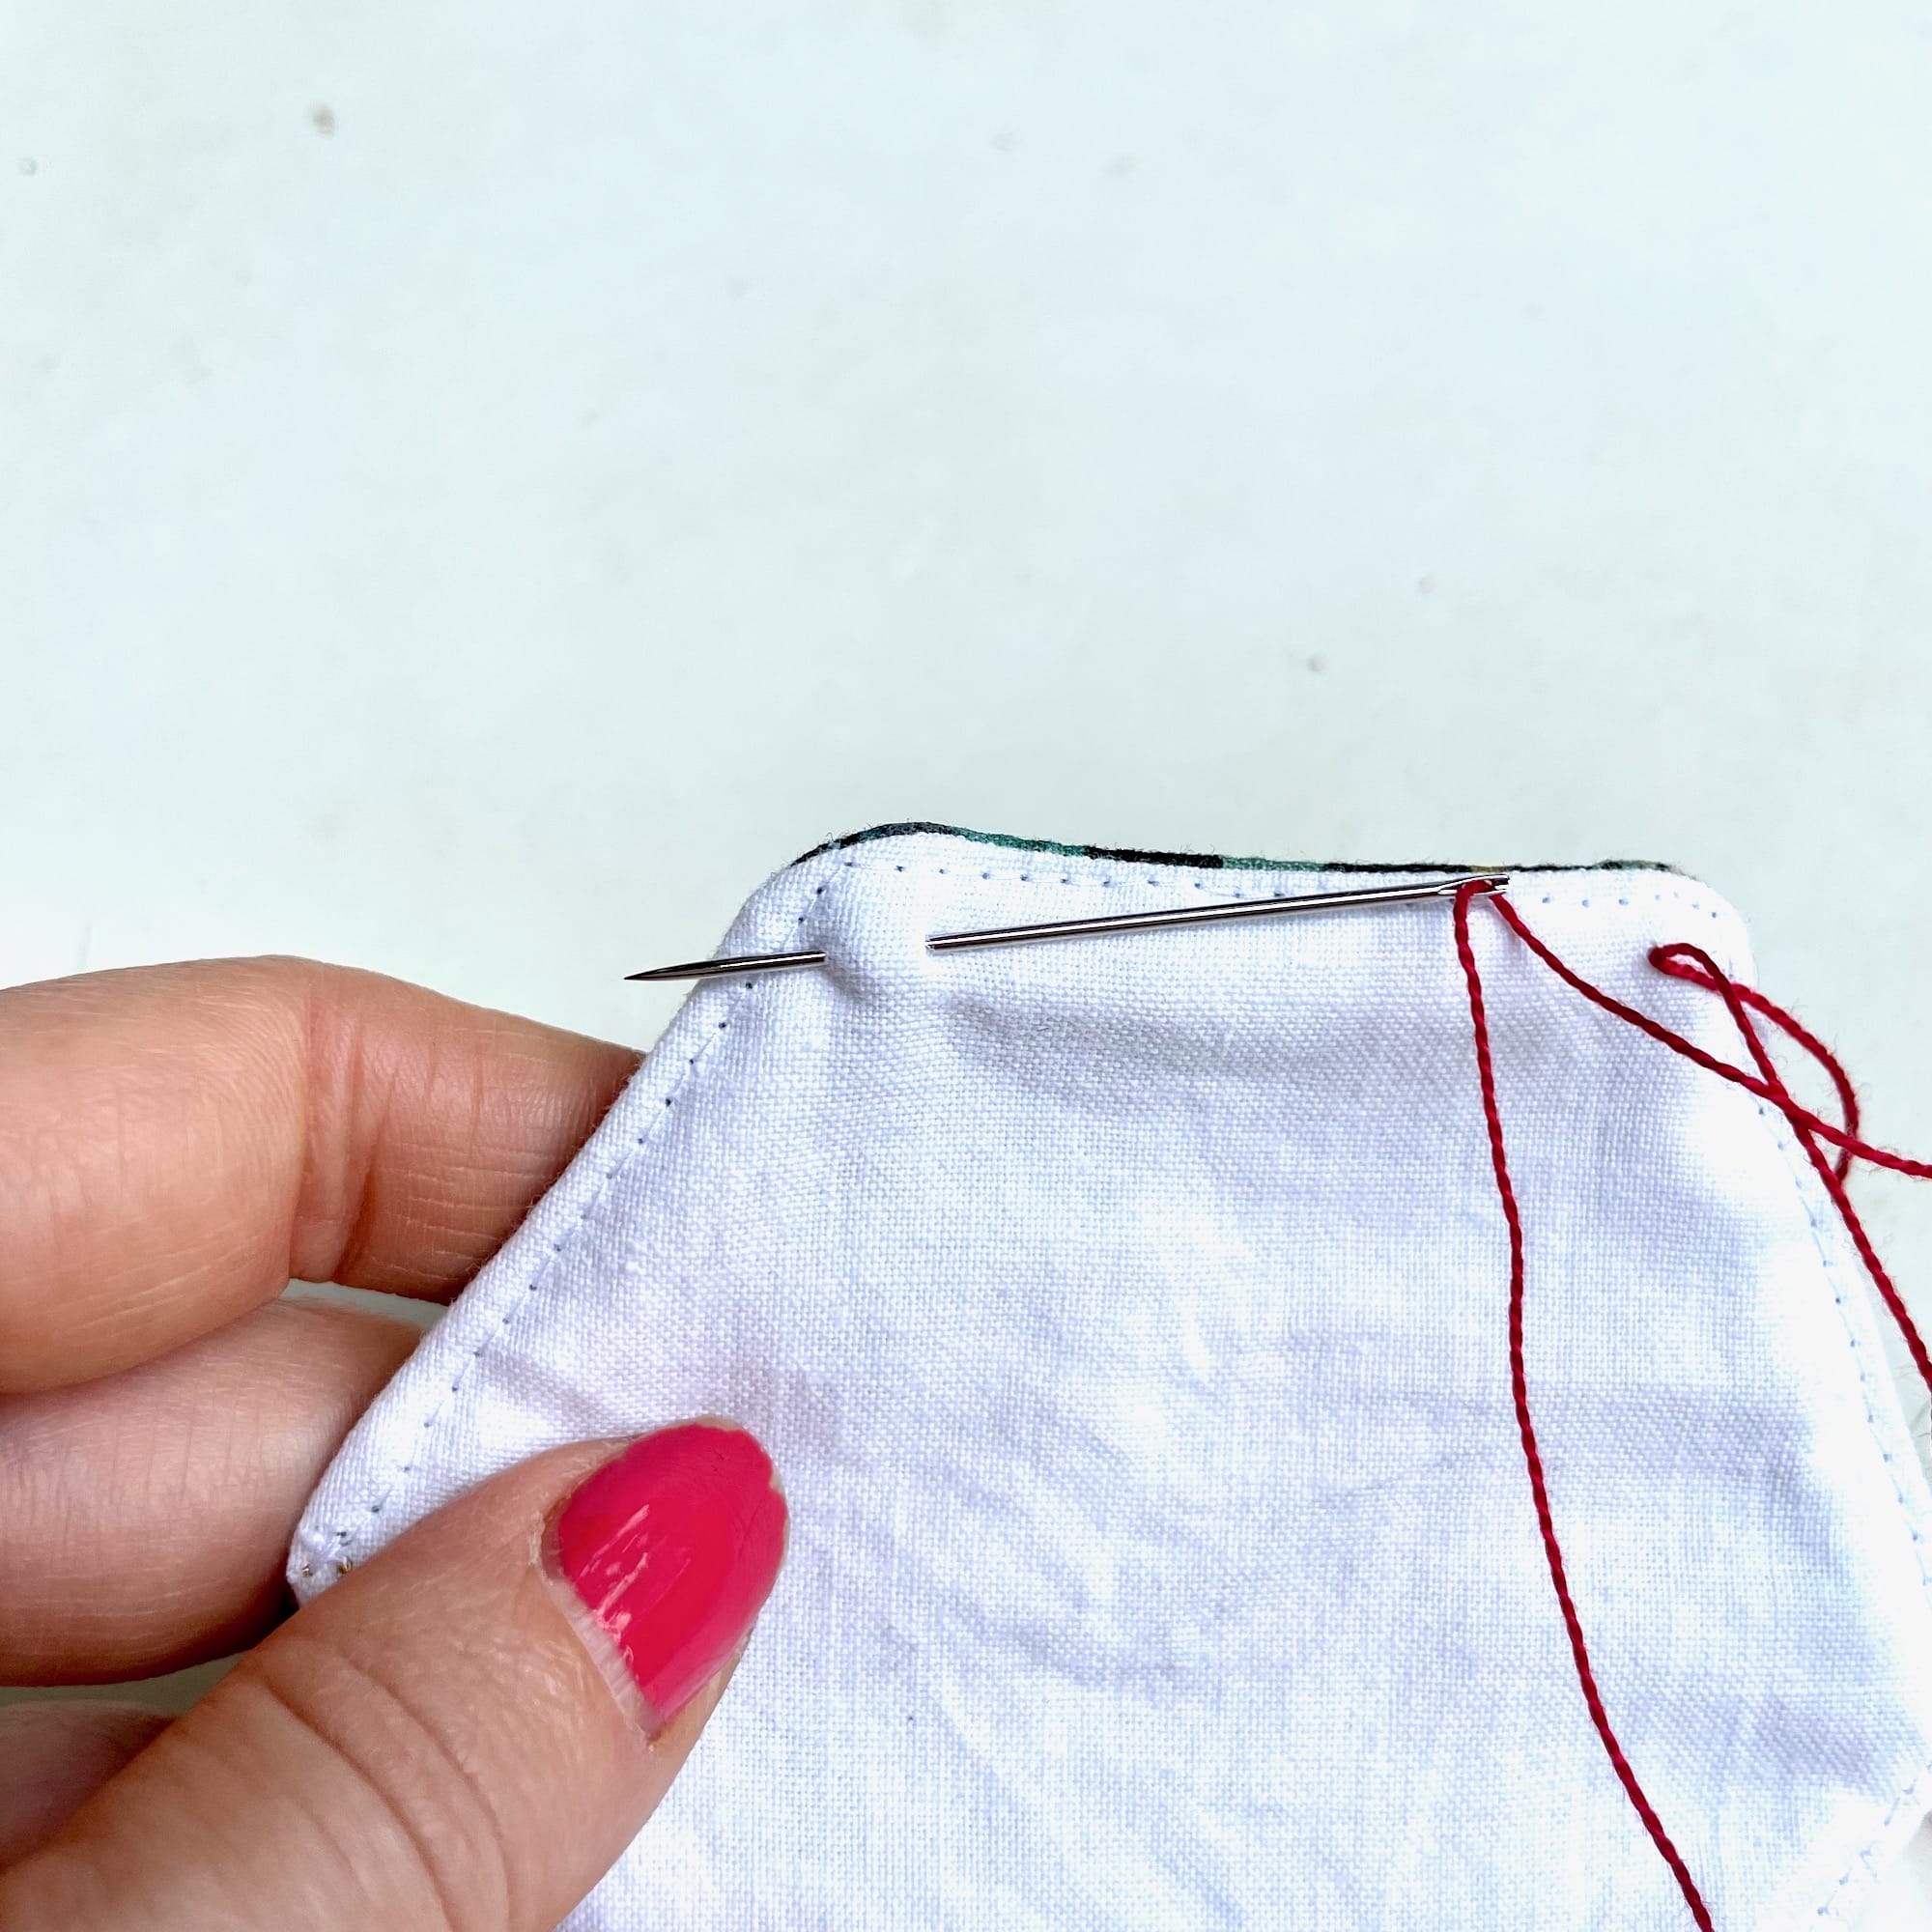
3. Create a backstitch to secure the coaster in place on the bunting by inserting the needle back where you inserted it initially.
4. Pull it through to complete the backstitch.
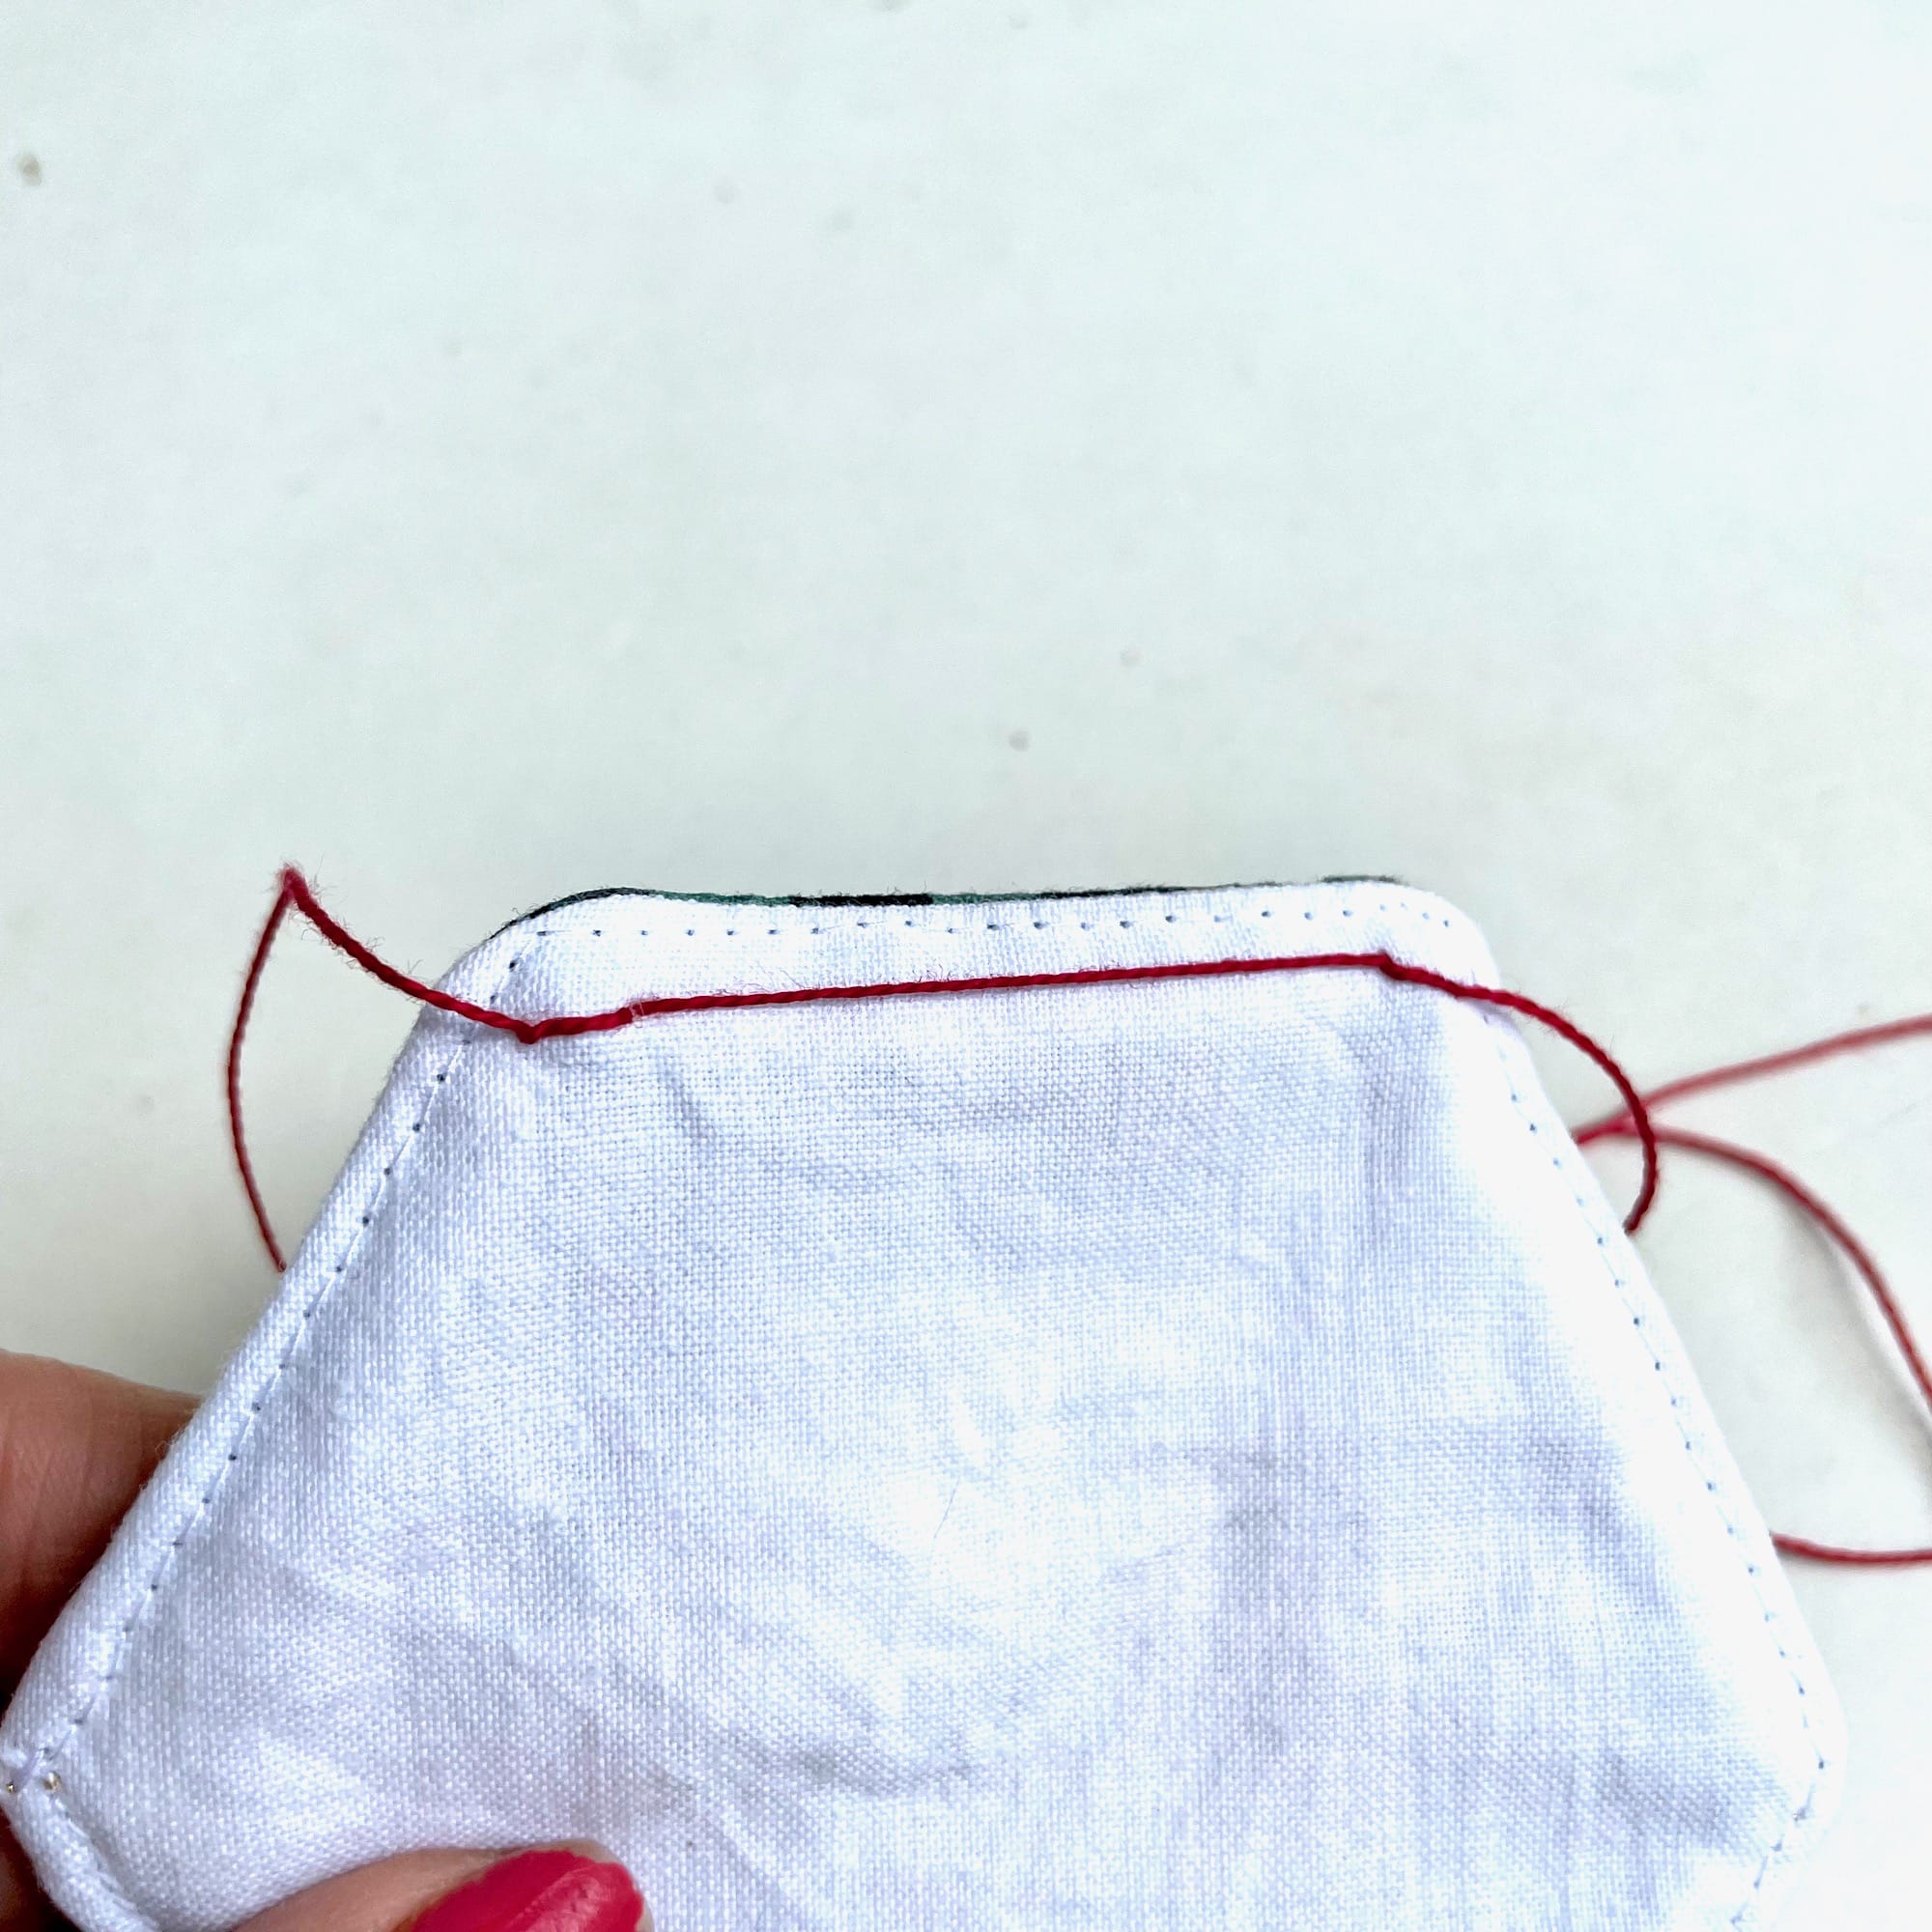
5. Take another stitch in the next corner as you did in step 1.
6. Repeat steps 3-4 to create another backstitch.
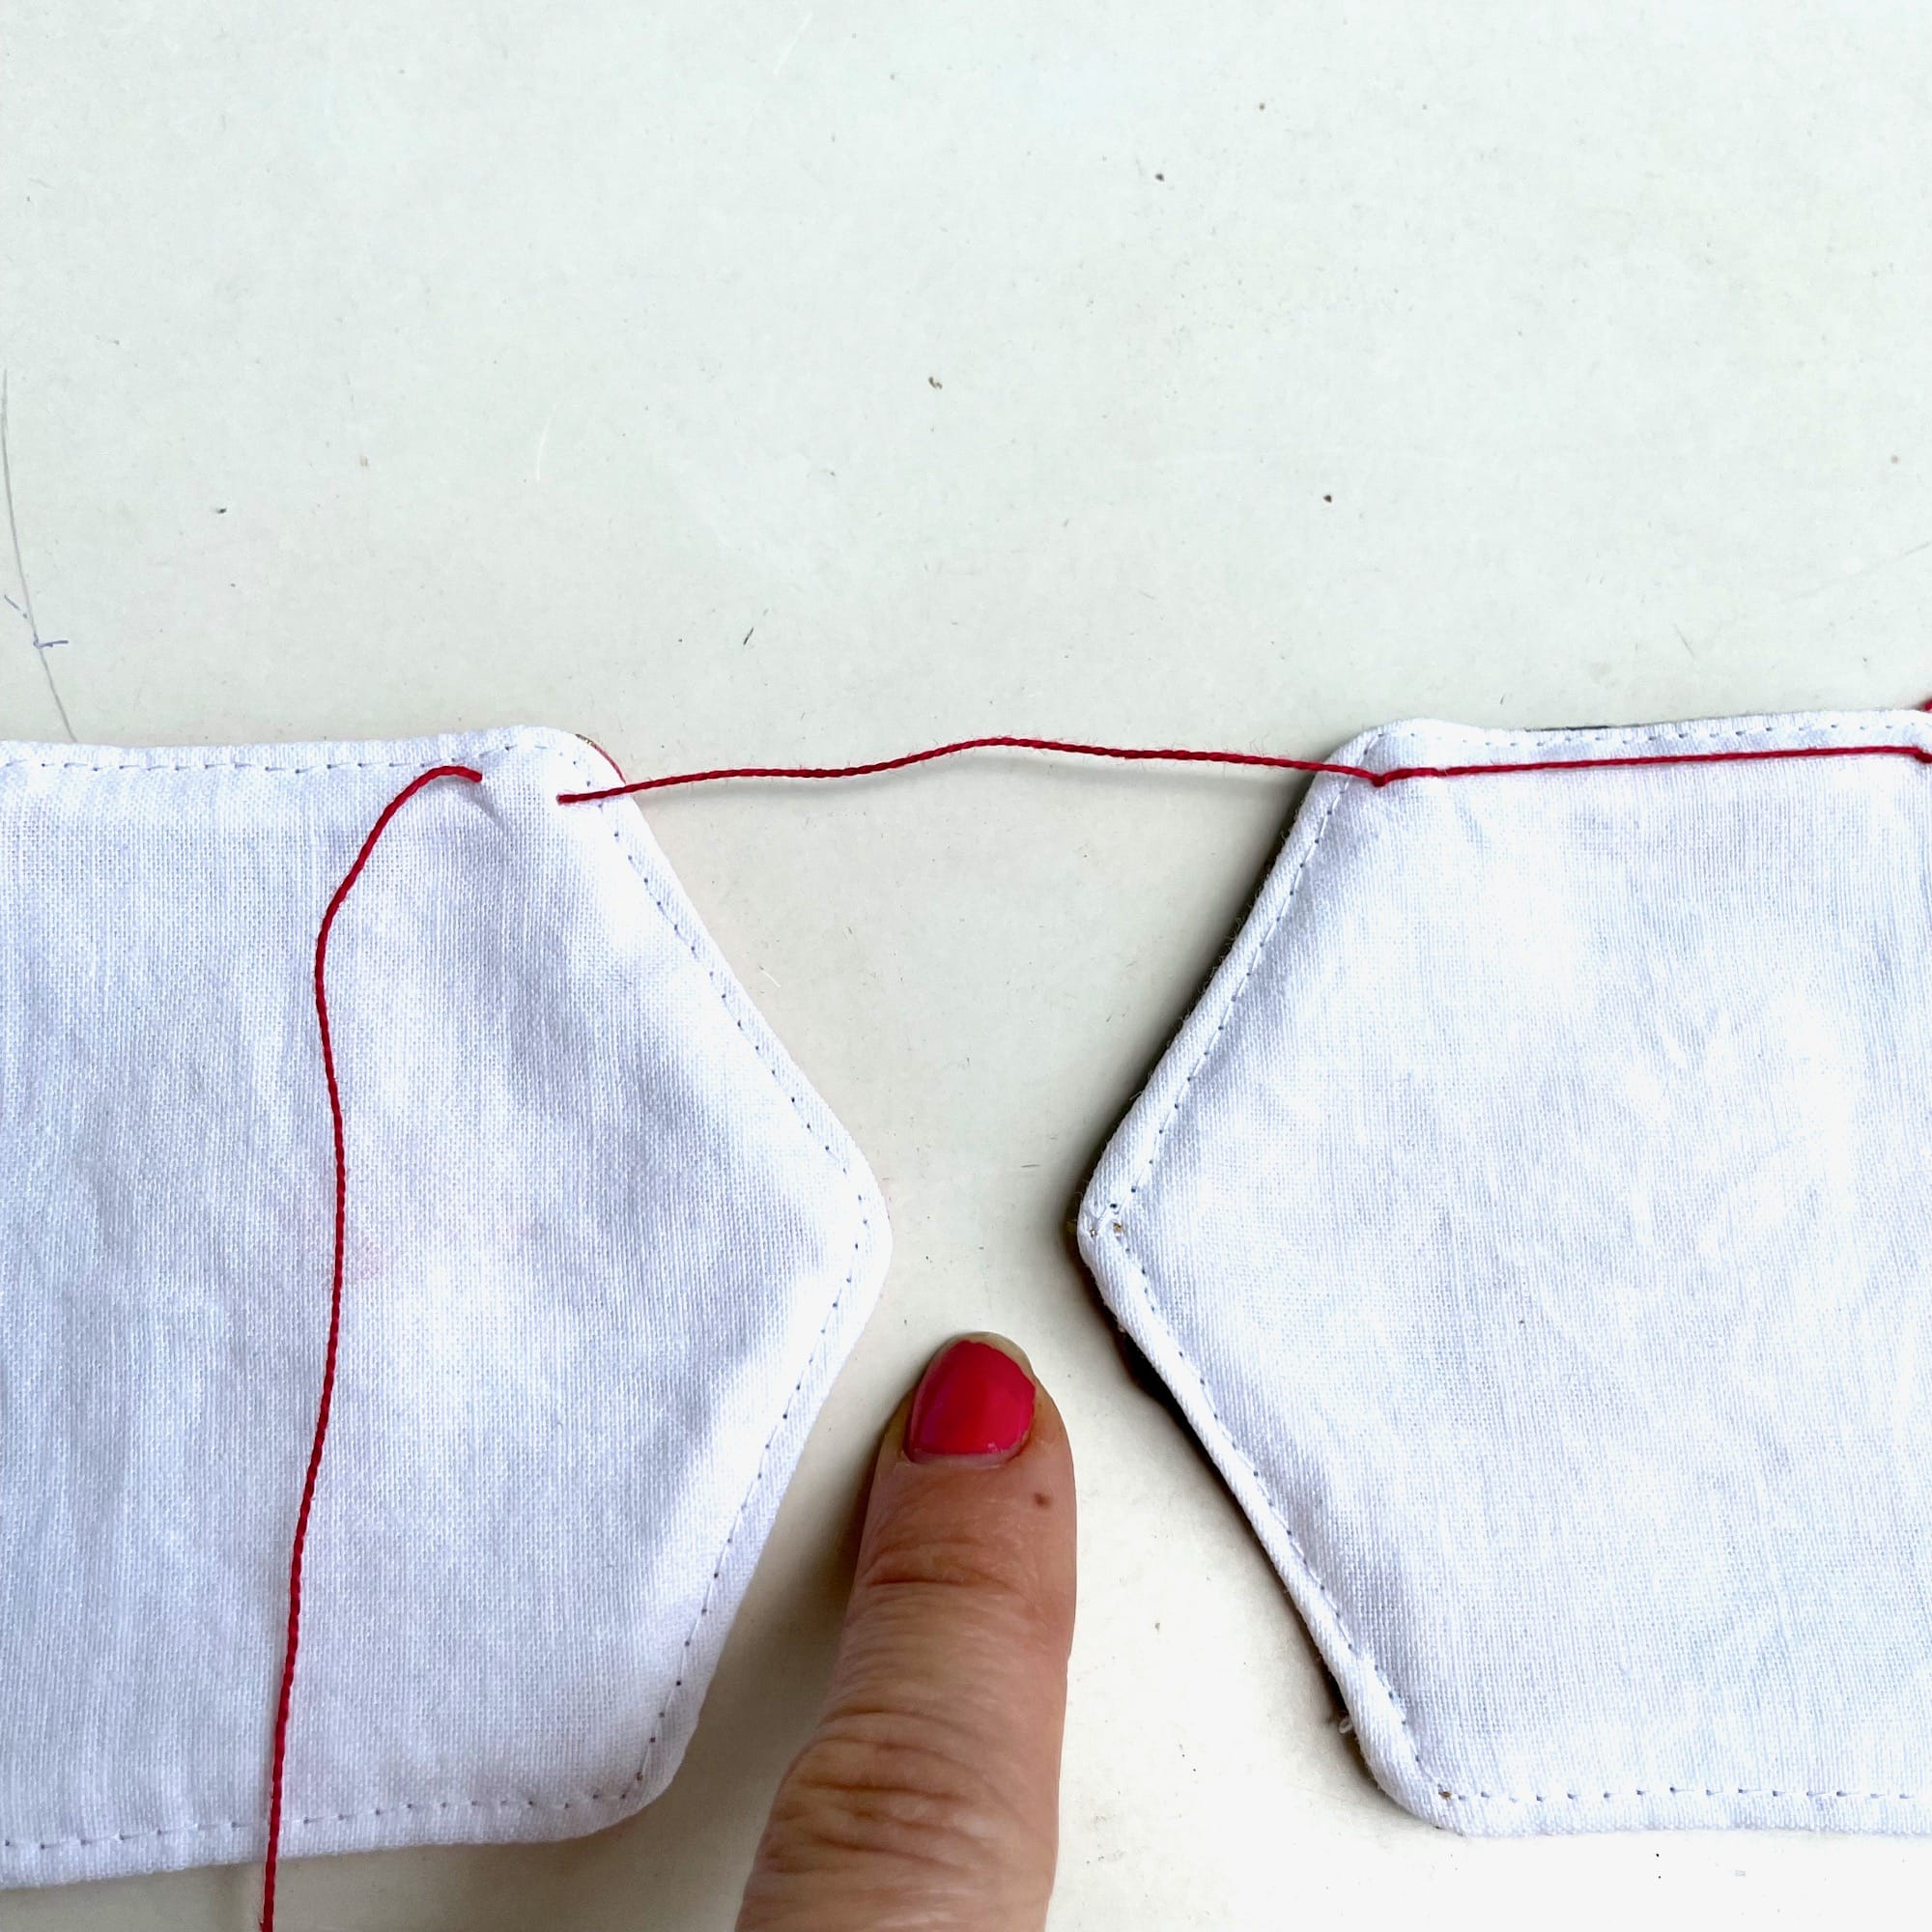
7. Select your next coaster, and string it onto the thread as you did in step one. Make sure to keep an eye on which direction the coaster is oriented so you don’t string one on upside down! The distance between each coaster is up to you. I chose to keep about a 1/2” between the points.
Repeat the process until you have added the desired number of coasters to your bunting. Once you have finished stringing them on, trim the rest of the thread, leaving a 10-12” tail.
Finishing the Bunting
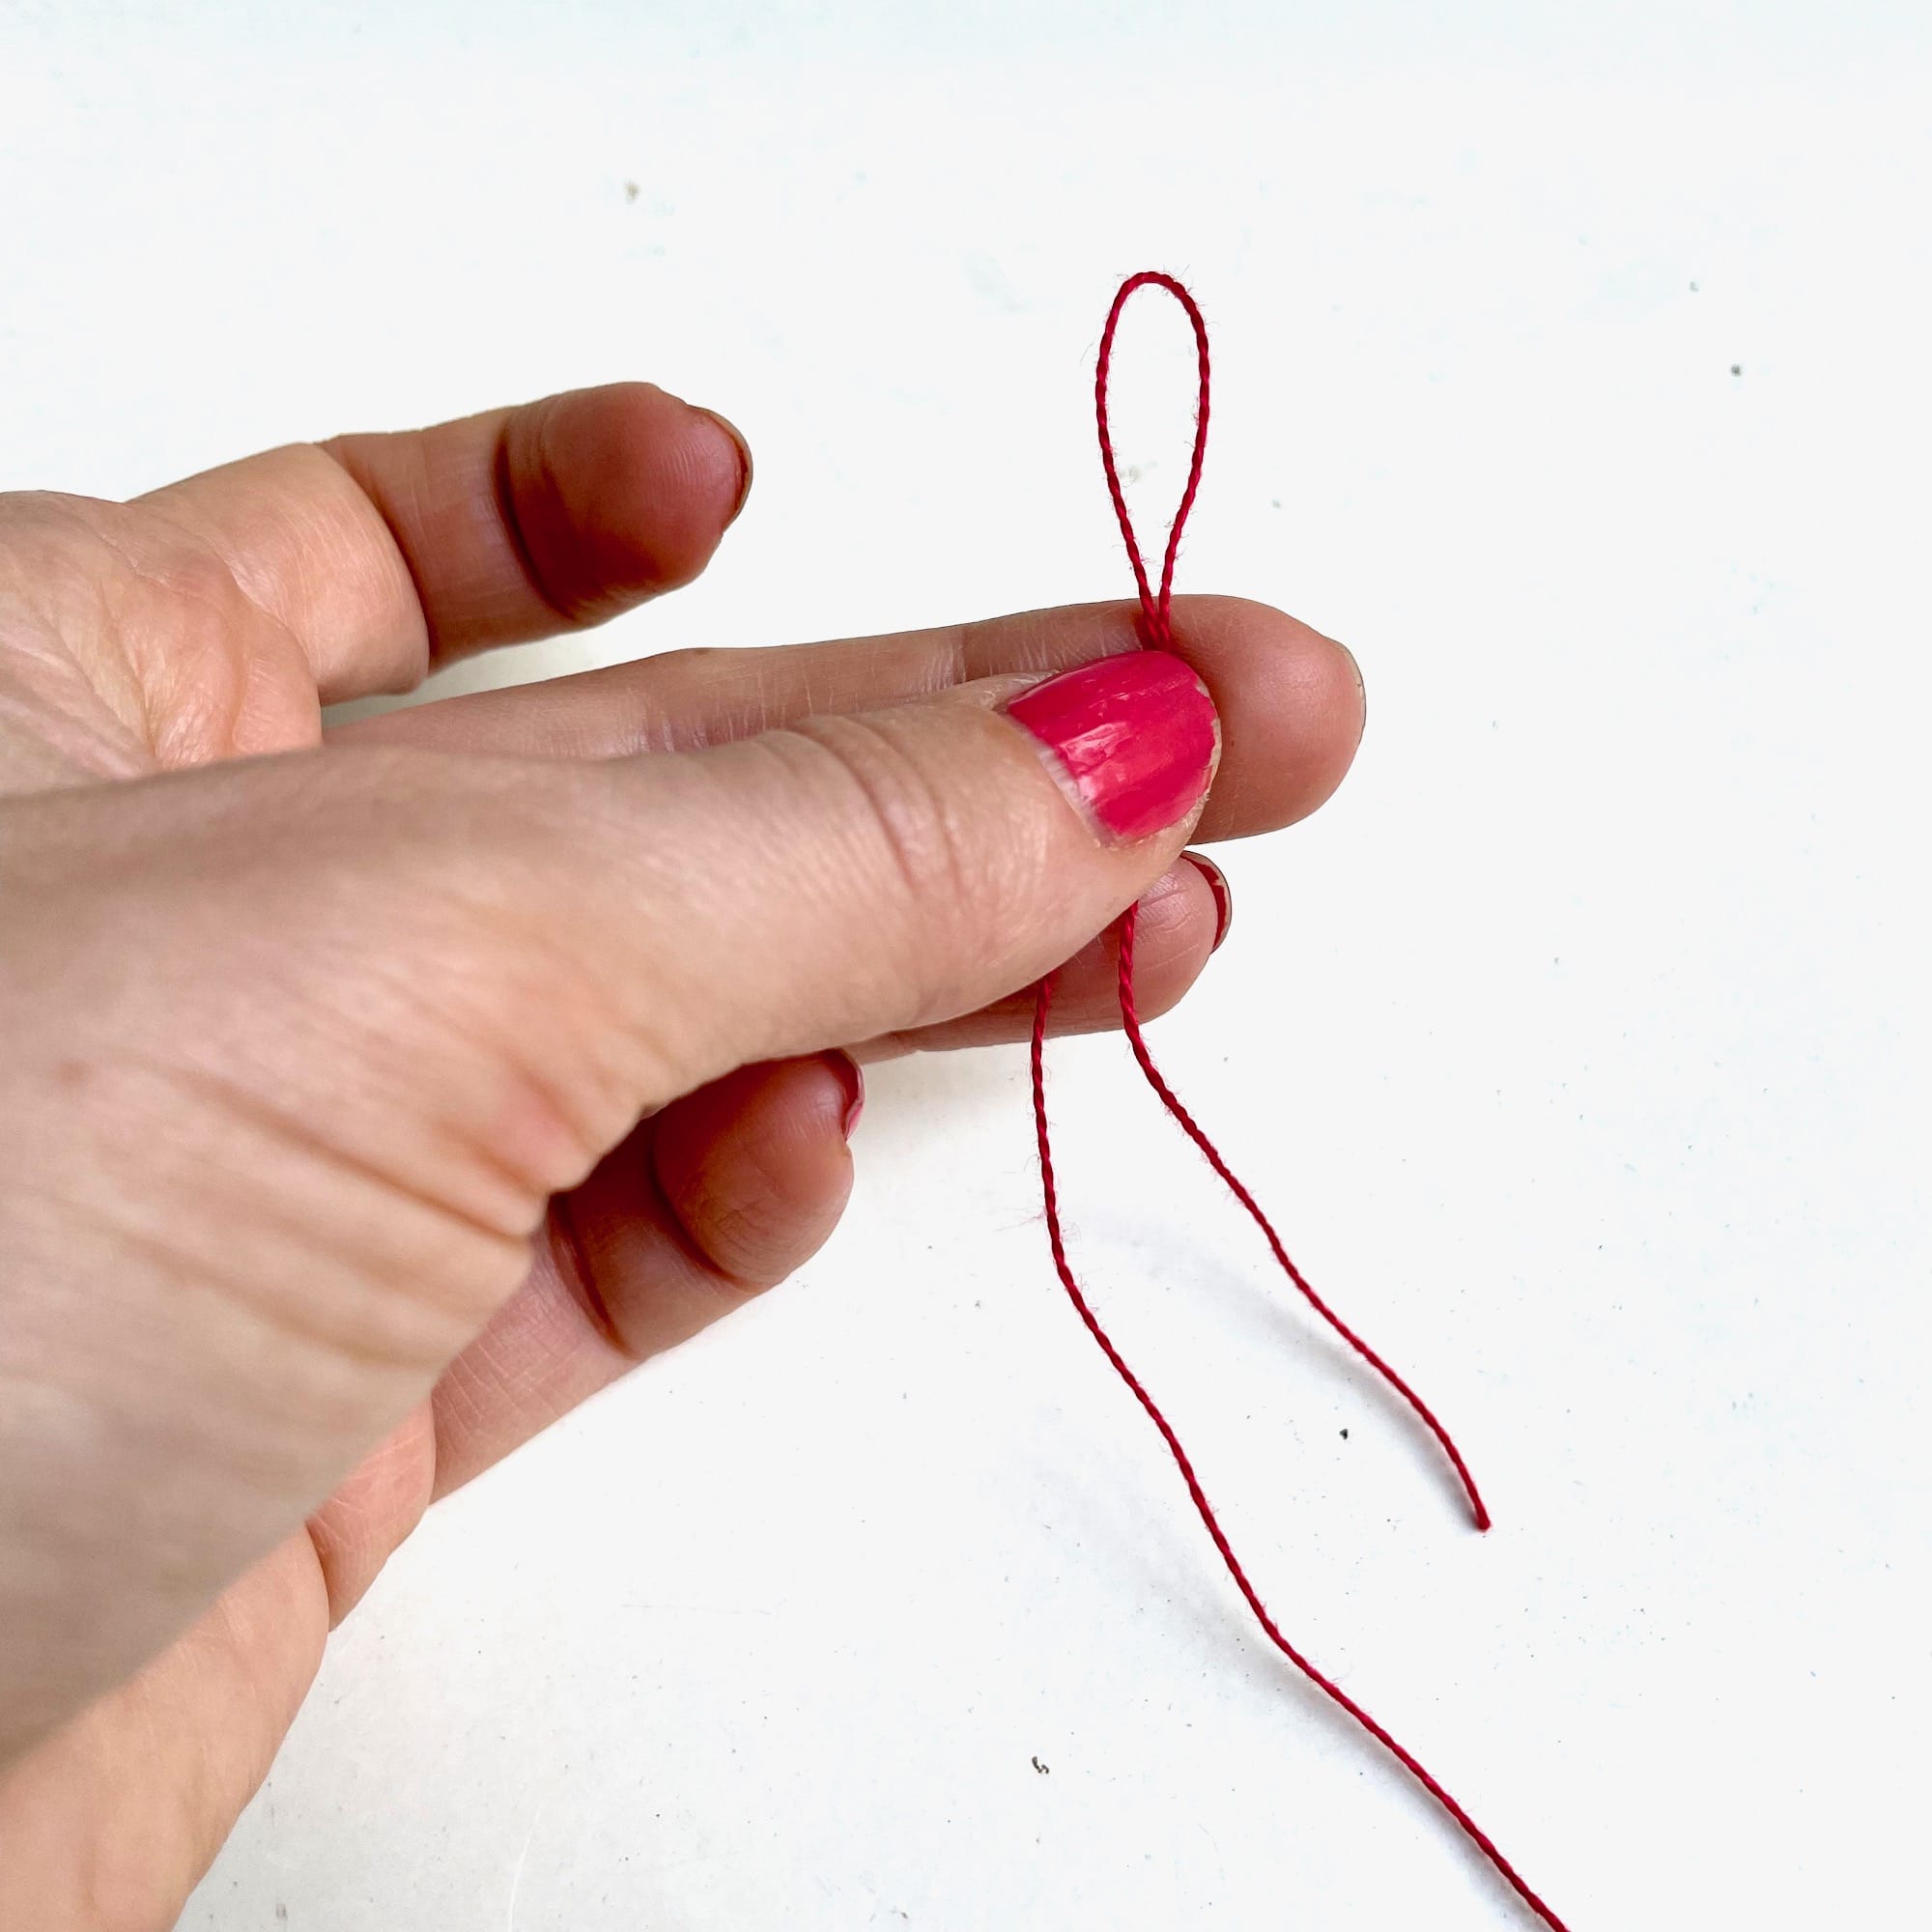
1. To create a loop for hanging, fold one of the tails over by about 3-4” to create a loop.
2. Wrap the loop around your finger.
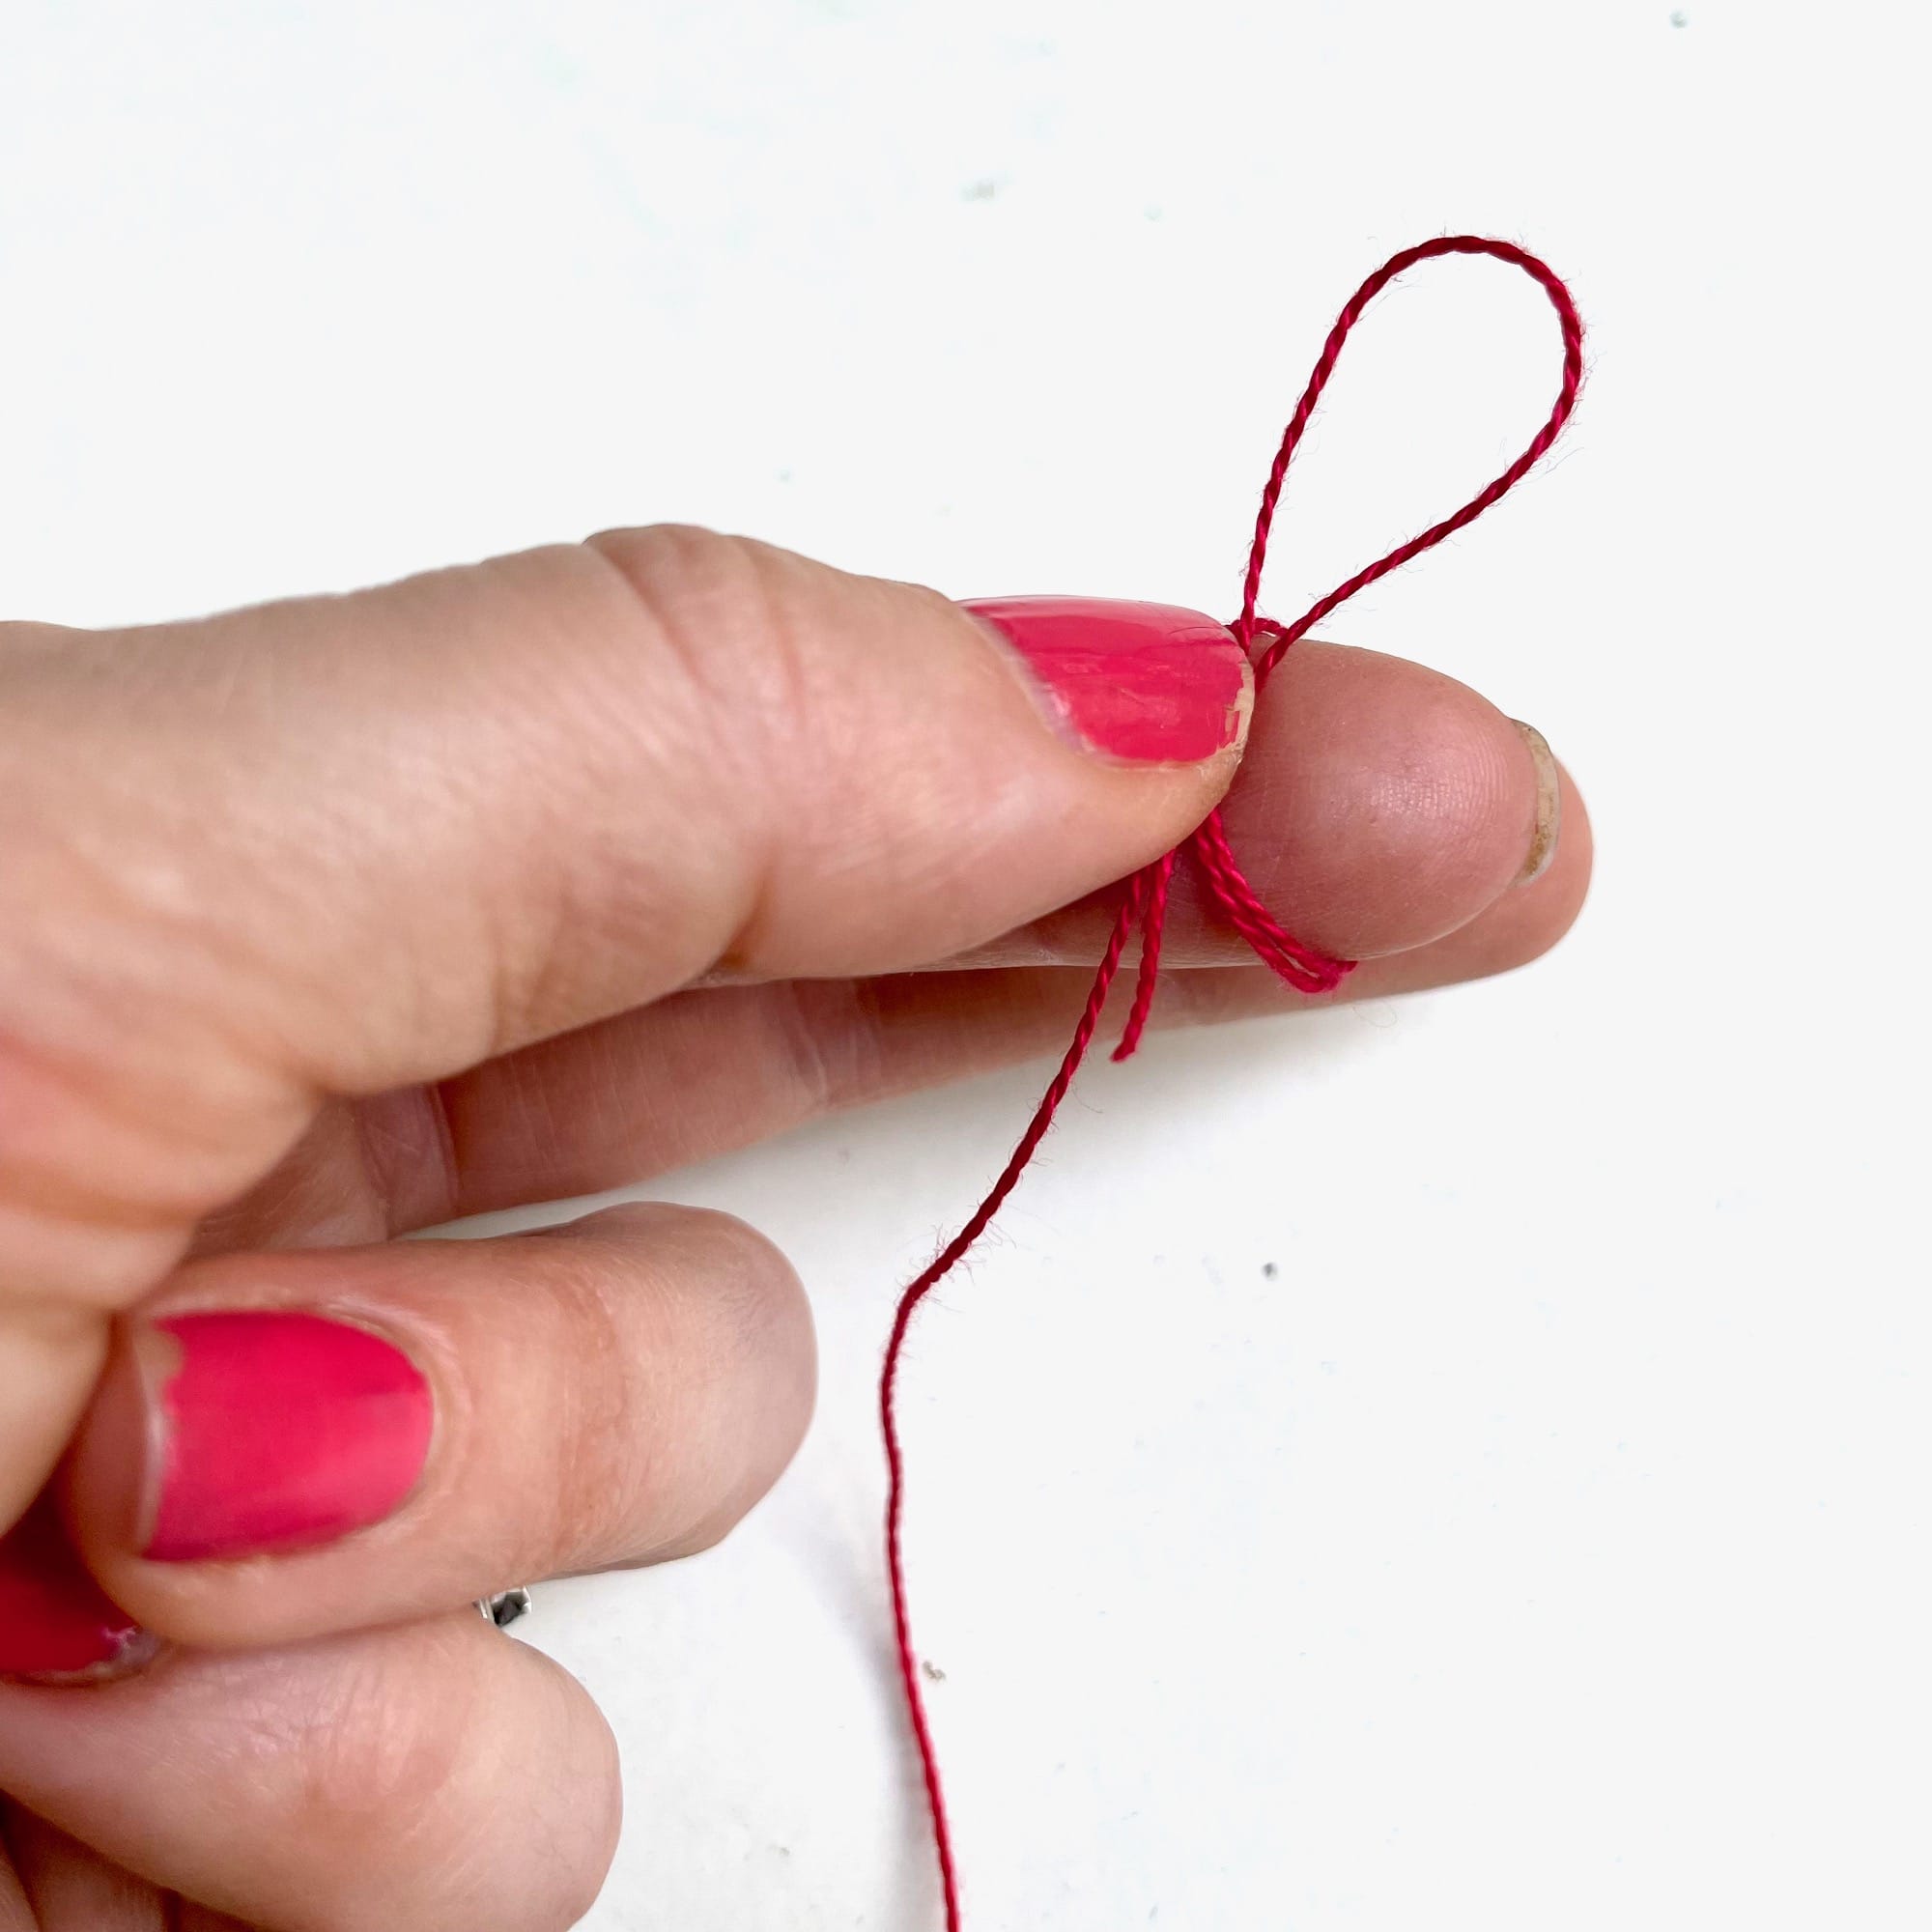
3. Then, create a knot.
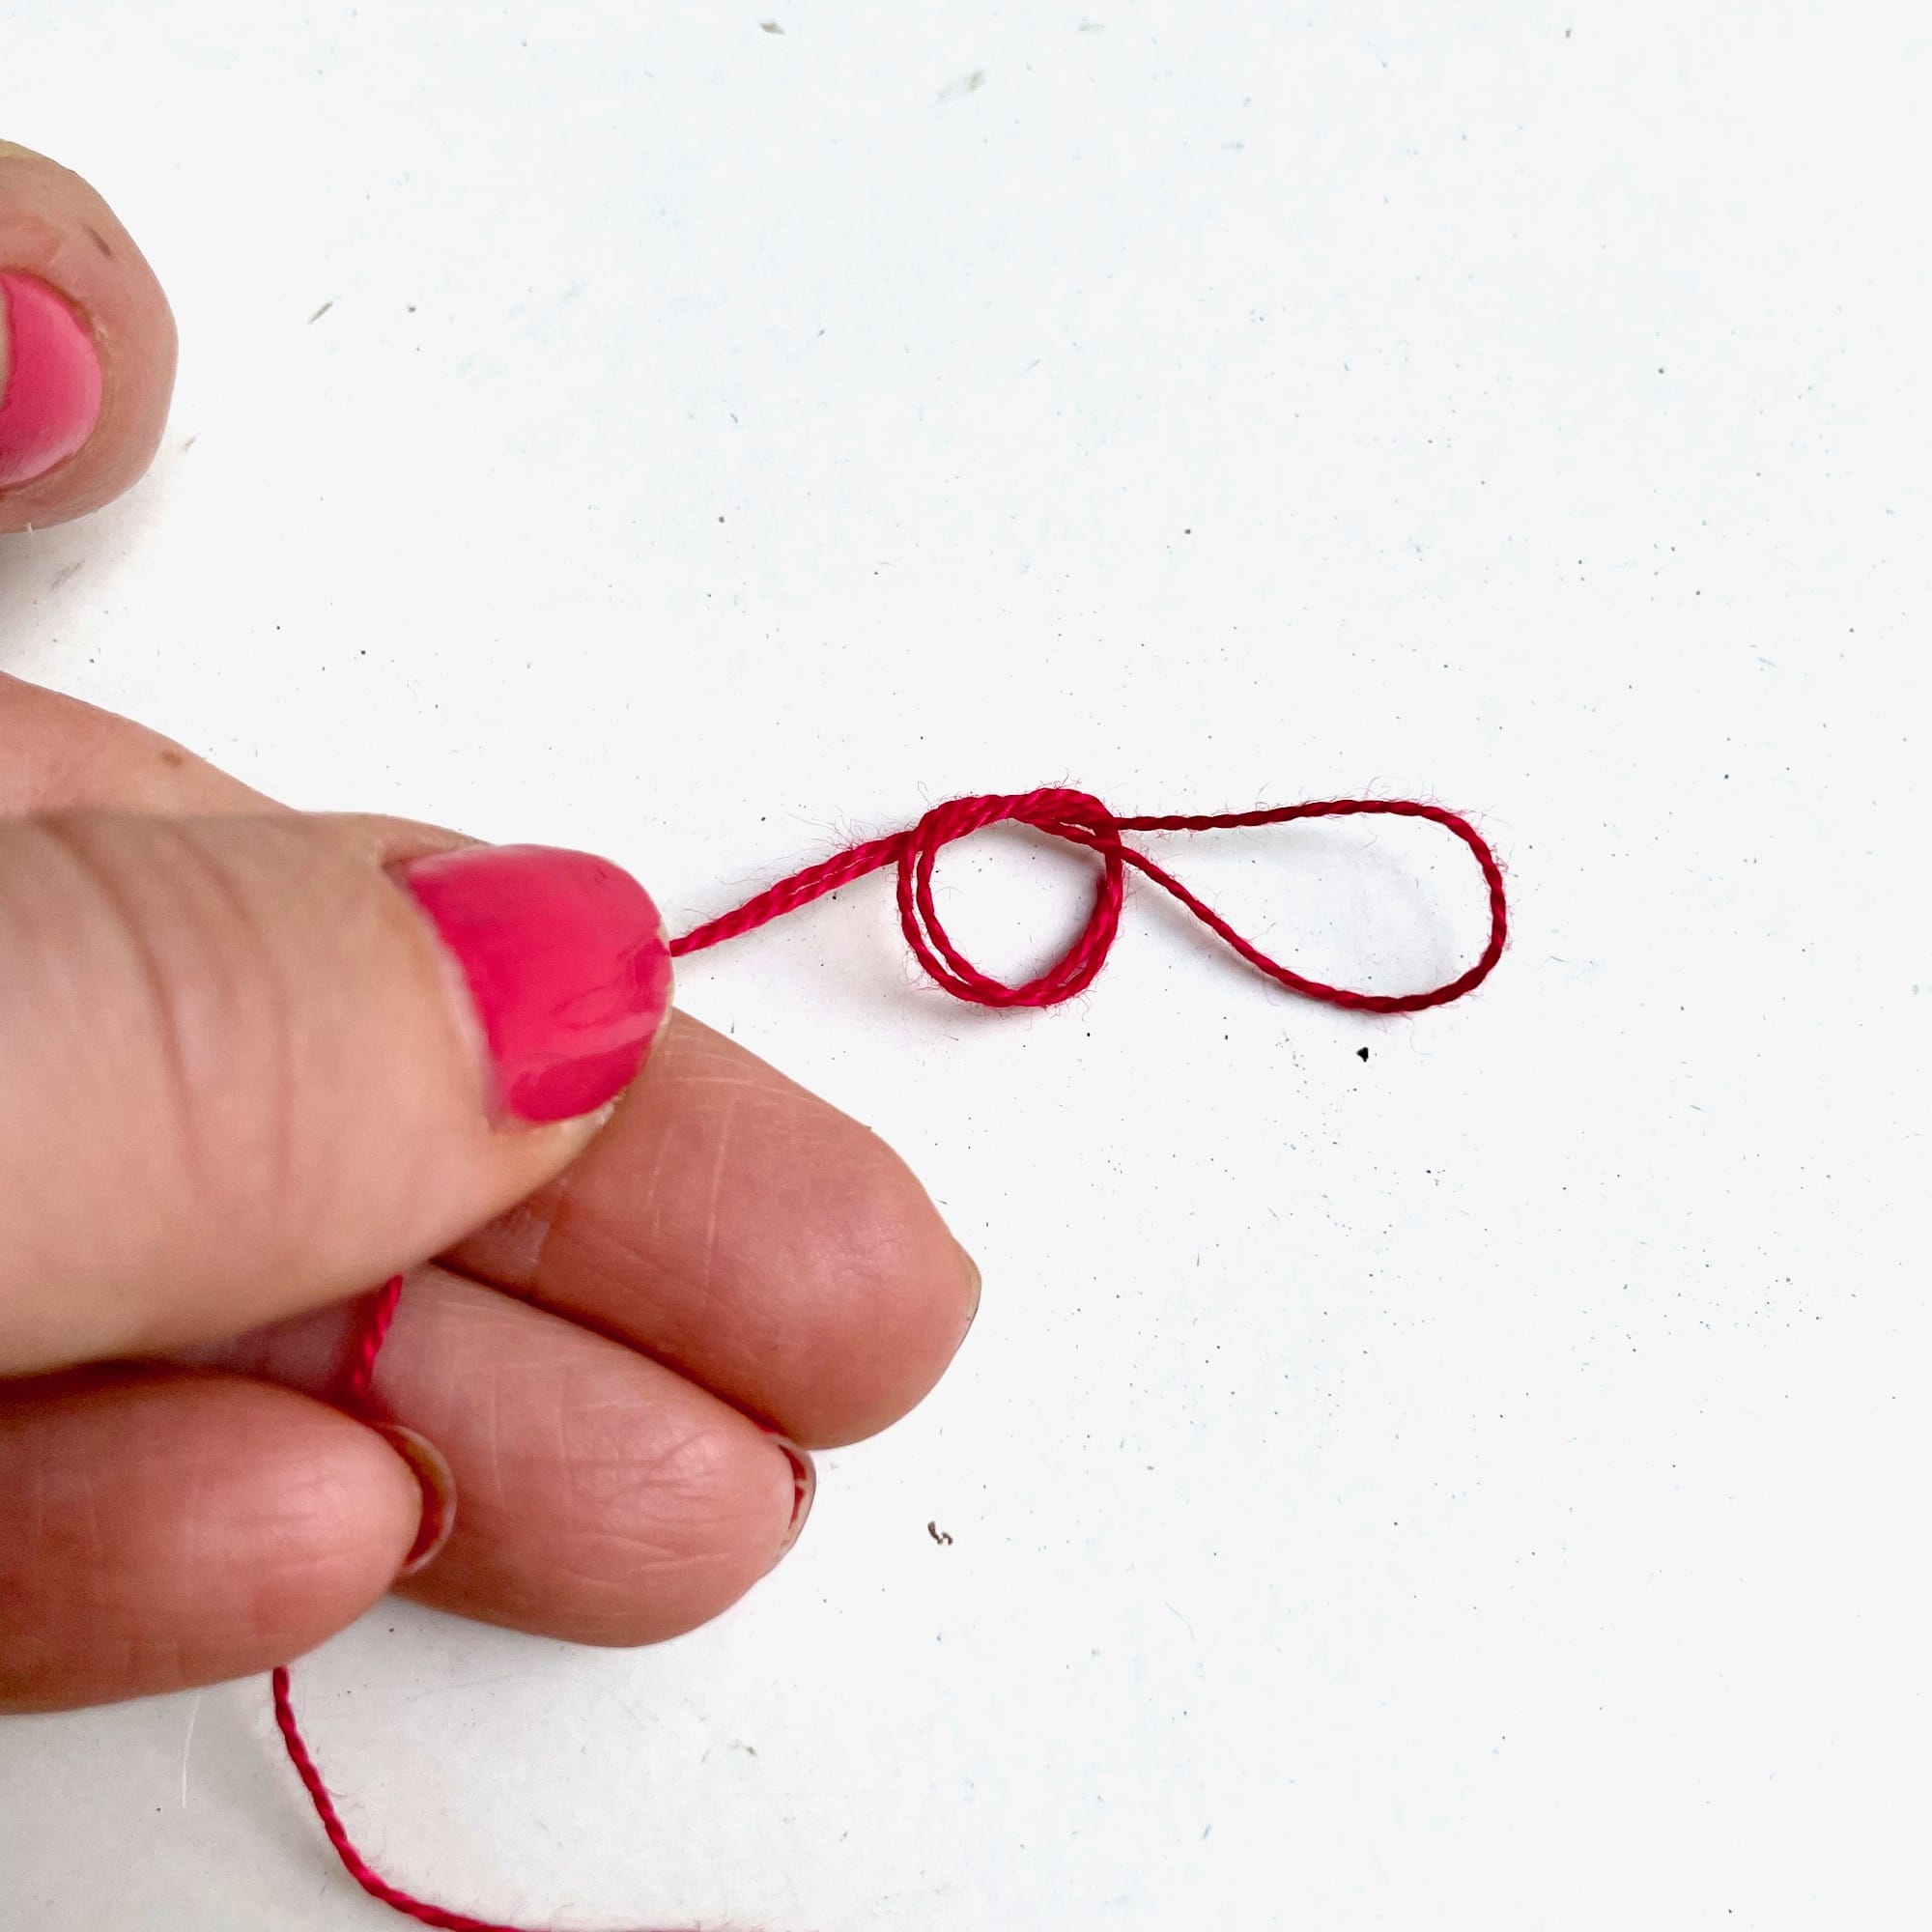
4. Pull the knot tight to complete the loop.
Ready for hanging!
Happy Sewing!
I hope you enjoy making these quilted hexagon coasters! Wouldn’t they make a great hostess gift or grab gift for a holiday get together or party?
If you make some, be sure to tag me on Instagram @stitchingthejourney and use the hashtag #quiltedhexagoncoaster so I can see. Happy sewing!
For future reference, save this handy pin for easy access from Pinterest.
Related Posts
This post may contain affiliate links. You can read my affiliate disclosure here.