This post is part of the Hand Quilting HQ tutorial series. For the most fluid experience, I recommend starting at the beginning since the posts build upon each other. If you missed any of the previous posts, you can find them here.
Before we jump in to the technique of actually hand quilting, it feels pertinent to discuss how to choose a quilting motif for your quilt. Hand quilting was the first method used by quilters of old because they did not have sewing machines. As such, hand quilting became as much a part of the quilt design as the piecing.
Some quilts were simply whole cloth quilts created strictly to display intricate hand quilting designs. Others left ample negative space between blocks in order to display the hand quilting. Still others chose designs that complemented the piecing and highlighted the quilt’s design. The possibilities are truly endless when it comes to the simplicity or complexity of your hand quilting motif. So, to begin, let’s break it down into a few of the most commonly used techniques.
Hand Quilting Motif Variations
Outlining
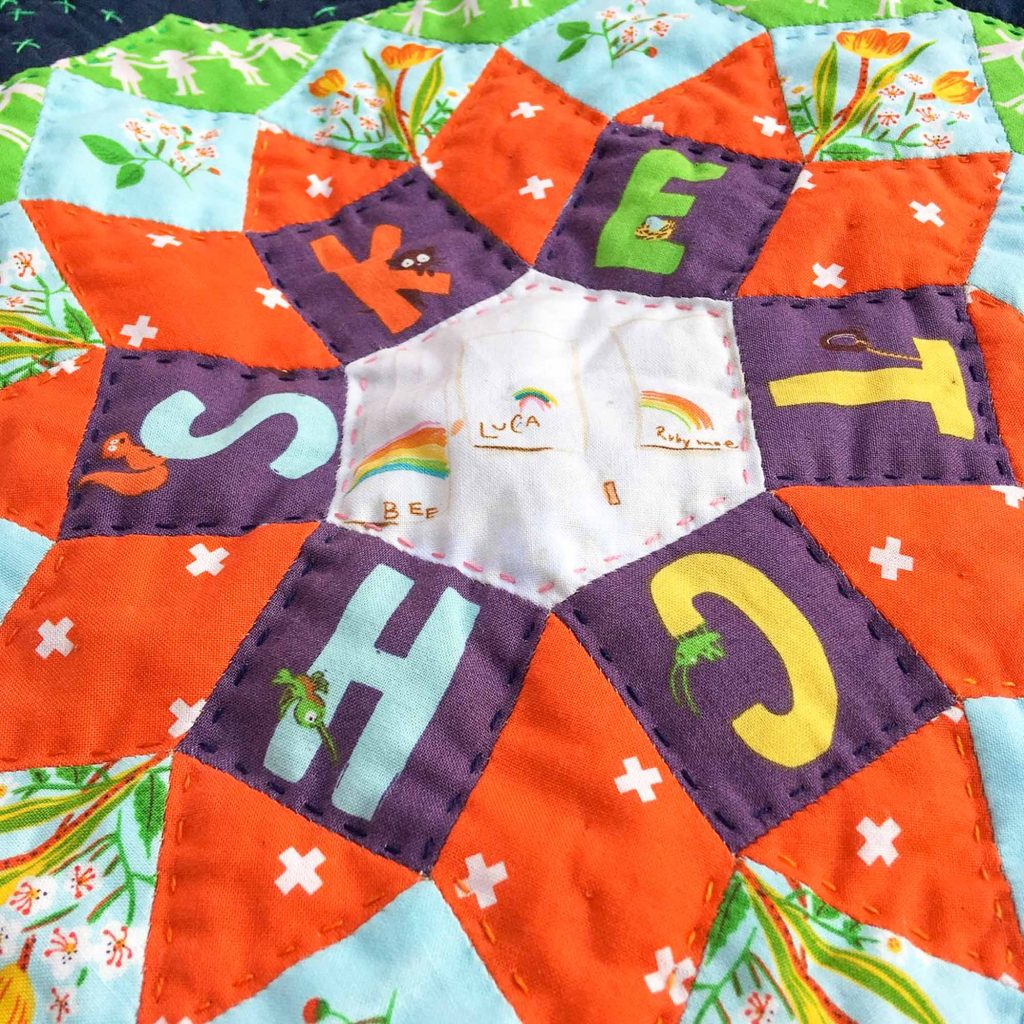
This technique employs a very simple method to highlight your piecing. Simply use the shapes in your pieced design to outline the shapes on the inside or outside of the design. This is a great option for appliqué or English paper piecing where the design itself is the feature, not the quilting. I used this method for hand quilting my mini Mandolin quilt. (Pattern design by Jodi Godfrey of Tales of Cloth.)
Filling
As I previously mentioned, many traditional quilters would fill in the “blank” spaces between appliqué or various blocks with a filling stitch. This commonly featured a simple cross hatch design, but feathers and versions of paisley were popular as well.
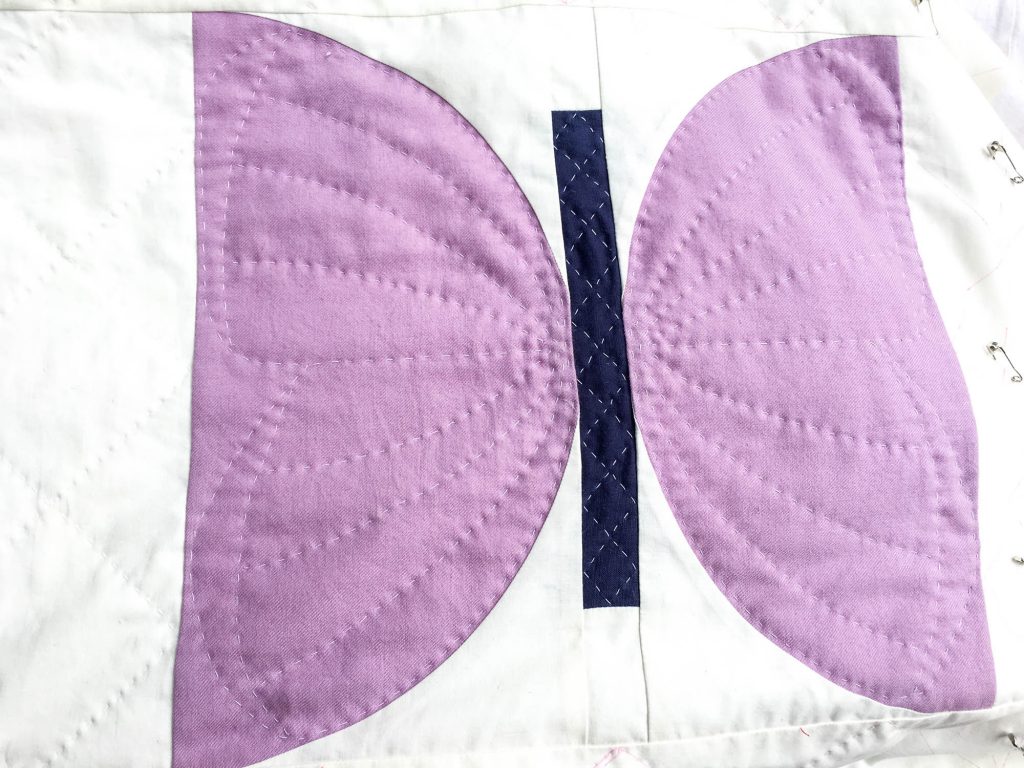
You can let your creative juices run wild with this technique creating extremely intricate and custom designs. I had so much fun free hand drawing the filler designs for the Metamorphosis quilt I’m working on. (Pattern design by Brittany Lloyd of Lo and Behold Stitchery.)
Alternatively, quilt stencils are available online and in major craft stores if you want to add some more intricate designs as filling. These come in a variety styles and can be traced onto your quilt using a removable marking pen, which I’ll discuss later in this tutorial.
All Over

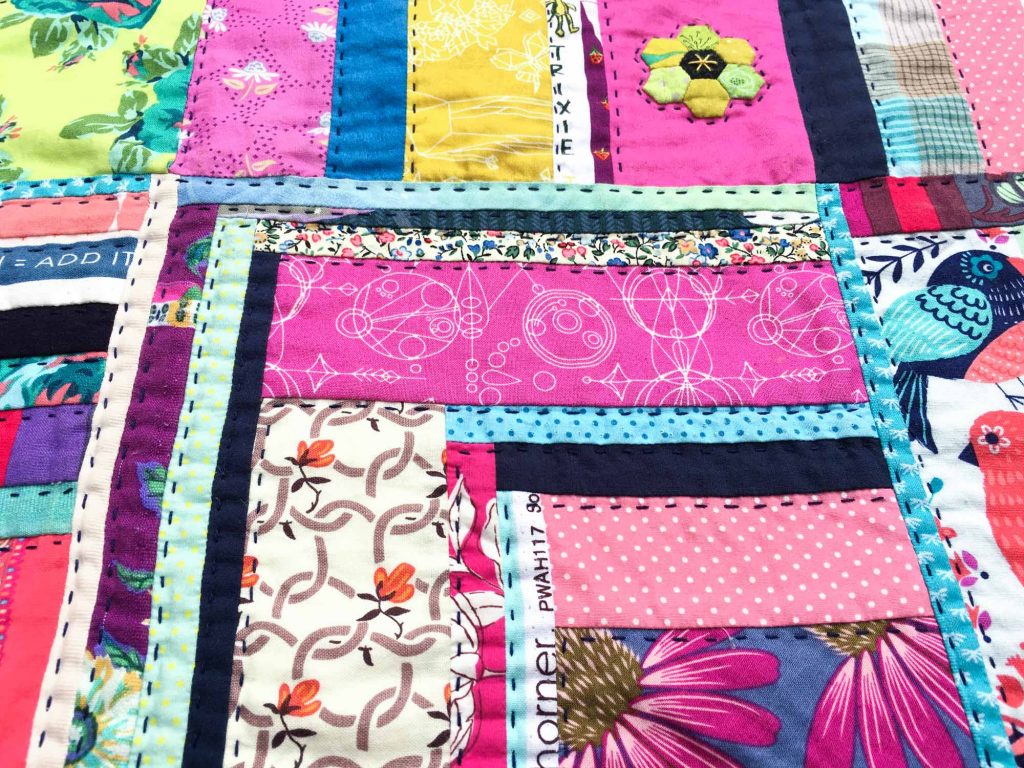
This quilting design disregards the quilt design in once sense, and simply runs over the whole quilt without stopping. Cross hatch, straight line, diagonal lines, and zigzag lines are very common as all over hand quilting designs. The straight line quilting on my Bible cover almost has a plaid feel to it.
Try Them All
Each quilt motif style varies in difficulty and skill level, but each uses the same technique. If you are just getting started with hand quilting, I recommend choosing an all over variation of straight line quilting that complements your quilt. Despite its simplicity, when utilized creatively, you can achieve some delightful variations.
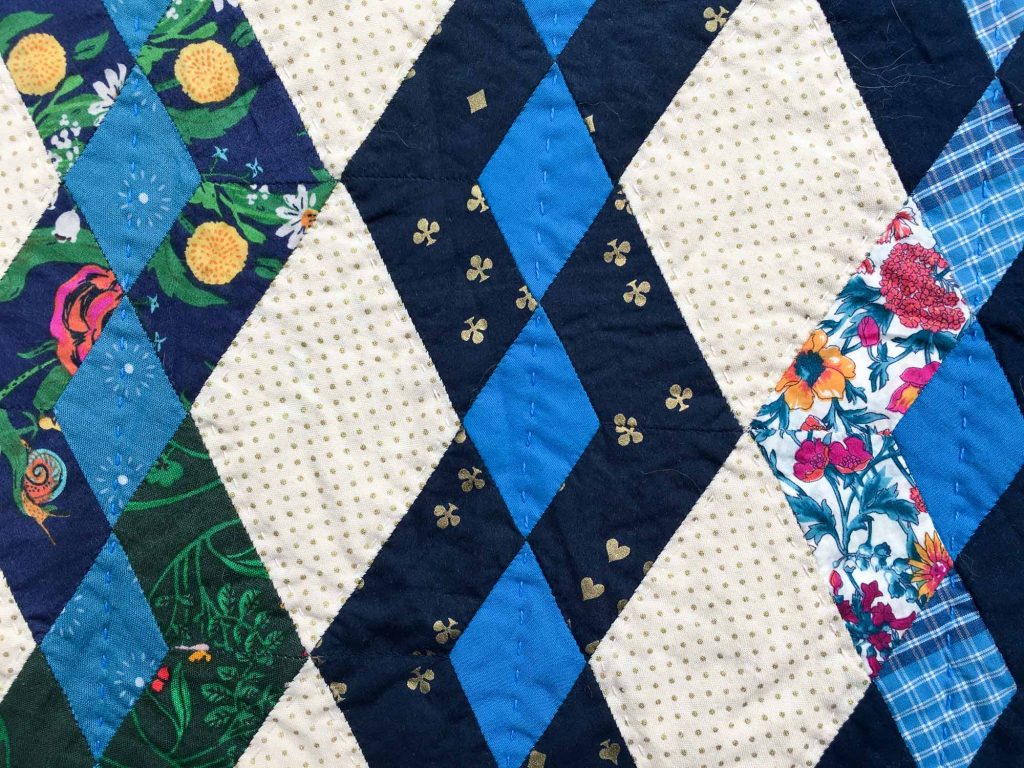
For my Caspian quilt (pattern design by Jodi Godfrey of Tales of Cloth from her Hexie Handbook) I used a combination of all over and outlining for my quilt motif. The blue diamonds simply feature straight quilting lines that run across the quilt. However, while the larger cream diamonds appear to be outlined, they were actually created by quilting a continuous zigzag line along the inside of the row of diamonds on either side. As a result, the difficulty level was rather simple, but the effect of the quilt motif really complements the English paper pieced quilt design.
Designate Your Quilt Motif
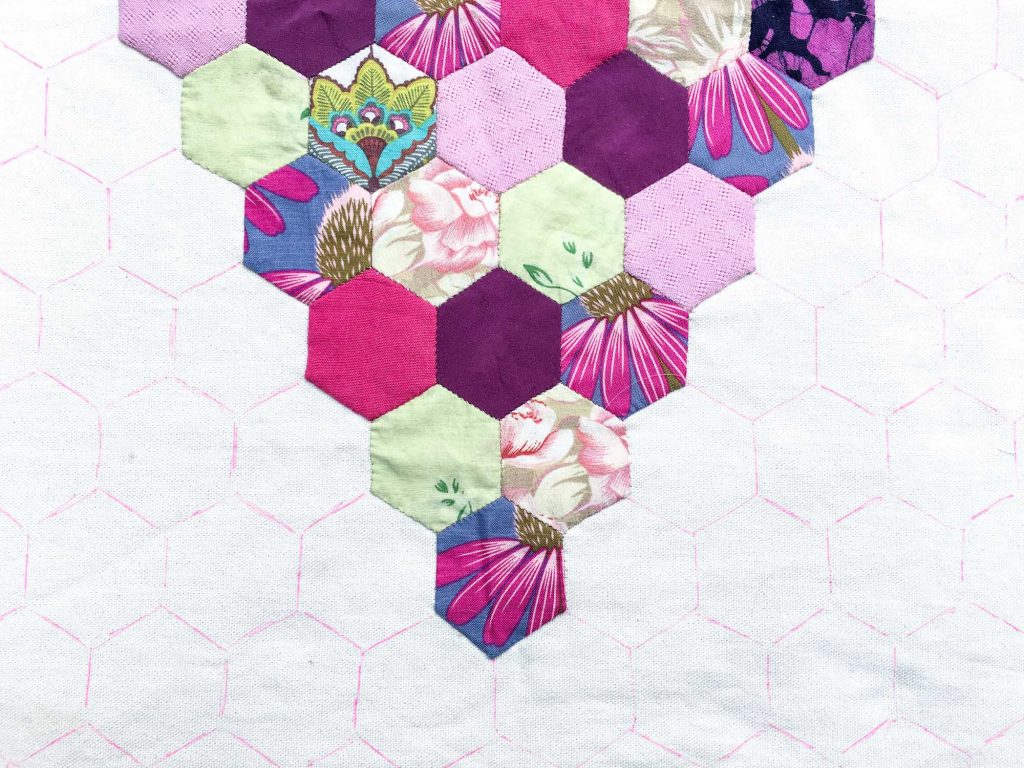
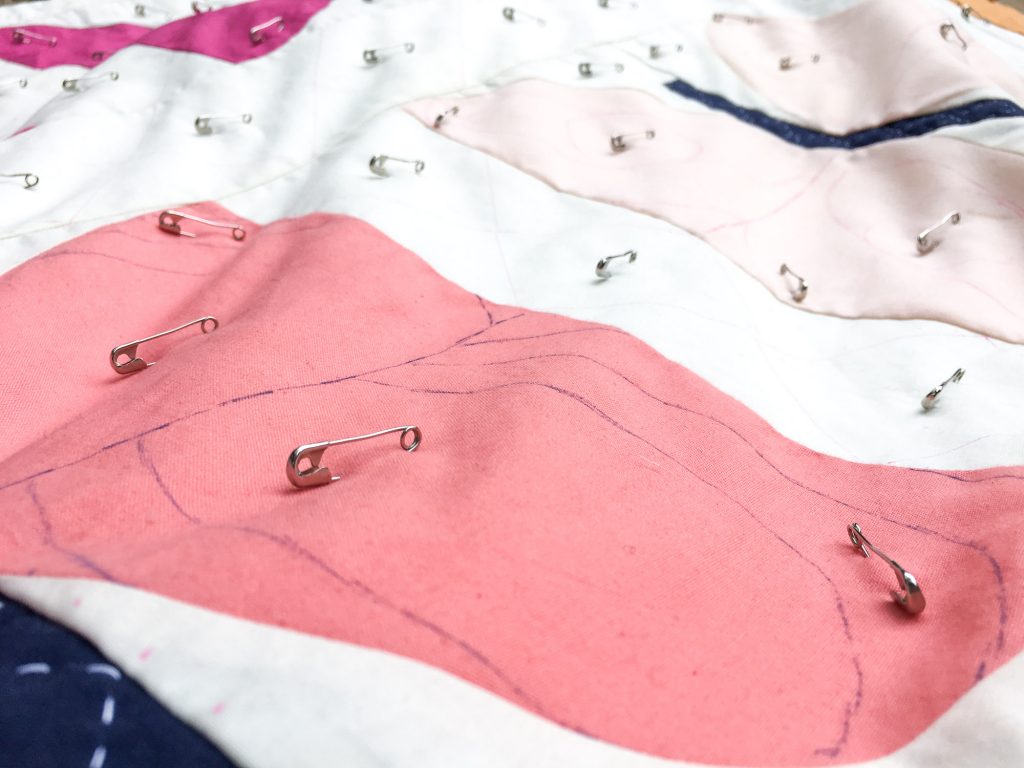
Before we continue, I should mention that choosing your quilt motif before basting your quilt can really help with the basting process. I have discovered that designating my quilt motif makes the placement of my basting pins much more efficient. By strategically placing the pins, I don’t have to remove them constantly because they obstruct the quilting lines.
Designating a quilt motif could simply mean outlining a block design, so no marking lines are necessary. However, if you choose to create custom filler or all over designs that would benefit from drawing the quilt motif onto the fabric, this is the time to do so.
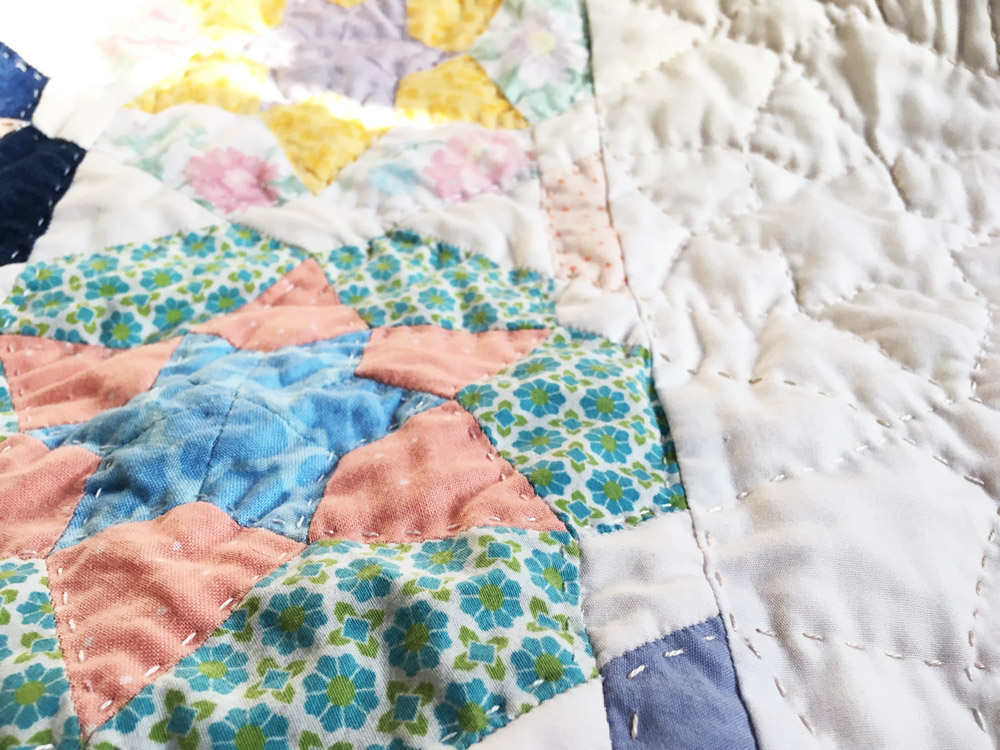
By way of example, when I hand quilted my Ice Cream Soda quilt (pattern design by Jodi Godfrey of Tales of Cloth), the majority of the quilting was outlining. I chose to outline the inside of each round. However, the plain white borders proved a bit trickier. I wanted to carry the outlining of the Ice Cream Soda blocks into the border as a filler design. It was a bit complicated, but I created stencils imitating the outline of each round and traced them onto the border. Designating this design before basting allowed me to baste the whole quilt accordingly. I will cover basting in the next tutorial.
Mark Your Quilt Motif
This section will sound familiar to anyone who followed along with the EPP Pro tutorial series, since I tend to use similar supplies when I can. However, it feels pertinent to cover them again here.
Heat Erasable "Frixion" Pens
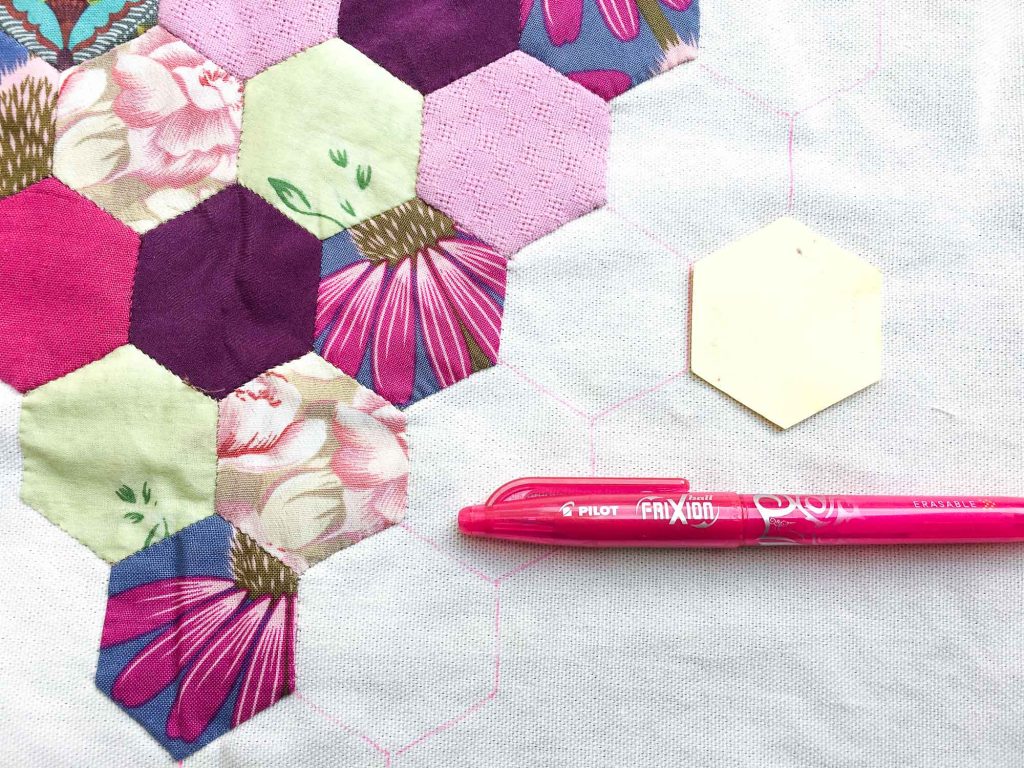
So, if you’ve been around any length of time here, then you know I am a huge fan of Frixion pens. They are gel pens that disappear with heat. On paper they disappear through the heat of friction, but on fabric a quick iron does the trick! While I have used these pens countless times on everything from quilting motifs to embroidery transfers to EPP, I always feel compelled to share a disclaimer.
Since they are heat removable, beware of leaving a quilt with a design transferred using one of these pens in the car in the summer. I have heard frustrating stories of them disappearing. Conversely, I have heard interesting stories of the designs reappearing in the cold weather if the quilt was never washed. This is more of a risk when creating “art quilts” that might not be washed or are being displayed at a quilt show.
I have never had any markings reappear on a quilt, but again, I feel compelled to share what I’ve heard about these pens outside my personal experience. I always advise trying out a small practice swatch before applying these to a prized heirloom quilt.
Chalk Pencils

While I use Frixion pens every chance I get, they don’t work very well on darker fabrics. So, when I need to mark something on a black, navy blue, or other saturated fabric, I use chalk pencils.
My favorite are these from Clover since you can sharpen them with a regular pencil sharpener when they get dull. Of note, these do buff out rather quickly, similarly to chalk on a chalk board. Hand quilting can speed this process up particularly because of the continual movement and manipulation of the quilt sandwich during hand quilting. As such, I try to either quilt these sections first or choose a quilt motif for the darker sections that don’t require marking, such as outlining or an all over design.
Water and Air Soluble Markers
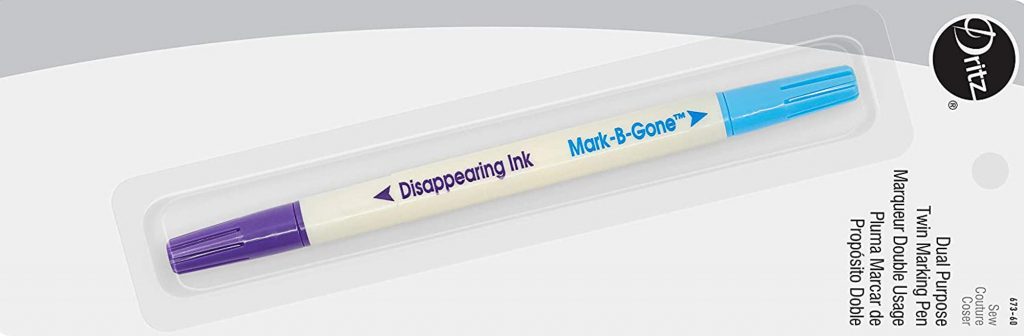
I have tried a few different water soluble markers. However, to my dismay, I had mixed results with how truly removable they were. Sometimes the marks would reappear after the water dried.
I have also tried air soluble markers. These are magical in that they disappear on their own, but they’re not ideal for hand quilting anything very large since they tend to disappear within 24 hours.
Ready to choose a quilt motif?
I hope that this preliminary hand quilting tutorial has equipped you with a little more insight into choosing your next hand quilting motif. Feel free to hand quilt along with this tutorial series since stitching with each other is always my favorite. A mini quilt or mug rug made from an orphan block or favorite fabric is a great place to start!
What to Expect in the Next Tutorial
In the next installment, we get into the nitty gritty of basting a quilt. The techniques I share apply to machine or hand quilted quilts, but I’ve added in a few tips specifically for hand quilted quilts. I should mention that I used to hate basting with a passion, but since picking up a few tricks and tools along the way, I have streamlined the process to the point that it’s no longer a dread. You can find that post here.
Don’t forget, you can always find all of the sections of the Hand Quilting HQ tutorial series here. Or you can use these handy pins for easy access from Pinterest.