I have really wanted to jump on the quilt coat bandwagon. Wearing a quilt? Yes please! But, alas, I’m not a garment sewist, and though I could likely figure it out with all of the patterns and tutorials out there, I just keep putting it off.
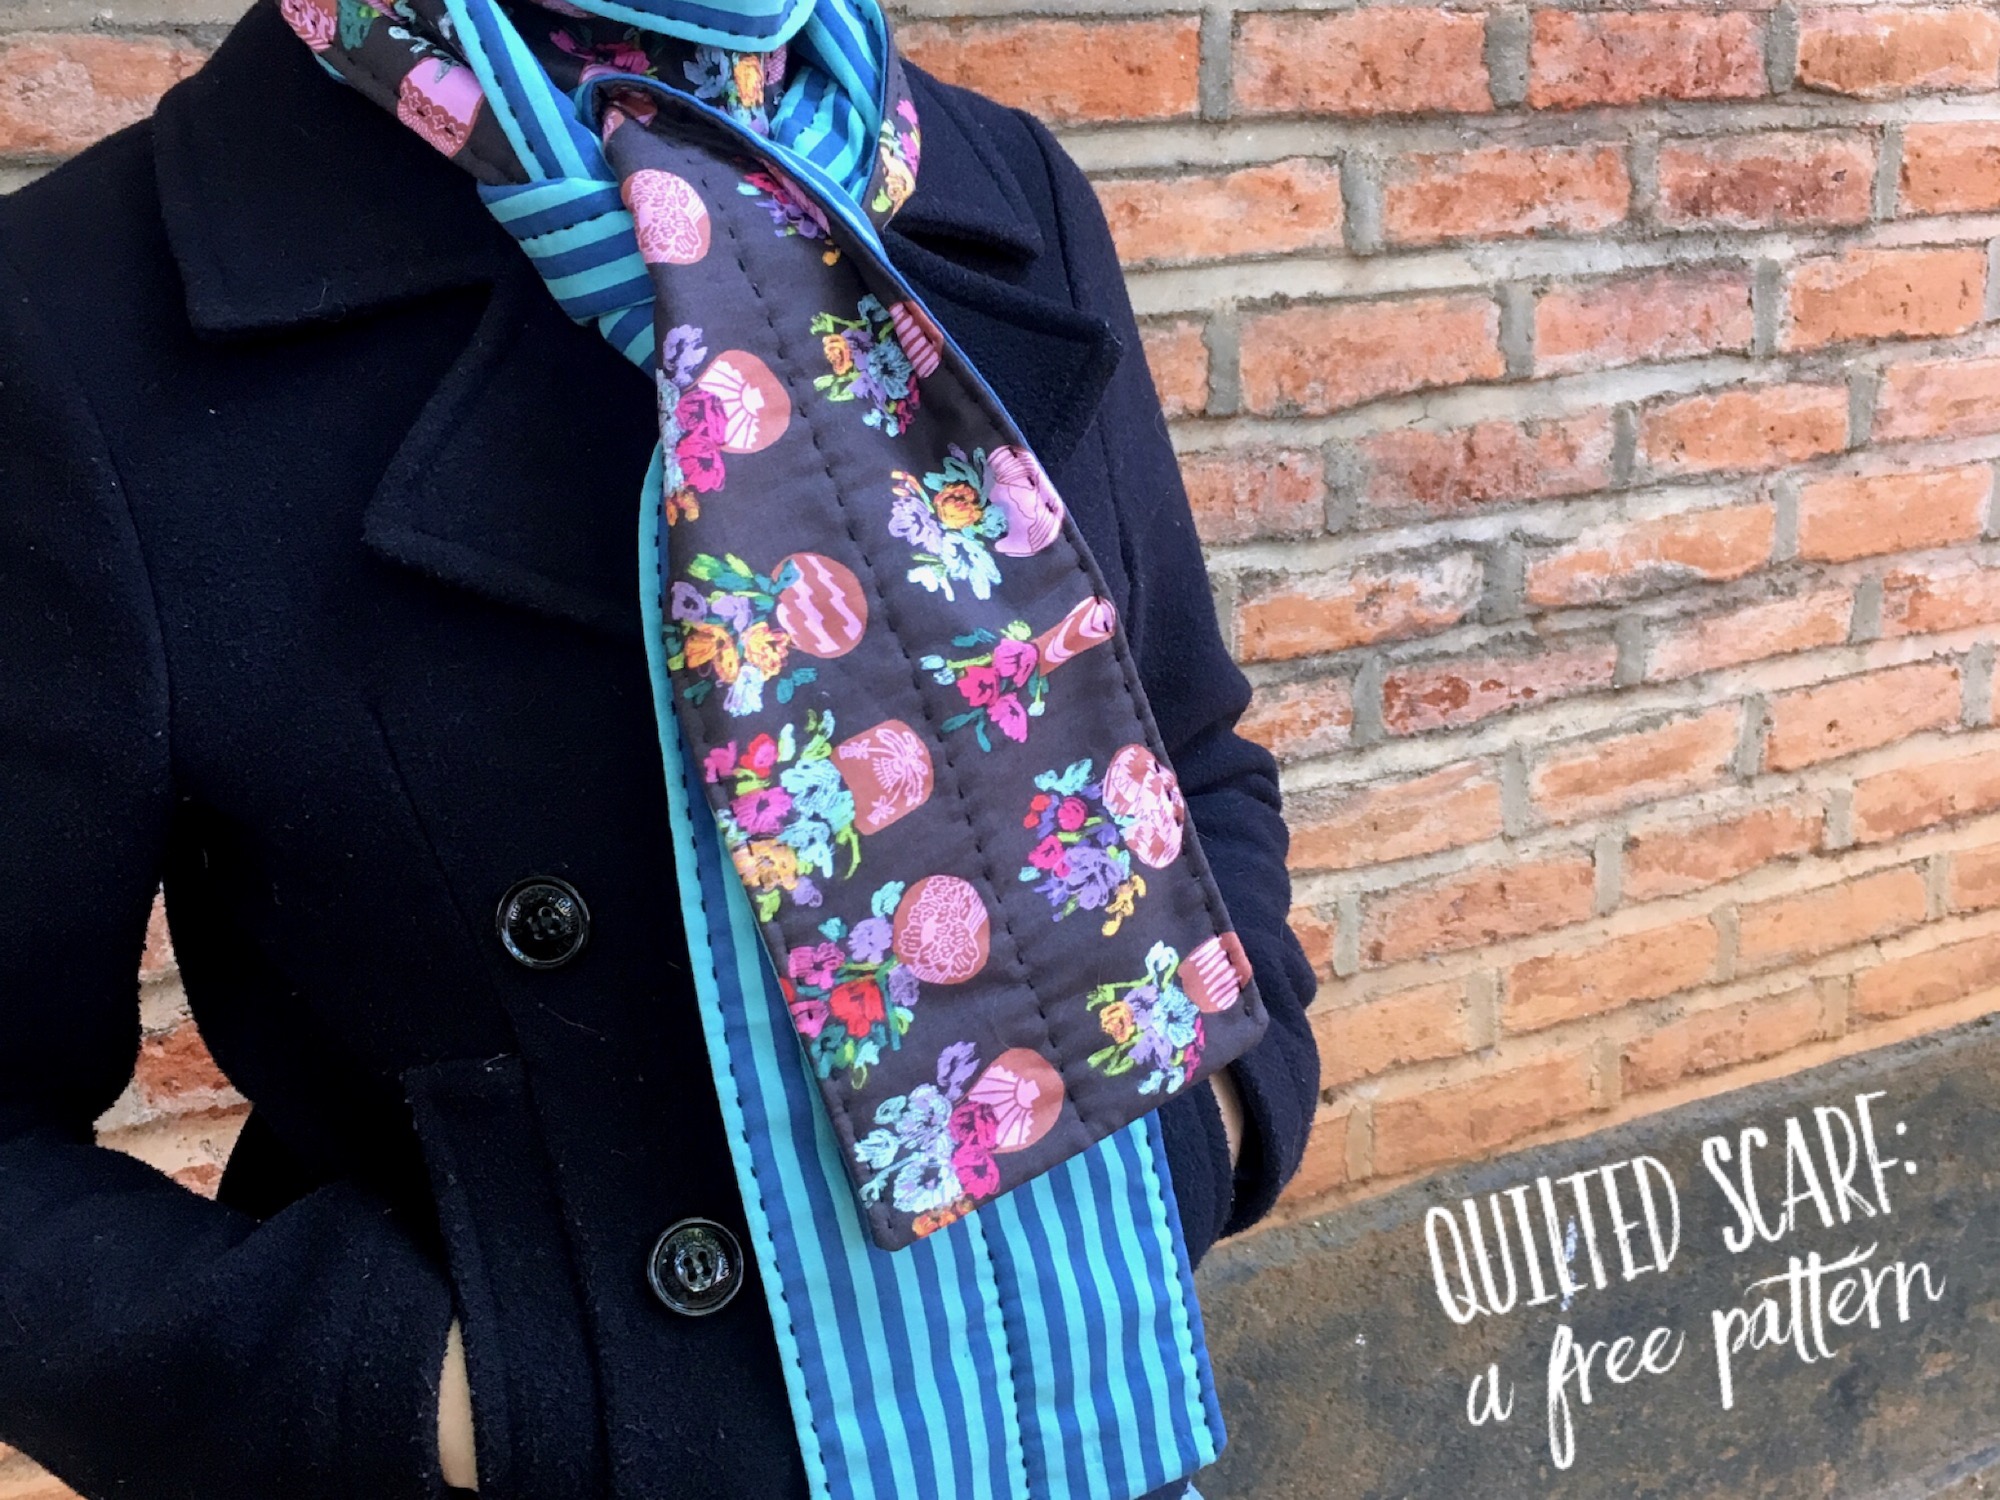
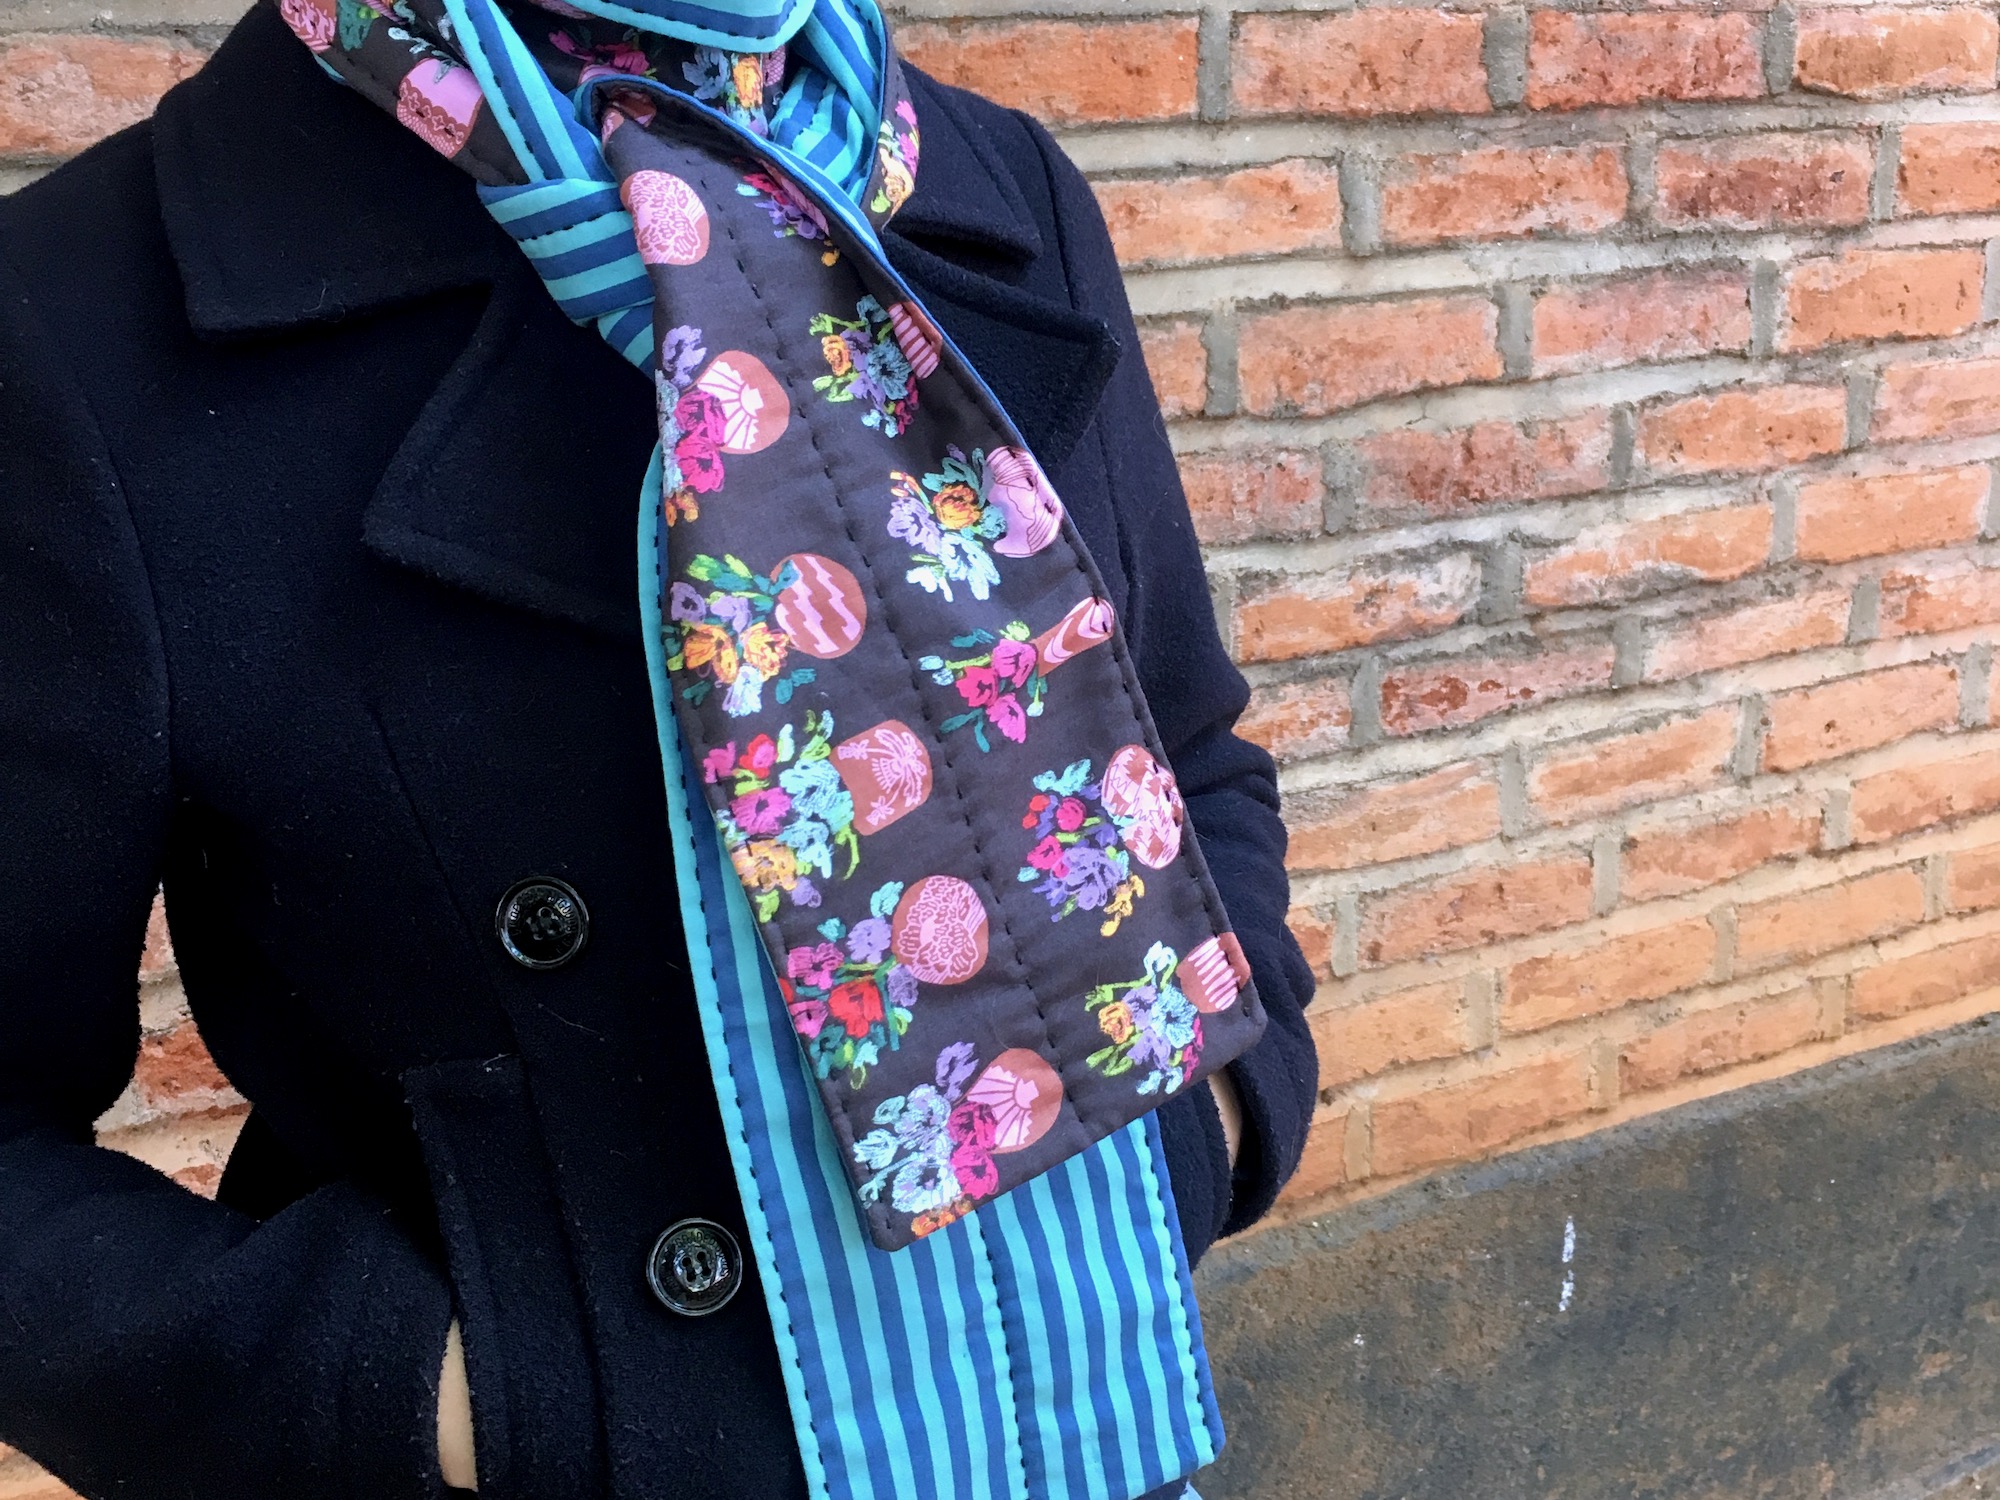
BUT. A quilted scarf? That, I can handle. Also, I don’t know about you, but I can never have enough scarves. AND, with this simple design that can easily be constructed in an afternoon, I have a feeling that several quilted scarves will be making their way as gifts to friends and family this Christmas…
So, if you’re like me and want a wearable quilted garment but either don’t have the skill set (yet) or time to make a quilt coat, here is a quick and easy tutorial for making a quilted scarf!
Supplies
1/2 yd each of two coordinating fabrics (this is a great way to show off some of those larger scale prints that we all love!)
Scrap strip of batting roughly 8” x 84” (this is a great way to use up some of those long strips of batting that get cut off from around your quilt when you trim it after quilting)
Sewing machine
Pins
Thread
Quilt ruler, rotary cutter, and cutting mat
Scarf Construction
Of Note:
This tutorial is fully customizable for length and width. I’ve chosen my dimensions either because of the scale of the print or out of simplicity. Feel free to modify accordingly!
One last thing before we begin. I have endeavored to create as aesthetically pleasing a layout as possible with this post in order to enhance readability. As such, desktop users will notice that the list of steps is staggered with an alternating text block and image. If the images appear too small at any time, simply click on the image and a full scale version will pop up.
Instructions:
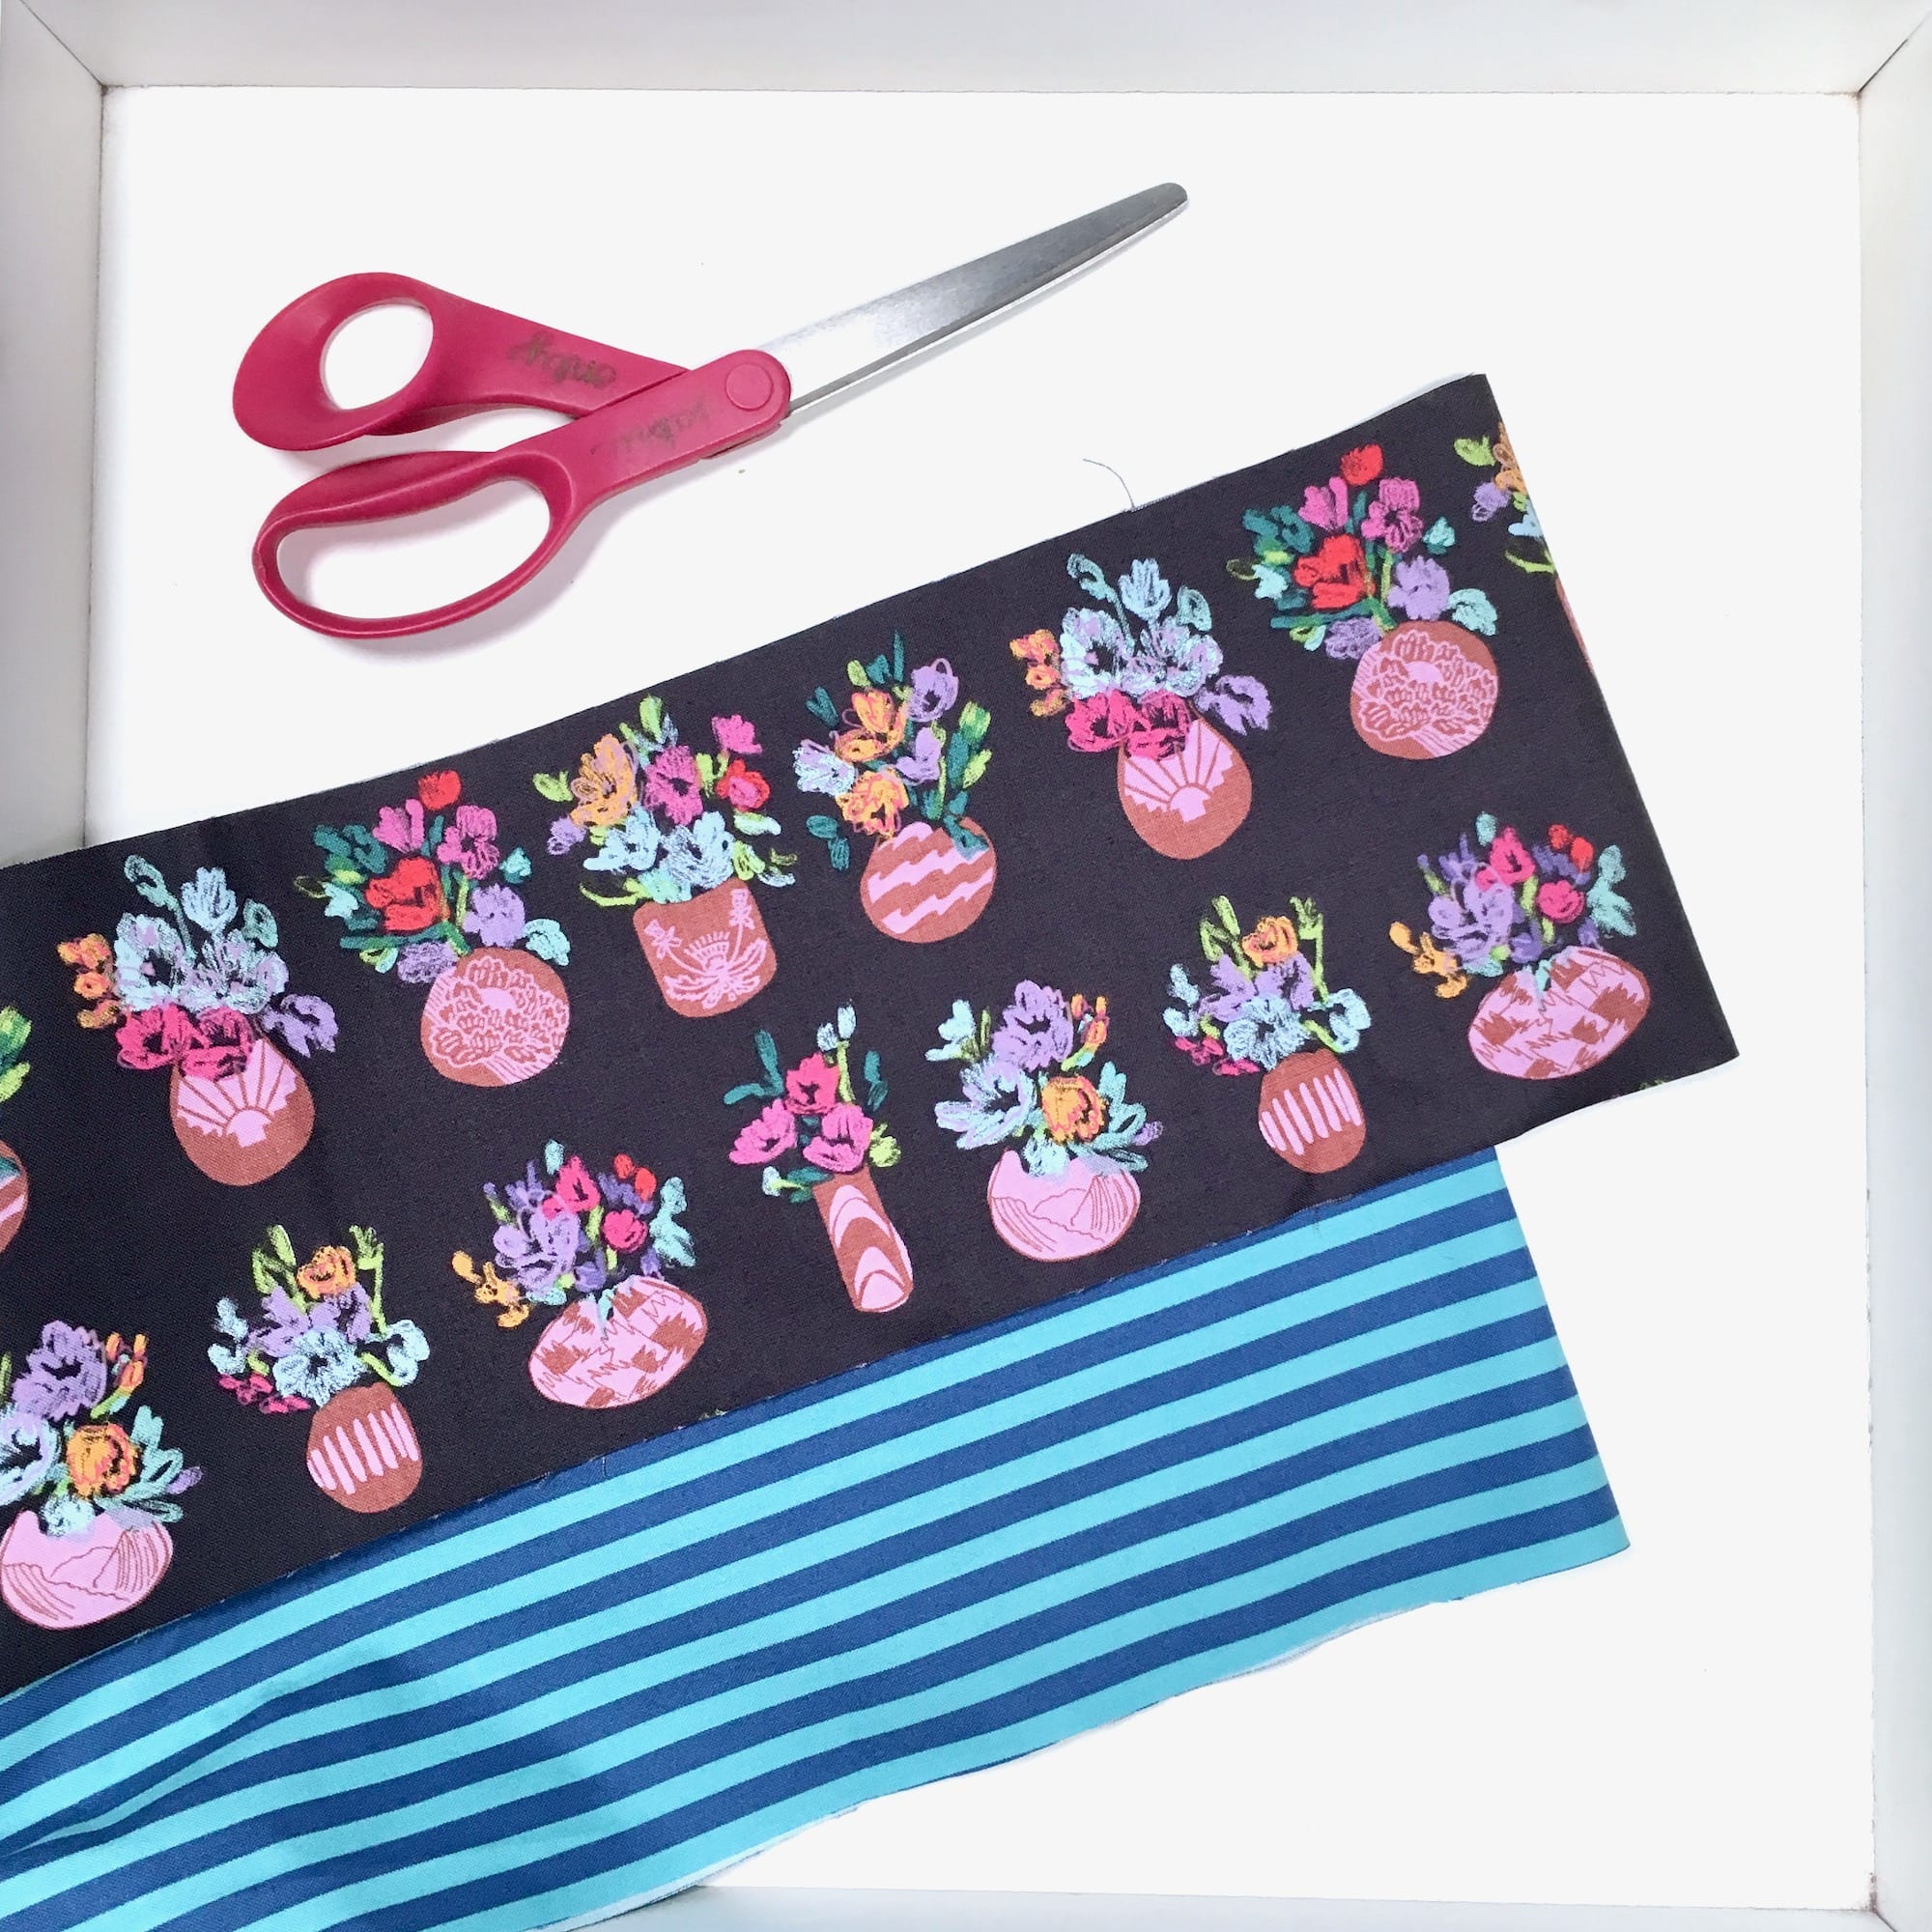
1. Cut (2) 7” x width of fabric (WOF) wide strips from each of the two coordinating fabrics.(You will need two WOF strips from each fabric for a total of four strips.)
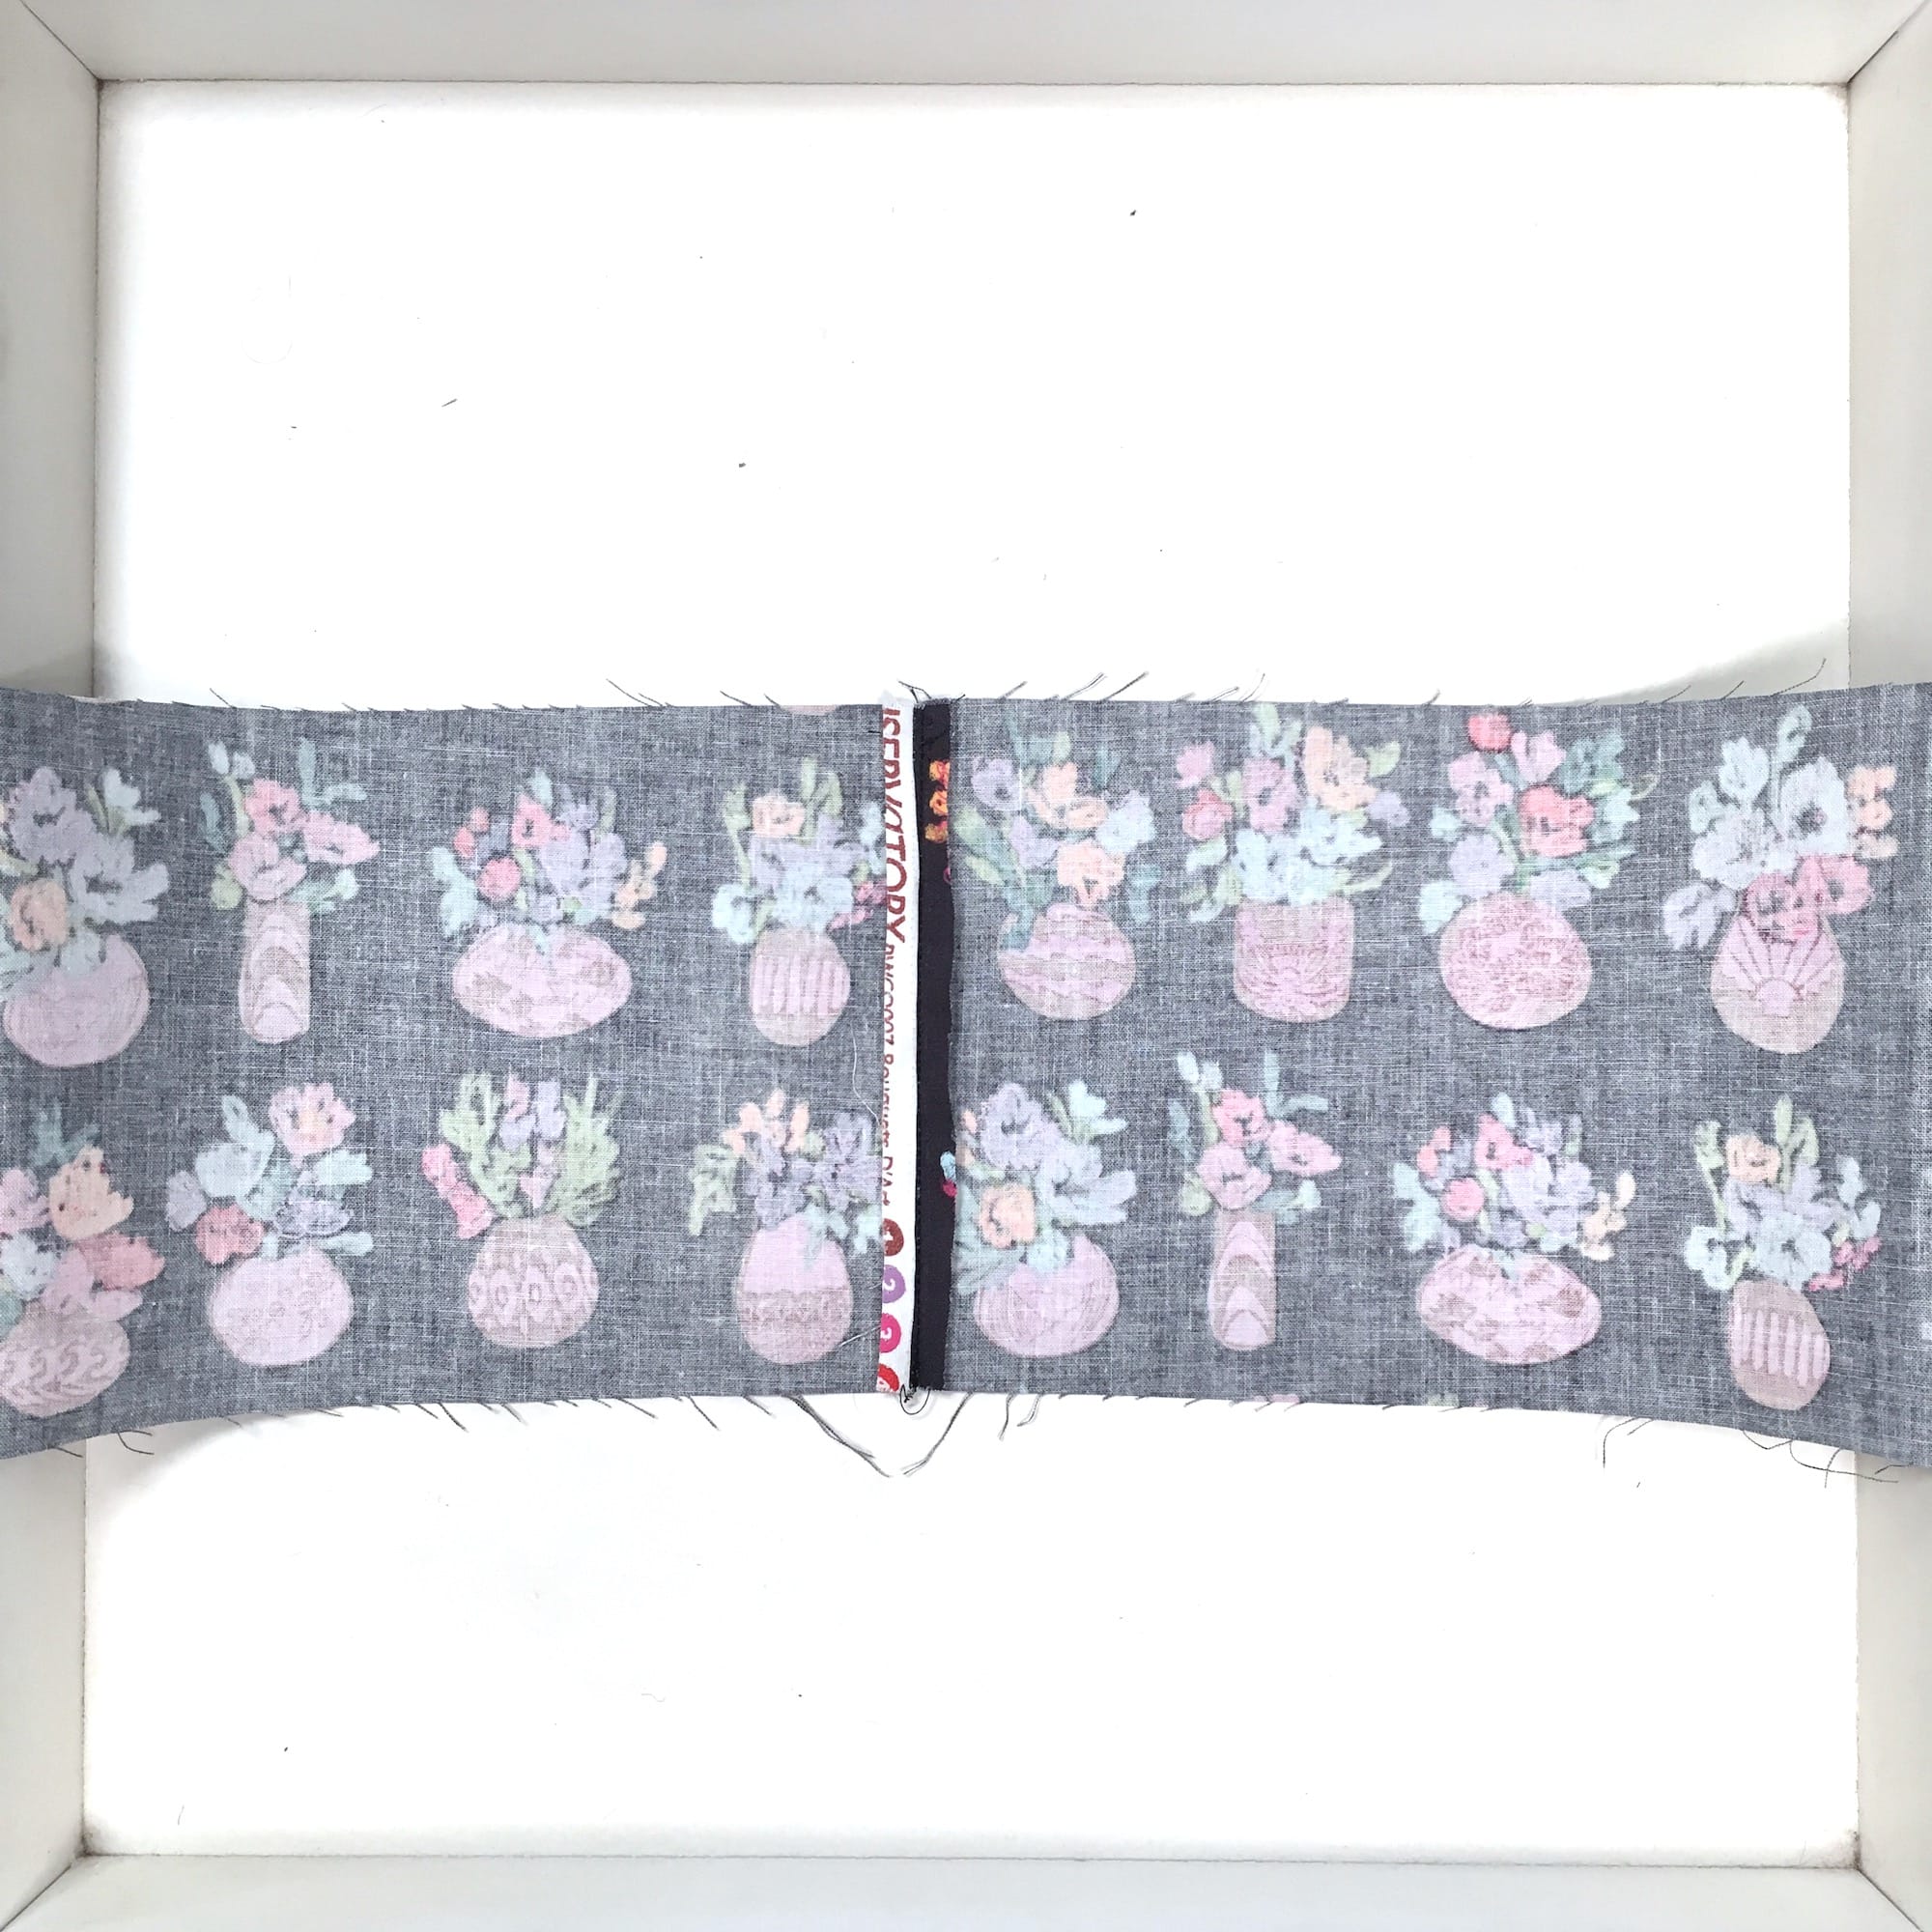
2. Sew the short ends of eachfabric together creating two long strips from each print. Press seams open.
3. Trim the strips to matching lengths.
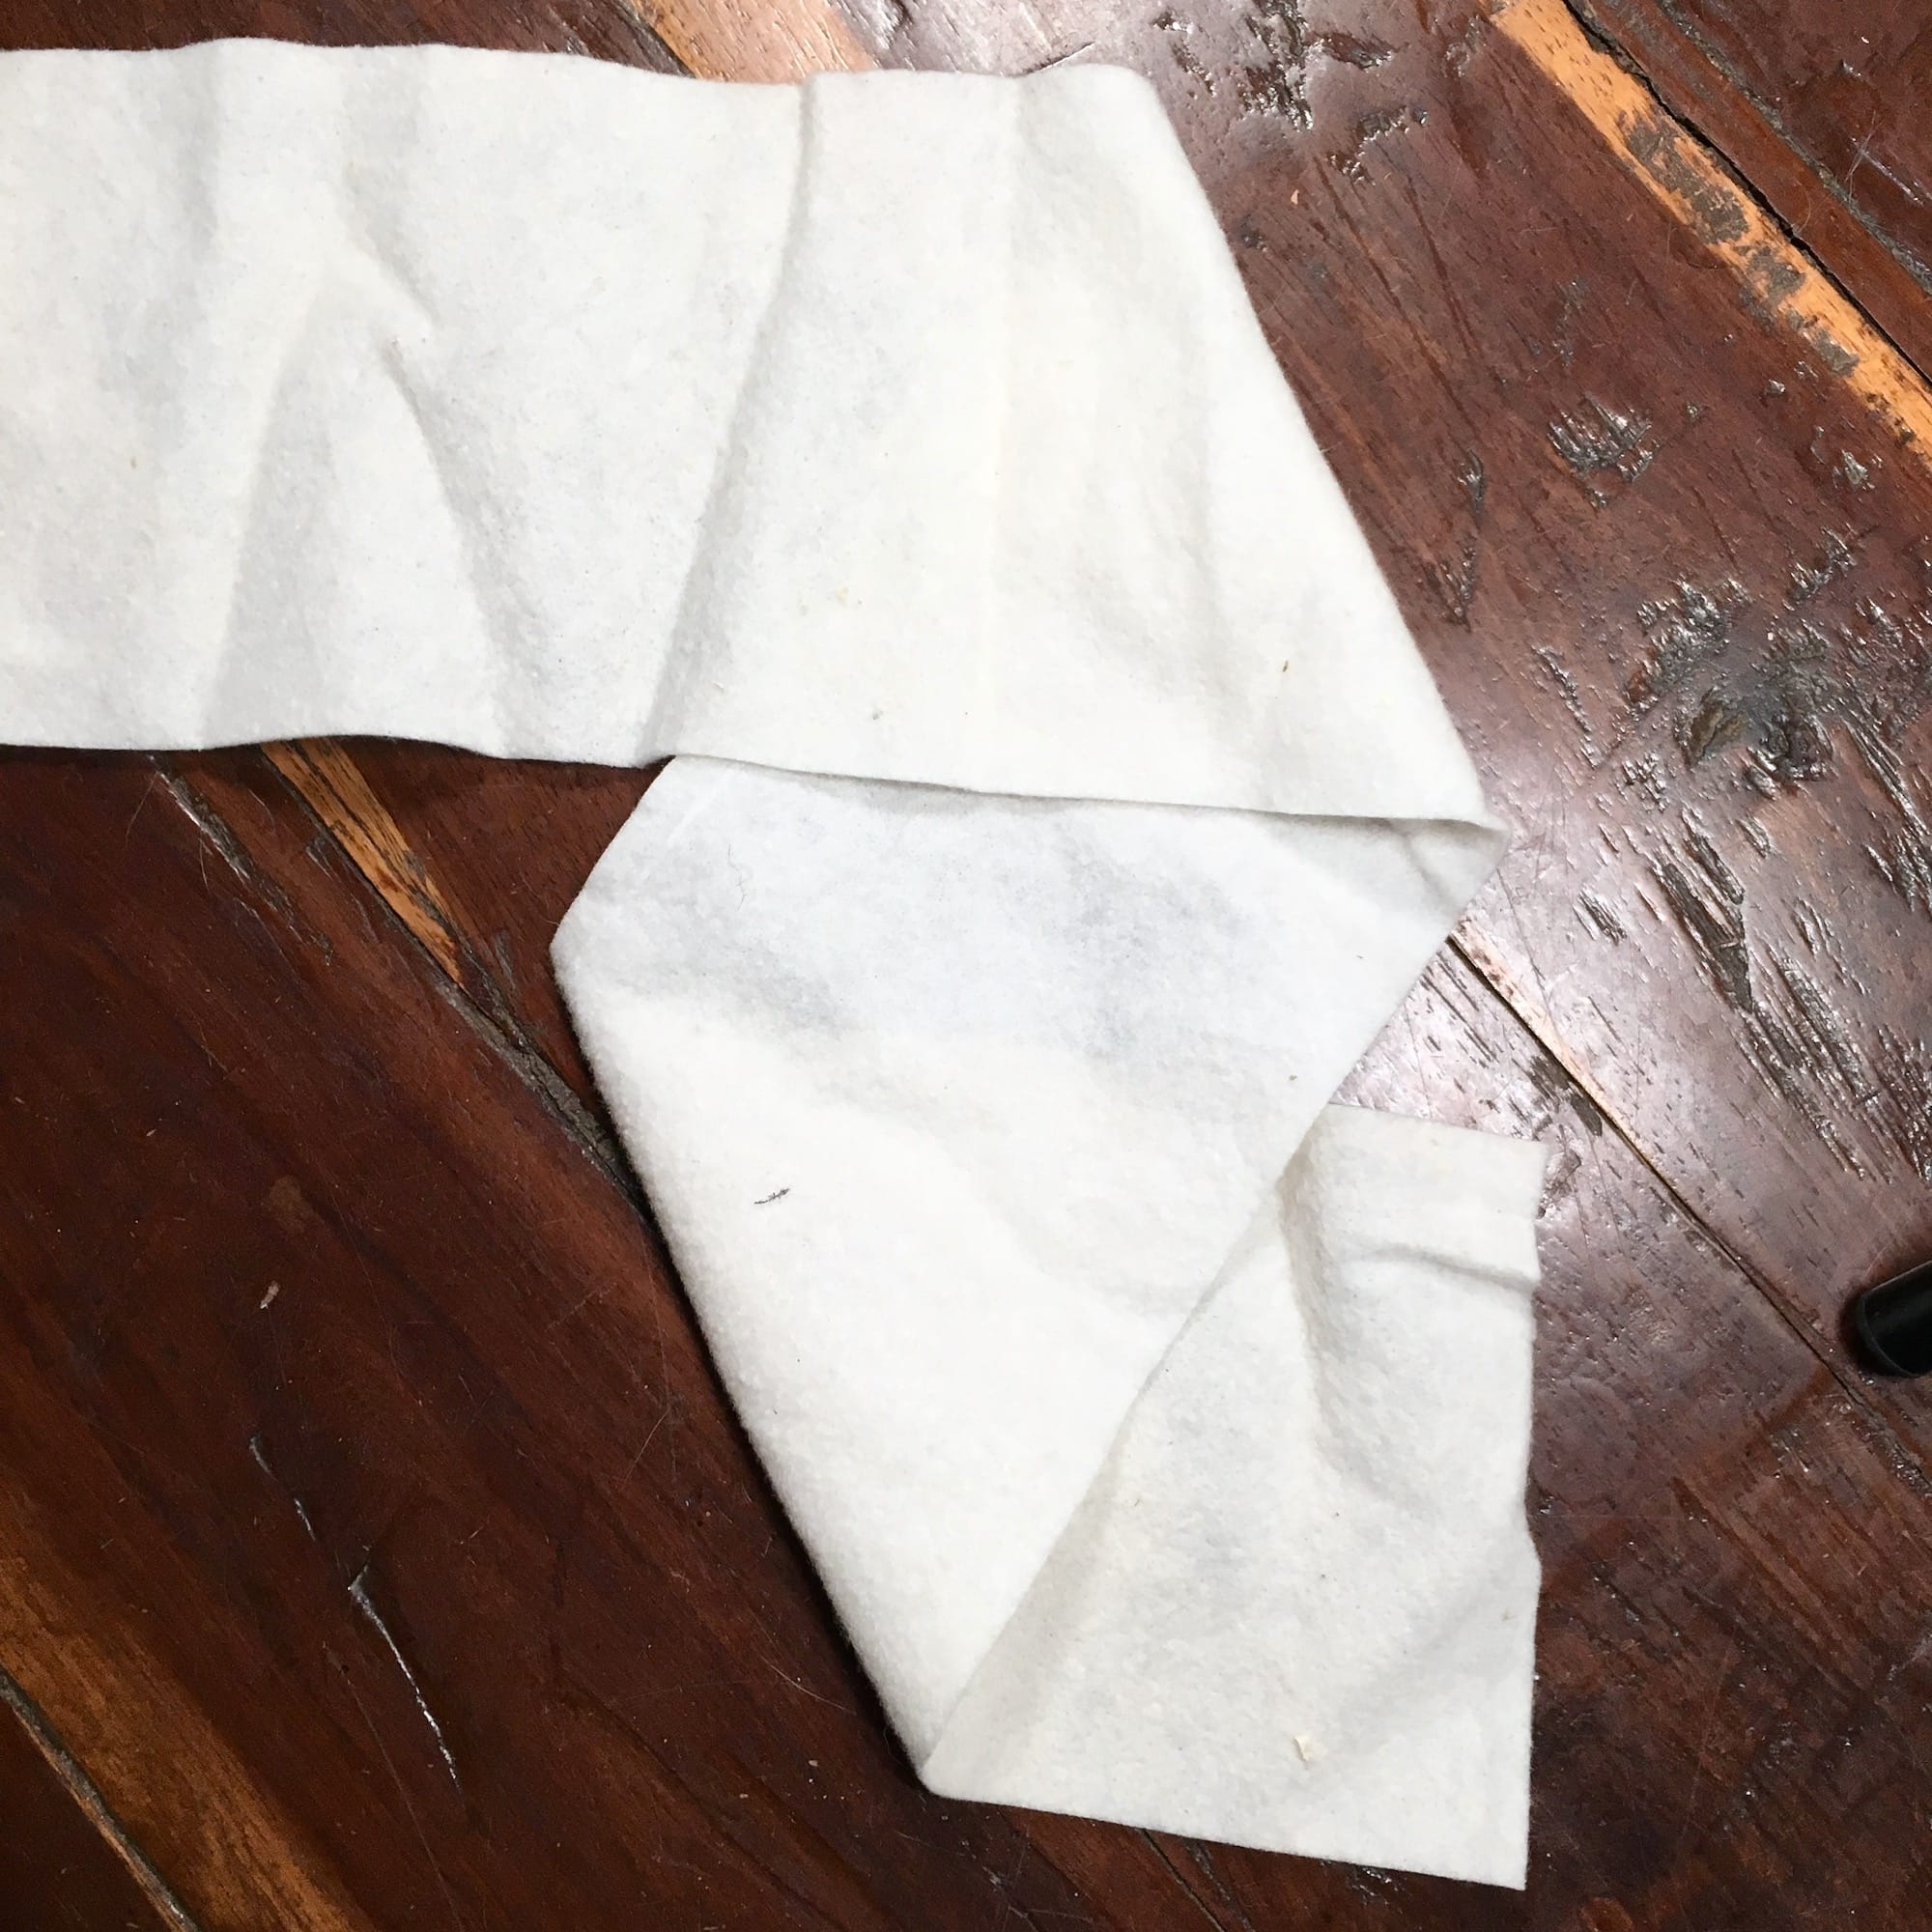
4. Cut or piece a strip of batting to match the dimensions of the two strips.
5. Layer the batting with one fabric strip right side facing up, on top of the batting.
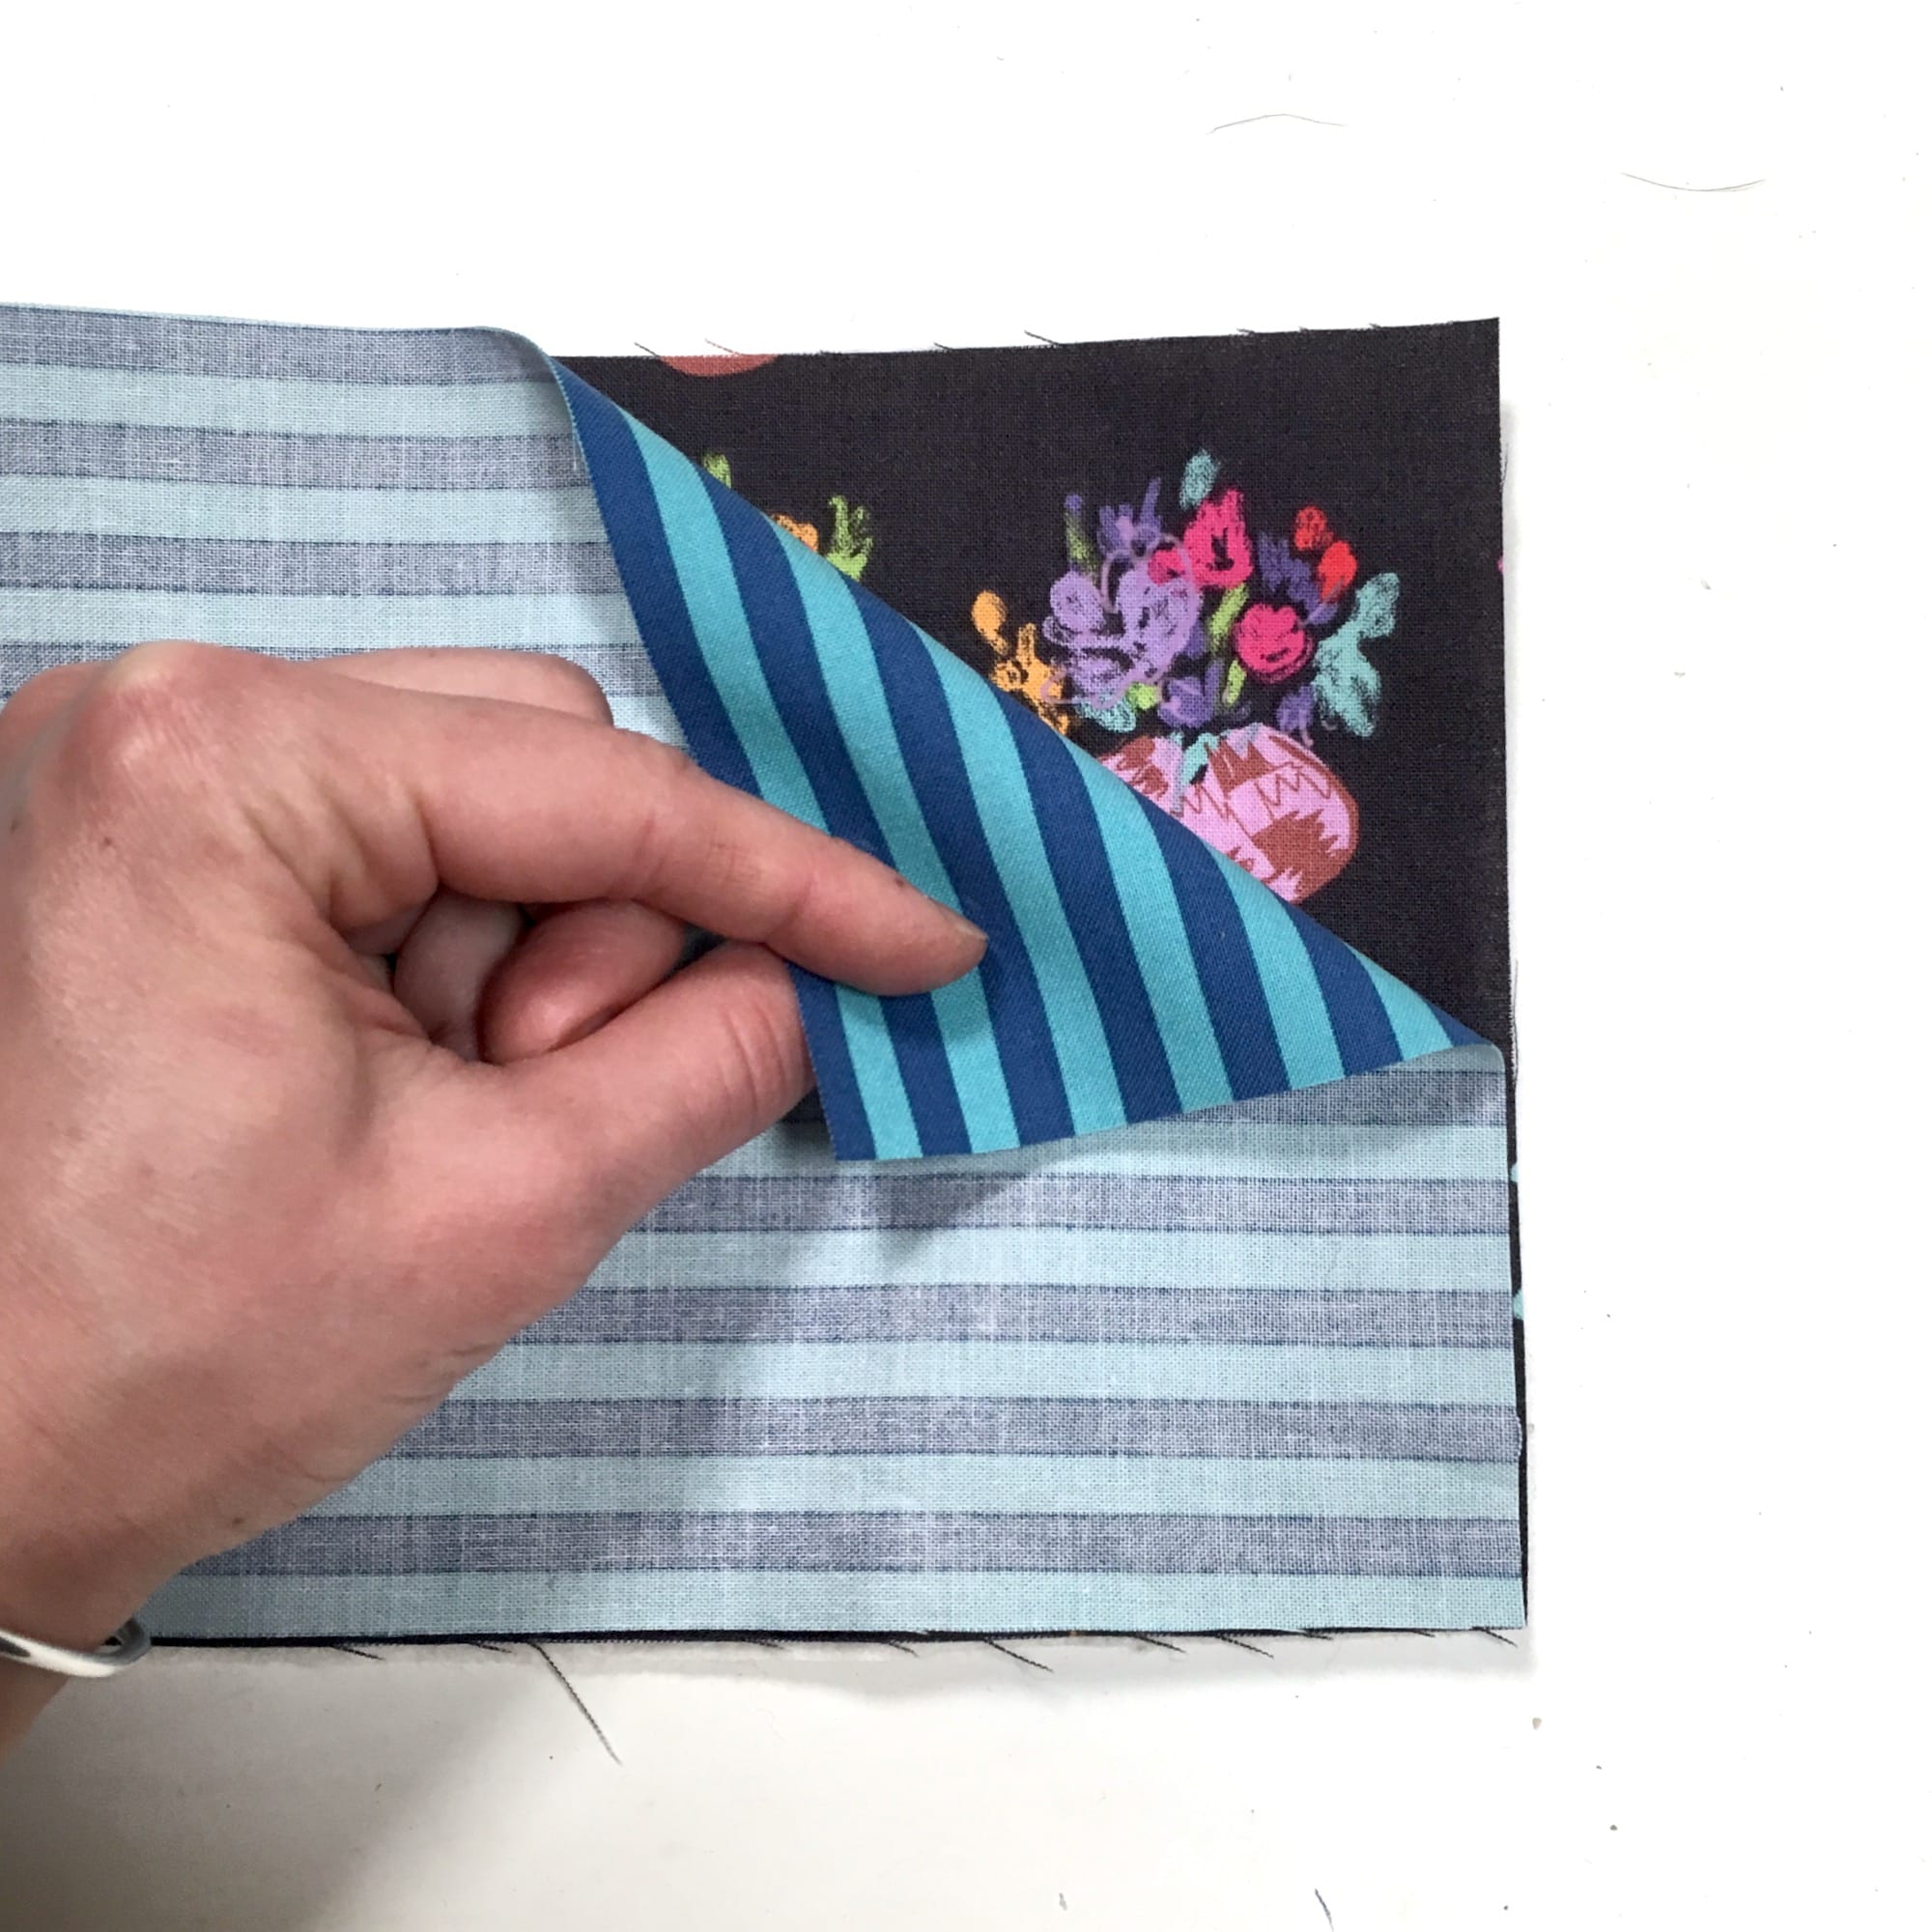
6. Layer the second fabric right sides together (RST) with the first fabric so the wrong side is facing up.
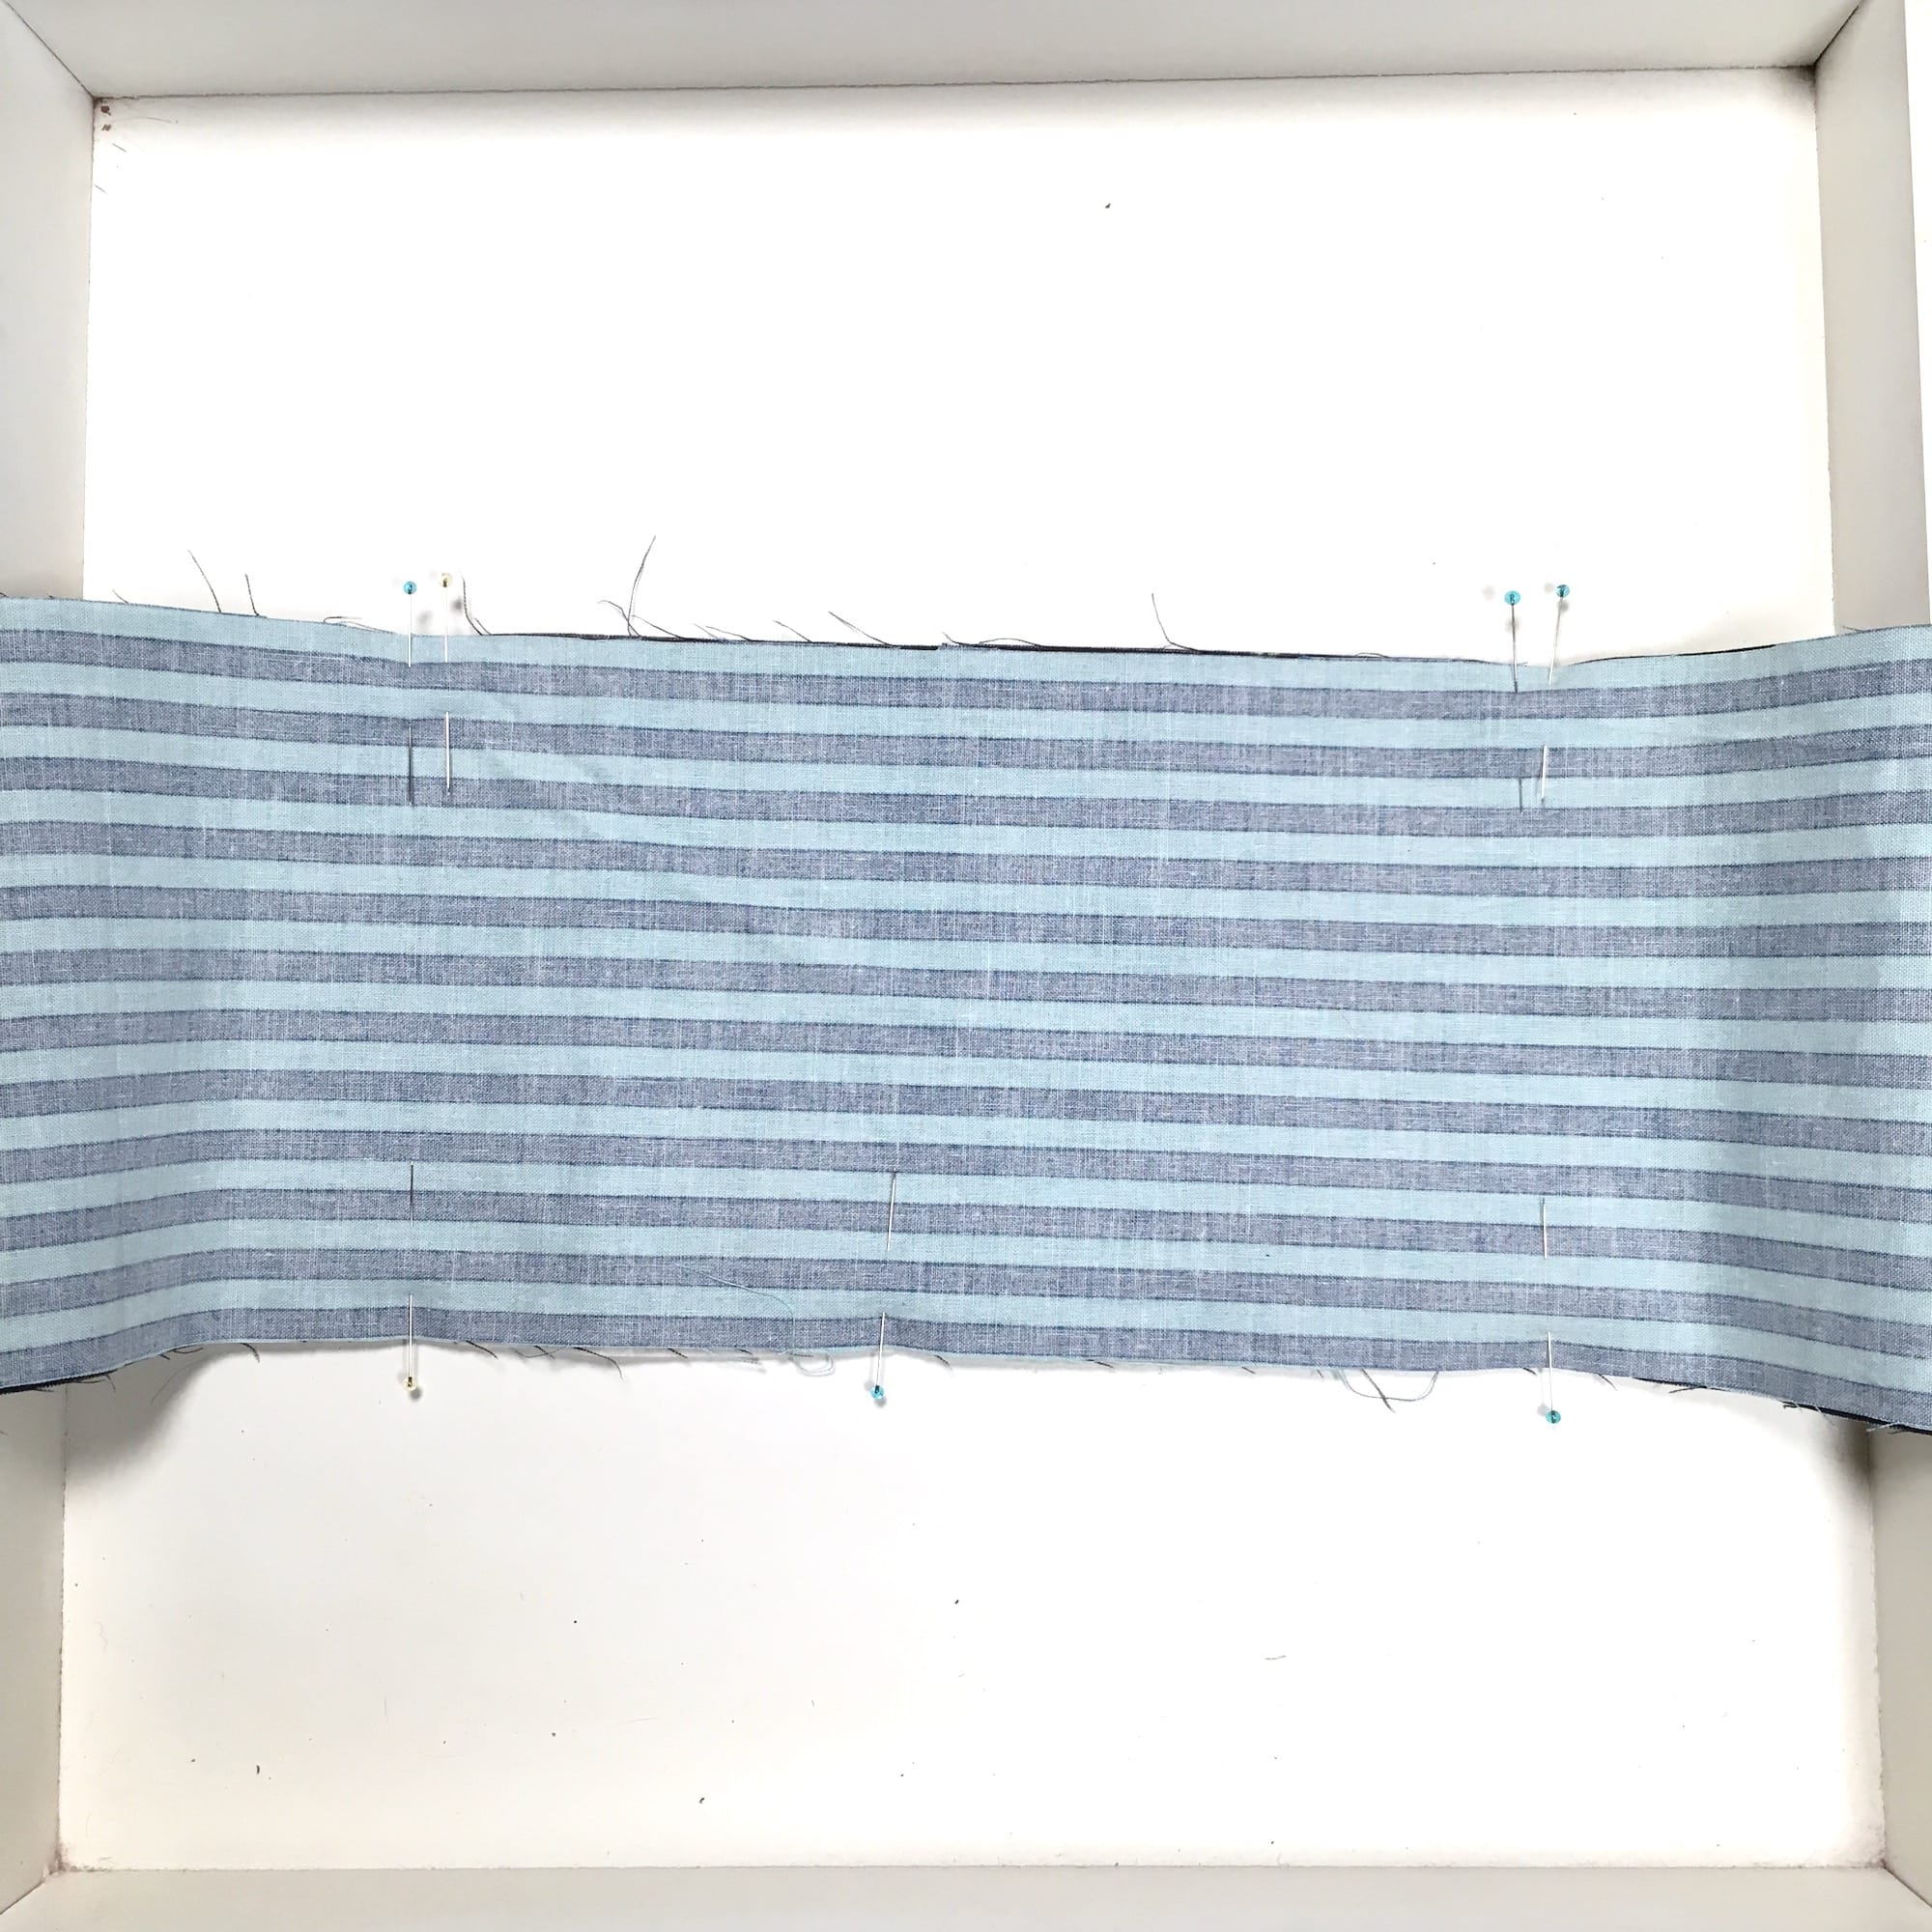
7. Pin around the perimeter of the scarf sandwich, leaving a 7-10” opening in the middle of one of the long edges for turning. (I like to double pin at the beginning and ending of my opening as a reminder for where to stop and start.)
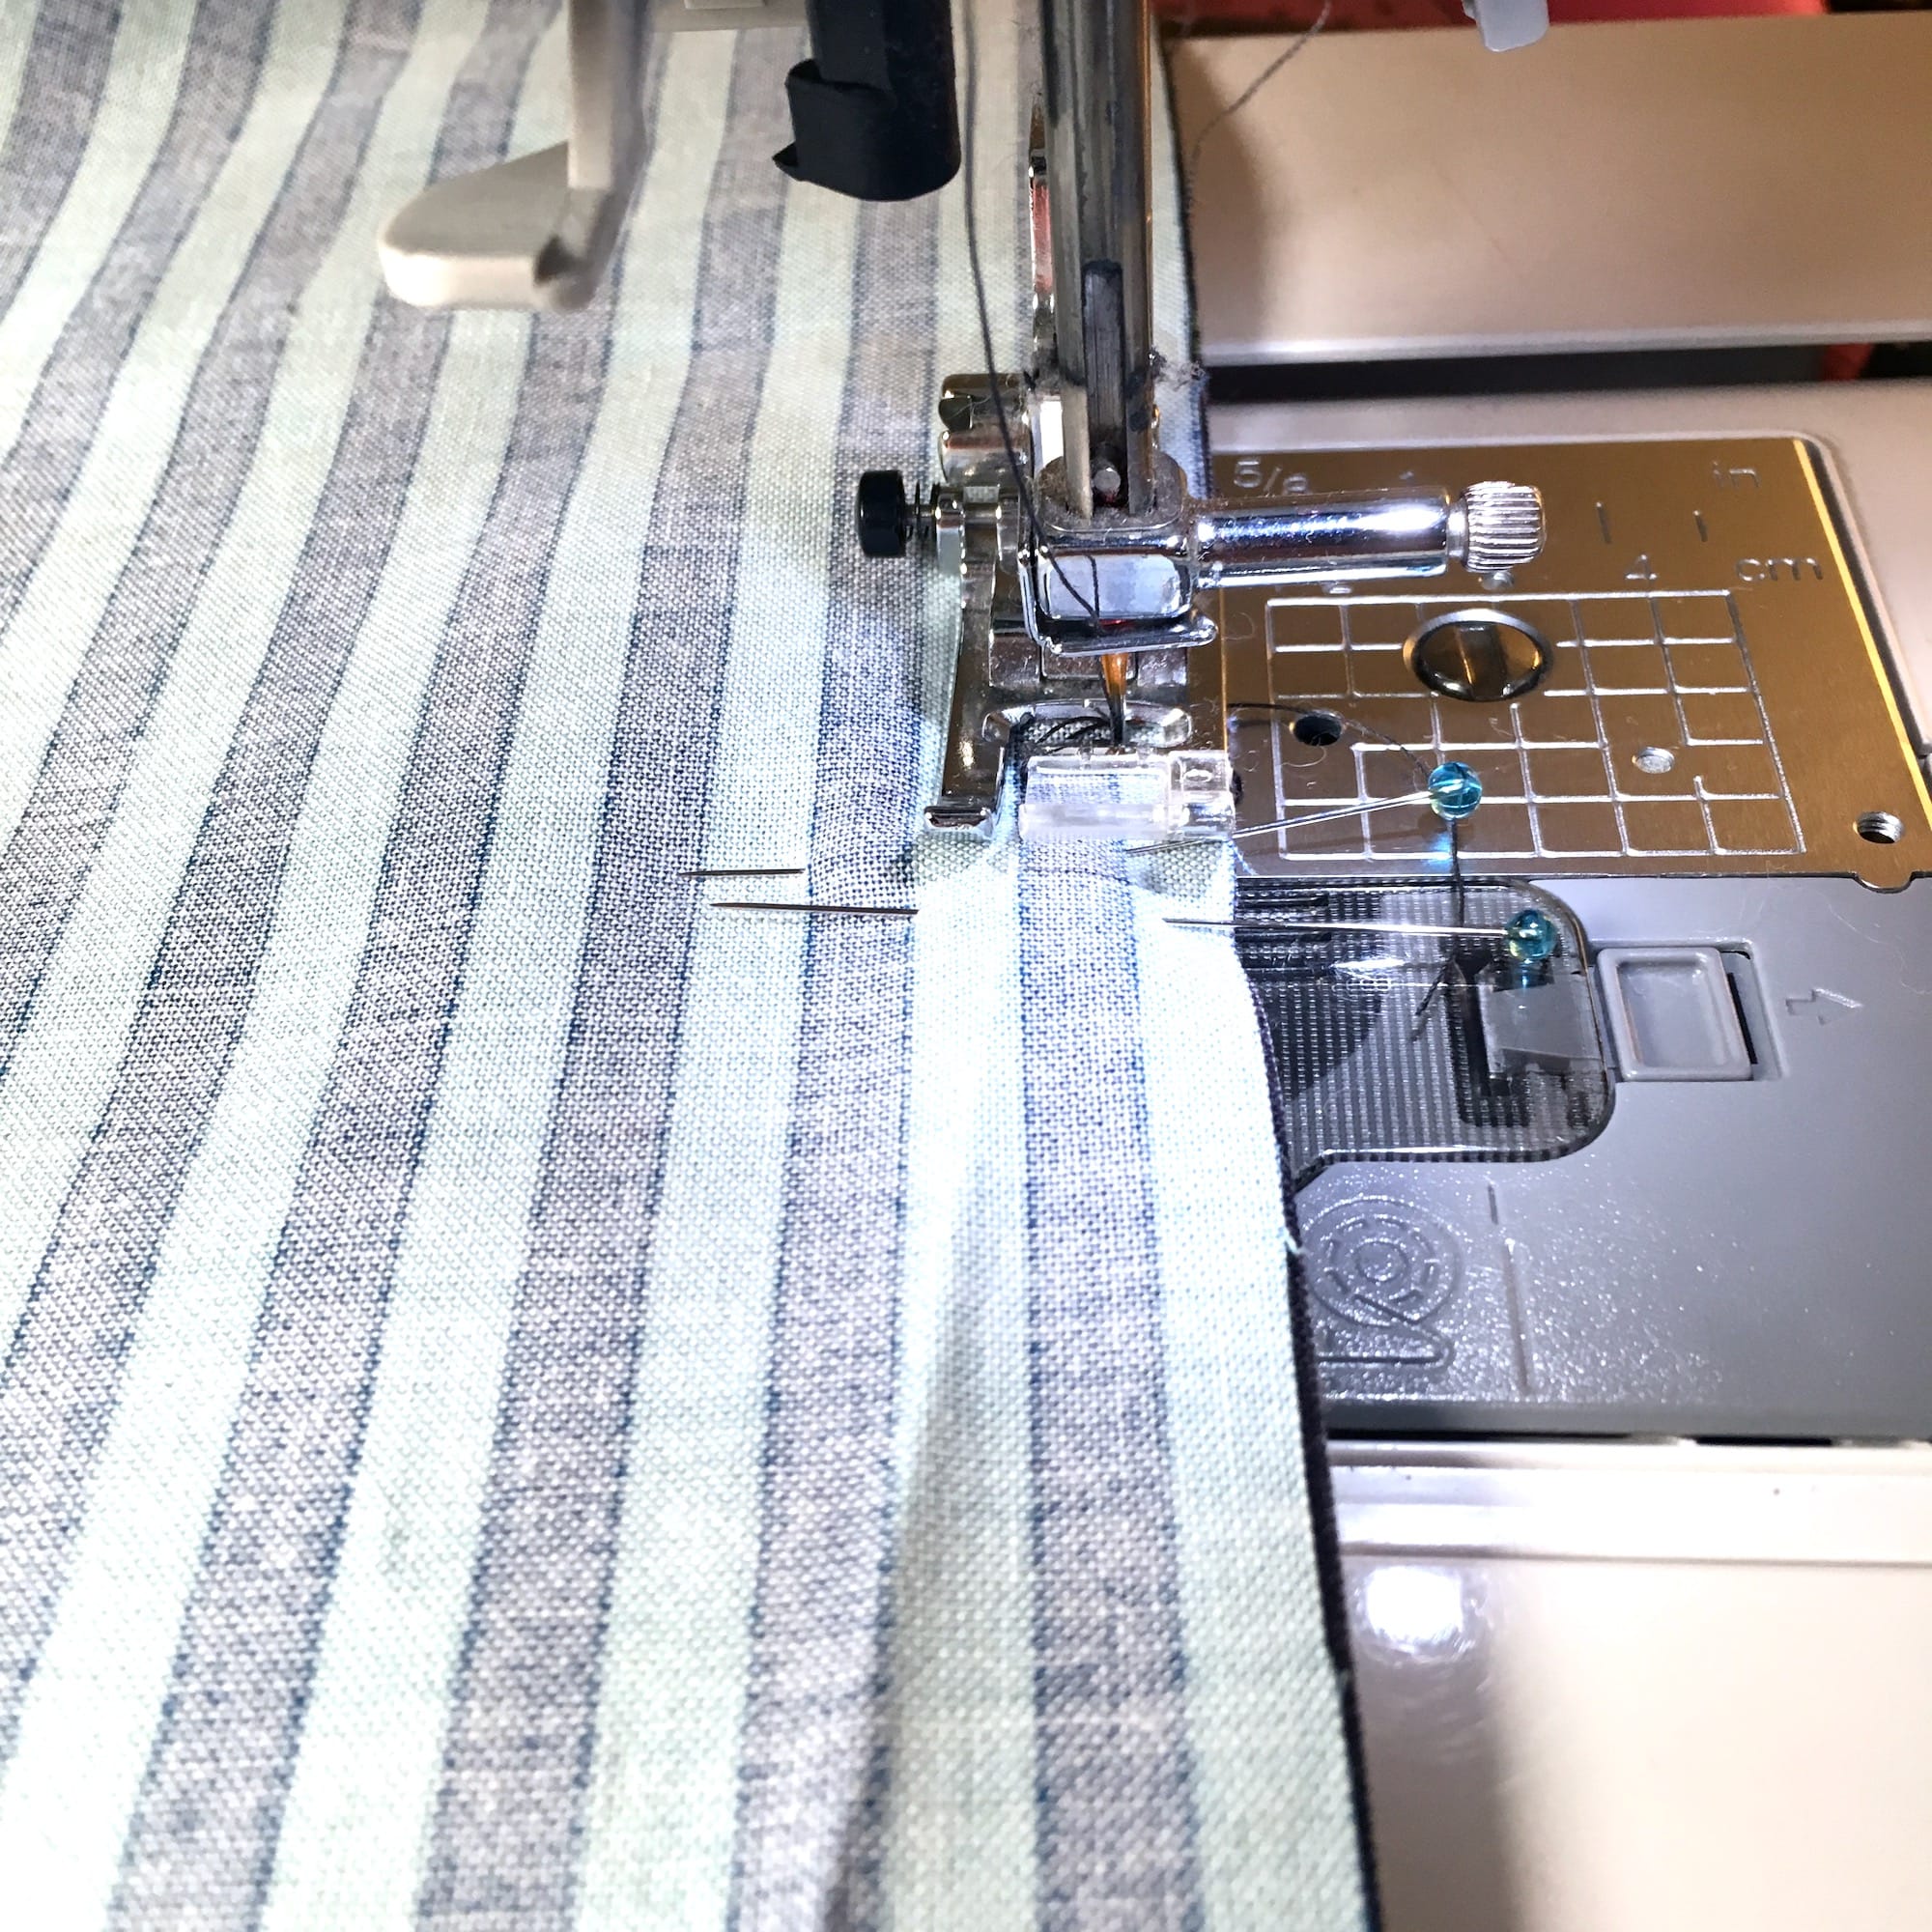
8. Sew around the perimeter with a 1/4”-3/8” seam allowance, remembering to leave the opening for turning. Press.
9. Trim the corners outside the stitch lines on all four corners.
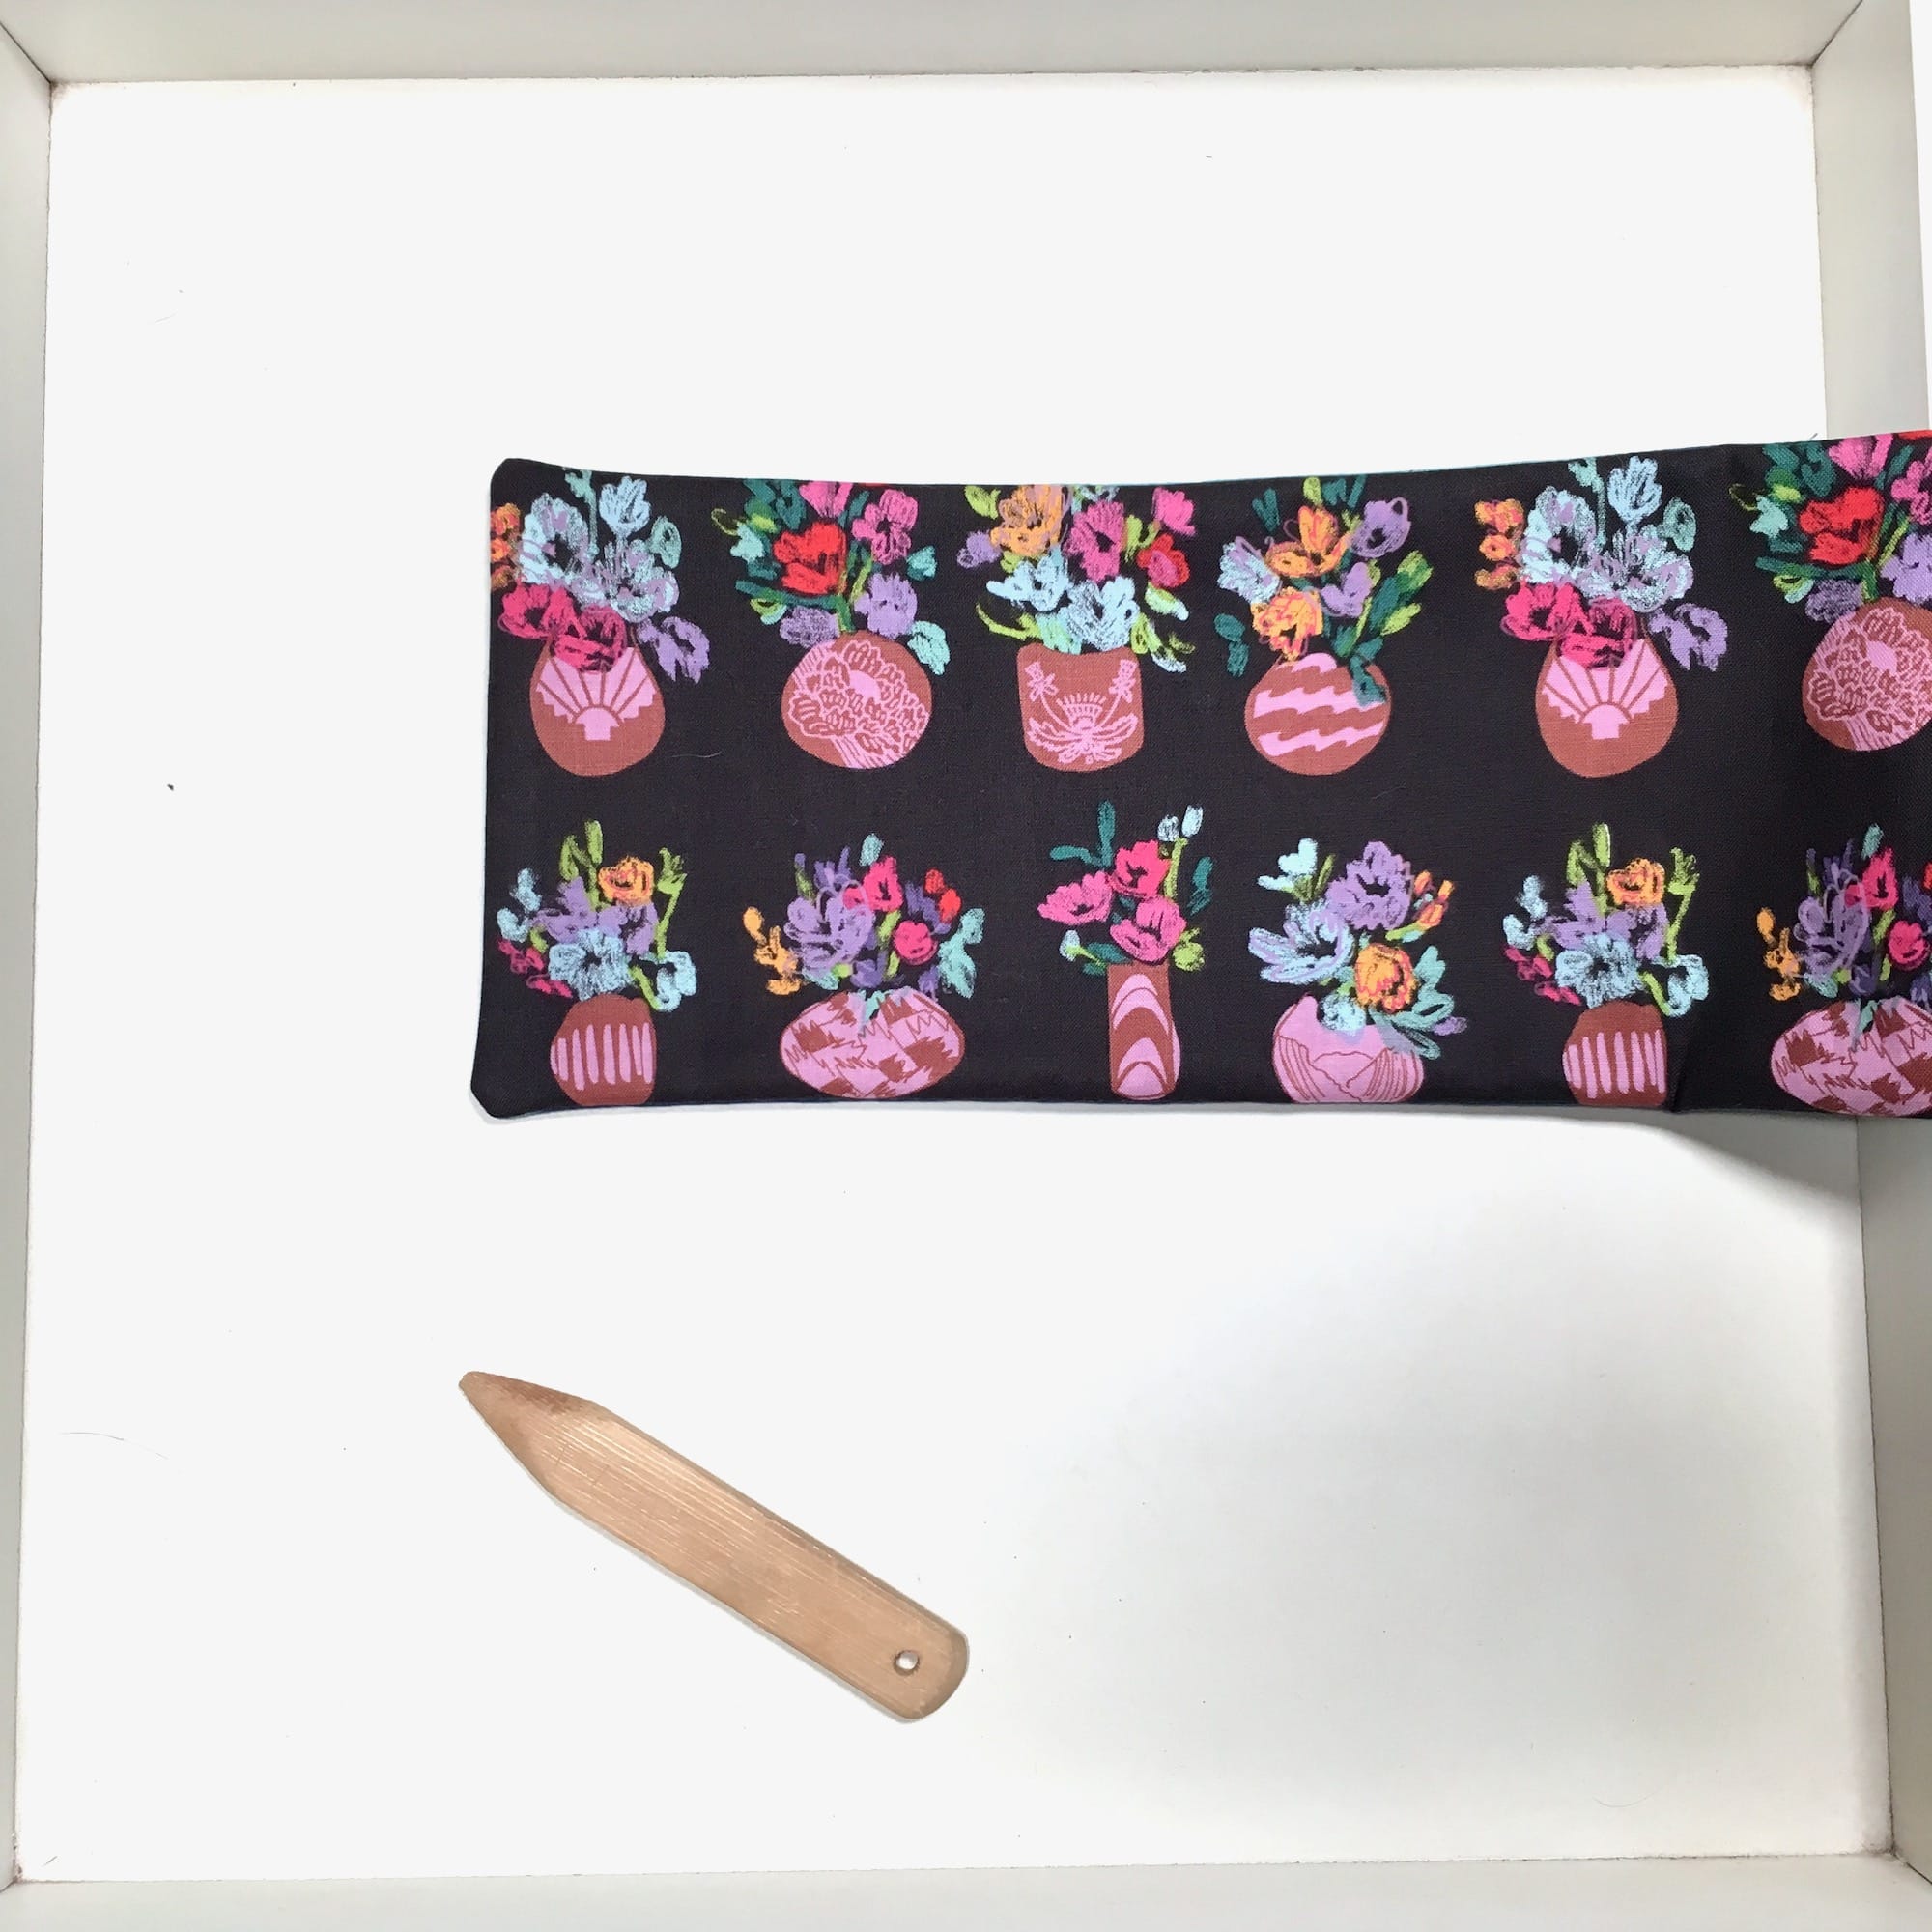
10. Turn the scarf right side out, and use a point turner to poke out the corners. Press.
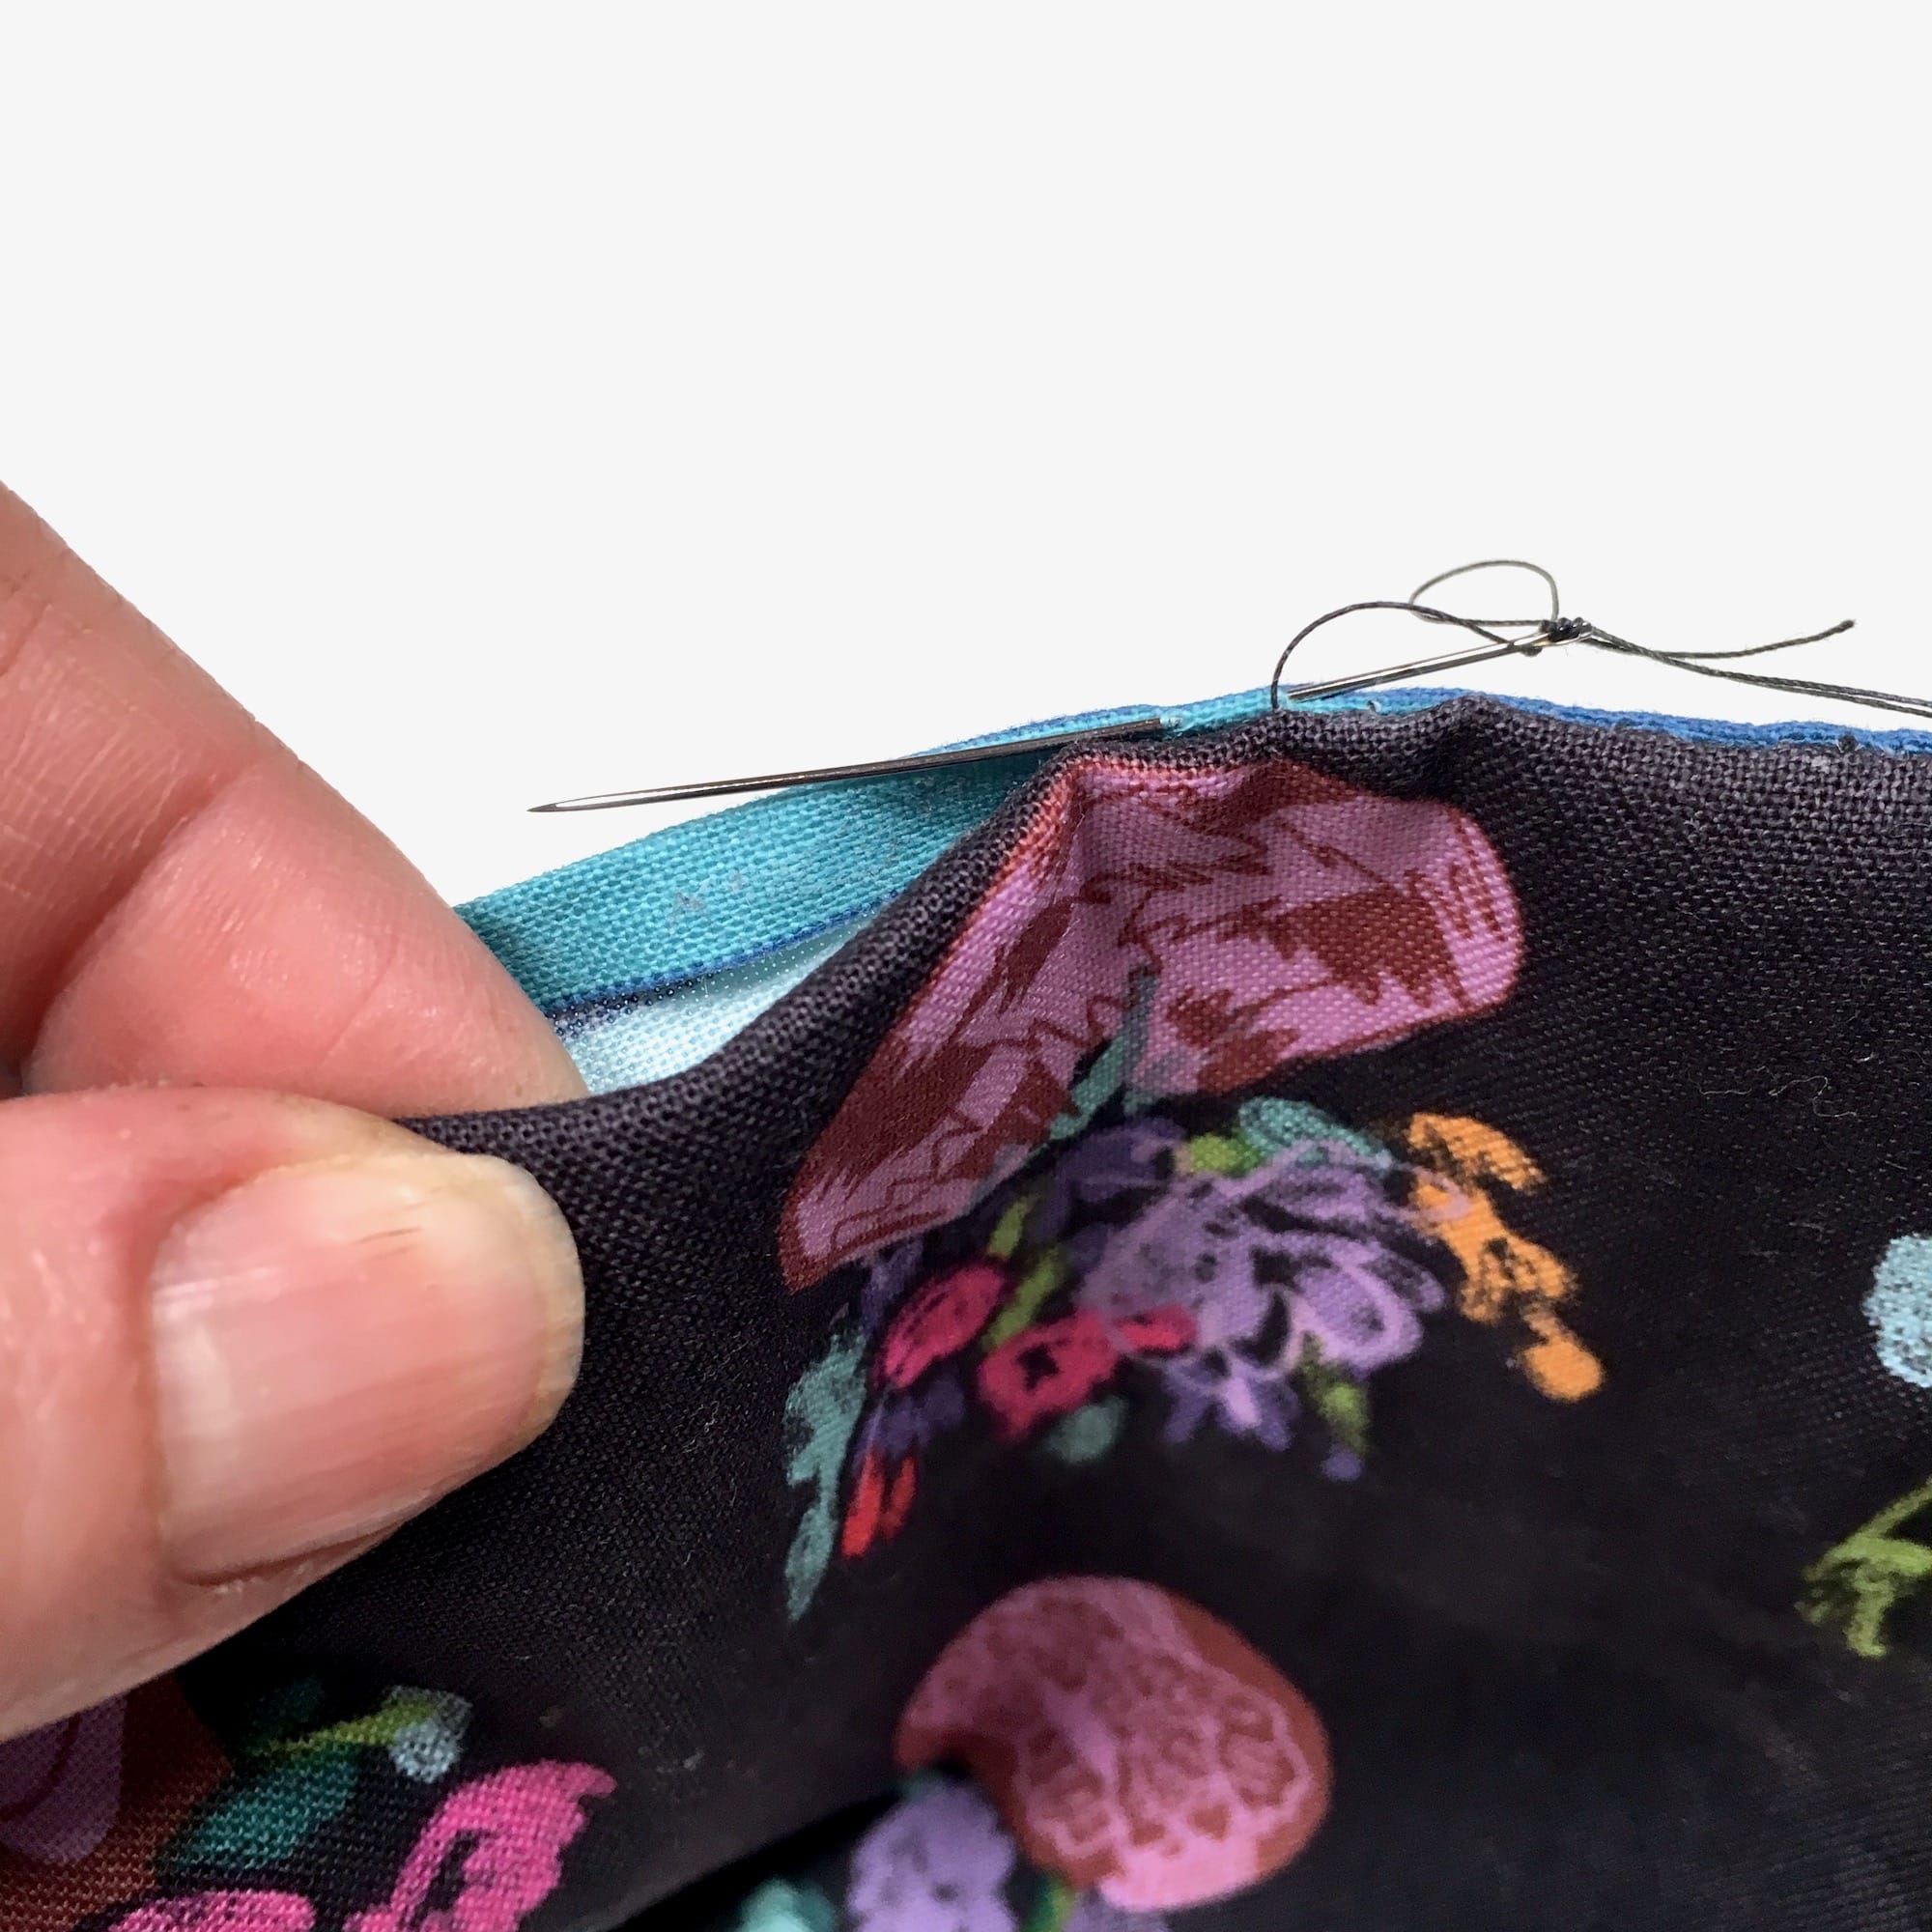
11. Pin or glue the opening closed, then stitch the opening on the edge closed by hand with whip stitch or ladder stitch, or top stitch by machine.
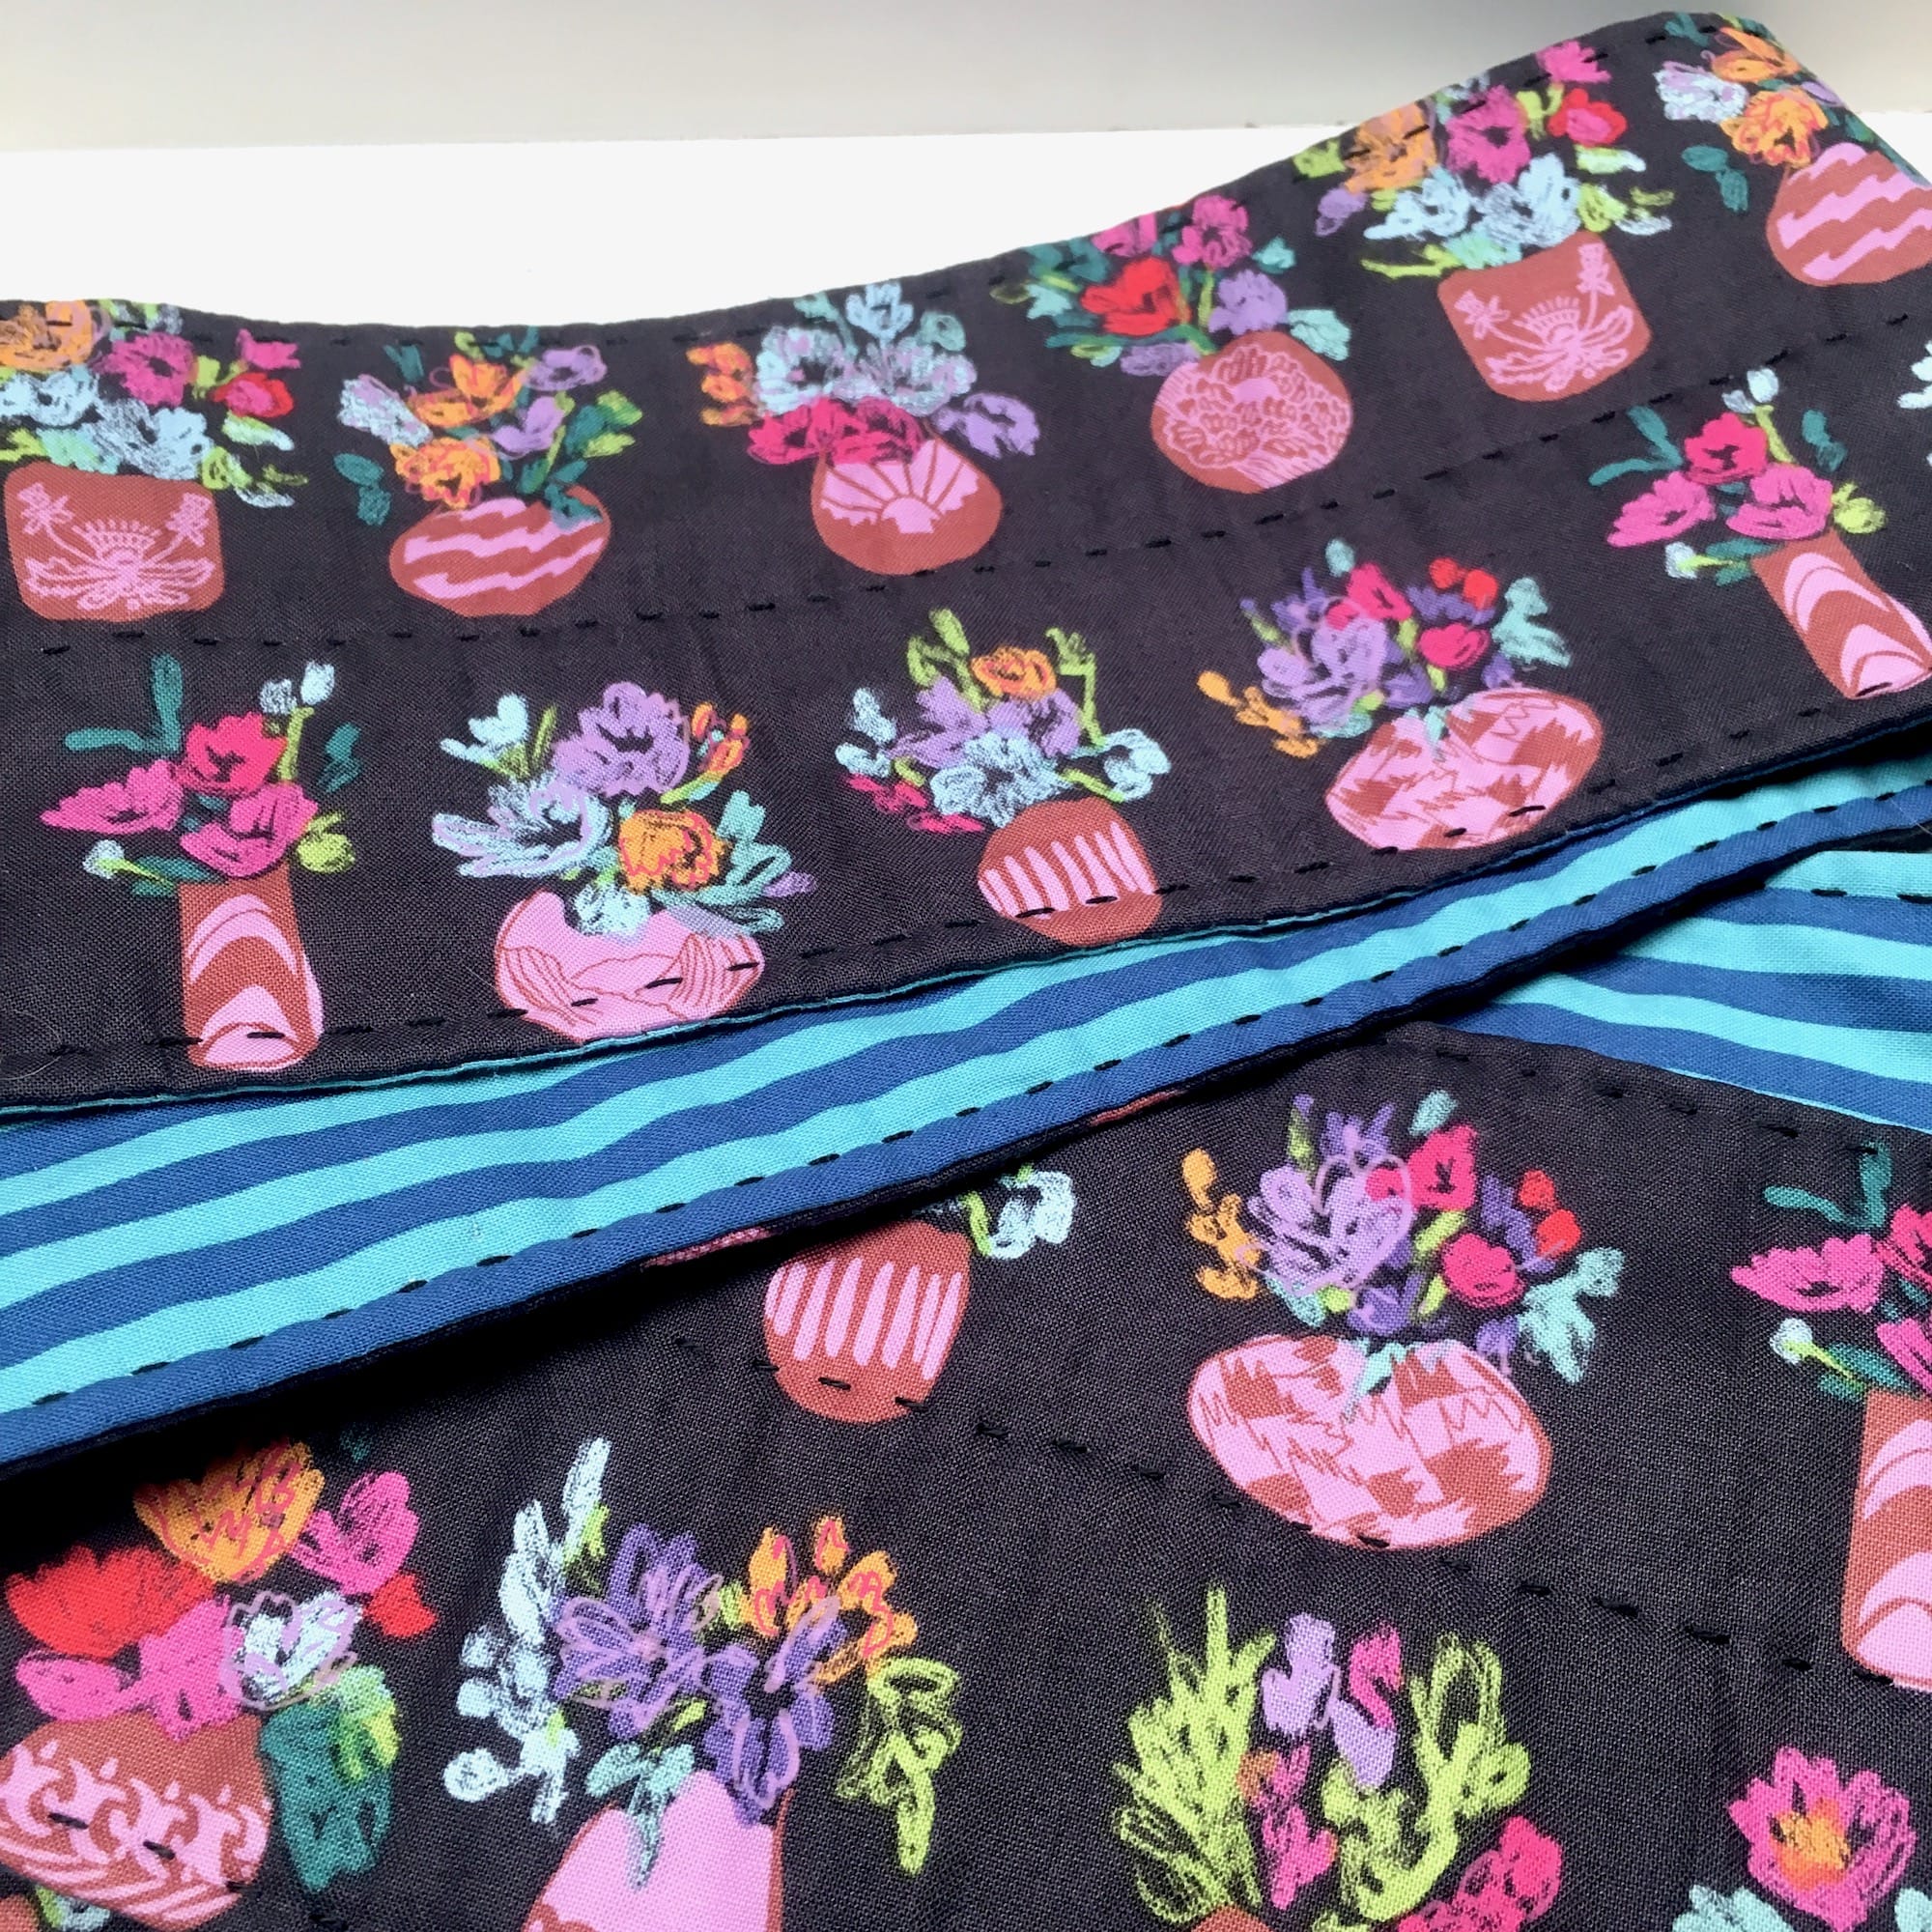
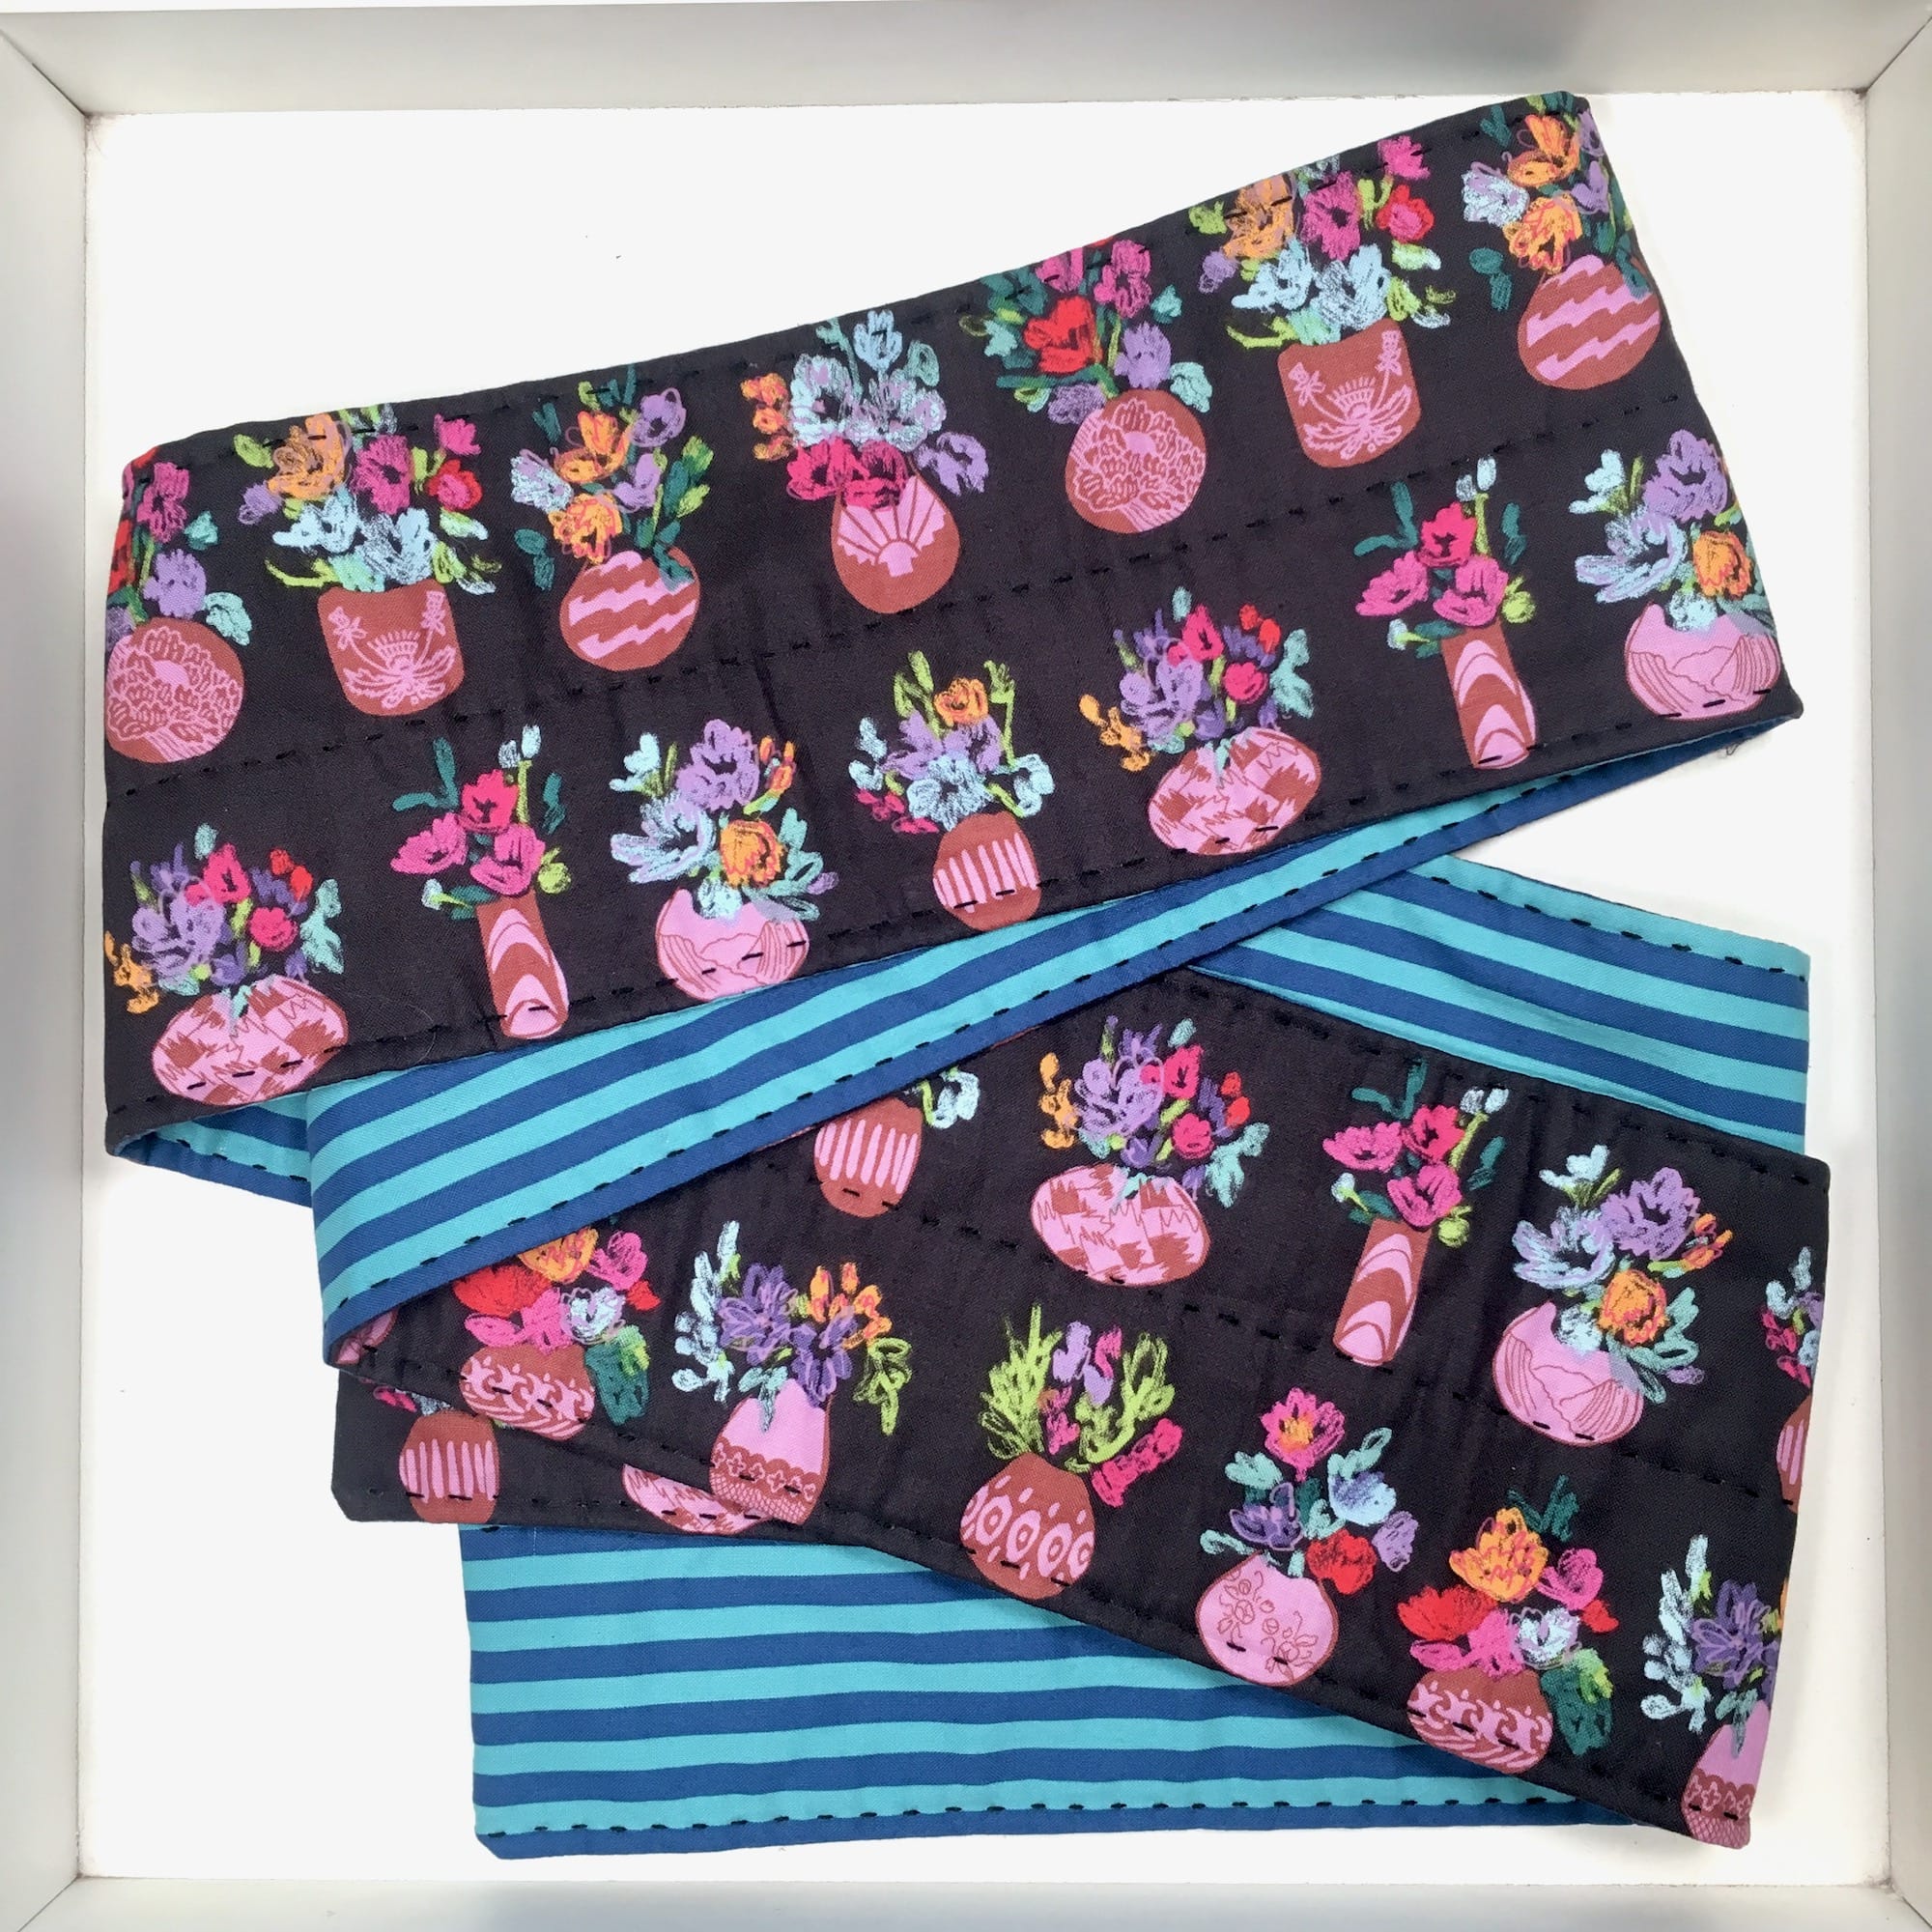
12. Baste and quilt as desired.
Personally, I hand quilted mine. (Check out my Hand Quilting HQ tutorial series here! It covers everything from choosing a quilt motif to basting to how to hand quilt.) But, I think machine quilting or even kantha stitching would look wonderful, as well!
Enjoy your quilted scarf!
I hope you enjoy your quilted scarf! I’d love to see what you make, so feel free to tag me @stitchingthejourney on Instagram and use the hashtag #quiltedscarf. Happy sewing!
Don’t forget that you can always pin this post to Pinterest for easy access later.
This post may contain affiliate links. You can read my affiliate disclosure here.
Hi! I love this idea / pattern. I’m VERY new to fabric / sewing. Was wondering if you had any fabric suggestions for an extra soft and cozy version. I worry anything I choose will come out too stiff for it to be comfortable neck-wear. Thanks in advance!!!
Thanks so much for your comment! Every now and then my website glitches and I don’t get comments in good time! I’m so sorry about that… I think a flannel would be just lovely, and you could use a thinner batting or just interfacing to make it cozier. I’ve also used flannel AS the batting before and that is just delightful. I hope you gave it a try and figured out something that works well for you!


2 Responses
Hi! I love this idea / pattern. I’m VERY new to fabric / sewing. Was wondering if you had any fabric suggestions for an extra soft and cozy version. I worry anything I choose will come out too stiff for it to be comfortable neck-wear. Thanks in advance!!!
Hi Jess,
Thanks so much for your comment! Every now and then my website glitches and I don’t get comments in good time! I’m so sorry about that… I think a flannel would be just lovely, and you could use a thinner batting or just interfacing to make it cozier. I’ve also used flannel AS the batting before and that is just delightful. I hope you gave it a try and figured out something that works well for you!
Kind regards,
Lisa