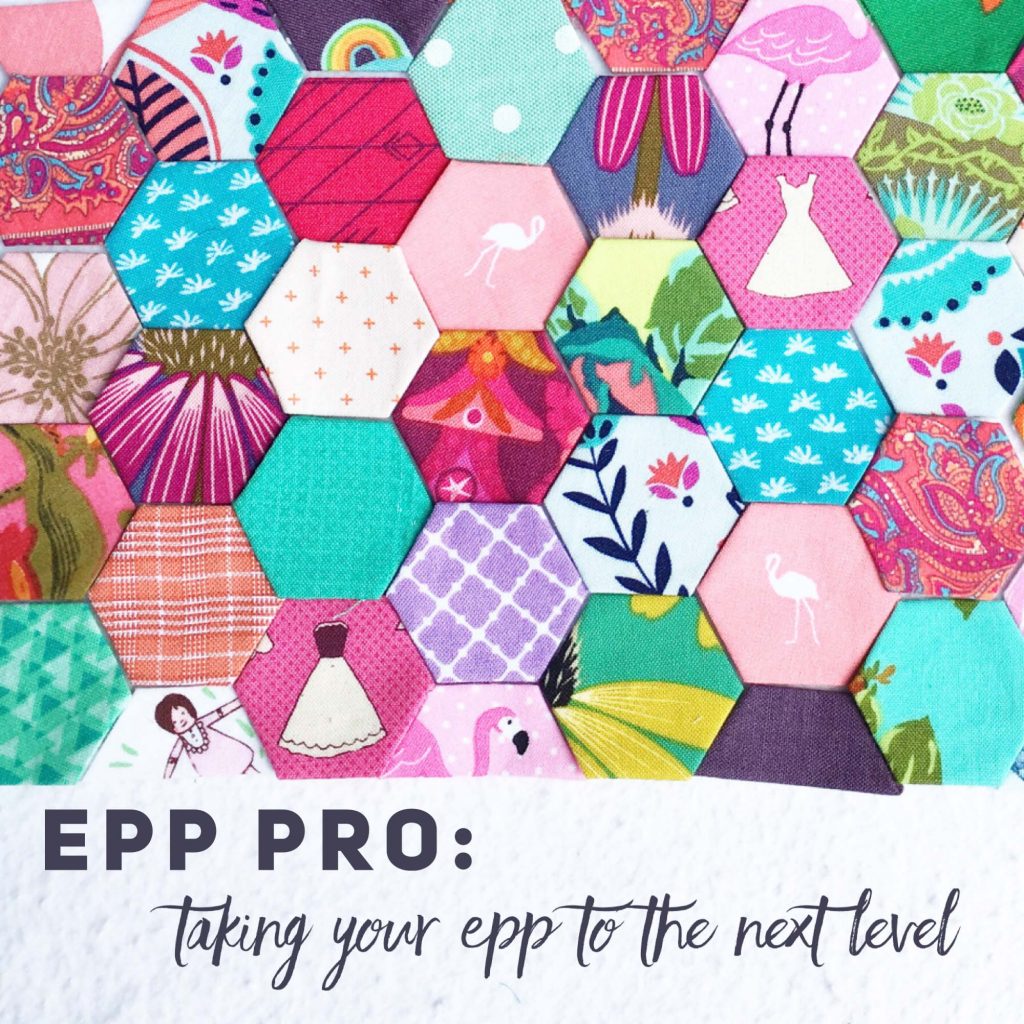
This post is part of the EPP Pro tutorial series. For the most fluid experience, I recommend starting at the beginning since the posts build upon each other. If you missed any of the previous posts, you can find them here.
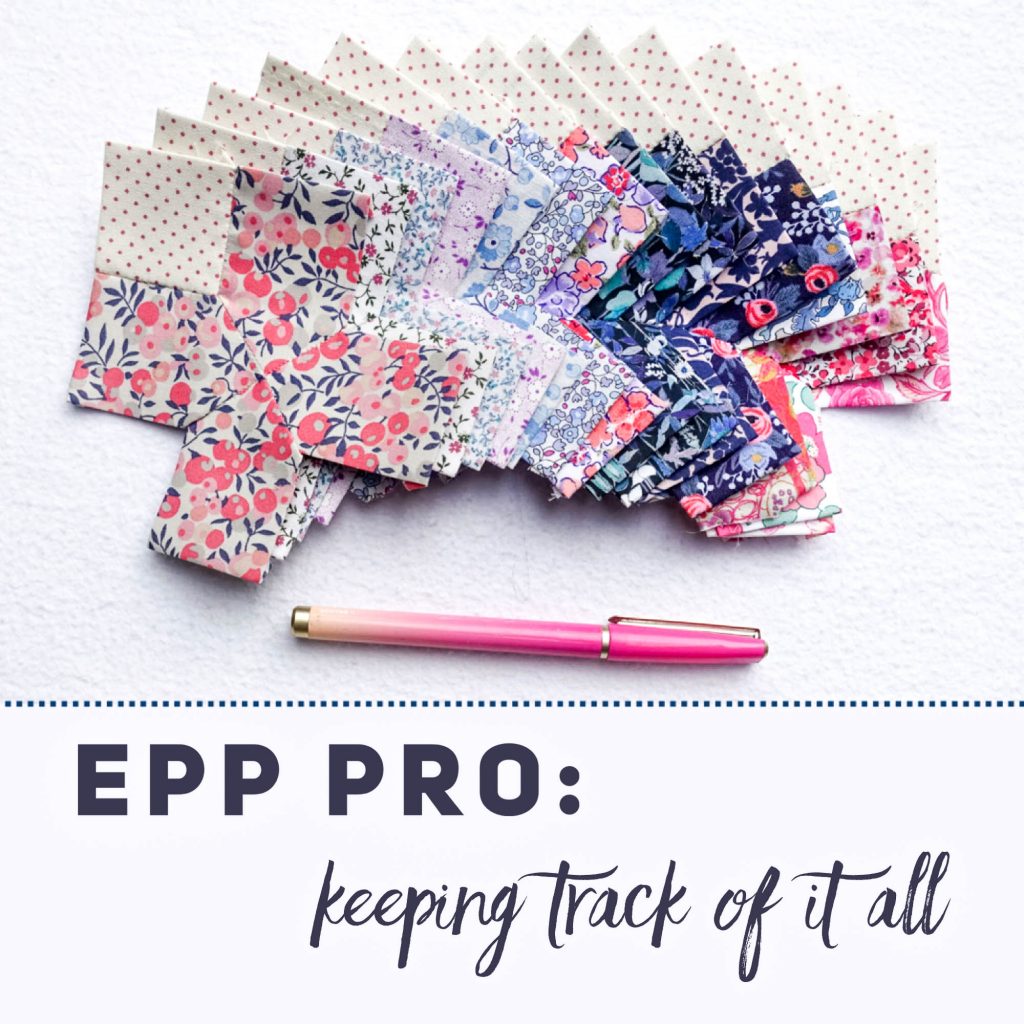
Well, here we are at the conclusion of the EPP Pro series. I hope that you have discovered one or two tidbits of insight that you can adopt into your stitching life. But, before we finish, I want to say a word about keeping track of it all.
English paper piecing, and really sewing in general, tends to have a plethora of tiny accessories, many of which are rather sharp and invisible when misplaced. I learned fairly early on that it helps me tremendously to have a system for keeping track of not only my supplies, but also my projects and my progress. The following are simply a few ways that I stay organized and motivated so I can just keep stitching.
So Many Supplies
Contrary to popular belief, I am not what you might call an overly organized person by nature. I know how to organize, but it doesn’t come naturally. I have to work for it. Happily, I discovered a few years ago that if something has a place, I will return that thing to its place when I’m done using it.
However, if that thing does not have a place, it is destined to shuffle from surface to surface and finally disappear just when I’m ready to use it. In order to avoid this frustrating phenomenon, here are two ways I manage my EPP supplies that might help you, too.
Keep Multiple Sets

I touched on this concept in the EPP Pro: Streamlining Your Supplies post. But, as a means of expounding upon it, it makes sense to mention that I travel a good bit. Whether traveling by air or land, I tend to have a stitching project with me at all times. However, I also love retiring to the little nook in the loft of our home in the evenings to cozy up with a stitching project and listen to an audiobook.
Once I started traveling with my stitching, I realized how annoying it was to have to pack up my stitching supplies each time, and then unpack them all when I got home and wanted to stitch there. The solution I discovered is to keep a few sets of my basic supplies on hand at all times. I have a set that stays in my travel sewing kit, and a set that stays in our little nook.
It might sound superfluous, but I have discovered that having two sets of the basics makes grabbing a WIP for travel a breeze, and settling in for an evening of stitching that much more restful. The following are a list of the basic supplies I keep in each “kit.”
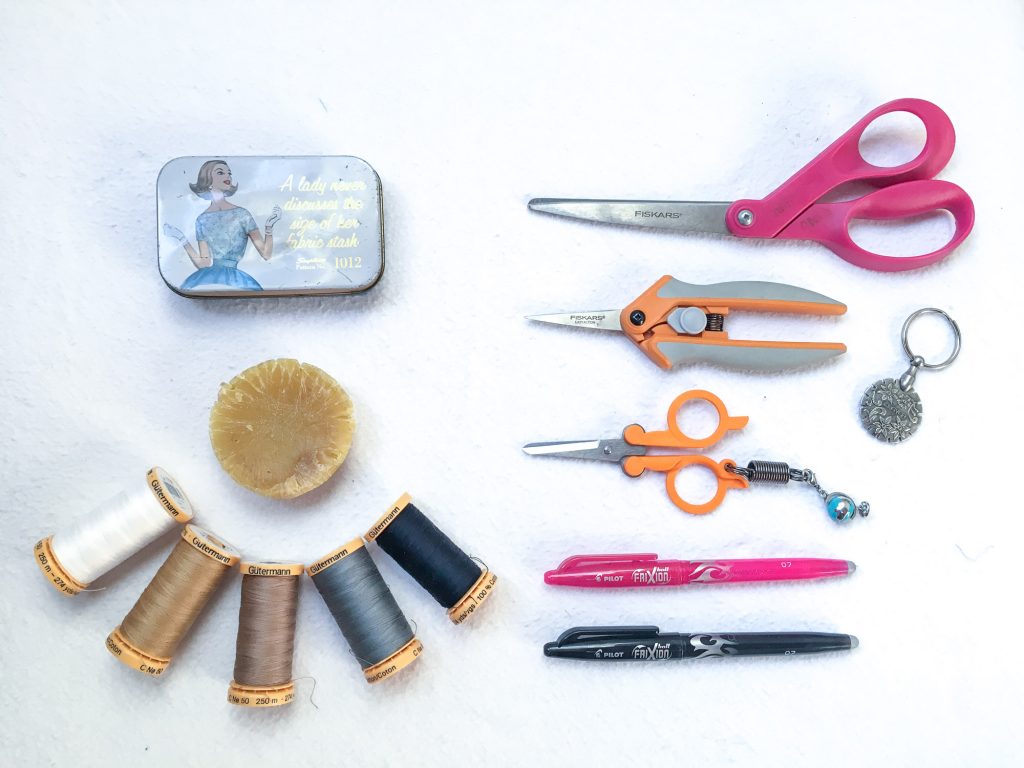
My Basic EPP Kit
- three needles for EPP
- a leather coin thimble
- beeswax/thread conditioner
- embroidery scissors/thread snips
- a straight pin (helpful for untangling knots)
- pin cushion or magnetic needle minder
I always have three needles going at once whether I’m traveling or home. I like not having to rethread my needles constantly, and if one accidentally falls in the abyss or breaks, I have others to spare. The size of each of these supplies varies depending on if I’m traveling or home.
When I travel, I keep a small tin with miniature versions of my supplies for easy packing and transportation. The tin I generally use, pictured at the beginning of this section, came from Joann fabrics on clearance. However, a large Altoid tin would work great, as well. At home I like to use a larger tin or pretty piece of pottery to keep my supplies together.
Of Note:
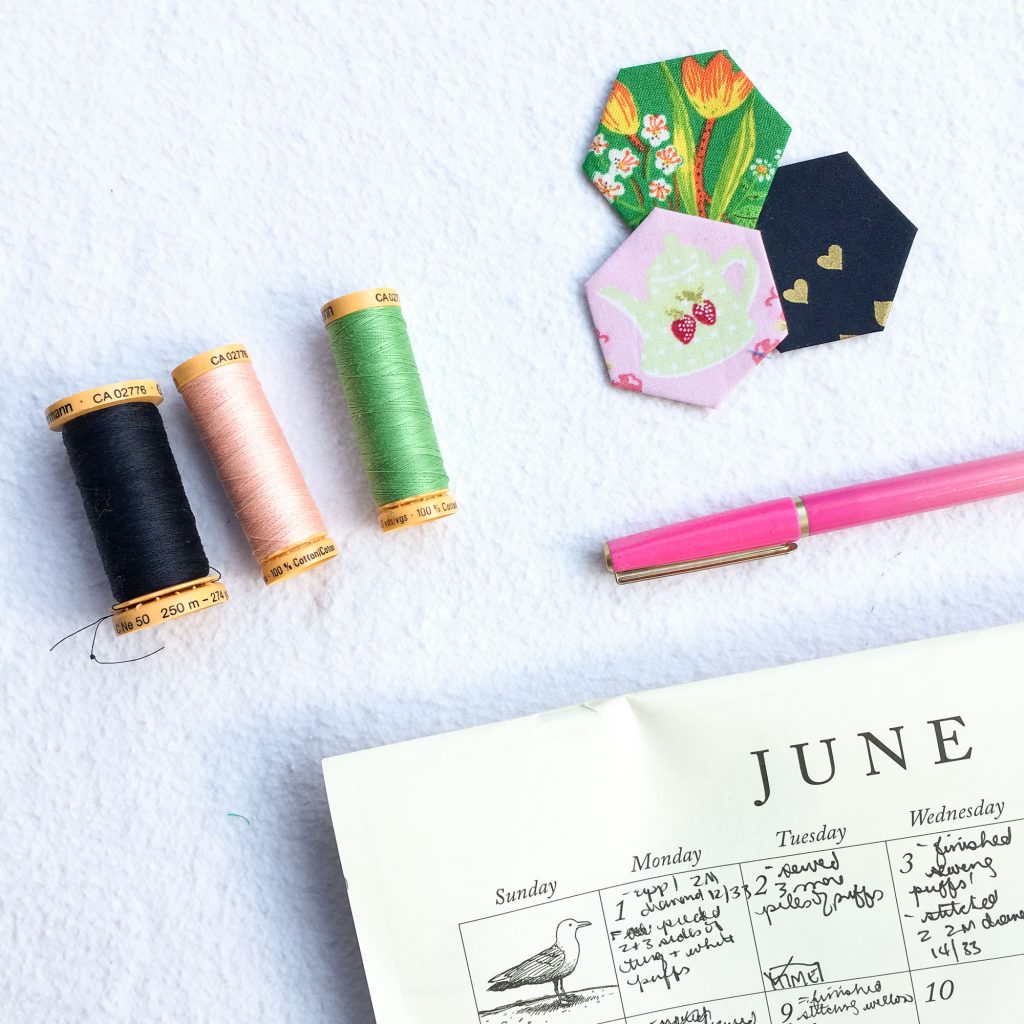
You will notice that I haven’t included thread in this list. The reason for this is that I keep the coordinating thread with each active WIP so that I can easily find it whether I’m on the road or cozied up at home.
Paper Pieces
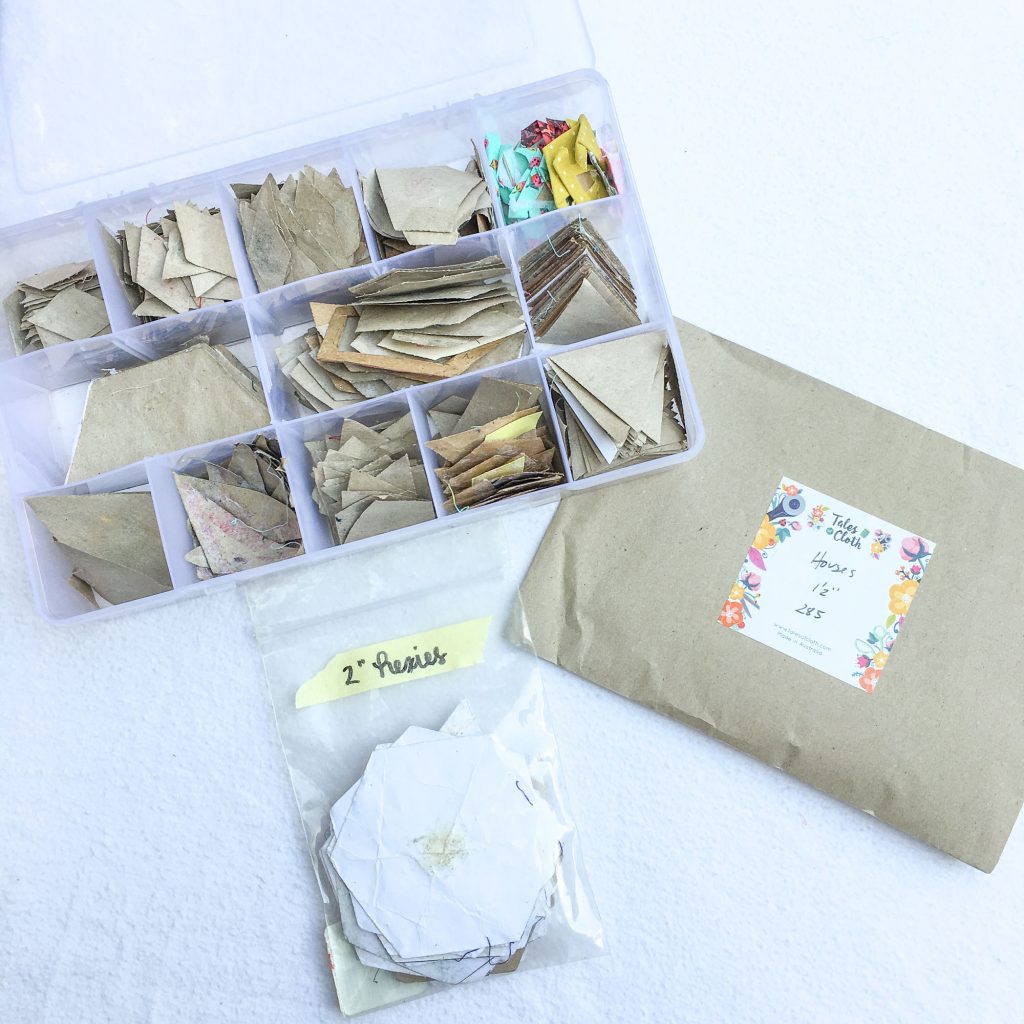
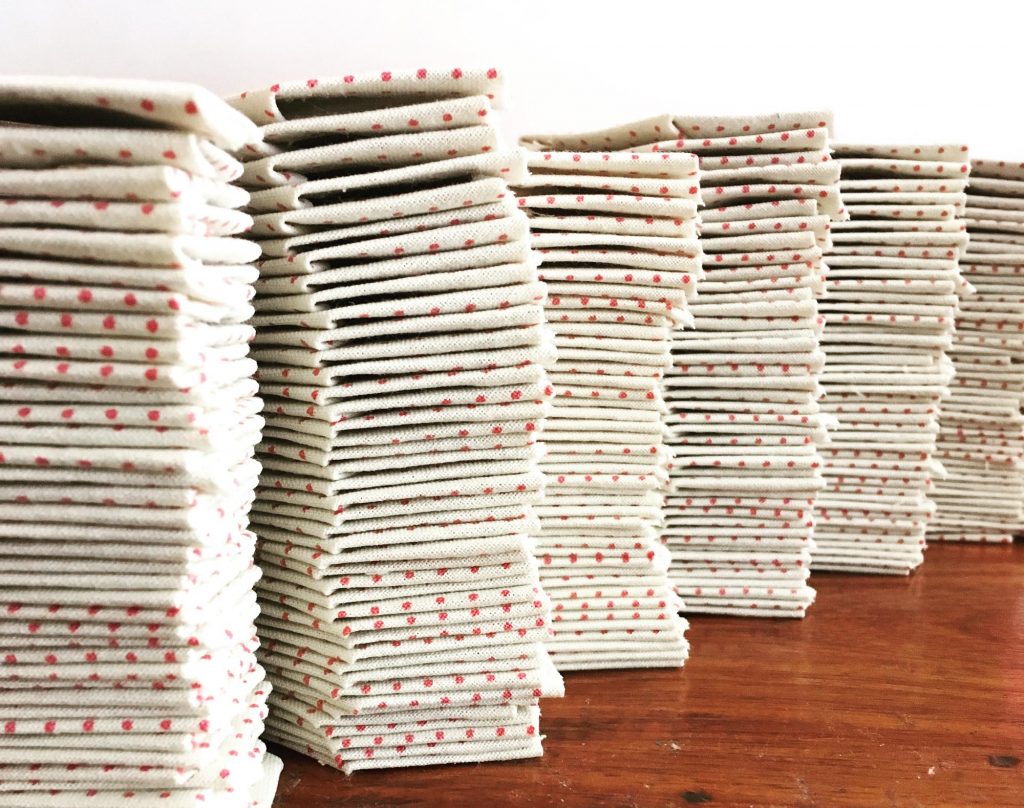
Since I have been stitching for a few years, I have a pretty decent collection of paper pieces. Some have been used and reused, while others patiently await their turn. In either case, I generally like to keep them organized in brown paper envelopes or ziplock bags so that I can easily identify which is which when I’m ready to start a project or after its completion. Sometimes, I use plastic organizers for smaller shapes, as well.
Keeping Your WIPs About You
Now that you have a bit of an idea about how I handle my supplies, here’s a peek into how I manage my WIPs.
A few years into my stitching journey I realized that I love having multiple WIPs going at once. It prevents boredom, gives a WIP time to breathe and marinate if I’m stuck, and provides space for inspiration to strike without feeling overwhelmed. However, if you are like me and have multiple WIPs at multiple stages, it can quickly become overwhelming (and disorderly) to keep track of them.
As I mentioned recently in this post, I like to have about three WIPs I am actively working on at once. But, I don’t think I have had just three WIPs going at once since the very beginning of my stitching journey. So, I have devised some general systems for maintaining order at various stages in each WIP.
General Storage
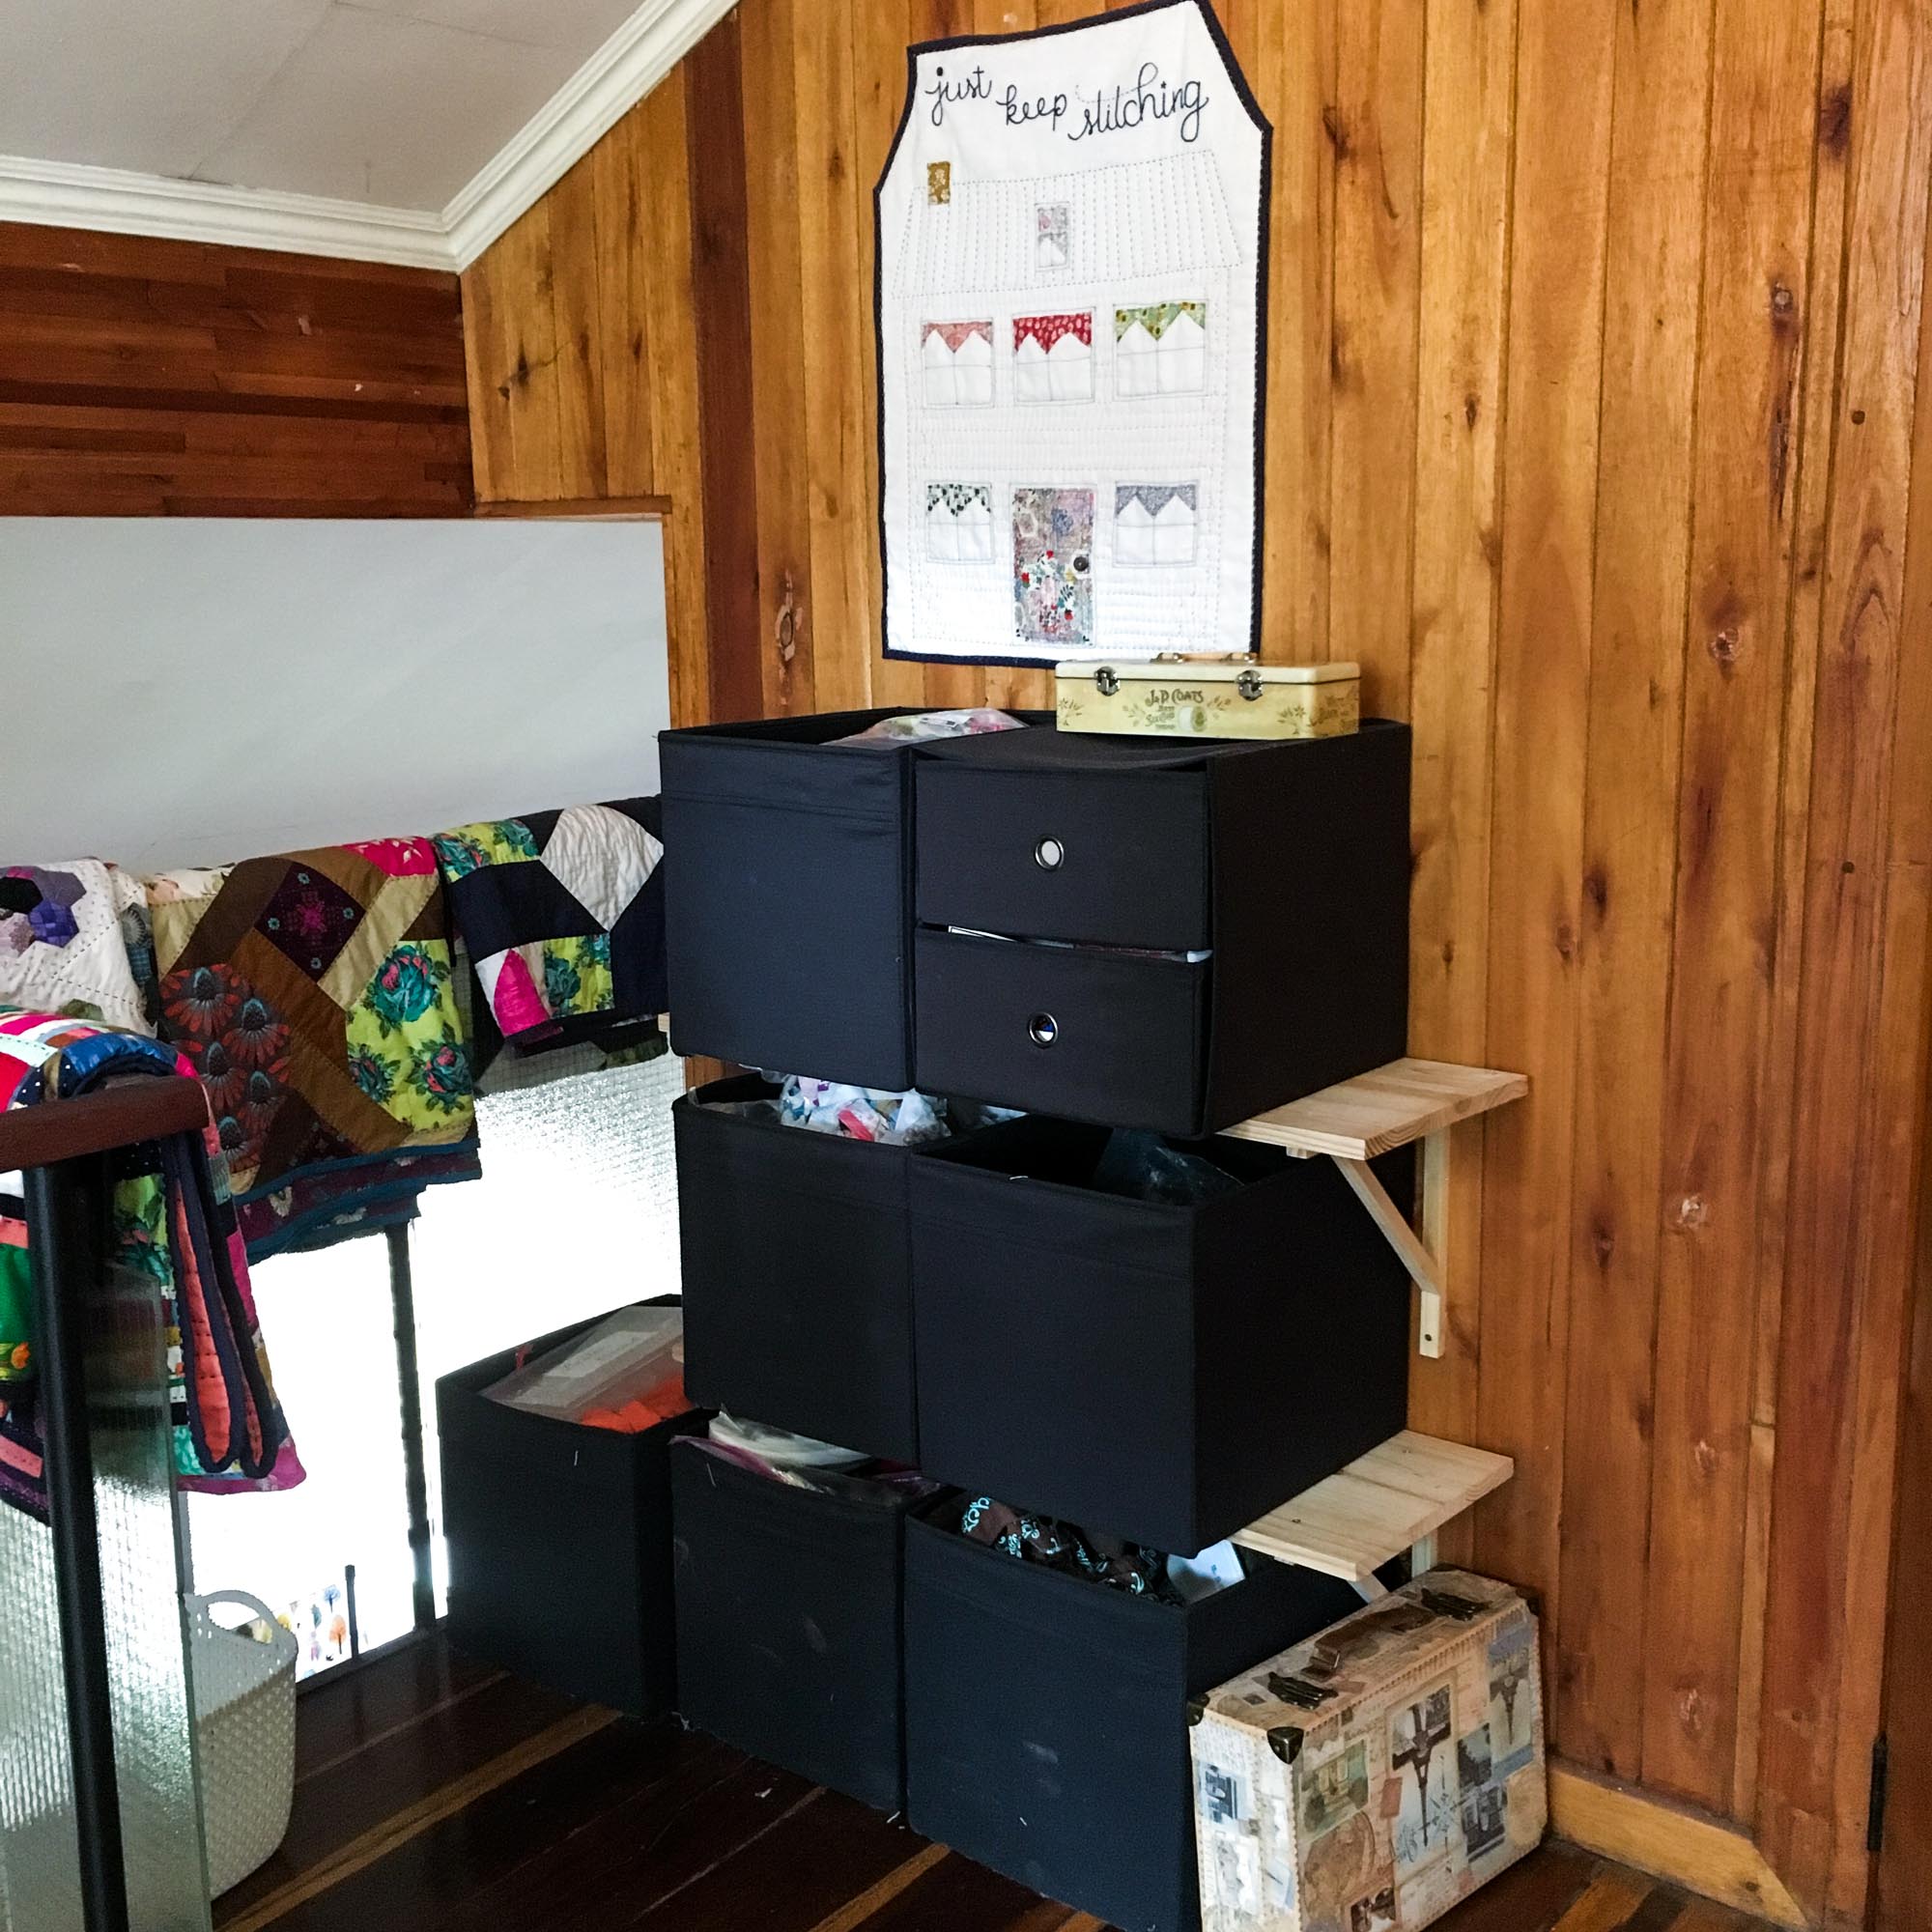
The most versatile method I use for storage comes from good old IKEA. Their relatively inexpensive bins make even simple shelves more useful, not to mention their own assortment of storage systems. Either way, I love using their basic DRONA fabric bins because they’re collapsable and easy to travel with. Not to mention, they hold a TON with a relatively small footprint.
As I mentioned before, I like to keep my fabric organized by its intended WIP. As such, I organize my bins based on their current activity level. If something is still in the planning stage, it gets placed in a bin that is less used. By contrast, more active WIPs take a more prominent bin placement, while sharing a bin with other active WIPs for easy pulling.
My current setup only takes up a small corner of our little loft nook, but it holds enough fabric/supplies for at least a dozen quilts. It’s definitely not as stylish as you might find on Pinterest, but it serves me well, especially with how dusty this climate is.
Fabric Pulls
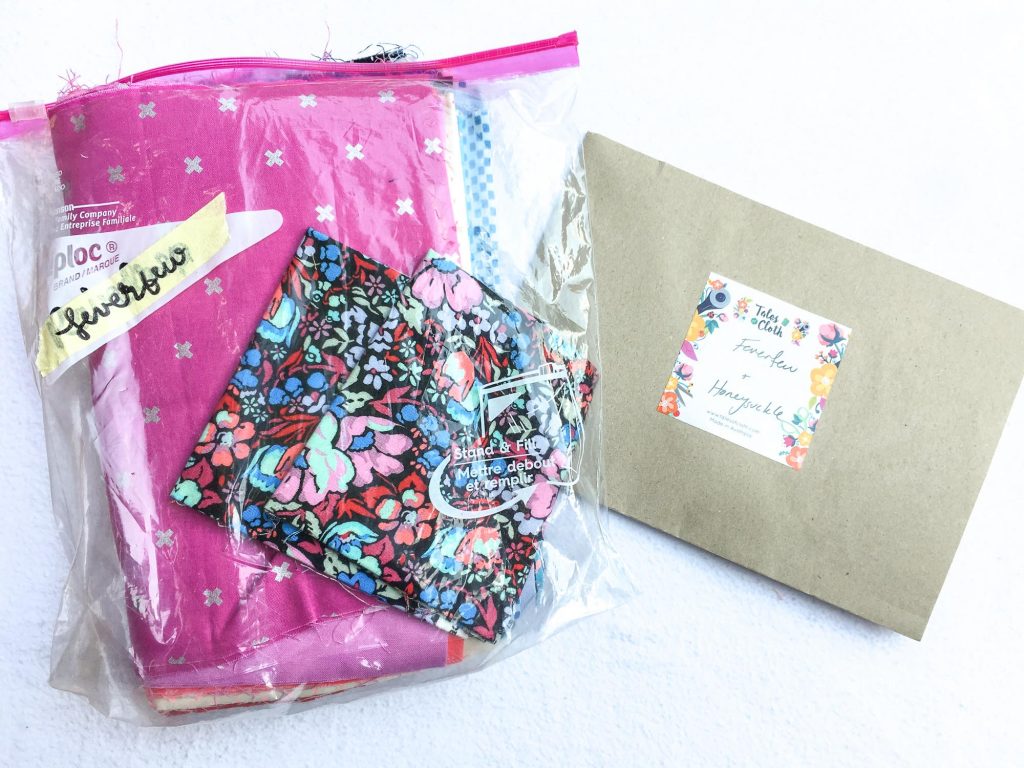
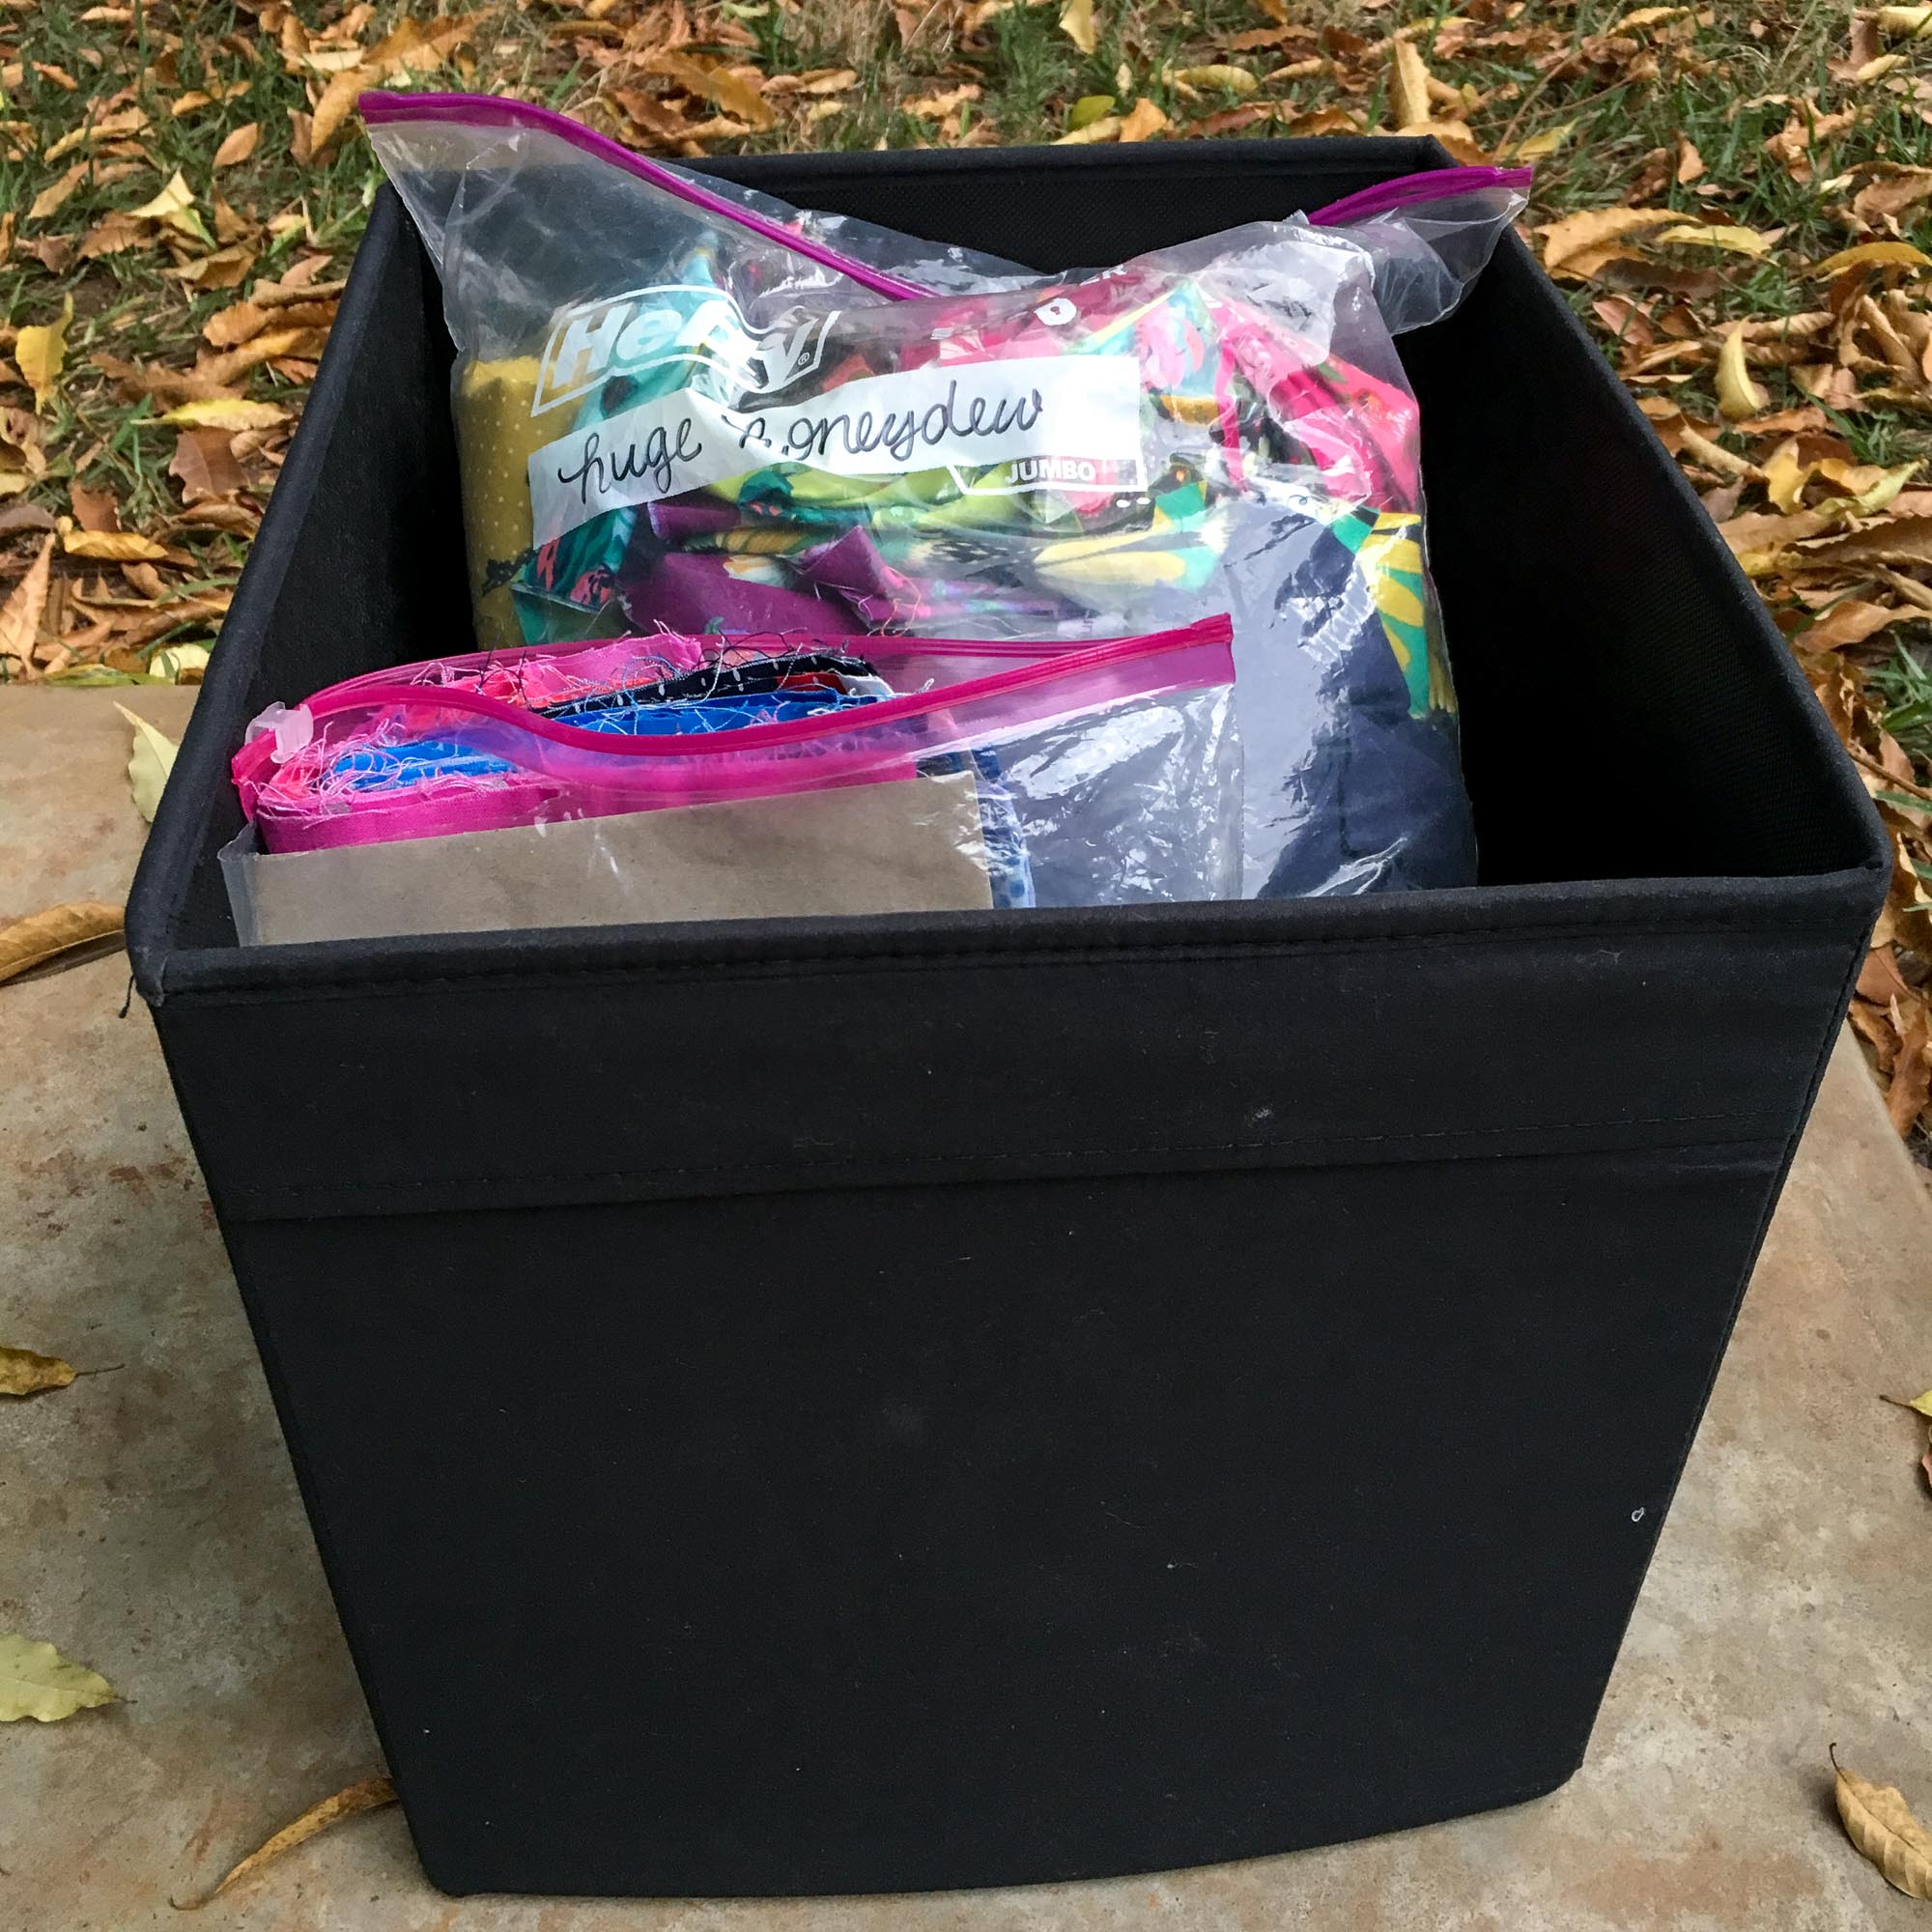
Sometimes I’m not quite ready to begin a project, but I have a general idea of the design. At this stage, I will pull my fabrics, and my pieces if I have them, and store them in a large 1 gallon or 2.5 gallon ziplock bags with a label. Then I store them in the large IKEA bins on my fabric shelves until I’m ready.
(This is also how I determine which fabric to travel with when we go back and forth between America and Malawi. With only our 50 pound bags, and fabric being the heaviest item in the midst, fabric only travels if I have a definite plan for it.)
Periodically I will reassess my IKEA bins and reorganize them if I have completed a WIP or I have an idea for a new one. At that point, I will relabel my ziplock bags with their new WIP intention so the next time I want to start a new WIP, it’s all ready to go.
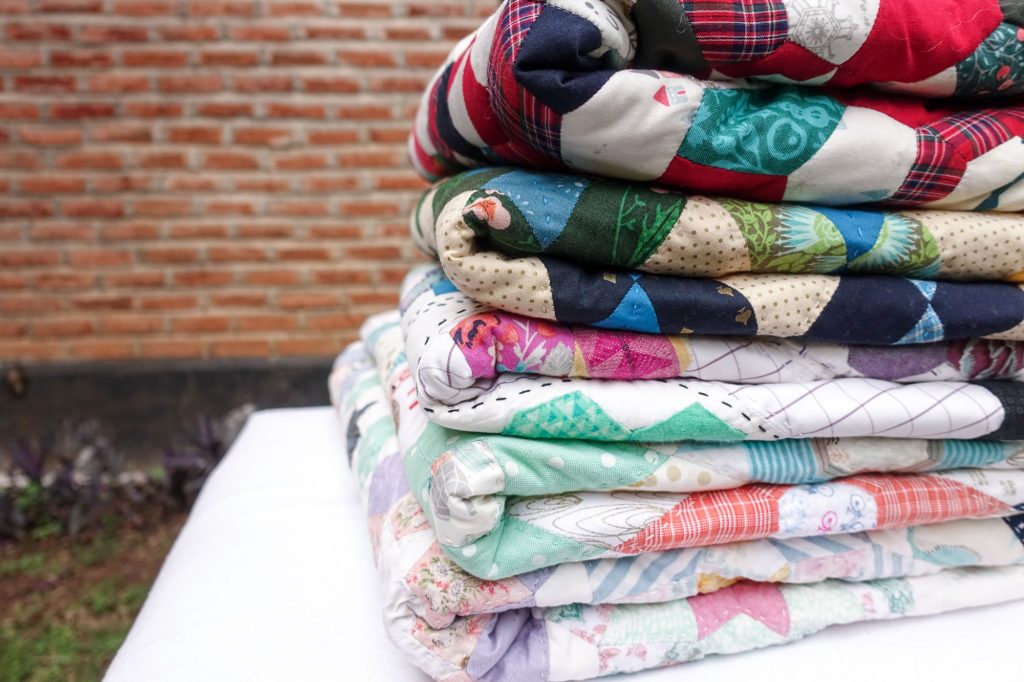
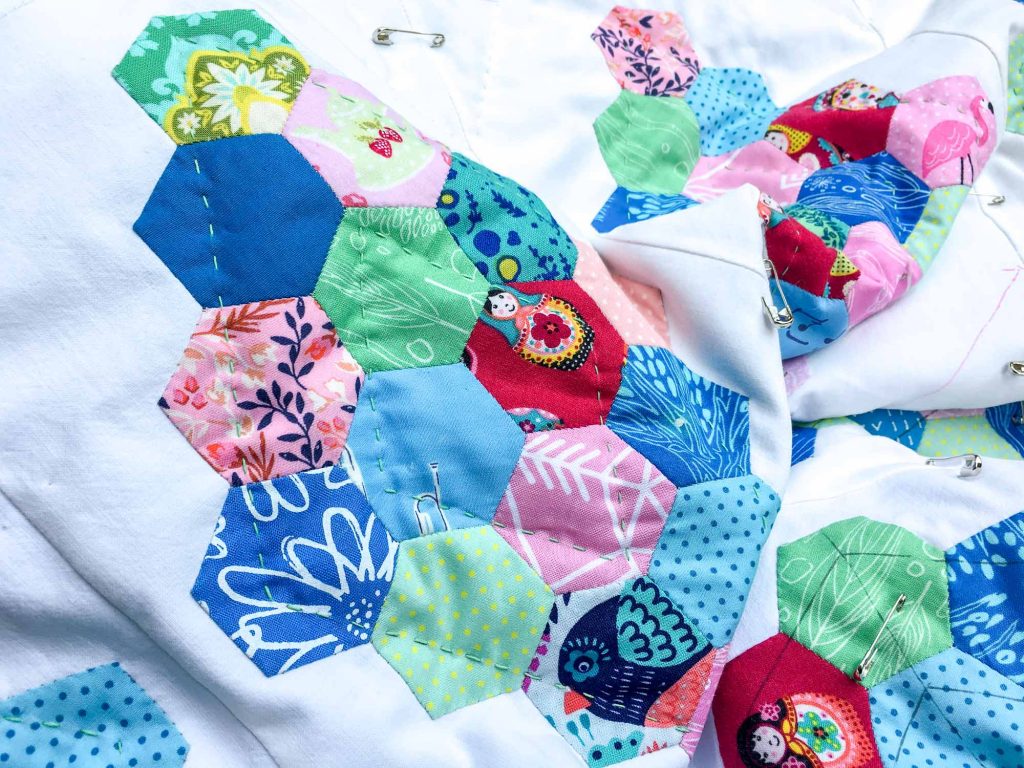
Works in Progress
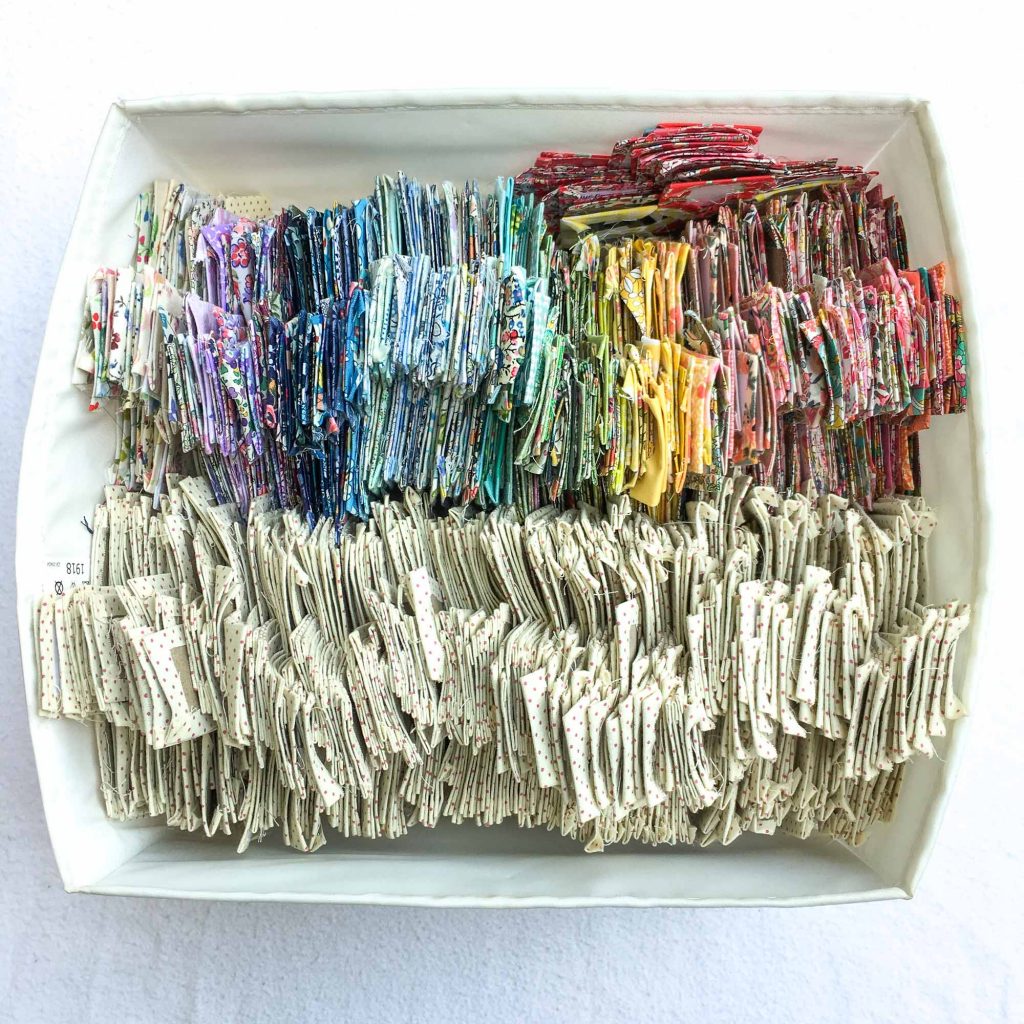
Once I begin a project, I like to keep the basted pieces organized in tins or zipper pouches. If I baste a whole quilt at once, I use bins or tins to store them until I’m ready to stitch. When I am actively stitching blocks or sections, I keep them in zipper pouches with coordinating thread so that they can easily find their way into a vehicle or our evening nook. Finished blocks or sections either live in bins, tubs, or tote bags depending on their size and what I have available at the time.
Make It Your Own
However you choose to organize your stitching, I encourage you to try different methods until you find something that works for you and your real life. Pinterest is a great place for inspiration, but sometimes the most beautiful organization doesn’t actually help your real life workflow.
Pay attention to how you go about a project. Then, experiment with ways that keep you stitching on that project both now and in the future. If you have a great system that works for you, feel free to mention it in the comments!
Track Your Progress
This last section has been my saving grace. I’ve talked about it before here, and, to my surprise, I discovered that I am not alone. When I began EPP, being a rather passionate soul without a whole lot of self-awareness at the time, I found myself completely infatuated with it, yet completely overwhelmed by it at the same time. When I joined my very first stitchalong, I had such high hopes. Sadly, after a few months, my inability to keep up discouraged me to the point of putting my WIP down for six months in defeat.
The Anti-To-Do List
So I did what I’ve always been taught keeps people on task to make progress. I wrote a to-do list. While I believe that to-do lists are wonderful and useful for many things and many people, I am not one of those people.
To-do lists are like tiny dictators for me. They establish black and white standards that leave little room for my human propensity to “go with the flow.” Without fail, I would inevitably arrive at the end of a day with far less items completed than I intended. Enter personal sense of complete failure at life. (Dramatic, I know.)
Then one day, after setting aside that WIP for over six months, I found myself scrolling on Instagram rather than stitching. (Classic.) I happened upon the hashtag for the stitchalong and began viewing all of the utterly stunning versions of the same quilt I was working on. For the first time, rather than comparing myself to them, I was inspired by them. An idea struck me.
What if I started recording the progress I did make, rather than beating myself up for what I didn’t?
So I did. I started to record my progress on a simple wall calendar. As the tiny blocks filled up with nearly illegible scribbles, my hope resurged and my creativity began to flow again. I began to make actual progress, and daily. I recorded if I basted just one paper piece or stitched only one seam. After all, it was more progress than I had made yesterday, right?
A Life Practice in Progress
This simple practice completely revolutionized the way I approach my stitching. In many ways, it also helped me reframe my perspective on life. Slowly, I have learned to stop comparing my life and pace with that of others. Instead, I choose to celebrate my own tiny achievements, regardless of how small they are.
I still record my progress daily. And, after a recent reflection, I realized that I just finished my fifth quilt of 2020. A few nights ago, I began hand quilting another WIP. This is unheard of for me. Aside from quarantine, I highly suspect the cause to be this fundamental practice of recording my progress.
Want to track your own progress?
So, as we wrap up this EPP Pro series, I have a small invitation. What if you started to track any progress you make whenever you make it? Not a “stitch a day” kind of practice or a competition or even a stitchalong. Just simple reflection upon your progress. Then, validate it by writing it down in black and white.
If this sounds like it’s for you, I’d love for you to join me. At the end of each month I send out a FREE printable calendar for the coming month to my newsletter subscribers. The newsletter contains all kinds of extra goodies I am working on, a tip of the month, and when I release a new pattern you’re the first to know and receive a special coupon code just for subscribers. If you’d like to receive that FREE printable calendar as well as the newsletter, click here to subscribe. (And don’t worry, I only send out newsletters a few times a month.)
A Creative Community Practice
And because stitching together is one of my favorite things, even if it’s virtually, I’d love to cheer you on over on Instagram. You can use the hashtag #istitchedtoday to share your progress along with me, in addition to writing it down. There are no rules or timelines.
This practice thrives on validating any amount of progress you make at all, at any pace that works for you. From stitching by hand, basting a quilt, or machine sewing, it deserves to be written down. If you stitch one seam, baste one paper piece, or simply pull out an old WIP and see what it has to say, it counts.
Some days you might not make any progress. Some days you might make far more progress than you could have possibly imagined. Welcome the ebb and flow of the creative process and begin to find your rhythm.
Give Yourself Permission

I’ve said it multiple times throughout this series, but in all honesty, I created this space to be what I wish I had found early on in my stitching journey. A place that gives you the permission you might not be able to give yourself to cultivate the joy and healing of creativity.
It took me a lot of fumbling and failing to finally surrender to the role of creativity in my life. I need it. It expands my capacity for so many other areas of my life, and it teaches me things that I probably wouldn’t have learned without it. Maybe that could become part of your story, too.
Begin Your Own Progress Today
If that sounds like something you’d like to be true, begin today. Listen to the creative voice that bubbles up within you. Pull out an old WIP and see if inspiration strikes anew. Break up the process into bite-sized chunks like we talked about in the EPP Pro: Finding Time to Sew post.
Or, invest in a few tools that make the more challenging steps just that much easier to accomplish. Try a new technique that makes a particular part of the EPP process more efficient. Organize a single WIP or part of your sewing space to make it more enjoyable for you.
In short, reflect on which part of this EPP Pro series resonated most with you. See if implementing just one practice from that post in the next month motivates you to make progress. Then, record it. Share it with others as we cheer each other on over on Instagram. You might be surprised how this one tiny shift could realign your “sew-jo” and set you on course for a life-giving recalibration in your stitching journey.
Thank You
Thank you so much for joining me as we began to take your EPP to the next level. I truly hope it has inspired you to cultivate a bit more of the joy and healing that creativity brings.
Until then, happy stitching!
Don’t forget, you can always find all of the sections of the EPP Pro series here. Or you can use these handy pins for easy access from Pinterest.
2 Responses
Oh Lisa- thanks so much for all the wonderful tips & inspiration, and motivation! I don’t sew nearly as much as I’d like, but I’m thinking of your tip, even stitching one seam, or basting one piece, is more than you had done yesterday! And that is progress!
Hi Tammy! Yes, it all counts! That’s my favorite part of the whole process. All the tips and tricks in the world don’t help us make progress until we begin to give ourselves credit for it. It’s amazing how much a tiny shift in perspective can change us more than anything else. Hugs to you sweet lady!
Lisa xx