This post is part of the EPP Pro tutorial series. For the most fluid experience, I recommend starting at the beginning since the posts build upon each other. If you missed any of the previous posts, you can find them here.
I have heard it said about English Paper Piecing (EPP) so many times, “I’d love to try it, but I just don’t have the time.” Or, “I started an EPP quilt years ago, but I just don’t have the time to finish it.”
Time is a precious commodity in our fast-paced lives. In this post, I’d like to gently invite us to reconsider how we utilize the time we do have, rather than despairingly lament over how much time we don’t.
Chunk Time vs. Crack Time
I need to begin with a disclaimer that the wording I will use to explain this concept is not original with me. I a part of a writing community called hope*writers, and they were able to put words to this mentality towards time for me.
In their member library, they use the concept of “chunk time” vs “crack time” with regards to writing, but I was astonished to realize that I already utilize this methodology in my approach to quilt making. I have adapted it from their purposes to fit into quilting, but the verbiage is theirs. So, let’s talk about it!
Chunk Time

Chunk time is defined as a larger block of time. In the quilty world, I tend to consider chunk time as a period of time of at least an hour in length, but it could be more. I used to consider these blocks of time to be the ones when “I am going to make so much progress on my current WIP!” Only to end that time with a whole lot of frustration because so much of it was taken up with tedious steps or scrolling on social media in defeat.
Then I had an idea. What if I shifted to using my chunk time specifically for those tedious steps? It sounds counterintuitive, but in reality, once I got those tedious steps out of the way, I found that I could “just pick up” my WIPs or “just sew for 15 minutes” because the barriers to progress had been cleared away.
Things I do during my chunk time:
- Prep and cut fabric
- Baste pieces
- Pull papers
- Press what needs to be pressed
- Lay out the final design
- Baste the quilt sandwich
When I get these steps out of the way, I find that I make so much more progress in my “crack” time.
Crack Time
Crack time describes those small snippets of time that I used to think didn’t count. How could I make any progress in just 15 minutes? For a long time, I believed this. And, to be honest, I did have a hard time making progress. But, since I shifted my mindset about how I use my chunk time, now I really do make progress in those tiny cracks of time.
Examples of crack time:
- Waiting for dinner to finish
- Riding in the car
- Waiting at an appointment
- Nap time
- Lunch break
There are so many little slots of time we have, but I didn’t realize that I was underutilizing them until I discovered the barriers I had to them.
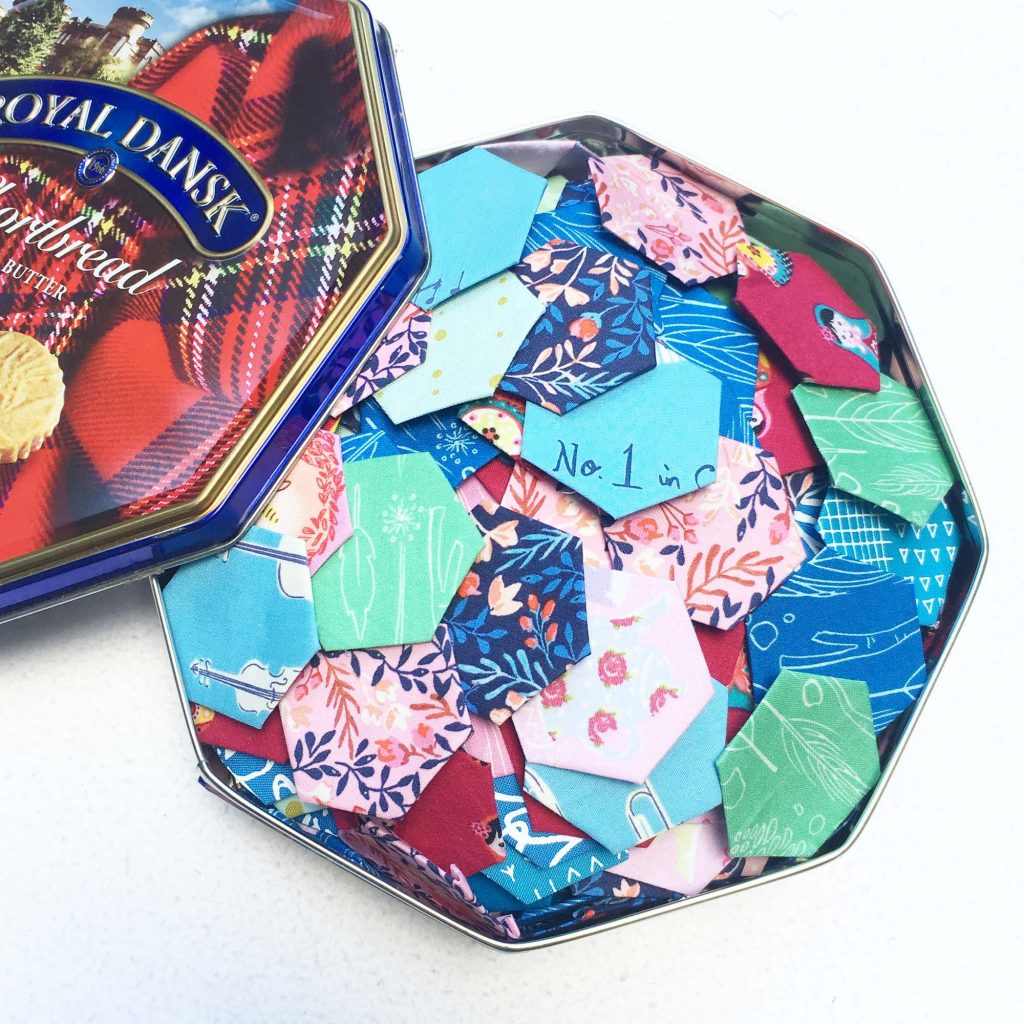
Now, I keep a little pouch as my “on-the-go” WIP so I always have something in my purse. I also tend to be able to bring something with me when a “sewcial” gathering comes up (during non-quarantine/pandemic life). But, most of all, I am able to consistently do what I love most, whenever I want to: stitch.
Assembly Line It
Whether you are deciding to carve out some chunk time or you have a little bit of crack time before you, I have a little addendum to this ideology. It goes like this:
Whatever you’re working on, assembly line it.
Using an assembly line process to batch whatever step you’re working on gives you a clear task to focus on so that you can clearly determine when you have completed it. This way, rather than feeling like you only made a tiny bit of progress on several tasks, you can actually cross off a single step in its entirety. Then, give yourself a pat on the back for a job well done.
Breaking down the EPP process is extremely helpful when implementing an assembly line. Instead of looking at an EPP quilt of 1000 pieces and melting into a puddle of defeat the minute you imagine cutting, basting, and stitching all of those 1000 pieces, start at the beginning and focus on one step at a time.
In general, this is how I breakdown my EPP quilts. These can be fluid depending on the degree of improvisation or order you decide you want for the quilt. Or, if you are stuck on one stage, you can do filler tasks like pulling papers after stitching a section together. They are meant more as a general progression rather than a rigid set of step-by-step instructions to follow.
- Pull your fabric
- Assign fabric to specific paper pieces
- Cut your fabric
- Baste your papers
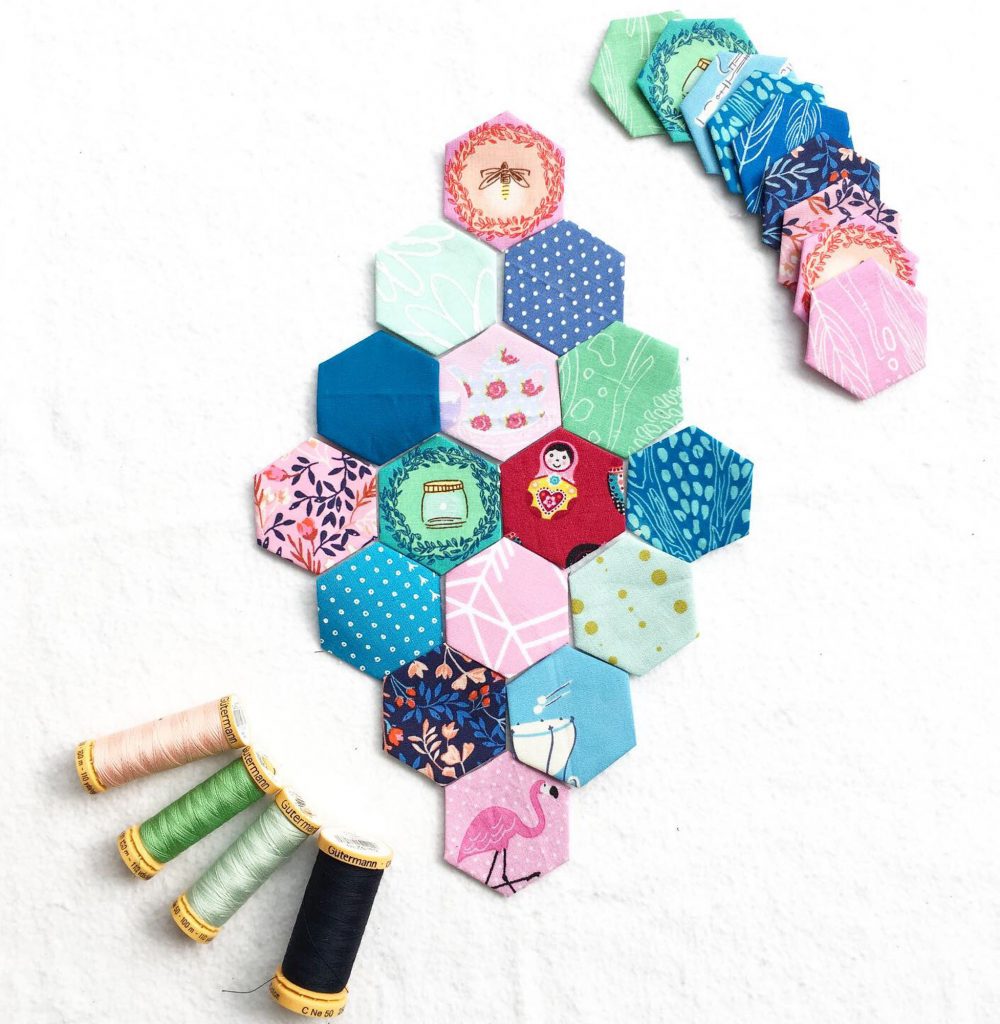
- Design your blocks
- Stitch a block
- Stitch a row
- Stitch the quilt top
- Pull your papers
- Press your quilt top
- Baste your quilt sandwich
- Quilt as desired
- Bind your quilt
- Add a label (To you give yourself credit for the beautiful work you have done!)
Two Examples of an Assembly Line in Action
As I’ve said, I have found that focusing on one singular step at a time is vastly more productive than fluttering among steps. These days, I tend to have a general idea of how I want a quilt to look before I even start, so I have discovered that I enjoy cutting all of my fabric and basting all of my pieces before I start stitching anything.
But, let me tell you, this was NOT always the case. My first scrappy quilt I made a block at a time. And, until I realized that I could focus on a single block at a time, I stalled and melted into the aforementioned puddle of defeat for about six months in the process.
There are many ways to approach this assembly line idea. I wholeheartedly encourage you to find a rhythm that works for you. The following are just two examples of ways I have utilized an assembly line process in EPP. Of note, these examples are typically accomplished during a chunk time session rather than crack time.
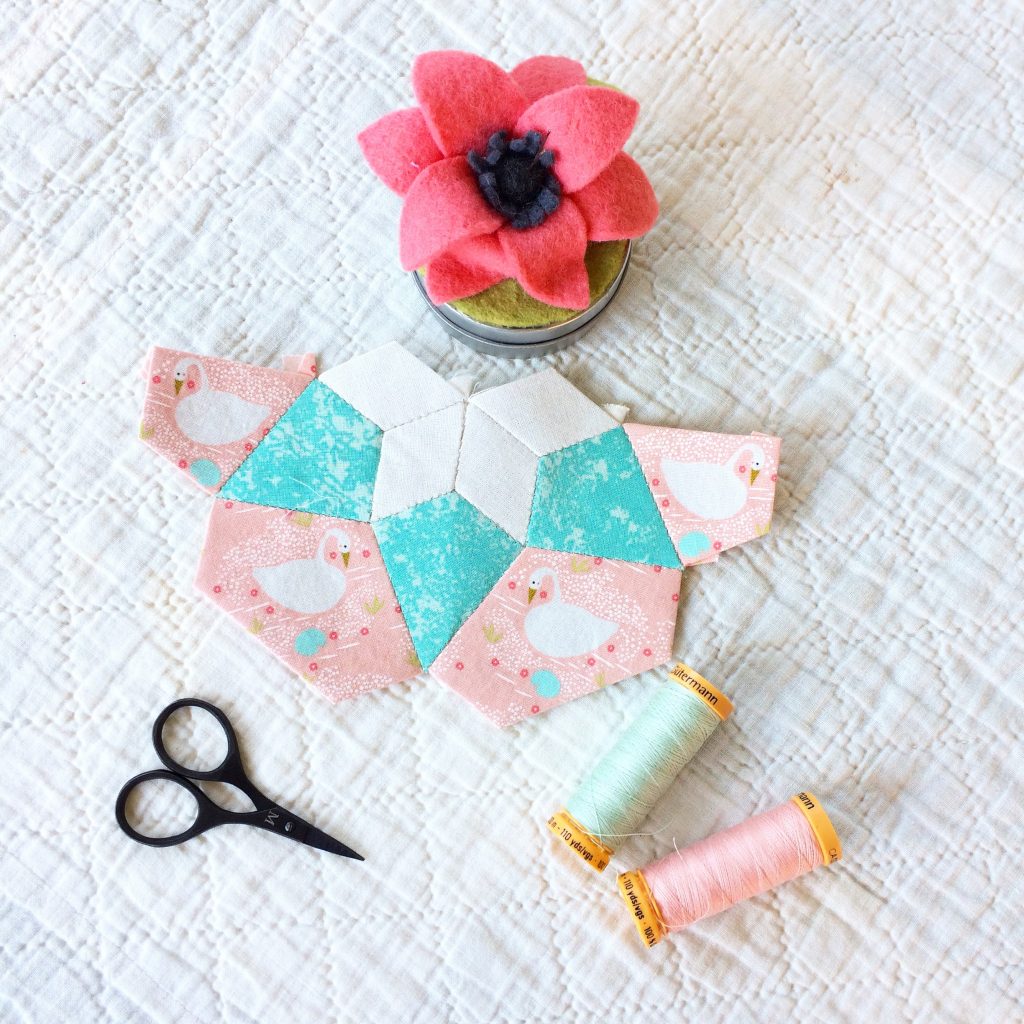
Example 1: Baste a single block
Pull out all fabrics for a single block. Cut the fabric for each piece. Baste the pieces. End chunk time.
Now we have one block prepared for stitching! We began with a clear task: baste a single block. Then, by the end, we had a clear accomplishment of that task to celebrate. Woohoo!
But, let’s break it down even more. Notice that I even broke down this task into sub-tasks that can be assembly lined. Pull ALL your fabrics for this block. Check. Cut ALL your fabric for each corresponding paper piece. Check. Baste ALL of your pieces. Check.
By further streamlining the task of “baste a single block” into subcategories, it builds a cycle of task-to-completion that allows you to build momentum. The result is that you leave your chunk time with a sense of accomplishment rather than defeat.
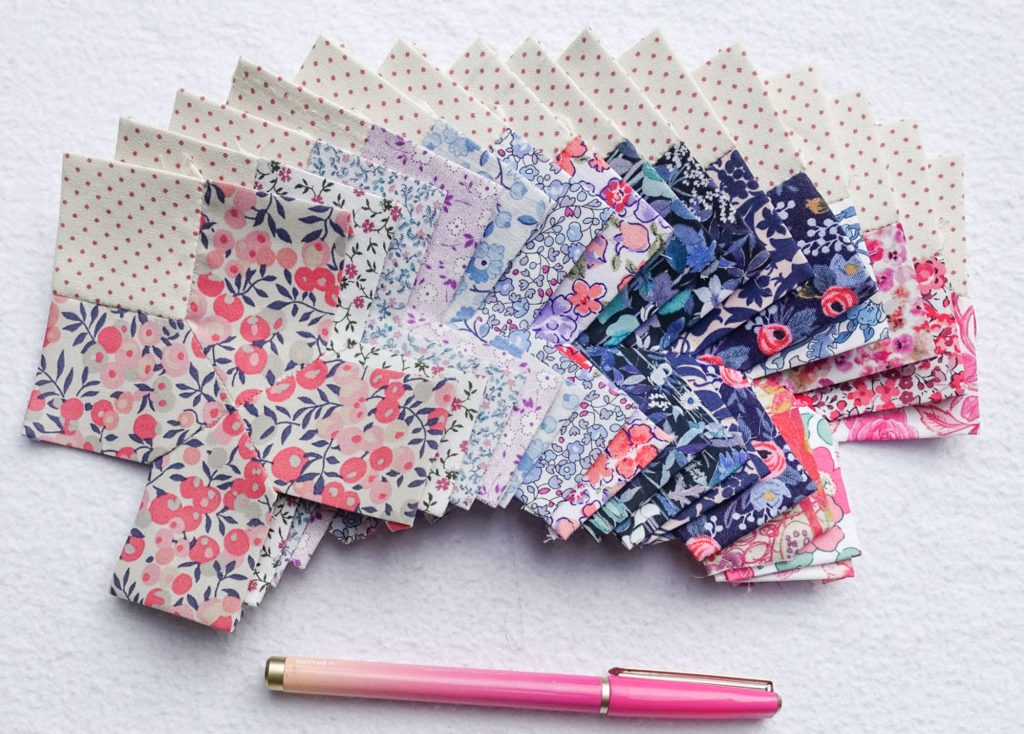
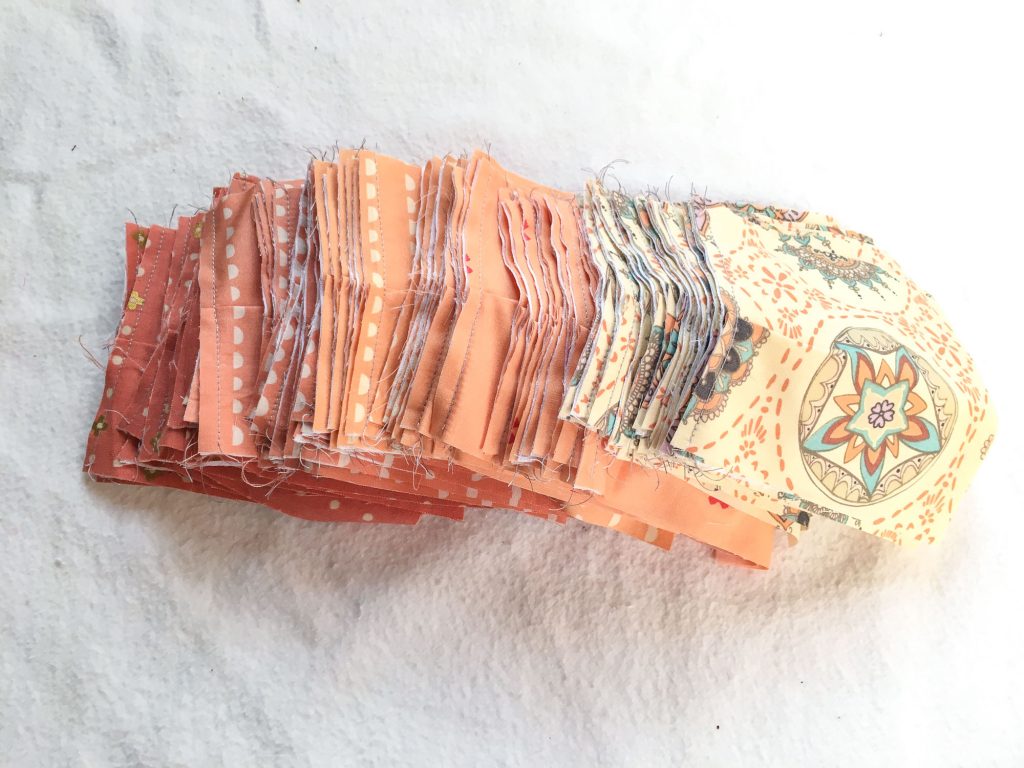
Example 2: Baste a whole quilt
This one is a bit of a trick example because I don’t actually sit down and baste a whole quilt in one sitting. Instead, I take the same individual tasks used to baste a single block and assembly line those on a larger scale. It looks something like this.
Pull out all of fabrics for a quilt. Decide which shapes will correspond with each fabric. End chunk time.
This seems far less productive than the previous example, on the surface. But by batching this step, it removes the slog of decision making that can bog down the whole process the next time I need to baste a new block.
The result of this session means that the next time I get a bit of chunk time, I can easily determine that the task of that session will be to begin cutting the fabric for each corresponding shape. And the next time? Maybe I’ll start basting the paper pieces. After a few sessions, all that will be left is stitching!
Find What Works for You
Both of these examples are helpful because they cause you to focus on one step at a time. Whether you just want to prepare one block, or you want to prepare an entire quilt, streamlining the process is the point.
In future segments of this tutorial series, I share more specific examples of how I implement the assembly line process for specific steps. But, for now, feel free to try one of these methods or share one that works really well for you in the comments.
However you go about it, even if you decide to assembly line just one block or a few blocks, I think you’ll notice a difference in your efficiency, which means more time for stitching! And that’s what we’re all here for anyway, right?
For More than Just EPP
The amazing part about reconsidering how we utilize our time is that it applies to all sewing endeavors. If I’m planning to make a machine pieced quilt, I approach it in a similar way. Working on an embroidery pattern? Yup, still the same. I have found an exponential increase in progress since I started approaching my sewing from this perspective.
However, I feel like it is important to clarify that the point of all of this is not to become a quilt making factory. No. The point is to make progress on something beautiful that you enjoy doing. Removing the barriers that are preventing you from making progress, and ultimately doing what you love, is the point.
I hope that you find this helpful as you begin to take your EPP, and your sewing life in general, to the next level. It’s not a race. As Emily P. Freeman so graciously reminds us, “your pace is your pace.” I hope that reconsidering the time you do have will be one way of cultivating the joy and healing of creativity in your own life.
What to Expect in the Next Section
In the next section, EPP Pro: Streamlining Your Supplies, we dive into the professional tools of the trade. While EPP is wonderful in that you can start with very few supplies, there are definitely a few that make it a more blissful experience. I hope you find it helpful, and happy stitching!
For future reference, you can always find all of the sections of the EPP Pro series here. Or you can use these handy pins for easy access from Pinterest.