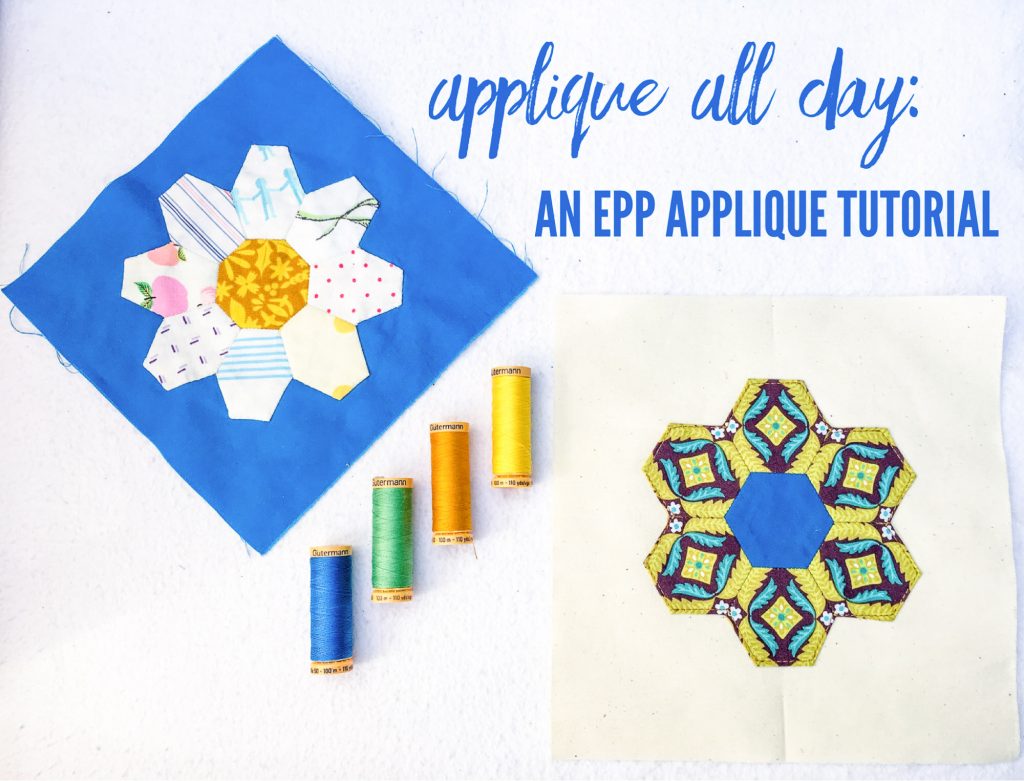
I discovered how perfect a pairing English paper piecing (EPP) and applique are a few summers ago, when I participated in the Kingfisher stitchalong hosted by Jodi Godfrey of Tales of Cloth and Rachel Hauser of Stitched in Color. Since then, I have enjoyed adding EPP embellishments to projects, as well as stitching quilts that combine EPP with applique for a faster finish.
One of my favorite elements of applique is that it can be done by hand or machine. Always one to insert hand stitching wherever possible, hand applique is my preferred method. However, I appreciate having machine applique in my sewing repertoire for those occasions where it proves helpful. As such, this applique tutorial demonstrates how to applique both by hand and machine. (P.S. If you’re new to EPP, you can find out all about it in the EPP Primer. Just click here.)
So, let’s get started!
Hand Applique
First up is hand applique. I love the portability of hand applique, much as I enjoy the portability of EPP. You can prep several blocks at a time and then, using the same basic set of supplies as EPP, you’re ready for a ride in the car, a cozy evening around the fire, or a pleasant afternoon in the back yard. So, let’s get to it!
One last thing before we begin. I have endeavored to create as aesthetically pleasing a layout as possible with this post in order to enhance readability. As such, desktop users will notice that each step of the tutorial is staggered with an alternating text block and image. If the images appear too small at any time, simply click on the image and a full scale version will pop up.
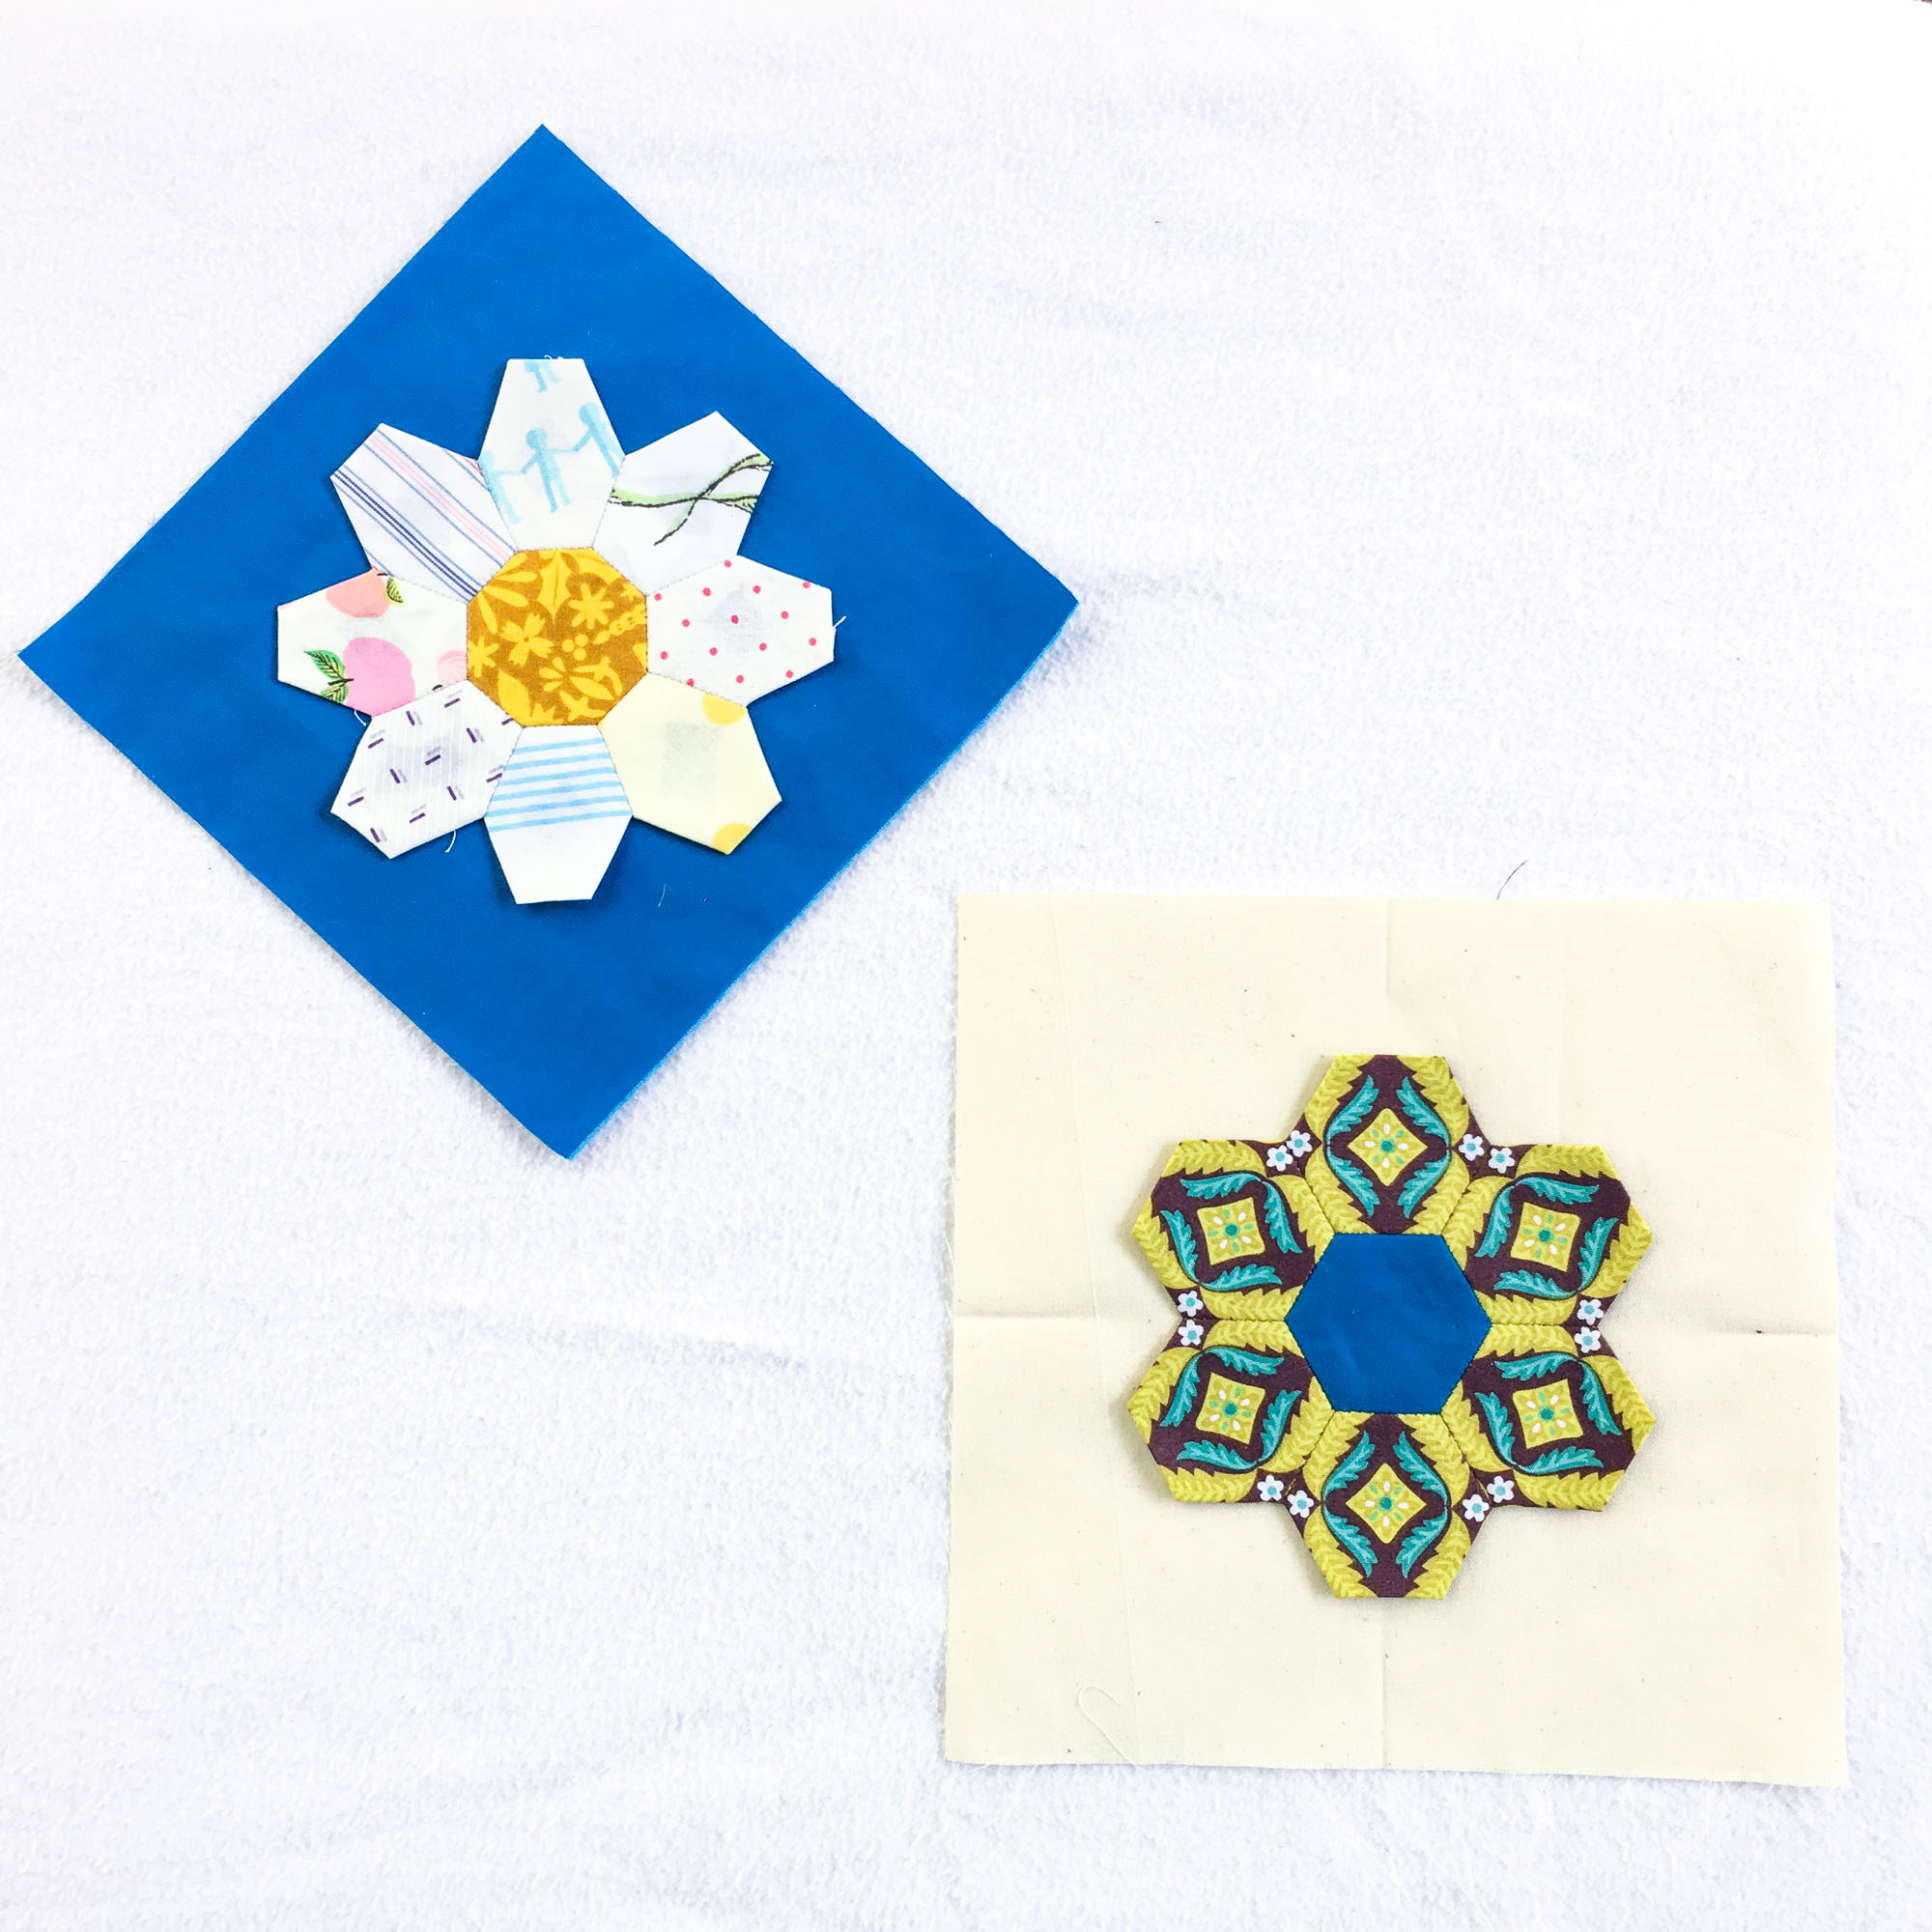
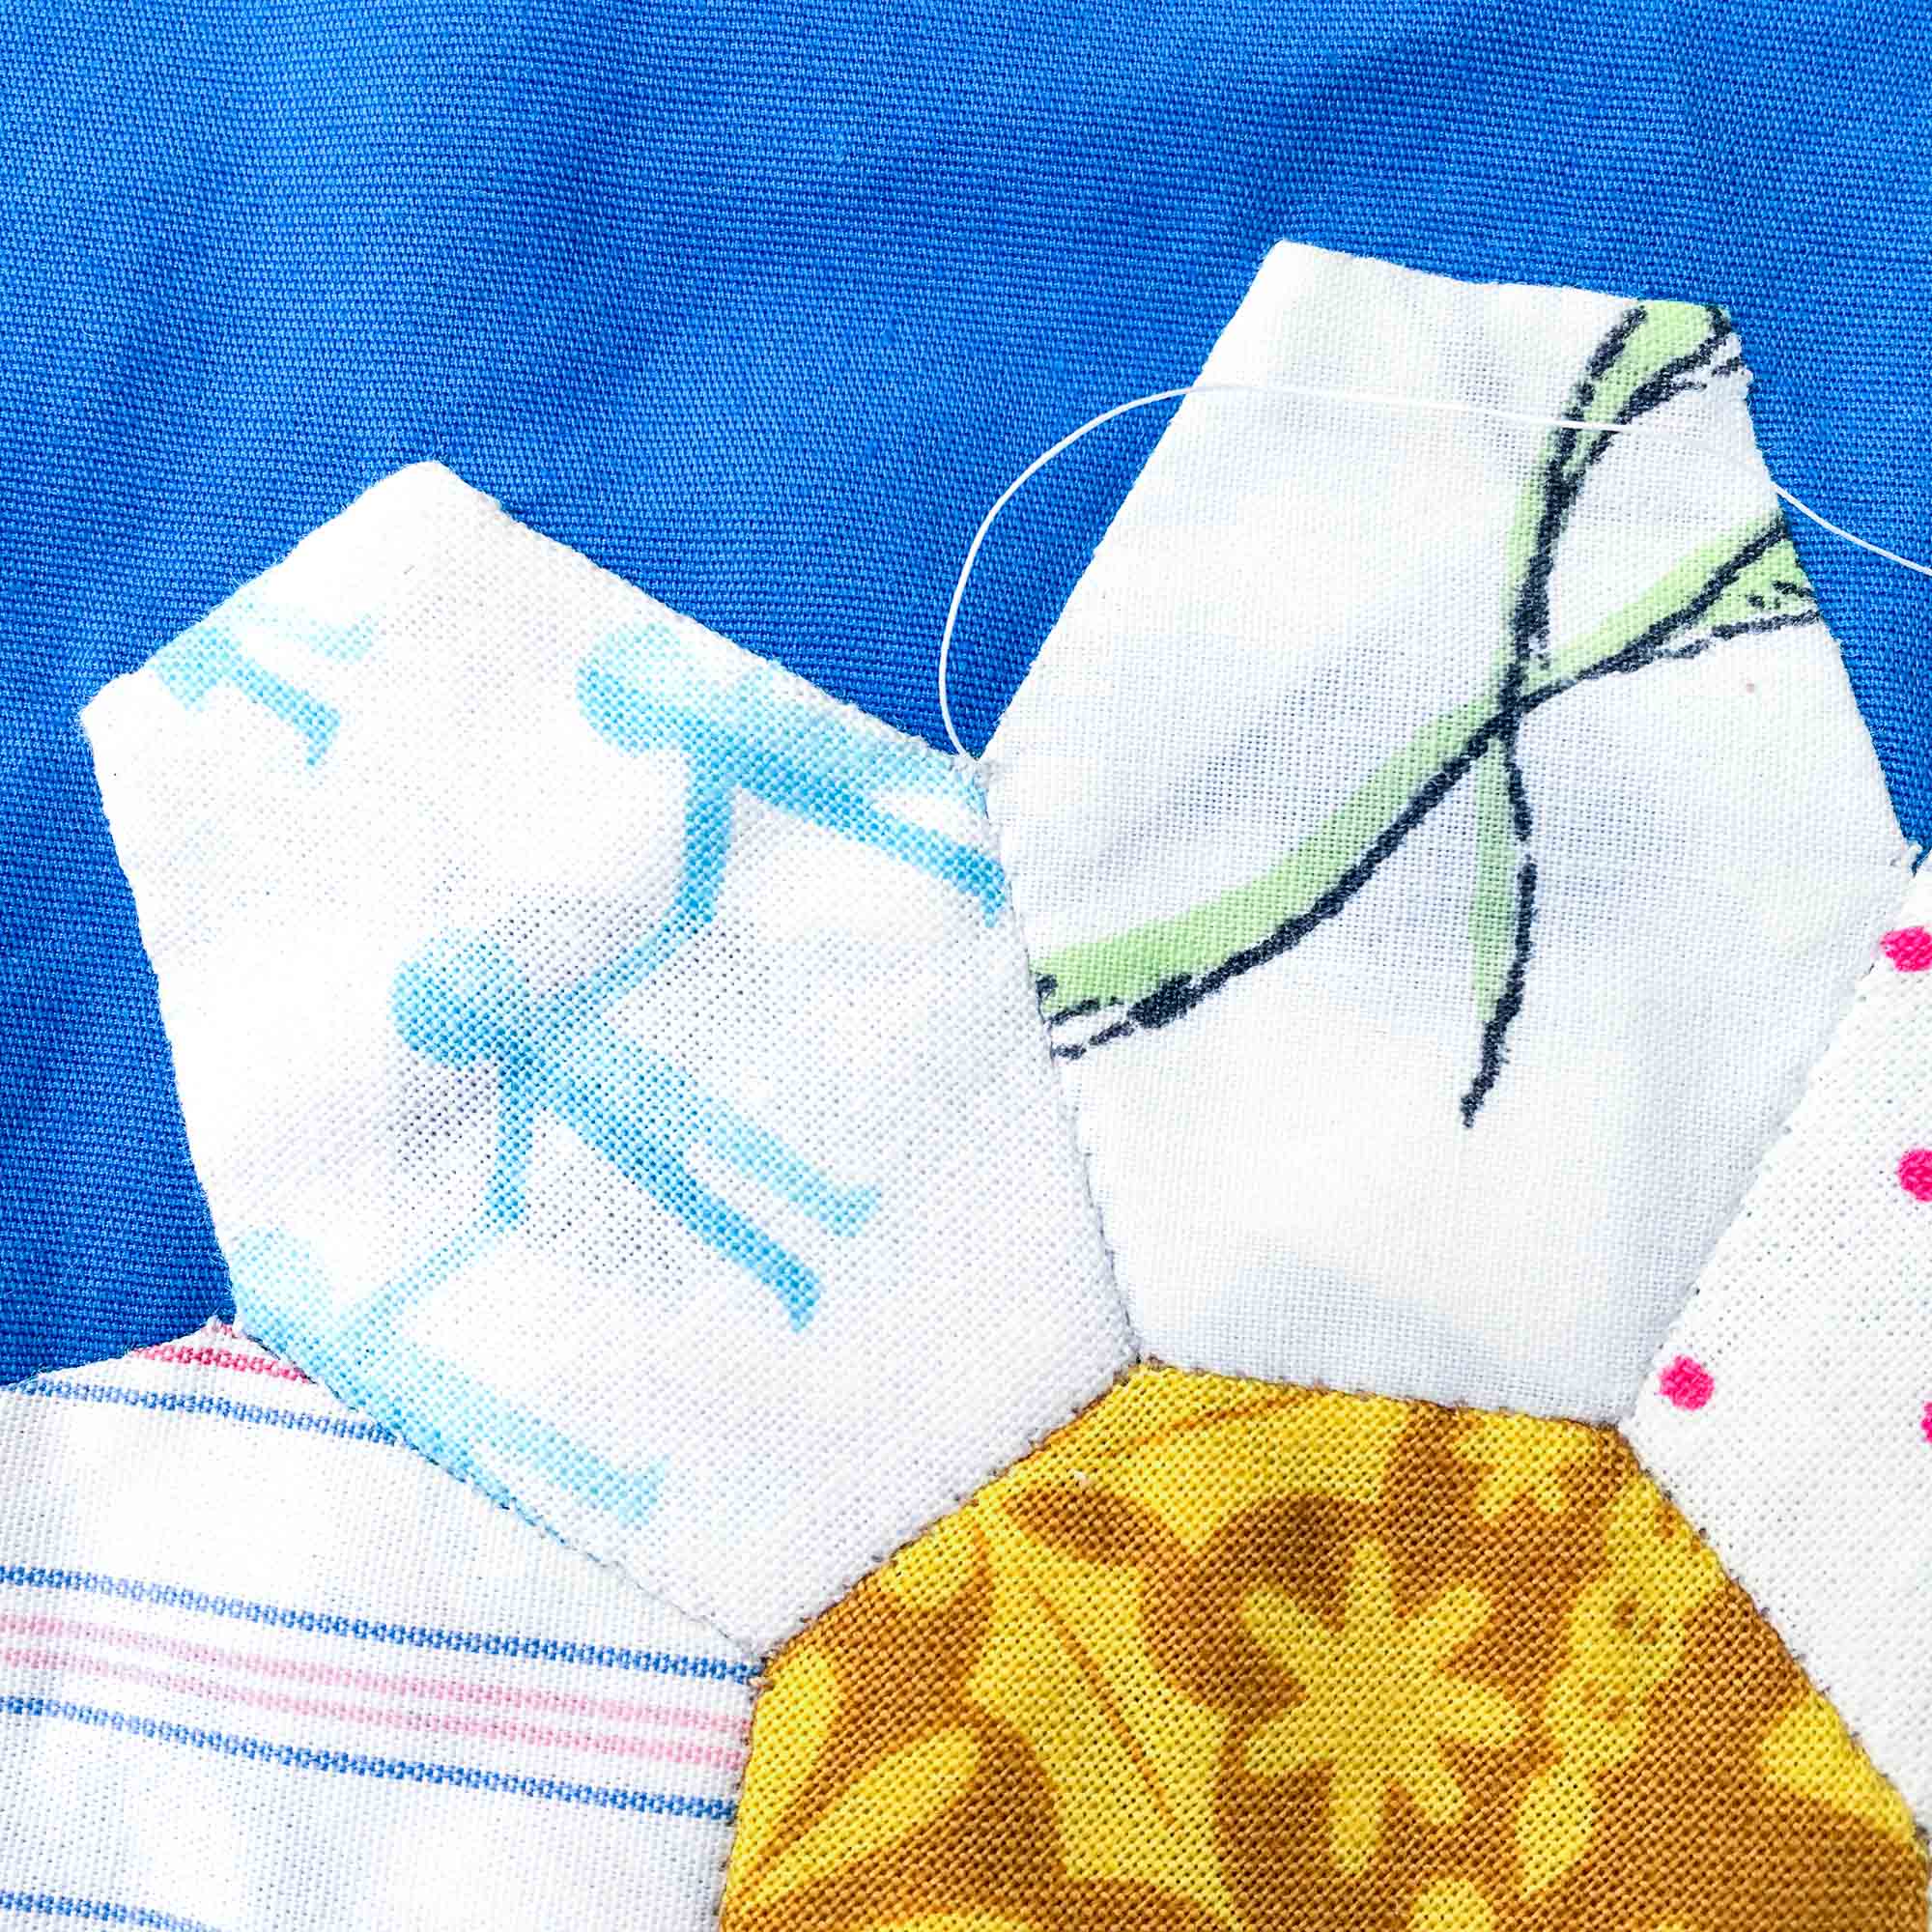
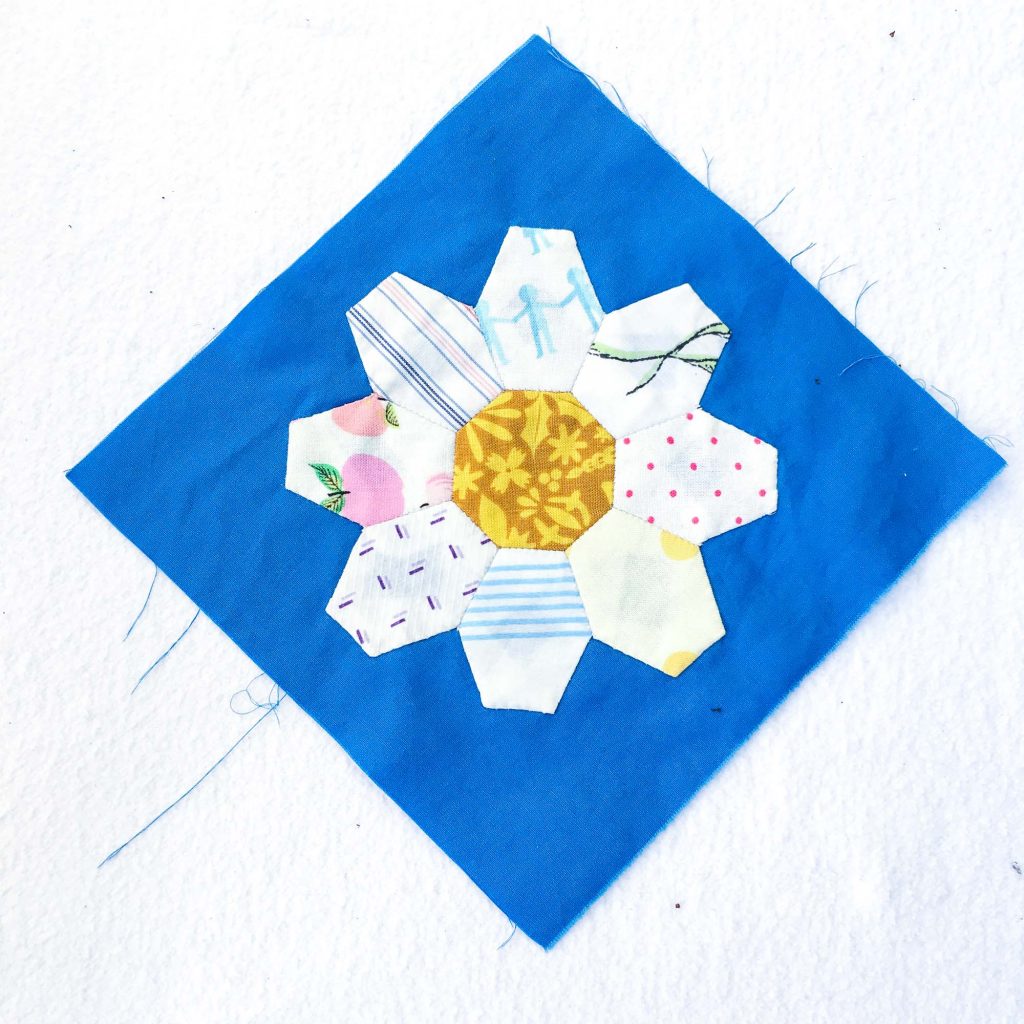
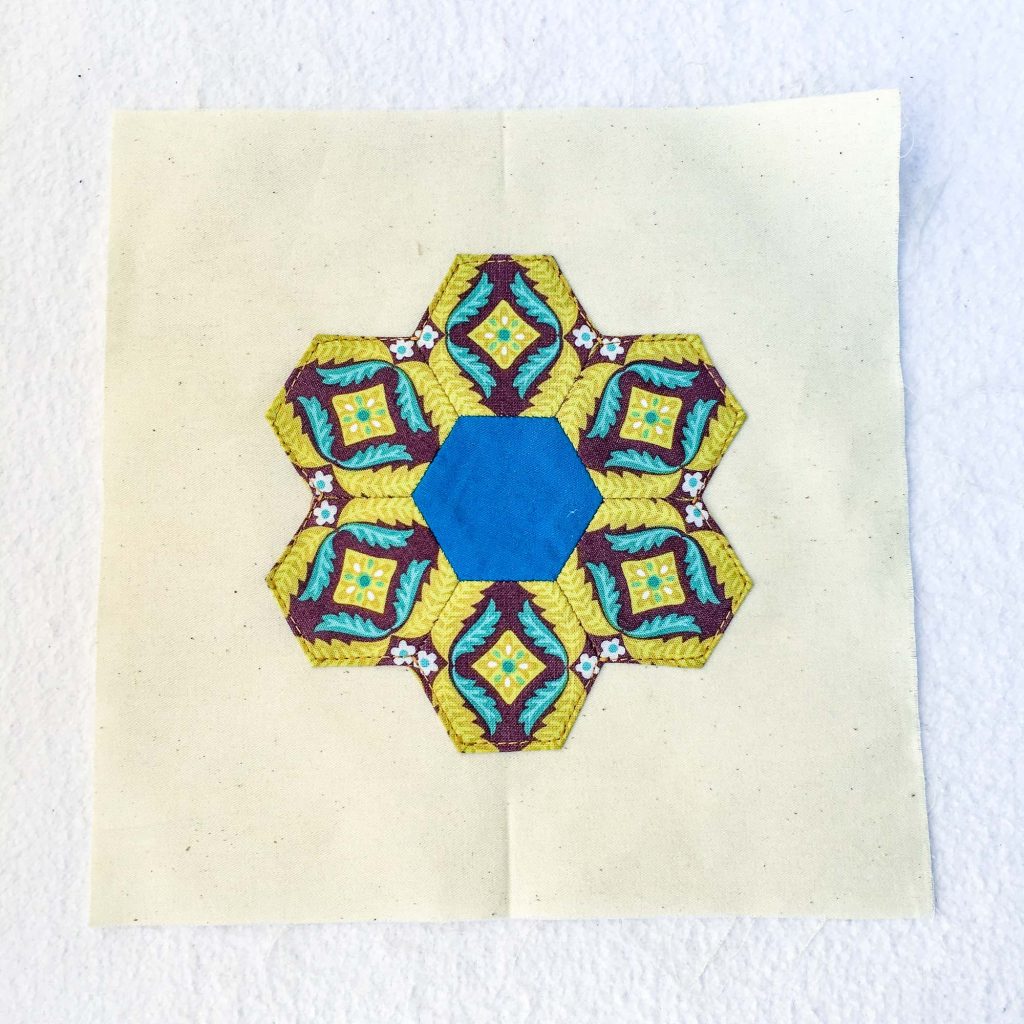
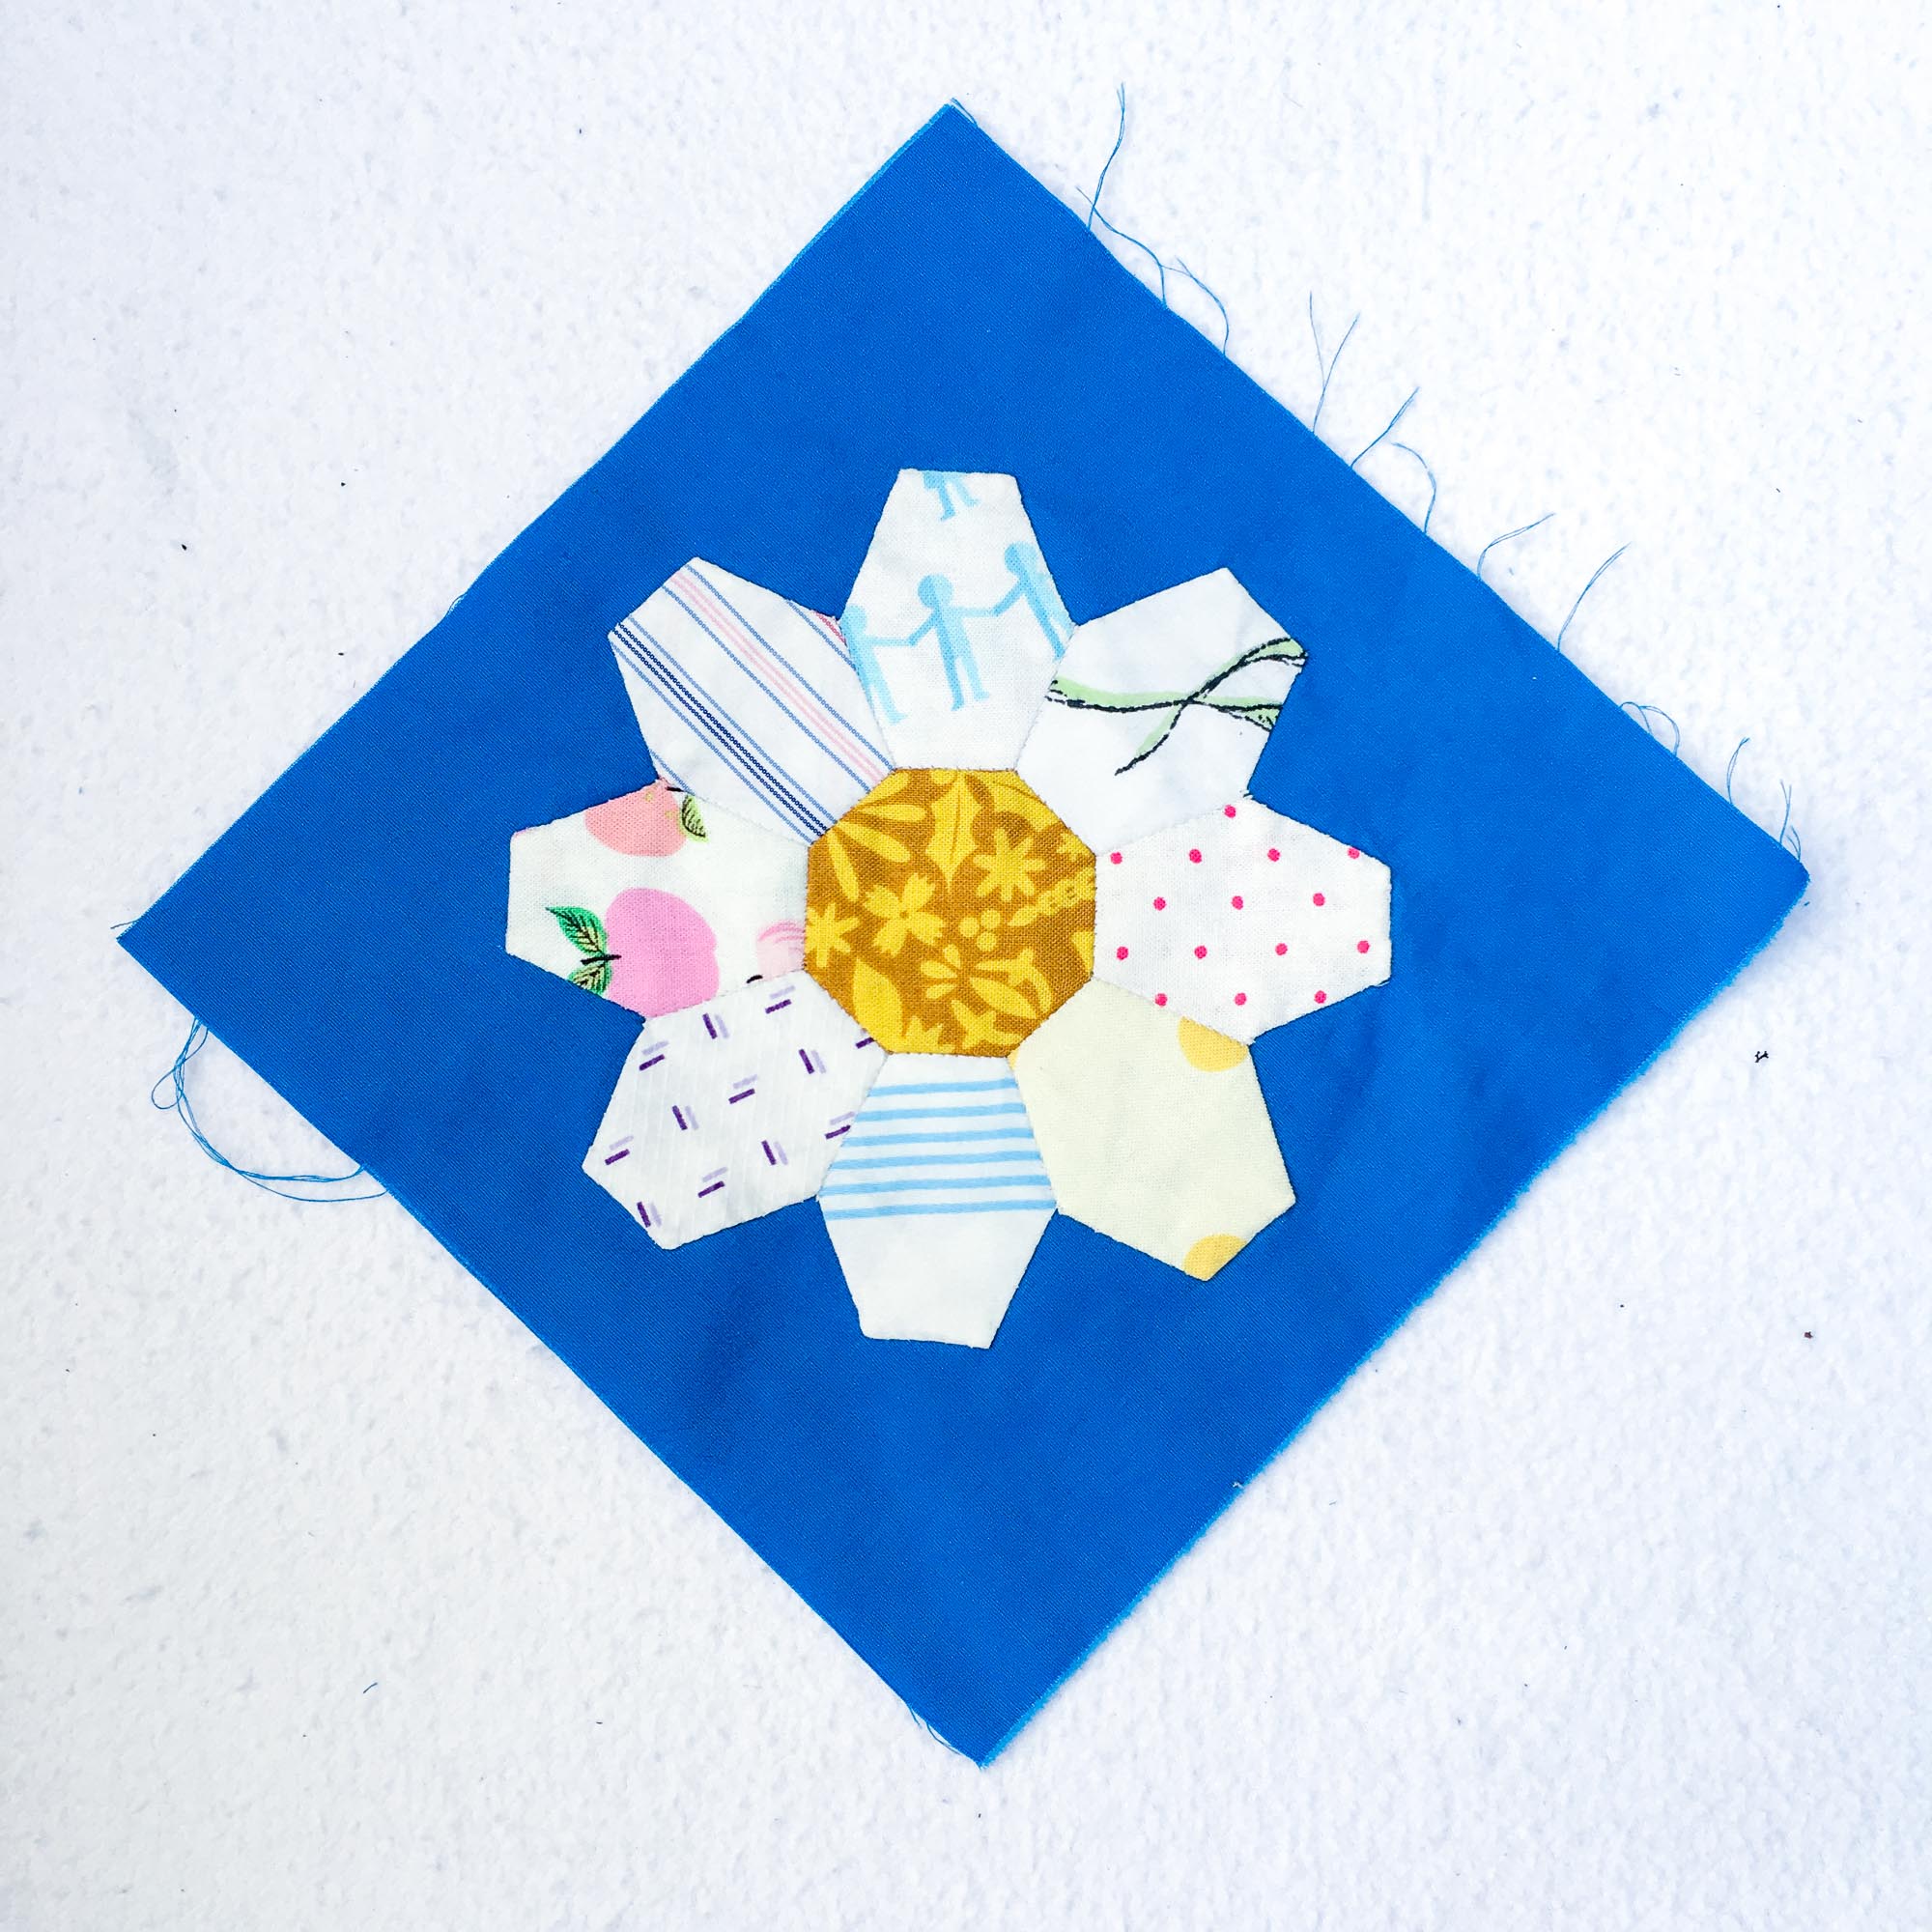
1. Position your EPP block as desired on the background fabric. Use the points of the block as guides or press small creases in the fabric to help with alignment. The Daisy Jane block uses the points as guides while the hexie flower is positioned using pressed creases on the sides of the square.
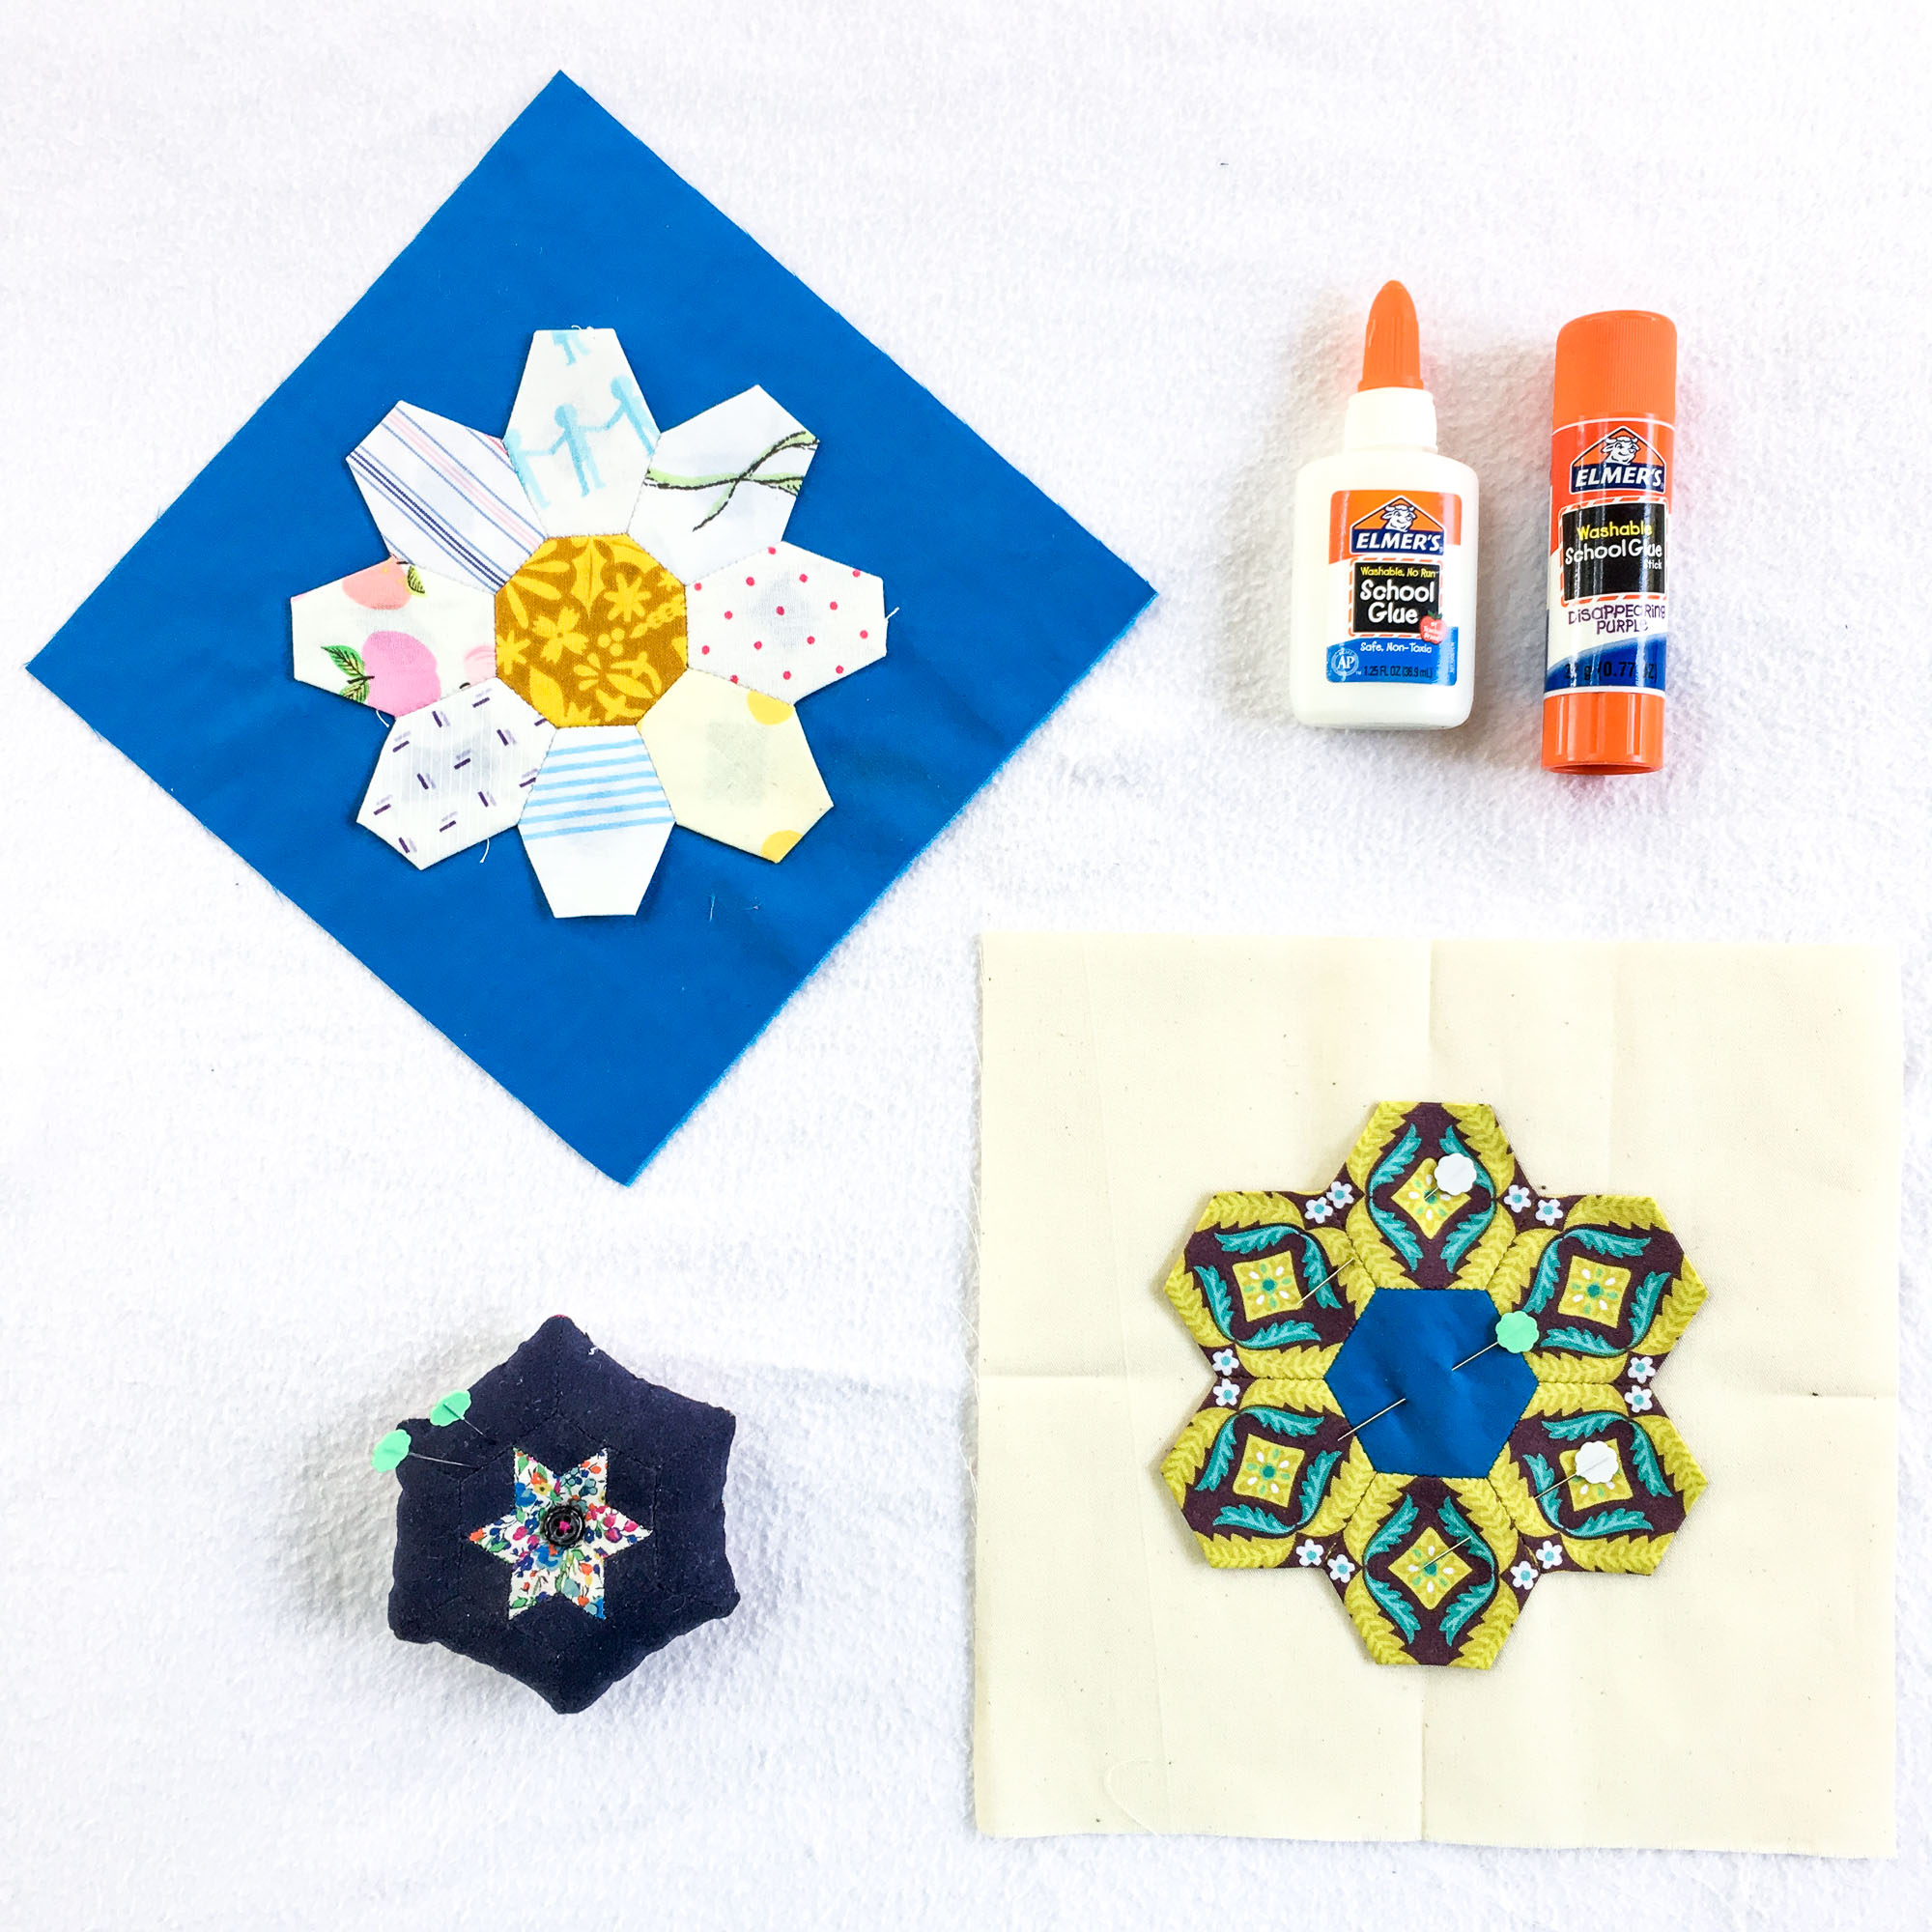
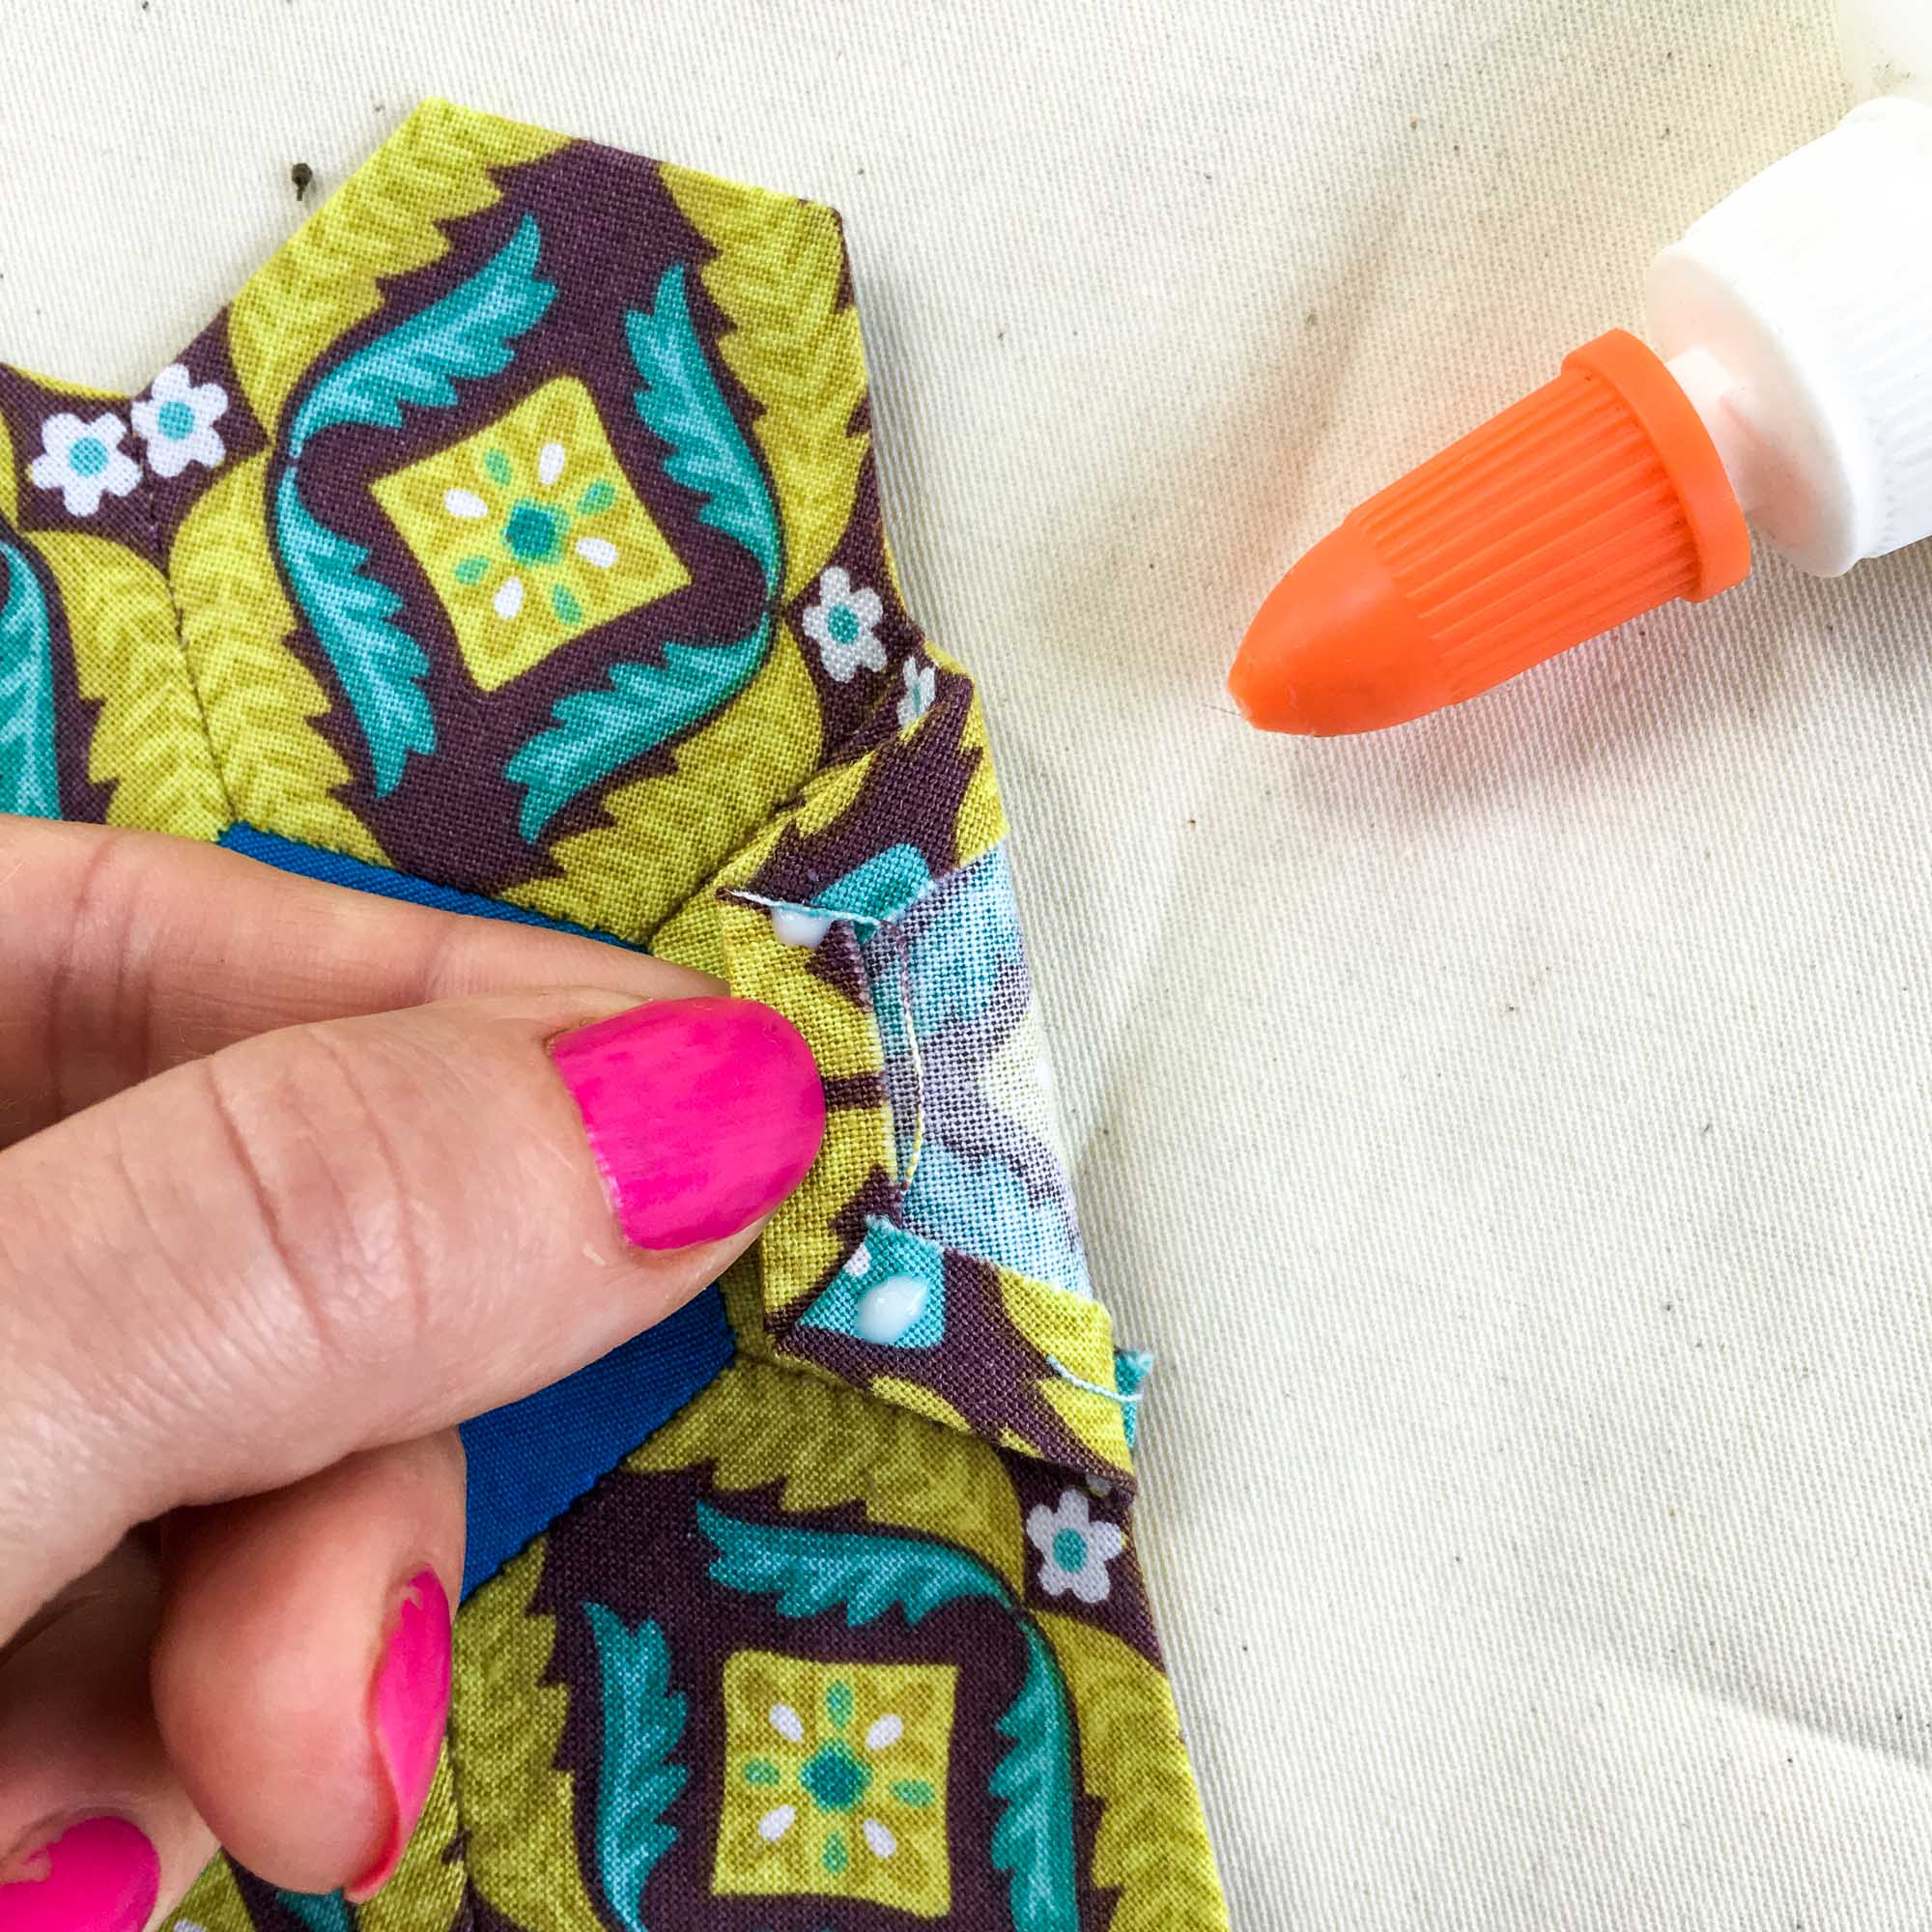
2. Baste it to the background using pins or glue. (I prefer glue because I don’t like poking myself with the pins as I work!) You can use an applique glue, simple glue stick, or washable white liquid school glue (my preference). (Elmer’s is my favorite, but I’ve used other generics as well, just make sure they are washable.)
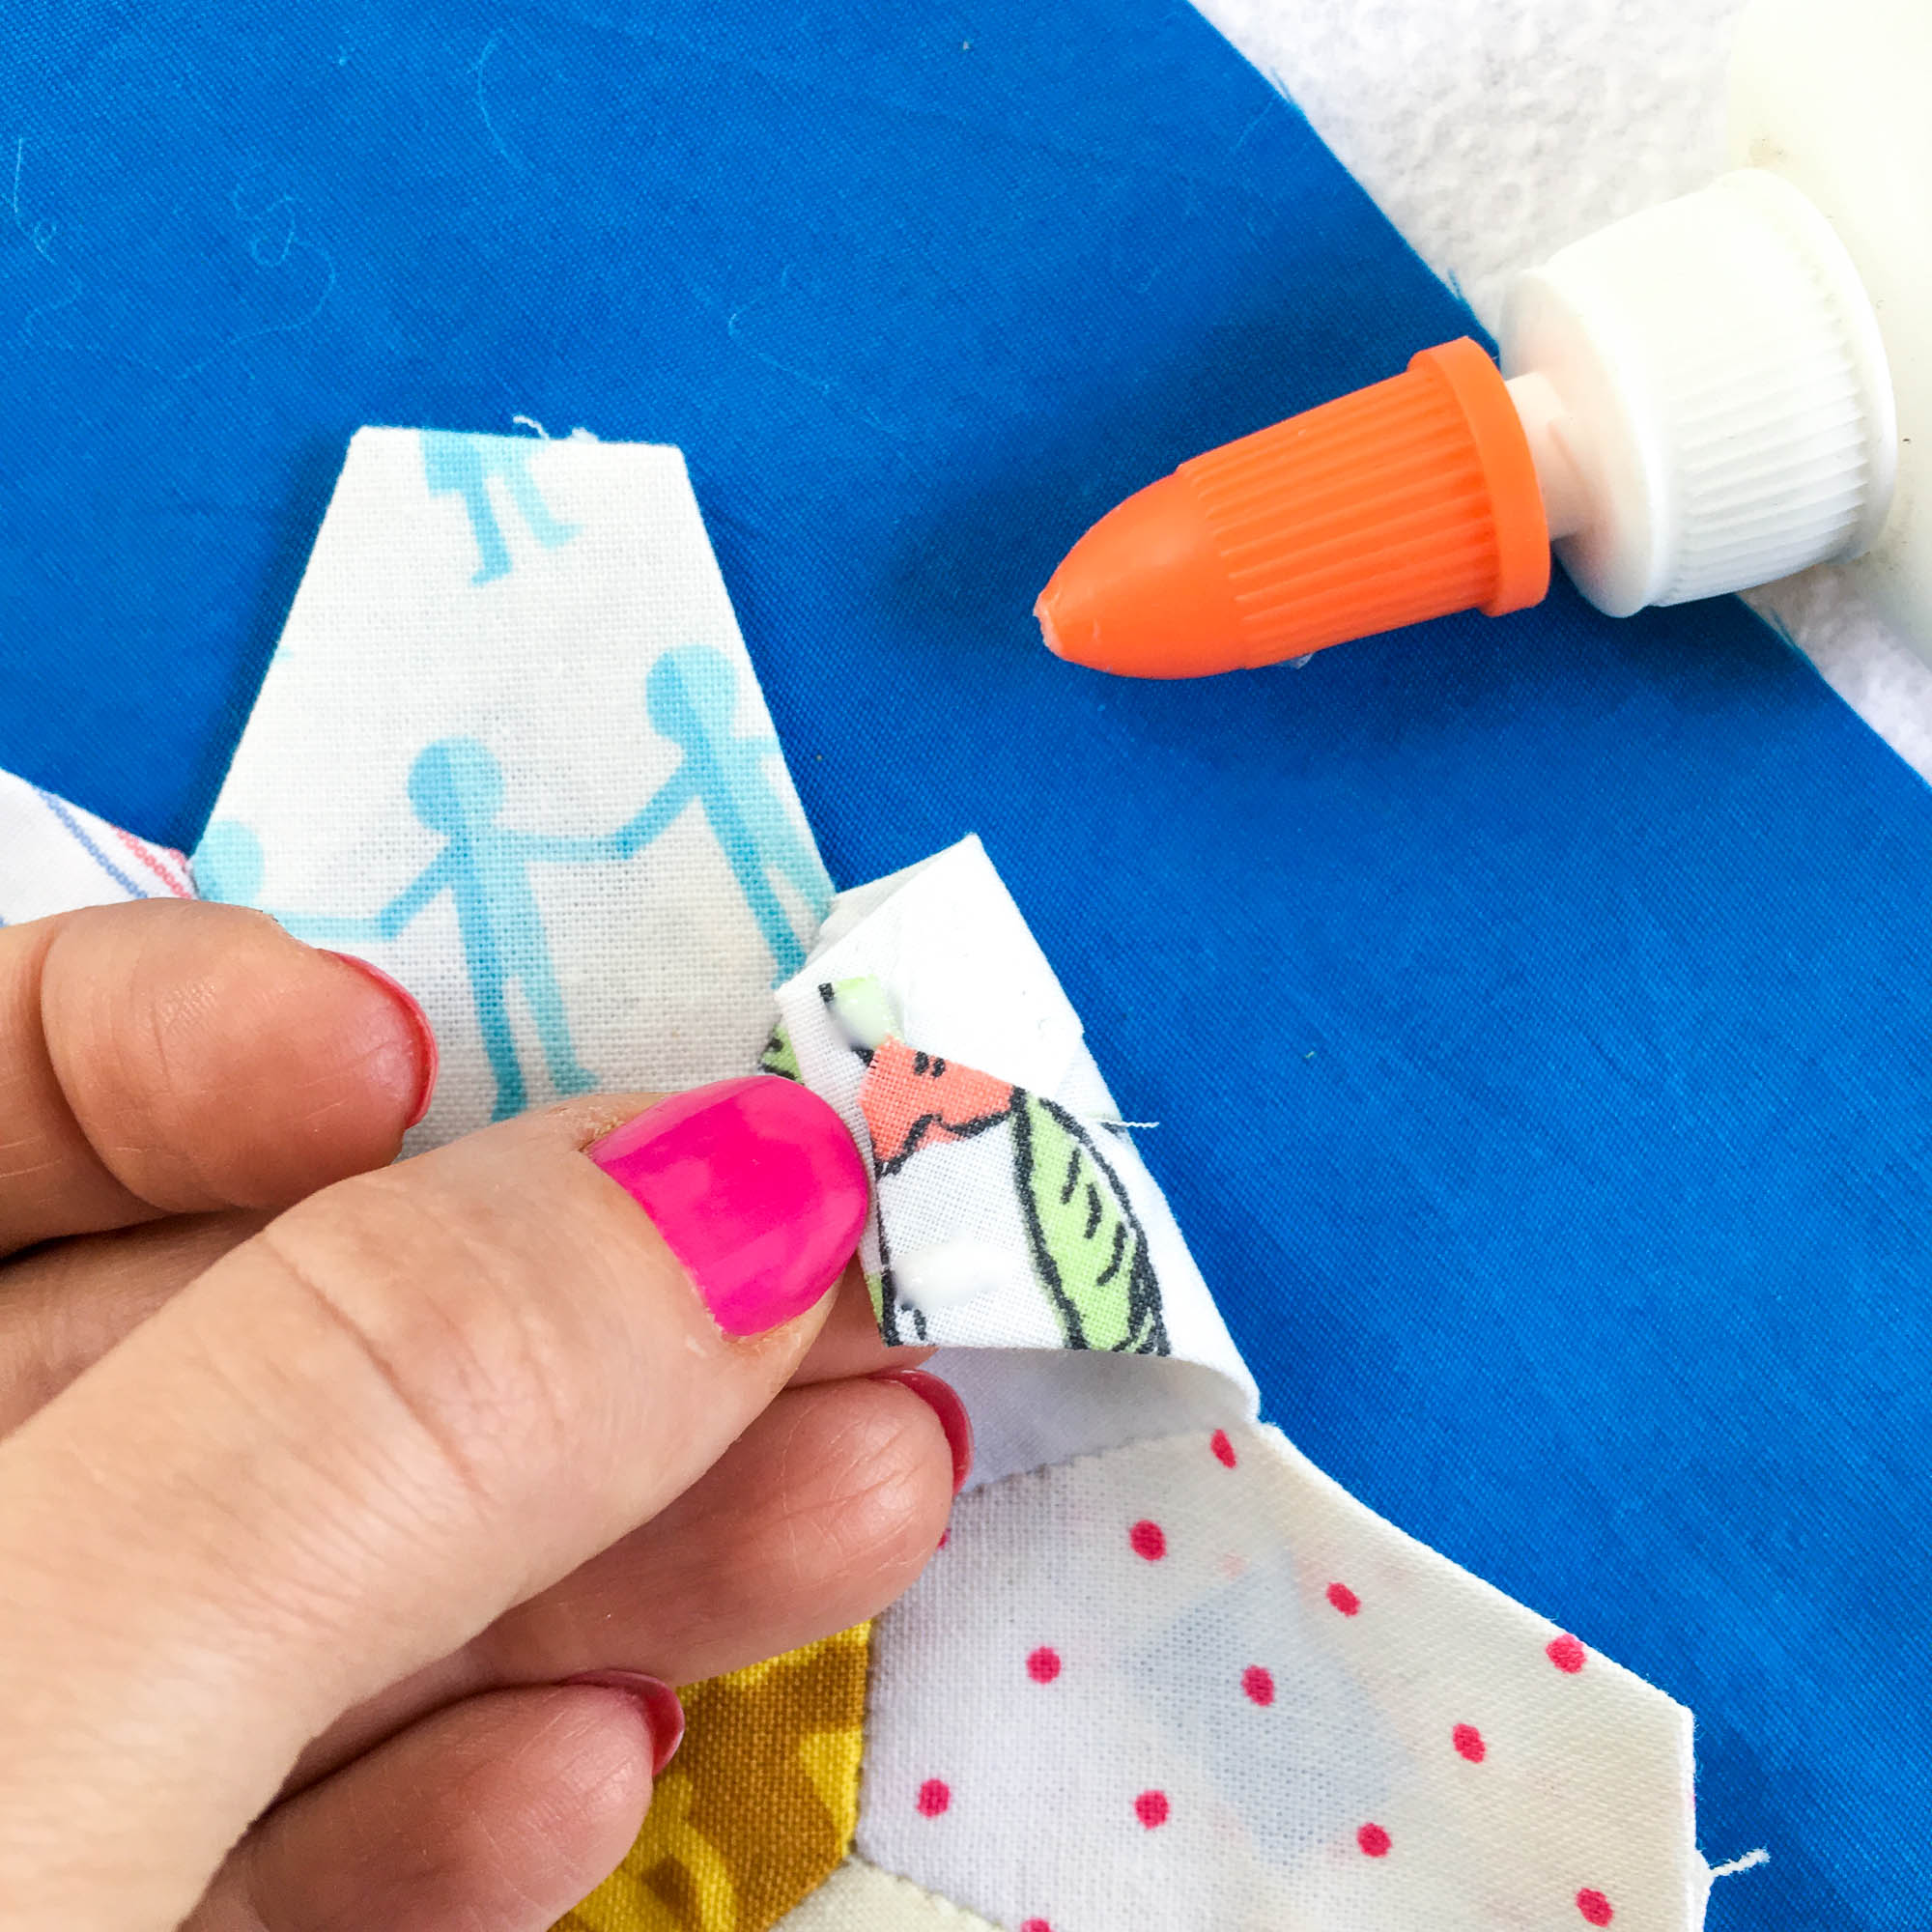
3. To apply the glue, carefully lift each petal of your flower and apply a small dot or dab of glue on each corner and return to place.
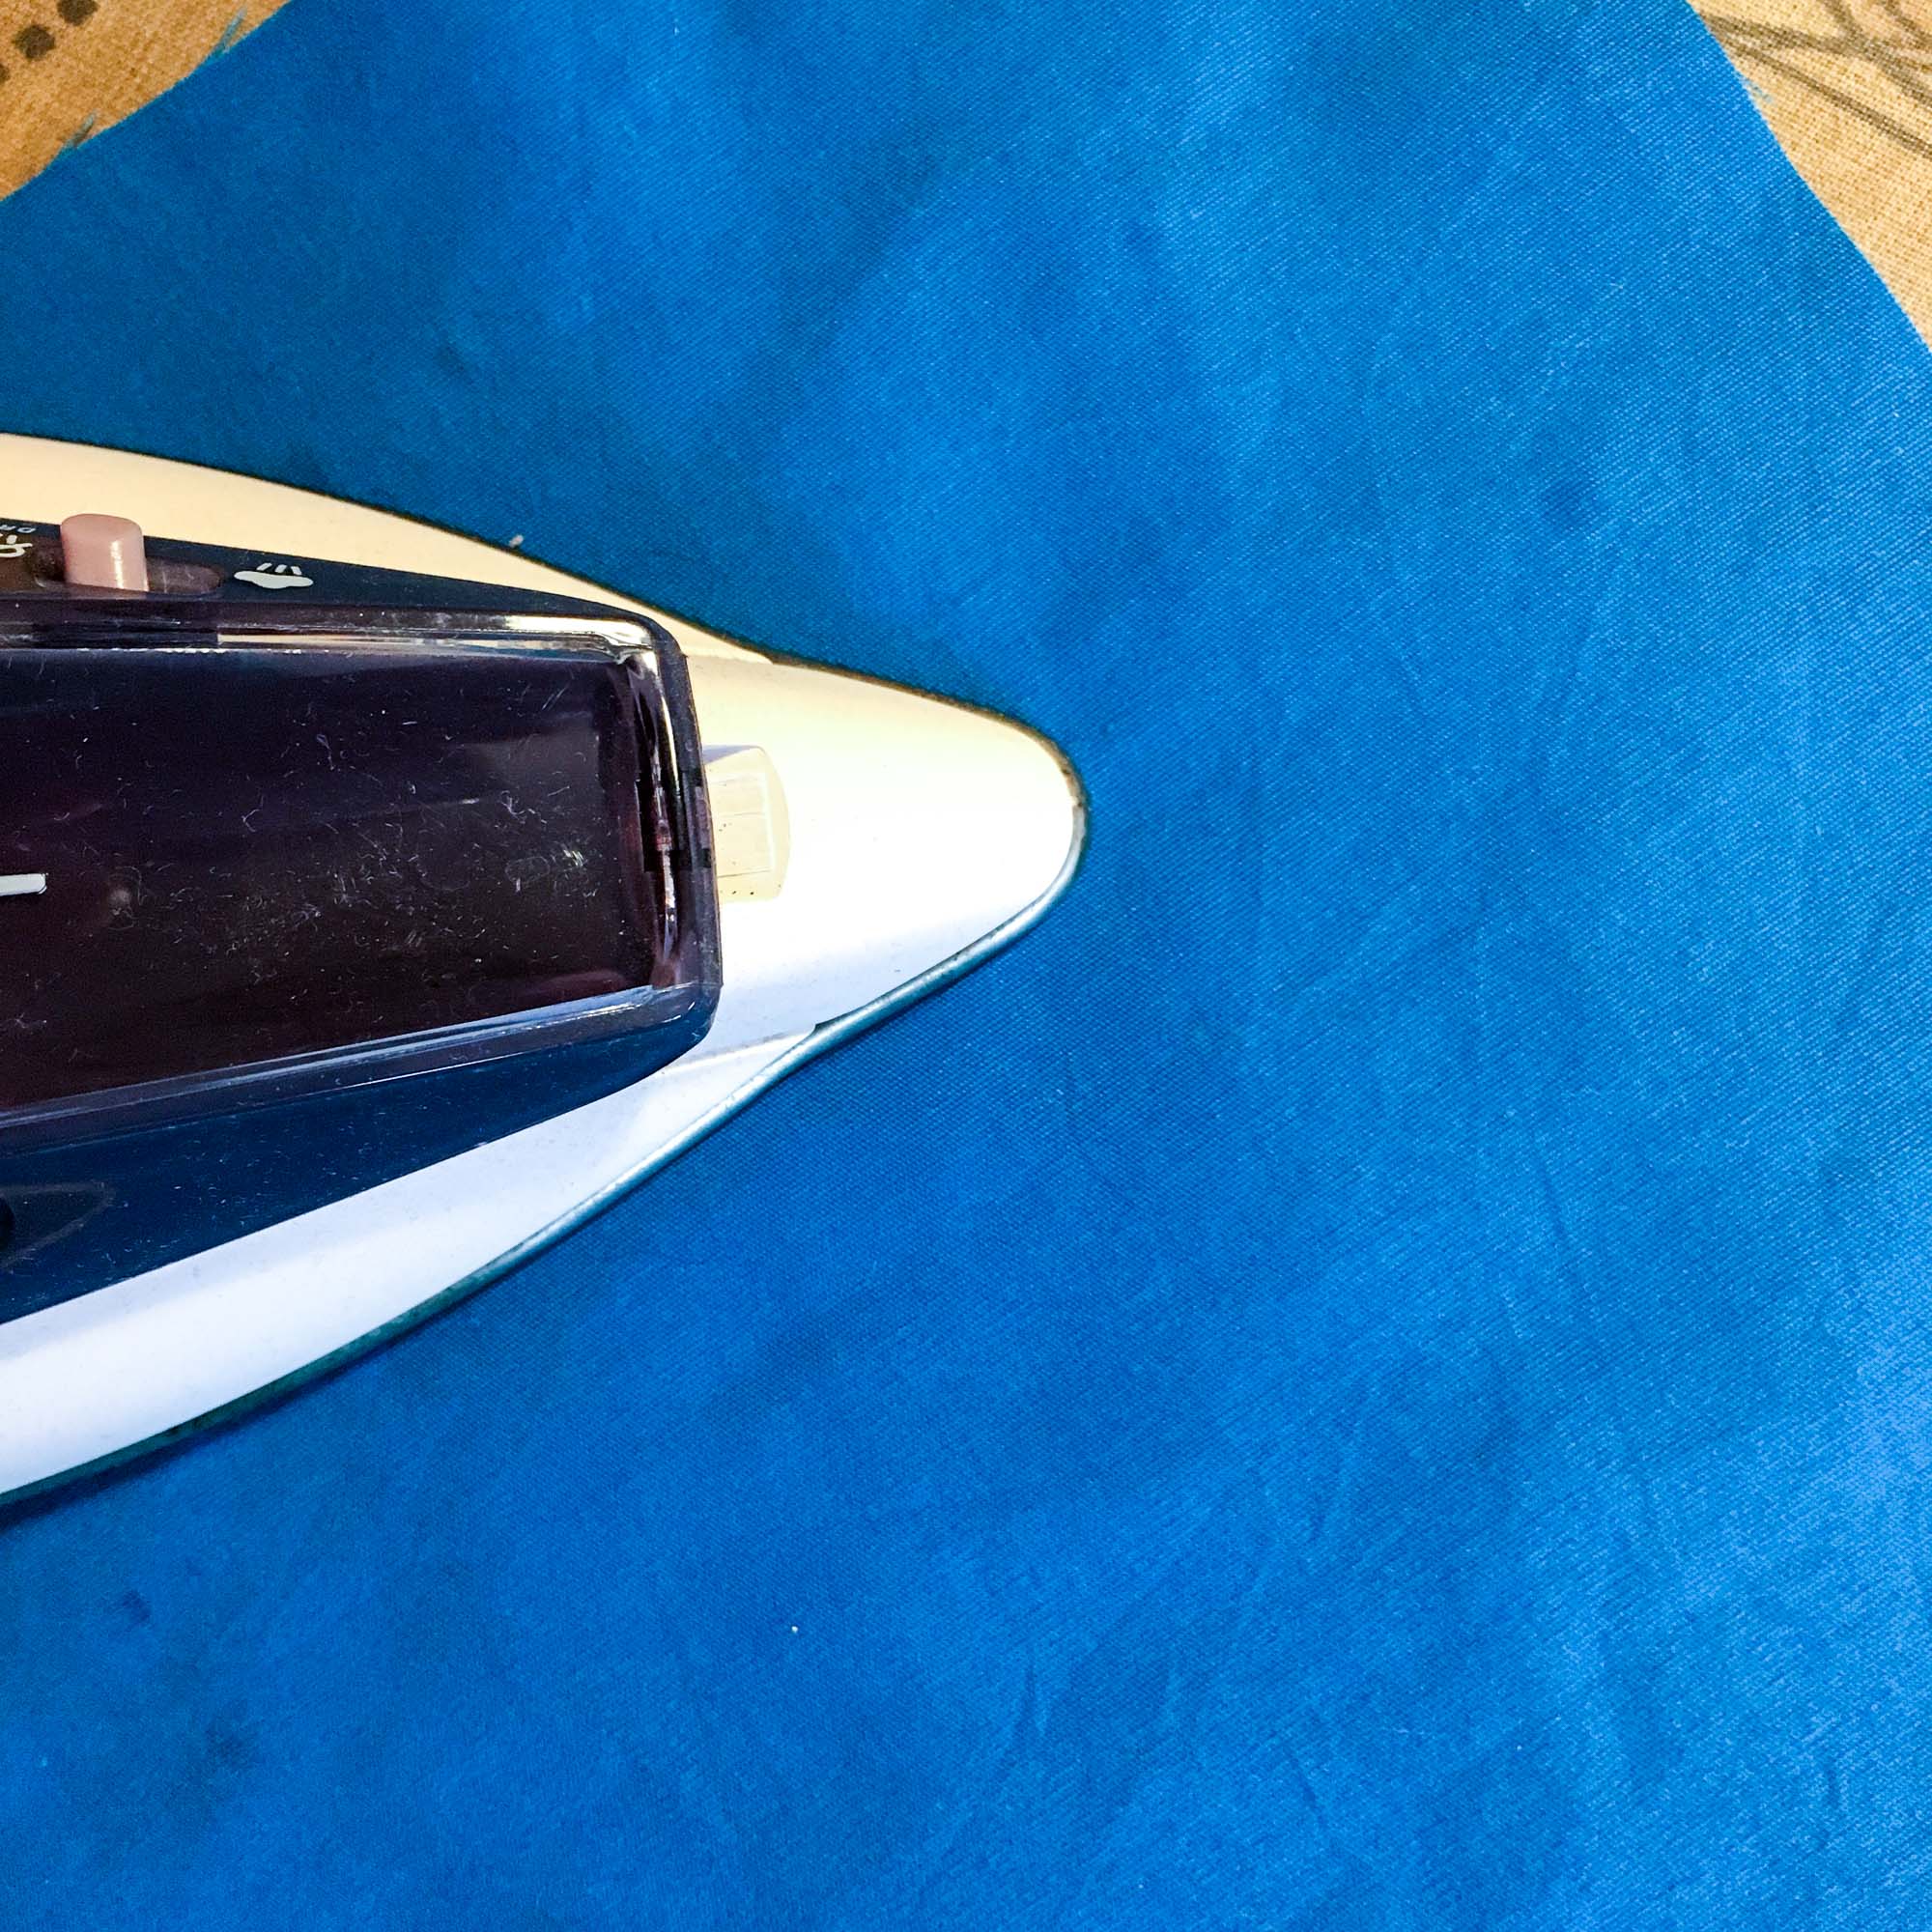
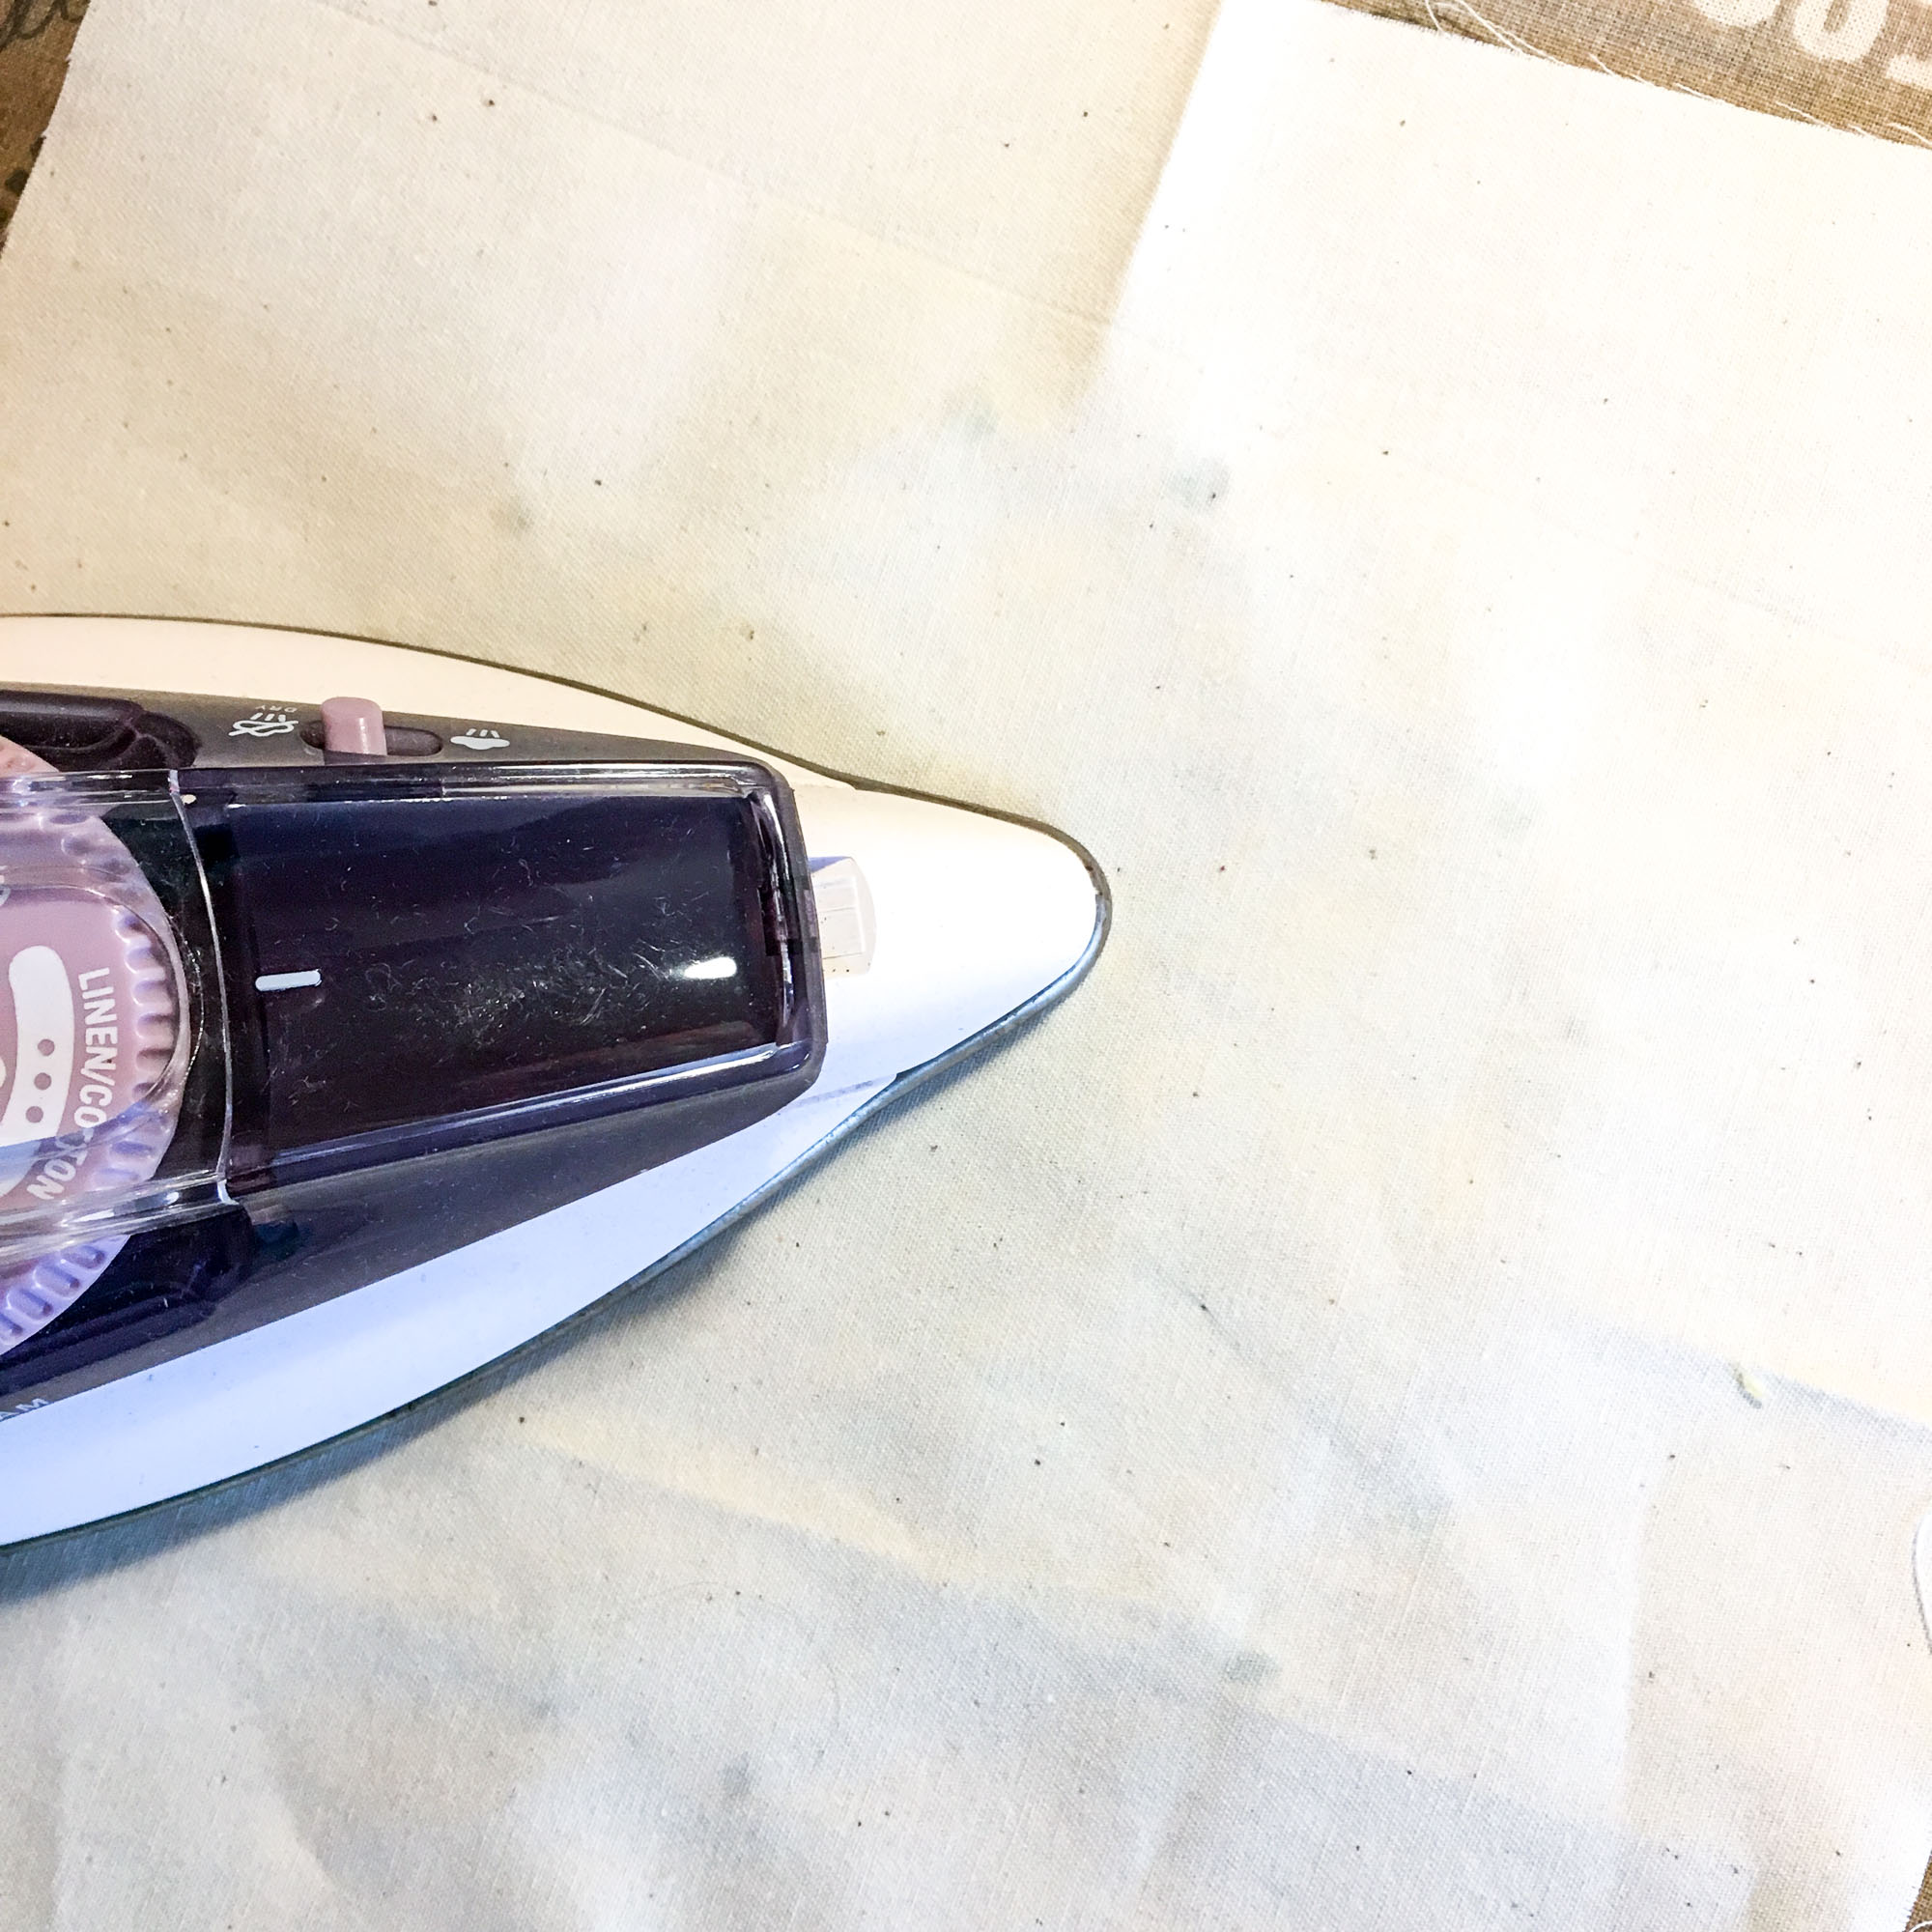
4. Once you have completed applying the glue, take the basted block over to the ironing board. Flip the block over and give it a press on the DRY setting. This dries the glue and maintains the position of the block for applique.
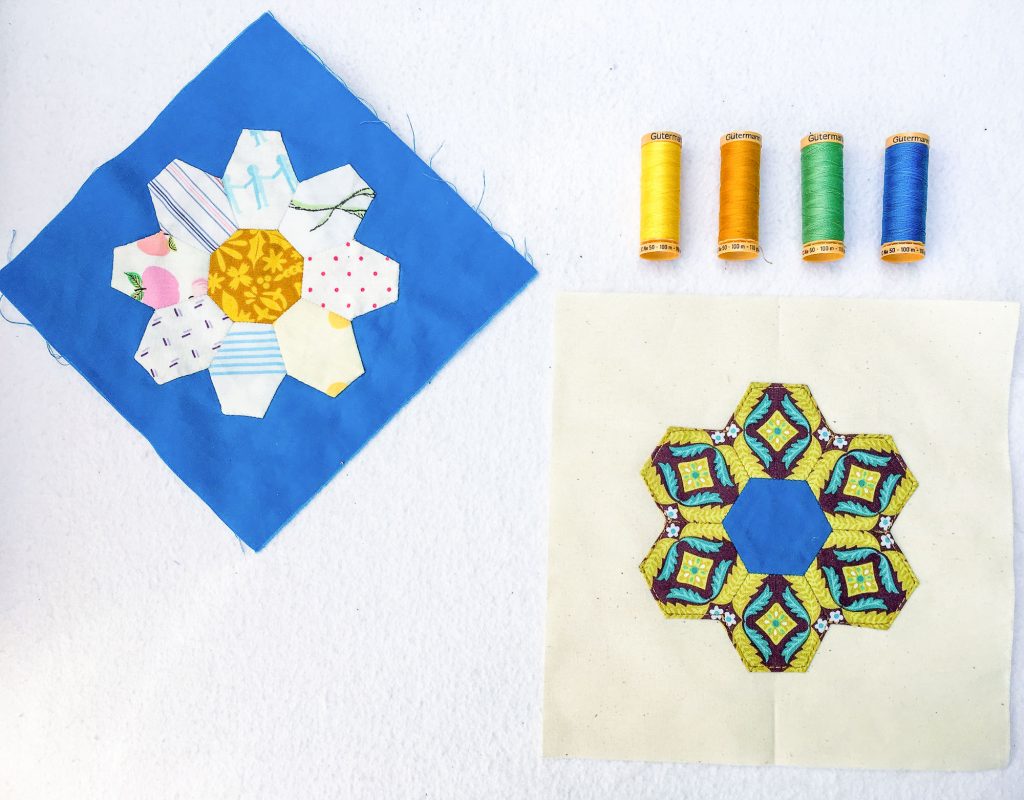
5. Next, grab your needle, and thread it as you would for EPP, being sure to knot it at the end. (I use the very same needle for applique as I do for EPP – a Milliners number 9.) Try to choose a color thread that blends with the EPP block, rather than the background fabric.
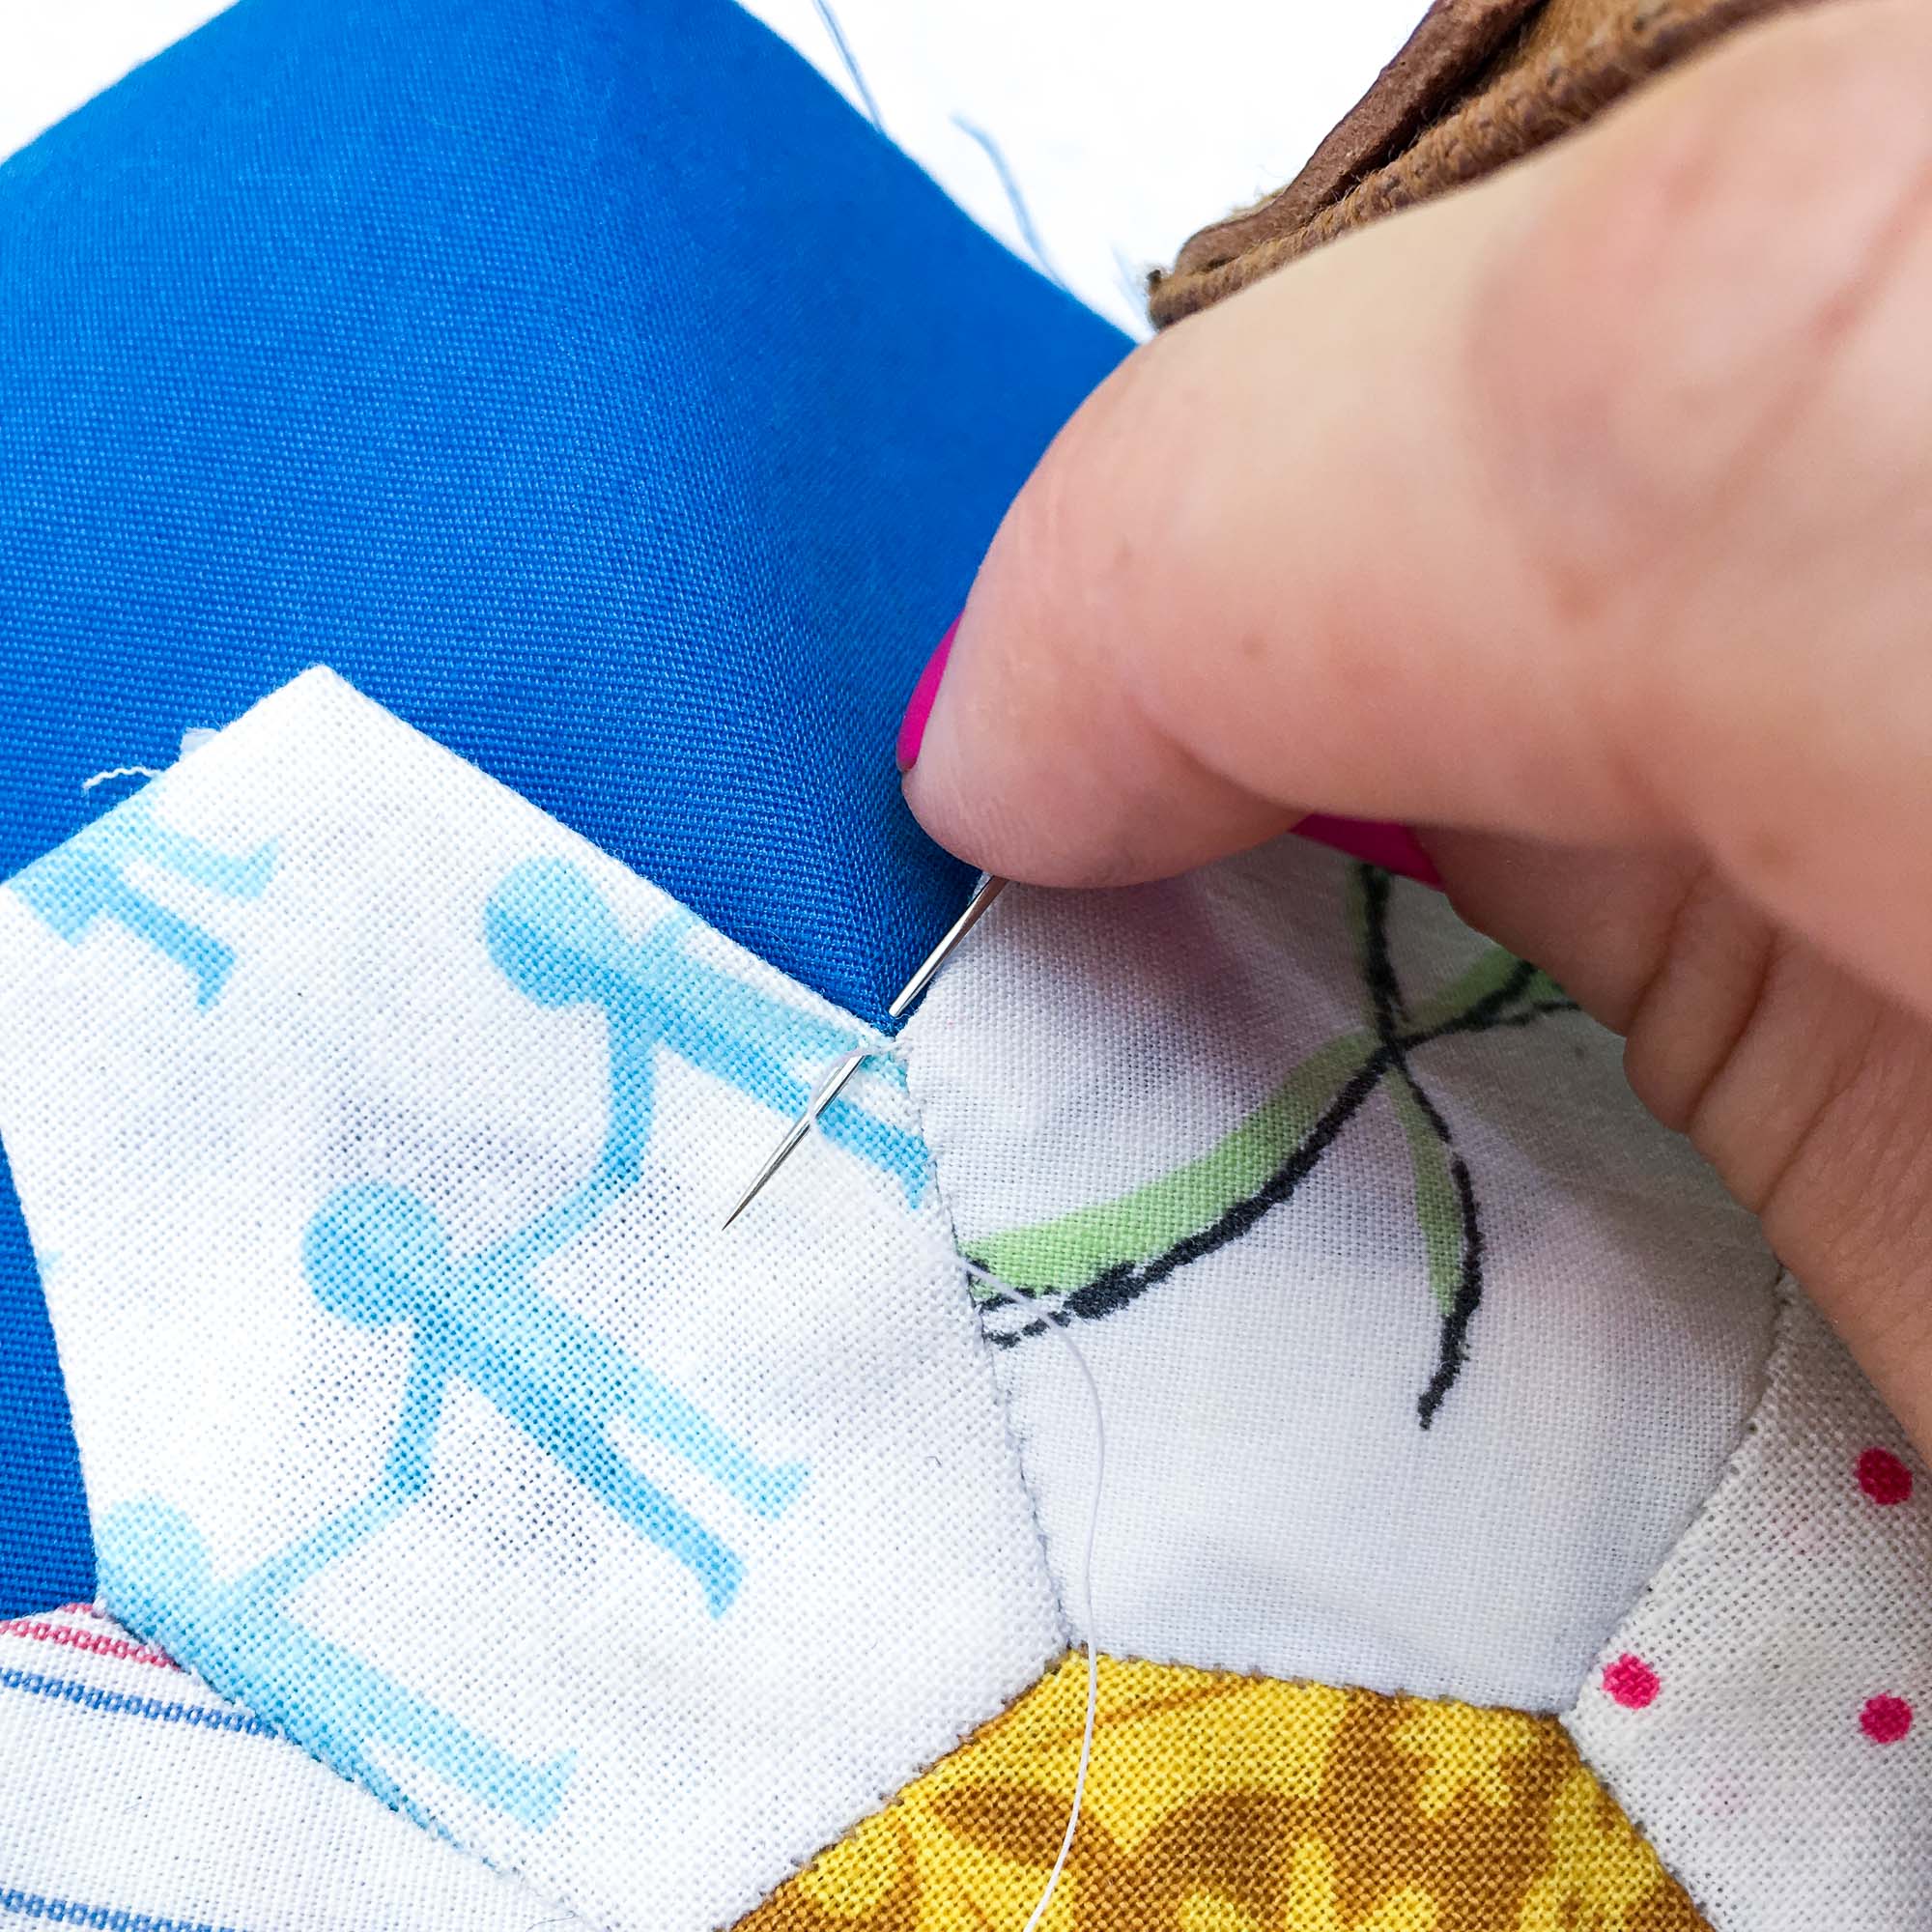
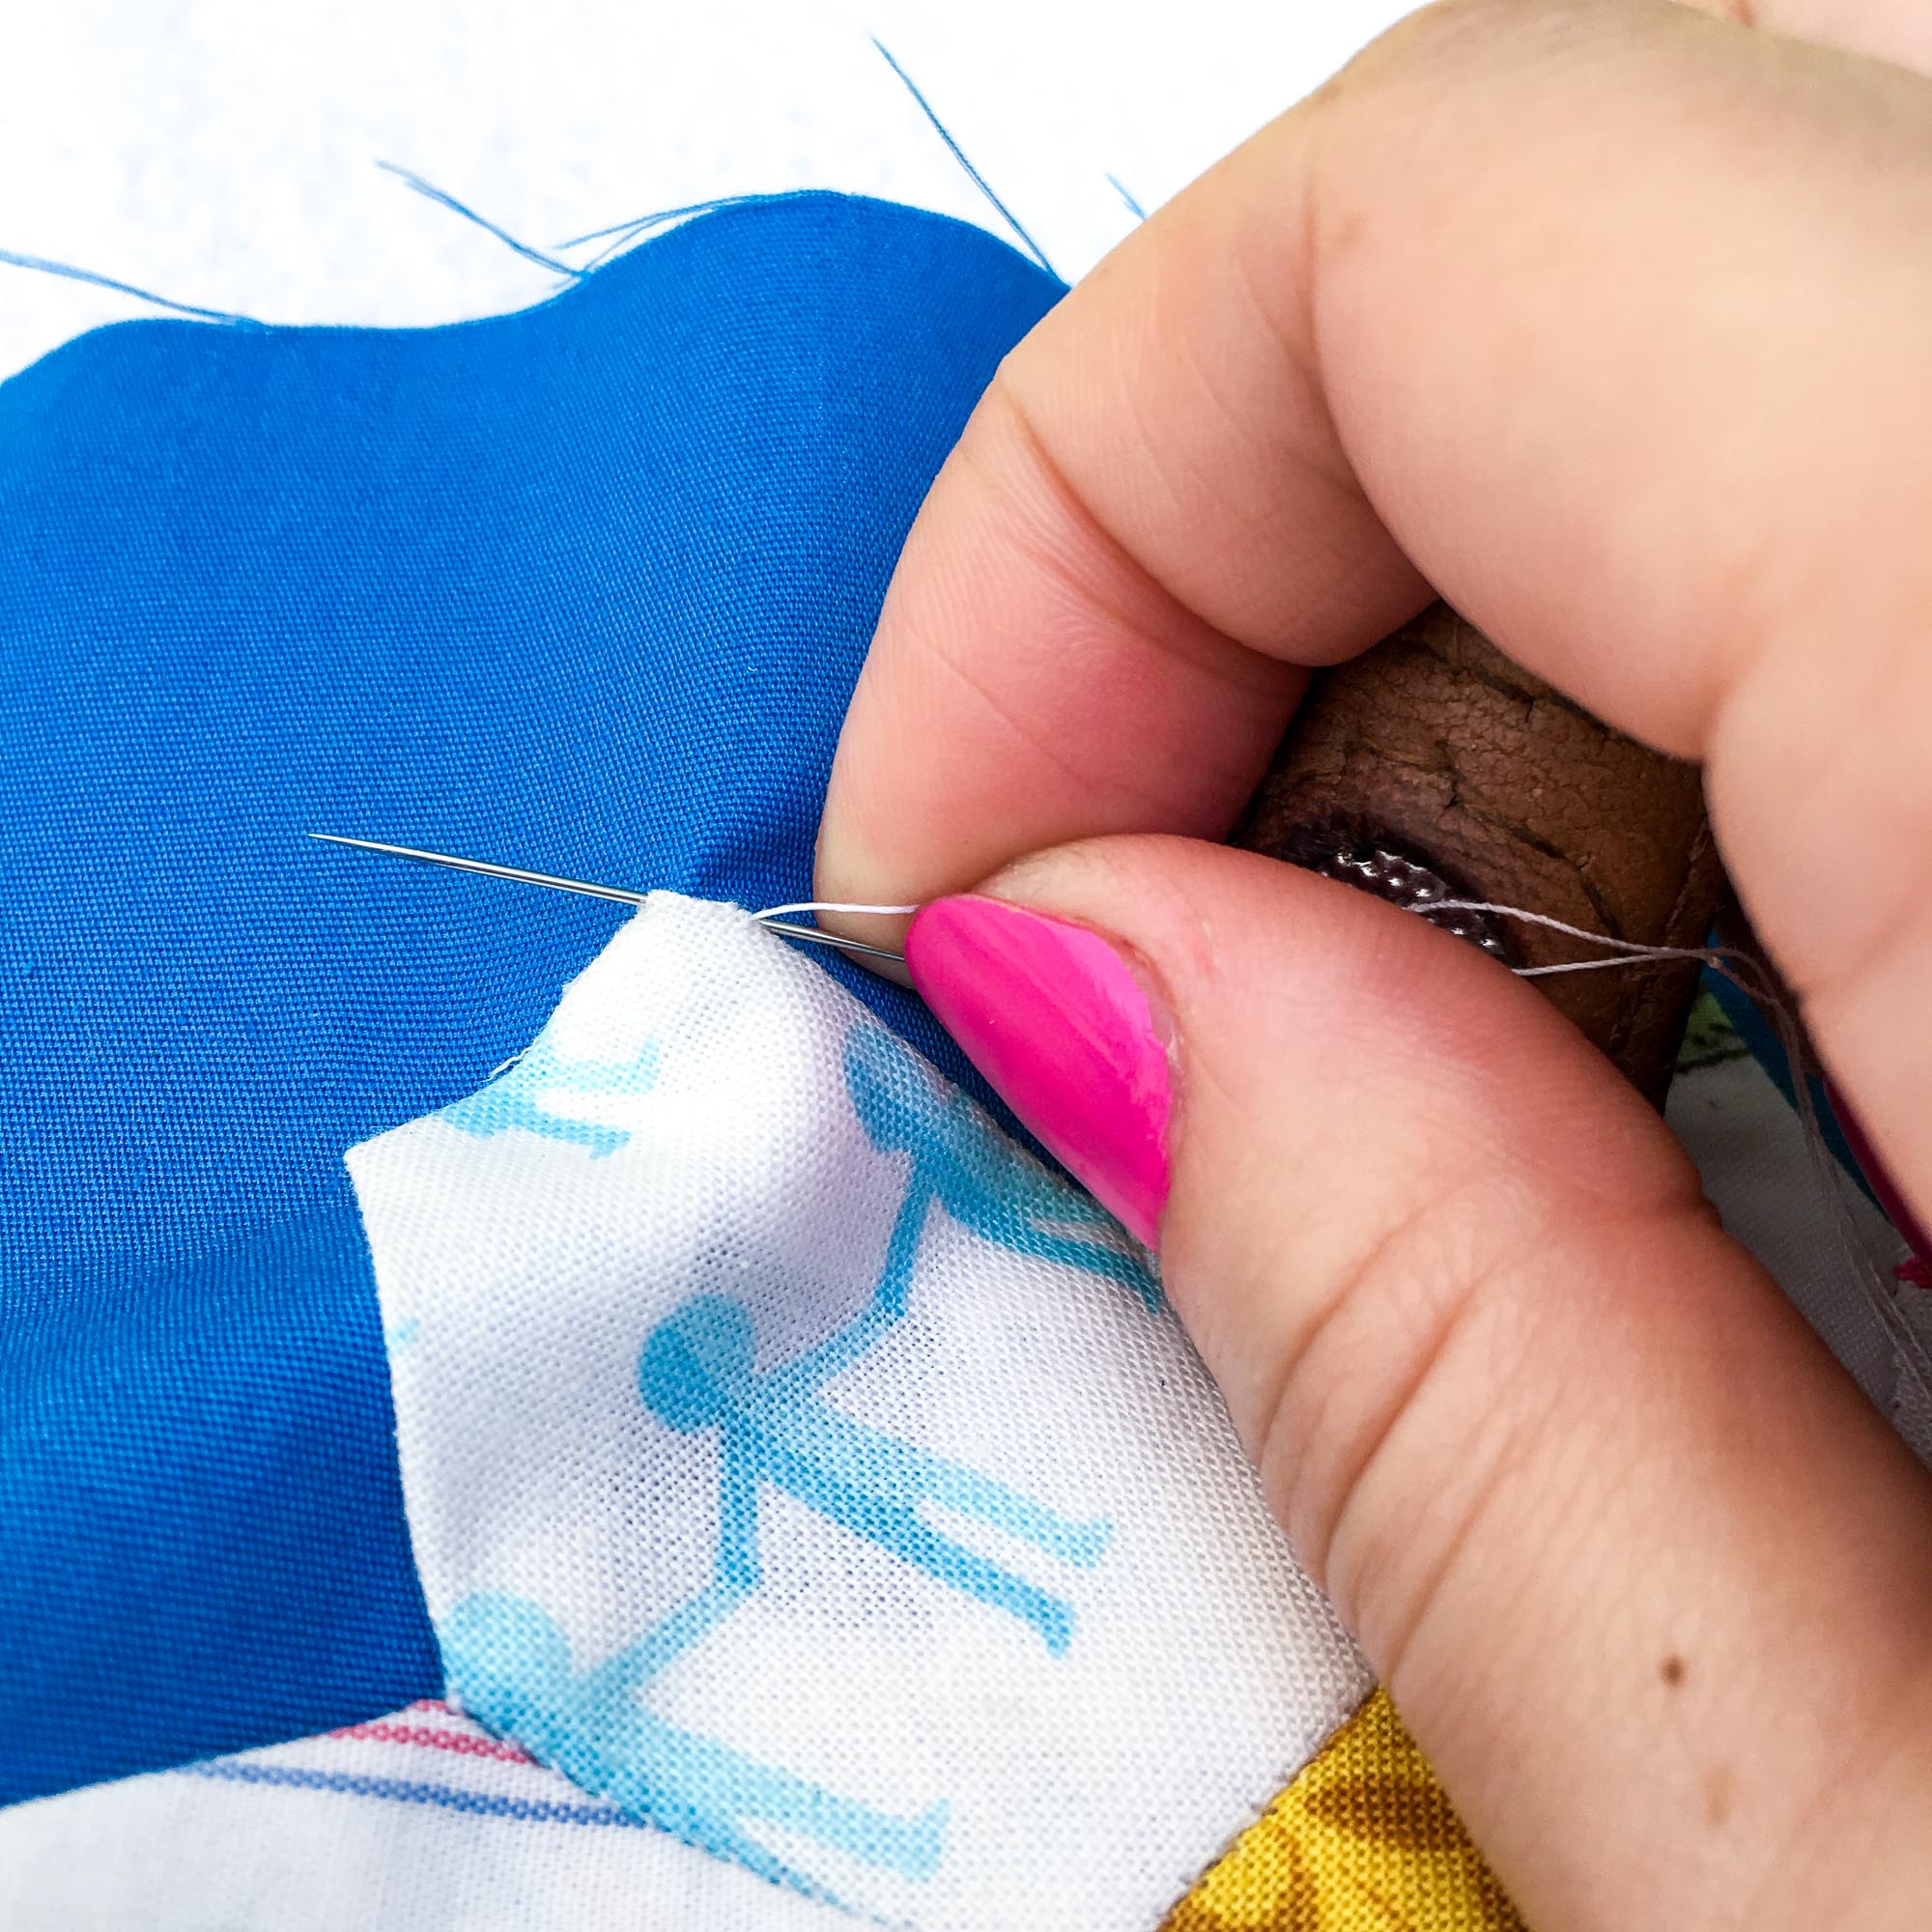
6. Begin by inserting your needle from the back of the block up through the background fabric and catching a tiny bit of the edge of the EPP block. Pull taut.
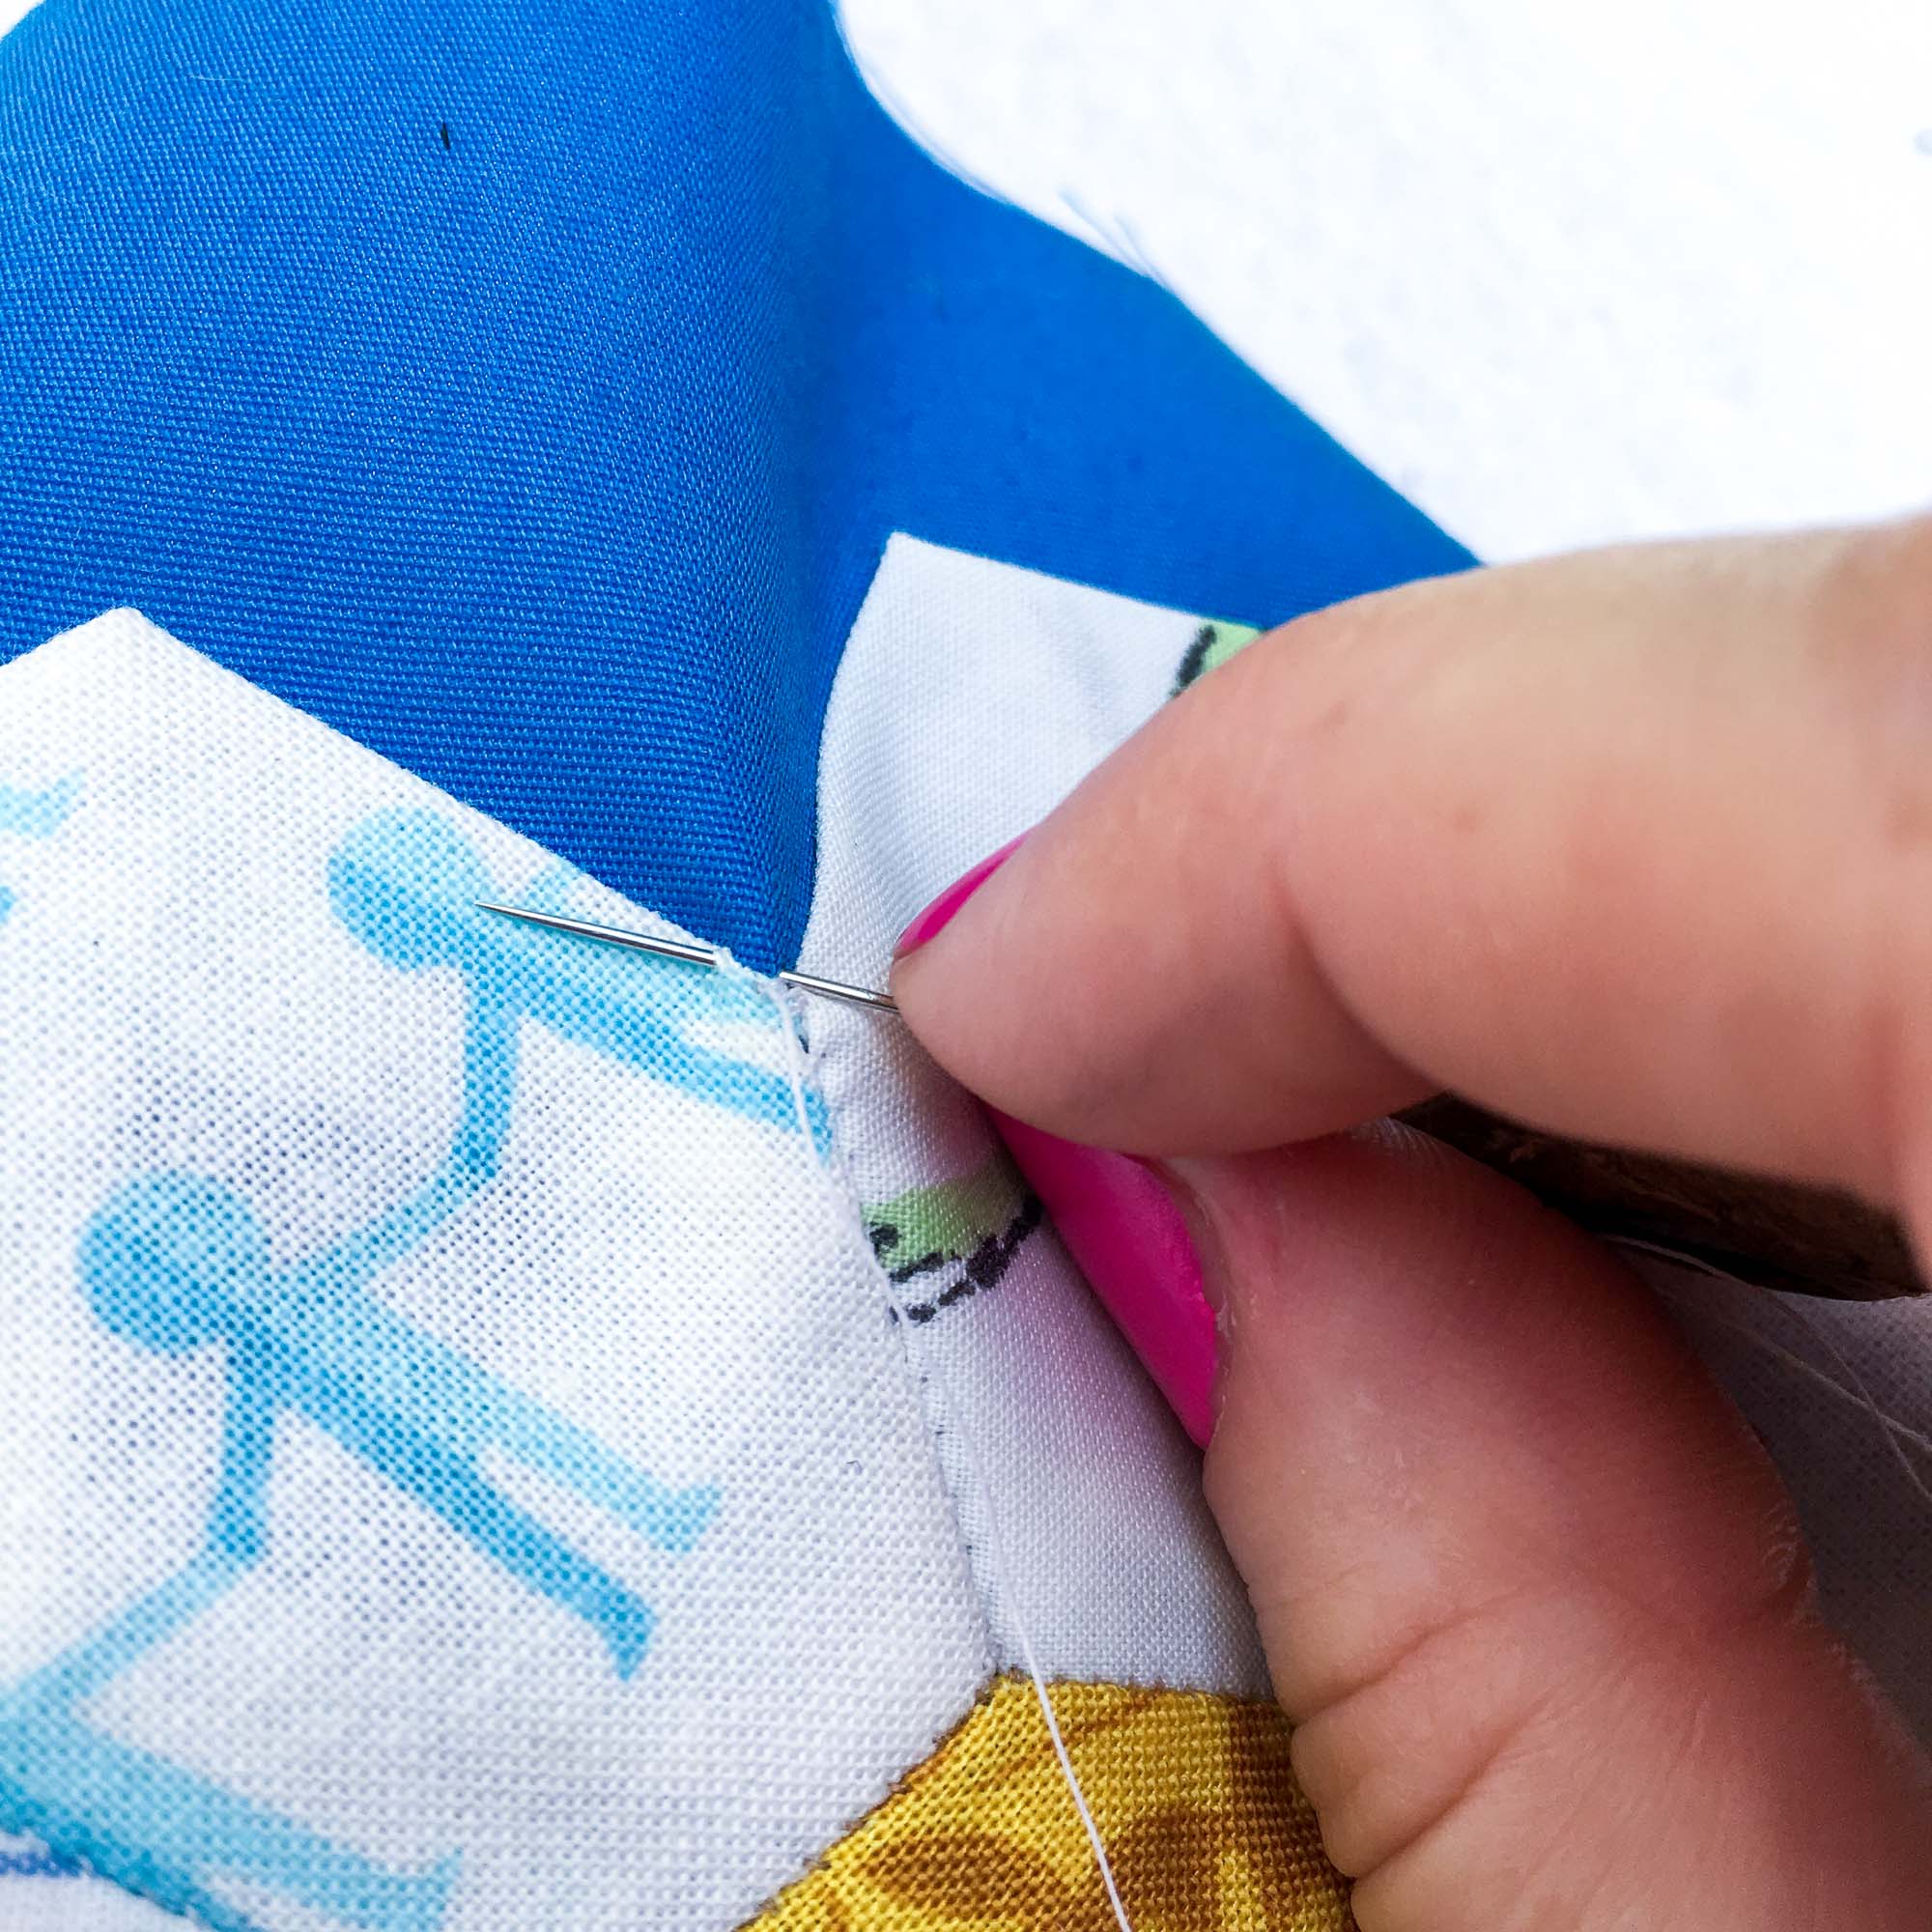
7. Next, where your thread came up from the background fabric, insert your needle. Take two tiny whip stitches through the background and EPP block fabrics to secure.
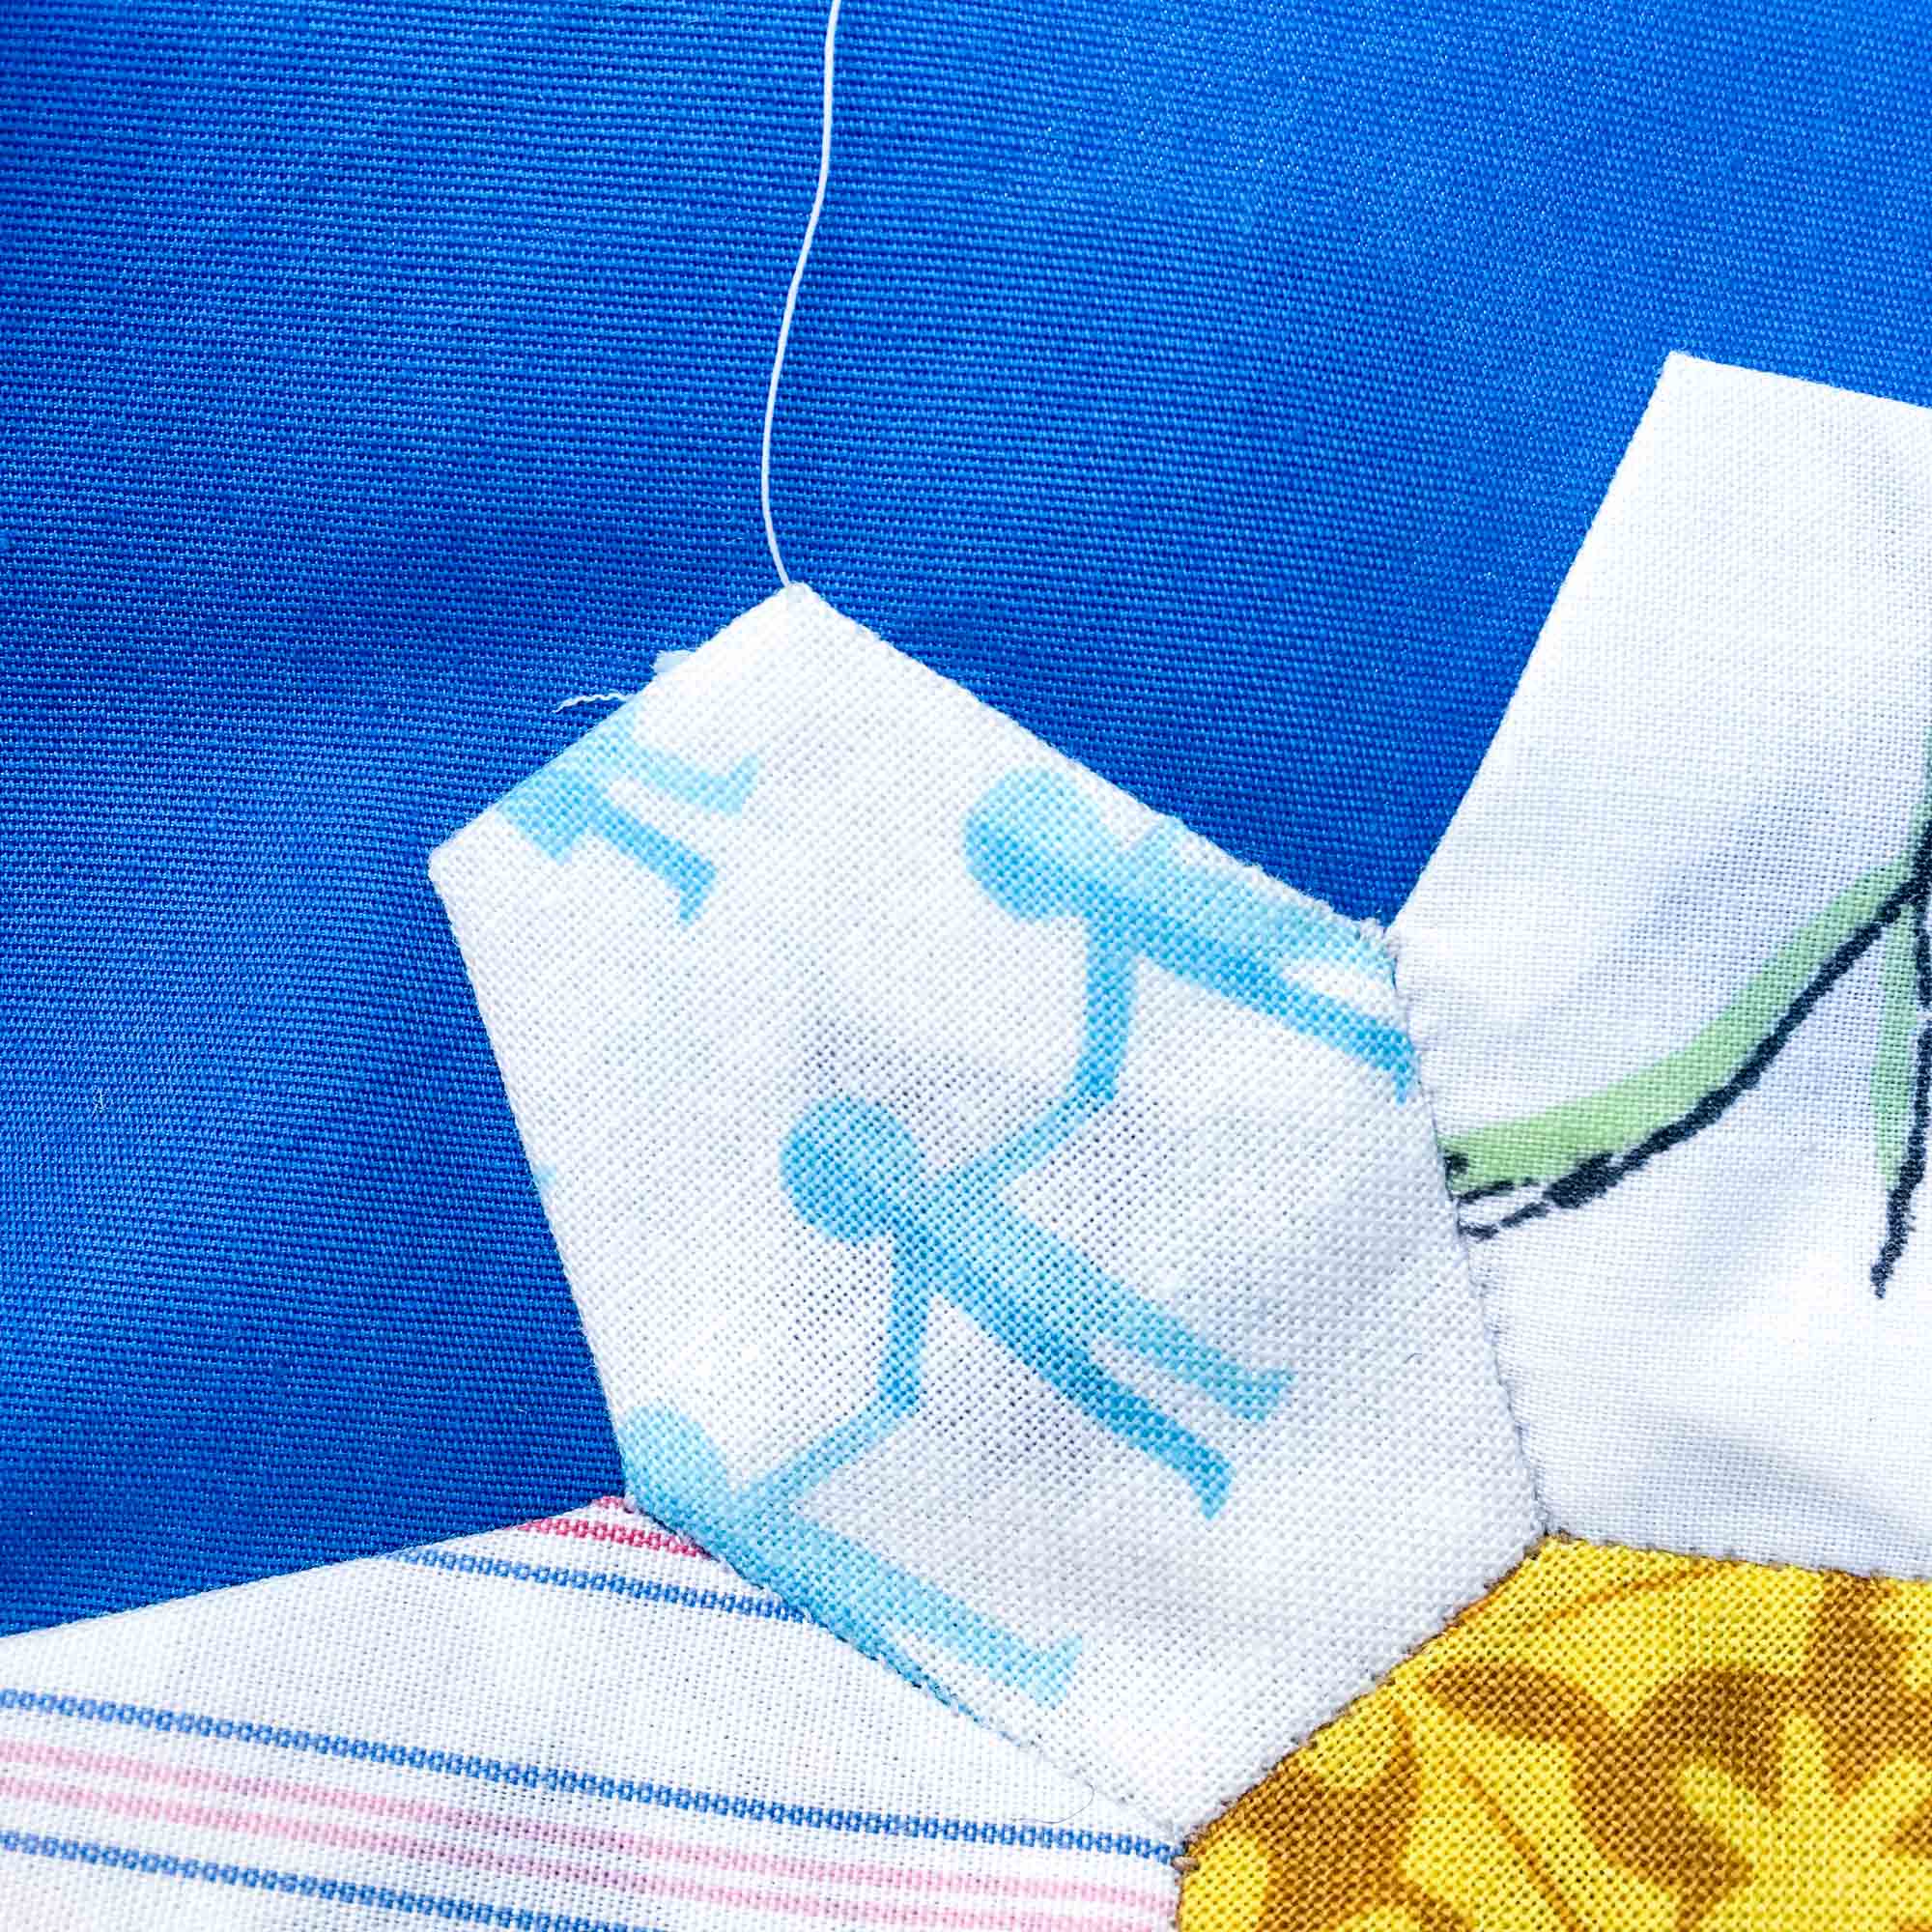
8. Insert the needle into the background fabric directly across from where it exits the EPP block’s fabric. (This creates the least visible stitches as you go along.) In the same motion, bring the needle back up through the background fabric and into the EPP block’s fabric right at the edge of the fabric, about 1/8” away from where your whip stitches where taken. Pull the thread through, and pull taut.
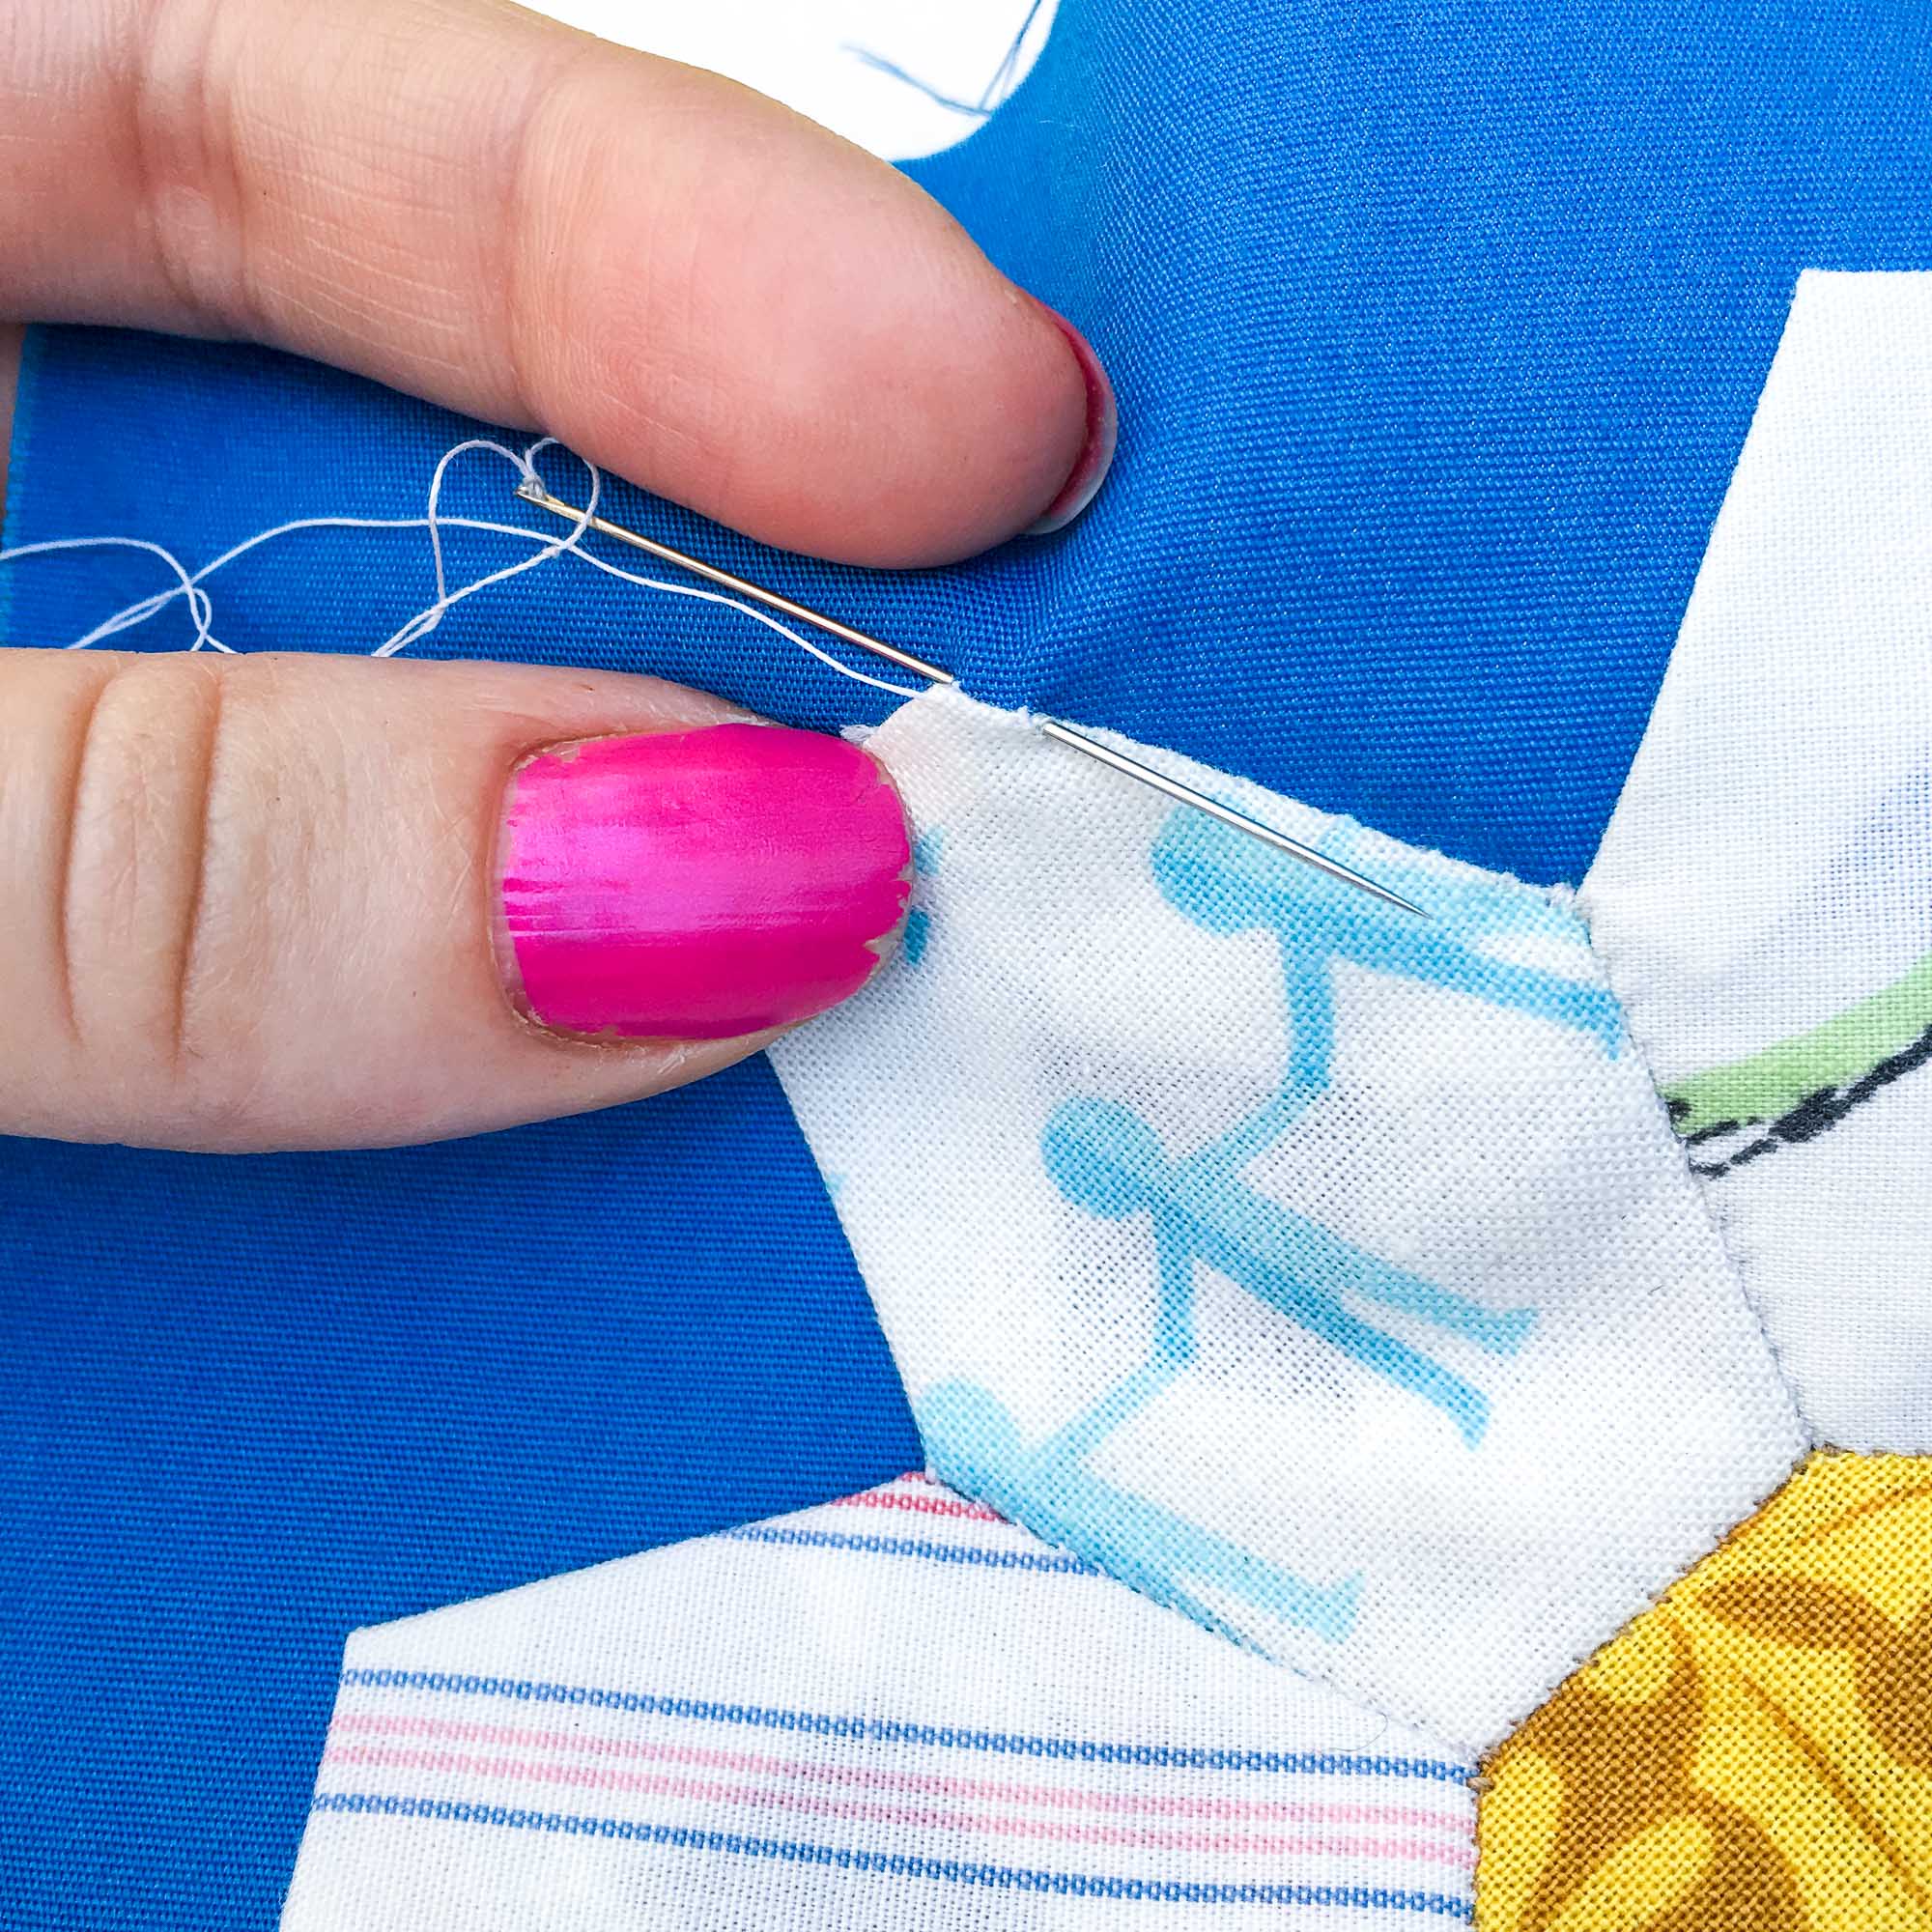
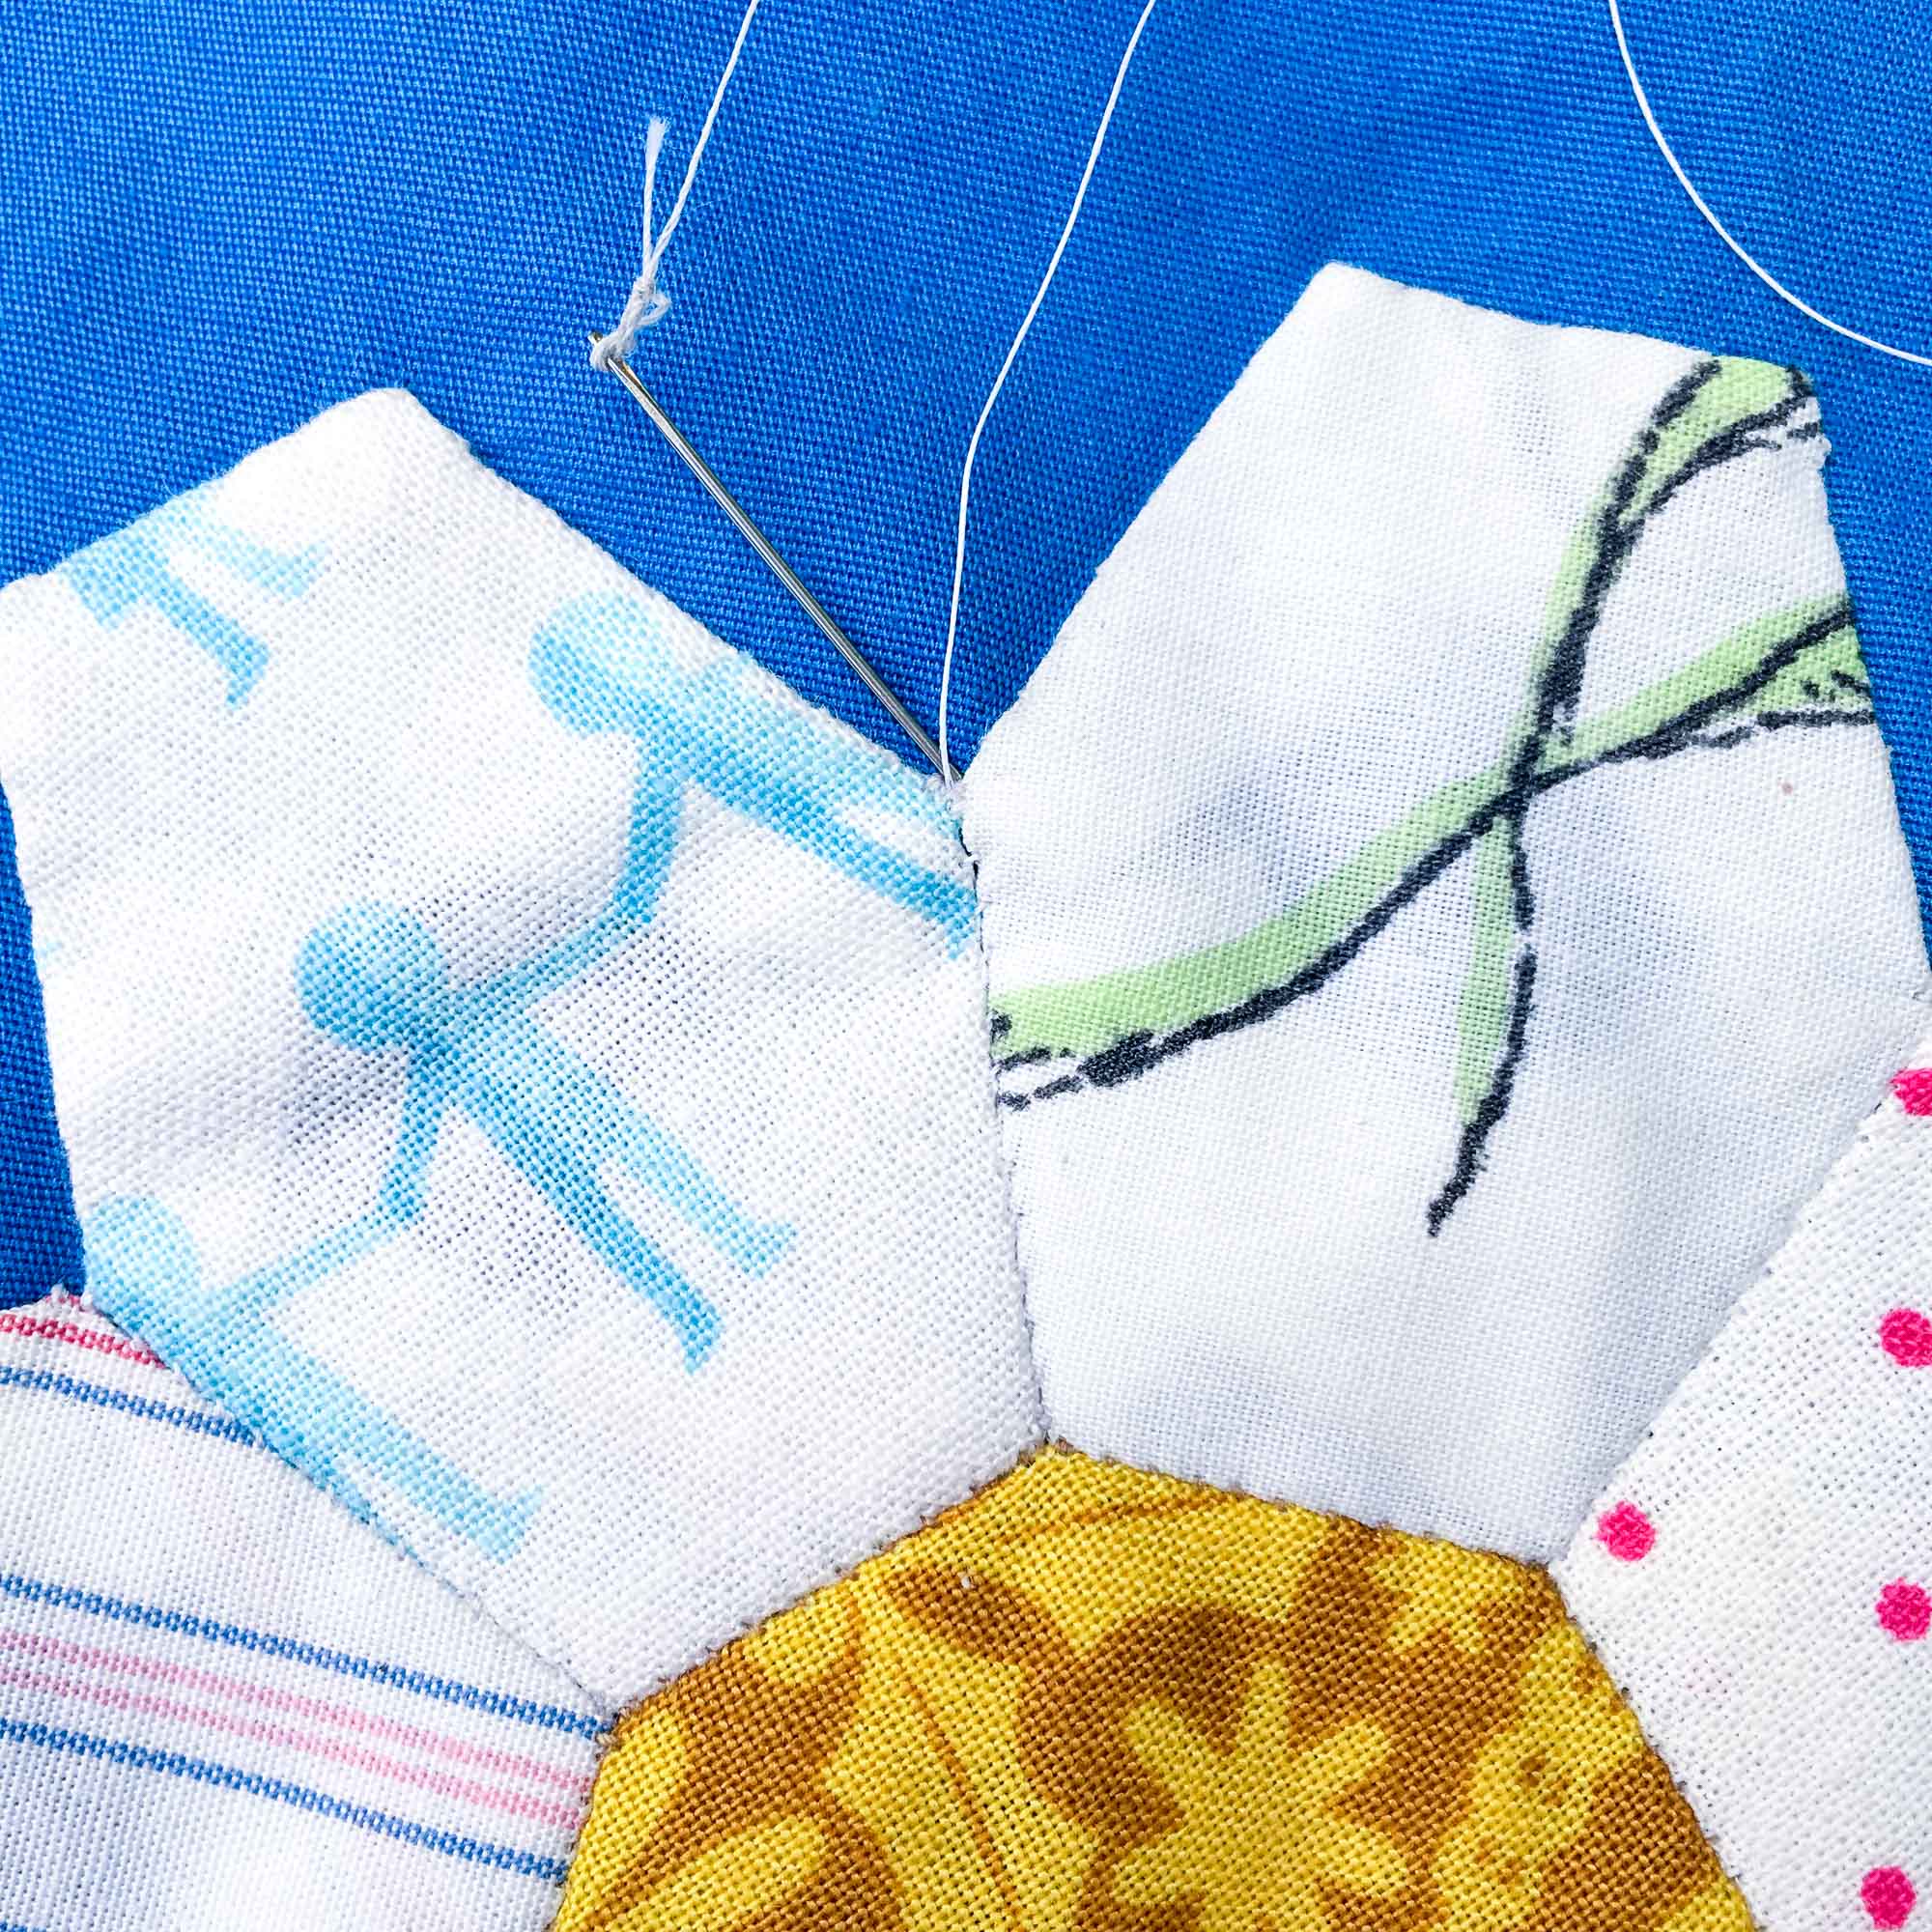
9. Repeat step 8 until you reach the end of that side of the petal. Remember to insert the needle back into the background fabric right where it just came out to get the least visible stitches.
10. At the end of the edge, take a backstitch to secure. To do this, take an applique stitch in the opposite direction that you have been stitching.
11. To return your needle back to the end of the side, take an applique stitch in the original direction of your stitching, bringing the needle up through the corner.
12. Repeat steps 8-11 until you have appliqued the entire perimeter of the EPP block to the background fabric. When you return to where you started, take another backstitch to secure. (I also do this when I end a thread as I go along.)
13. Finally, insert your needle into the background fabric at a slight angle to bury the thread before it exits the background.
14. Clip the thread on the back of the block, and give it a quick press.
Woohoo! You’ve hand appliqued an EPP block!
This block is from my Daisy Jane Quilt pattern, releasing soon! Be sure to subscribe to the monthly newsletter HERE so you’re the first to know when it does and receive a special discount code just for subscribers!
Machine Applique
As I mentioned at the beginning of this post, I appreciate having machine applique in my sewing arsenal. It’s similar to my sentiments about quilting. As much as I prefer hand quilting, I’m glad to know how to quilt by machine. The same goes for applique. So, here’s how I applique by machine.
1. Position your EPP block as desired on the background fabric. Use the points of the block as guides or press small creases in the fabric to help with alignment. The Daisy Jane block uses the points as guides while the hexie flower is positioned using pressed creases on the sides of the square.
2. Baste it to the background using pins or glue. (I prefer glue because I don’t like poking myself with the pins as I work!) You can use an applique glue, simple glue stick, or washable white liquid school glue (my preference). (Elmer’s is my favorite, but I’ve used other generics as well, just make sure they are washable.)
3. To apply the glue, carefully lift each petal of your flower and apply a small dot or dab of glue on each corner and return to place.
4. Once you have completed applying the glue, take the basted block over to the ironing board. Flip the block over and give it a press on the DRY setting. This dries the glue and maintains the position of the block for applique.
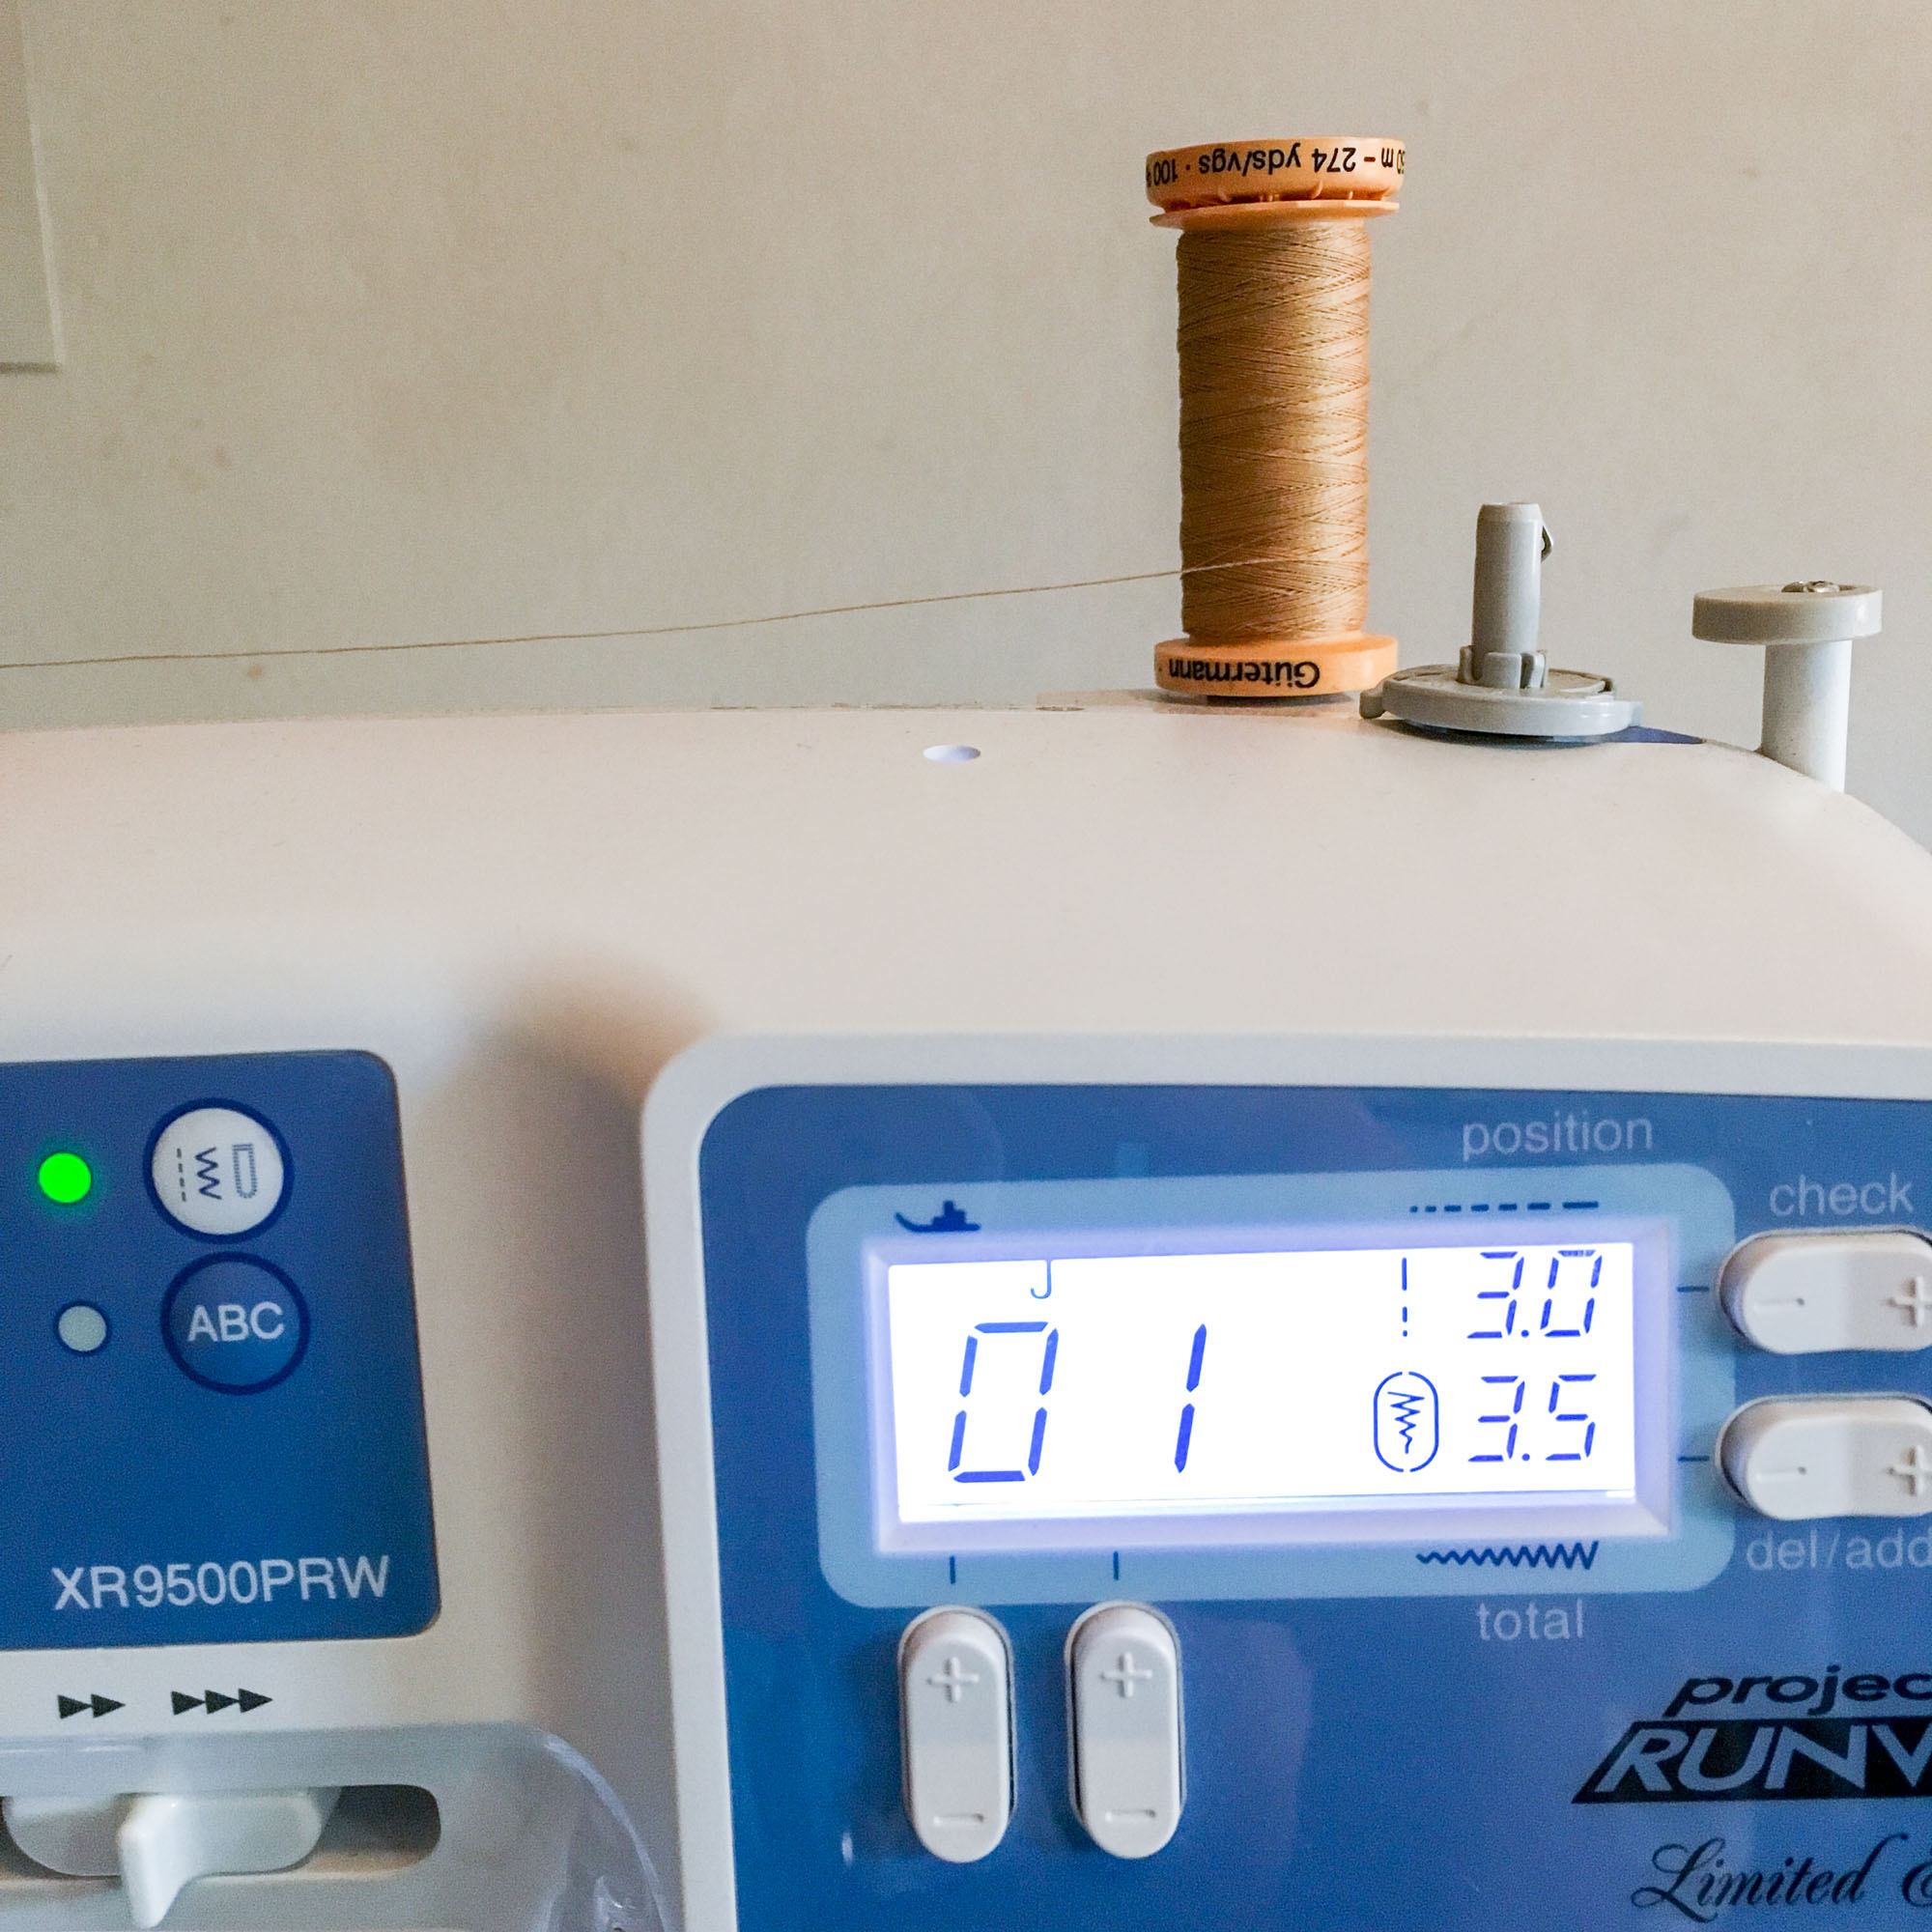
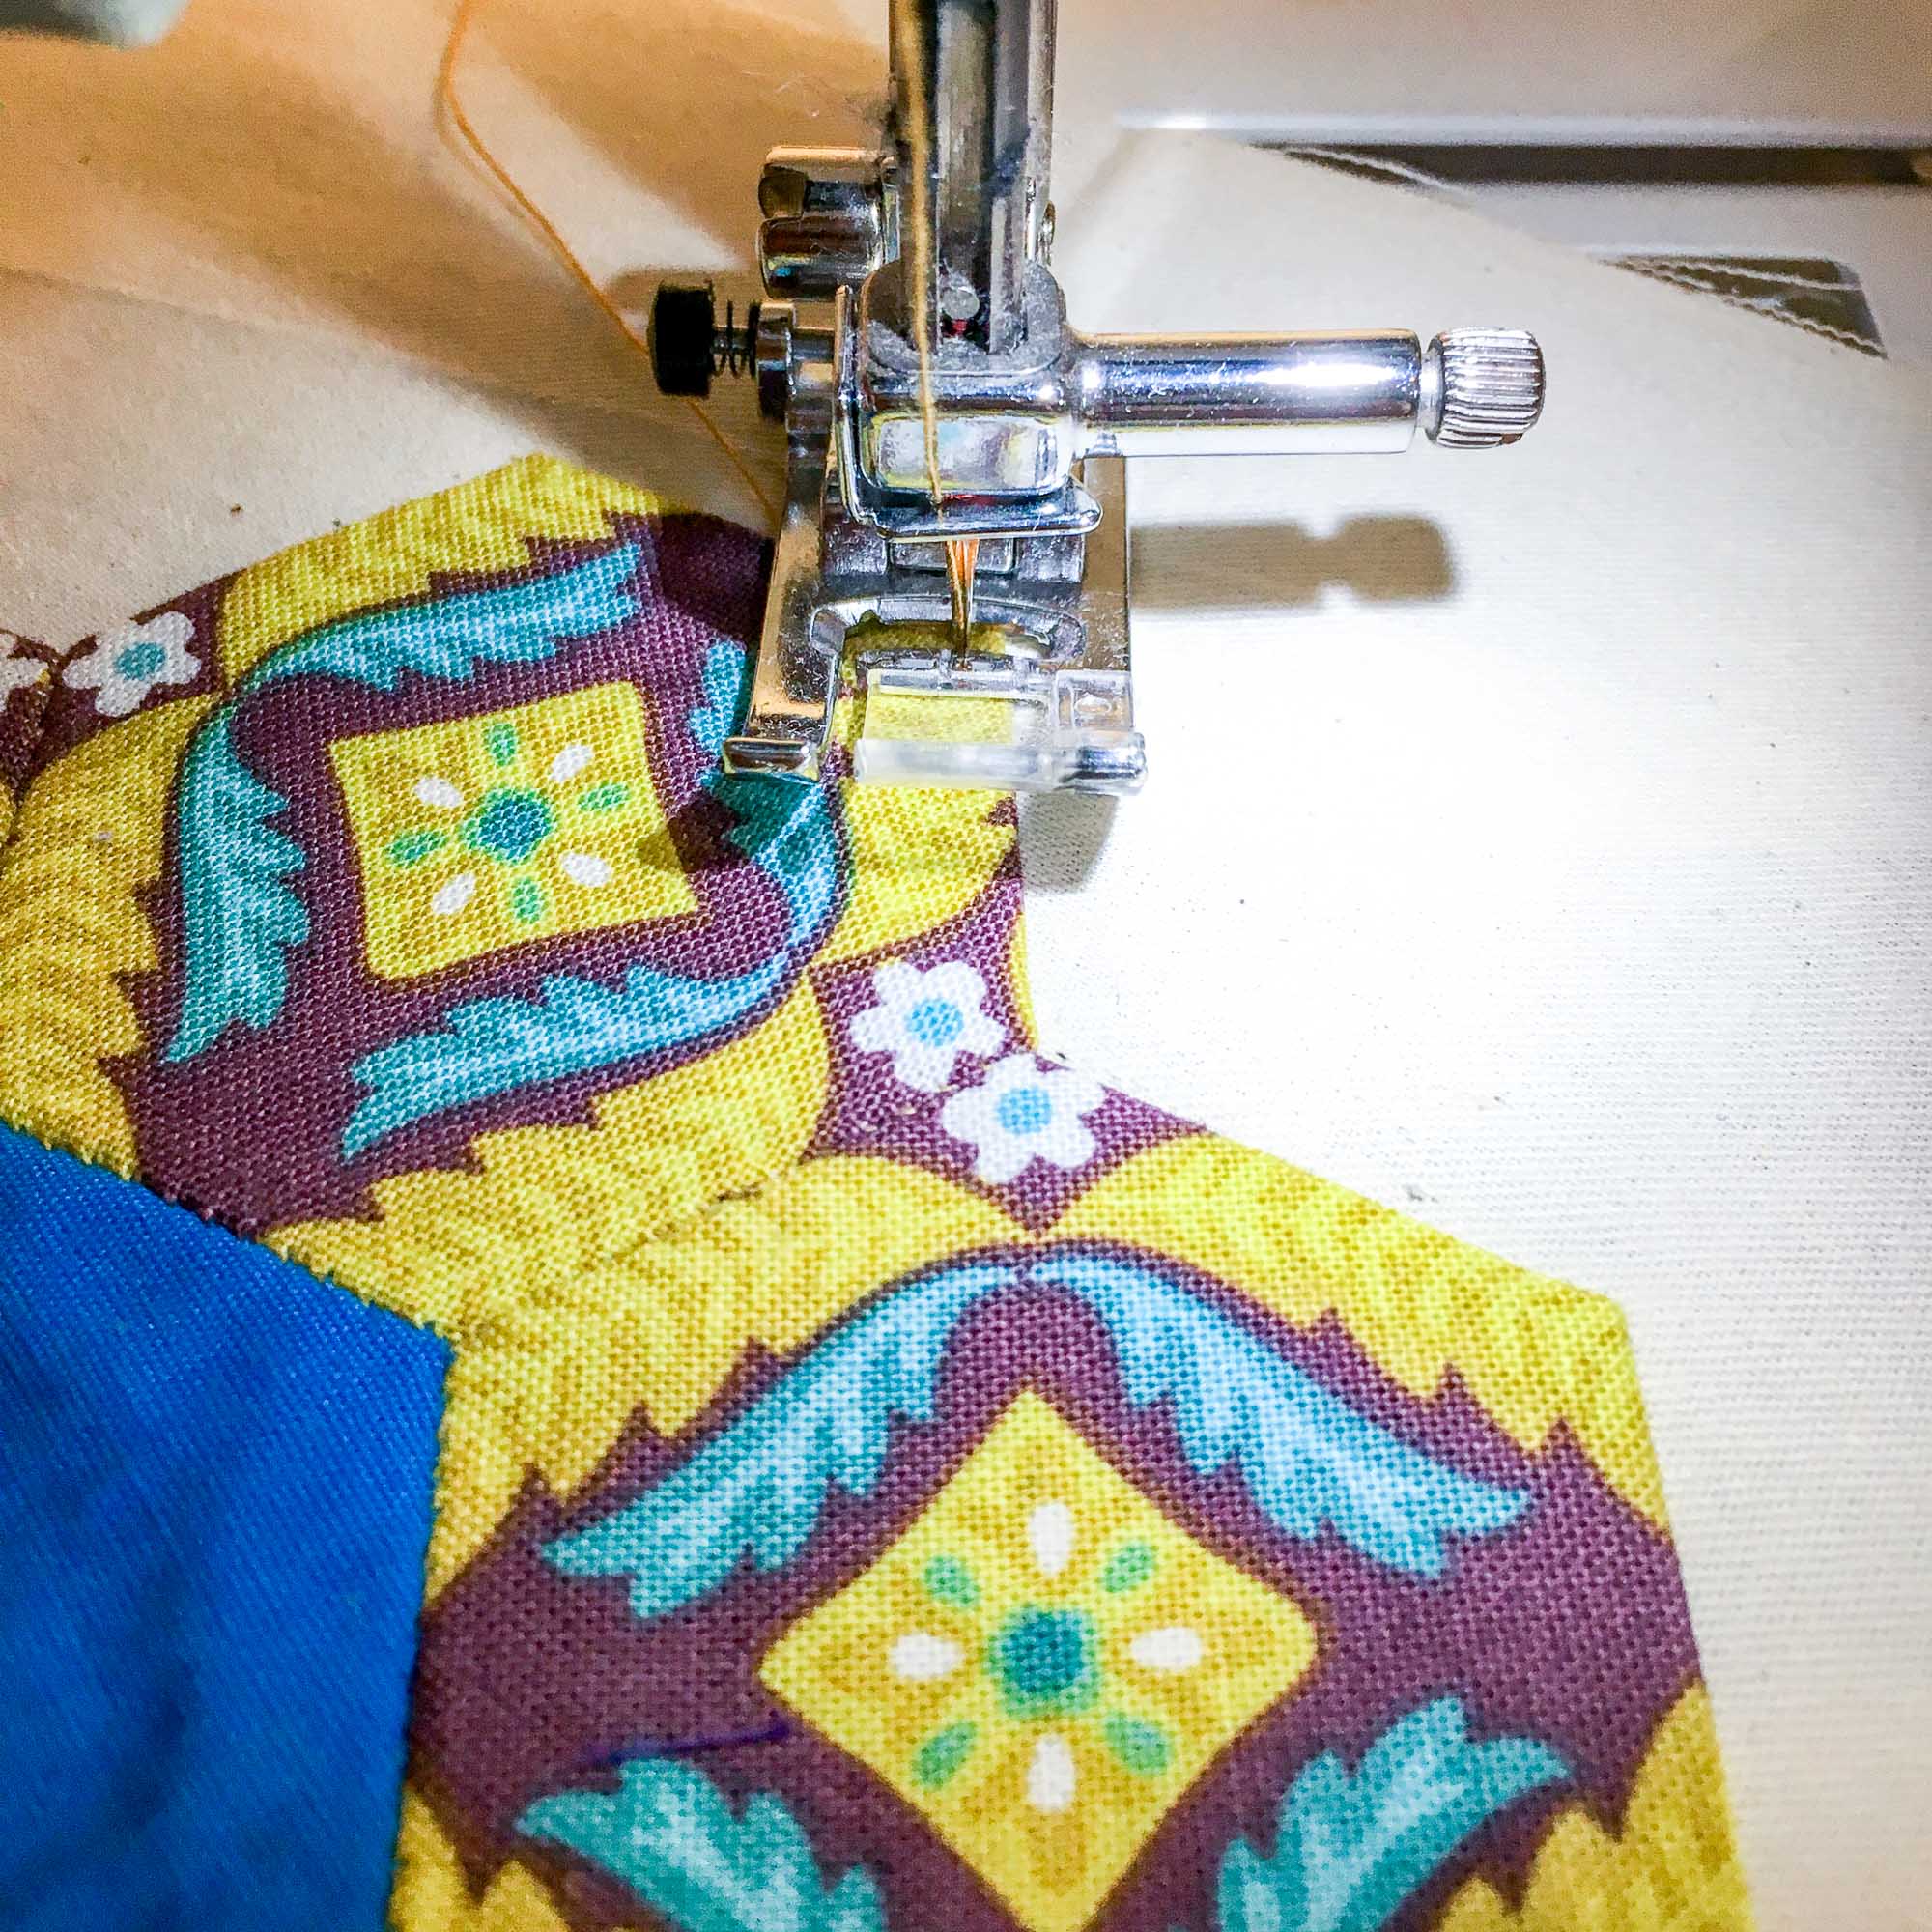
5. Next, bring your block over to your sewing machine. I like to use a simple top stitch for machine applique. A straight stitch with a 3.0 stitch length gives a professional look to the stitching, in my opinion. Choose a coordinating or contrasting thread.
6. Bring the needle down into one corner about 1/8” from the edge of the EPP block.
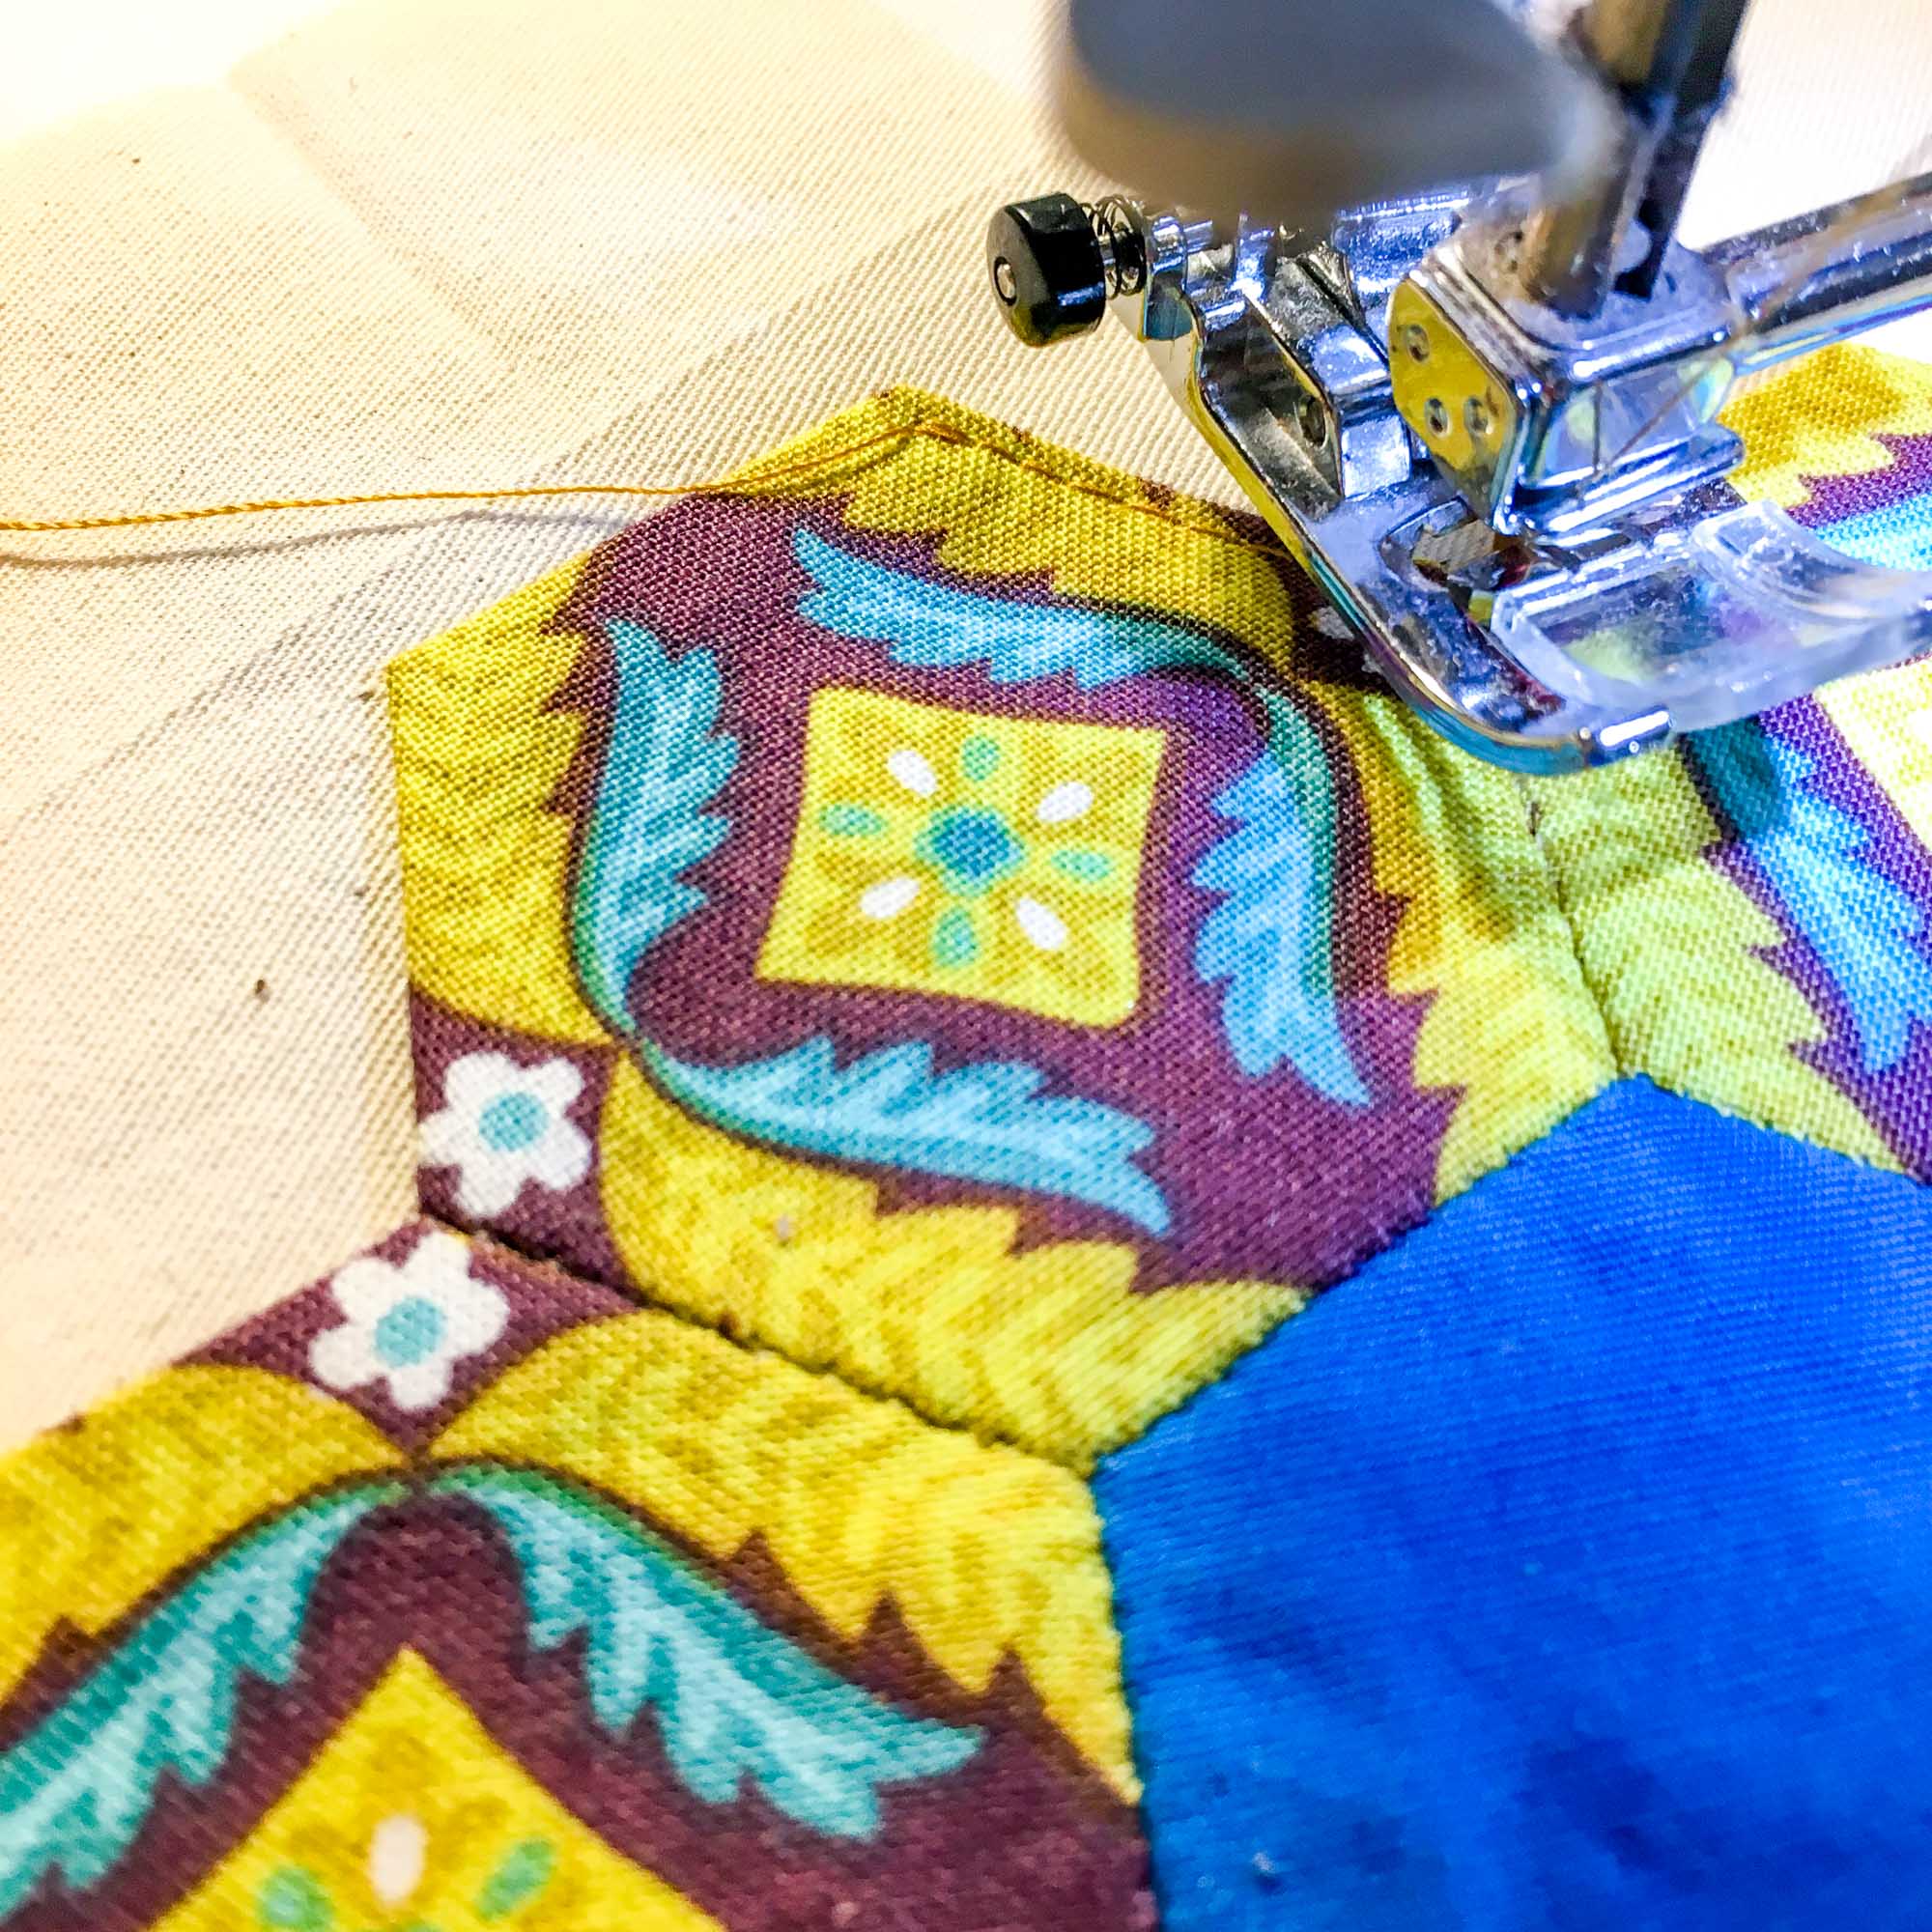
7. Take a stitch, backstitch, and then continue sewing to the edge of the side. Backstitch to secure this line of top stitching. (I find backstitching at the end of each line of top stitching creates more crisp corners and provides extra security for the applique over time.)
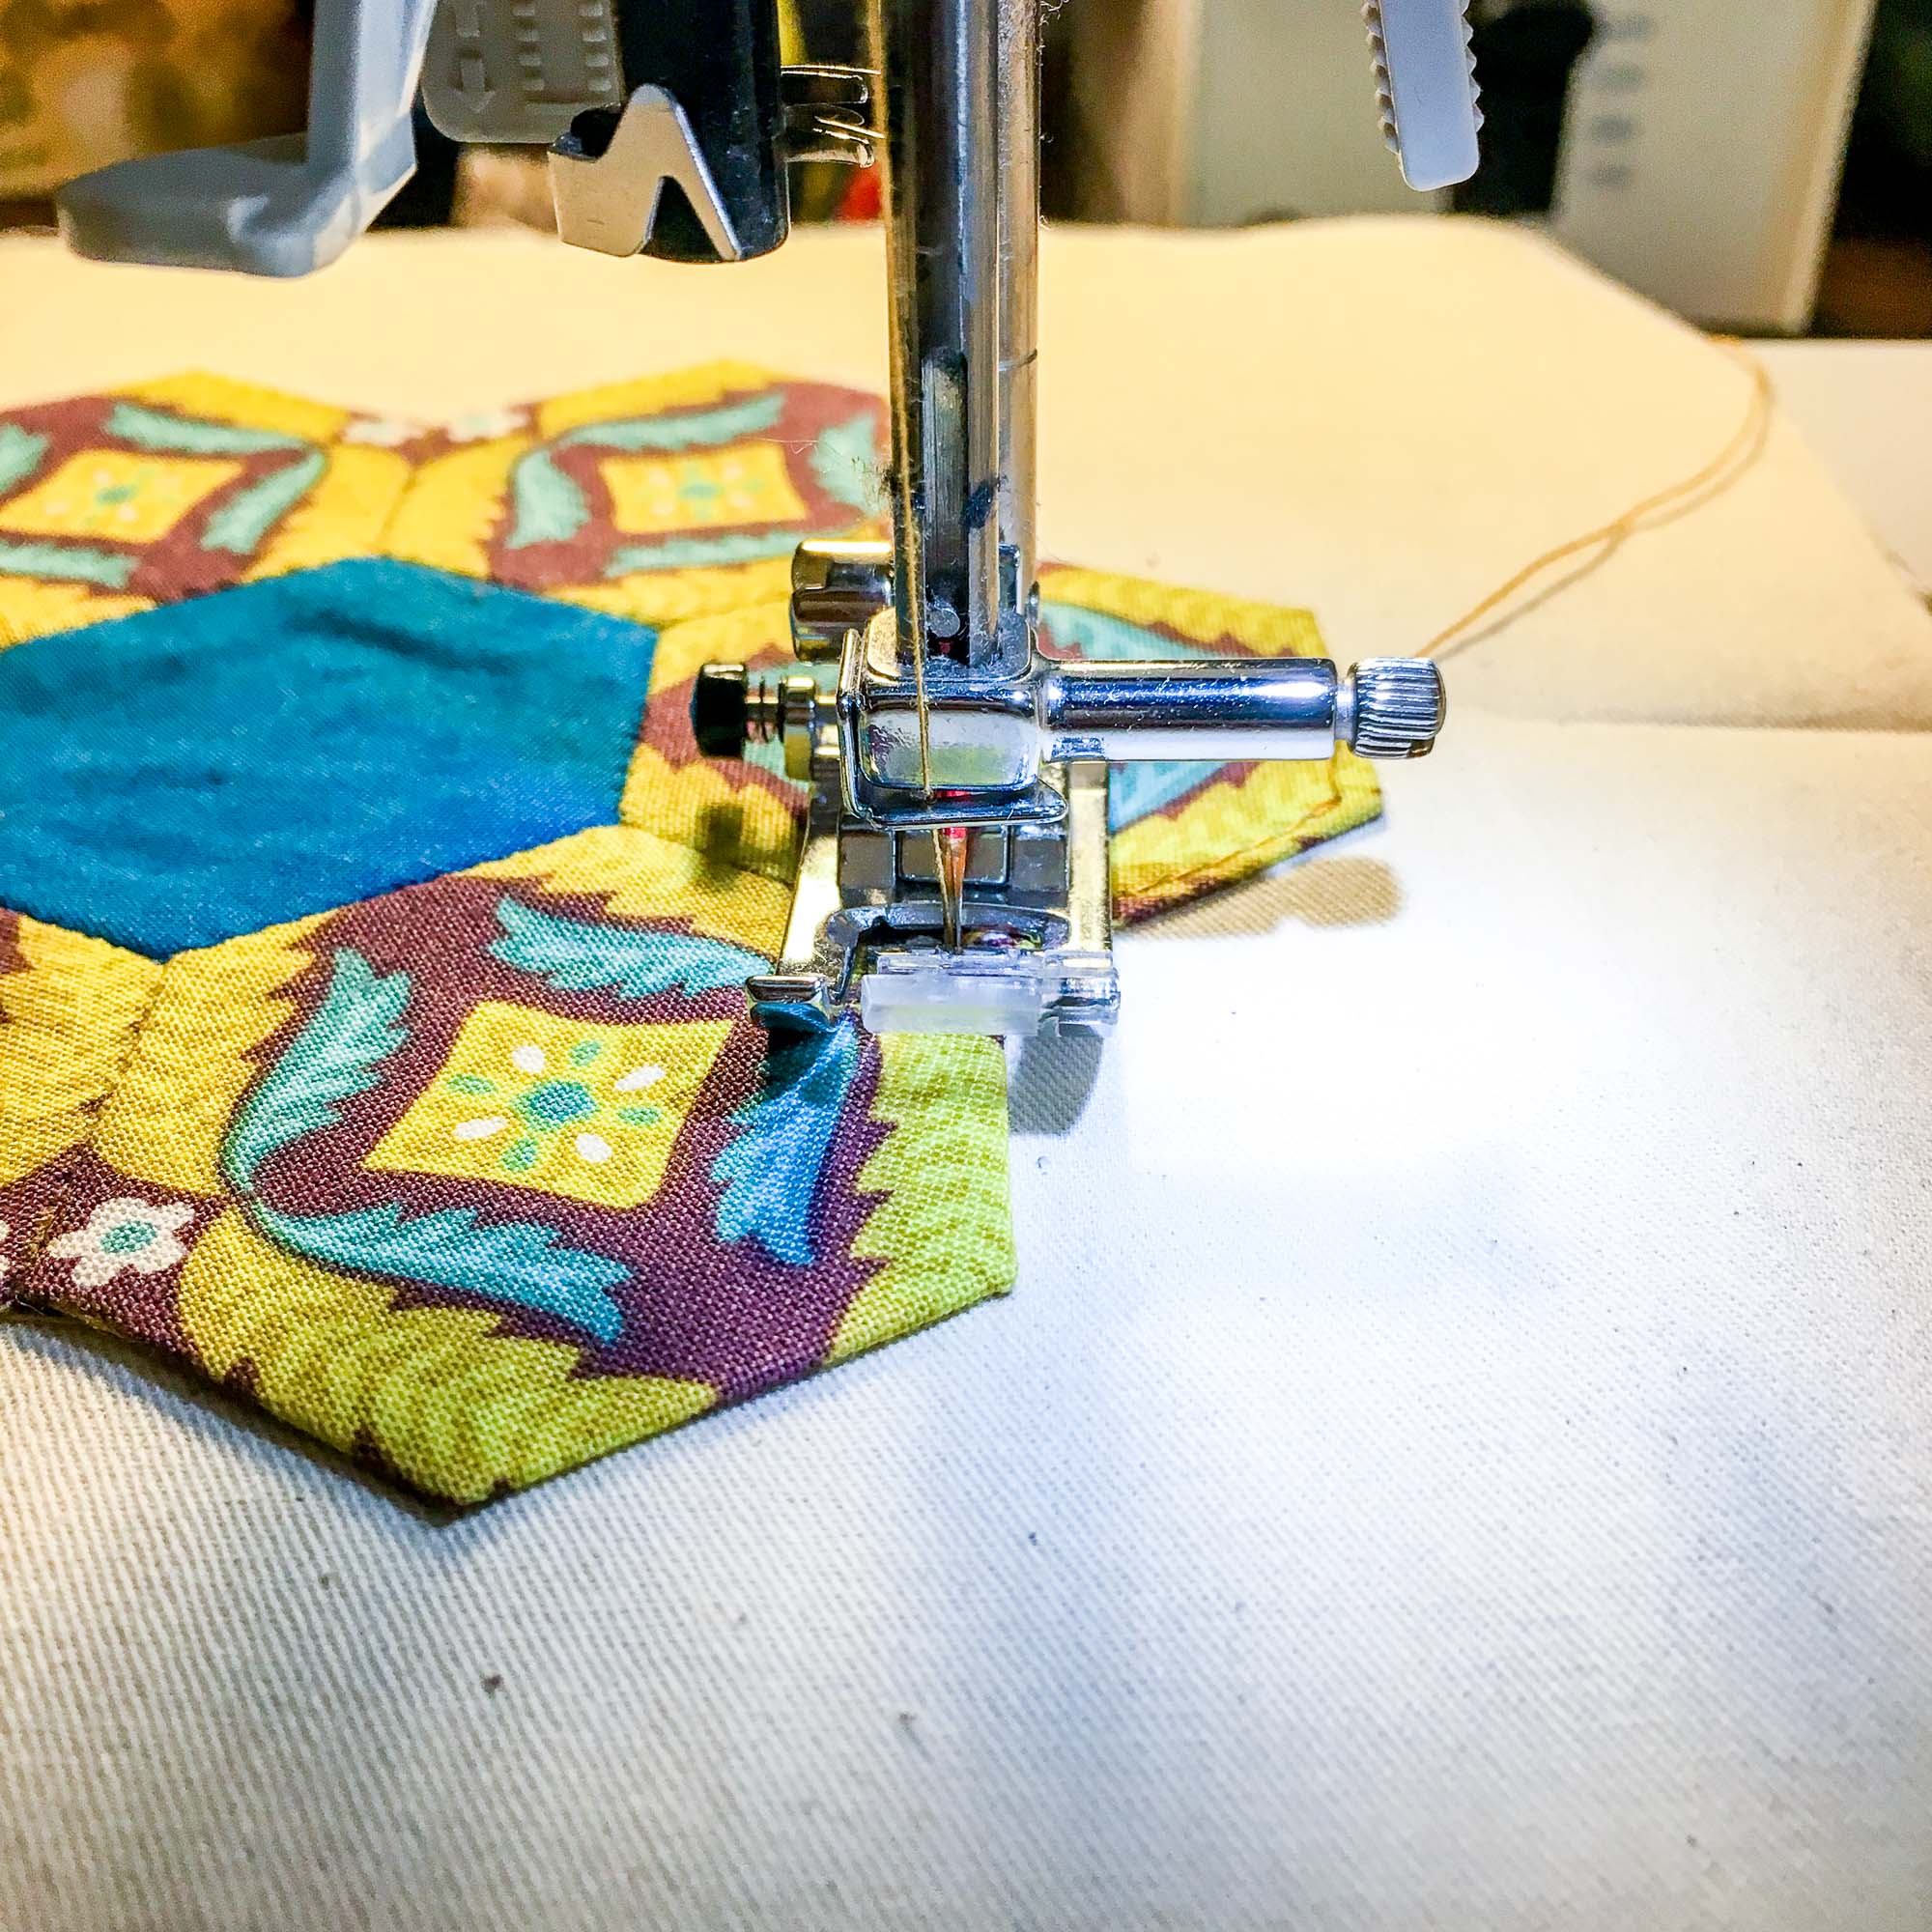
8. Leave your needle in the down position, and lift your presser foot.
9. Pivot the block under the presser foot to align the next edge for applique. Then, lower your presser foot.
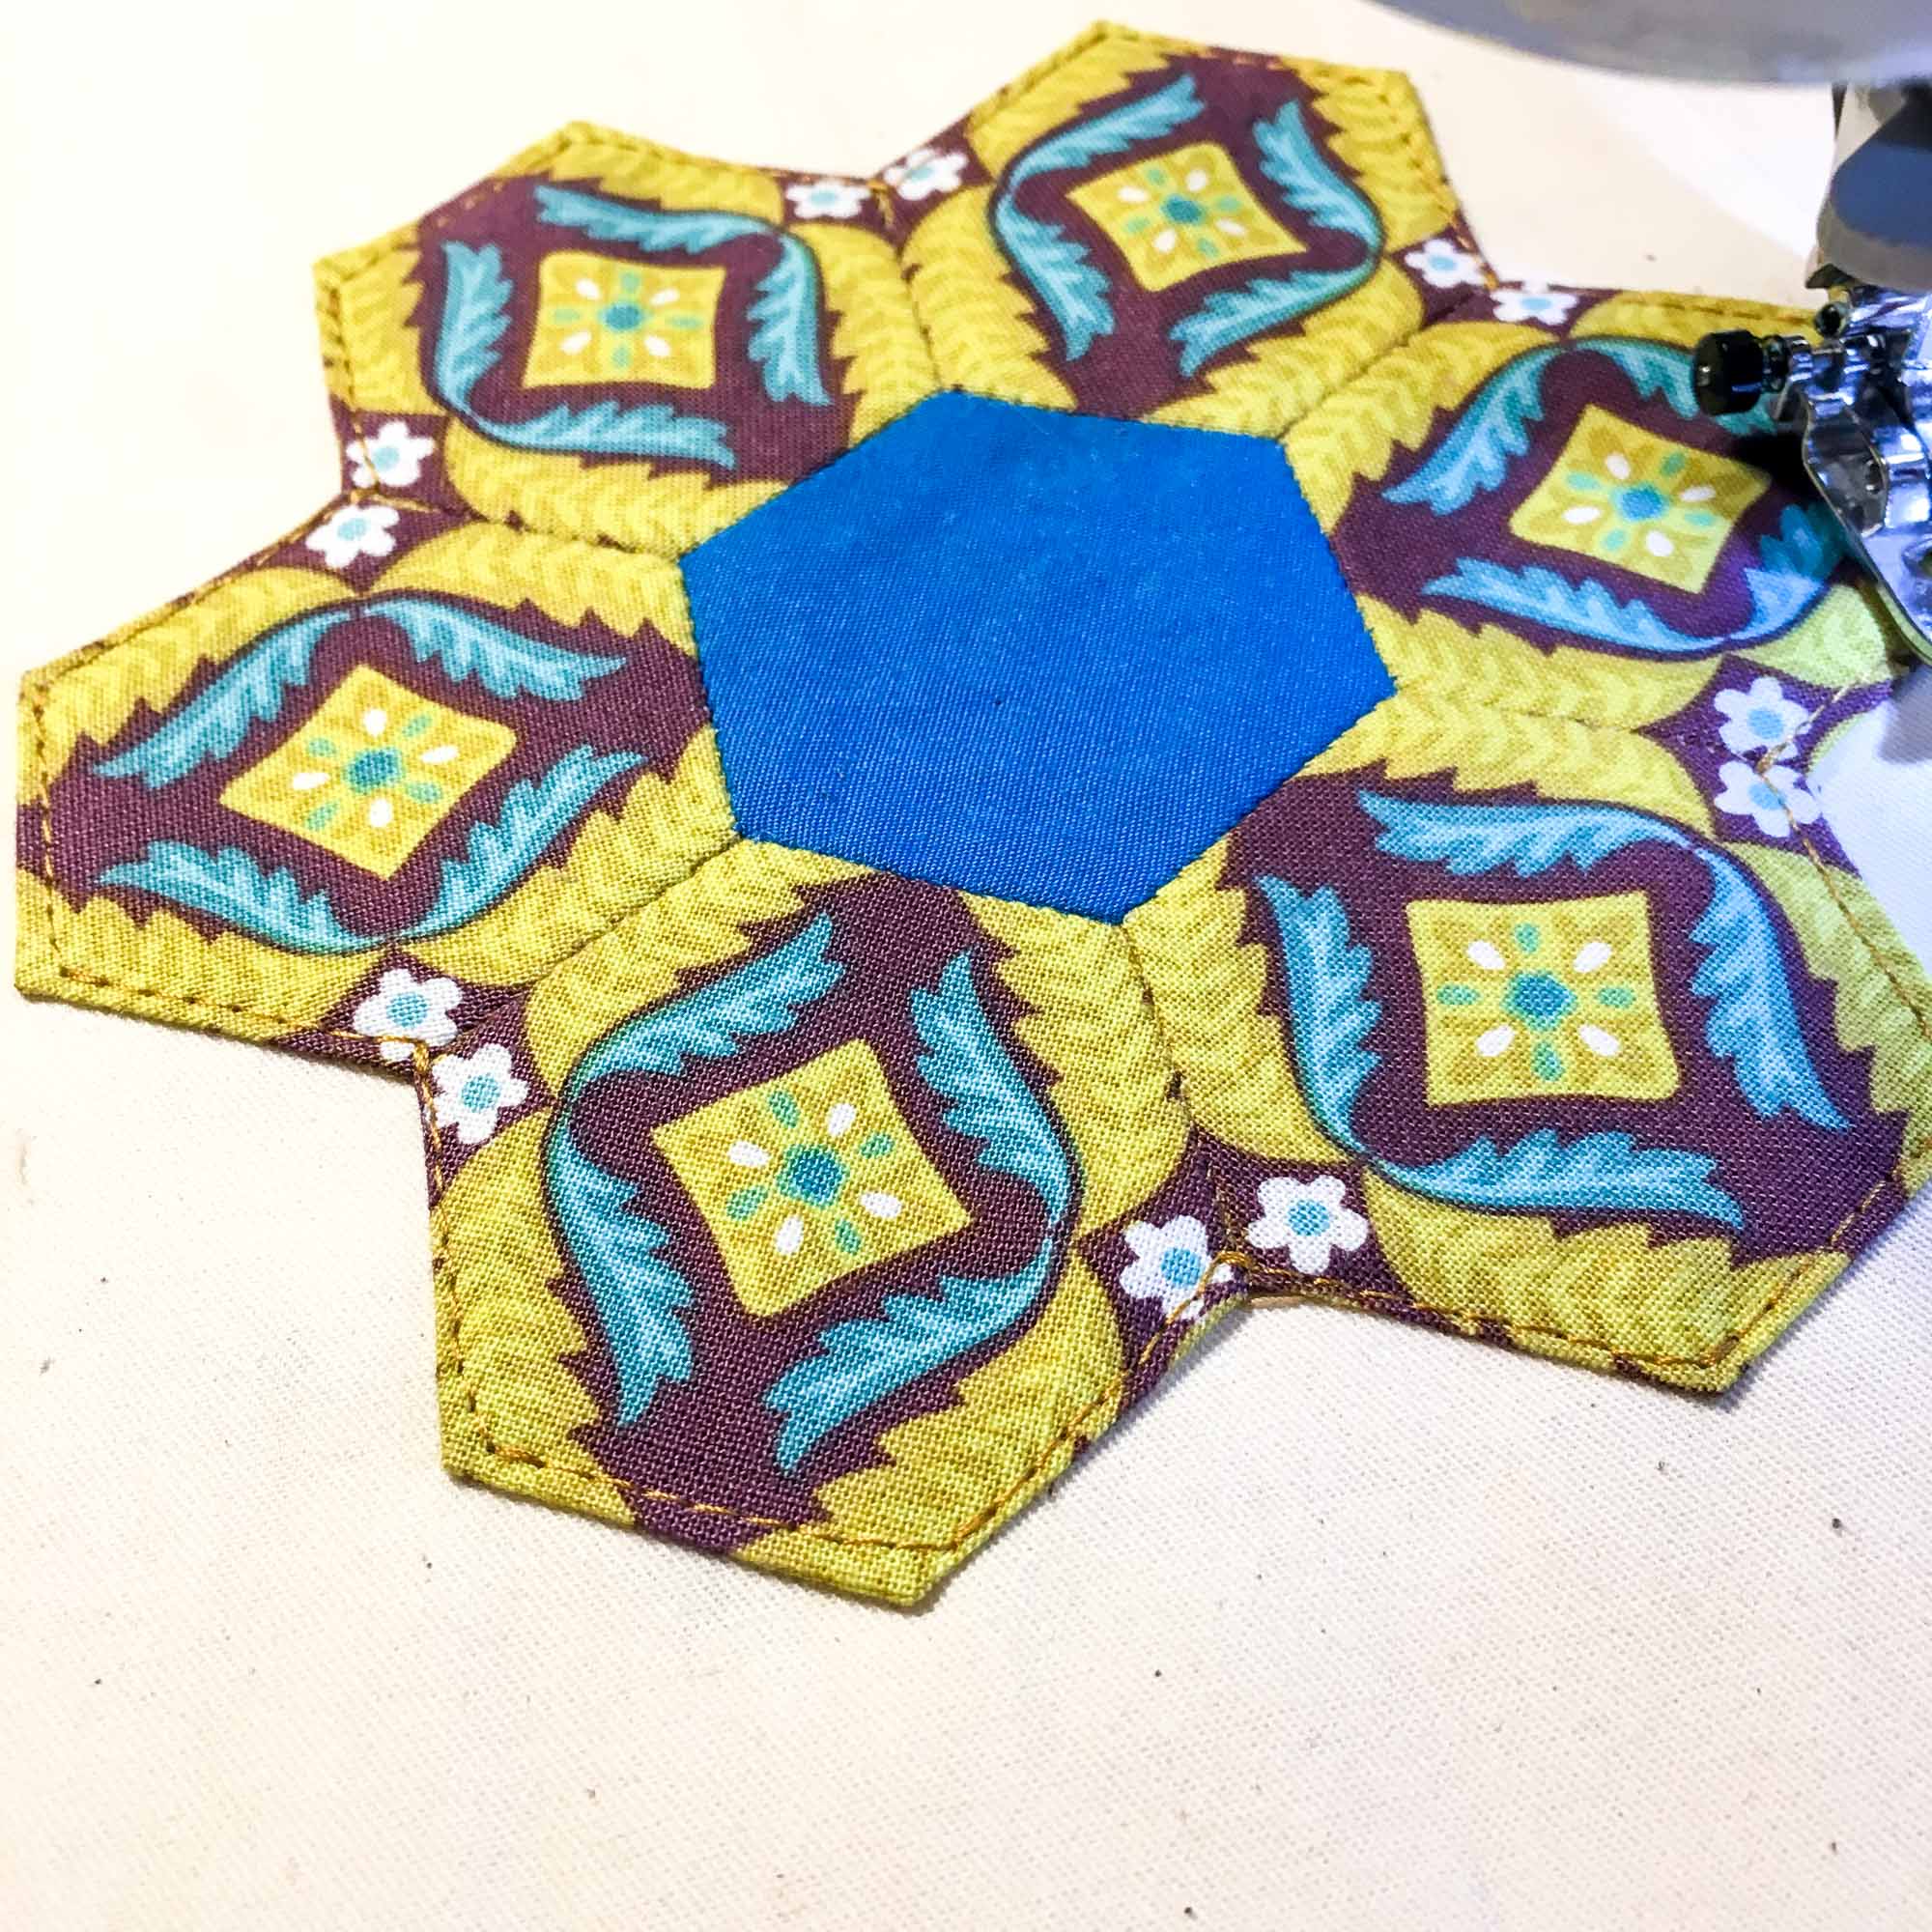
10. Repeat steps 6-8 until you have appliqued all of the edges of the EPP block to the background fabric. Be sure to backstitch at the very end of your stitching line.
11. Finally, clip your threads, and give your block a quick press.
Woohoo! You’ve machine appliqued an EPP block!
Removing the Background Fabric
At this point, each of these blocks is ready for incorporation into its final project. However, sometimes, as in the case of the Daisy Jane block, the appliqued fabric is lighter than the background fabric and the background fabric shows through. This isn’t a problem as much as it is a matter of personal preference. I prefer not to see the background fabric through the EPP block, so I am going to carefully remove it.
Some folks routinely perform this next step to reduce weight or bulk in the final quilt. I generally don’t do it unless the background is higher contrast than the applique fabric as I’ve mentioned here. If you’d like to learn how to remove the background fabric, follow the steps below.
Of note, this can be done with machine or hand appliqued blocks. For the purposes of this tutorial, I will be using the hand appliqued sample.
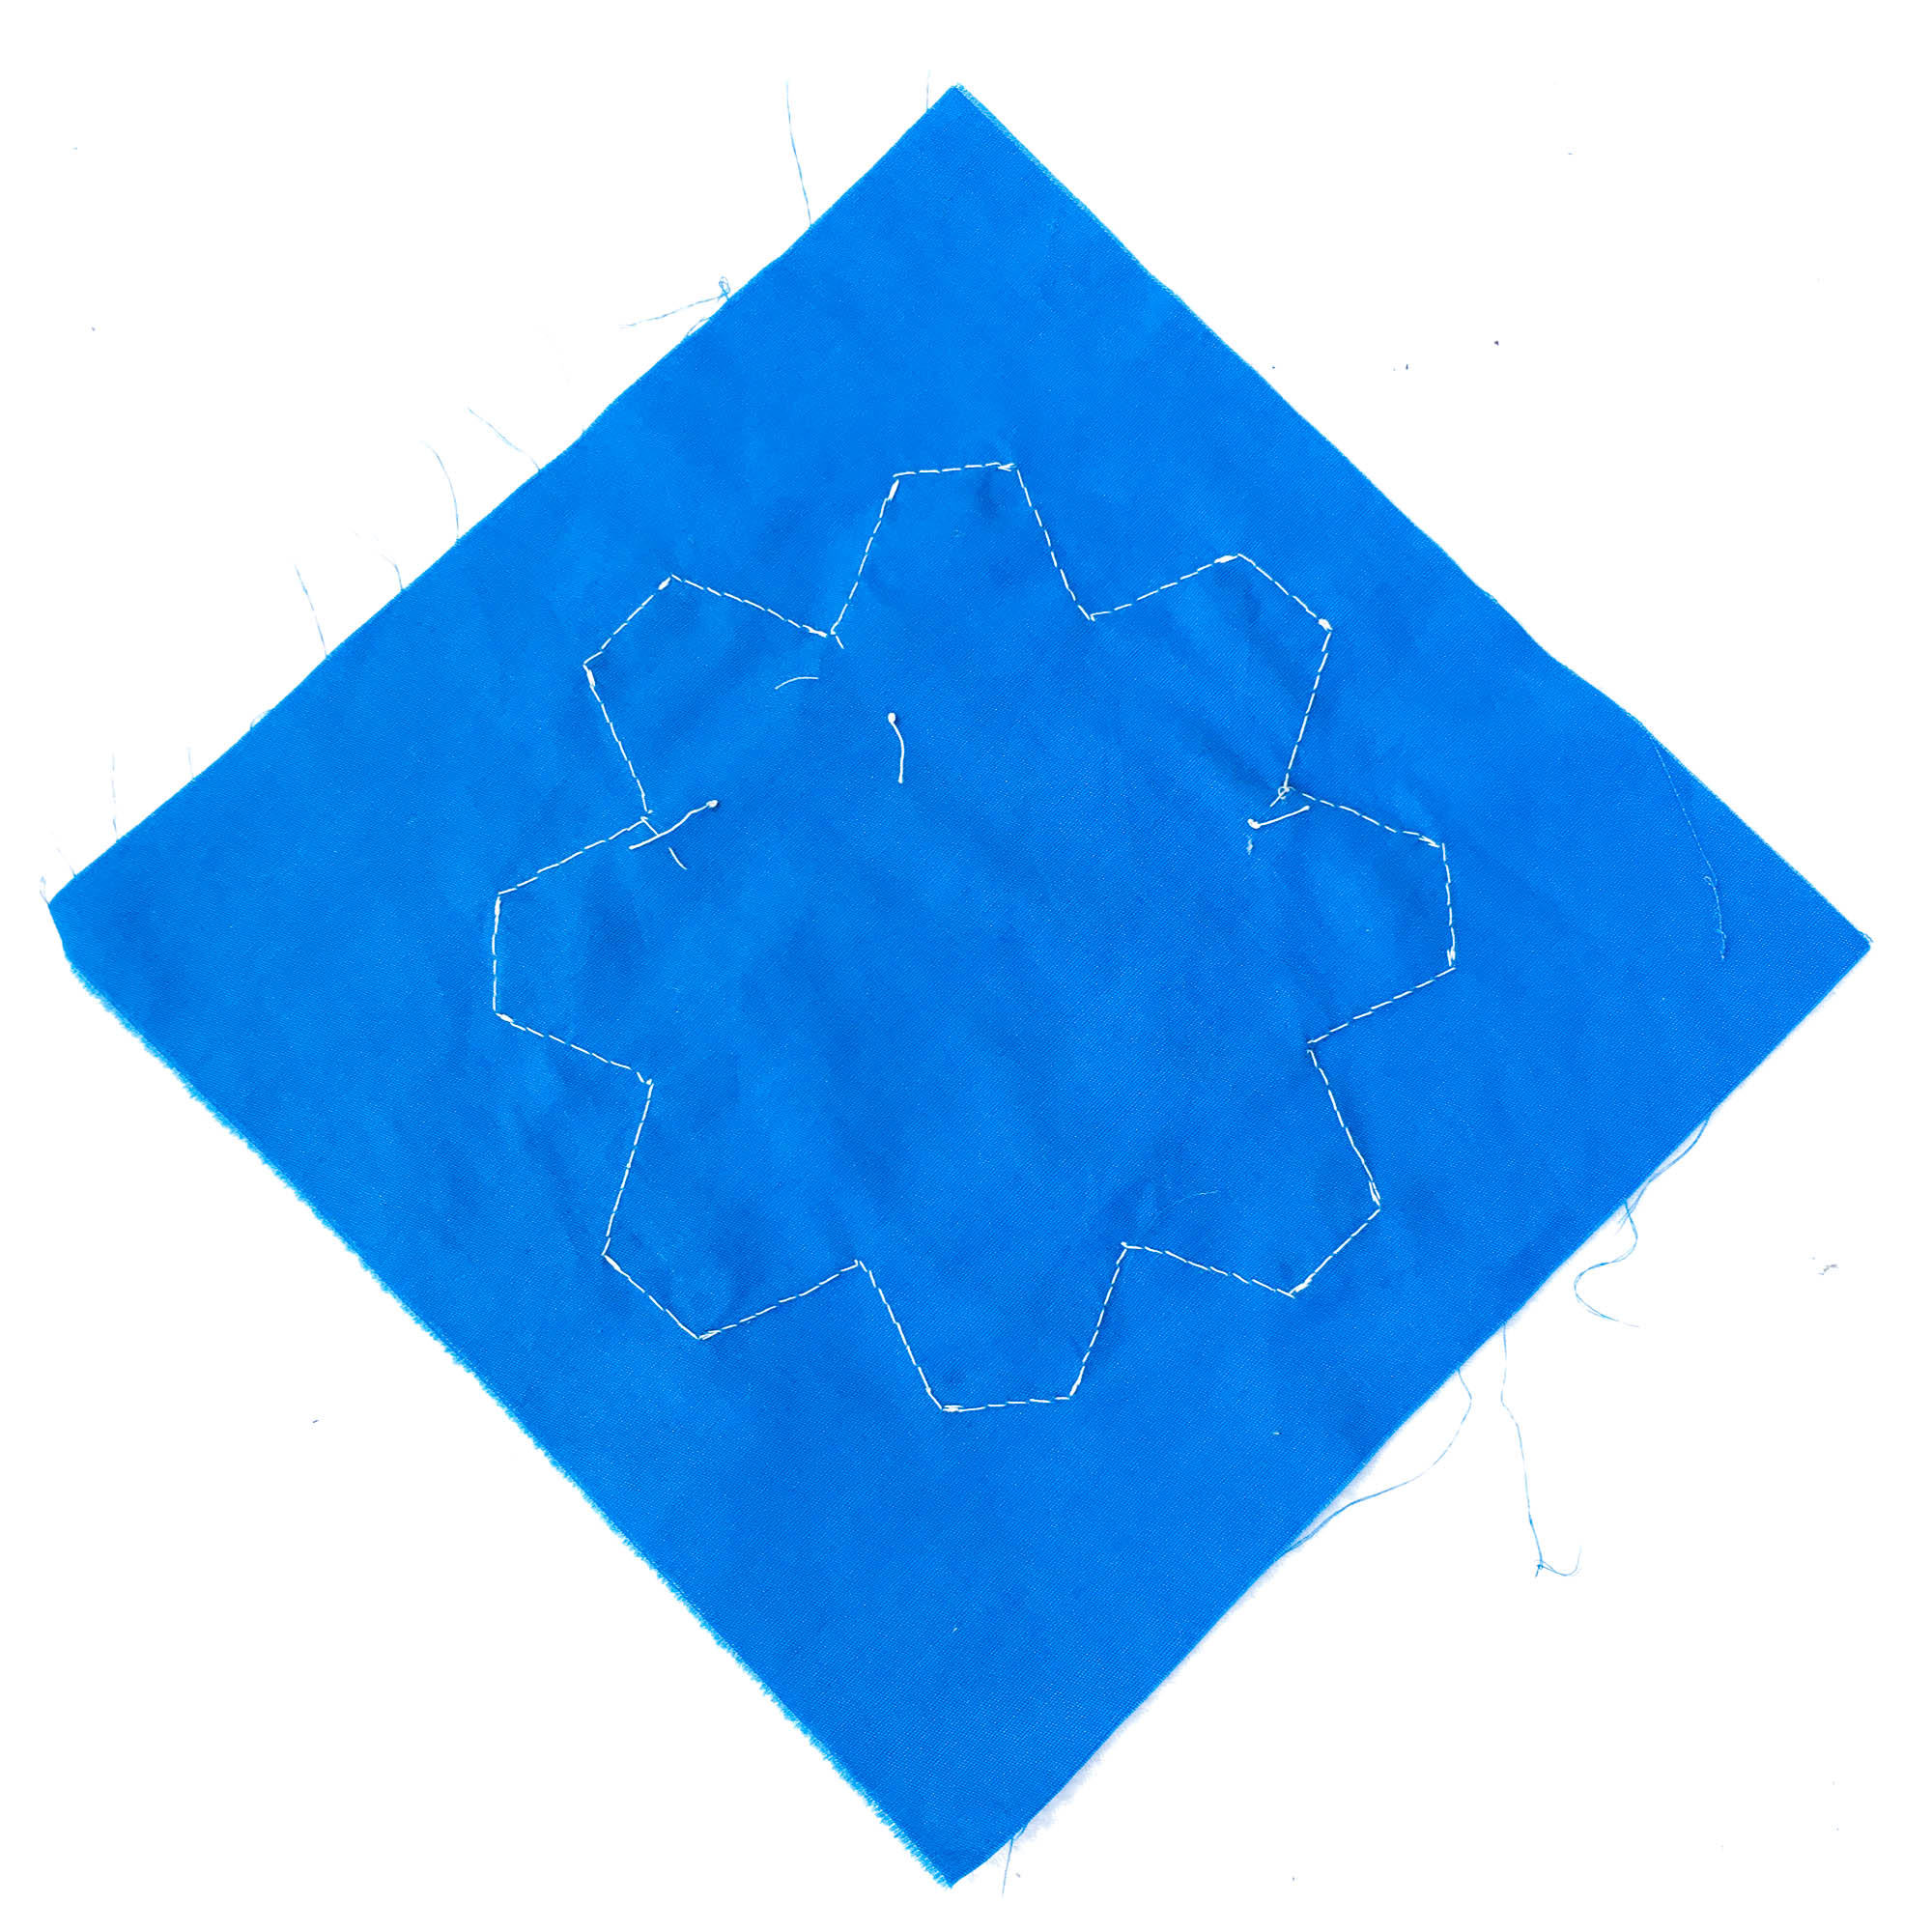
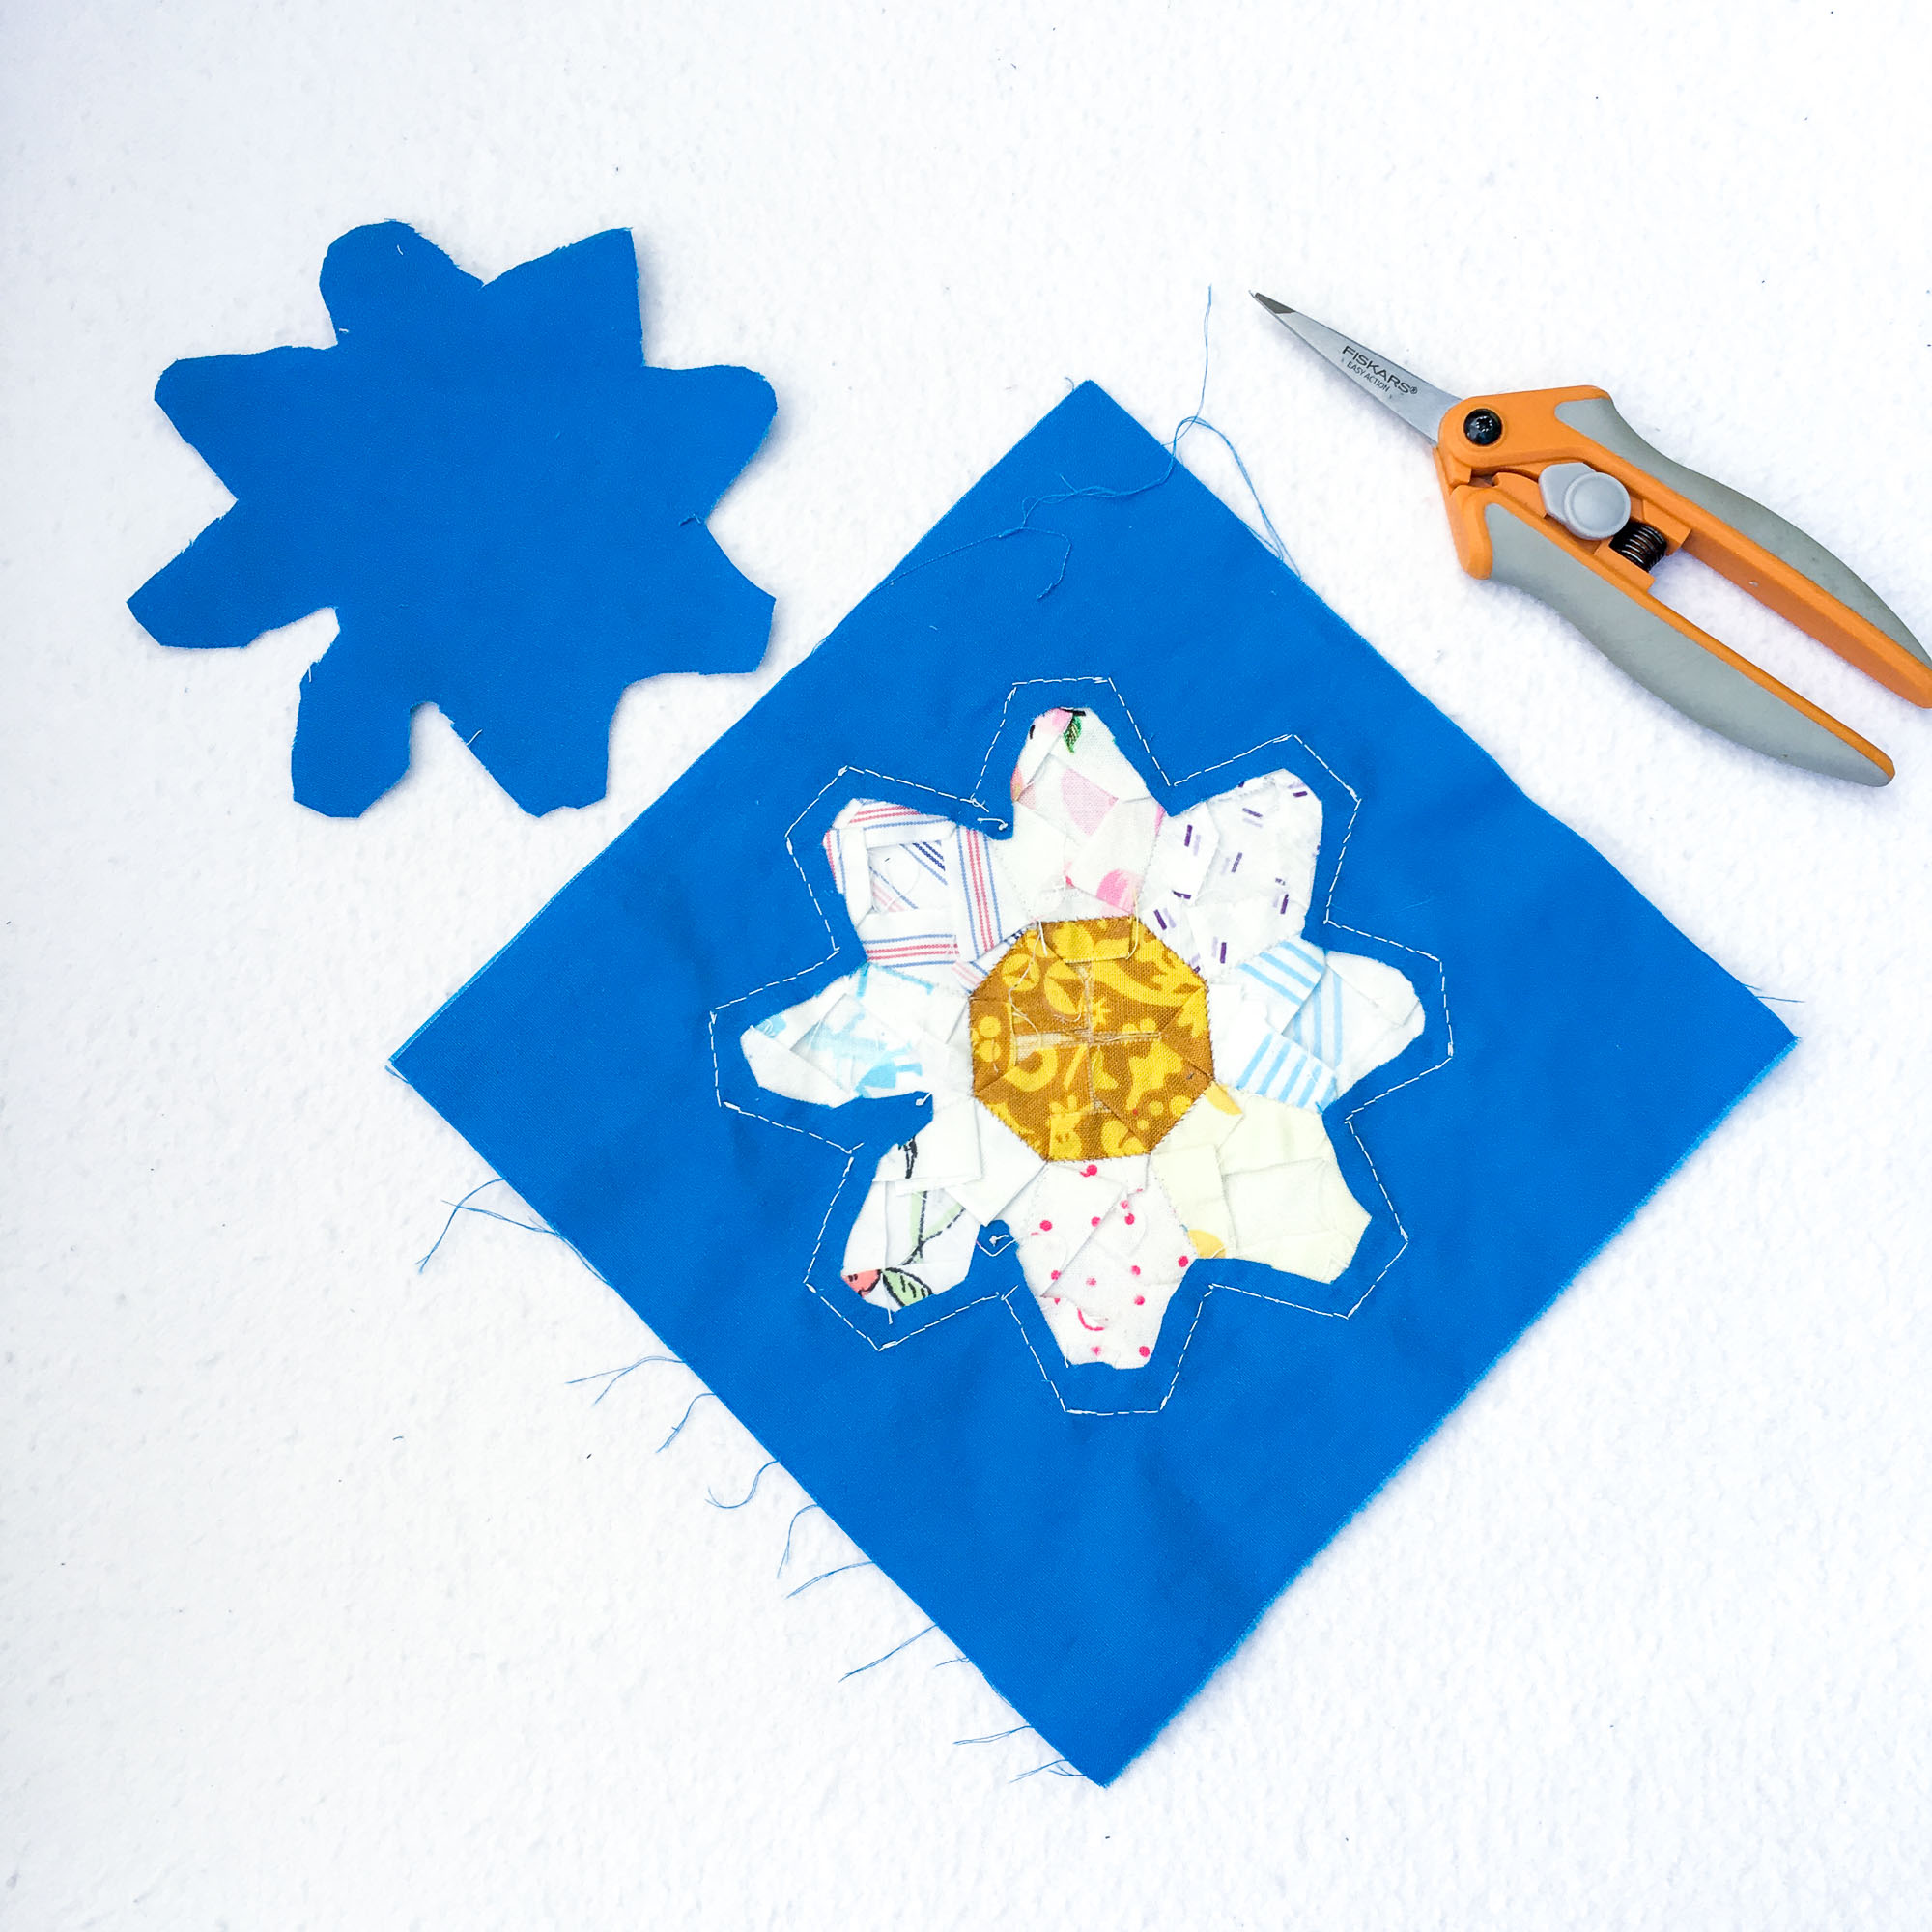
1. Flip your block over so you can clearly see the applique stitching line.
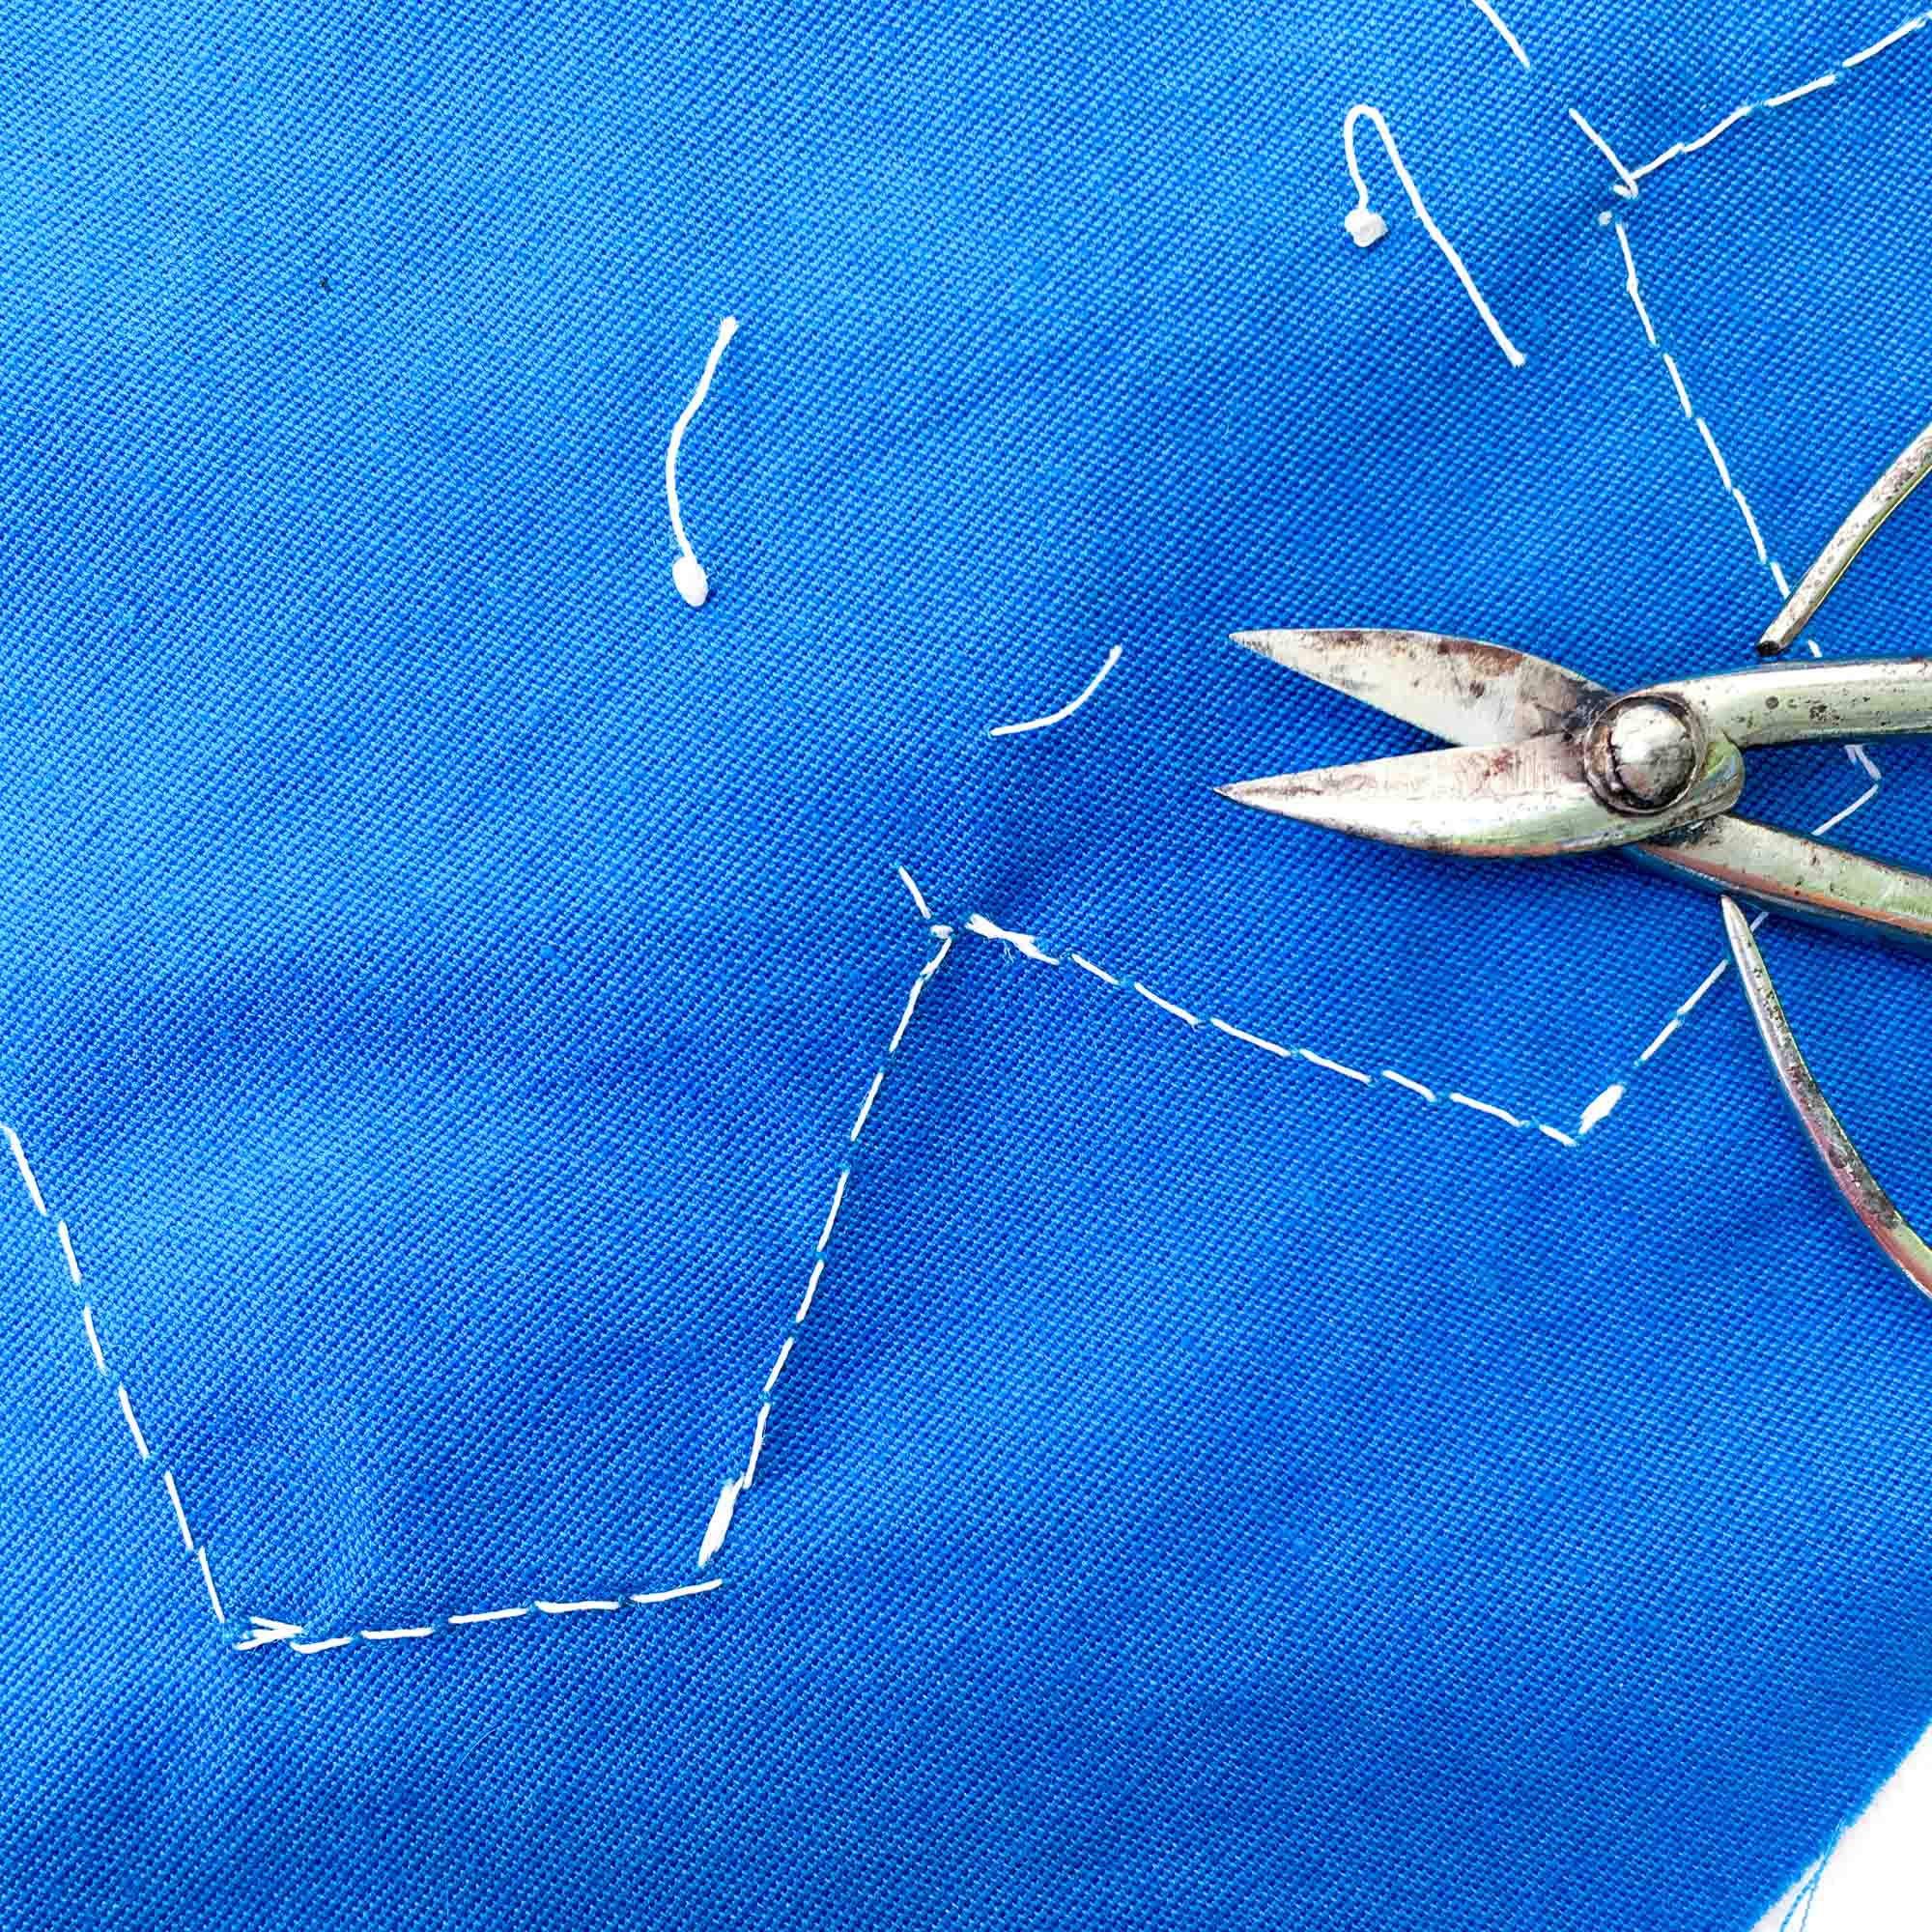
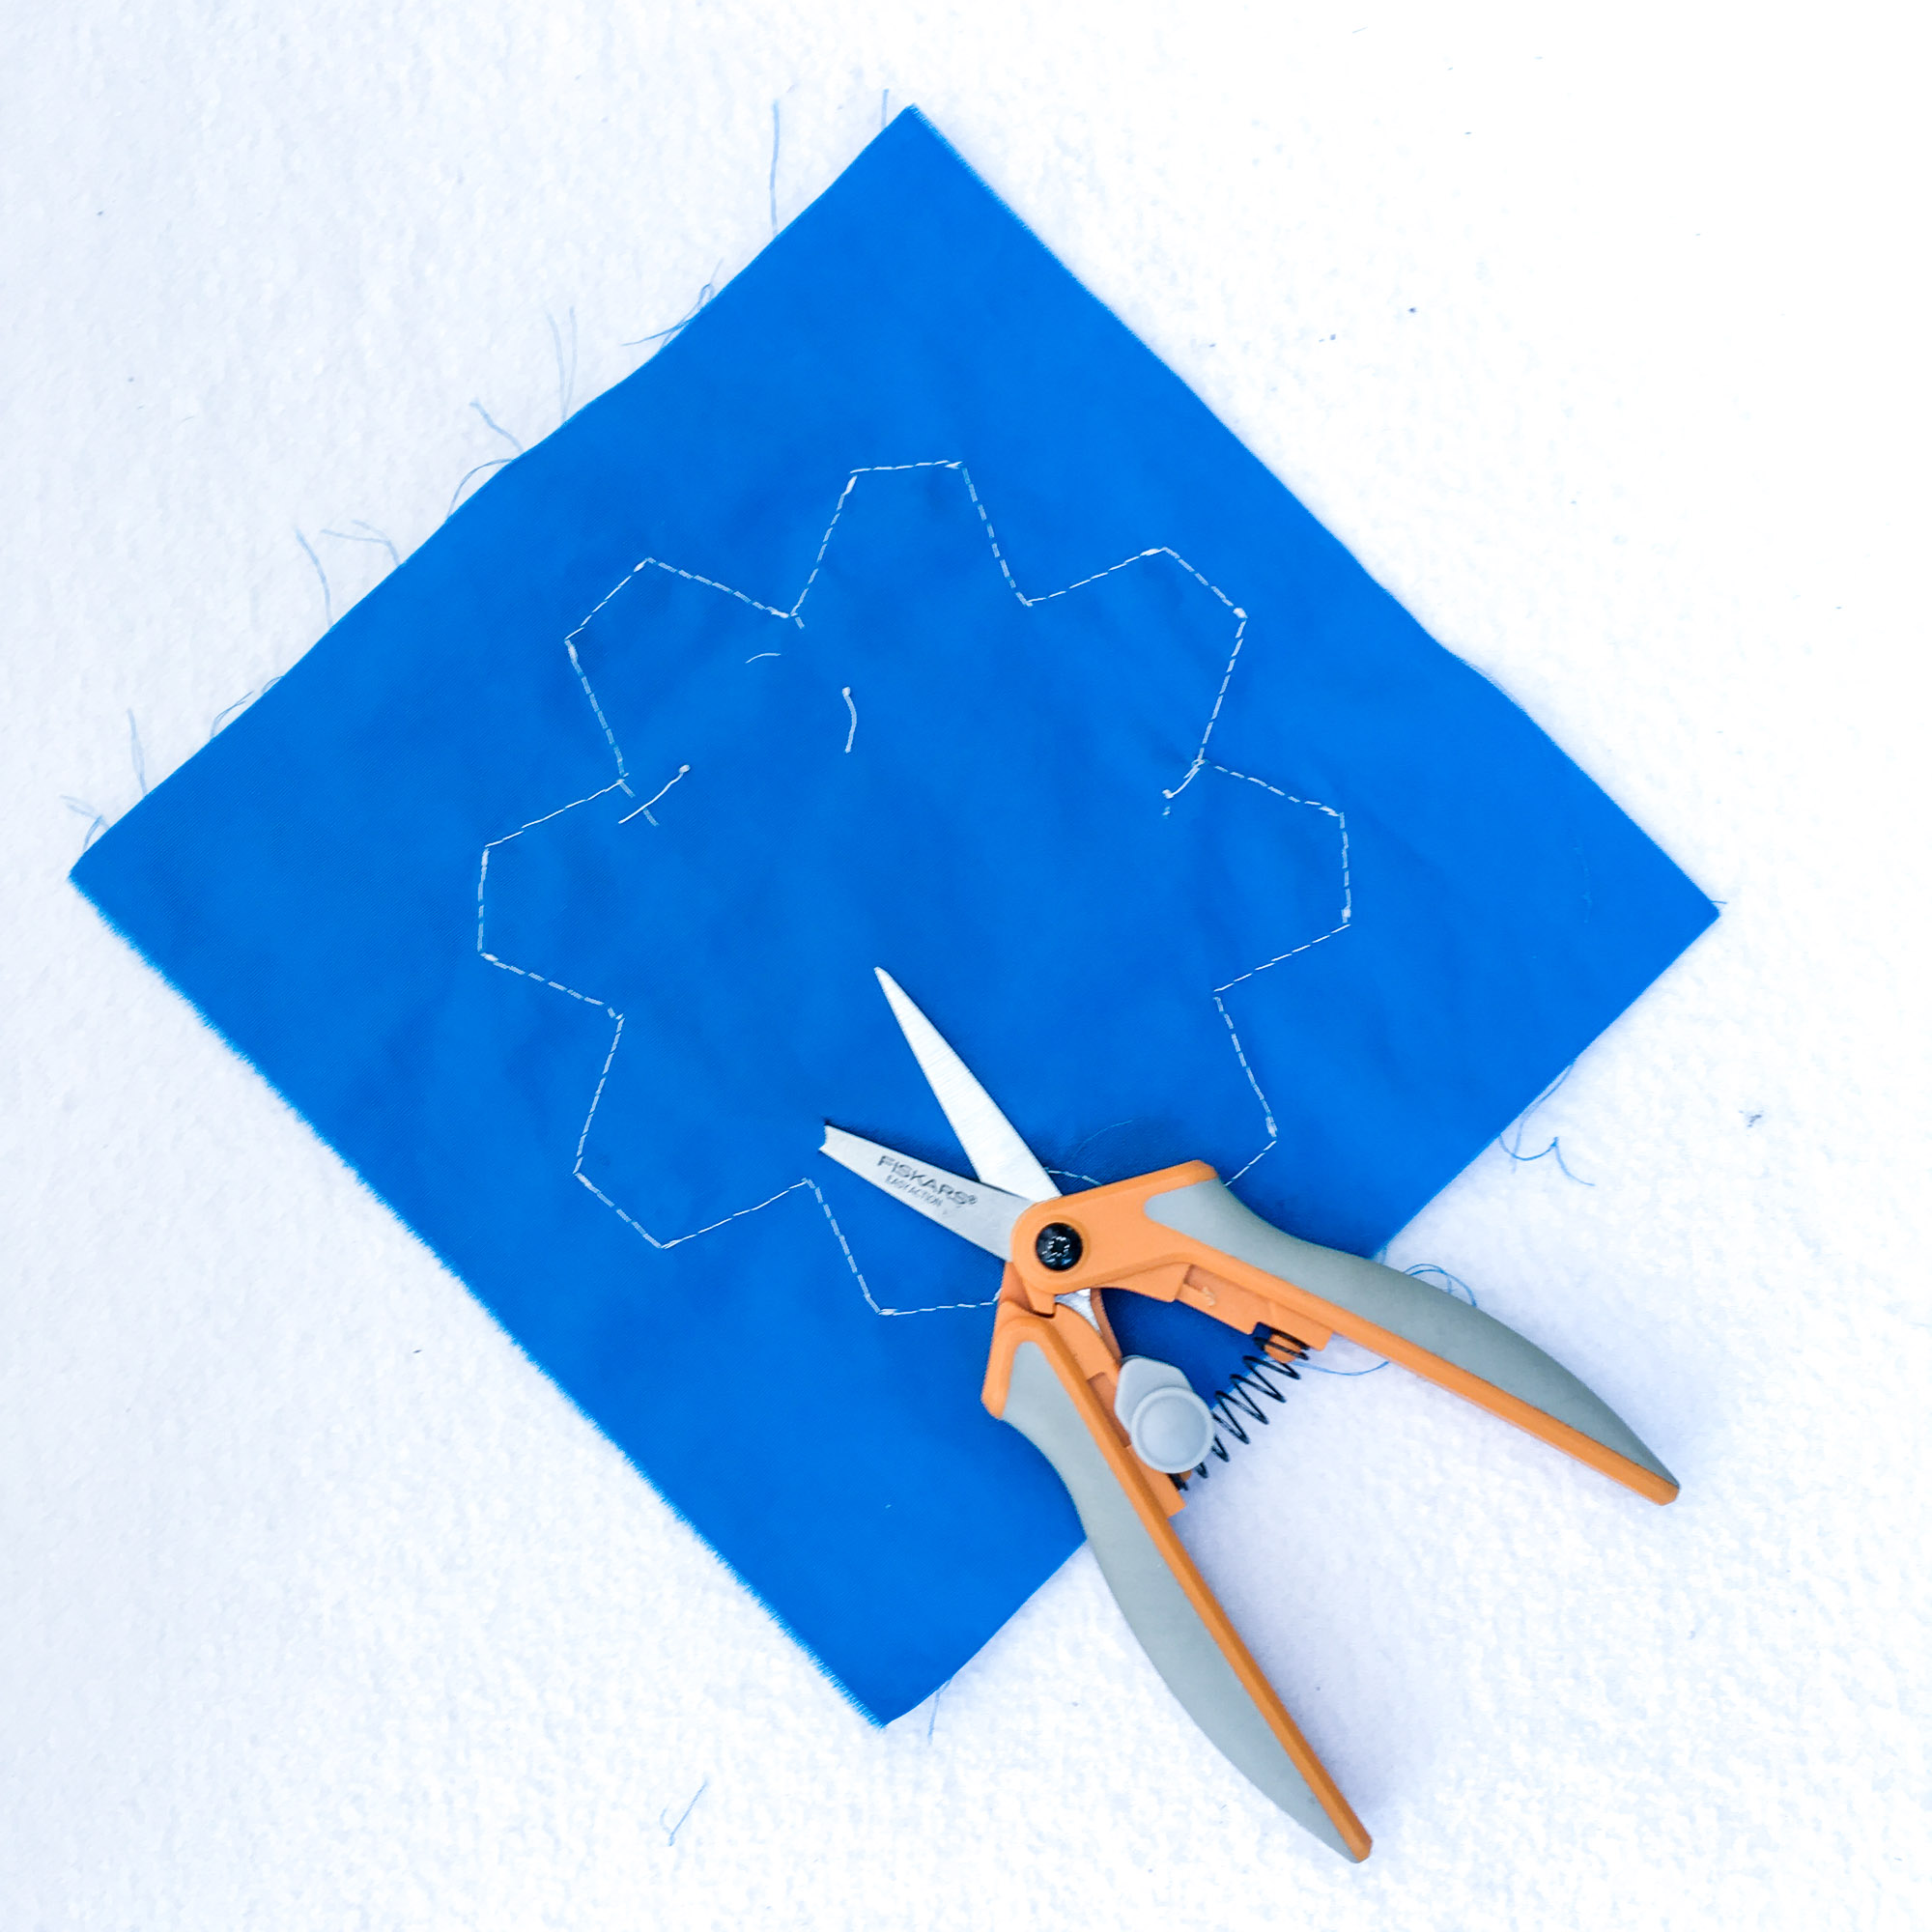
2. Using VERY sharp tip scissors (I love these Fiskars), take a small clip into the background fabric about a 1/4” INSIDE the stitching line. Of note, taking this initial clip near one of the inner points can be a bit easier to manage than inside a petal.
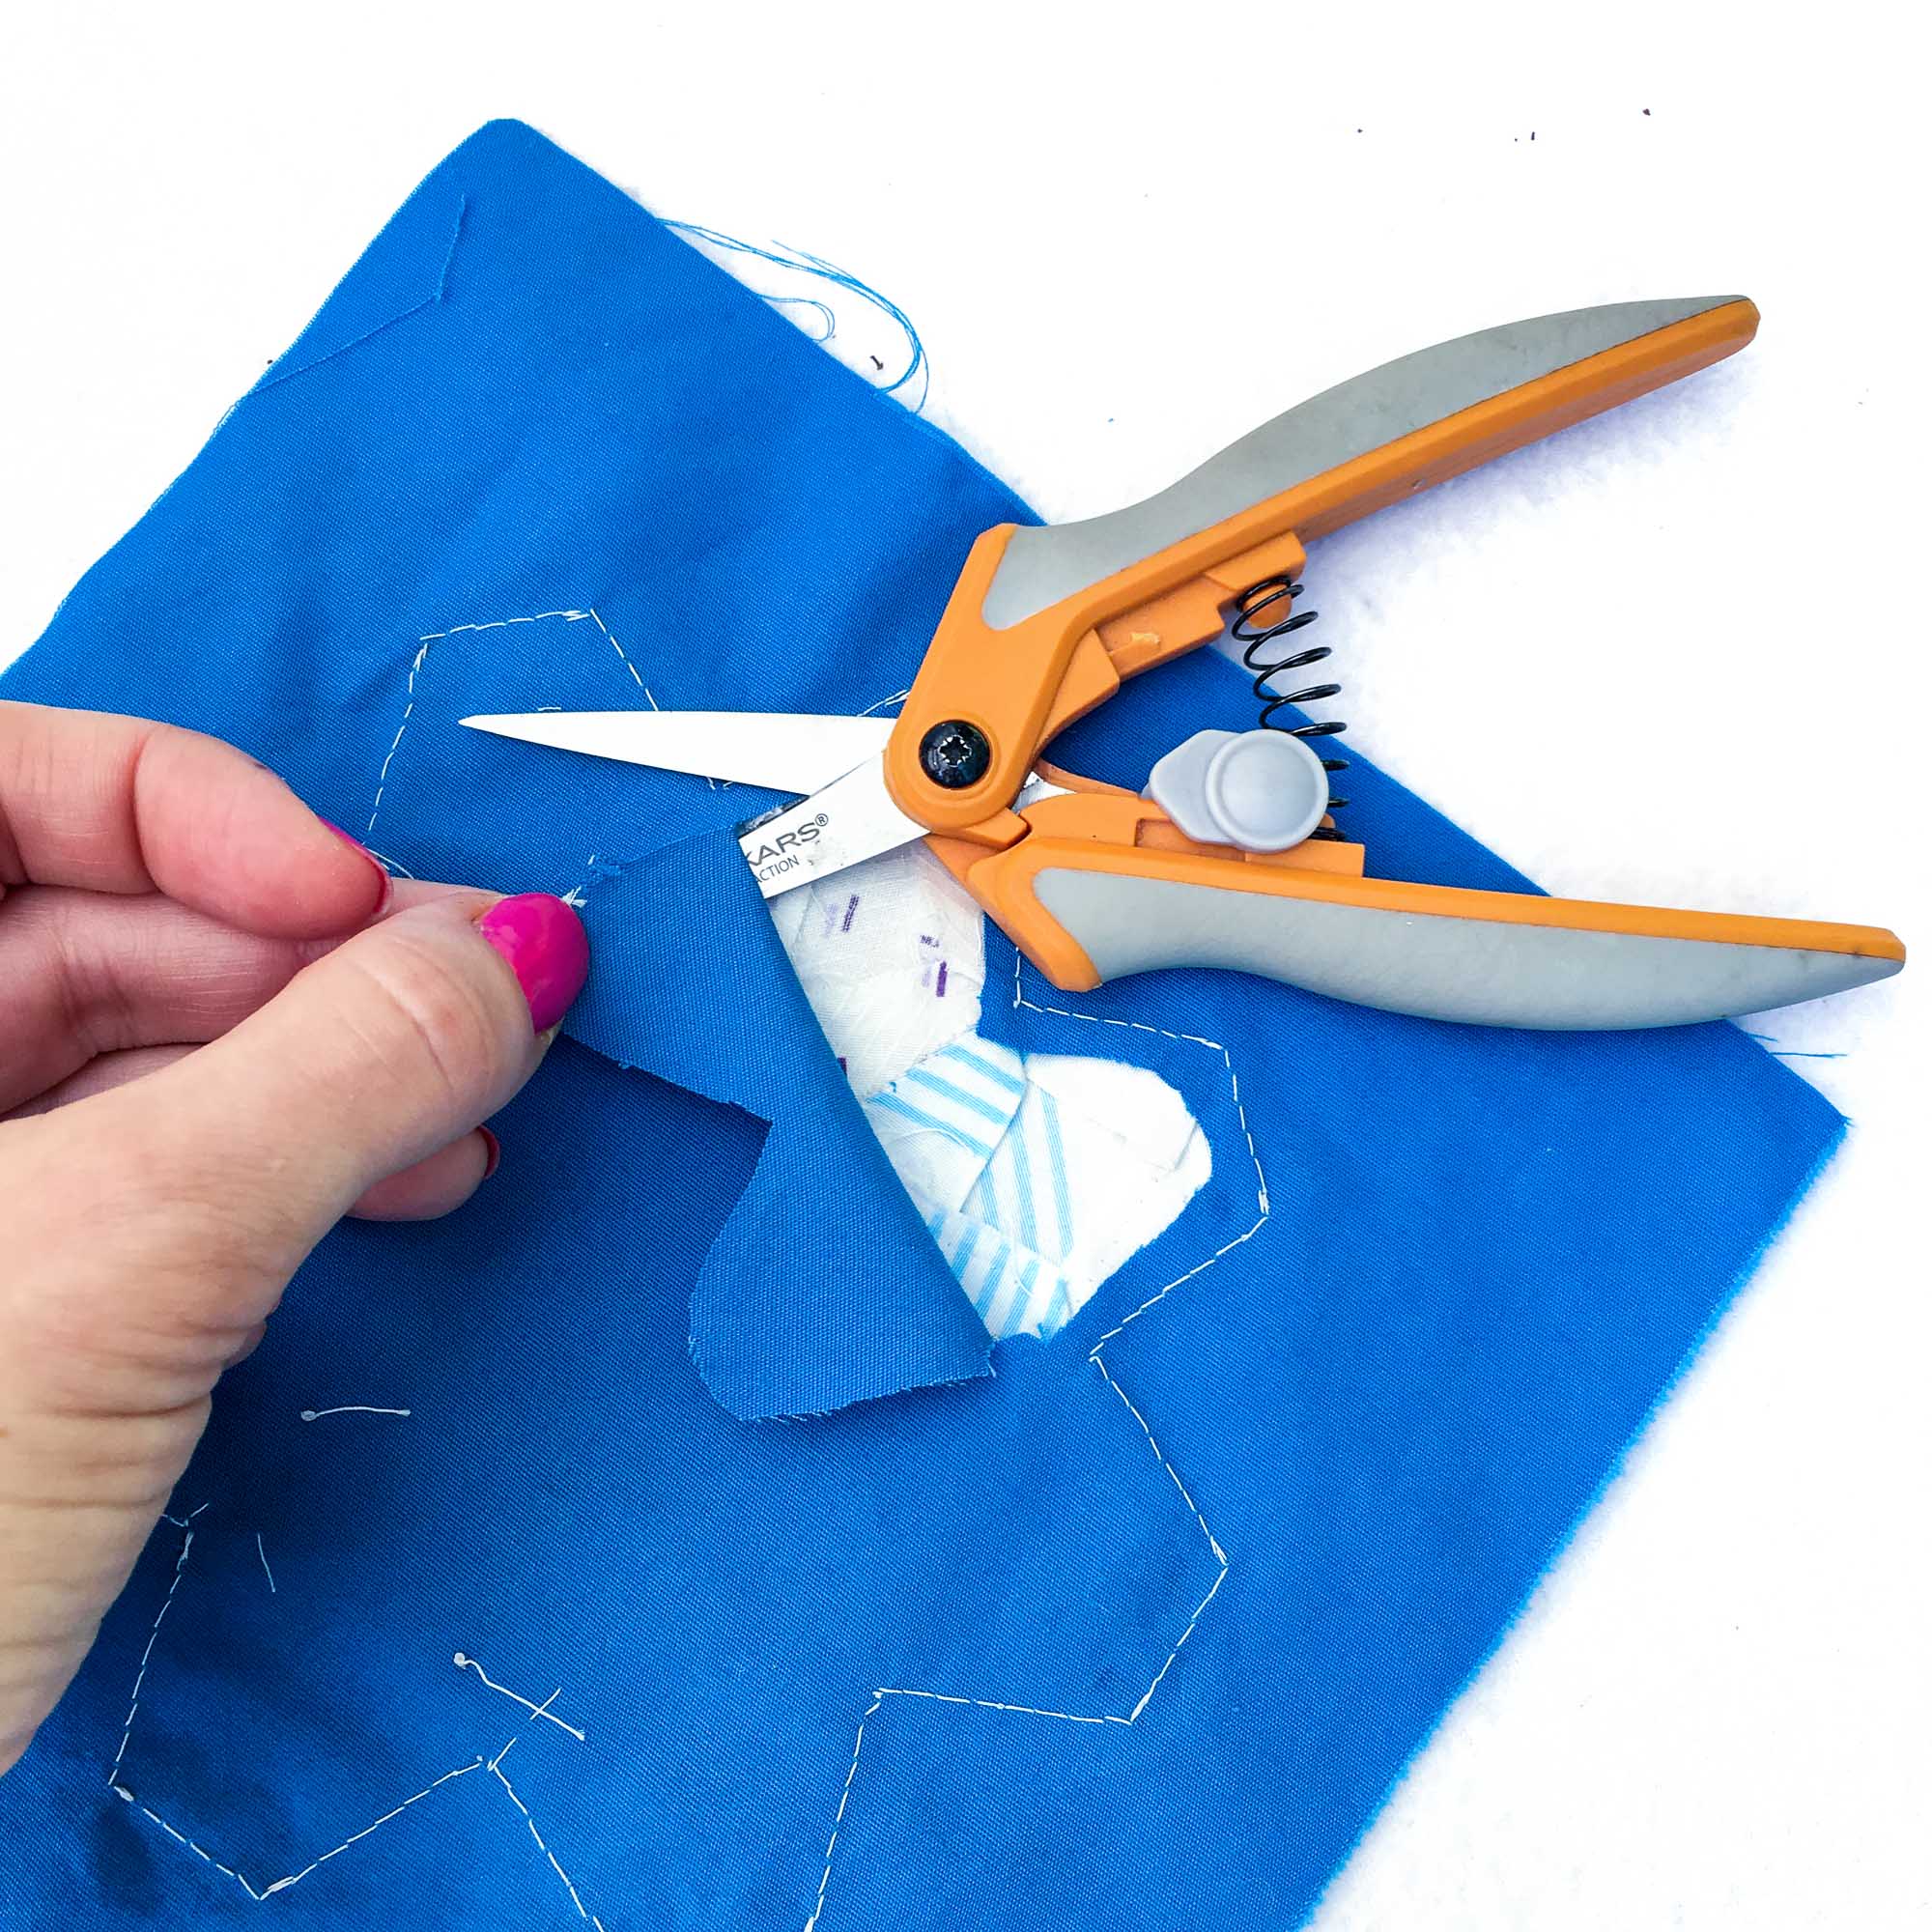
3. Insert the scissors into the clipped hole and VERY carefully begin cutting the background fabric ONLY, following the stitching line about a 1/4” away from it. (I usually just eyeball it, but feel free to draw a line to follow if you prefer.) Take EXTREME care not to knick or catch the EPP fabric.
4. Once you have trimmed all along the stitching line, remove the background fabric to reveal the back of the EPP block.
5. Flip it over, and give it a quick press.
You're off to applique!
I hope that you’ve found this EPP applique tutorial helpful. Are you ready to give EPP applique a try? If so, you can have my FREE printable hexagon templates in 2″, 1″, 3/4″, and 1/2″ sizes delivered straight to your inbox to get started right away! (Be sure to check out one of my favorite EPP Hacks for cutting out these templates in this post!)
If you’re new around here, be sure to check out my other beginner friendly tutorials here. You can also subscribe to the blog at the bottom of this page and you’ll be the first to know when a new tutorial goes live! In the meantime, happy stitching!
Don’t forget that you can always pin this post to Pinterest for easy access later.
This post may contain affiliate links. You can read my affiliate disclosure here.
Hello! I’m so sorry for the delay in response. It turns out there was a notification glitch we just corrected… As for putting batting under your appliqué, I have not personally done this, but I have quilted around appliquéd motifs right along the edge of the appliqué and it does make it pop up quite nicely. Other than that, there is also a lovely product called “hexiform” that I have used in lieu of the traditional paper piece templates. It is a stiffer batting of sorts that you can cut out and baste just like paper pieces and then stitch your EPP together as you normally would. You leave the hexiform inside (so you don’t even use papers and no pulling pieces required) and the result is a bit more of a raised EPP appliqué motif. I’m not sure if that helps, but I wish you all the best! Feel free to email me at stitchingthejourney@gmail.com with any other questions if I can help. Happy stitching!


3 Responses
Thanks so much! Interested in EPP!
Thanks for the info. I want to use batting under the EPP applique so it stands out more. Any tips on how to do this by machine or by hand?
Hello! I’m so sorry for the delay in response. It turns out there was a notification glitch we just corrected… As for putting batting under your appliqué, I have not personally done this, but I have quilted around appliquéd motifs right along the edge of the appliqué and it does make it pop up quite nicely. Other than that, there is also a lovely product called “hexiform” that I have used in lieu of the traditional paper piece templates. It is a stiffer batting of sorts that you can cut out and baste just like paper pieces and then stitch your EPP together as you normally would. You leave the hexiform inside (so you don’t even use papers and no pulling pieces required) and the result is a bit more of a raised EPP appliqué motif. I’m not sure if that helps, but I wish you all the best! Feel free to email me at stitchingthejourney@gmail.com with any other questions if I can help. Happy stitching!