All the Christmas Quilt Along: Round 1, The Christmas Star
Welcome to the All the Christmas Quilt Along (QAL)! This will be the headquarters for the duration of the QAL so you don’t have to search through your inbox to find the latest email.
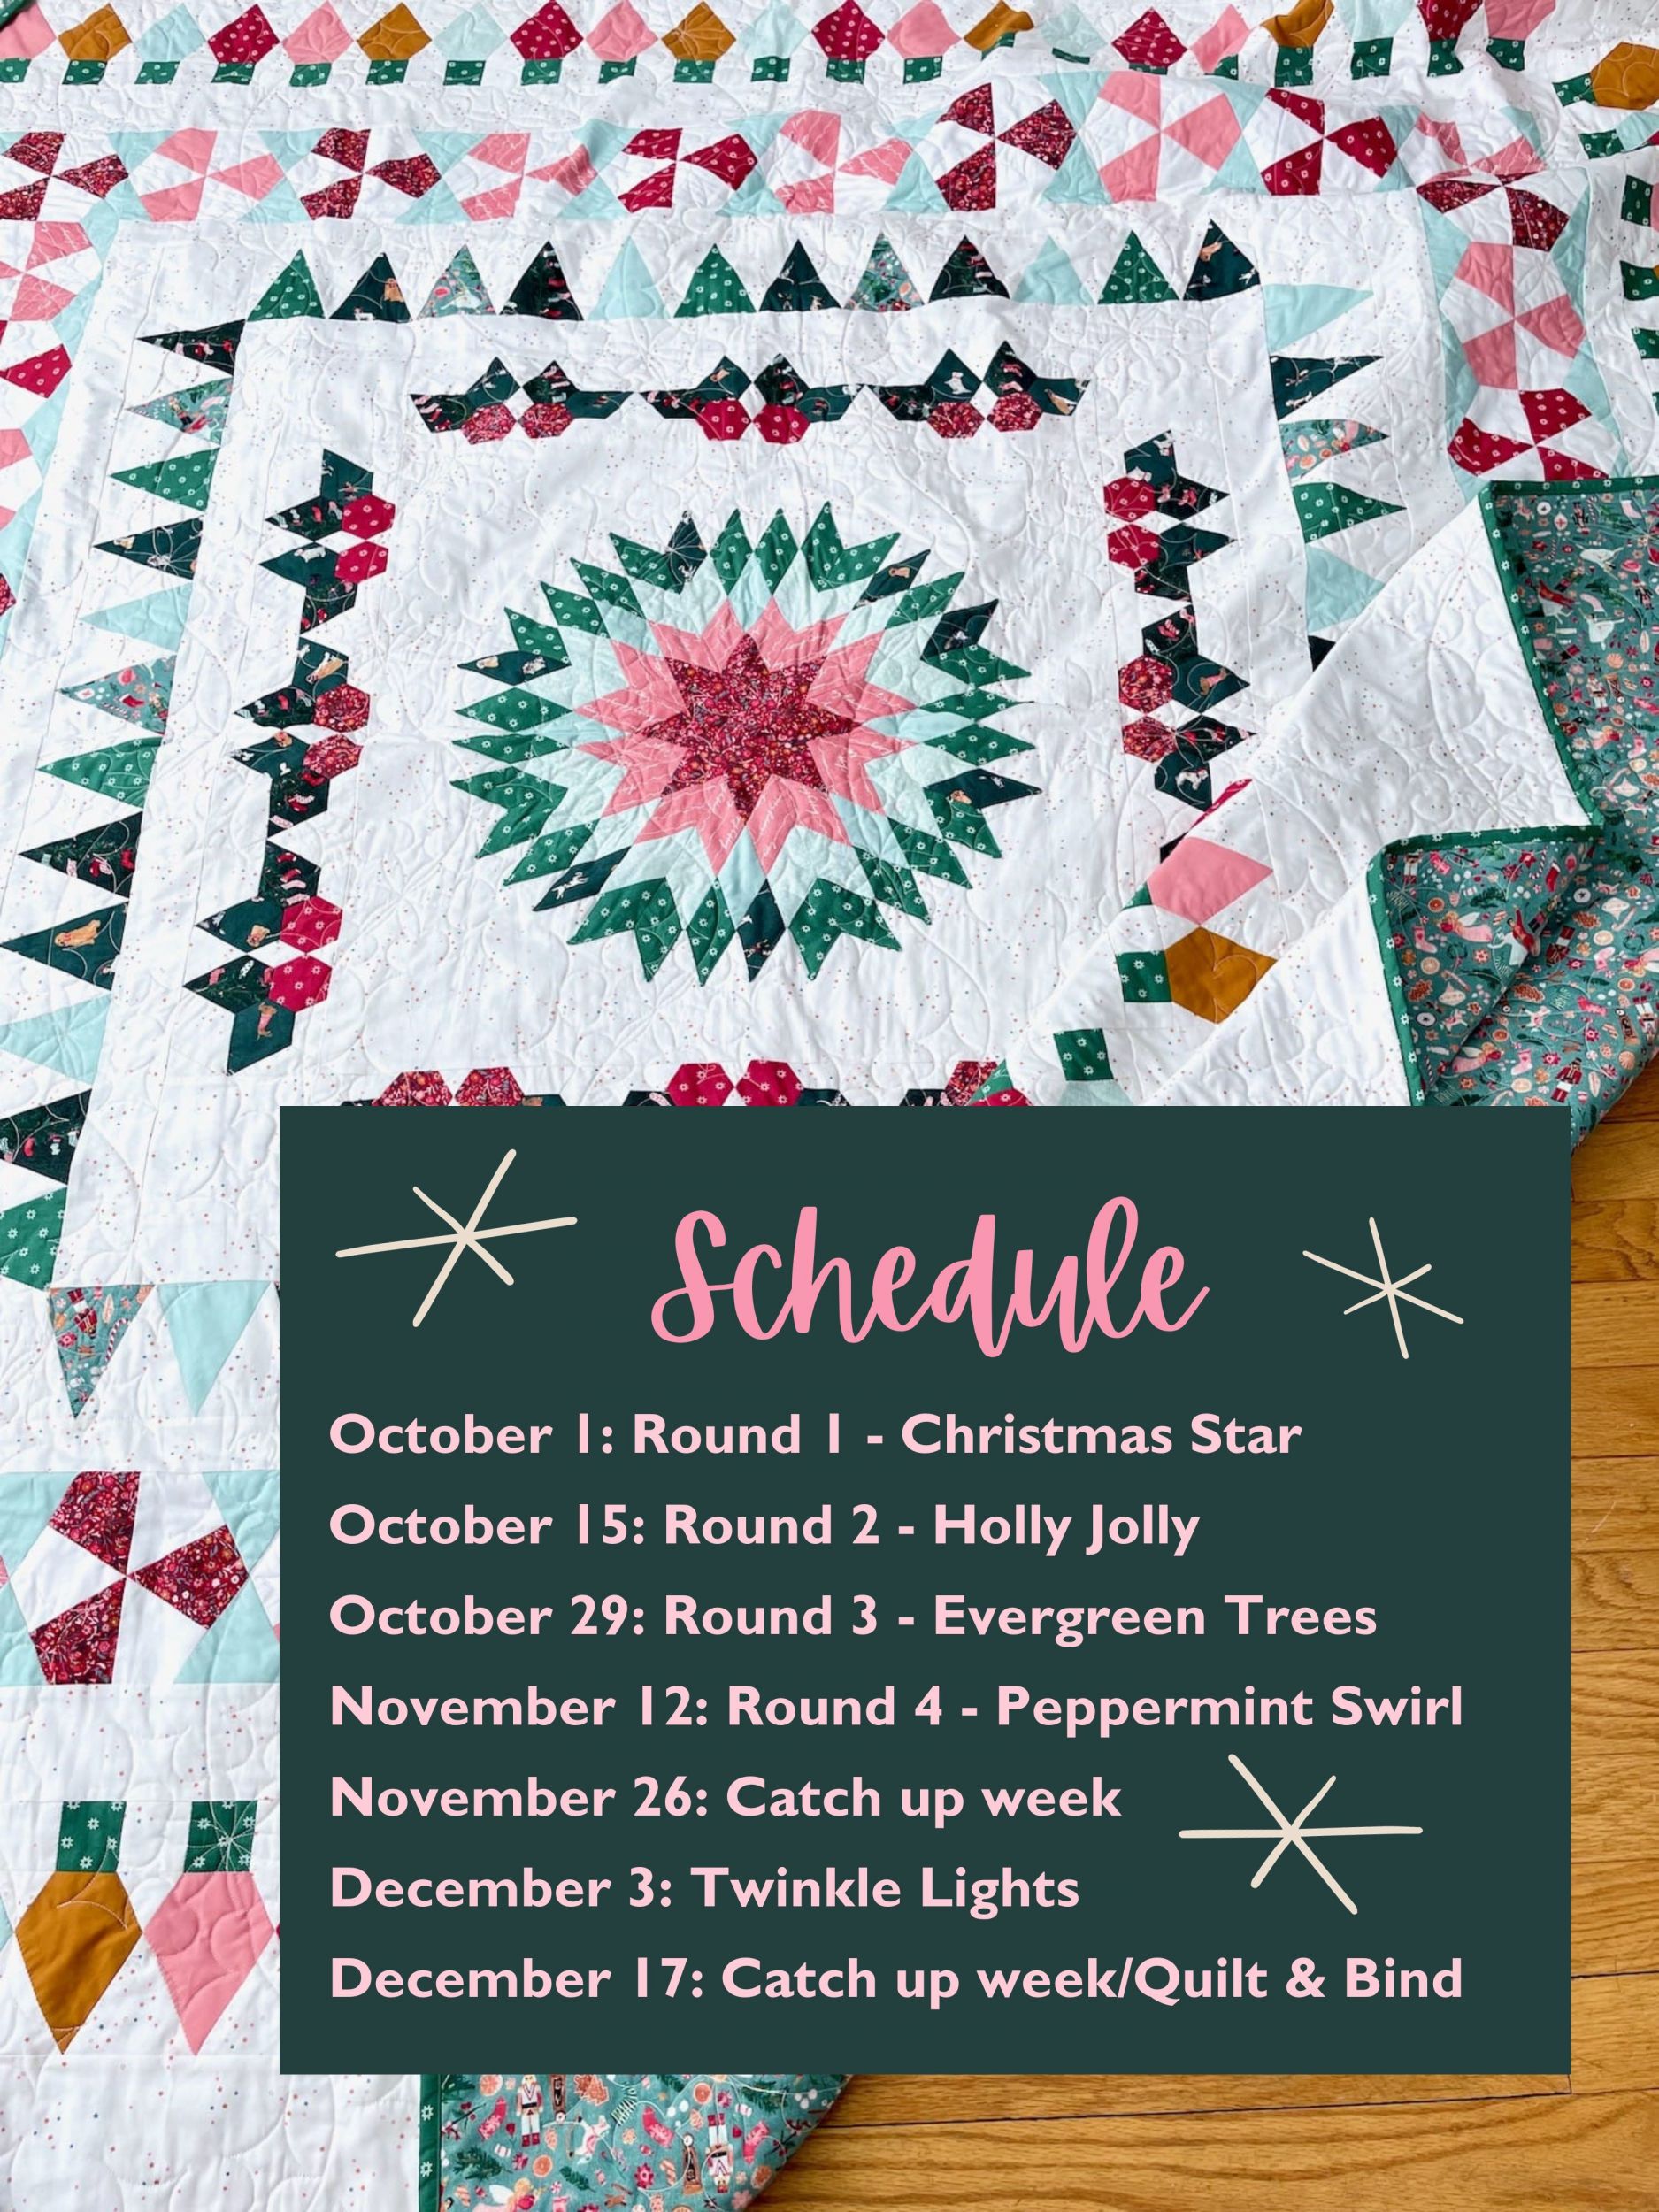
Before we jump in, let me just say how glad I am that you decided to join the “All the Christmas” Quilt Along! I hope that as we stitch together that you find time to pause, rest, and settle in to a rhythm of slow stitching. Below, you’ll find a suggested QAL schedule, in the event you’d like to utilize the gentle pace to make a Christmas quilt in time for Christmas.
(However, I feel like I should also say that I’m historically bad at QALs so if at any time the pace doesn’t suit you, feel free to go faster, slower, or abandon ship at any time. This quilt is meant for you to enjoy. Period.)
That being said, as we kick things off, I wanted to share a few things to help you get started so you feel confident diving in whenever you’re ready!
Grab what you need from the shop!
You can find the PDF pattern, English paper pieces kit, and acrylic templates in the shop! And, as a bonus, when you add any one of those items to your cart, you’ll be prompted with a little discount if you purchase another item at the same time. More for less? Sign me up.
I’ll go out on a limb and guess that you might have some long hoarded holiday fabric sitting on your shelf just begging to be made into a quilt. No? Just me? Well, if not (or even if so!), we’ve got you covered!
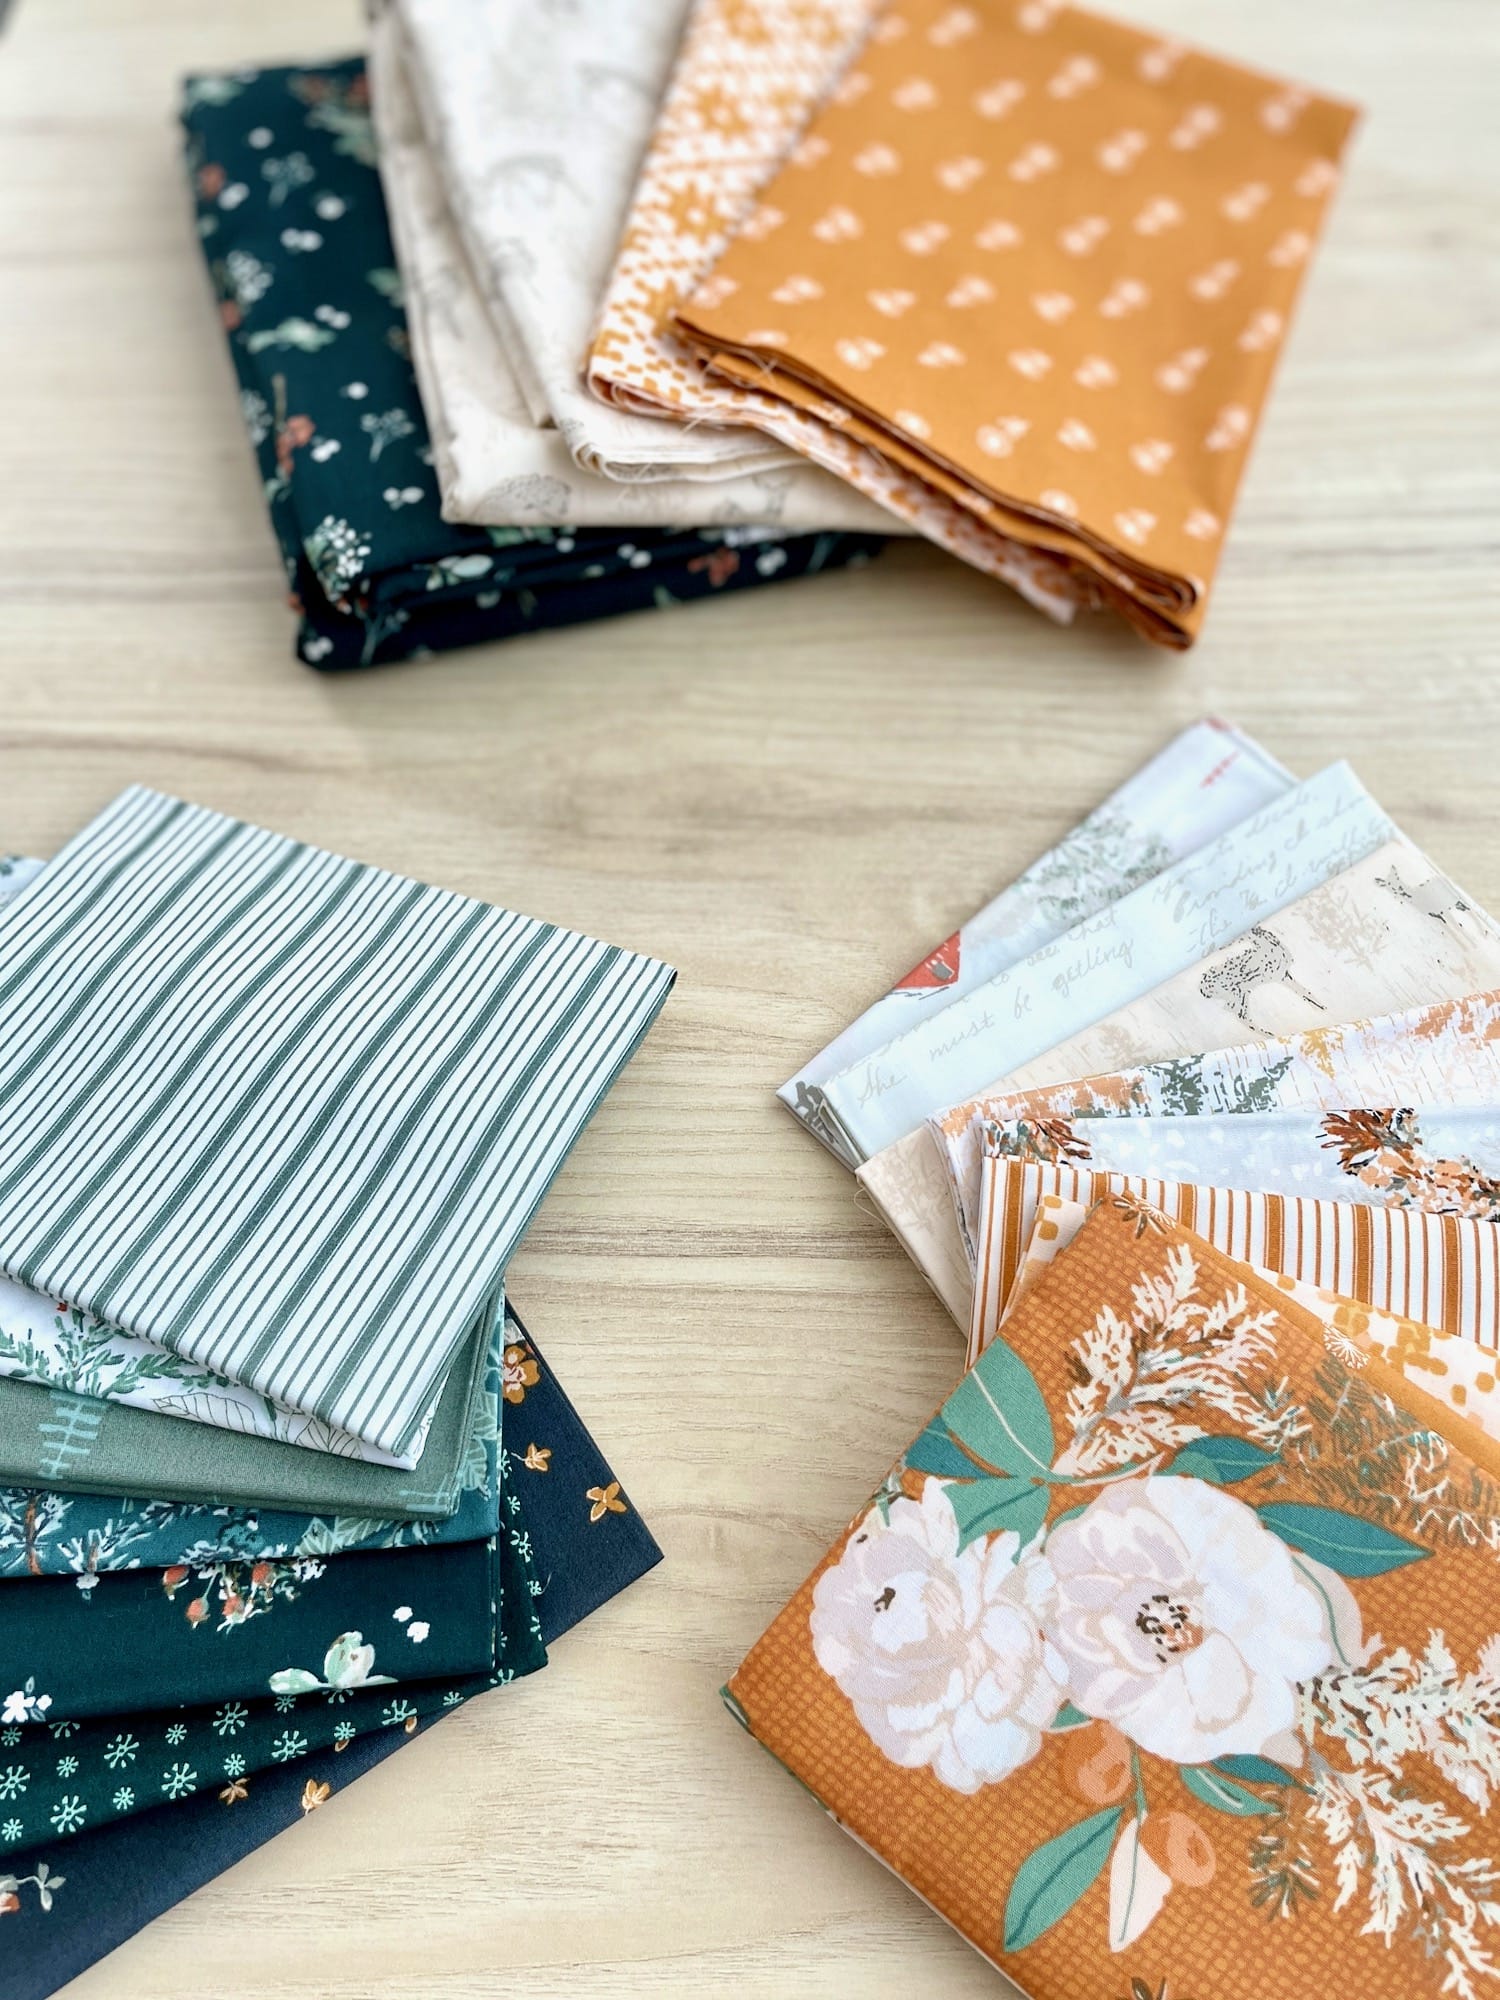
I’ve collaborated with Heather from Pearls and Clovers, the sweetest little online fabric shop. She put together some stunning fabric bundles just for you! They’re equally beautiful though vastly different.
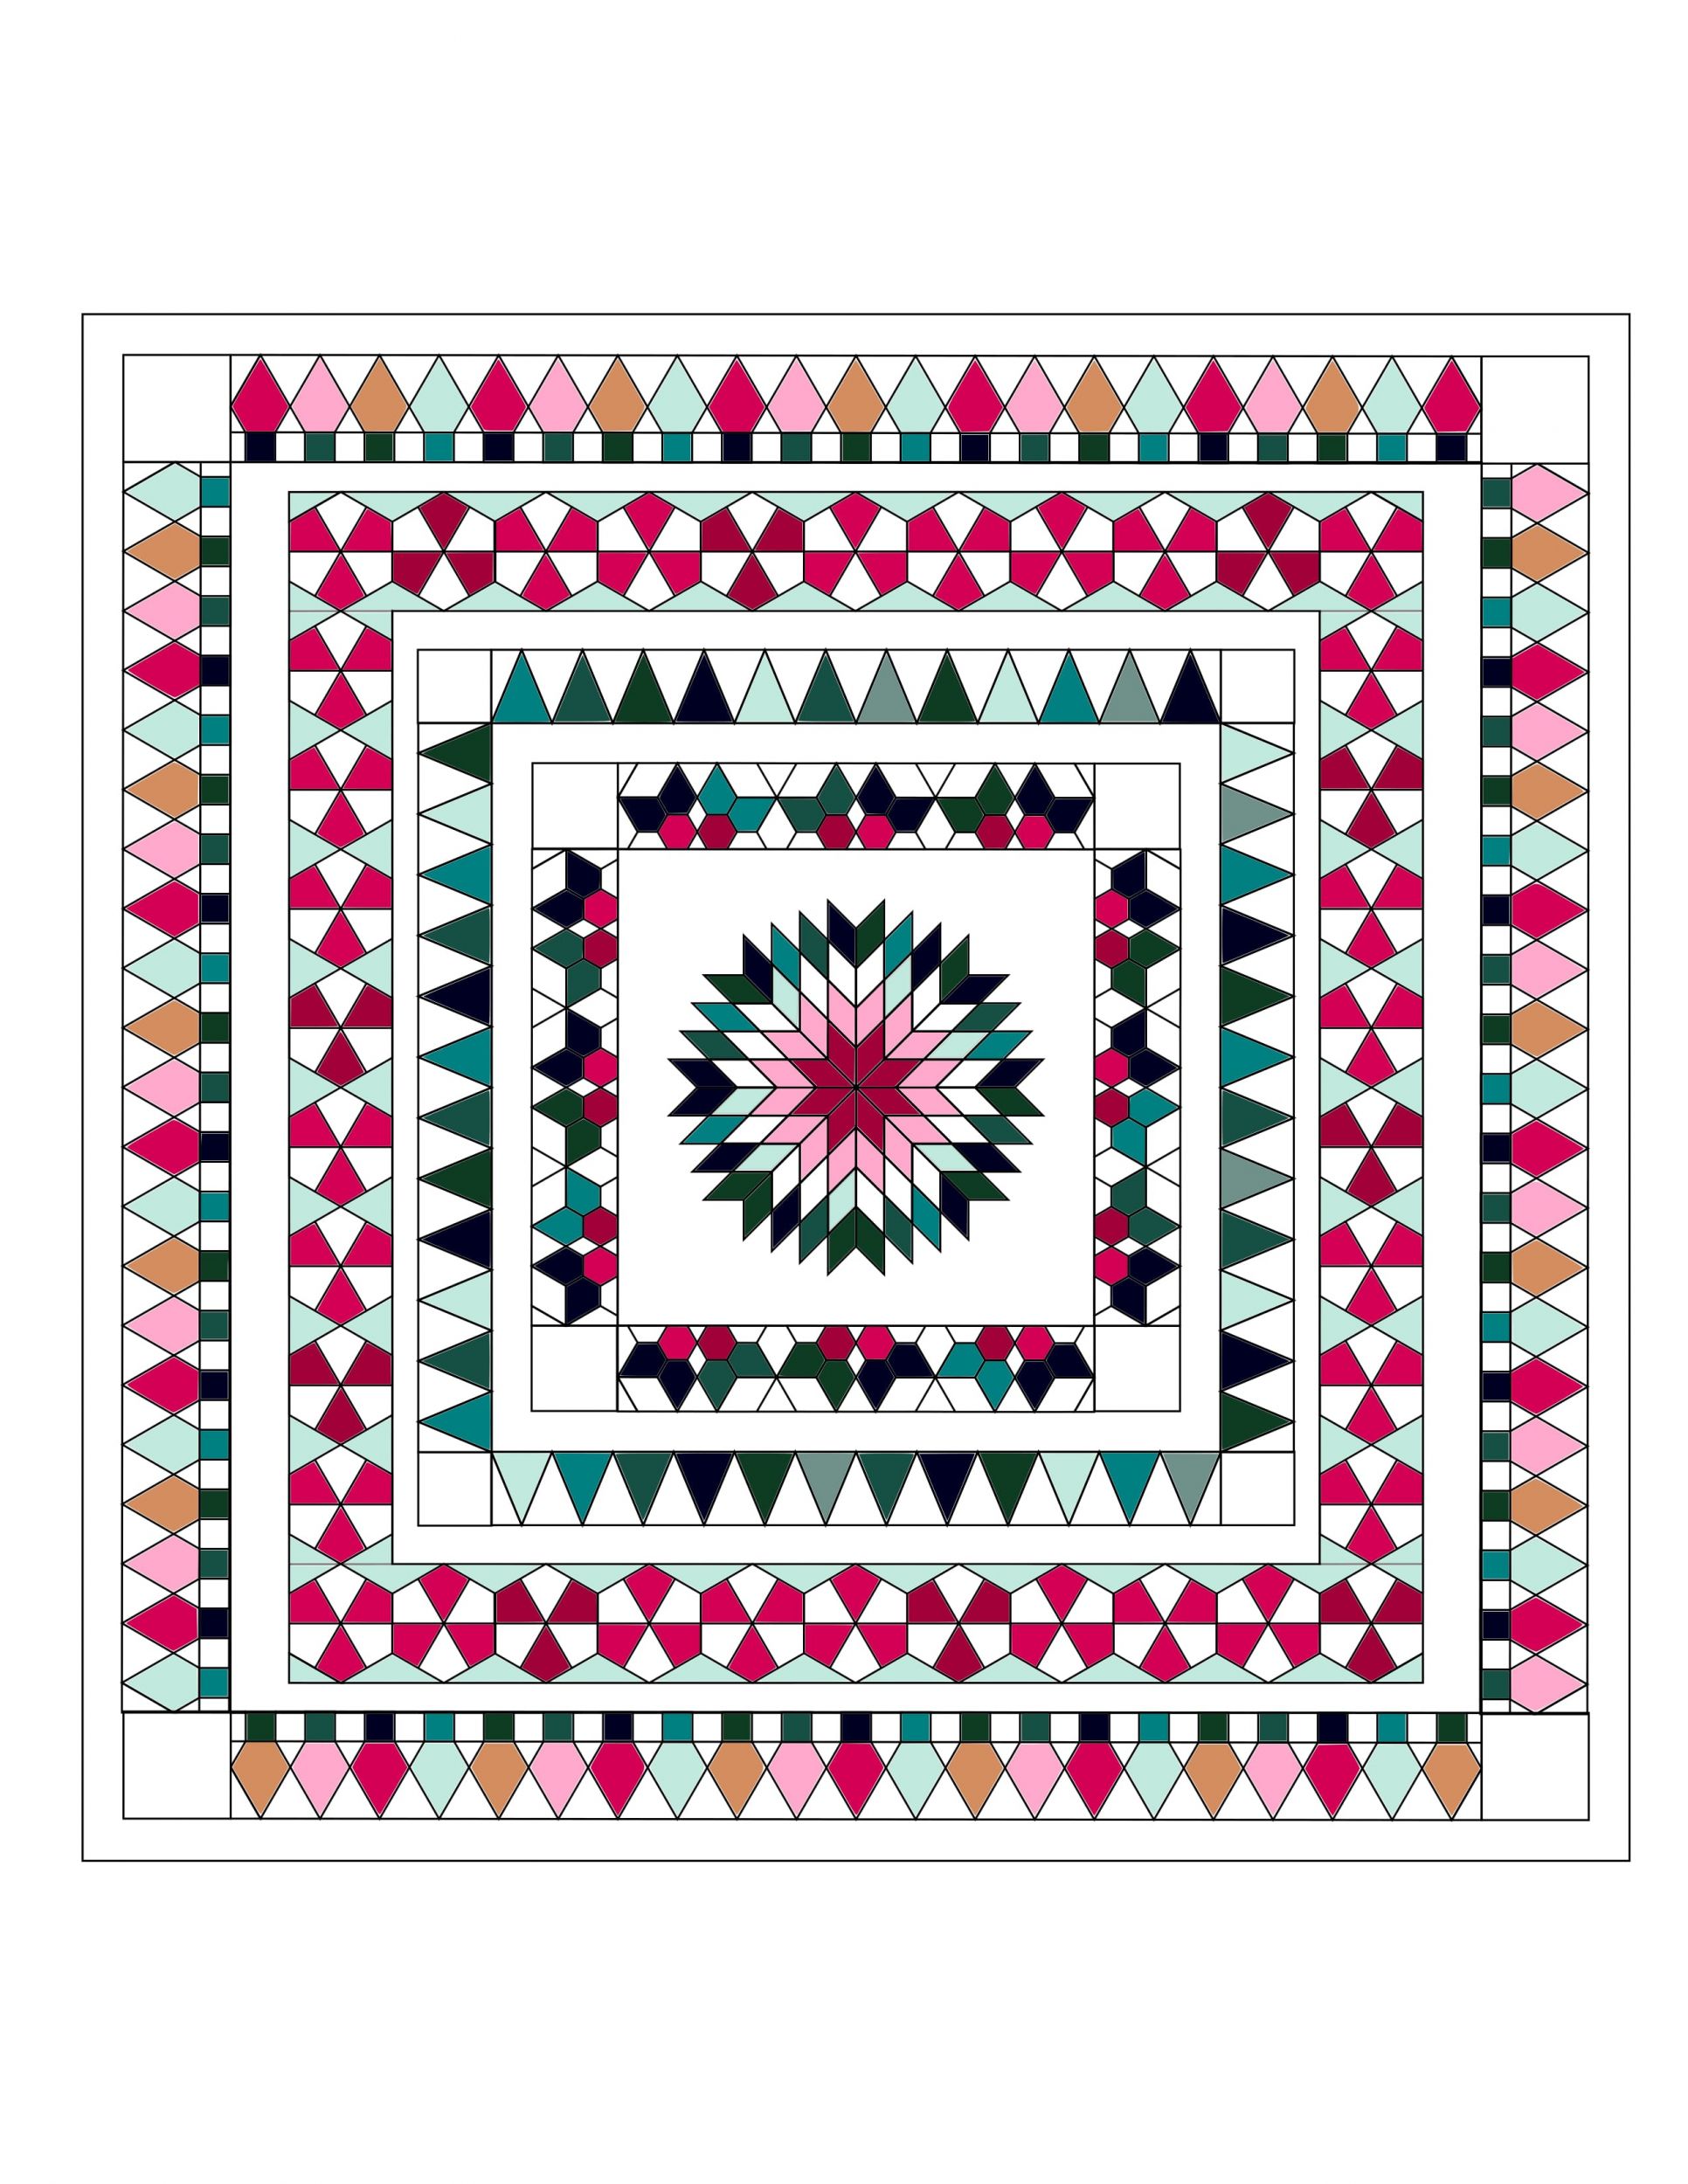
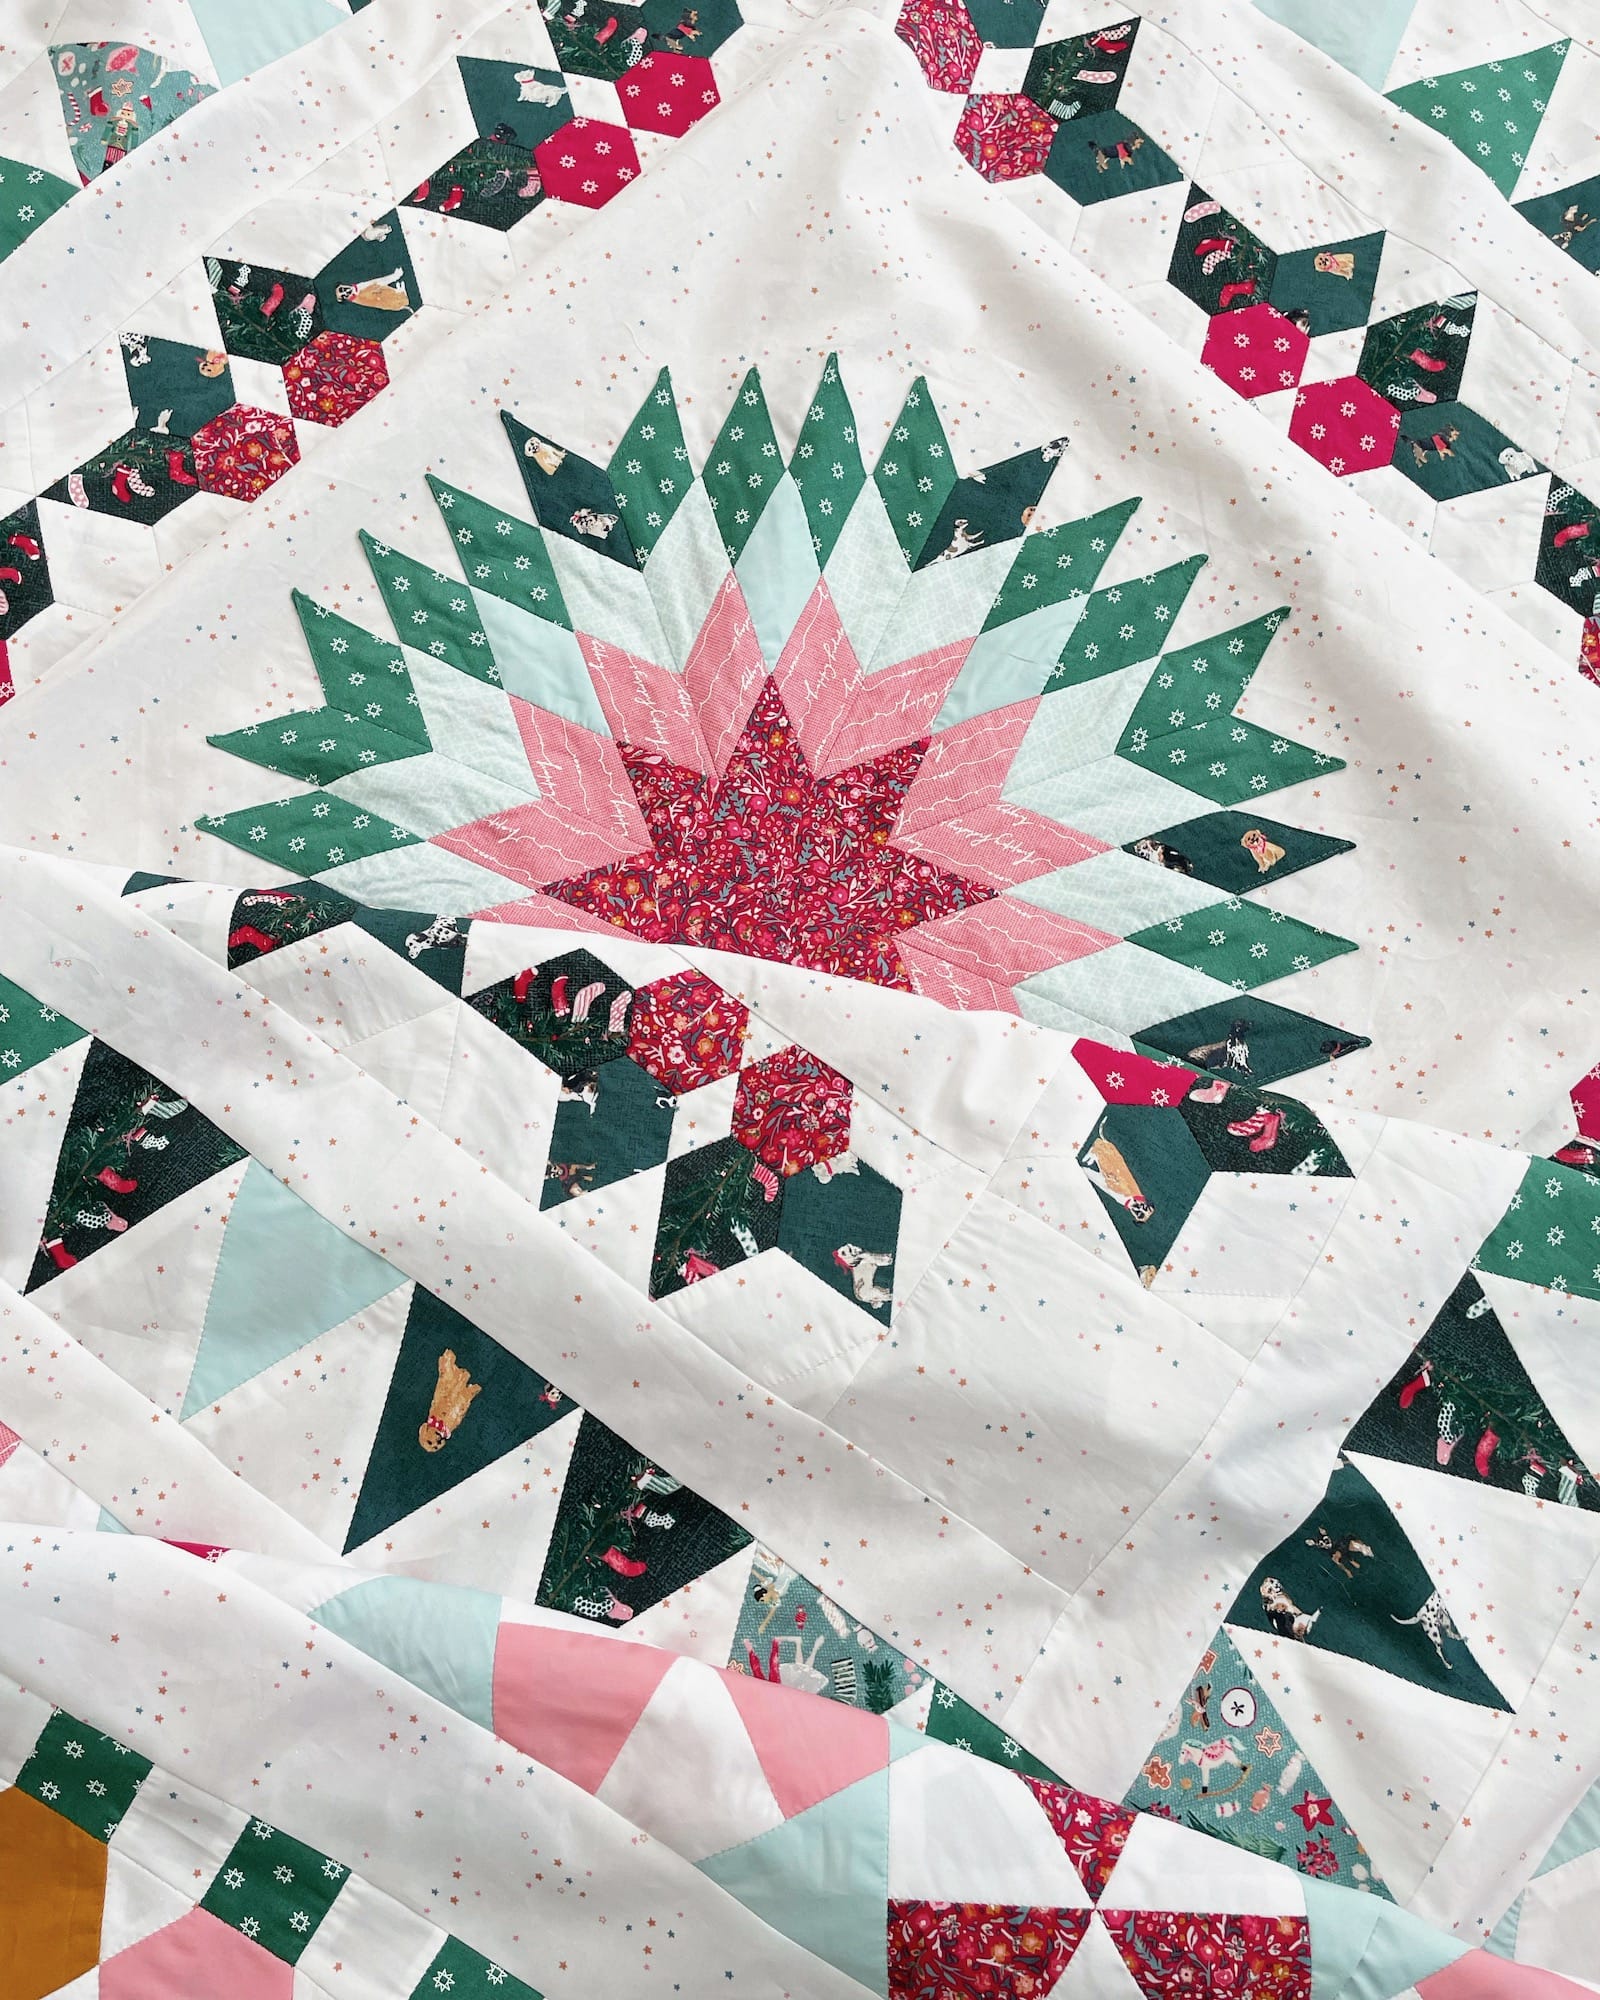
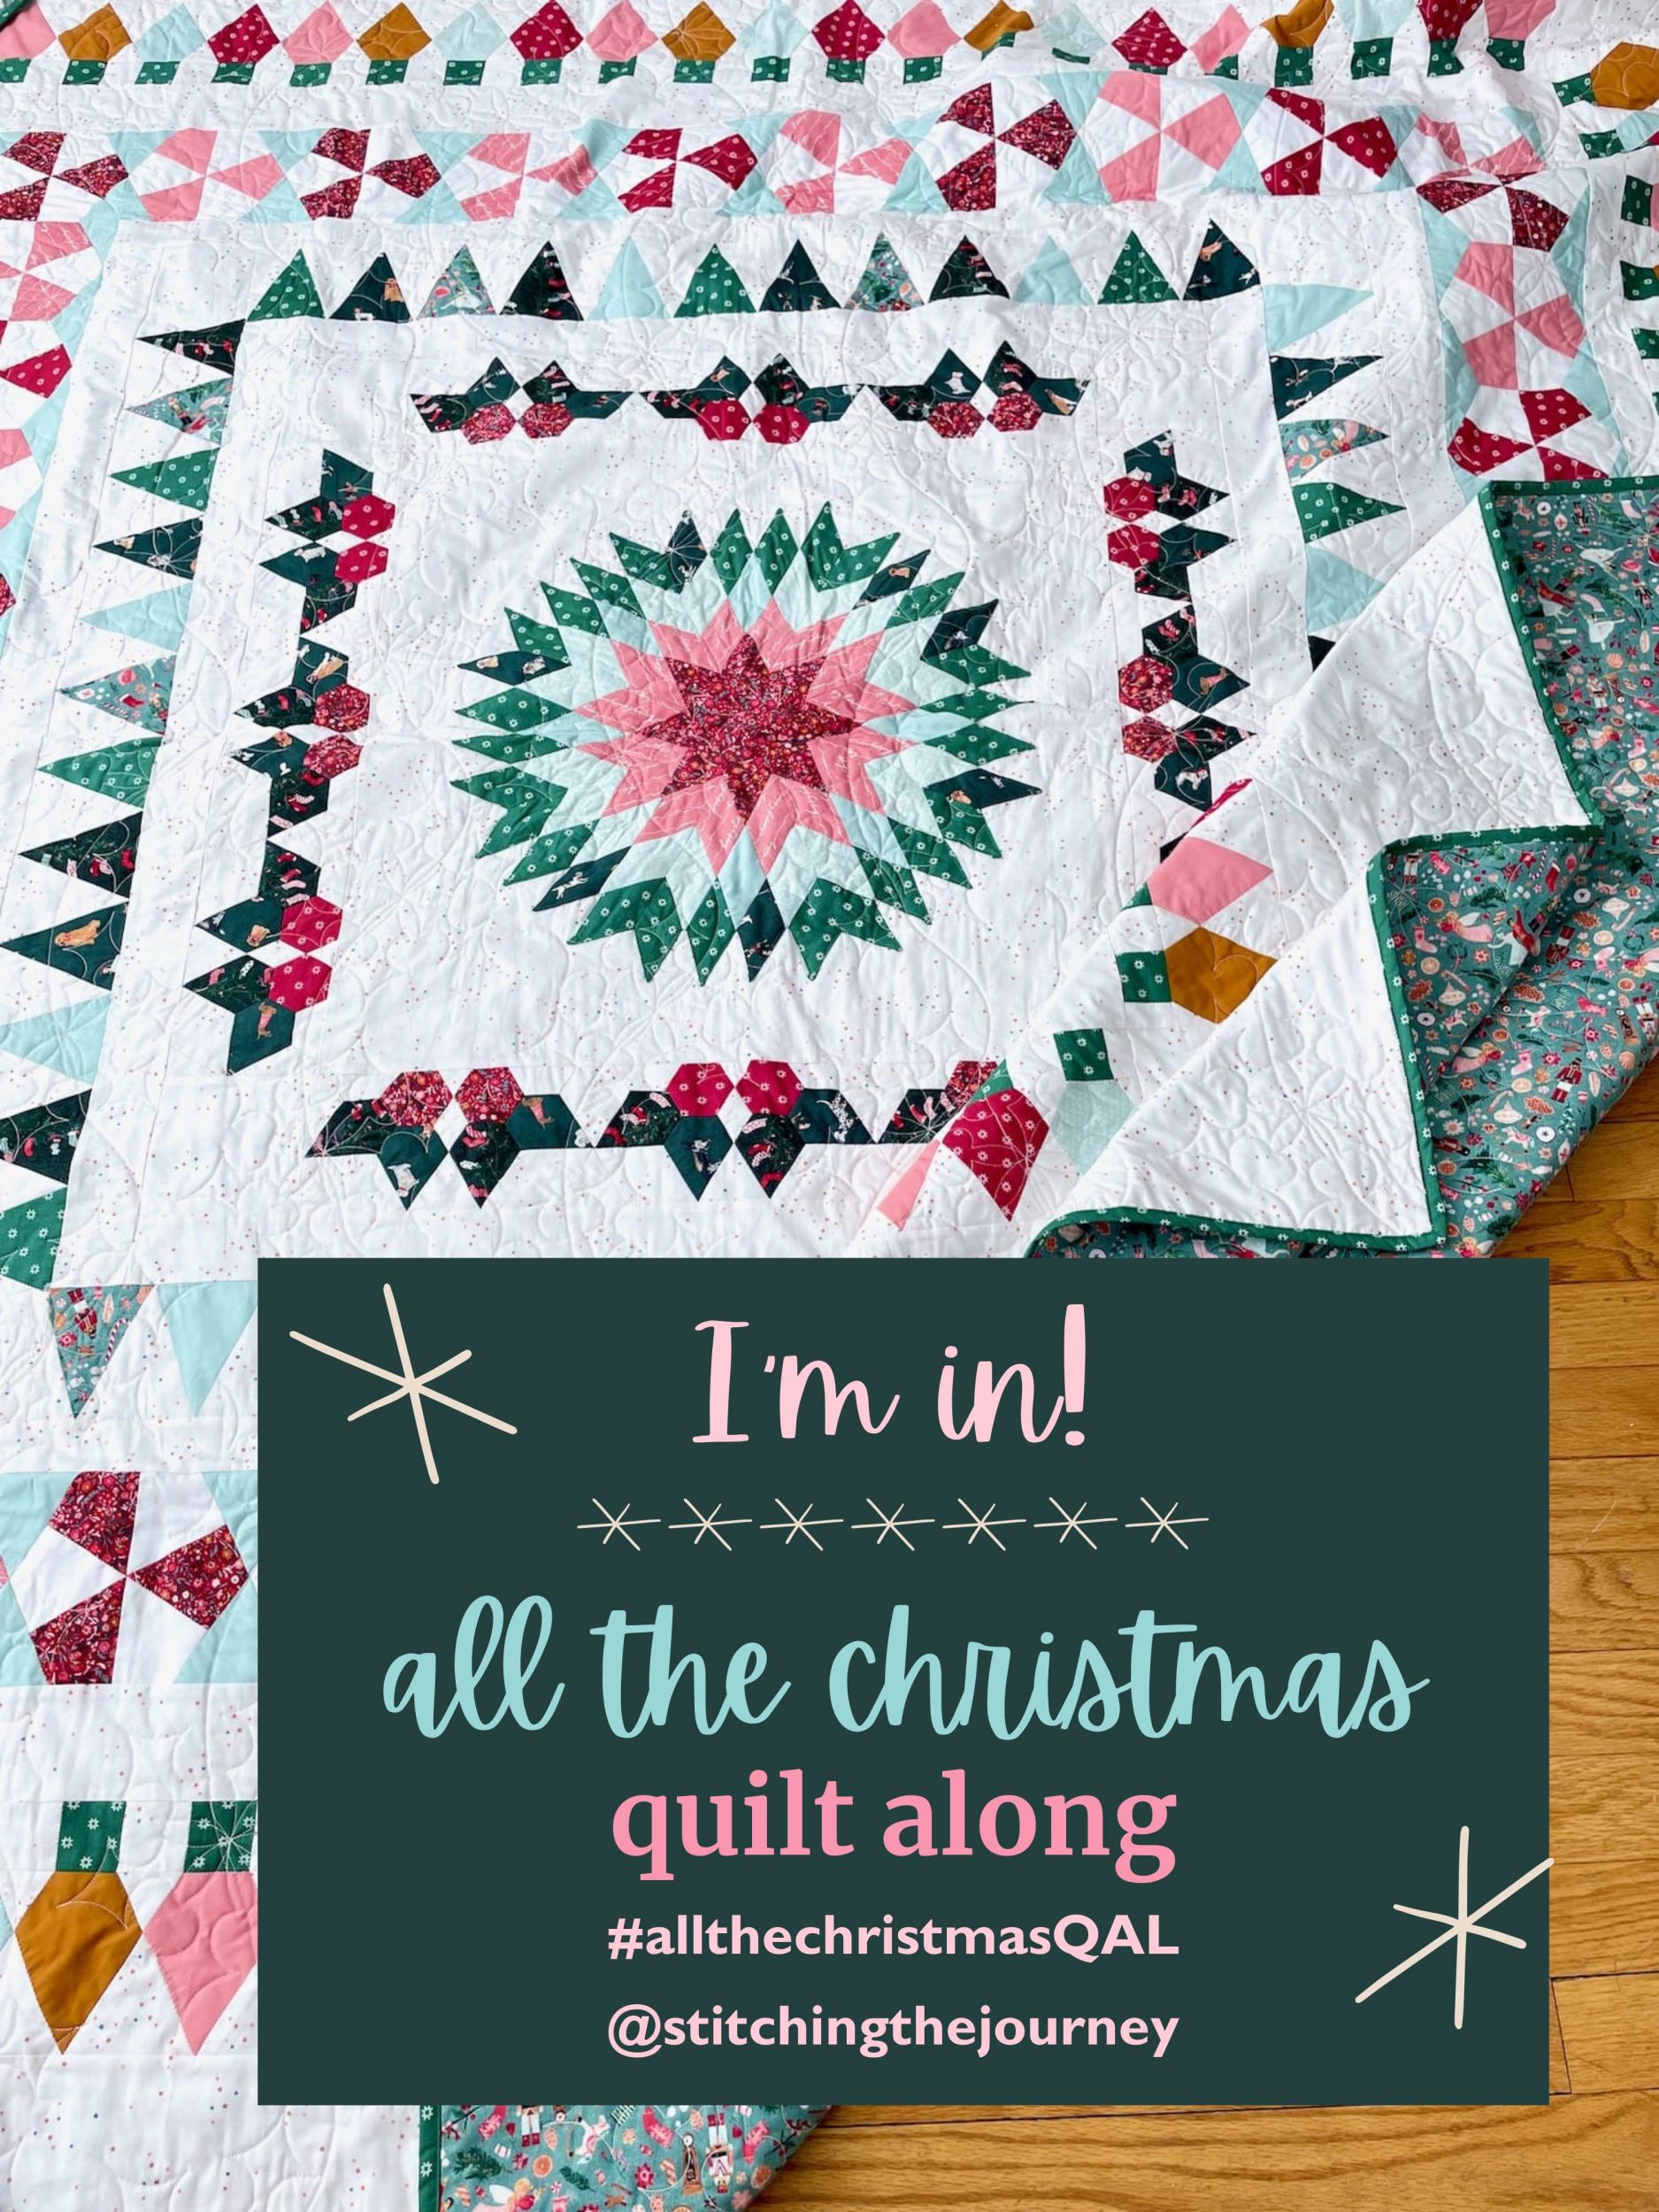
The first one features Wintertale by Katarina Roccella for Art Gallery Fabrics, like my cover quilt.
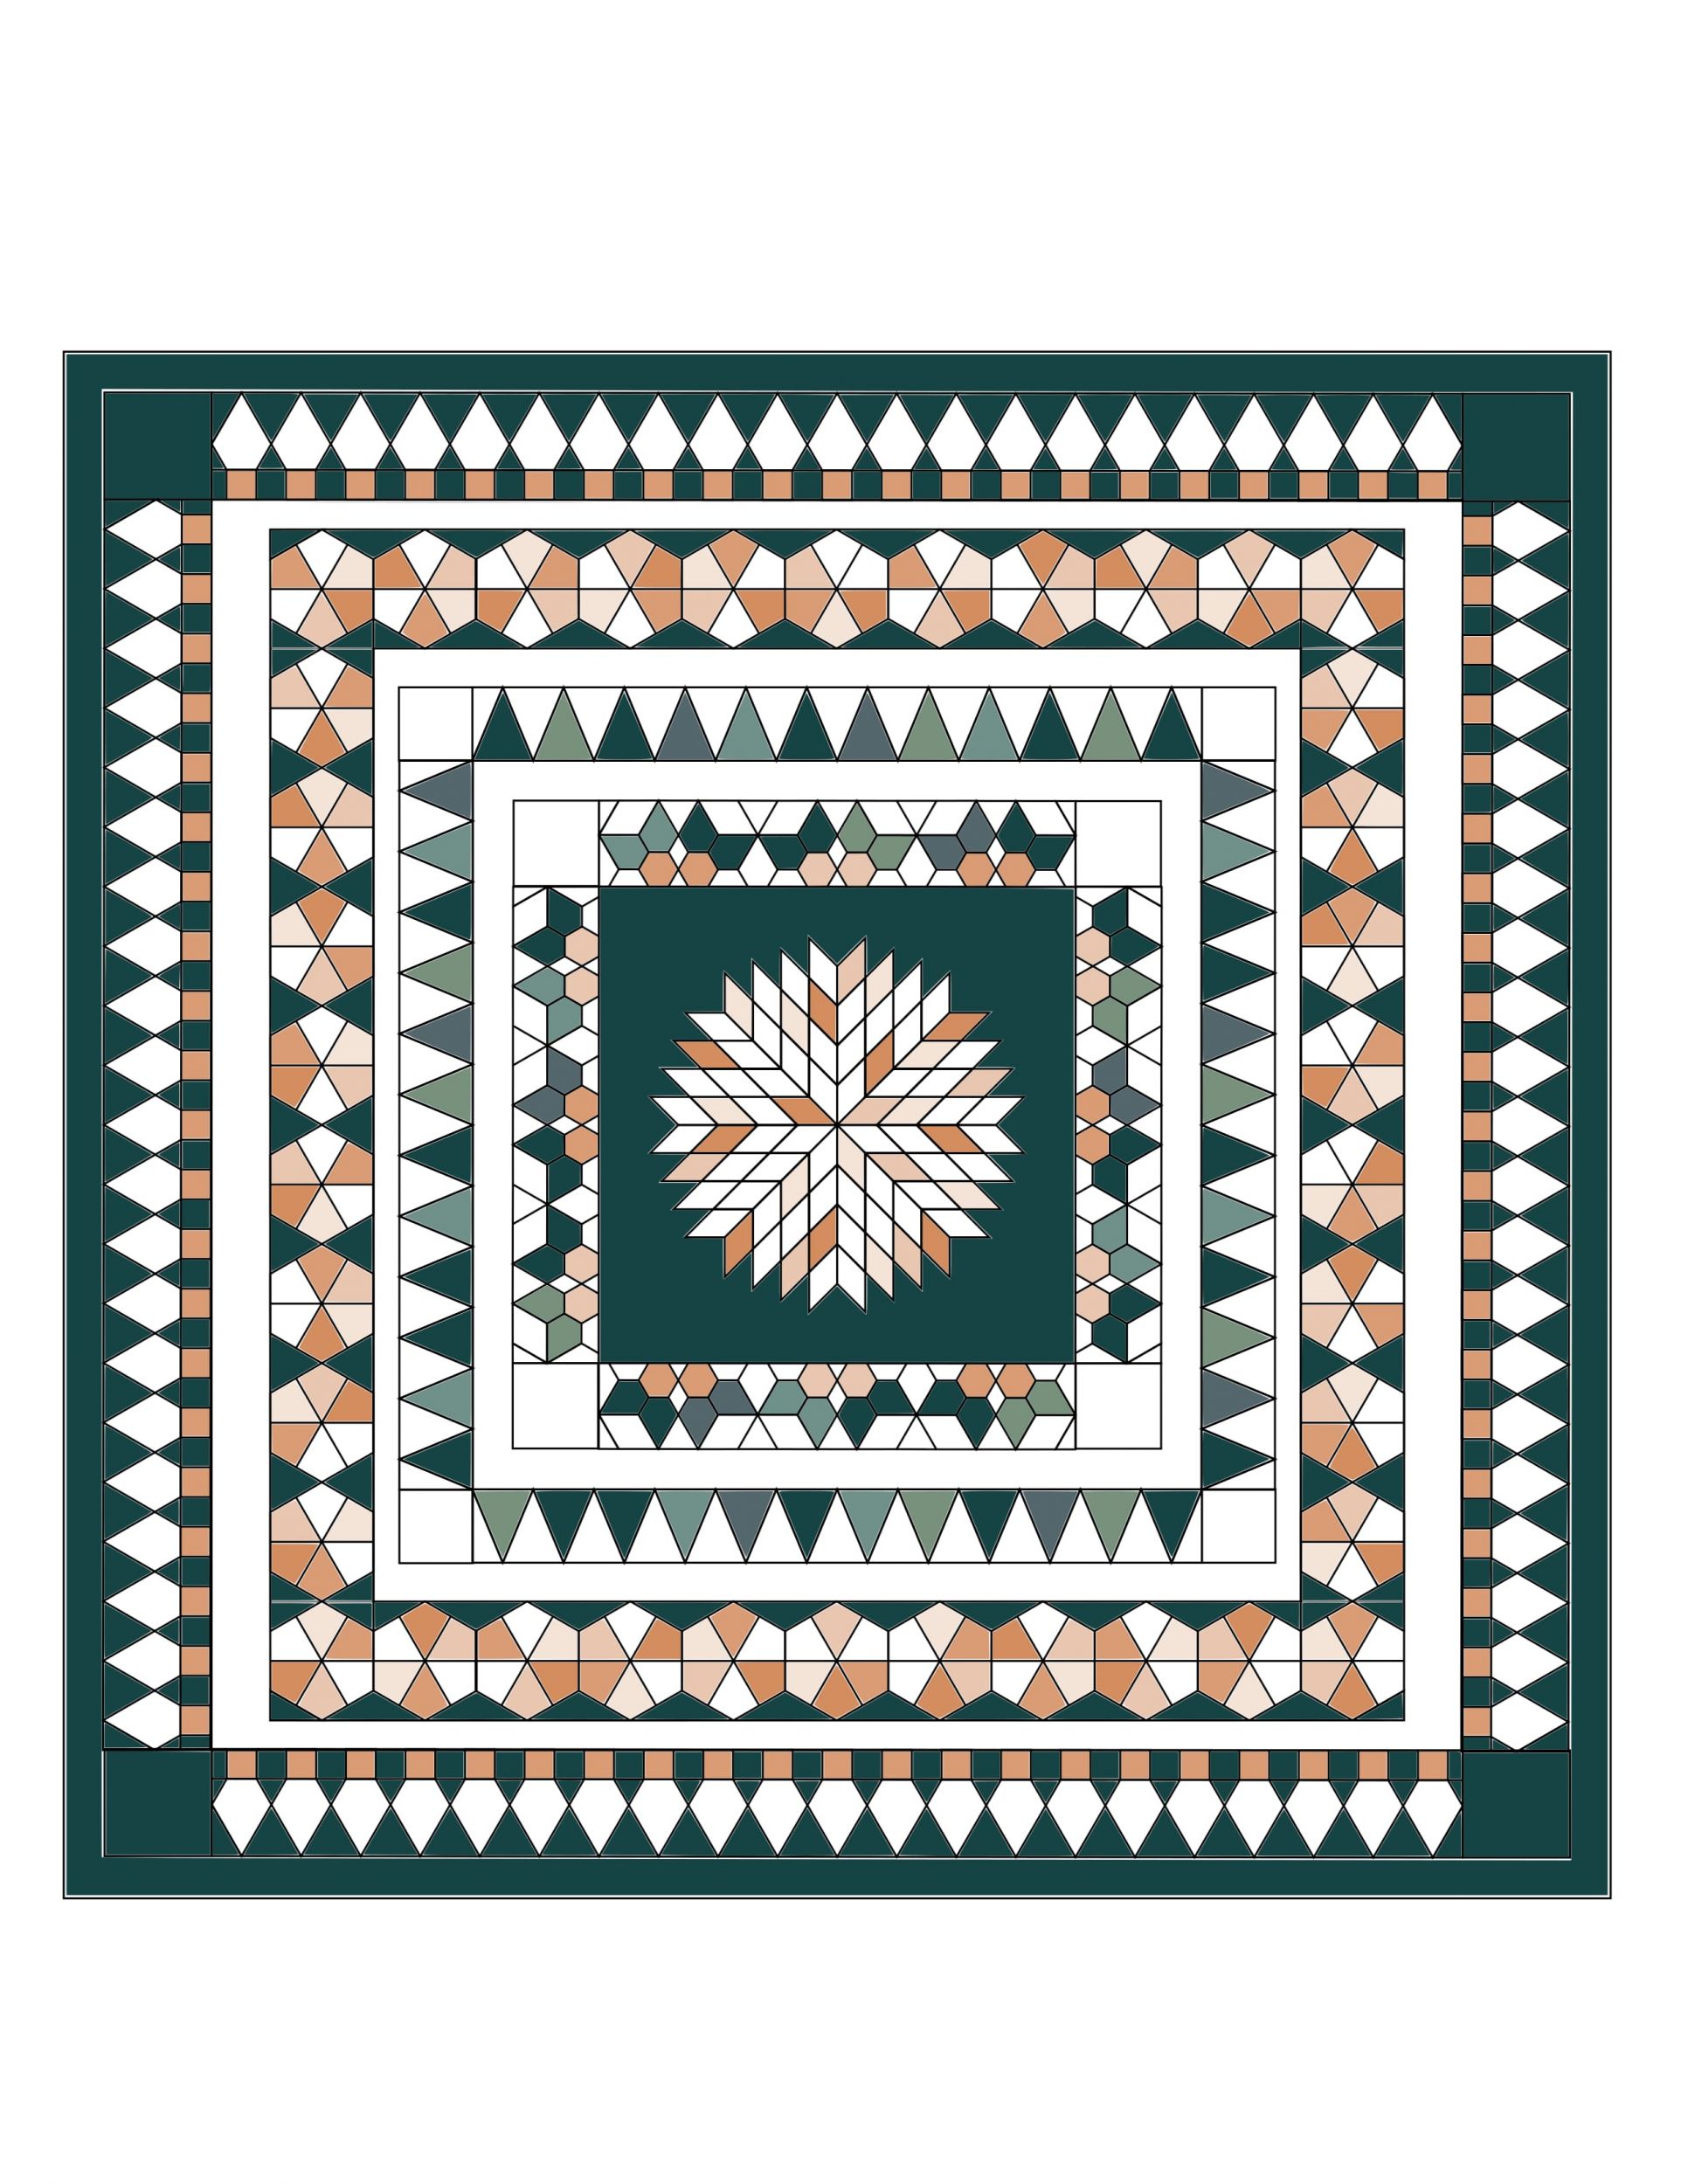
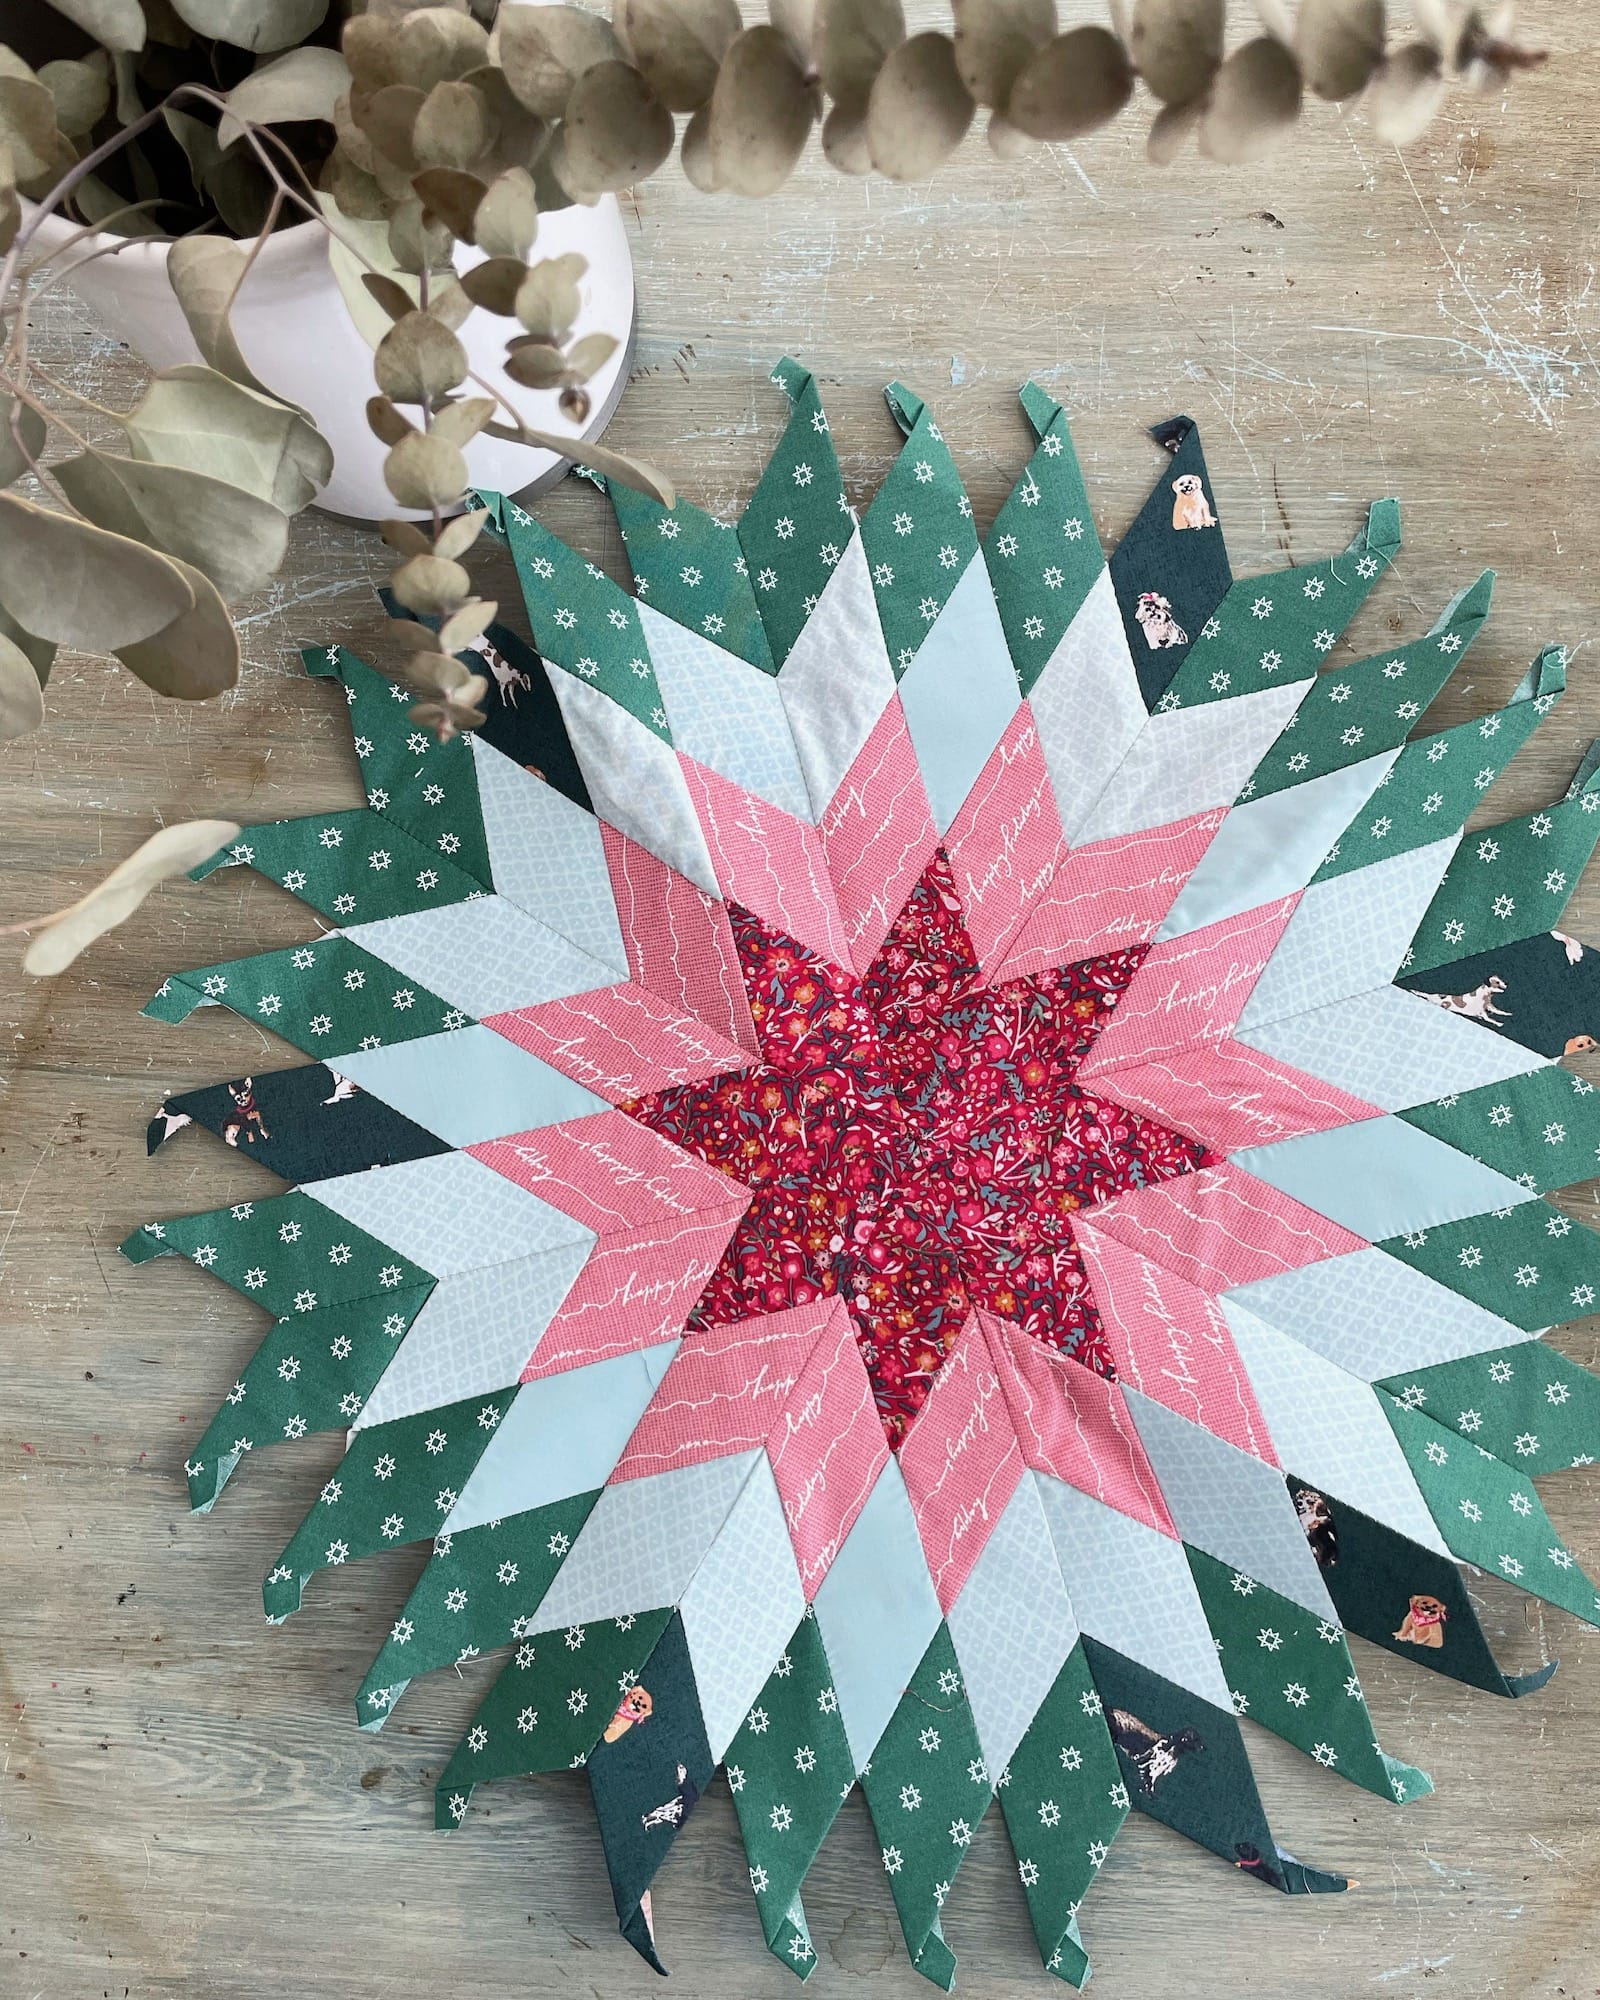
And, the second one, which I’ll be making for the QAL, features the newly released Juniper collection by Sharon Holland for Art Gallery Fabrics.
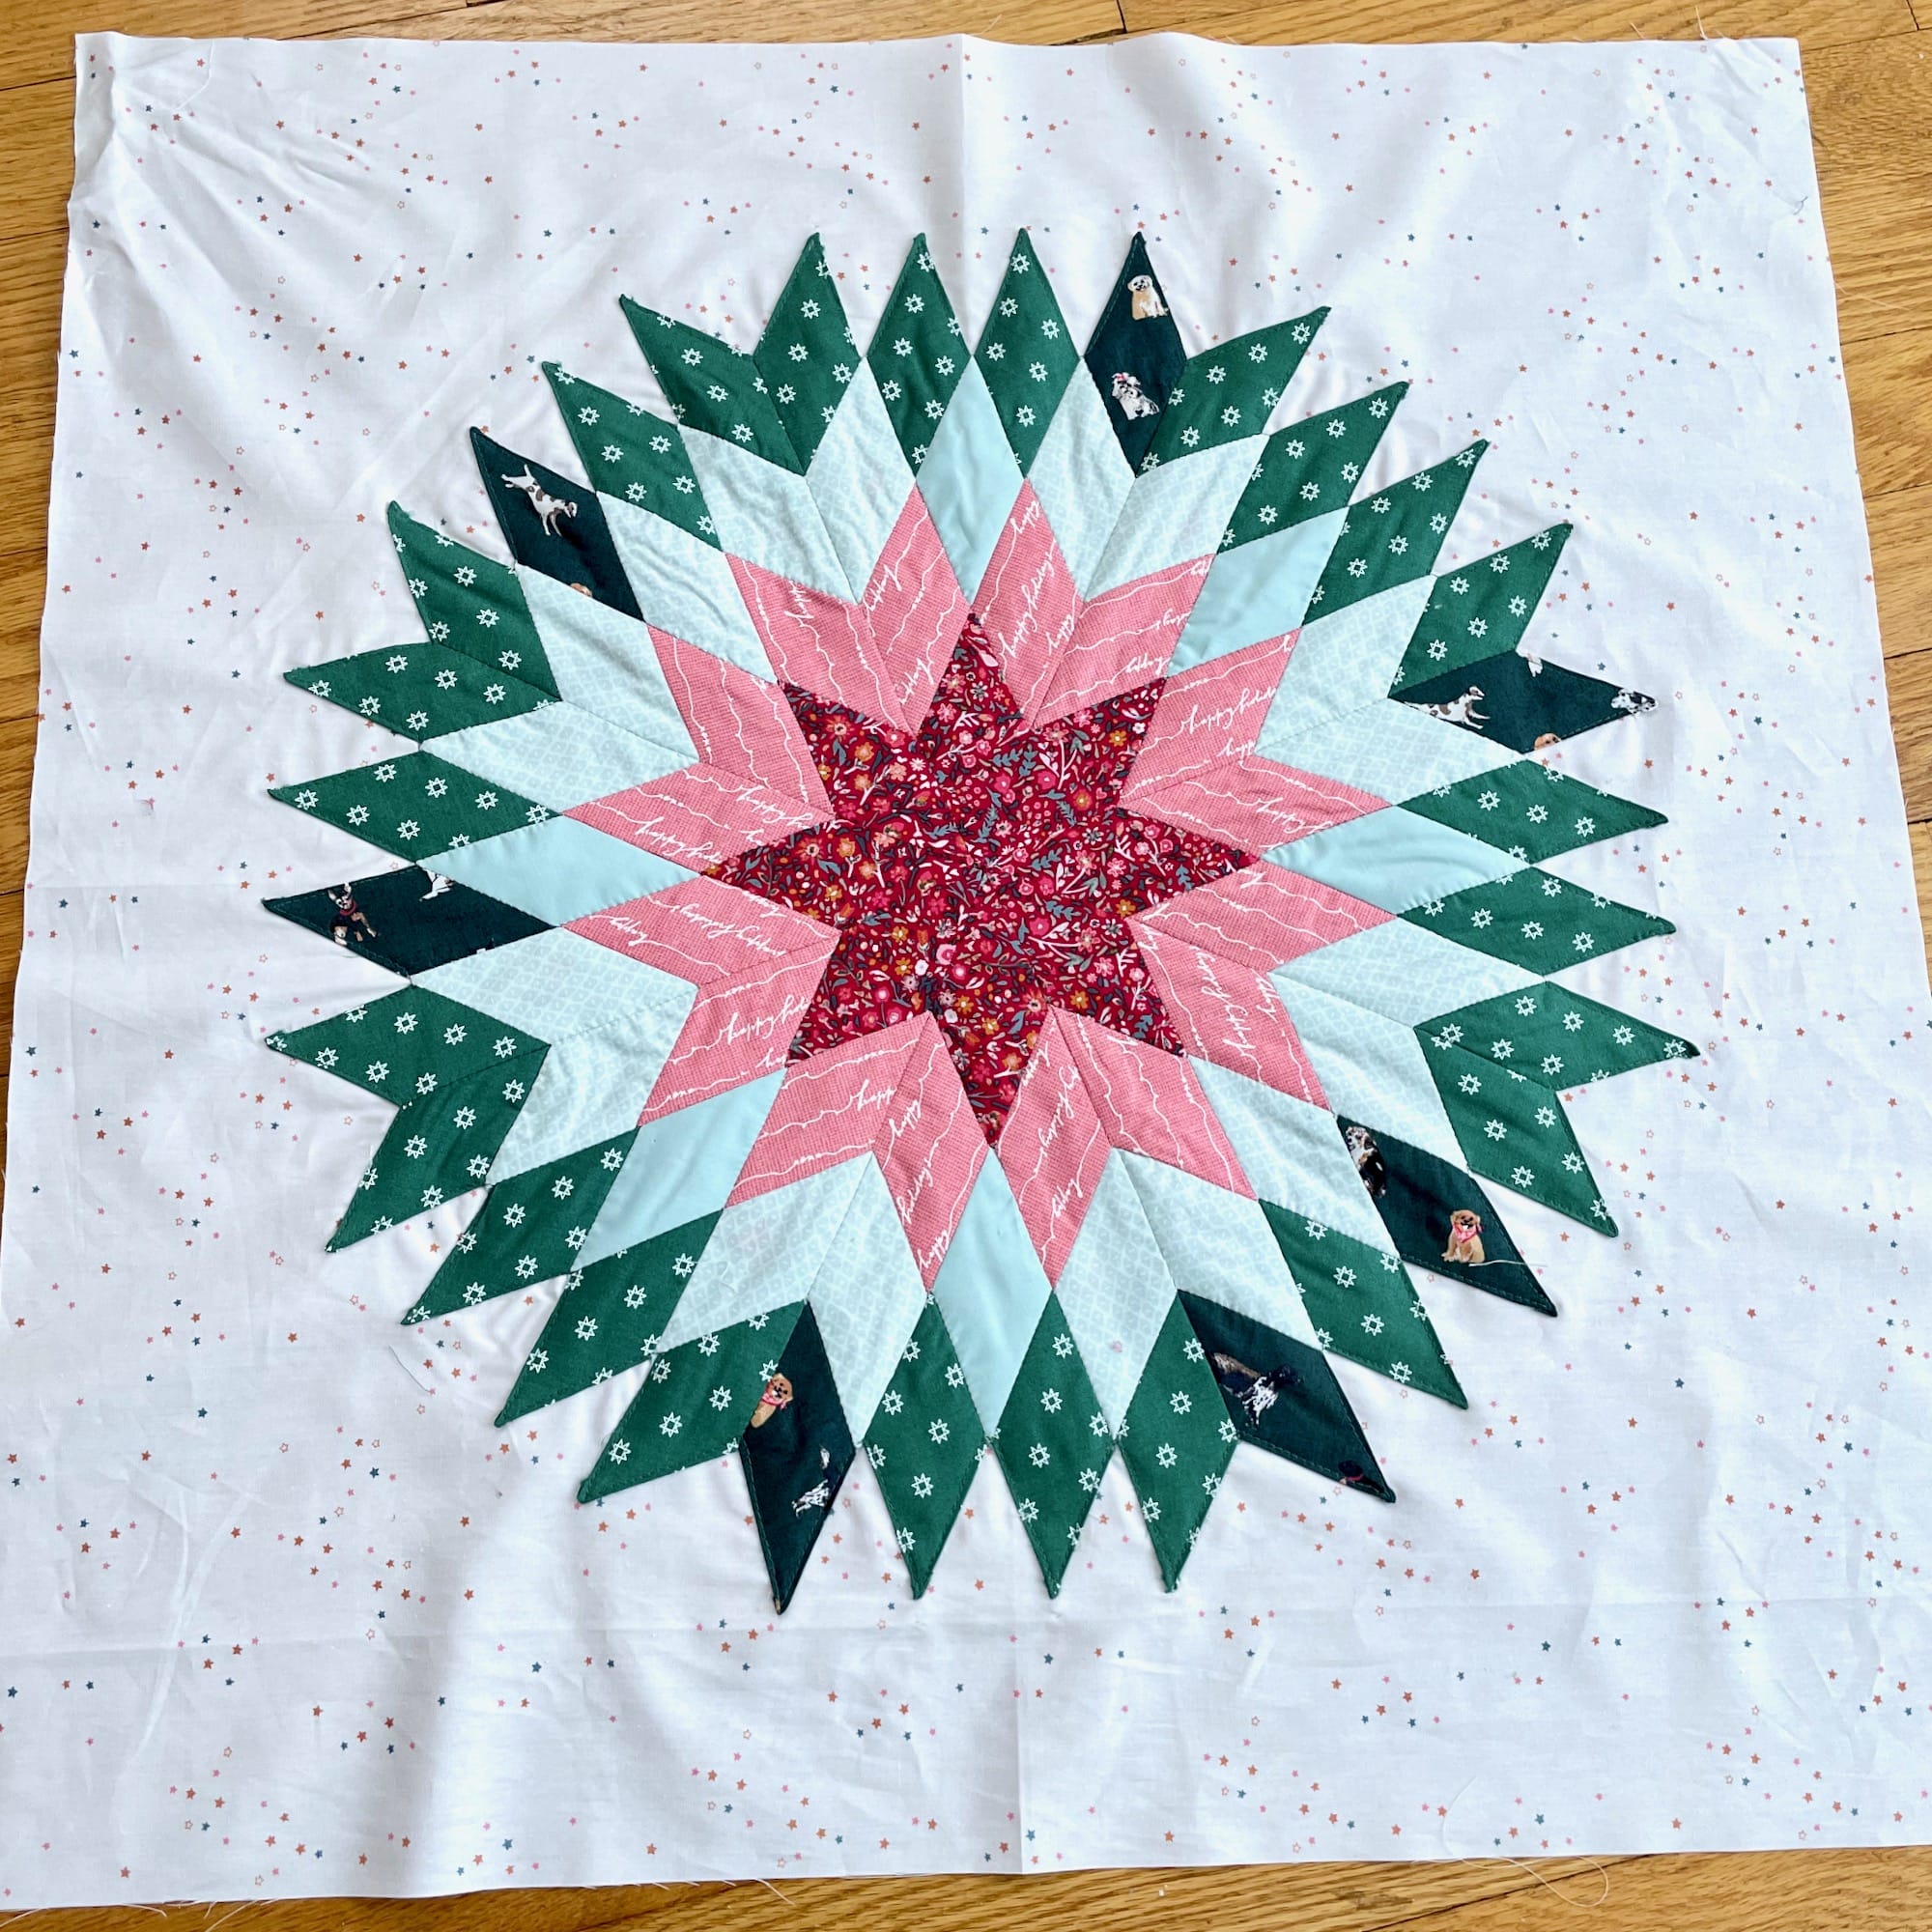
According to the schedule, we’re in the first segment of the QAL, where we’re focusing on Round 1, the Christmas Star. Inspired by a traditional 8-pointed star, this beauty can represent so many Christmasy things. From a glowing star, to a wreath or a scrappy bauble, the options are truly endless. Here are some tips for making the whole process a little more magical.
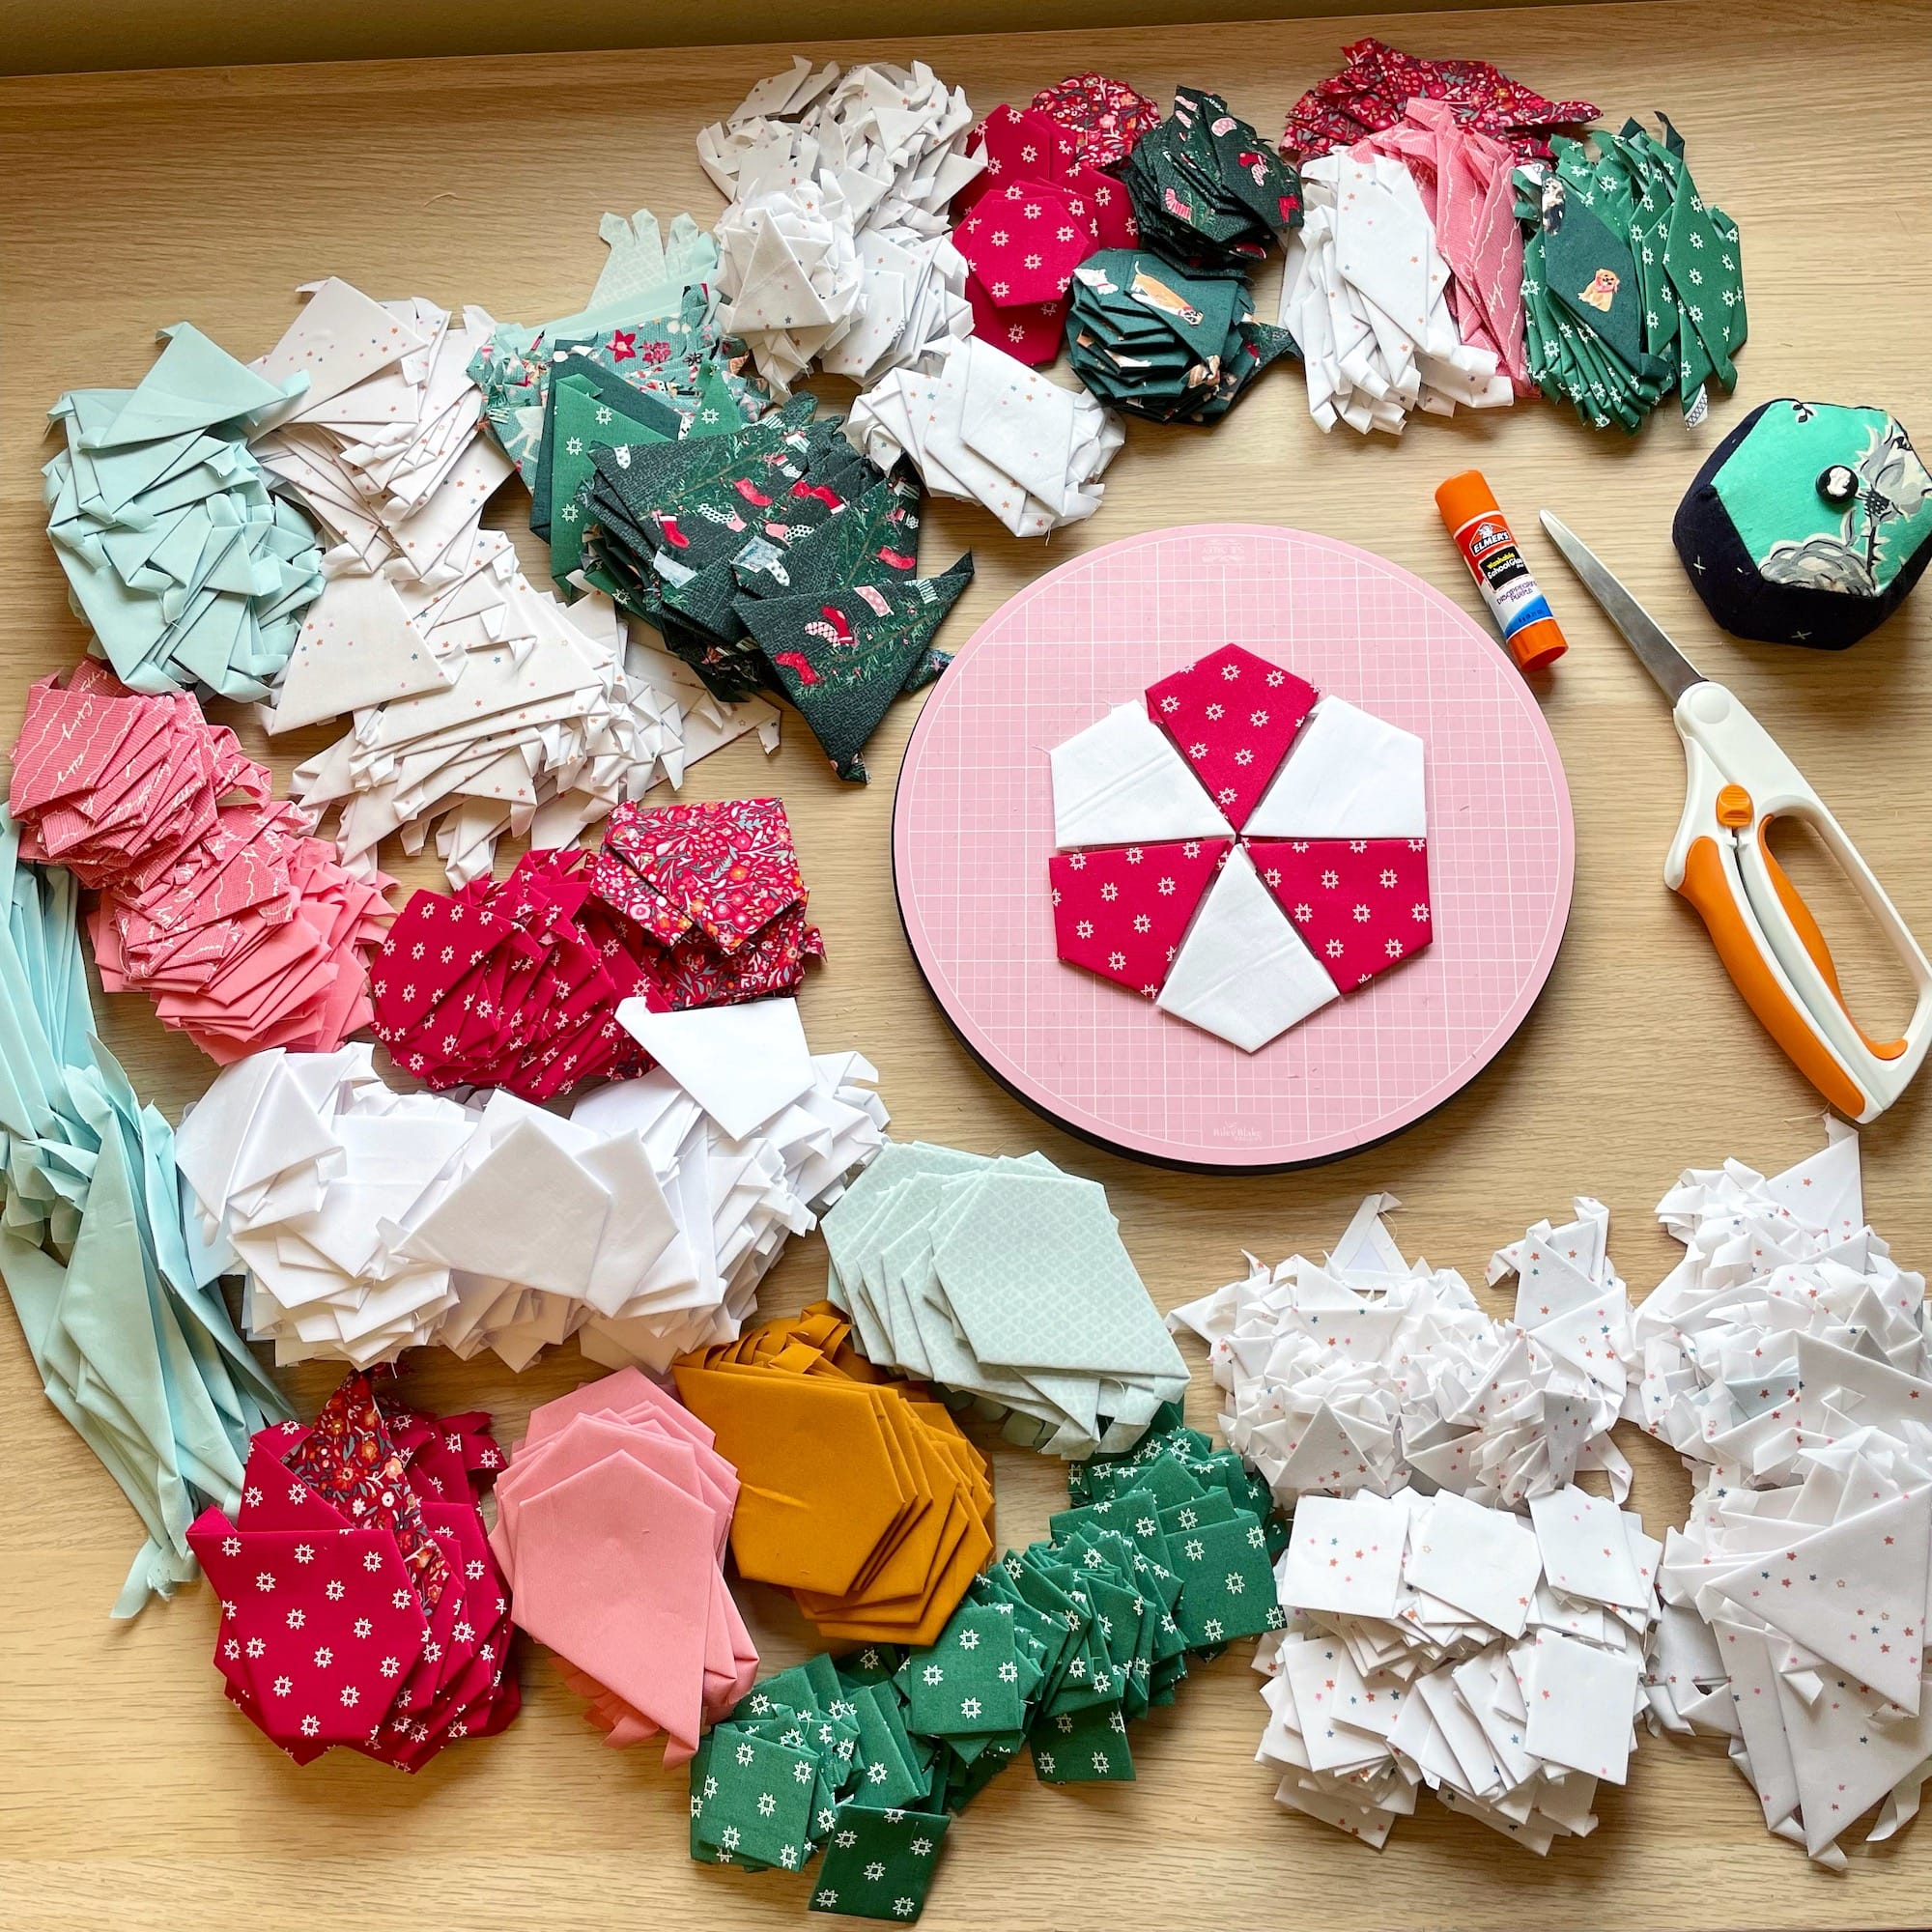
Bulk Basting
I love bulk basting my paper pieces! Sitting down to choose fabric for all my pieces for one round (or the whole quilt like you can see above!) is so satisfying. Then, I just settle in to a rhythm of basting. If you’d like to see how I do it, you can check out my handy tutorial here.
Stitching Options
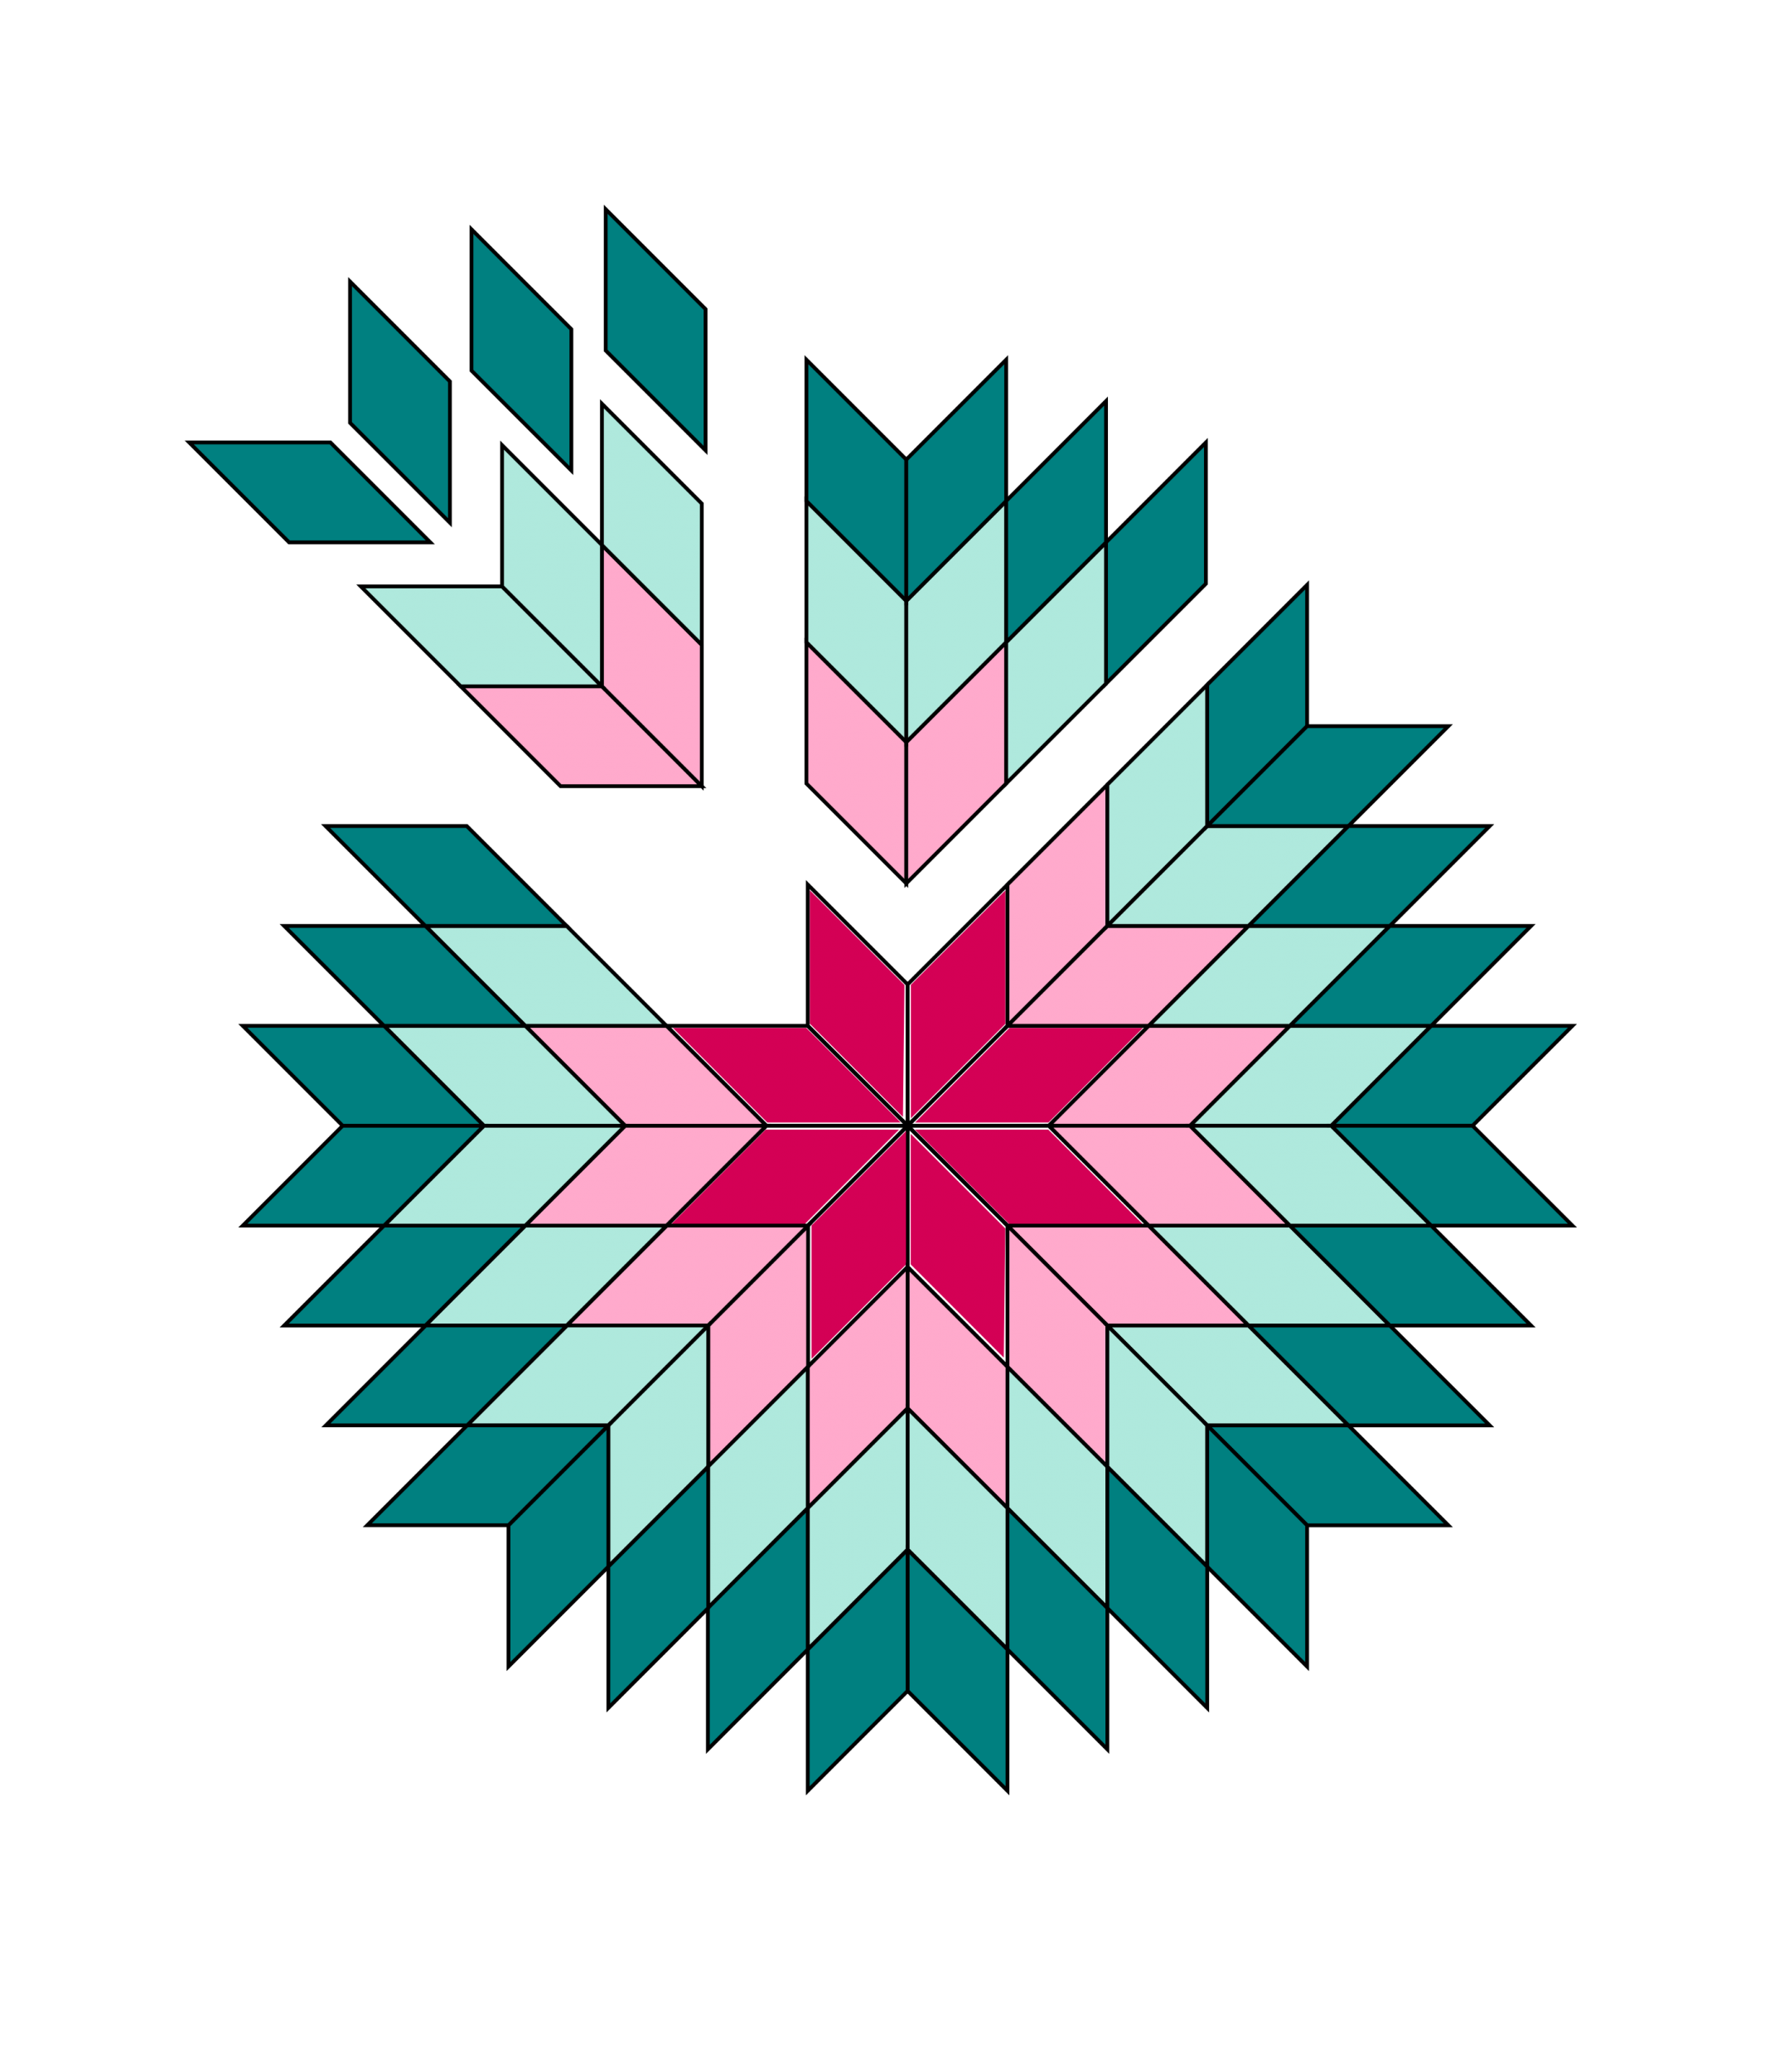
In the pattern, I offer instructions for building this block from the center outwards, round by round. While this lends itself very well to staying organized, I found that I actually enjoyed stitching the block into sections then sewing them to the center at the end. The block stays smaller this way, and somehow I felt like it went faster? Either way, stitch it up the way that makes the most sense to you. But, if you’d like to see how I did it, you can use the diagram below as a guide.
Of note, it requires slightly more attention to organization when you build your block this way. I recommend laying the block out somewhere that it won’t be disturbed so that you can stitch a section at a time while keeping track of where you’ve left off.
Alternatively, take a photo on your phone and store each section in its own labeled ziplock baggie to keep it sorted. Then, refer to the photo on your phone for the final layout.
Applique Options
Once you’ve completed your block, all that’s left is to appliqué it to your background square! However, there is a sneaky little option for how you orient the block in the end.
First, take note of the center star in the middle of the block. Then, decide whether you like it on point, or “standing up” on two points like legs. In my version above, I chose to orient the center star on point. It makes no difference at all in the end except for what you prefer.
Once you decide on that, it’s time to applique! If you’re unsure how to do that, or if you’d like a refresher, I have a handy tutorial that shows you how to appliqué your block to the background square by hand or machine.
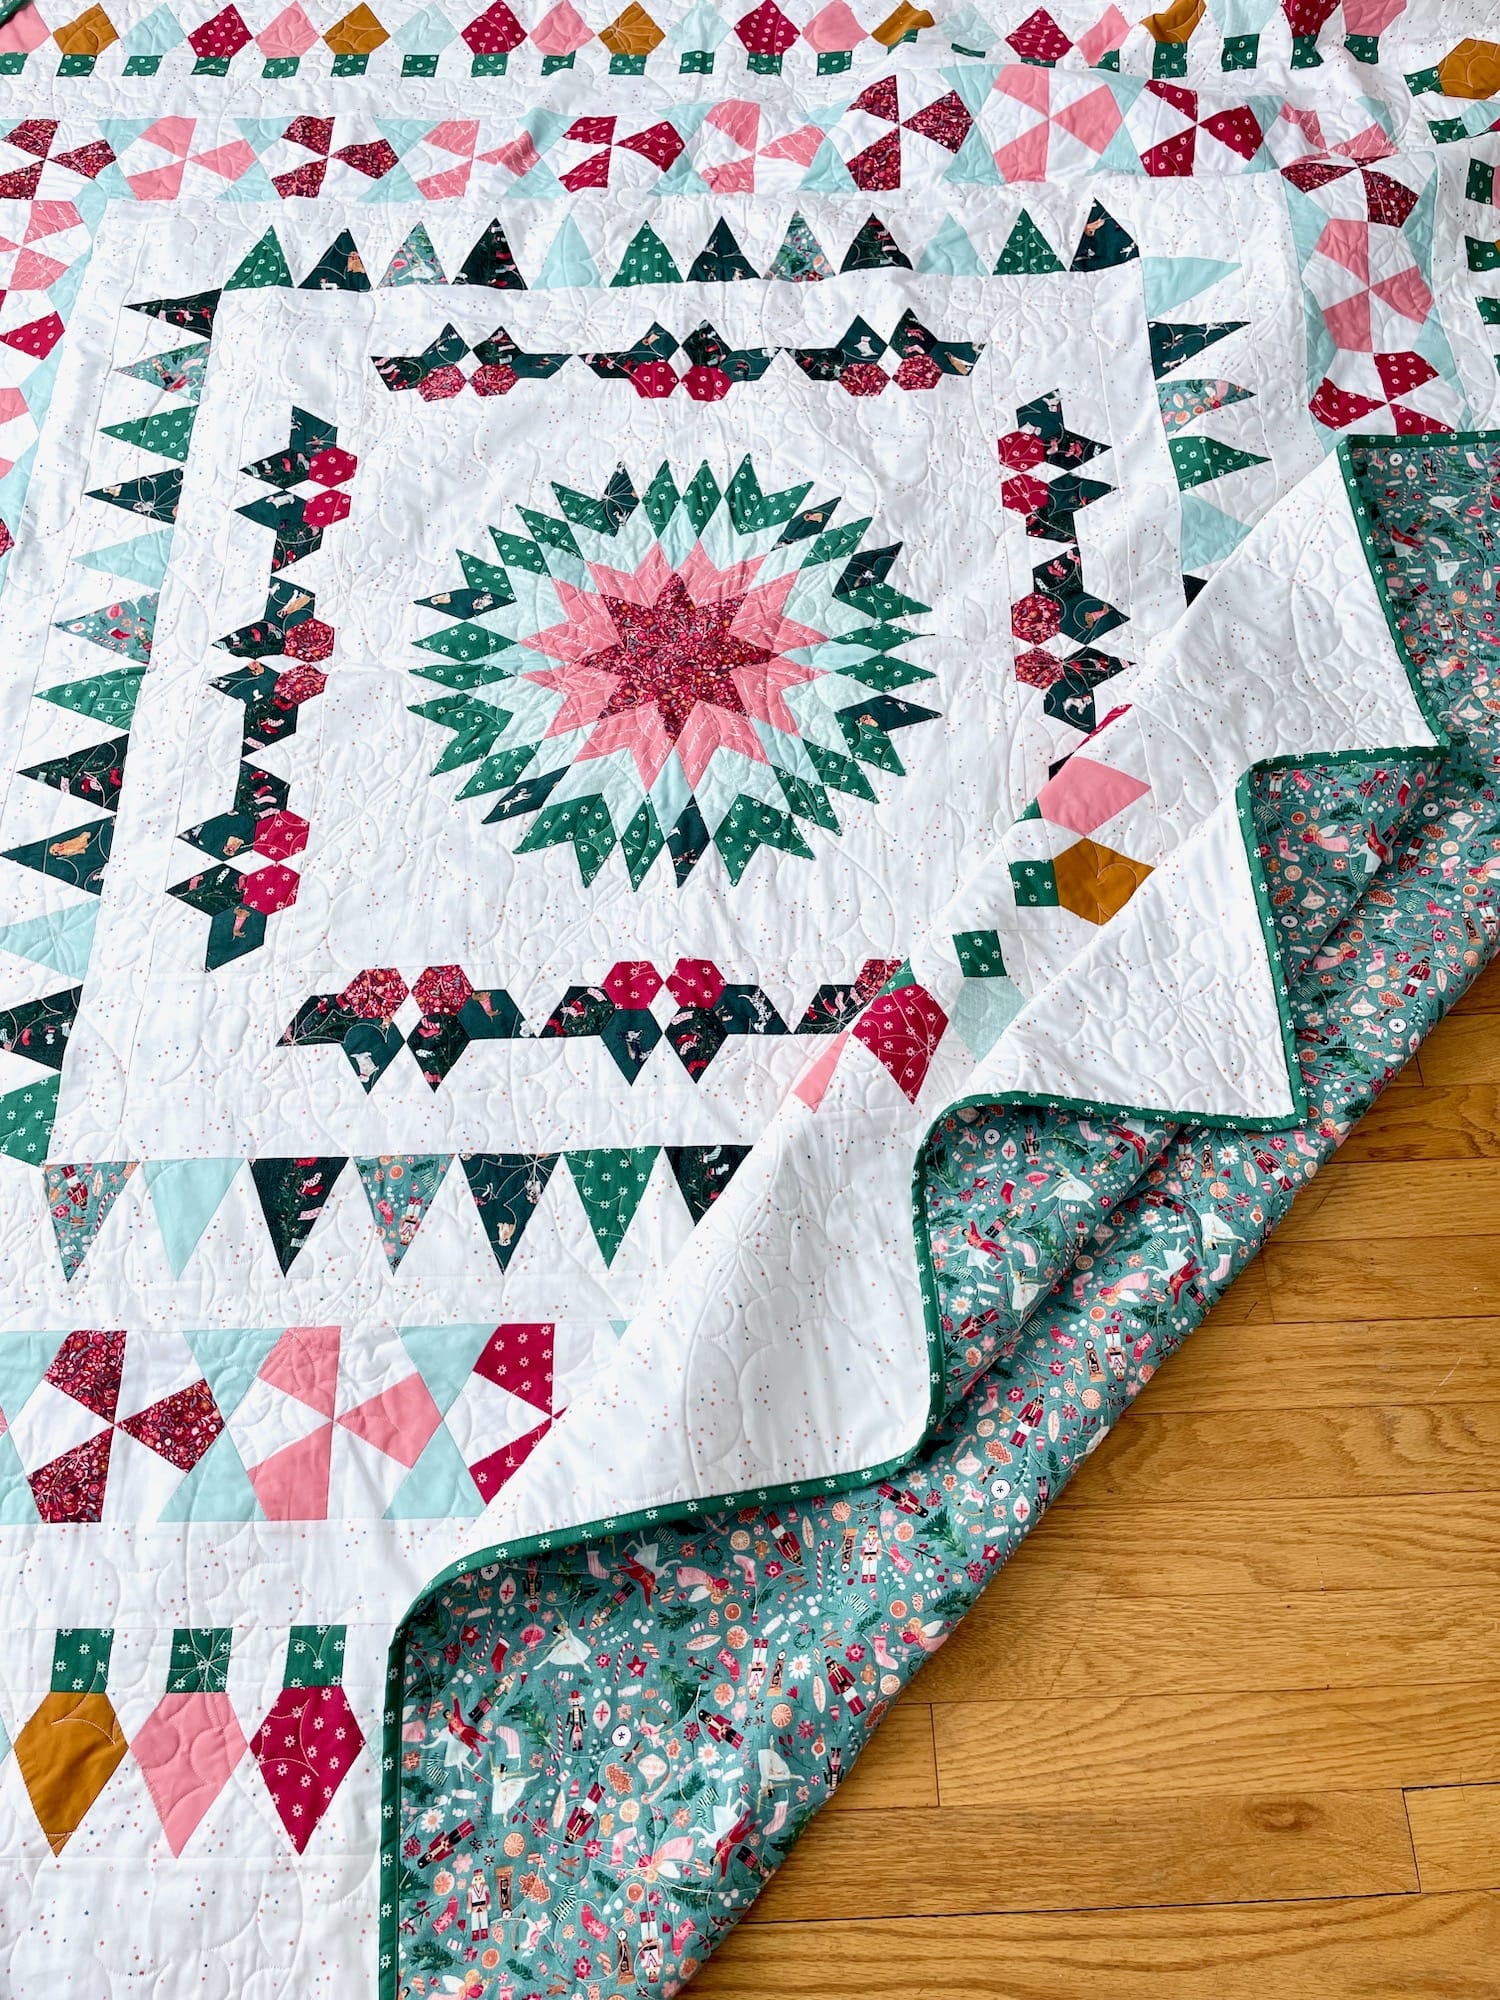
It even includes a bonus hack for removing the background fabric from behind your completed block, which is particularly helpful if you’re appliquéing a low volume block onto dark fabric, which I plan to do for the QAL.
Let's get stitching!
That’s it for now! I love this block and how satisfying it is to play around with different design options. (Stay tuned for a jumbo pillow version coming soon, too.)
I’m off to start basting, and I’ll be back soon with the next segment of the QAL, Round 2, Holly Jolly. Be sure to follow along on Instagram for regular progress updates, and don’t forget to tag me so I can see your beautiful work! You can also share the above graphic so everyone knows what your stitching. Happy stitching!