These days are every bit as impactful as a world war. Every country on the planet has been affected, whether by the notorious COVID-19 itself or the impending threat of it. We are in the days when every little bit helps and no small act goes unnoticed.
From where I sit, I am thousands of miles removed geographically from some of the places in greatest need. However, in my small way, I hope to be a help to those who help. Thousands of health care workers and first responders are fighting daily to contain the spread and effect of this virus. Many of them are being asked to fight without any protection. As a fellow nurse, I can only bow my head in humble reverence for their bravery.
For Such a Time As This
Though I may not be able to make a physical face mask to send to a comrade in arms, I want to do my part. In ancient Jewish history, Queen Esther was called upon to advocate for her people “for such a time as this” (Est. 4:14 NKJV). Like Esther, I want to rise to the occasion in whatever way I can.
After reading a handful of CDC inspired tutorials on the construction of face masks, I decided to try my hand at making a few. However, I ended up pulling bits from a few different versions and then adding my own twist to make it fit in a way that mimics the medical grade ones I have worn at work.
The Tutorial
The following tutorial, which you can download as a FREE downloadable PDF here, contains not only adult sized versions, but a child size, as well. Since I am a pediatric oncology nurse by training, the little cancer warriors are always close to my heart. During these times, those with weakened immune systems as a result of chemotherapy or an autoimmune disease are especially vulnerable. So, I thought it could be helpful to provide a child size option in the tutorial for the littlest among us. (Child sized measurements will be noted by [ ] in the instructions.)

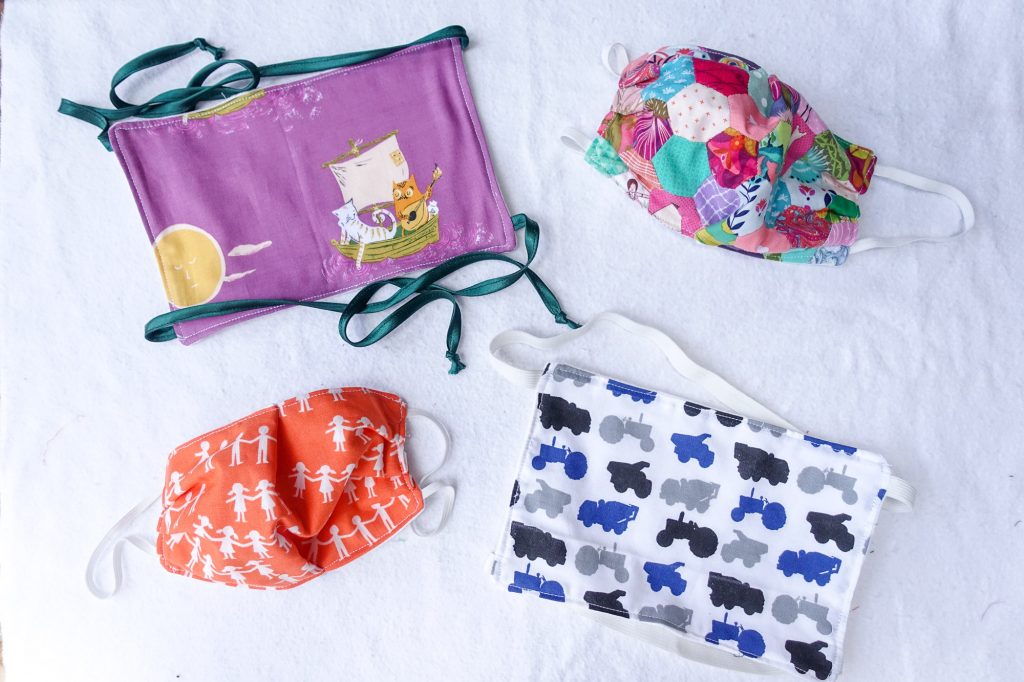
The Face Masks
There are two versions in both adult and child sizes. The first version is the more traditional “Around the Ear” version. In this version size is adjustable to a degree by modifying the pleats on the top and bottom edges of the mask. You could denote men’s or women’s based on the size of the pleat indicated in the instructions.
The other version came about when I saw that there are a few places requesting different styles of face masks. In an effort to create a one-stop-shop type of pattern, I created a simple “Around the Head” version using elastic or ribbons/fabric ties. A bonus to this version is that it contains no pleats and allows for full sizing adjustment in the ribbon/fabric tie modification. It is my hope that even the most novice sewist (teach your kids!) could participate in this noble and historic campaign while simultaneously serving a variety of health care workers and first responders.
A few helpful notes before we begin:
- please prewash and dry all fabric before cutting your fabric in order to minimize shrinkage later
- with this pattern you should be able to get six (6) mask fronts and/or linings out of a single fat quarter (FQ) by using the layout below
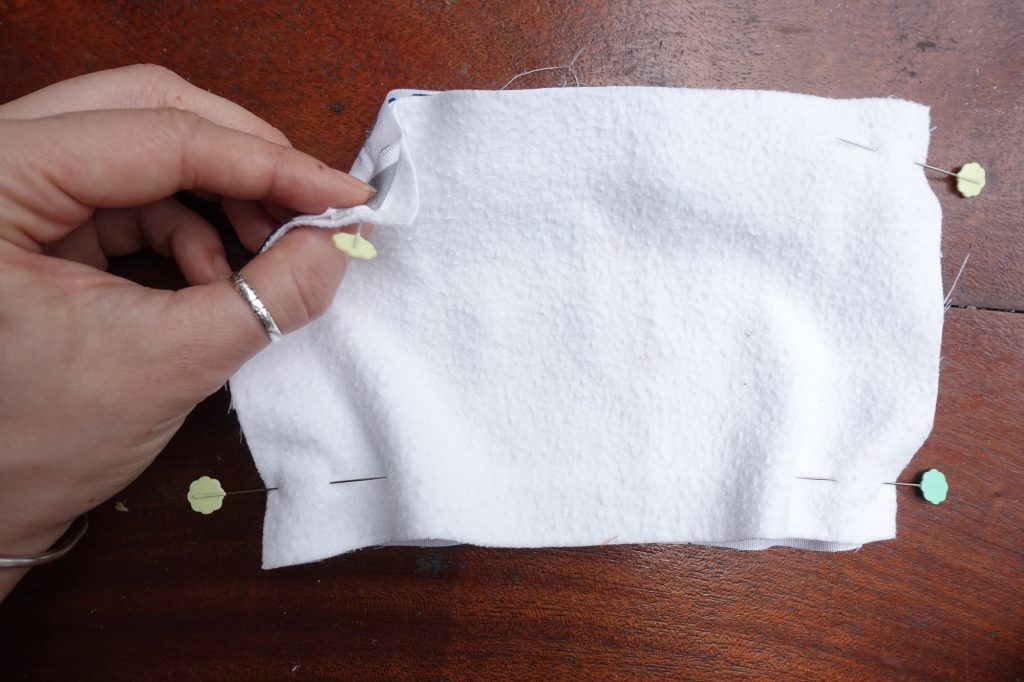
- your sewing lines DO NOT have to be perfect
- use what you have and be creative, some workers have no protection of any kind at this point and something is far better than nothing
Fat Quarter Cutting Diagram

With all of that said, let’s raid our scrap bins, fire up the iron, and put the pedal to the metal on our machines and get sewing!
Around the Ear Face Masks
SUPPLIES:
- One (1) 9”x6” [8”x5”] piece of 100% tightly woven cotton (mask front)
- One (1) 9”x6” [8”x5”] piece of 100% cotton flannel (inside lining)*
- Two (2) 7” [6”] pieces of 1/8” or 1/4” elastic
- Sewing machine
- Thread
- Straight pins
- Iron
*You may substitute a piece of tightly woven cotton if flannel is not available. Consider using clean, gently used flannel pillow cases freshly washed and dried.

1. Take the piece of fabric that will be the front of the mask and lay it with the print side up.

2. Next, take one end of a piece of elastic and position it on the short side of the the fabric, about 1/2” from the top edge. Position the other end of the elastic about 1/2” from the bottom edge. Repeat for the opposite short side of the fabric.

3. Take your piece of lining fabric and layer it on top of the first piece of fabric, sandwiching the elastic in between the two layers.

4. Create the mask sandwich by pinning the two layers of fabric together, making sure to catch the elastic at the top and bottom of the short sides of the fabric. The elastic should be INSIDE the mask sandwich at this point.

5. Now, pin the two layers together at what will be the top edge of the mask.

6. Double pin the two layers on the bottom edge about 2” from each side. These will be reminders for leaving an opening during the next step.

7. Sew all the way around the perimeter of the mask, starting at one set of double pins and stopping when you get to the other set. Remove pins as you go. Be sure not to catch any of the excess elastic inside the mask sandwich as you go along. Repeat sewing the perimeter a second time to add strength to your seam.

You’re almost there!
8. Turn your mask right side out through the opening in the bottom seam of your mask. Push out the corners with a point turner or blunt pencil to get a nice rectangular shape.

9. Next, iron your mask so that the edges are crisp and smooth. Make sure to turn in the seam allowance on the bottom edge so that it is ready to be closed in the next sewing step.

10. Grab your pins and starting at the top of one of the short sides create a small pleat by corrugating the fabric on top of itself by about a 1/2.” Pin in place.

11. Create 3 [2] pleats on each of the short sides of the mask. Make sure they are all pointing “down” towards the bottom of the mask. But, again, your pleats DO NOT have to be perfect!

12. Next, find the middle of the top and bottom edges and create one pleat IN THE SAME DIRECTION on the top and bottom edges of the mask in the same way as in step 10.
OF NOTE:
This is where you can adjust sizing. I made a 1/2” pleat for my husband, but made a 1” pleat for myself. My husband has a full beard and a distinguished nose and the 1/2” pleat allowed for a comfortable fit. In the child size, use a 1/2” for larger children and 1” for smaller ones. The idea is that the mask would fit comfortably over the nose and under the chin but not slip off from being too loose or create deep indentations from being too tight.

13. With all of your pins in place, begin sewing down one side of the mask, about 1/8” from the edge. Go slowly, especially with smaller and older machines. Remove pins as you go so the needle doesn’t jam on top of one. You may need to encourage the thicker parts through the machine to catch all of the layers. (For those who have them, quilting needles help!)

14. Sew around the entire perimeter of your mask about 1/8” from the edge on all sides. Ensure that the bottom edge is closed during the process. Finally, give it a press with your iron.

CONGRATULATIONS!! You successfully completed your face mask!
Around the Head Face Masks
SUPPLIES:
- One (1) 9”x6” [8”x5”] piece of 100% tightly woven cotton (mask front)
- One (1) 9”x6” [8”x5”] piece of 100% cotton flannel (inside lining)*
- Sewing machine
- Thread
- Straight pins
- Iron
FOR SECURING AROUND THE HEAD:
- One (1) 14” [10”] piece 1/4” or 1/2” elastic
- One (1) 9” [7”] piece 1/4” or 1/2” elastic OR
- Four (4) 14” [10”] pieces of 1/4” to 1/2” wide ribbon, bias tape, fabric strips, etc.
*You may substitute a piece of tightly woven cotton if flannel is not available. Consider using clean, gently used flannel pillow cases freshly washed and dried.

1. Take the piece of fabric that will be the front of the mask and lay it with the print side up.
IF USING ELASTIC

2a. Lay the longer elastic on top of your fabric about 1/2″ from the top edge. Lay the shorter elastic on top of your fabric about 1/2″ from the bottom edge.
IF USING RIBBONS/FABRIC TIES

2b. Tie a knot at one end of each piece of ribbon/fabric tie. Take the unknotted end of a ribbon/tie and position it on one of the short sides of the the fabric, about 1/2” from the top edge. Position the other three ribbons/ties in the other three corners respectively.
The remaining steps are applicable to the use of either elastic or ribbons/ties.

3. Next, take your piece of lining fabric and layer it on top of the first piece of fabric, sandwiching the elastic or ribbons/ties in between the two layers.
4. Create the mask sandwich by pinning the two layers of fabric together, making sure to catch the elastic or ribbons/ties at the top and bottom of the short sides of the fabric. The elastic or ribbons/ties should be INSIDE the mask sandwich at this point.

5. Pin the two layers together on the top edge of the mask.

6. Double pin the two layers on the bottom edge about 2” from each side. These will be reminders for leaving an opening during the next step.

7. Then, sew all the way around the perimeter of the mask, starting at one set of double pins and stopping when you get to the other set. Remove pins as you go. Be sure not to catch any of the excess elastic or ribbons/ties inside the mask sandwich as you go along. Repeat sewing the perimeter a second time to add strength to your seam.

8. Turn your mask right side out through the opening in the bottom seam of your mask. Push out the corners with a point turner or blunt pencil to get a nice rectangular shape.

9. Iron your mask so that the edges are crisp and smooth. Make sure to turn in the seam allowance on the bottom edge so that it is ready to be closed in the next step.

10. Sew around the entire perimeter of your mask about 1/8” from the edge on all sides. Be mindful not to get the elastic tangled under your machine in this step. Ensure that the bottom edge is closed during the process. Finally, give it a press with your iron.

CONGRATULATIONS!! You successfully completed your face mask!


If you make a few face masks, note which size they are (if applicable) and store them individually in ziplock bags for donation. I know that Domesticity in Baltimore, MD is receiving donations.
If you make one of these styles make sure to tag me on Instagram @stitchingthejourney and use the hashtag #forsuchatimefacemask. I’d love to see!
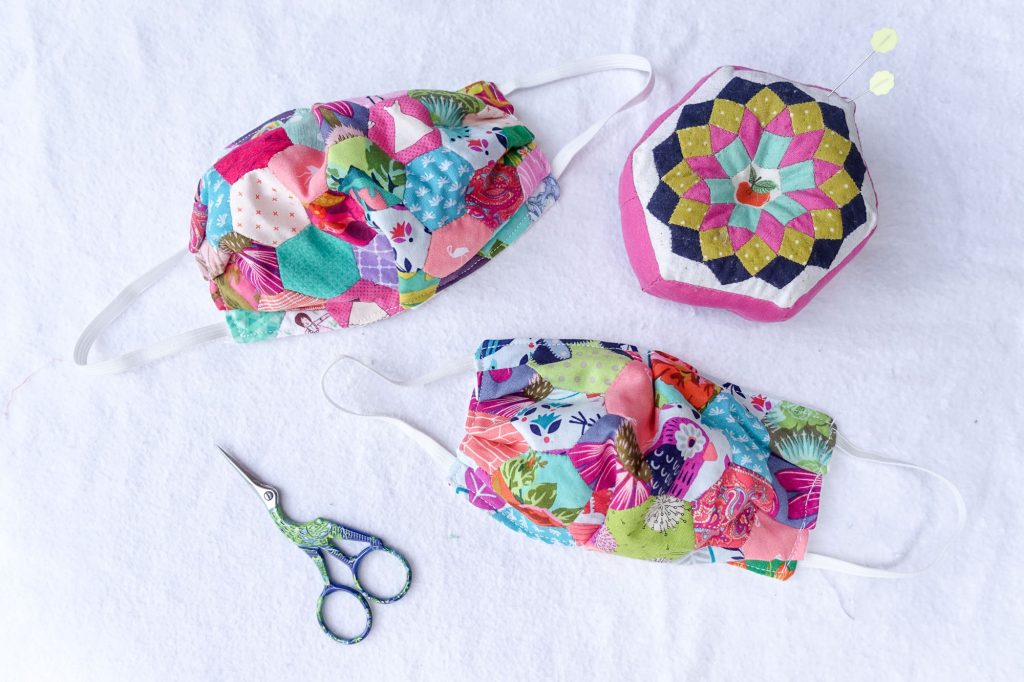
P.S. For those EPPers out there, if you’re interested in the two hexie versions I made, we have a printable template for you! You can find it here or it is included in the PDF version of the pattern here.
One Response