I love a good hack! I especially love them when I engage in long term stitching projects that involve English paper piecing (spoiler alert: I have a post with my favorite EPP hacks here!) or hand quilting. So here is a quick roundup of a few of my favorite hacks relating to the hand quilting process. While a few of these are mentioned in the Hand Quilting HQ tutorial series, I thought it might be useful to have them, plus a few new ones, together in one place.
HQ Hack 01: Outline without Outlining
In the “Choosing a Quilt Motif” segment of the Hand Quilting HQ tutorial series, I talk about different hand quilting motifs and designs. As I mention in that post, one of the most classic hand quilting motifs is simply outlining. However, outlining can often involve a lot of moving, rotating, and repositioning the quilt in order to not break your thread or to follow the outline of the block. This can become a bit tedious over an entire quilt.
One way to avoid this is to work in continuous lines. To determine if a quilt motif can be worked in a continuous line, imagine you have a pencil in your hand and you have to draw a line across your quilt motif without lifting it. If you can do this, then you have found the most efficient quilting path.
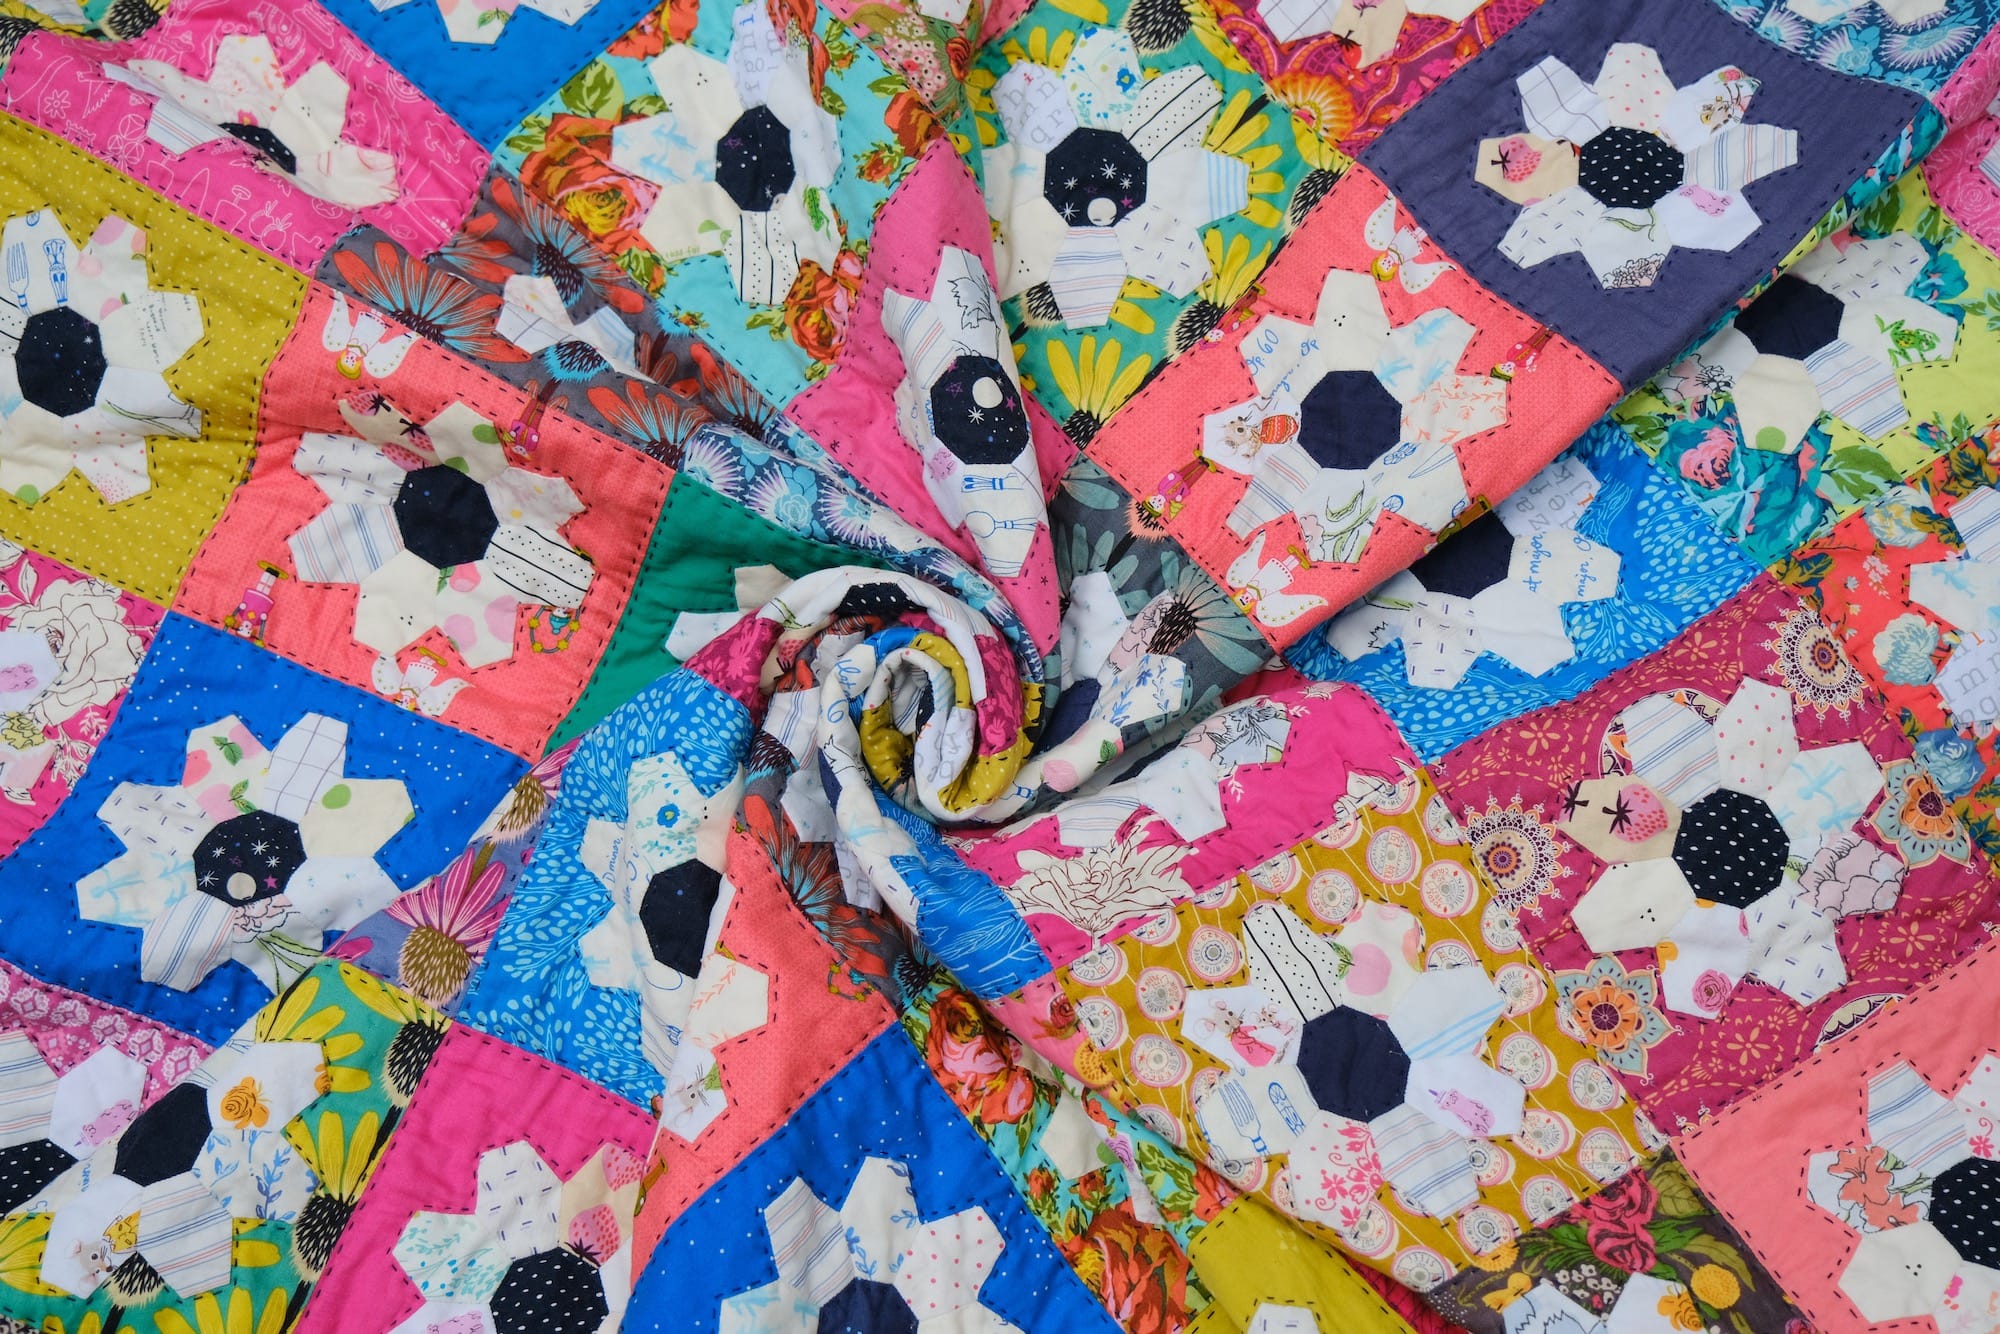
A great example of this in action is on my Daisy Jane quilt. I wanted to outline each of the square blocks, but I didn’t want to have to rotate my stitching around and around each block. So, I simply followed the piecing lines down each row, but I took care not to stitch over any seams. When I reached a seam, I would simply run my needle through the batting and come up on the other side of the seam and continue stitching.
I did this on either side of each seam, but ran the stitching in continuous lines across the length of the quilt in both directions. The result makes each block look outlined but without the hassle of outlining every block. So much faster and more enjoyable!
HQ Hack 02: Travel through the Batting
I referenced this is a bit in the previous hack, and I share about it in the “How to Hand Quilt” segment of the Hand Quilting HQ series, but it’s definitely worth reiteration. Unlike continuous lines, sometimes quilt motifs don’t connect to each other directly, but they are close enough that you don’t have to end your quilting thread and restart.
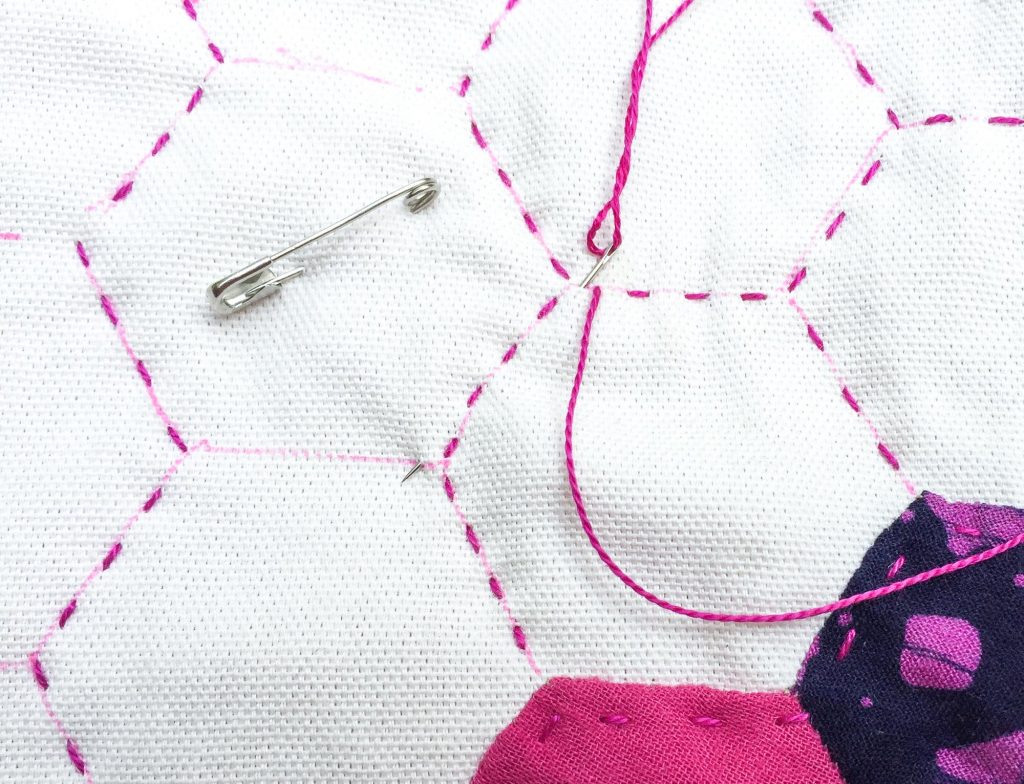
When a new motif begins an inch or less away from your current thread position you can travel through the batting. Rather than cutting your thread, re-knotting it, etc., simply insert your needle into the batting (not all the way through to the backing) and travel the thread to the location where your next section begins. It saves time and thread in the long run. And, the batting will eventually “felt” around the thread securing it over time.
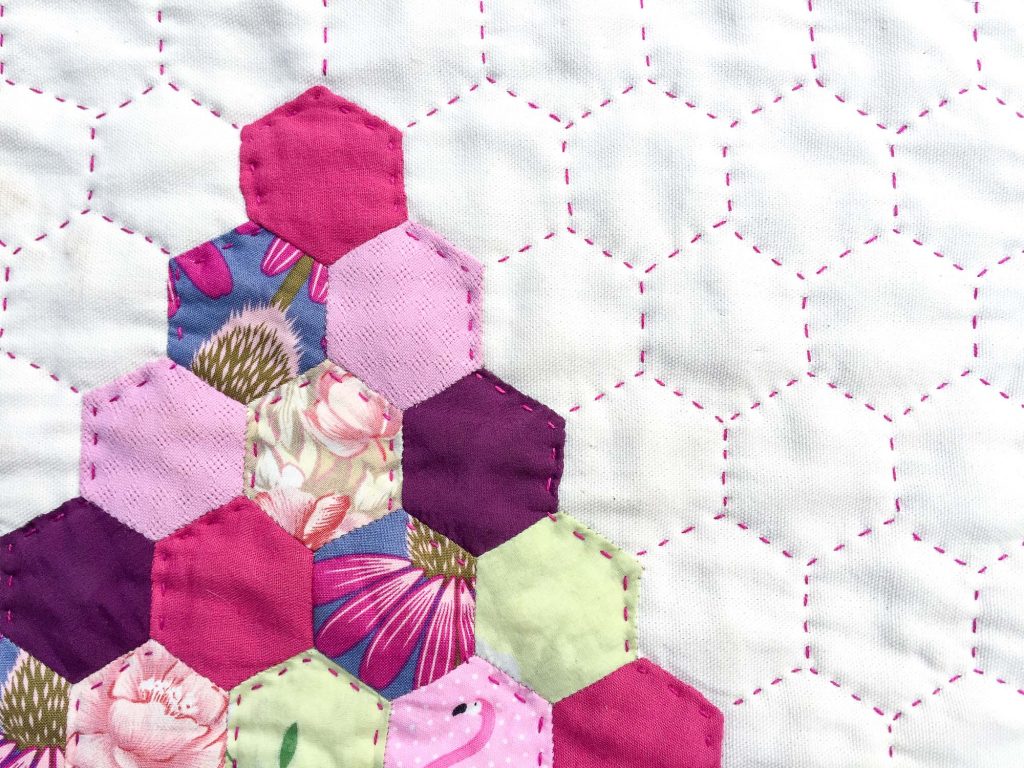
I used this technique when I was hand quilting a honeycomb motif on a mini quilt for the Hand Quilting HQ series.
HQ Hack 03: Change the Stitching Route
Remember what I said about repositioning your quilt in the first hack? Well, sometimes, particularly when stitching motifs that work in rounds, it becomes challenging to keep the quilt in the same position. However, rather than rotating or repositioning the quilt for each block, try working each round in segments and change the direction of the your stitching on either side of the block.
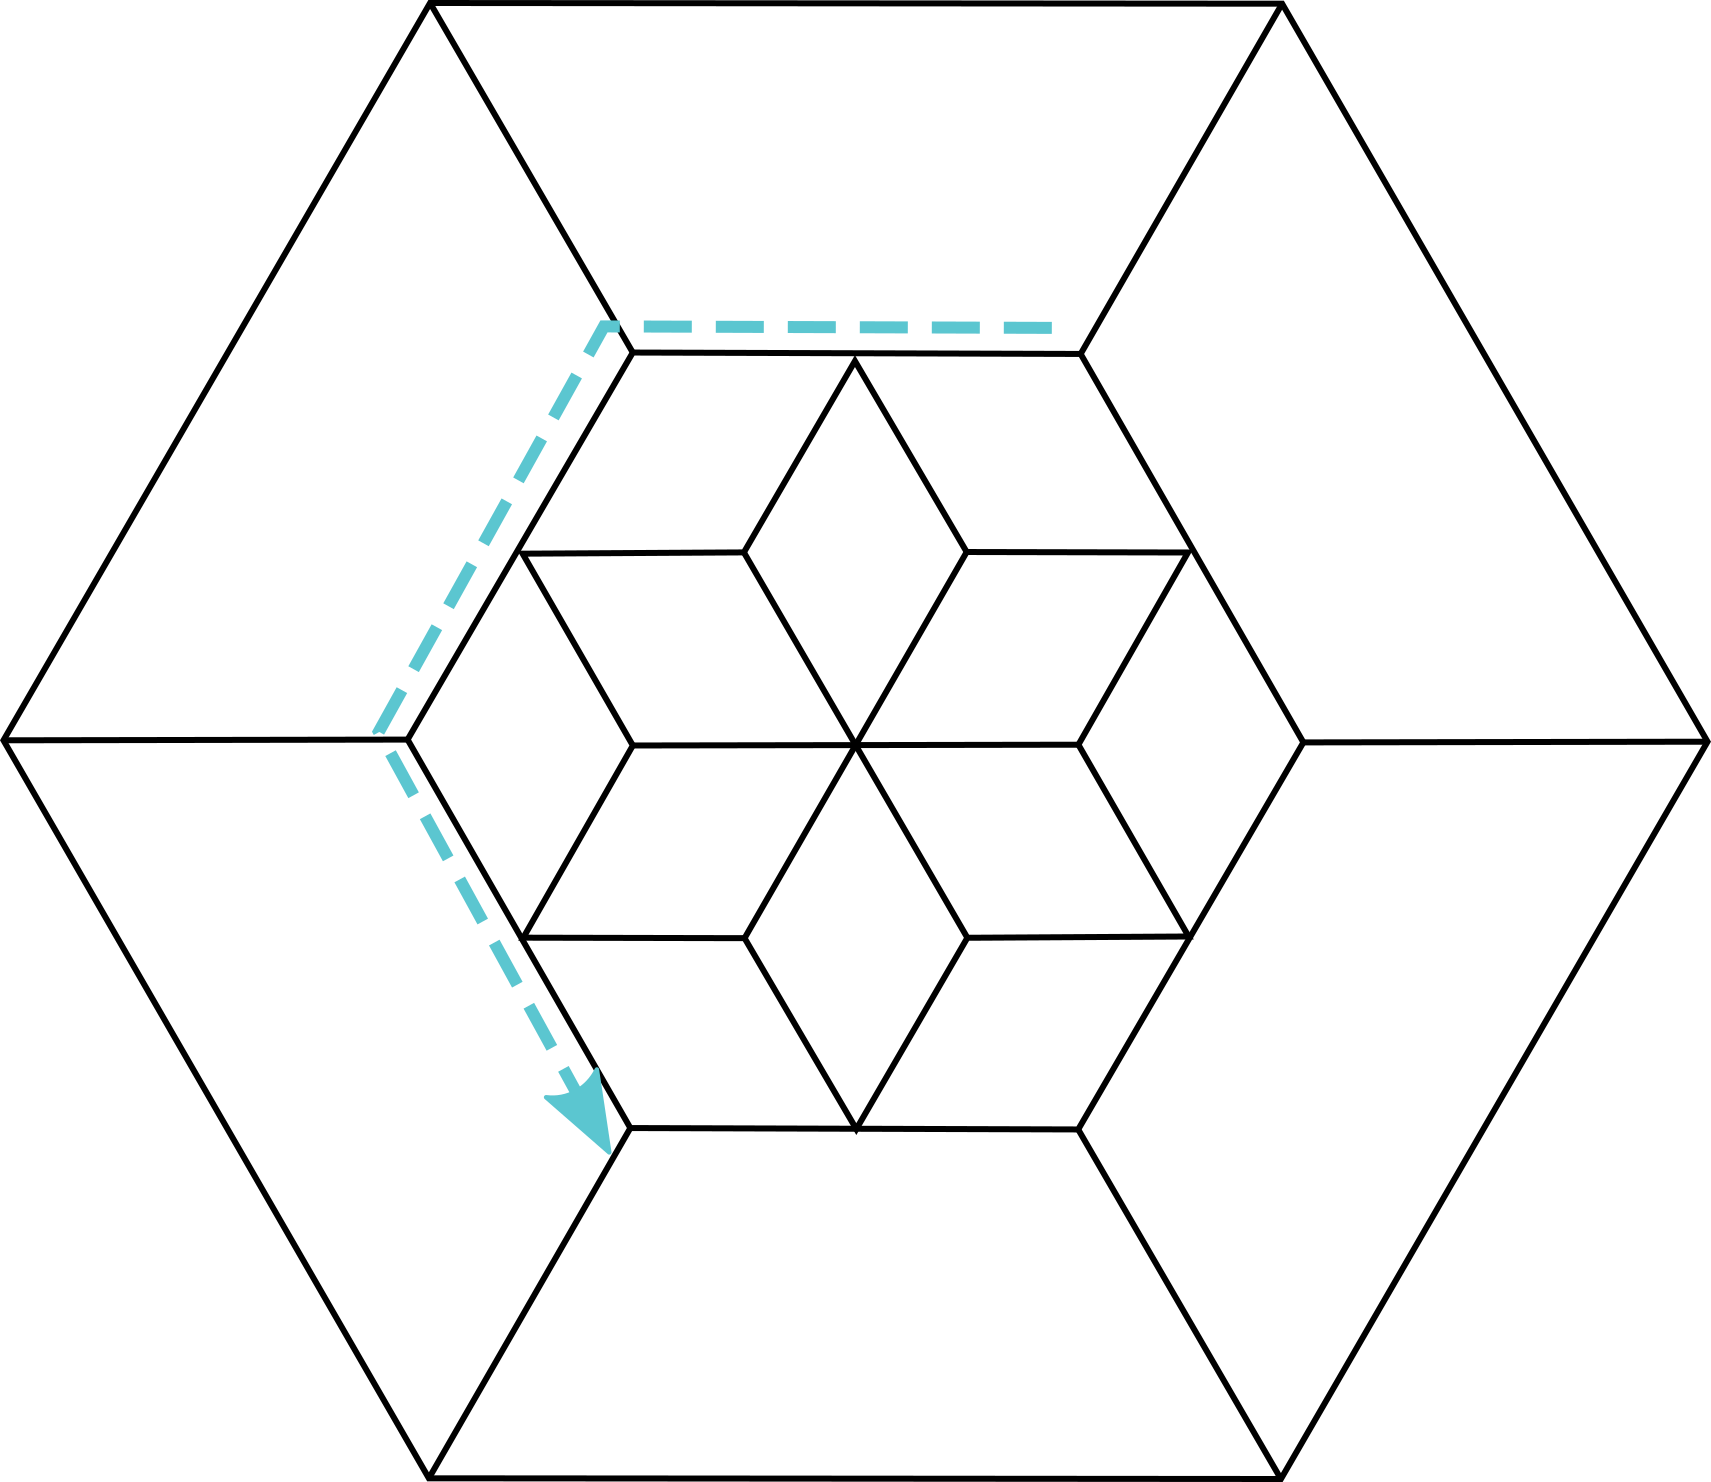
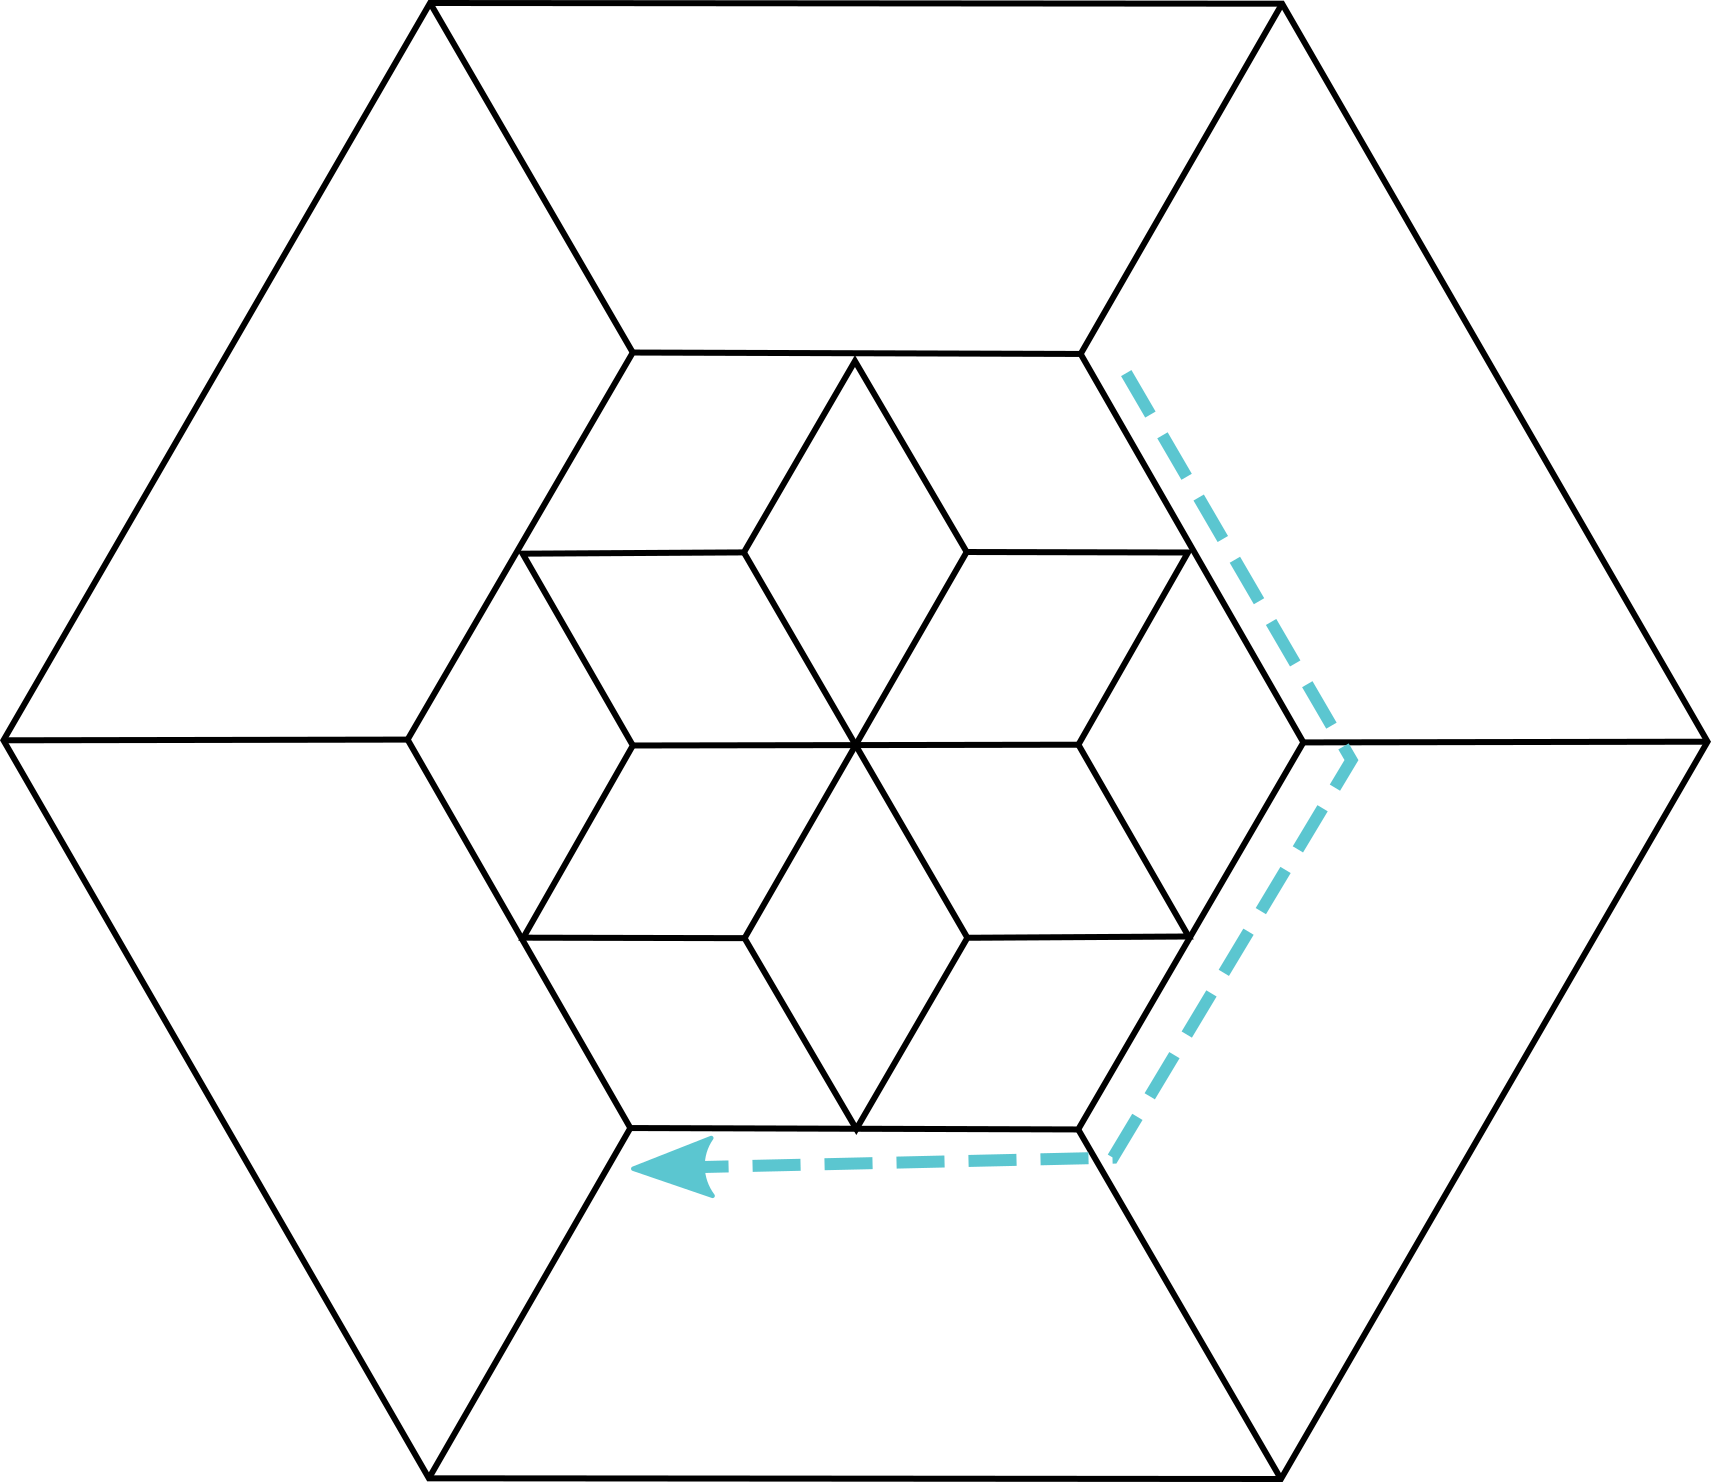
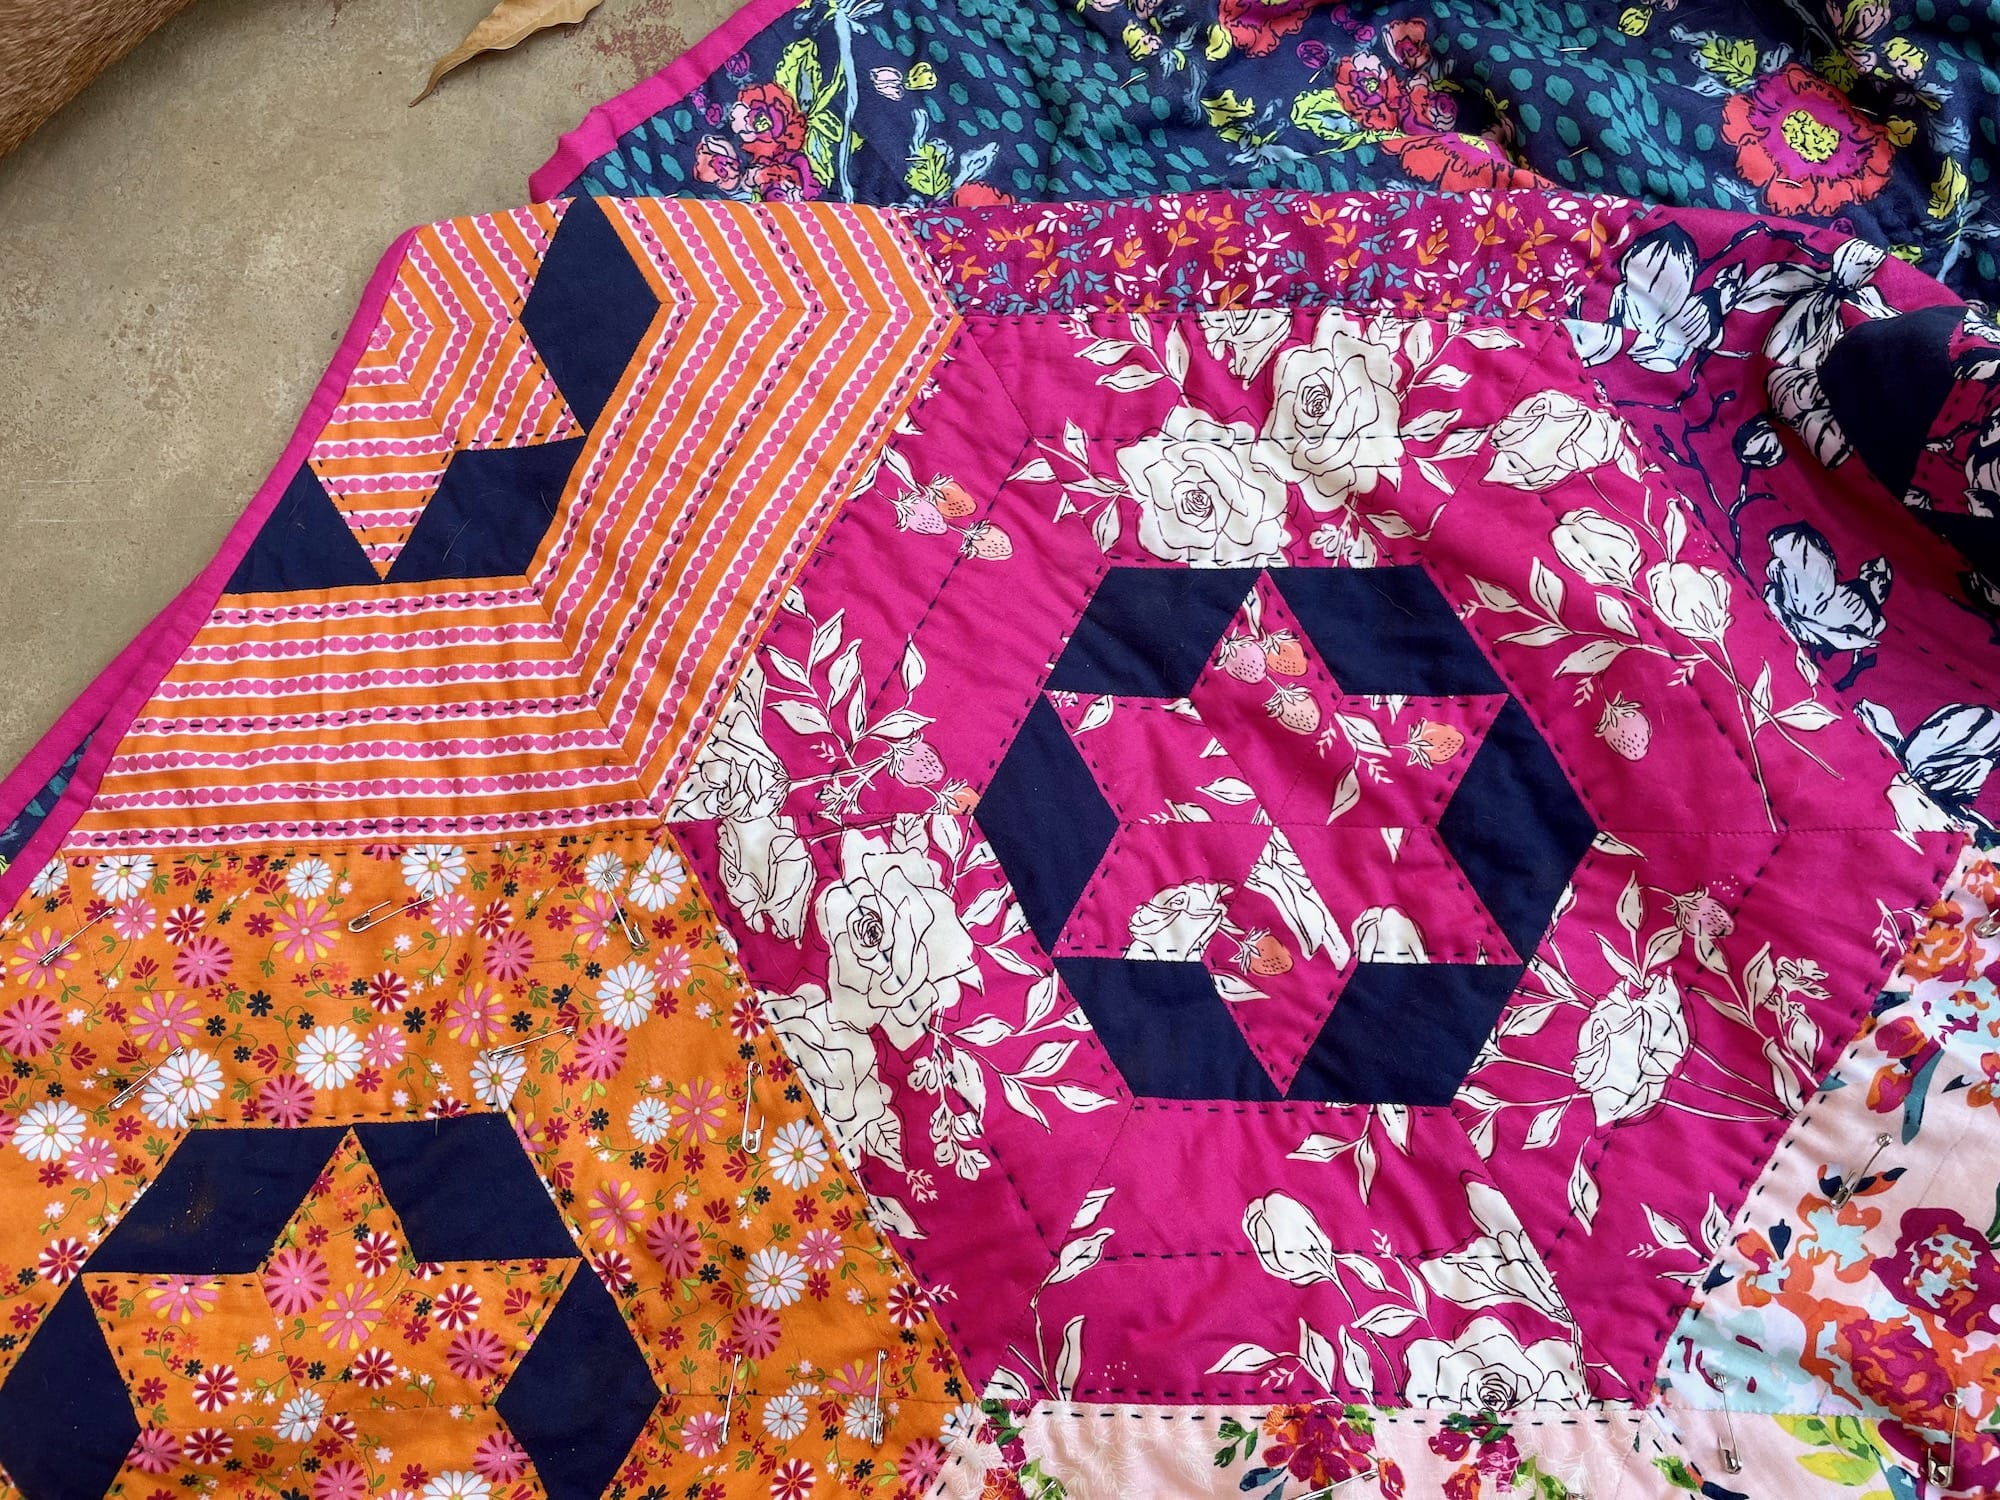
A great example of this is my Sweet Selah quilt. I wanted to outline the stars and stitch concentric hexagons within each block. So I worked the first part of the round along the top of the motif in a counterclockwise direction, but about halfway along, I stopped, went back to where I started stitching, and finished the stitching along the bottom of the motif. Much less rotating and repositioning!
HQ Hack 04: Pin Baste Using This Handy Tool
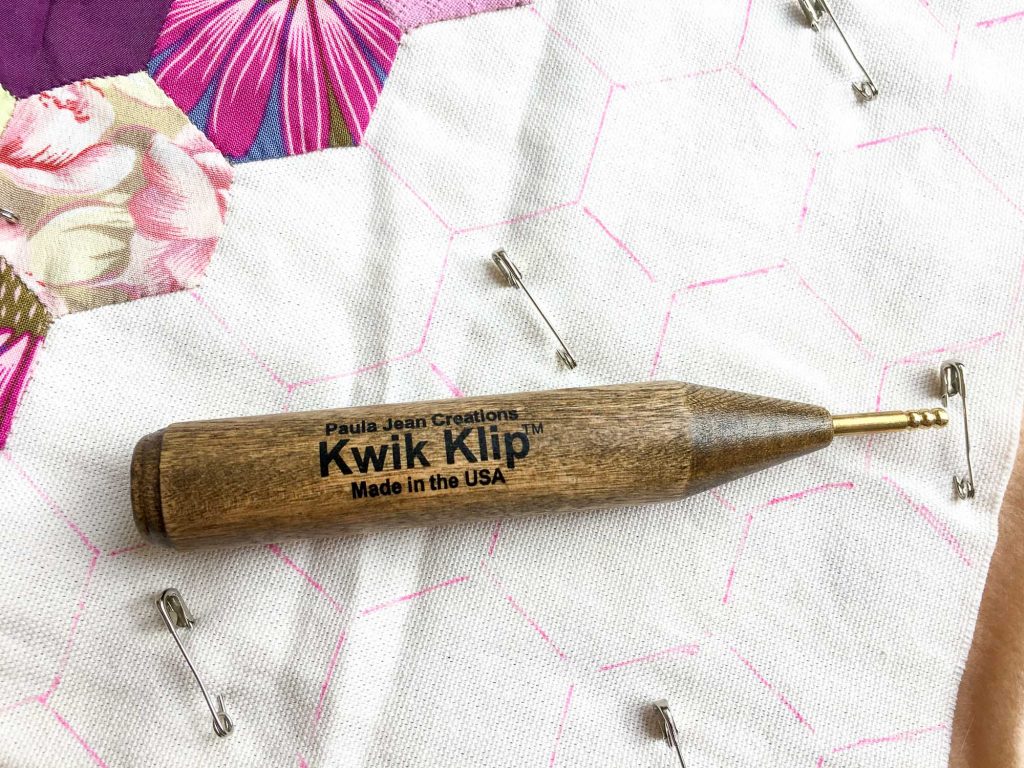
This hack isn’t specific to hand quilting as such, but it might be one of my very favorite quilt related hacks. I share this process in detail in the “From Batting to Basting” segment of Hand Quilting HQ tutorial series, but it’s worth mentioning here.
I used to dread basting quilts (as I’m sure many of us have!). But, once I discovered this handy little tool, called the Kwik Klip, for pin basting, now I can take a deep breath and have at it! This tool basically acts like an extra appendage to help you clip and unclip safety pins much faster and with many less pokes! If you are a pin baster, I highly recommend.
Bonus Hack: Remove pins as you finish a section of hand quilting to cut down on pin removal time later!
HQ Hack 05: Bind before Quilting
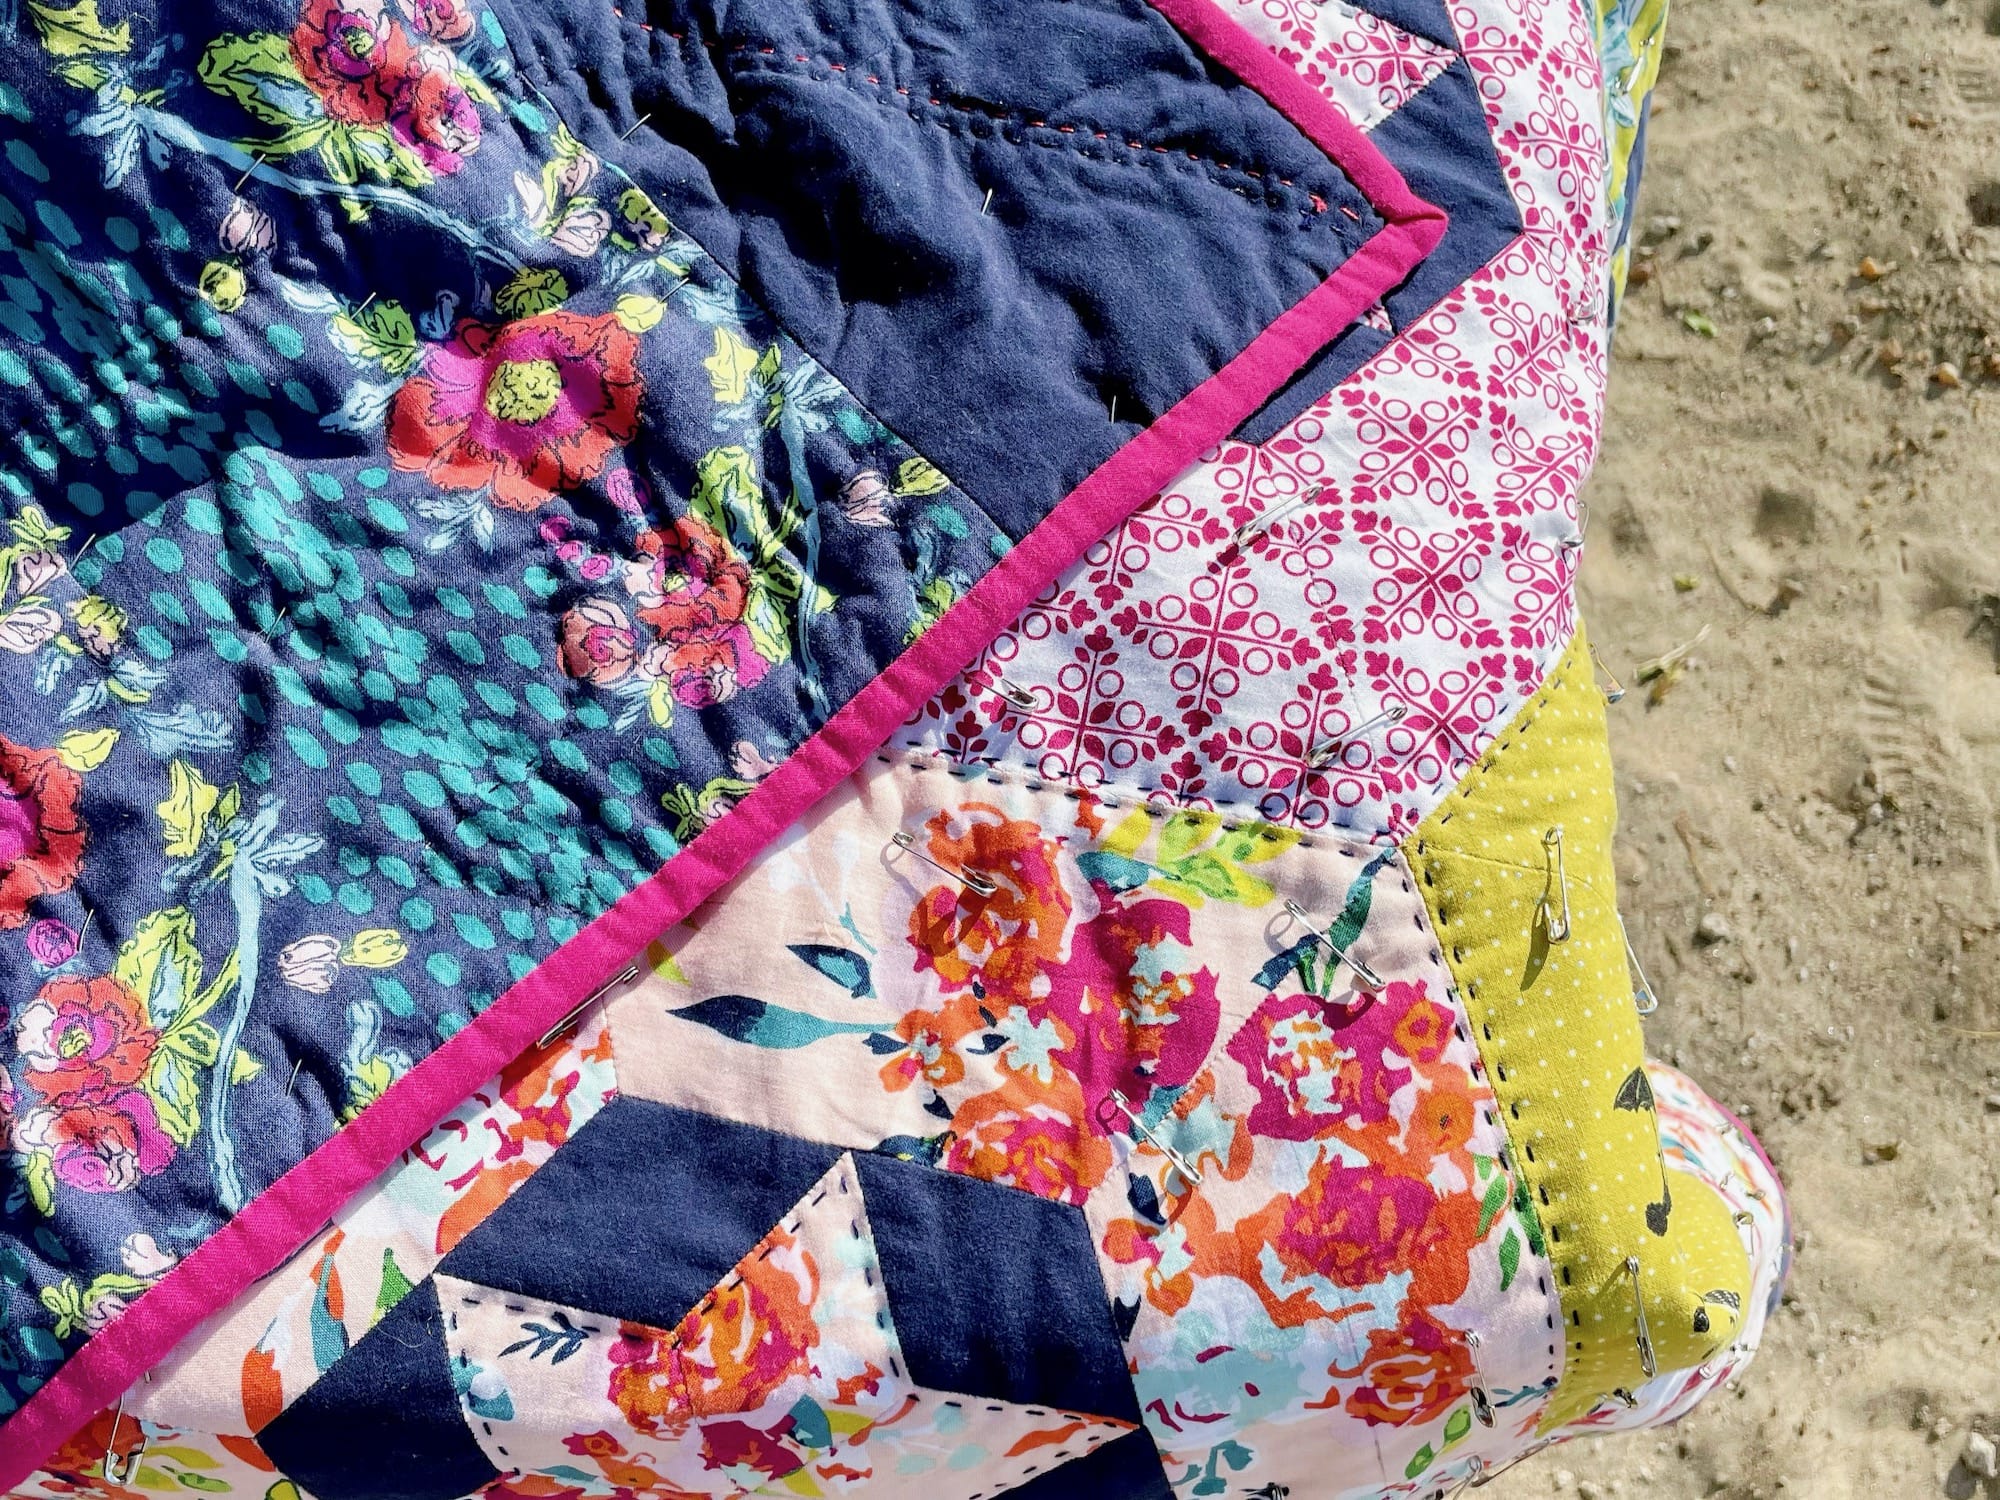
This final hack can be a bit controversial, but it can also be a rather handy tool in your quilty toolbelt. Traditionally, quilts are bound after quilting. And, with machine quilted quilts, I do still recommend holding to that custom. However, if you plan to hand quilt (or are currently hand quilting a quilt), this technique could be a great option.
I generally reserve binding a quilt before quilting for times when I know I’ll be traveling with a quilt as I hand quilt it, but you could do it any time. Having all of the raw edges and batting tidy and finished makes for so much less flapping and fussing!
Of Note:
Be sure that you’ve basted your quilt well to avoid unnecessary shifting of quilt layers. There should be minimal shifting with hand quilting, as opposed to machine quilting, but it never hurts to add extra security. I usually pin about every 3” or in accordance with my quilt motif design.
Happy Hacking?
That’s it! I hope that you have found a few of these hand quilting hacks helpful, and that you’ll give one (or a few!) a try on your next quilt. And, if you have a hand quilting hack of your own, feel free to share in the comments!
Don’t forget to check out the Hand Quilting HQ tutorial series for more helpful tips and tricks related to choosing a quilt motif, batting, basting, handy supplies, and the hand quilting process itself.
Or, if you want to check out my other Stitching Hacks posts, you can find them here.
Don’t forget that you can always pin this post to Pinterest for easy access later.
