English paper piecing, abbreviated “EPP,” is like stitching together all of the pieces of a fabric jigsaw puzzle. You are able to stitch all sorts of shapes and angles that would be difficult to achieve accurately on a machine. In the meantime, you engage in the therapeutic and often meditative rhythm of hand stitching.
This post is part one of three of the EPP Primer. This primer will take you through the basic elements of EPP from supplies to basting all the way to stitching so you can get started in no time!
One of the best things about EPP is that you can begin with relatively few supplies. If you have paper, fabric, a needle, and thread you can begin. There are several variations of these tools as well as additional supplies that can make the process more efficient, but the whole craft can be boiled down to these staple supplies.

Here are a few of my absolute favorite supplies that I have adopted as part of my EPP toolbox. I consider myself a continual student of this craft, and I’m always trying new things. I encourage you to do the same.
Needles

I began using just what I had in my sewing box at the time, and it worked great for a while. However, at some point I read that milliners needles were a long time favorite for EPPers. Once I tried them, I never looked back. However, I did have to try a few different sizes until I settled on the width and length I liked best.
The nice part about milliners needles is that they are rather long and thin. The eye of the needle is the same diameter as the shaft of the needle. This means that the eye of your needle doesn’t snag as it passes through the fabric layers. It also allows for a very comfortable amount of needle for handling with repeated stitching.
My favorite size needle is a milliners #9. It is still rather thin, but it is sturdy enough that it doesn’t bend easily with repeated use. There are a variety of brands that sell milliners needles including Bohin, John James, Tulip, and Dritz to name a few. John James are my favorite, but feel free to try what you can find.
Pro Tips to Care for Your Needles
- Needles do get dull with prolonged usage. So, if you feel like you are straining to stitch, it might be time to grab a fresh needle. I will admit that I typically overuse my needles (many times until they simply snap in half!). But, I like to have three needles going at once so that I prolong the life of each one.
- Have a pin cushion around with either felted wool/wool roving or walnut shells as stuffing. This can help prolong the life and sharpness of your needles. The temptation can be to just stick them in the arm of the sofa or a nearby cushion. Not only can that be dangerous for those coming behind you, it also doesn’t help care for your needles.
Thread

Generally speaking there are two camps regarding thread for EPP: cotton and polyester. I will start out by admitting that I am in the cotton camp, but I feel like it is only proper to explain the benefits of both here.
Polyester
Polyester is well loved for its affordability and durability. It is fine and strong, which are great benefits for EPP since the thread has to hold up to repeated pulling between layers of fabric. It is definitely a no fuss thread option. A trade favorite is Wonderfil brand, but Gutermann and Coats are both readily available and affordable at most major craft stores.
Cotton
Cotton is the most traditional thread used by stitchers. It is well loved for being made of the same material as most quilting fabrics as well as being biodegradable. However, cotton thread requires a bit more care than polyester in order for it to perform at its best. My favorite brand for EPP is Gutermann because it is strong and durable, affordable, readily available, and comes in a variety of colors. However, a trade favorite is Aurifil as it comes in a variety of weights and colors.
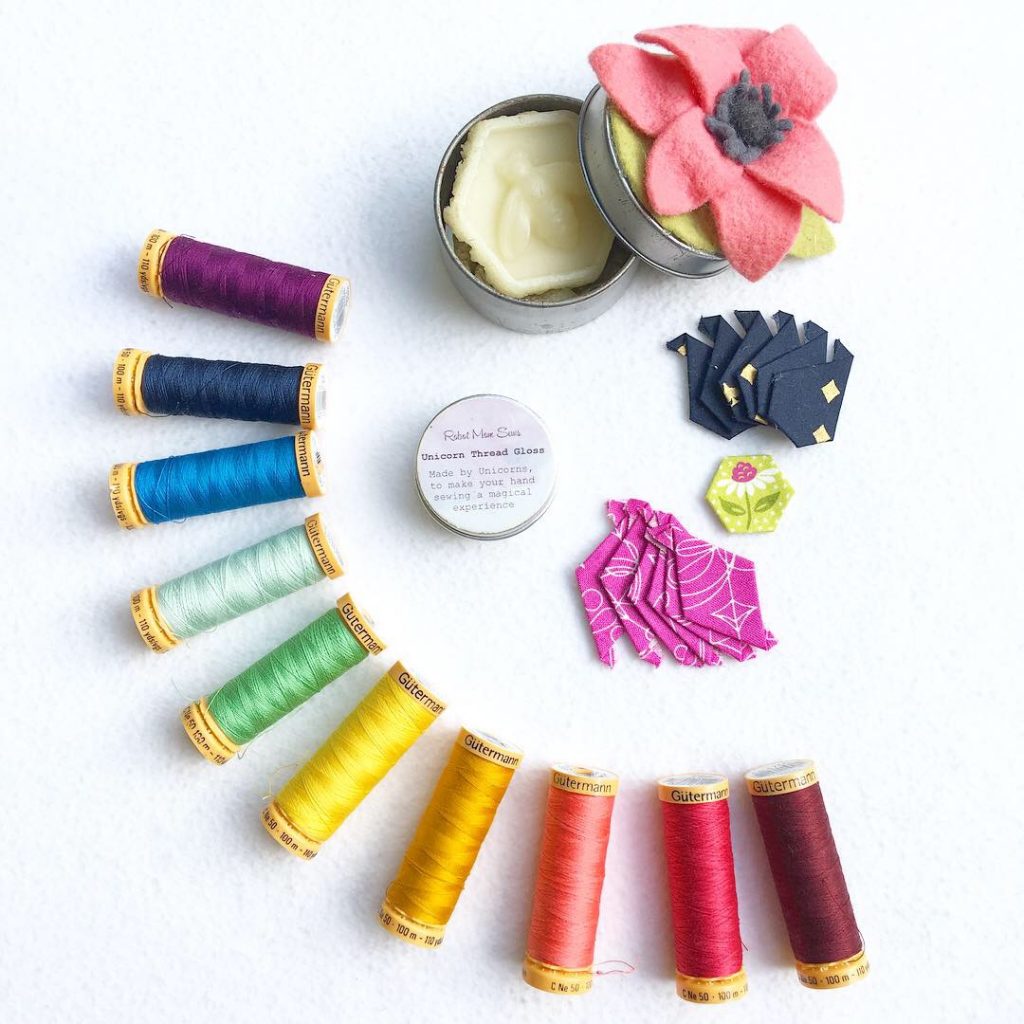
Pro Tips for Cotton Thread
- When using cotton thread for EPP, consider using a fine weight thread of either 50wt or 80wt. (OF NOTE: The larger the number, the finer the thread.) This will help decrease the visibility of your stitches.
- Condition your thread with beeswax or thread conditioner. Conditioning your thread increases the durability of it with repeated stitching and decreases the amount of knots and tangles that occur while stitching. I am partial to beeswax because it has been used traditionally by stitchers of old, and it is a naturally occurring substance. (OF NOTE: I don’t use commercially pre-waxed thread for EPP. I find it thicker and a bit more unruly to work with than waxing my own thread. Pre-waxed thread also does not come in a wide variety of colors and weights. I like to have the flexibility of using whichever thread I prefer for a particular project.)
- Thread your cotton threads “off the spool”. Did you know cotton thread is directional? When it is commercially wound onto the spool, it is wound in such a way that allows for greatest ease of use. By threading your needle with the end that is already coming off the spool, you will greatly decrease knots and tangles as you stitch.
- Because it is a naturally occurring substance, cotton thread degrades with age, much like cotton fabric. Keep your cotton threads out of direct sunlight and/or in a tin or drawer to prevent premature aging. Also keep in mind that if you have inherited cotton thread from a relative or friend, they might prove brittle with the repeated stitching EPP requires. You could reserve these spools for machine stitching or as a keepsake on display in your sewing room.
Fabric

EPP is interesting because it uses paper to maintain its shape during stitching. As such, the fabric is not at risk for being stretched unevenly by the sewing machine. That being said, a wide variety of fabric can be used for EPP. I have seen everything from old t-shirts to delicate silks used for EPP. However, if you are just starting out, I’d recommend sticking with traditional quilting cottons until you get the hang of the process.
Pro Tips for Choosing Fabric for EPP
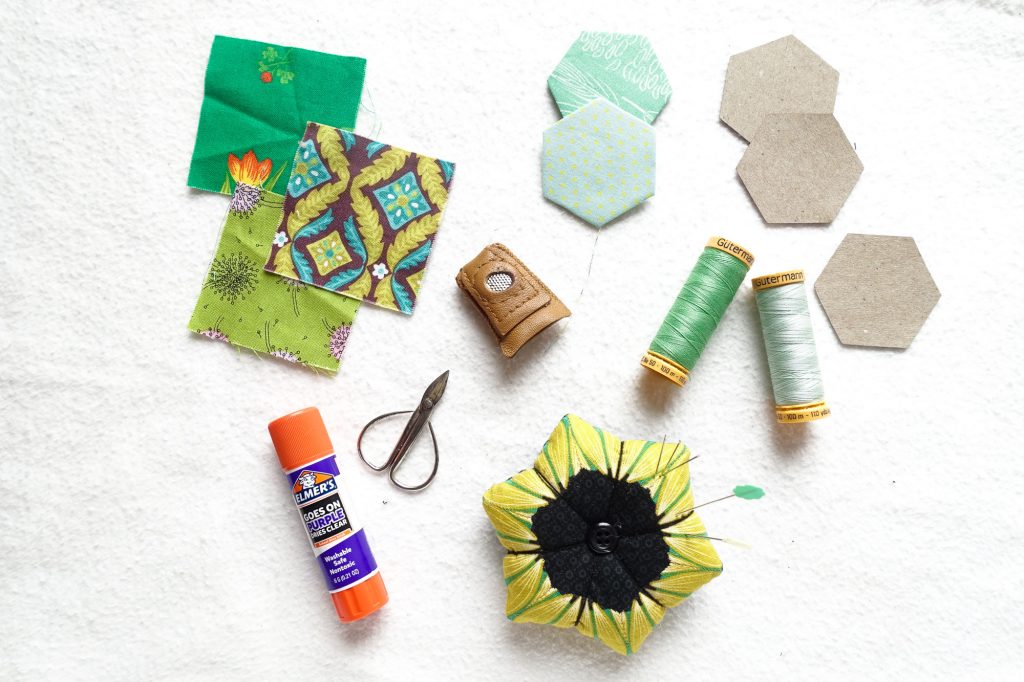
- Since EPP typically features smaller sized pieces, it is important to consider the scale of your fabrics relative to the size of your pieces. Many EPP shapes are smaller than 4” in diameter, which means that fabrics with larger scales to them could be lost on such a small sized piece of fabric. That being said, you could certainly feature a portion of a larger scale print within a smaller piece. In the pin cushion below, I opted to fussy cut the original fabric design to capture a specific portion of the design on the petals only. The result created an entirely new pattern from the original. In this instance I didn’t mind that the original fabric design did not make it into the final project. Just keep in mind what you really love about a fabric and consider if it will actually translate into your final project.
- As I said, most EPP pieces are rather small, which means that cutting on the grain of the fabric is not strictly necessary for the overall project to have a natural drape to it. However, if you opt for pieces that have longer sides (greater than 3 inches per side) it might do you well to consider the grain of the material so that the final piece falls in a pleasing way. Generally speaking, however, it is unnecessary to be concerned with the grain of the fabric.

FAQ: To pre-wash or not to pre-wash?
Ideally, it is best practice to initially treat all fabrics within the same project the same way. In other words, either wash all of your fabric or don’t wash any of your fabric. However, I have mixed many fabrics pre-washed and not washed, and I have typically had satisfactory results. Again, I think that the scale of the pieces has something to do with this, but in an ideal situation, I would treat my fabrics consistently throughout a project.
Papers
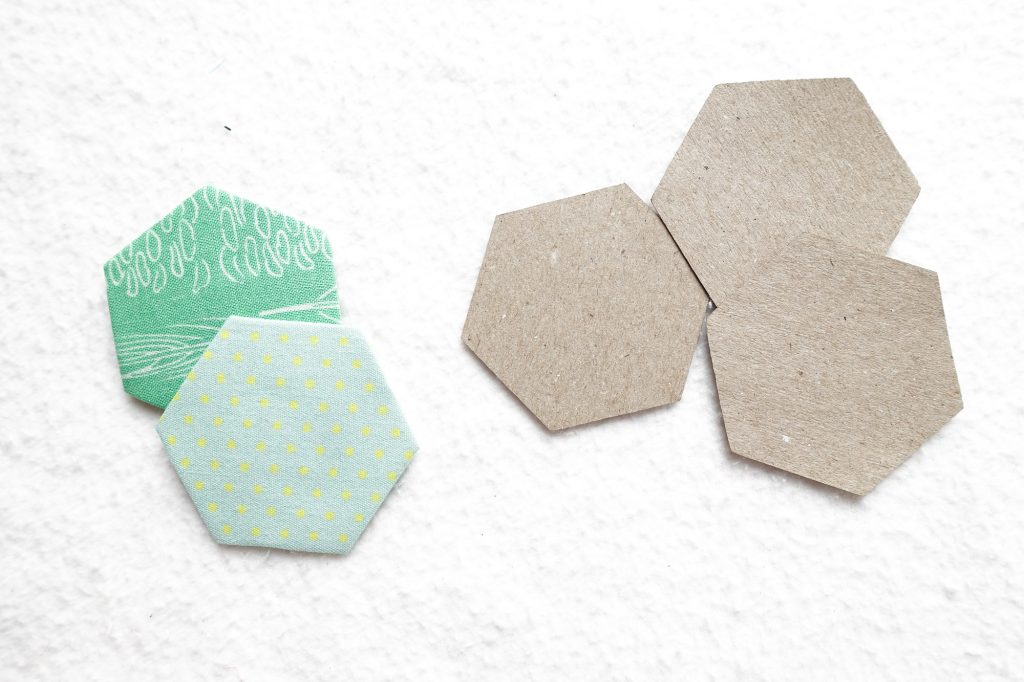
One of the most versatile elements of EPP is that you can use just about any paper you have on hand for your paper pieces. EPPers of old used old letters and receipts as templates. I began my EPP journey printing templates from my home printer. I soon learned that lightweight cardstock can be a sturdier alternative. However, I finally landed on preferring recycled paper best. All this to say, there are a variety of ways to source your papers. Here are the most common.
Hand Cut EPP Papers
When you first begin your EPP journey, you may not want to invest in precut papers. Printable templates can be a great way to start. In fact, I created a FREE hexagon template in 2″, 1”, 3/4”, and 1/2″ sizes that I’ll drop right into your inbox if you’d like to do just that! You can simply print them out at 100% on lightweight cardstock, and you’ll be ready to begin. (Be sure to check out one of my favorite EPP hacks for cutting out these paper pieces in this post!)
Paper Punches

Alternatively, Fiskars sells hexagon punches in 1”, 3/4”, and 1/2″ sizes. (I even found a hexagon punch set that includes an acrylic template that has a 1/4″ seam allowance included for fussy cutting in the 1″ size. They call it 2″ because of the diameter, but the sides are 1″.) These can be used to punch pieces out of the paper of your choice. I like to use these with brown paper bags from the grocery store, but you could use any scrap paper you have. The only down side with these punches is that they come in a very limited amount of shapes and sizes.
Precut EPP Papers

The nice part about buying precut papers is their accuracy. Most are cut with a laser cutter, which ensures that your sides will be even at every seam. In addition, if you plan on making a larger scale quilt, having all of the pieces you need sent straight to your door is a huge bonus.
My favorite shop to buy paper pieces from is Tales of Cloth. It is a family run company based in Australia owned by Tim and Jodi Godfrey. They only use recycled paper and sustainable packaging, which is a win-win to me!
Reusing Your EPP Papers
Regardless of which papers you use, a lesser known fact about EPP papers is that they can be reused. Granted, there are typically a few casualties with each quilt I make, but I tend to be able to preserve most of my papers from a given project. Try the following tips to prolong the life of your papers in order to reuse them in future projects.
Pro Tips to Maintain Your EPP Papers
- If you glue baste your EPP papers, use a gentle glue. I have had great results with Elmer’s disappearing purple glue sticks, as well as the Dollar Tree brand “Jot”. Whichever you use, make sure it is washable.
- Once you remove your papers, give them a quick press with a hot, dry iron. This can help smooth out some of the jagged edges and creases that occur with repeated stitching and handling.
- Store your papers in an orderly fashion. I like using labeled ziplock bags or plastic storage containers. This helps me keep track of which sizes and shapes I have if I want to use them again.
FAQ: What if I forget to remove a paper in my final quilt?
Don’t panic! Many quilters of old left the papers in and they slowly dissolved or softened over time. I have a few quilts that I realized had papers left in them even after I quilted them! After a few washes I couldn’t tell you where they are at this point. However, since the whole patchwork is hand stitched, you could carefully open a few seams adjacent to the remaining paper and carefully remove it before restitching it closed. A helpful tip to check for remaining papers is to hold your quilt top up to the light. Any remaining papers should appear opaque while the rest of the quilt should appear like stained glass.
Glue
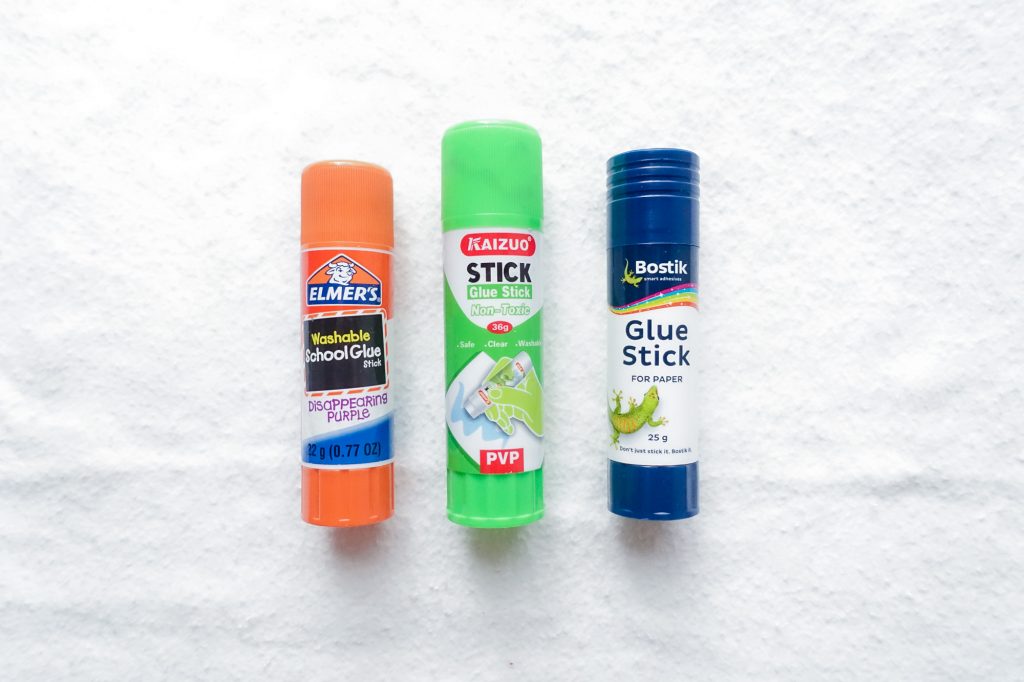
I cover the use of glue versus thread for basting EPP pieces in the Basting section part of this EPP Primer. However, the short version is that I use glue because if I had to stitch my pieces before I started stitching them together, I’d never make any progress with EPP. However, try both ways and decide which works best for you.
If you settle on glue, try different glues until you find one that you like best. There are a few glues created specifically for EPP, such as the Sewline glue pen. I’m sure that they could be superior in performance, however, I am always one to use what I have on hand. From there, I try to find the most affordable version with the best results. Whichever you choose, make sure it is washable and not permanent.
I have been very happy with the results of Elmer’s disappearing purple glue sticks. You can get them quite affordably just about anywhere in the US. They are my favorite for use on Liberty fabrics because they are very gentle and don’t require a lot to hold down the fine tana lawn fabric.
However, my general favorite for all other fabrics has been a recent discovery. The “Jot” brand sold by Dollar Tree in the US is amazing. It has just the right amount of tack and doesn’t make my fingers all gooey with glue. Currently, I live in Malawi where American brands are rarely available. I do try to stock up when I can, but I have used a few different brands with varied results. I try to use Bostik brand when I can find it, but it can be expensive with all of the import taxes. So, I usually settle on whatever washable variety I can find.
FAQ: Will glue ruin my final project?
I wrote a more exhaustive post about this for Tales of Cloth here, but generally speaking, many of us make quilts so we can snuggle under them, wrap them around those we love, or pass them down to the generations that come after us. Using quilts in this way will typically mean that the quilt will be washed and rewashed over time. Using washable glue sticks that are acid free generally wash out with a single washing since even water will remove the glue, and if they’re acid free yellowing is a rare occurance.
Thimbles
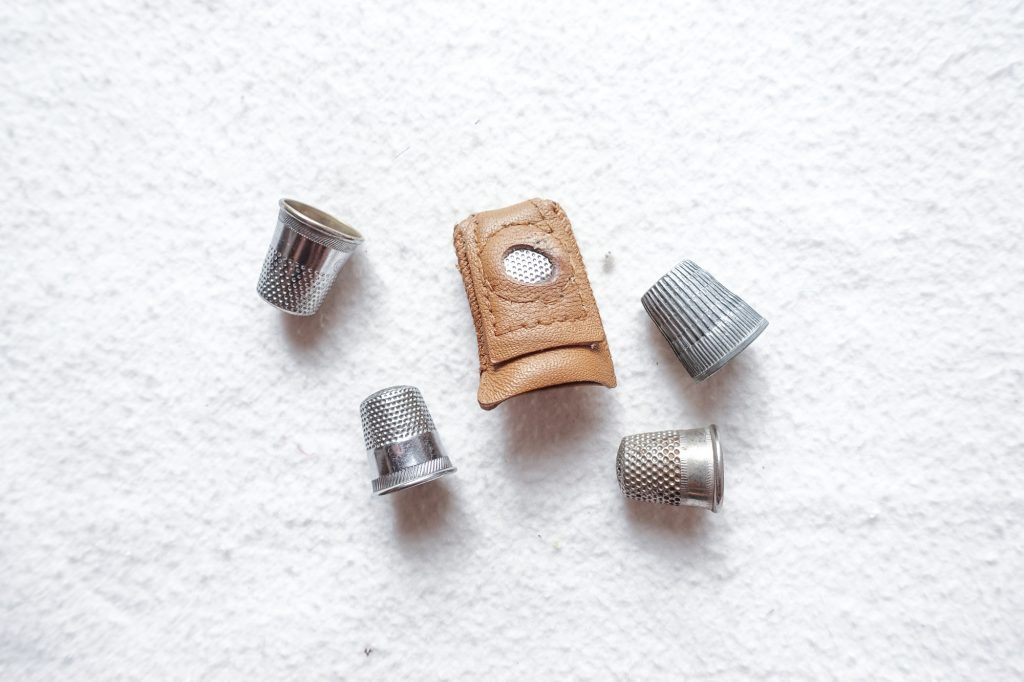
There are a lot of opinions about whether or not you need a thimble for EPP. I wholeheartedly understand the debate. After teaching a handful of EPP classes, I have observed that the way people hold a needle is as unique as how they hold a pen.
The way I hold my needle is such that using a thimble makes for a more enjoyable stitching experience. When I first began stitching I didn’t use one. I hoped that I would simply build a callus on my needle pushing finger. Alas, all I ended up with was a sorely punctured finger. I tried a few different thimble styles from traditional metal thimbles to thimble pads that stick to your finger. What ended up working best for me was a leather coin thimble. Unlike a metal thimble, it is pliable and allows for a better “feel” or “grasp” on the needle. The “coin” part is a metal insert on one side of the thimble that provides a sturdy surface to push against the needle.

Have a look at how you hold your needle. Then, pay attention to whether your fingers are sore after prolonged periods of stitching. If you notice your fingers getting sore, consider using a fabric bandaid/plaster until you determine which thimble style might work best for you.
Time to Begin English Paper Piecing!
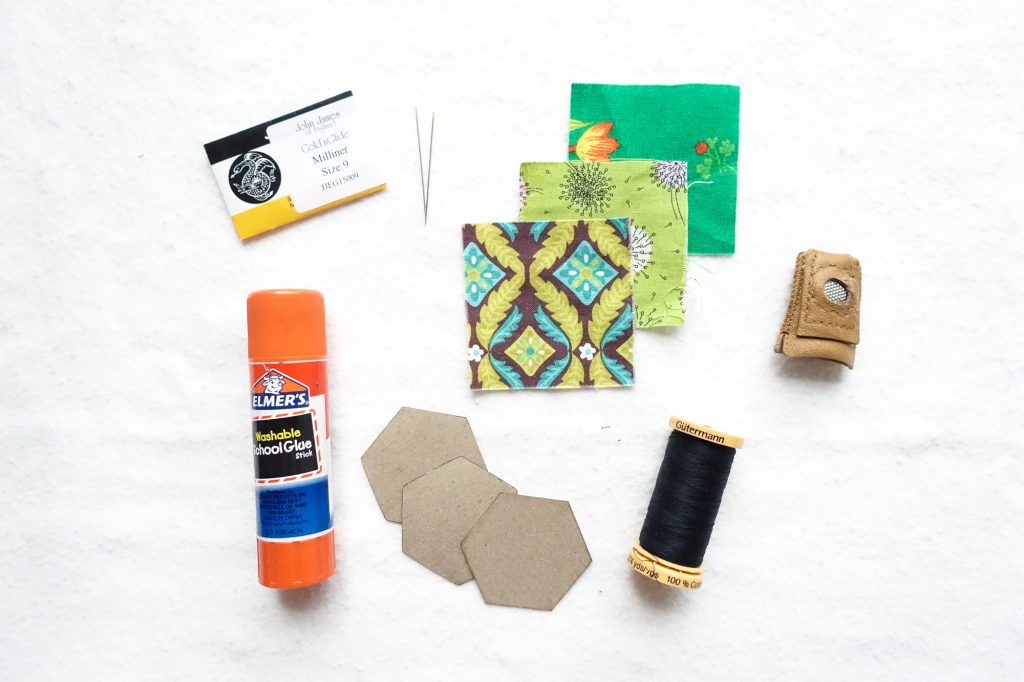
So there you have it, a convenient starter list to get you stitching on your first EPP project! I hope that you have found it helpful! Please feel free to comment below with any of your favorite tips and tools. I love learning from others in this craft, and we each have a unique perspective to offer. To continue on to the next section of this EPP Primer, Basting, click here.
For future reference, you can always find all of the sections of the EPP Primer here. Or you can use this handy pin for easy access from Pinterest.
One Response
I learned to do EPP some years ago and love it. I still enjoy reading what others have to say about it and their methods, Your guide is probably the best written and illustrated one I’ve seen. Lovely job! I do think you should have mentioned prewashing red fabrics in particular though, since they’re notorious for bleeding… even well known fabric lines can cause some unhappy disasters.