This basting post is part of the EPP Pro tutorial series. For the most fluid experience, I recommend starting at the beginning since the posts build upon each other. If you missed any of the previous posts, you can find them here.
I have talked about basting before in this post as well as the basics in the EPP Primer: Basting tutorial. But, I feel the need to come back to it again.
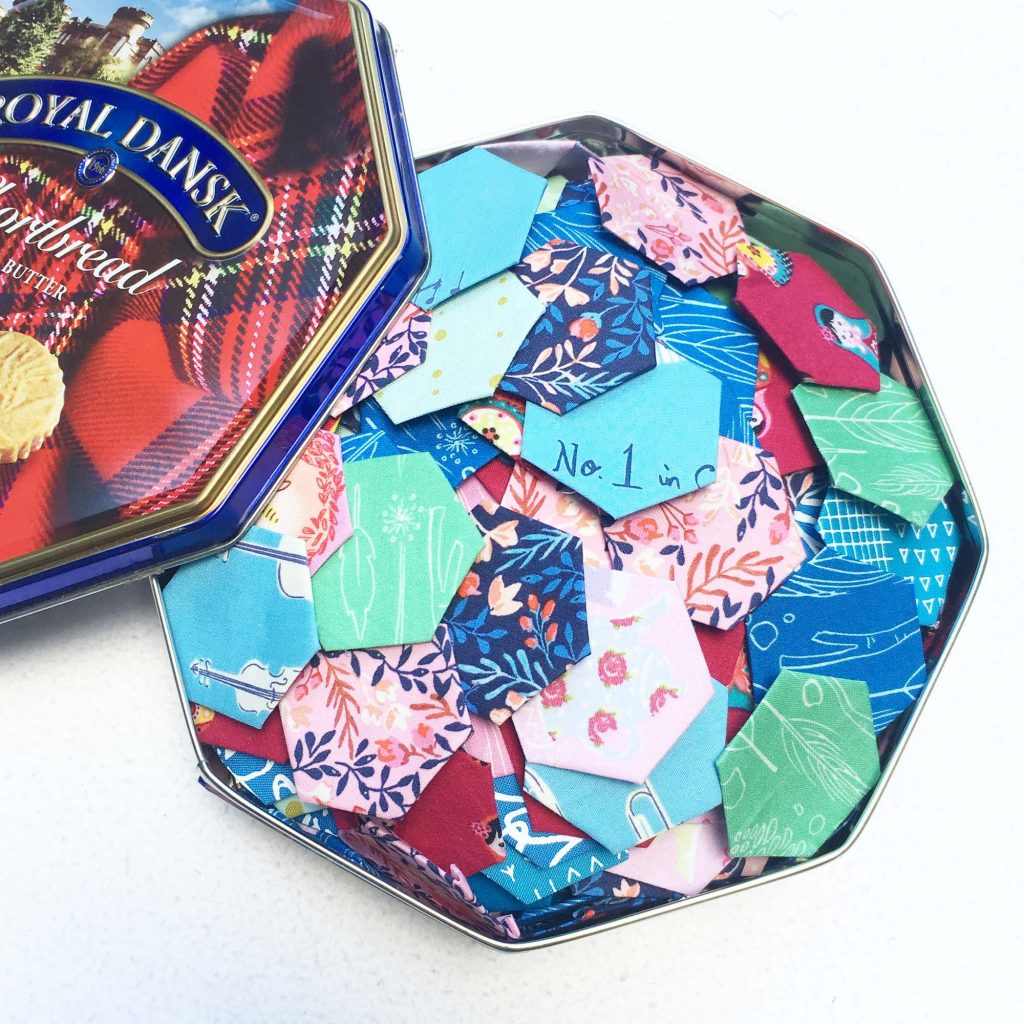
Once I started to bulk baste my EPP pieces, I stitched three entire EPP quilt tops in six months. At the time of this post’s publication, two of them have been quilted and bound, and one is nearly finished with the appliqué stage.
I have also completed three machine pieced quilt tops and hand quilted two of those in that same time period. This is not because I am some kind of quilt ninja, it is simply because I learned that front loading the tedious steps freed me up to just keep stitching when I had the chance.
Bulk Basting
“Bulk basting” is probably my new favorite skill in my EPP repertoire. It is the process of basting lots of paper pieces all at once so that you can just pick up your pieces and stitch! It took me about three years of doing EPP to realize the delight of engaging in this time saving process, and now I just can’t stop!
This process is especially wonderful if you have a general idea of where you want your final EPP patchwork to end up. Whether you have utilized a coloring page for your pattern and you know just how many pieces of each fabric you want, or you know that you want to repeat a particular fabric for a particular shape throughout your design, bulk basting can be really efficient. However, even if you are enjoying the process of creating your blocks as you go without having much of a plan, there are certainly a few tips and tricks you can incorporate into any EPP project.
That being said, I never even considered it an option until recently, and it has completely changed my mindset about even my scrappy quilts. This concept is not original with me, and I know many experienced EPPers utilize this technique already. However, it doesn’t seem to come up as a “pro tip” very often, so I figured it could be helpful to explain it a little more intentionally here.
Start with Strips
You can bulk baste even fussy cut pieces by using the assembly line process I mentioned in the first post of this EPP Pro series. Simply cut all of your fabric first, then baste all of your pieces.
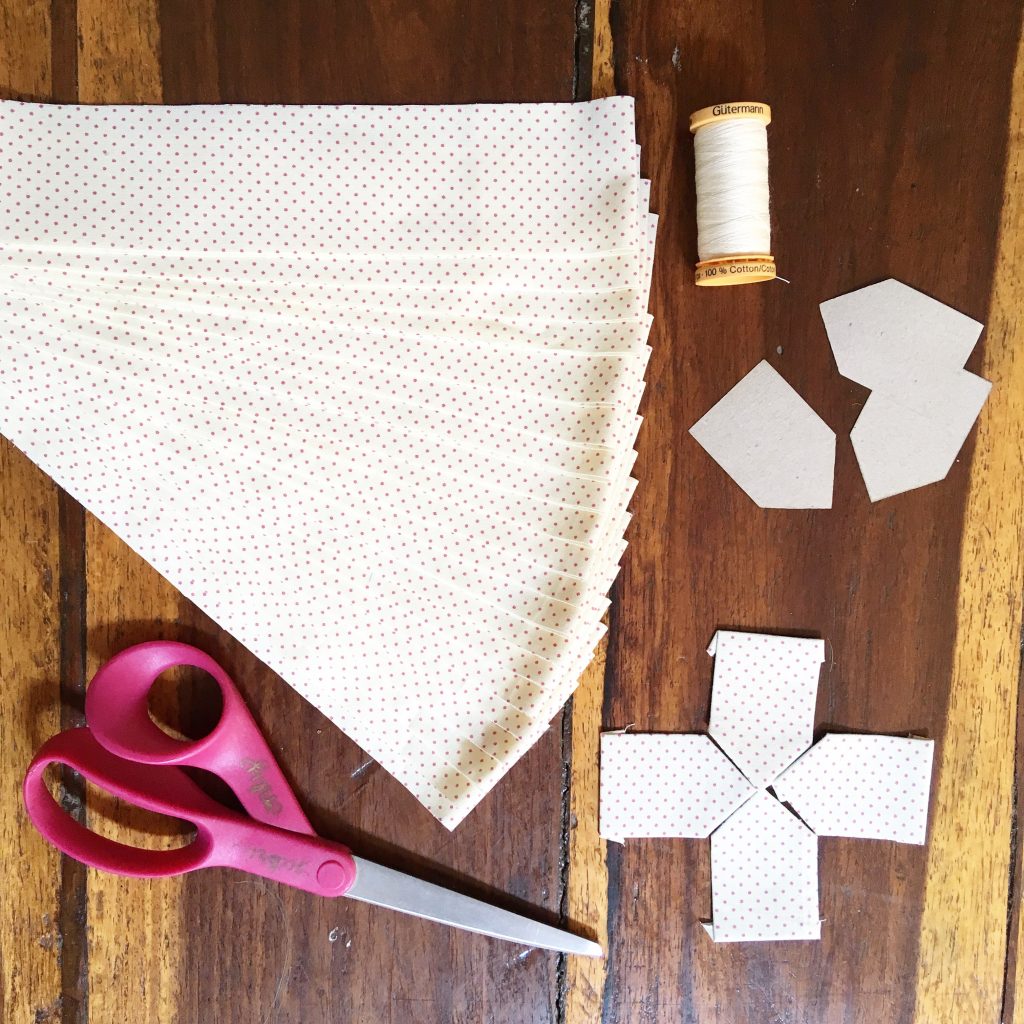
However, I have found bulk basting to be most enjoyable when starting with long strips of fabric in a width suitable for the size of my paper piece. I can then line up my pieces along that strip and cut them out. These strips can be width of fabric (WOF) or any length you have on hand. (This can be a great way to use up excess strips of leftover binding!)
Whatever the length of your strips, the width is the important part. Jodi Godfrey created a lovely chart of widths for commonly used paper pieces in her Hexie Handbook if you have one (if you don’t, I HIGHLY recommend it). But if you don’t have a copy or you are trying to figure out the width of a strip for a piece not listed there, the following process could be a great place to start.
Determine the Width of Your Strip
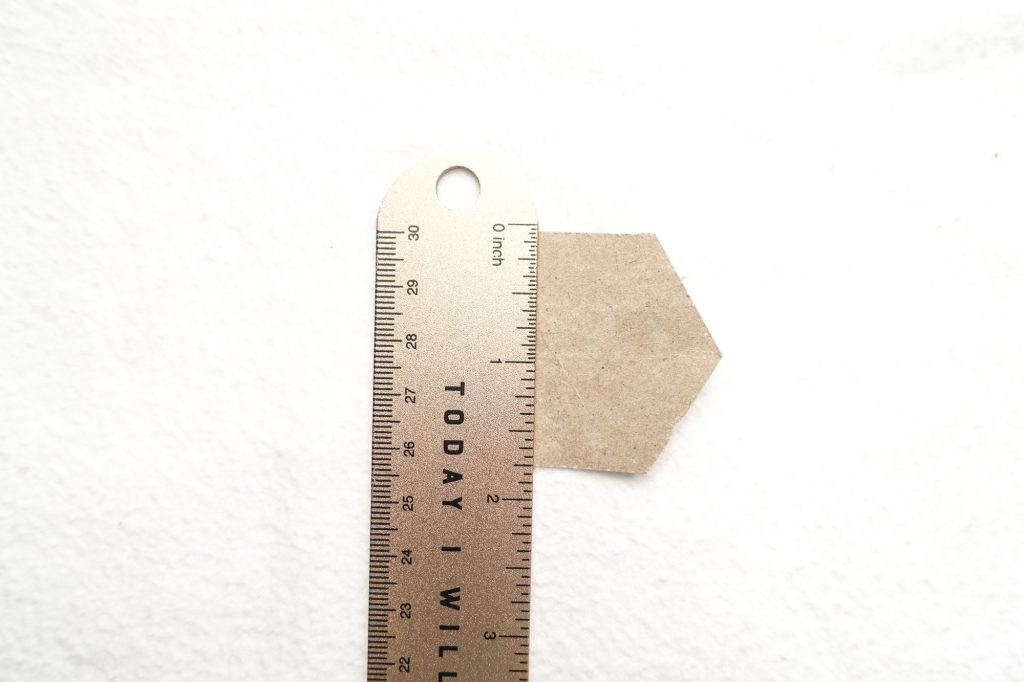
Position your paper piece with the flat edge down. For pieces that have multiple side measurements, ensure that the longest side is down. Measure the height of your paper piece beginning from the bottom edge. Then add 1/2” to that measurement. Round to the nearest whole 1/2” for your final measurement.
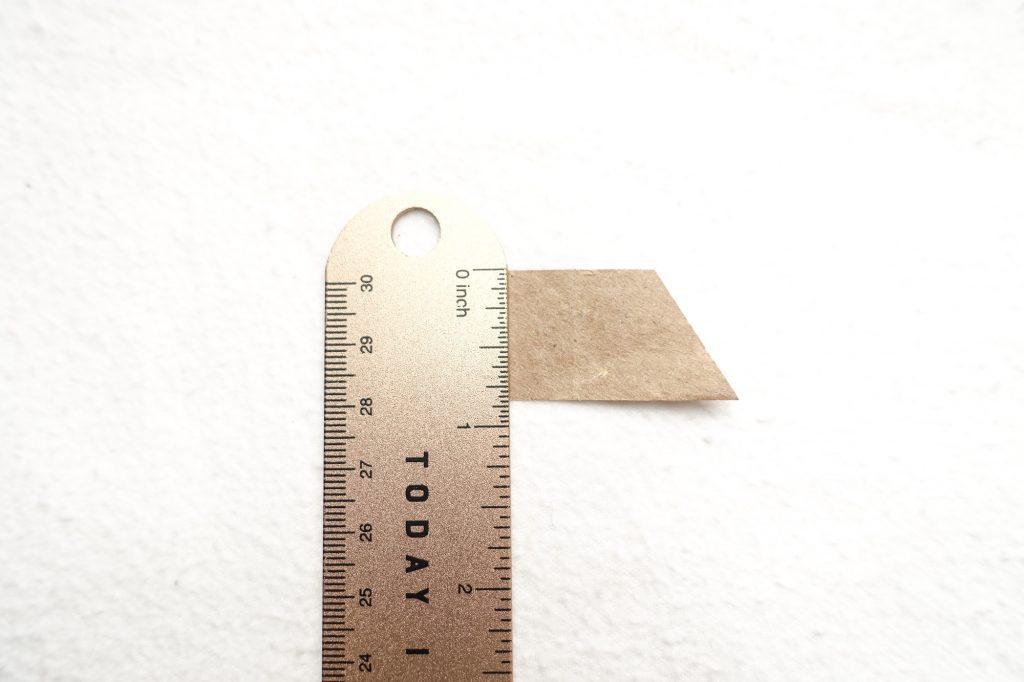
For example, if I measure across a 1” hexagon, the measurement is approximately 2”. Then I add 1/2” to that measurement to arrive at a 2.5” wide strip of fabric. Another example is a 1” half hexagon. The height is approximately 1”. I add 1/2” to that measurement to arrive at a 1.5” wide strip of fabric. If all this math gives you a headache, I’ve written it in a handy formula below.
Handy Formula:
height of paper piece + 1/2” = fabric strip width
Cut Your Strips
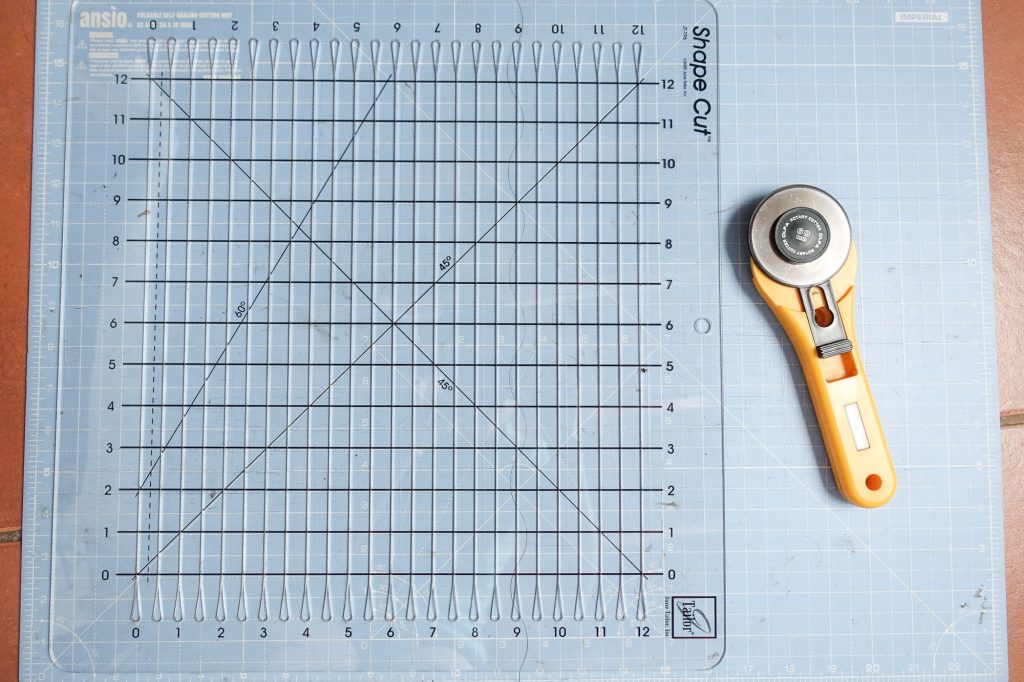
Now that you know how wide your strips need to be, you can begin cutting them. Of course you can use your regular quilt ruler, rotary cutter, and cutting mat. However, if you are going to adopt this method of bulk basting, I highly recommend investing in a slotted strip ruler. The trade favorite is the Stripology ruler, which comes in a variety of useful sizes for WOF and FQ cuts.
PRO TIP:
These rulers are perfect for cutting binding strips too!
How do you use them?
One note before we begin. I have endeavored to create as aesthetically pleasing a layout as possible with this post in order to enhance readability. As such, desktop users will notice that each list of steps is staggered with an alternating text block and image. If the images appear too small at any time, simply click on the image and a full scale version will pop up.
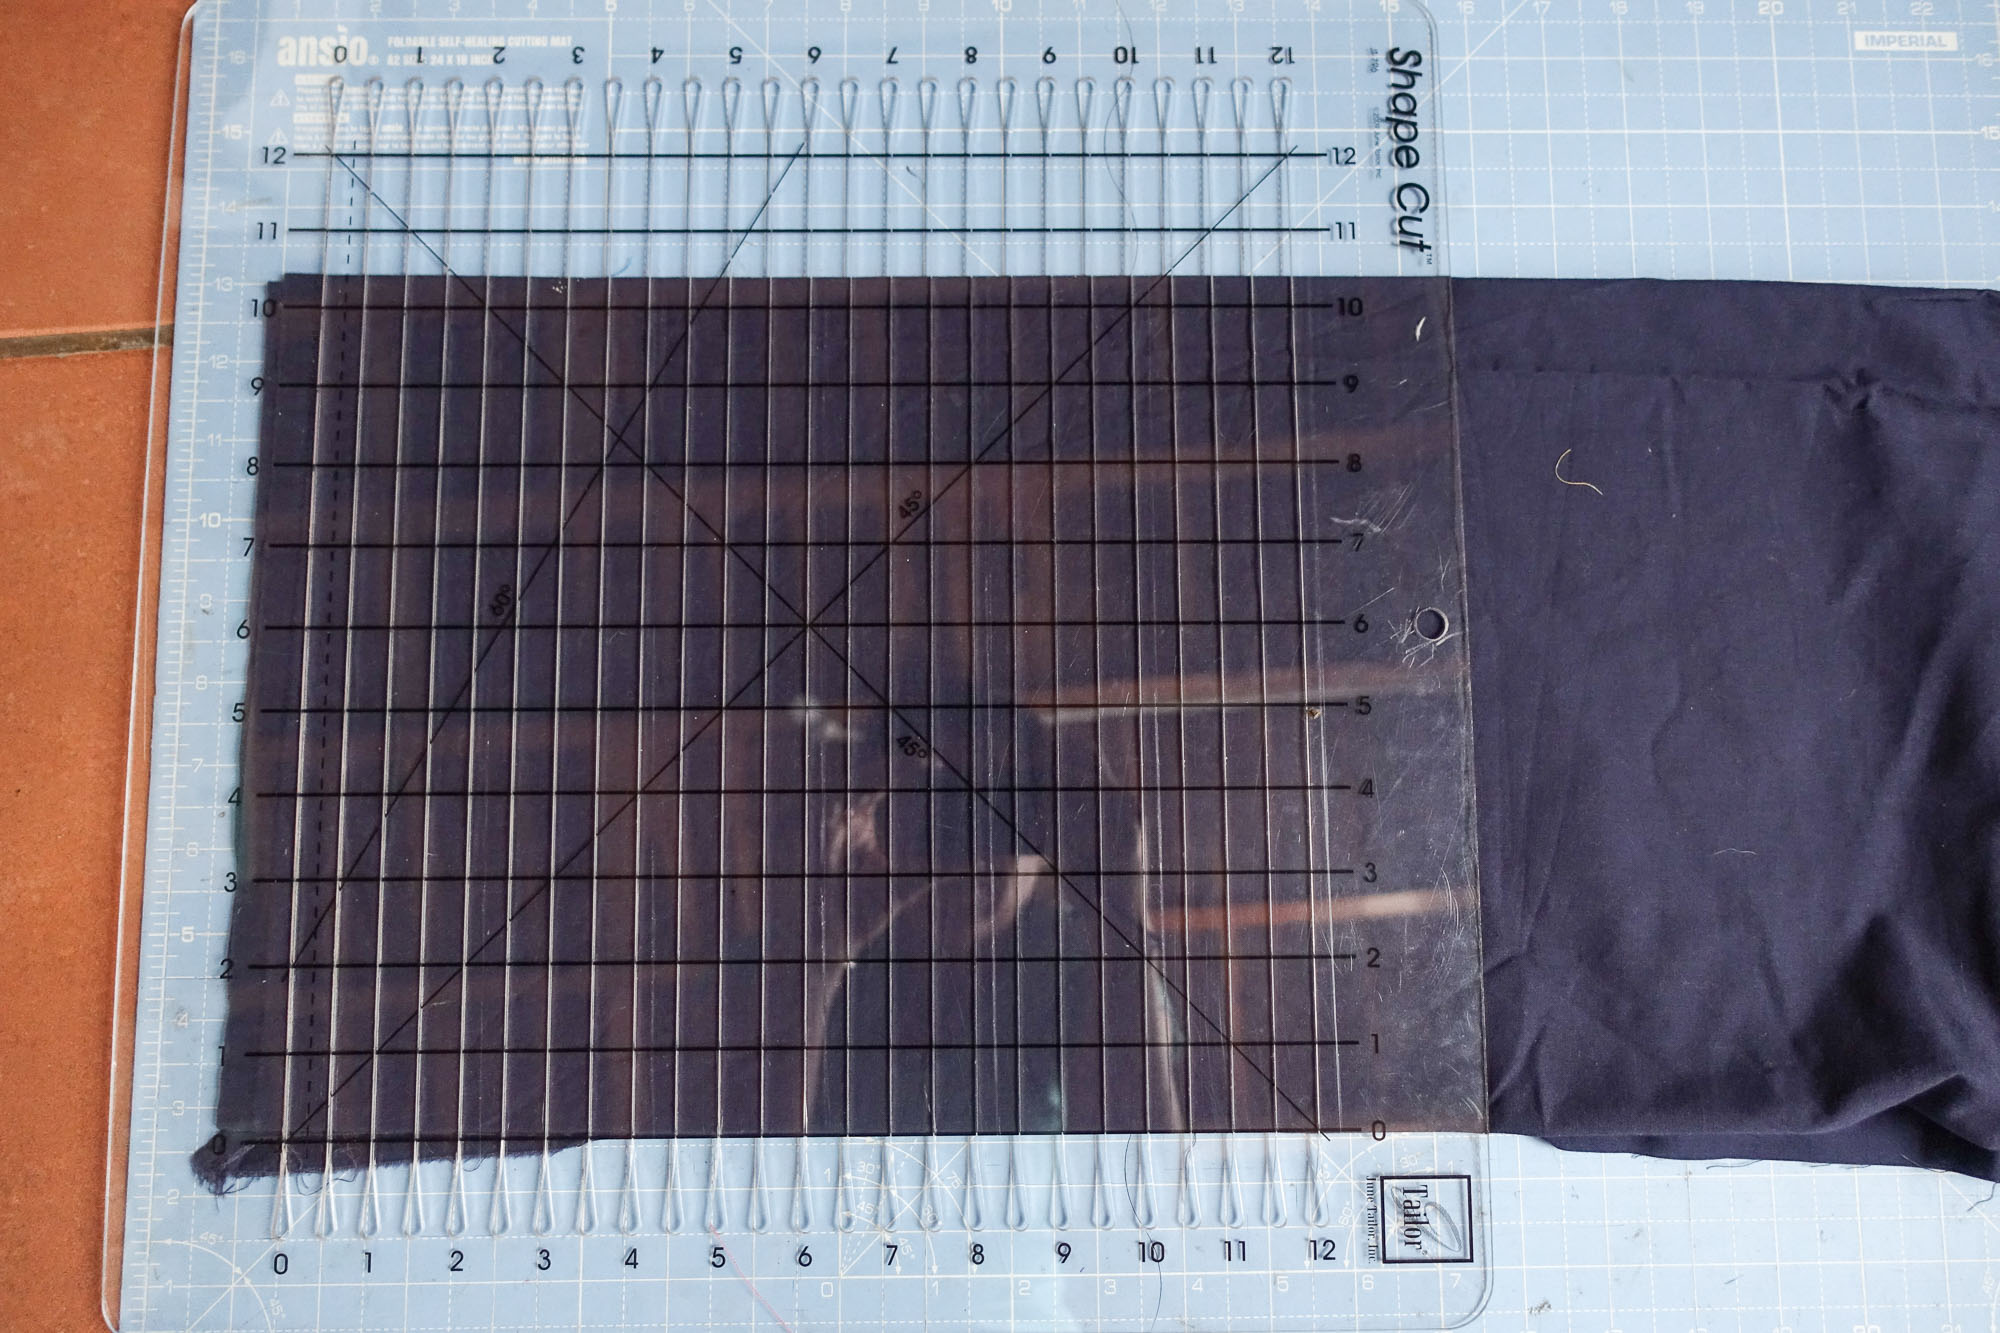
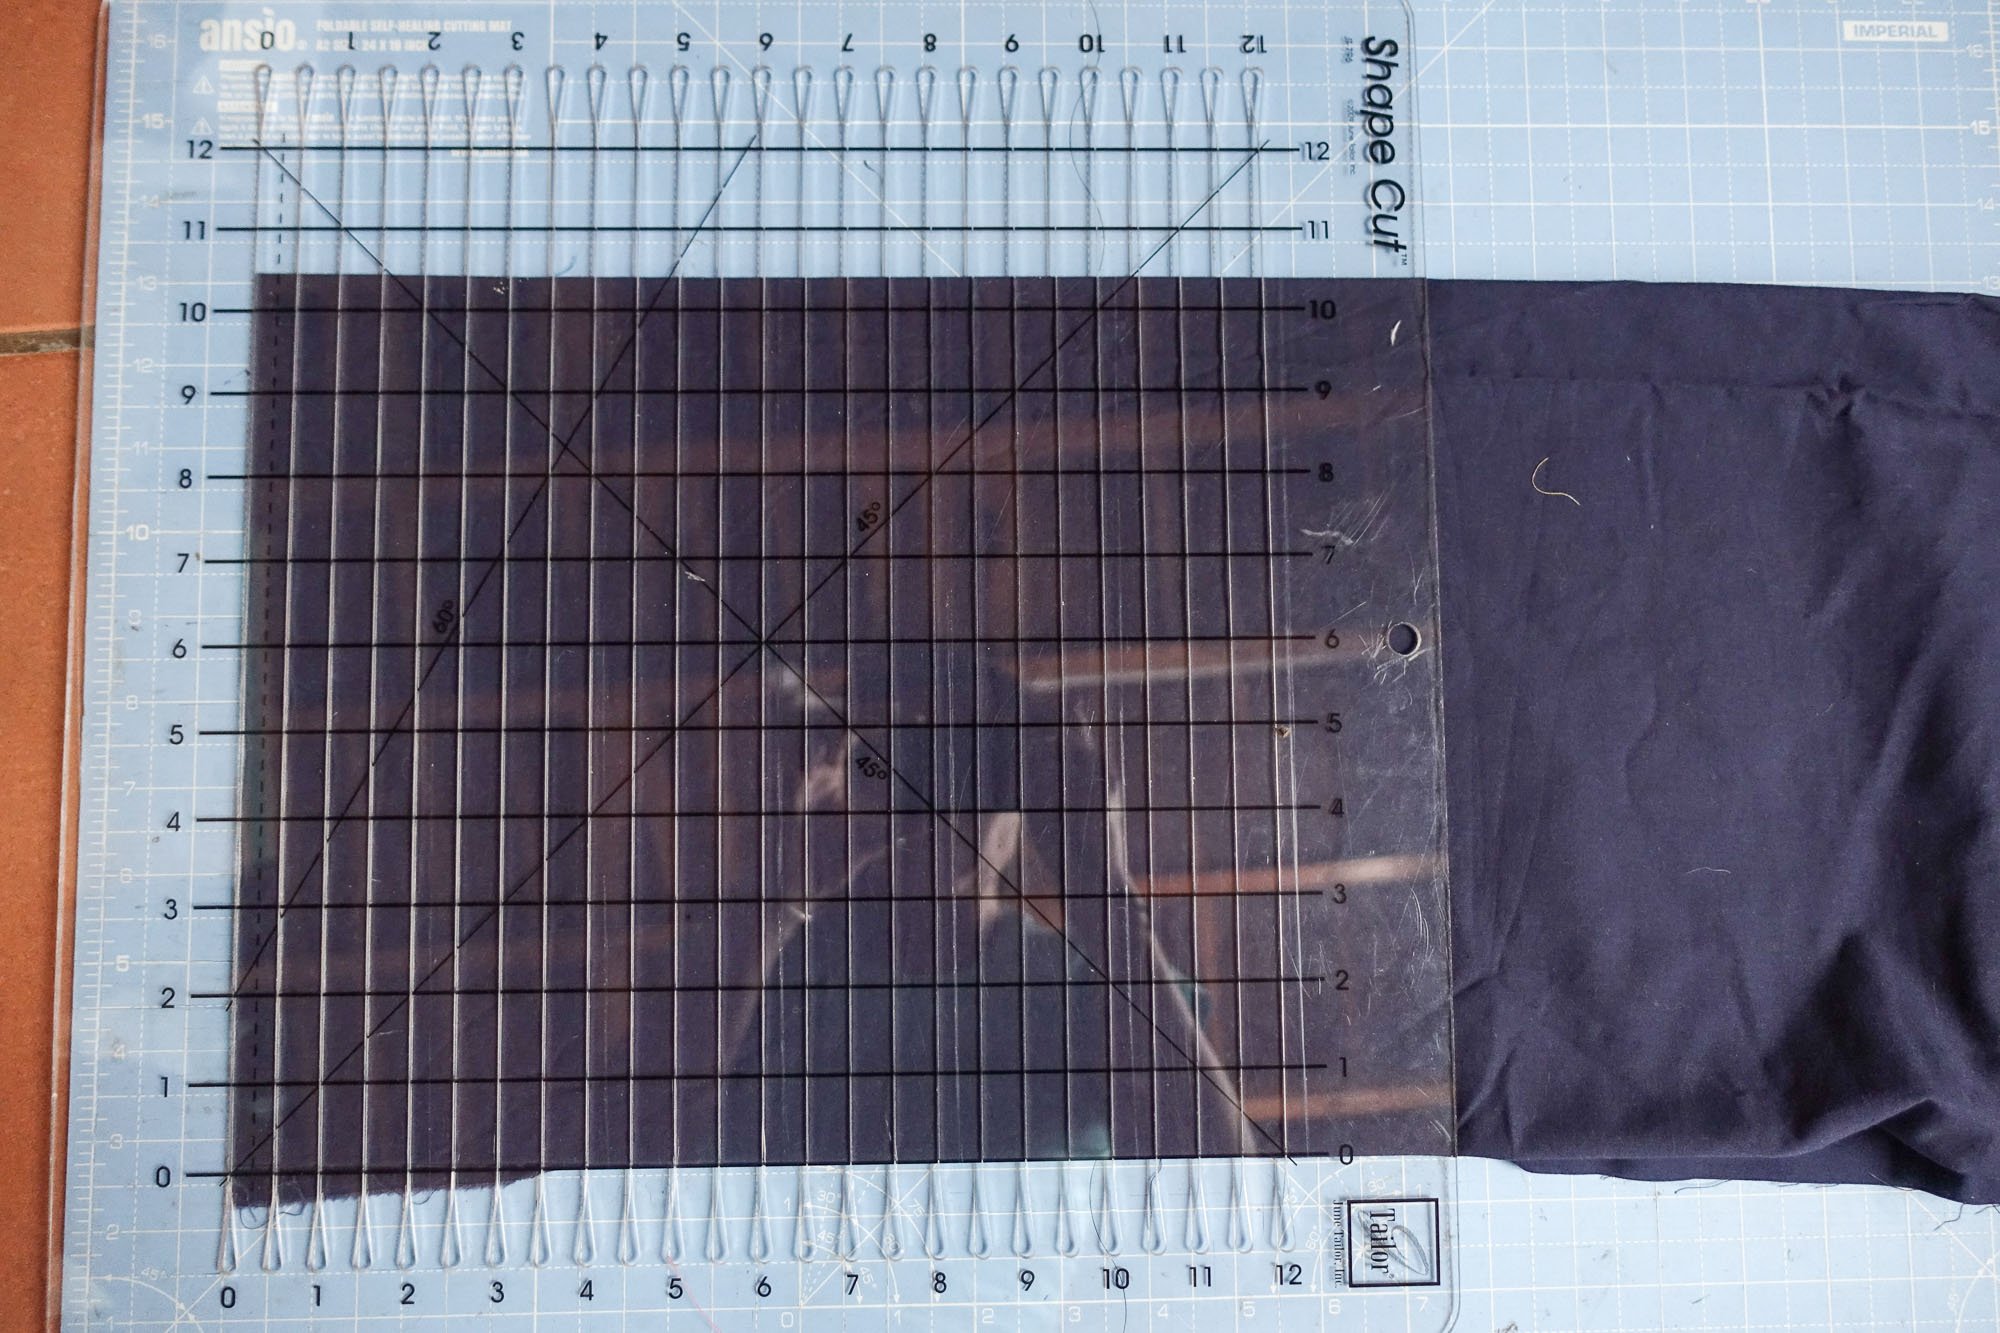
1. Begin by folding your fabric neatly from selvedge to selvedge until it is folded into a size that fits within the cutting window of your ruler.
2. Line up your edge with the “0” mark. If you have an uneven edge, line up your fabric on the “0” where you’d like your edge to begin, and trim off the excess uneven fabric.
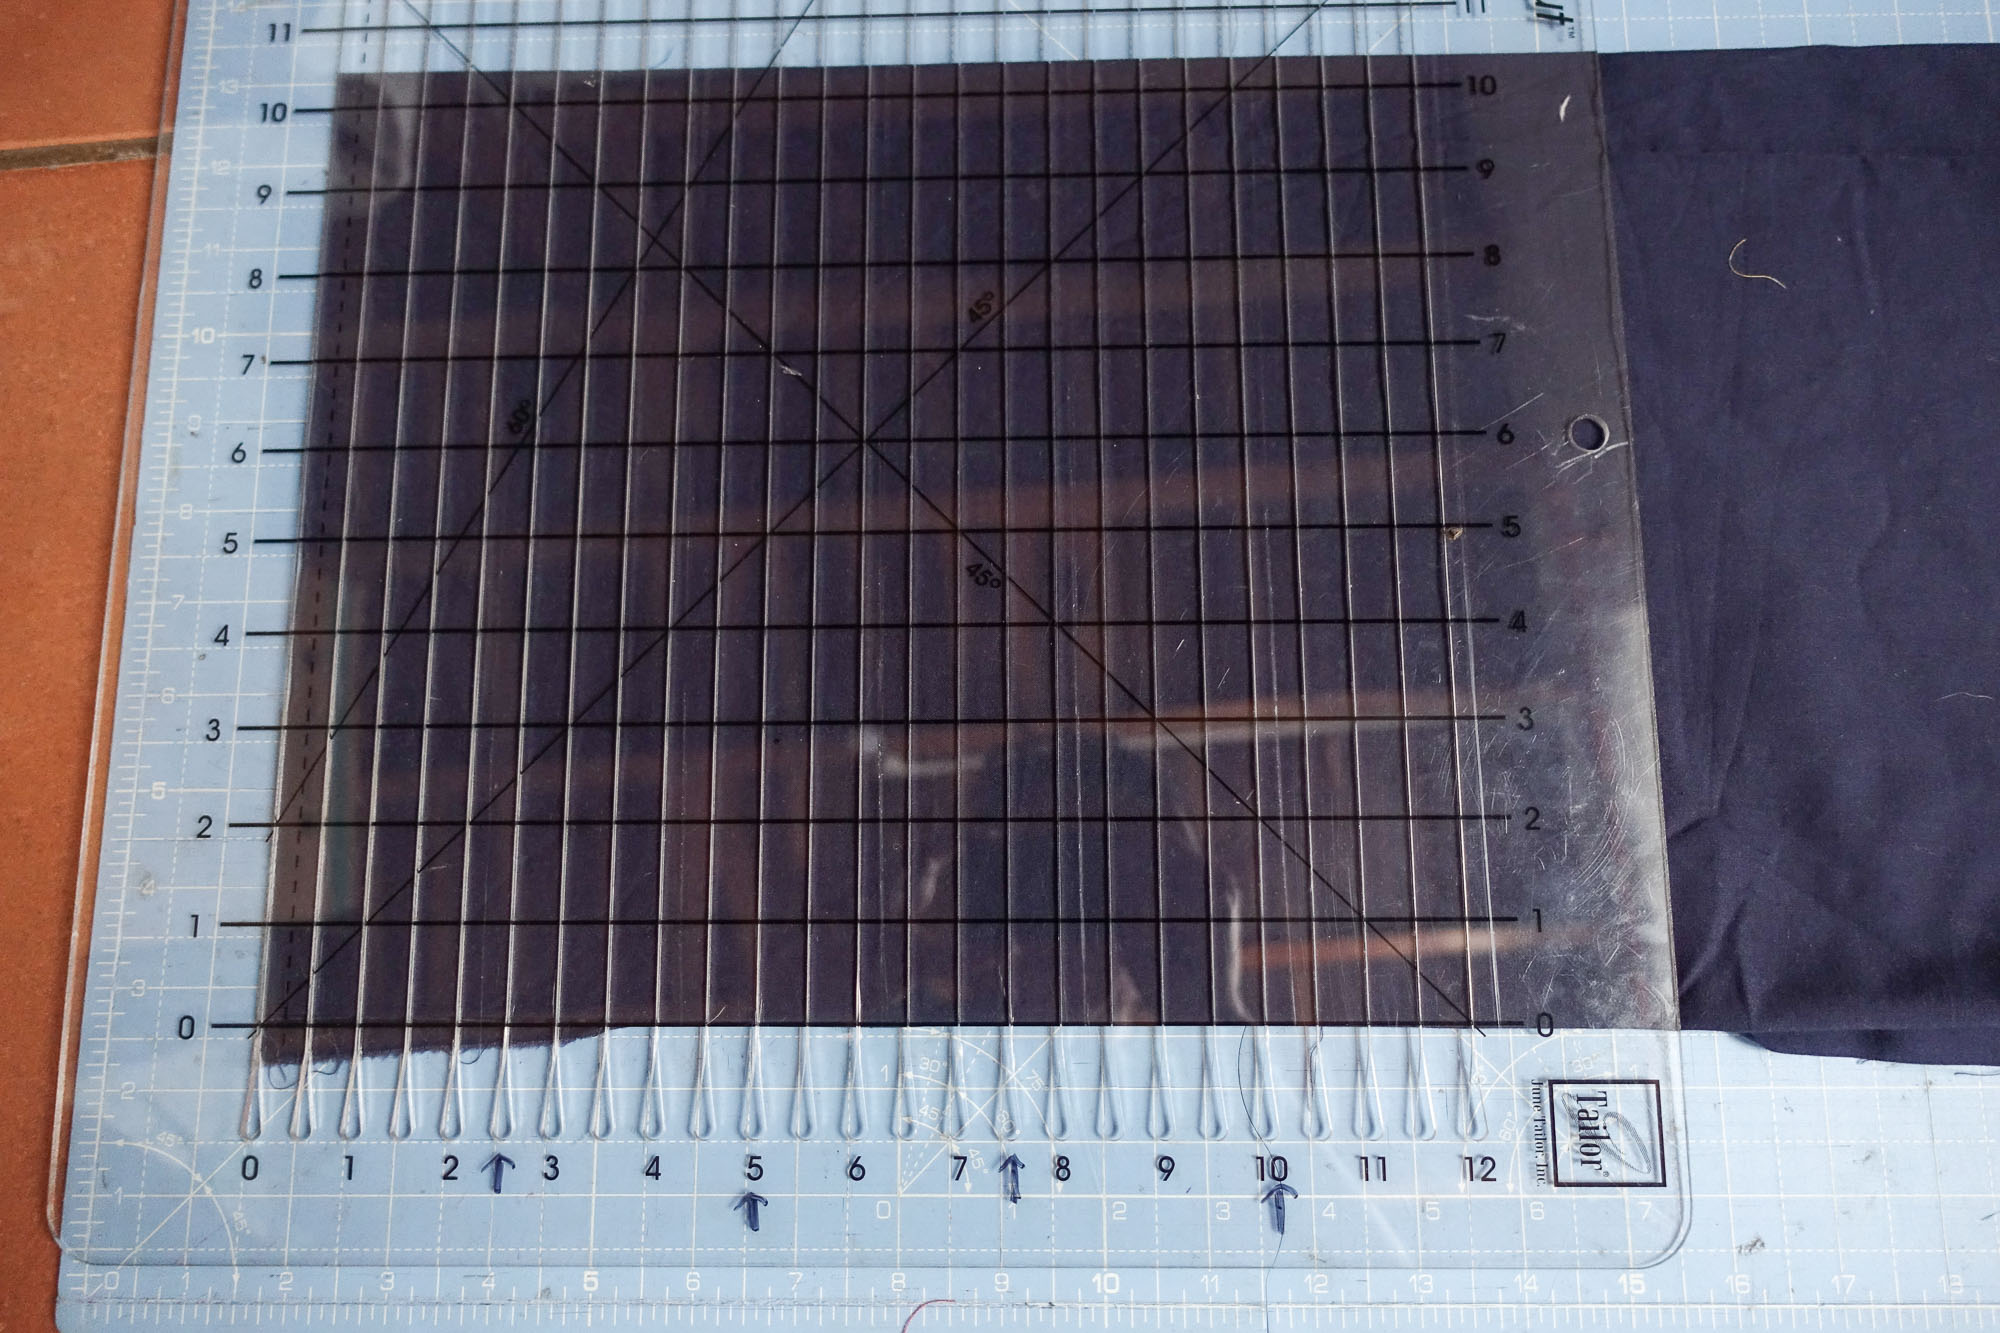
3. Begin cutting your fabric at designated intervals based on the width of your strip. It can be helpful to do the math for this ahead of time so you know which slots to cut. Marking those intervals with a washable marker can help, too.
For example, my ruler is 12” wide and I want to cut 2.5” strips. If I divide 12 by 2.5 I get 4.8. So I know I will get 4 full strips cut within my cutting window of my ruler. If I add 2.5 four times, I will know which slots to cut into. I will cut at 2.5, 5, 7.5, and 10.
4. After cutting your strips, reposition the ruler and cut again until you reach the desired number of strips for your amount of pieces. The number of strips required will depend on the number of your pieces and the width of your fabric.*
*Again, Jodi has included some helpful tips in her Hexie Handbook for determining yardage based on number of pieces.
"Pre" Basting
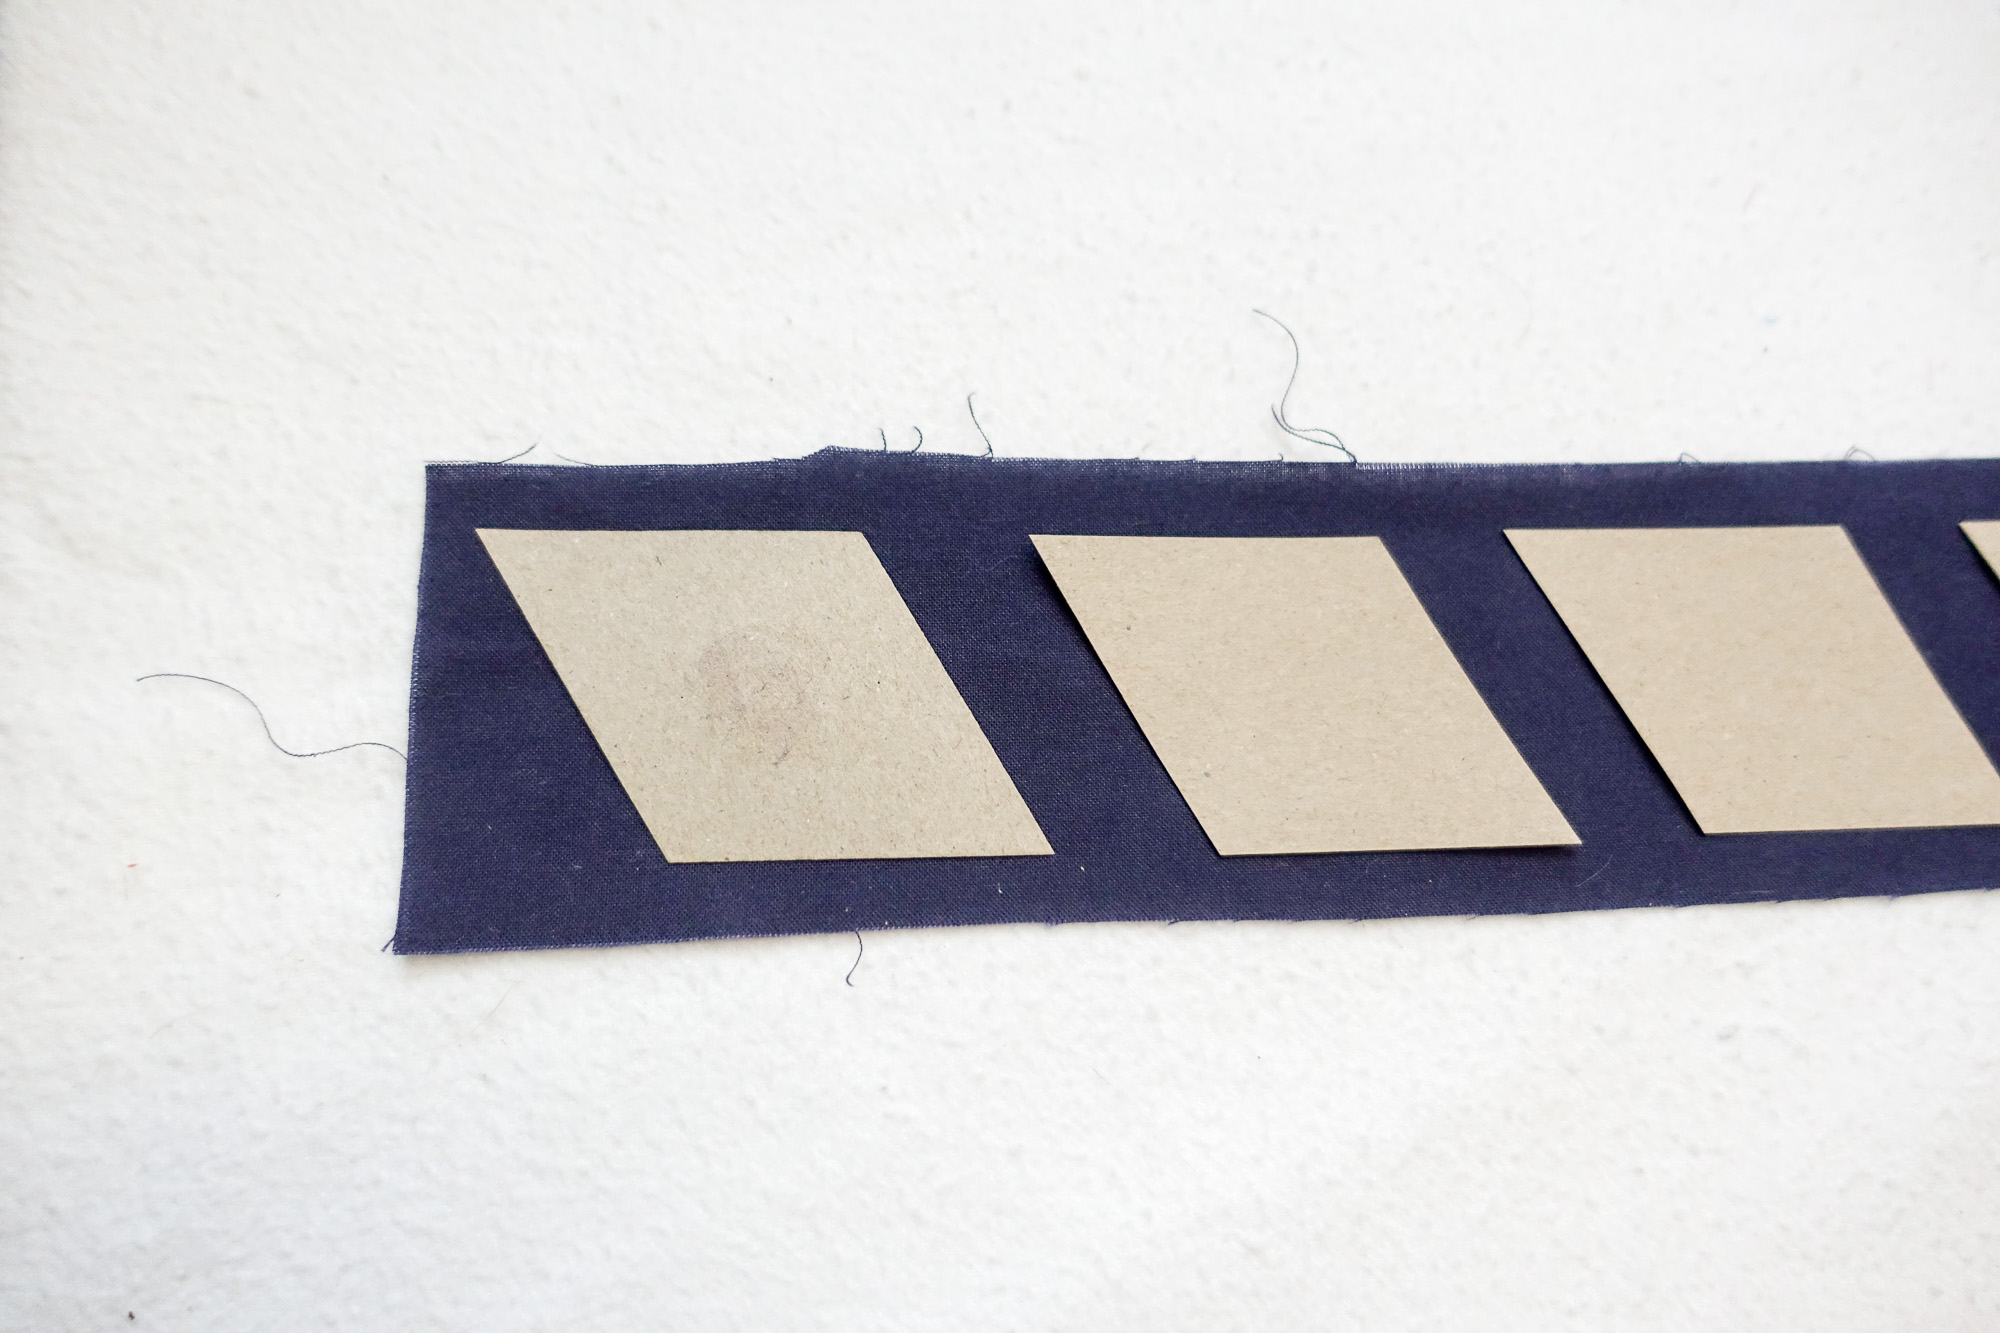
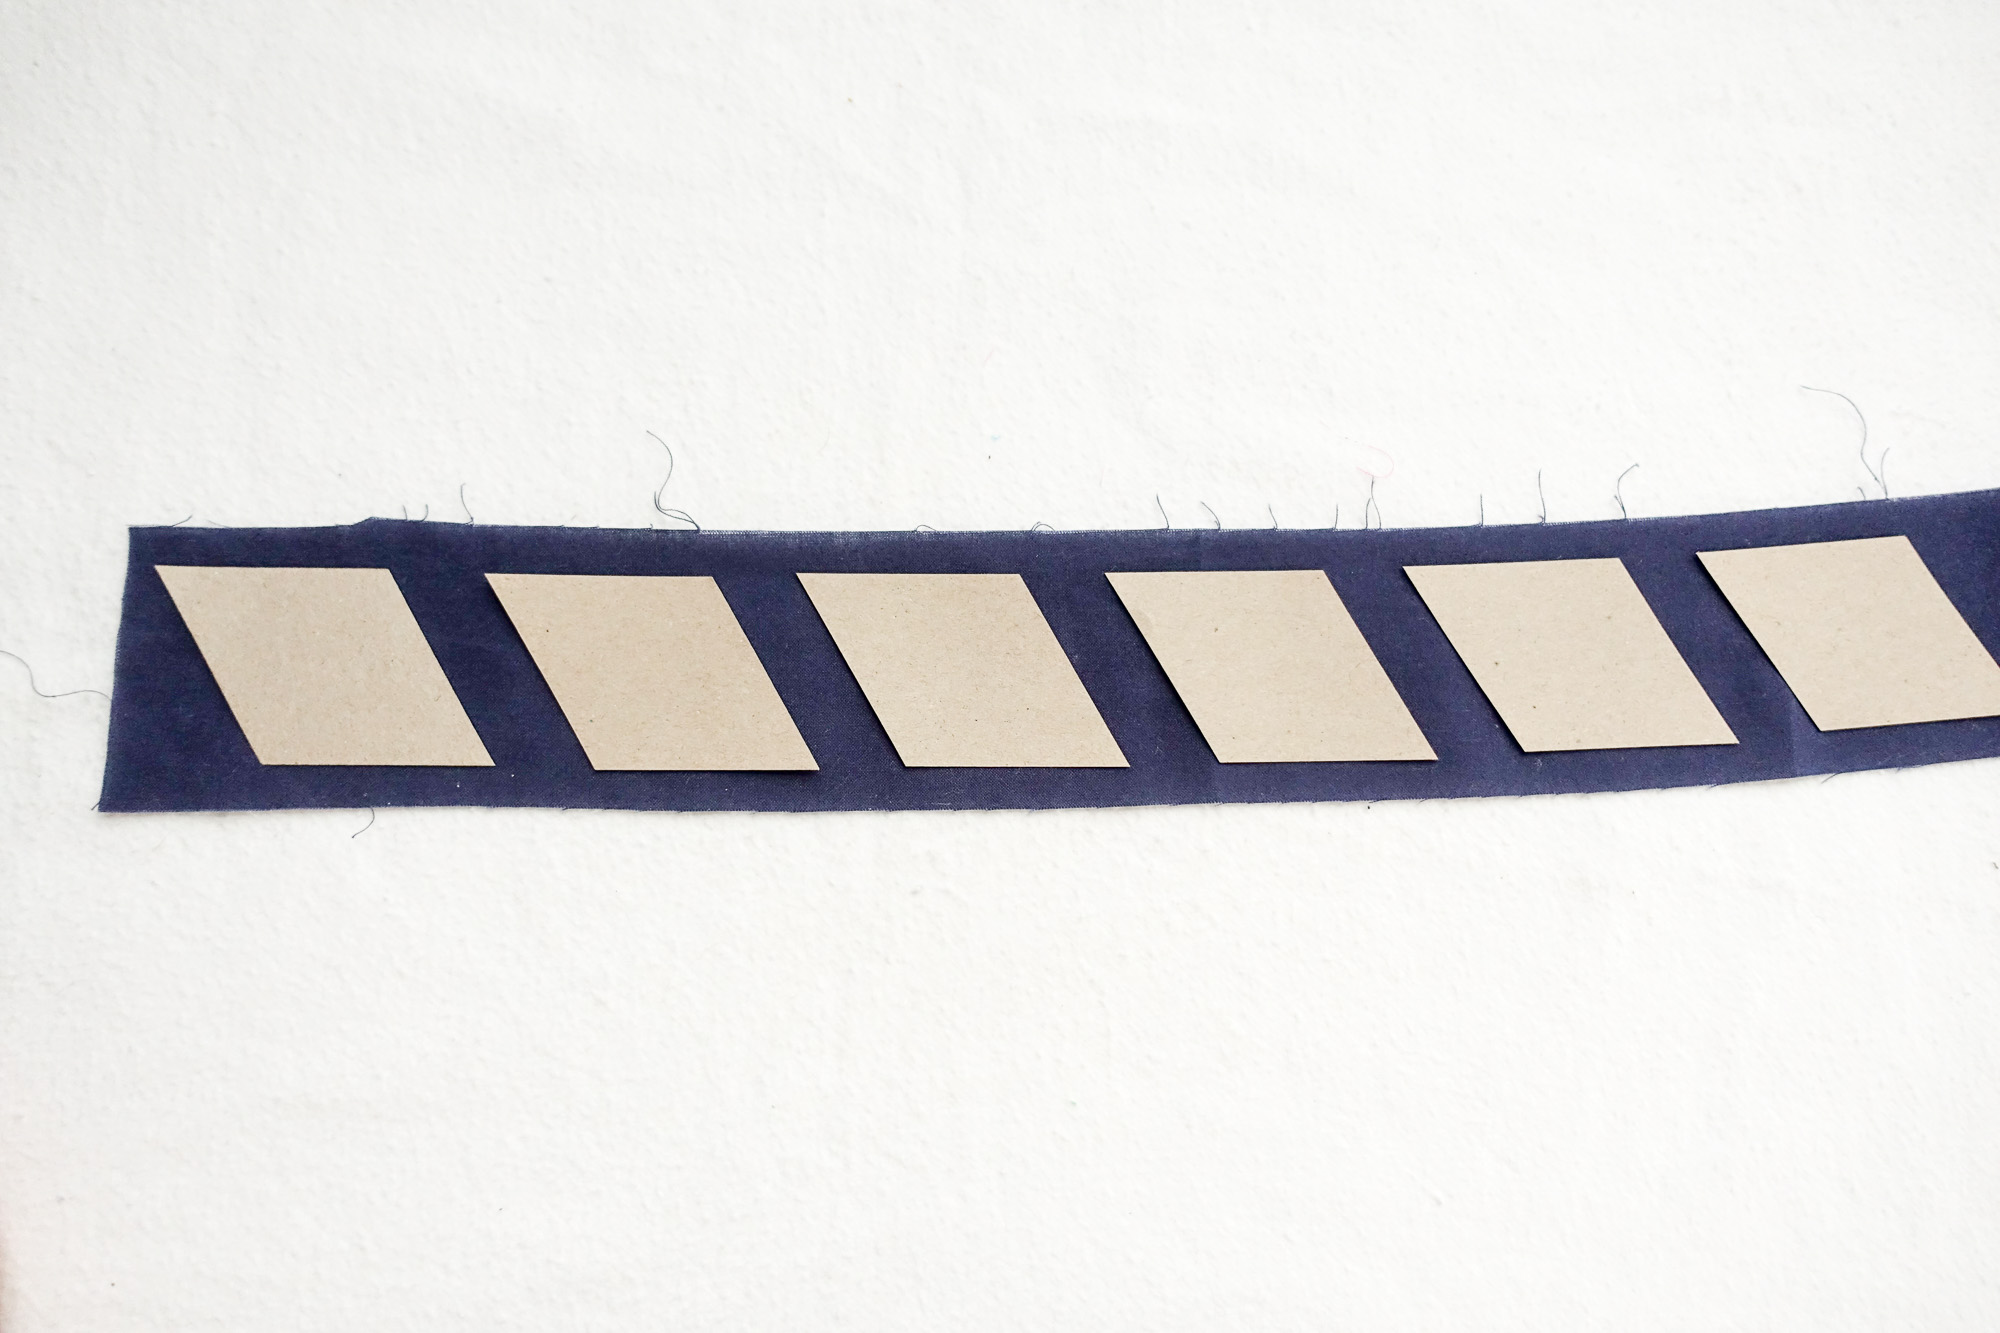
Once you have your strips cut, you can begin to line up your pieces along your strip. I like to lay them out initially to see how many I can get from the length of my strip. At this point, you can just go ahead and cut your strip according to where your piece sits. However, I like to do what I call “pre-basting” at this point.
1. Once you have positioned your pieces on the strip, dab a bit of glue on one side of your piece and press it back down onto the fabric strip.
2. Continue tacking your pieces to your strip until you get to the end.
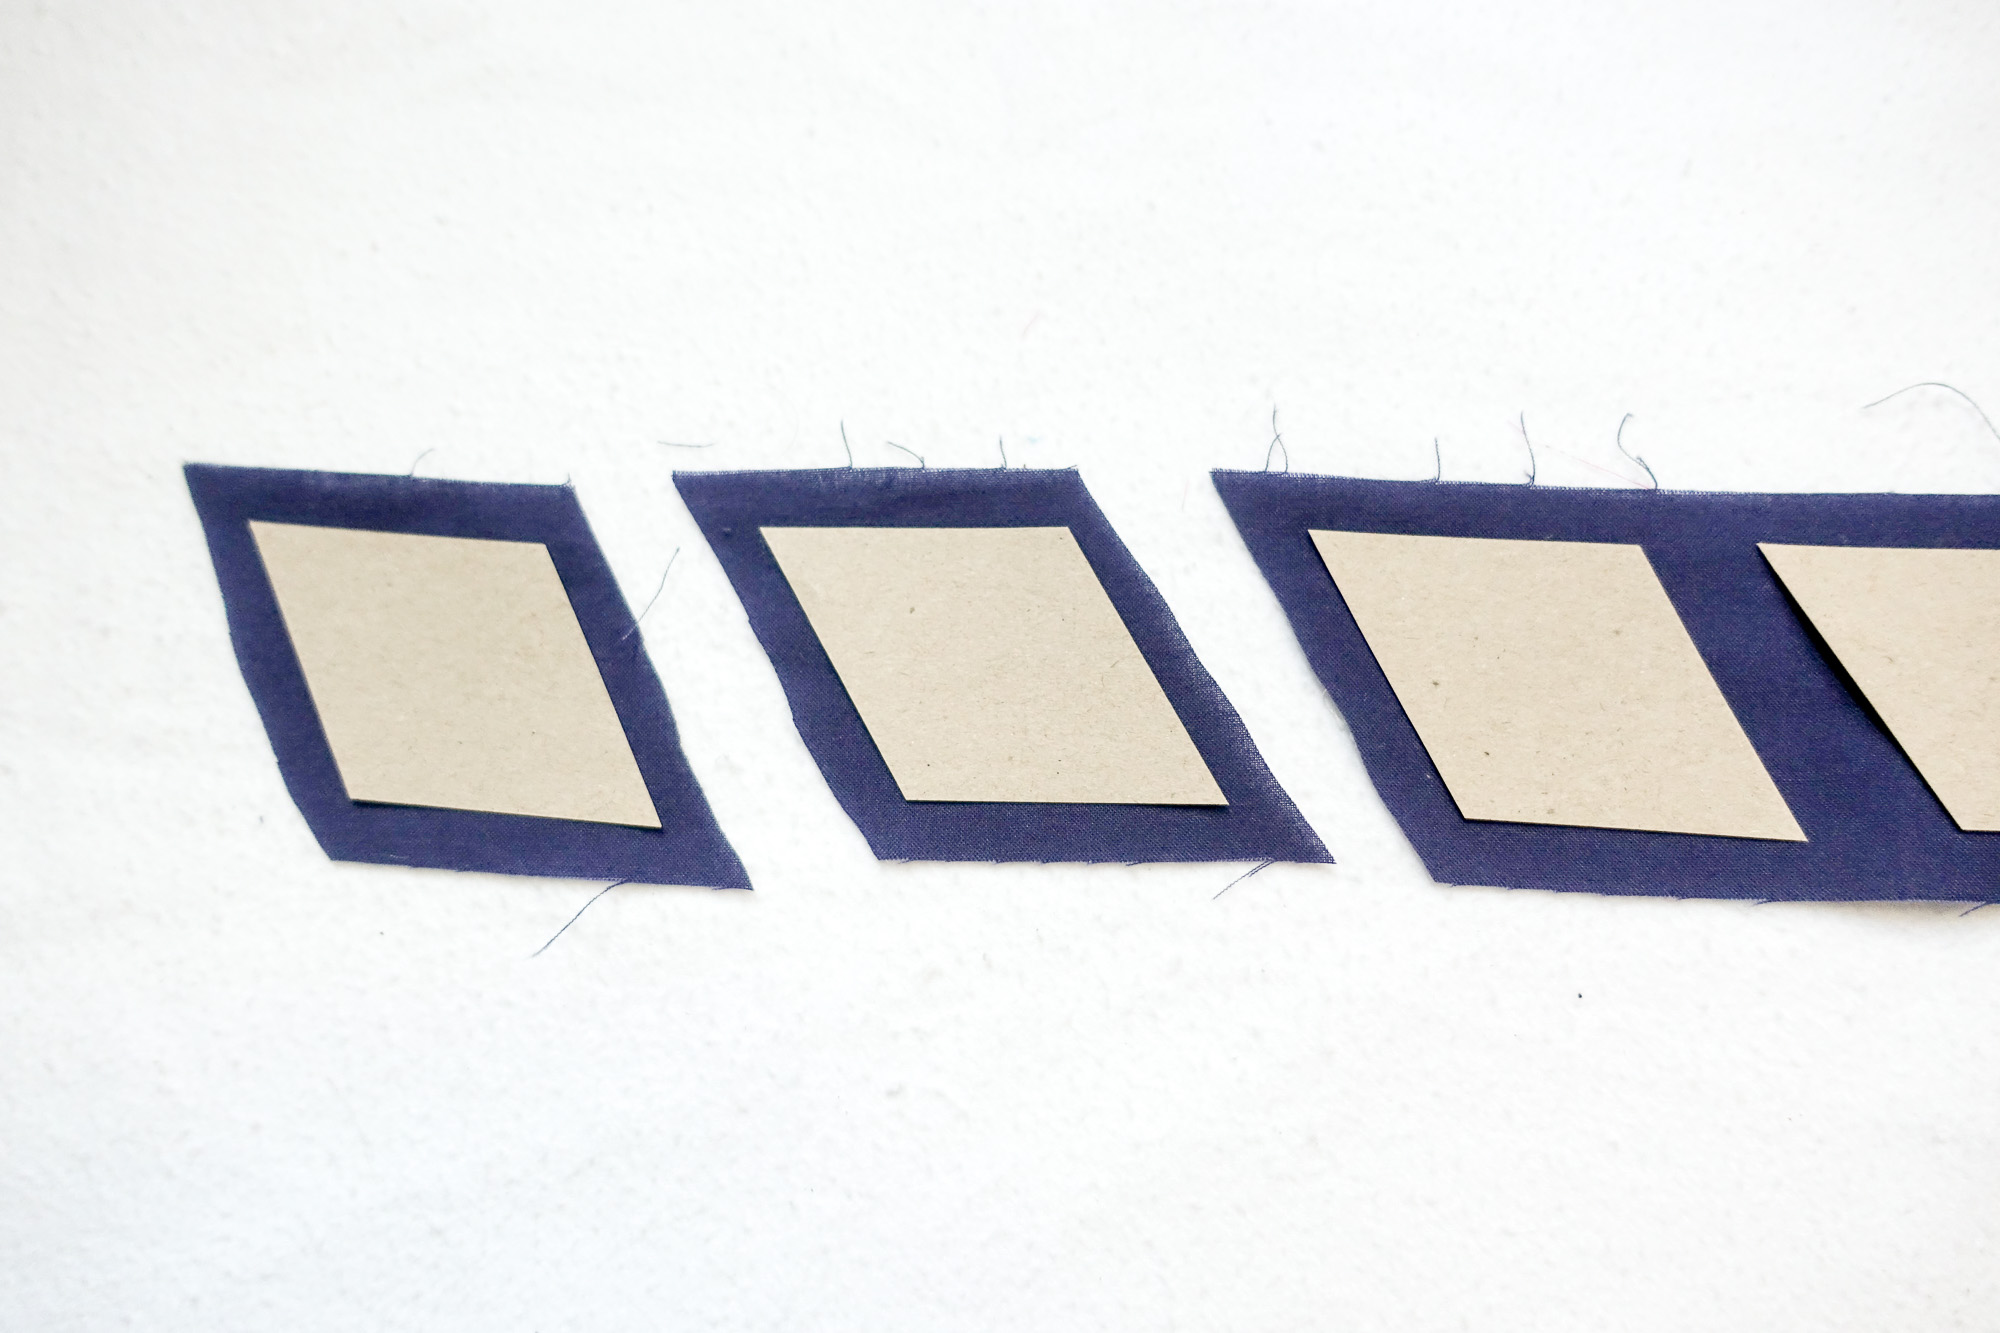
3. Now cut your fabric between the pieces. Happily, the pieces will stay in place, which allows you to maintain an even seam allowance along your strip.*
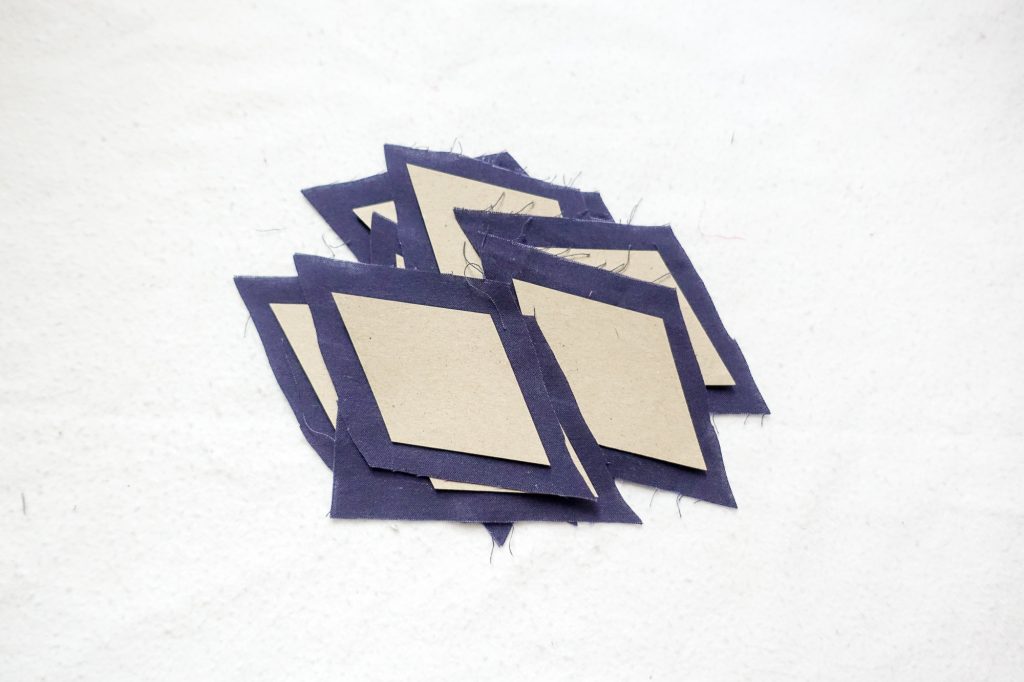
*An added bonus is that you can stack up your pre-basted fabric and papers without the papers going everywhere.
Basting Time
Now that you have a whole pile of pre-basted pieces, you can have a basting party! I like to spend an evening or two basting my pile of papers so that they are ready to go for stitching. As I’ve shared before, I love listening while I EPP, so go ahead and put on some music, a podcast, or an audiobook! Or, if you’re a super multi-tasker, put on your favorite Netflix series or a movie.
However, this is also a great step to involve friends or family (when you’re not social distancing) if you’re all sitting around together. A few summers ago I was watching my nieces, and, while one of them was old enough to learn how to stitch, the younger one still wanted to help. She was 3 at the time and once I showed her how to use the glue stick and fold the paper, she just went to town! (She did use quite a lot of glue and the folds weren’t exceptionally neat, but she loved it, and I was glad it was something she could do with us as I taught the older one.)
What about fussy cutting?
I’m so glad you asked! A “pro” basting tutorial wouldn’t be complete without a word on fussy cutting. For those of you who haven’t heard of it before, fussy cutting describes the process of cutting out a particular section or motif from your original piece of fabric.
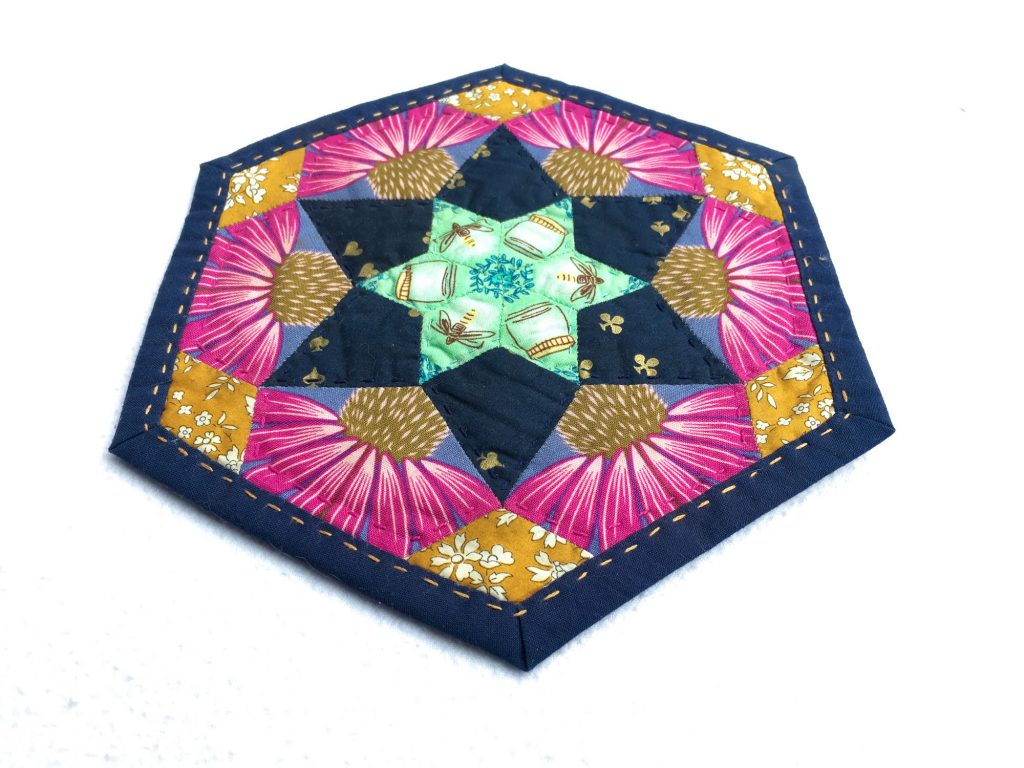
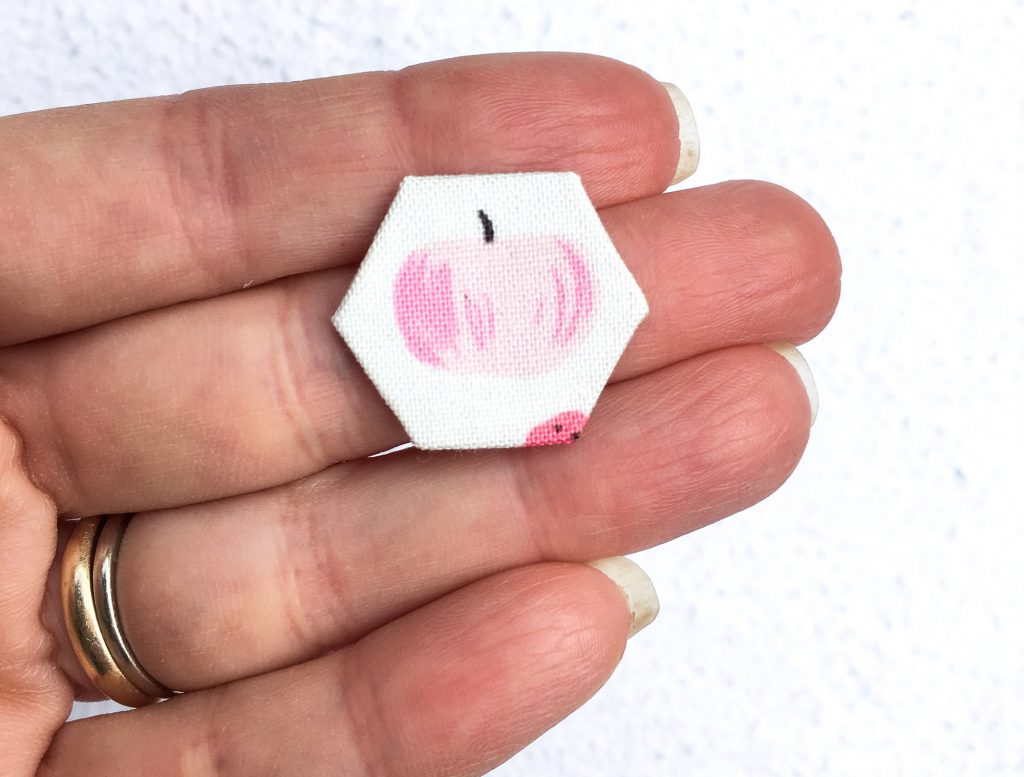
There are endless possibilities with fussy cutting, from simply centering a little flower in the middle of a hexagon to creating dazzling kaleidoscopes as many folks do with the famous La Passacaglia Millefiori quilts. I love a good fussy cut when the inspiration strikes, so if fussy cutting is for you, let’s chat about it!
Fussy Cutting Templates
When I first started fussy cutting my pieces, I just did my best to position my paper piece where I wanted it, pre-basted it, then cut the seam allowance around it. However, I discovered shortly thereafter (thank you internet) that fussy cutting templates make the job SO much easier.
I discussed the different kinds of fussy cutting templates I have seen in the previous post, EPP Pro: Streamlining Your Supplies post, and I promised to show you how to make your very own fussy cutting template with supplies you likely have in your home already.
How to Make a DIY Template
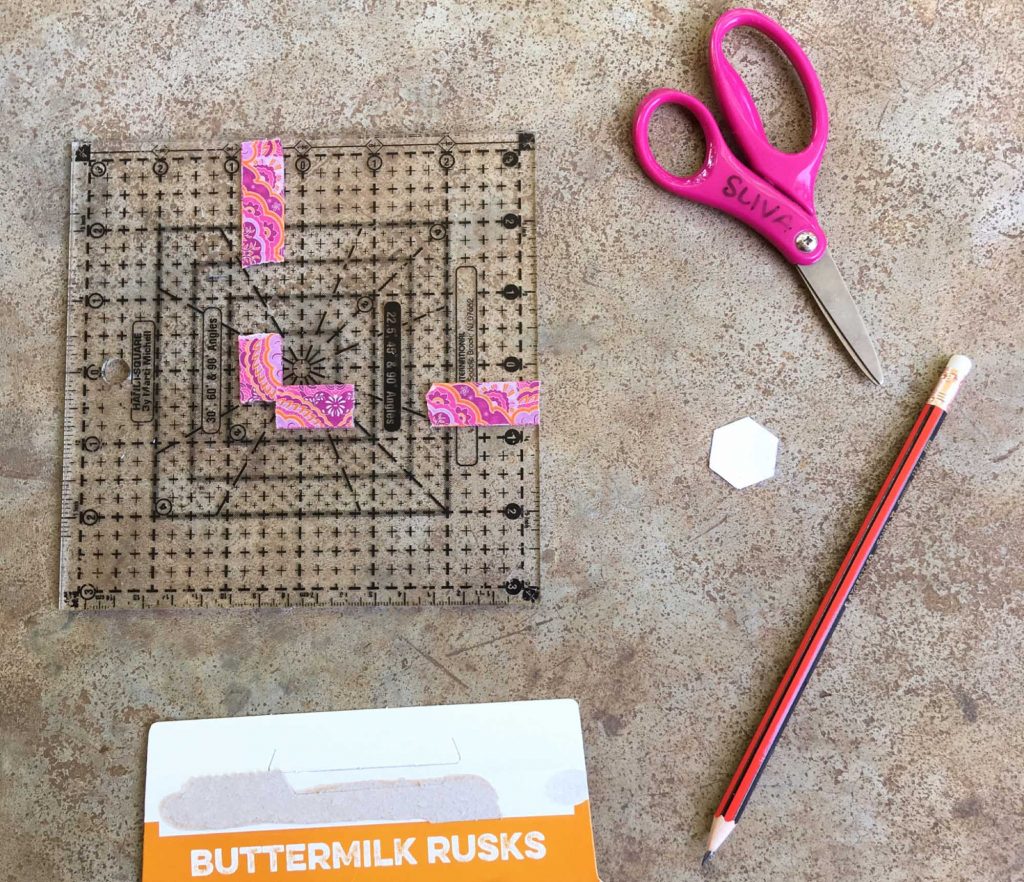
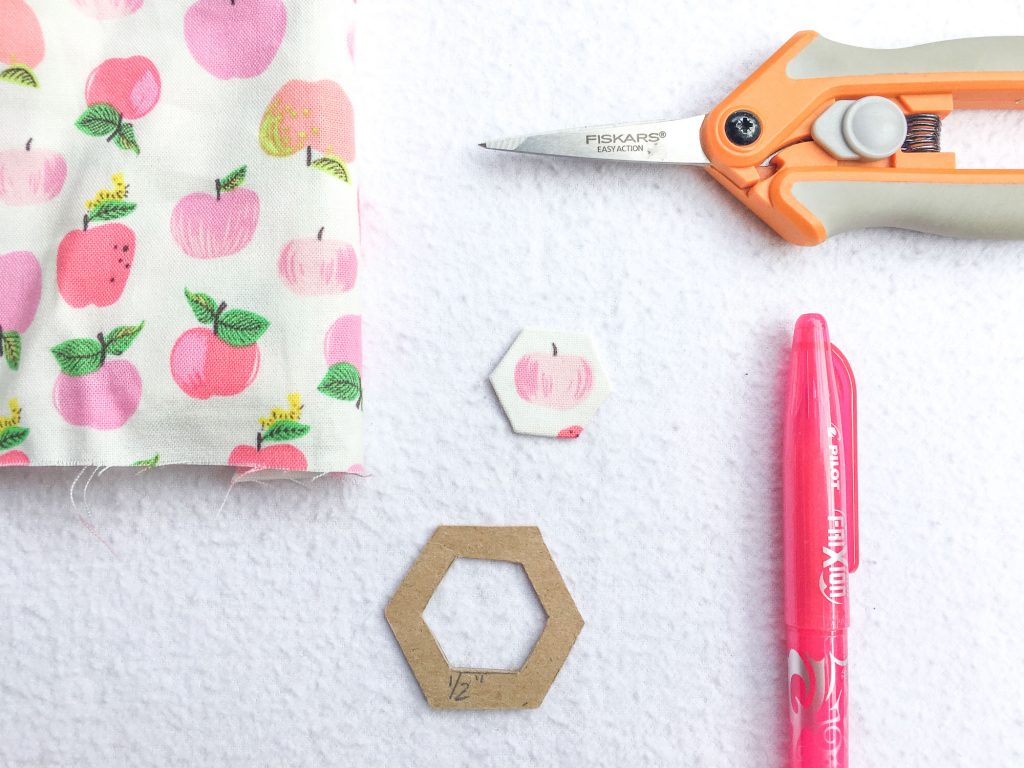
Supplies
Piece of a cereal box, chip board, or FQ insert
Pencil/Pen
Scissors (NOT your fabric ones!)
Ruler (one with a 1/4” marking is ideal and used in this tutorial)
Paper piece you want to make a template for (in this case a 1/2” hexagon)
Optional
Cutting mat
Box cutter or X-acto knife
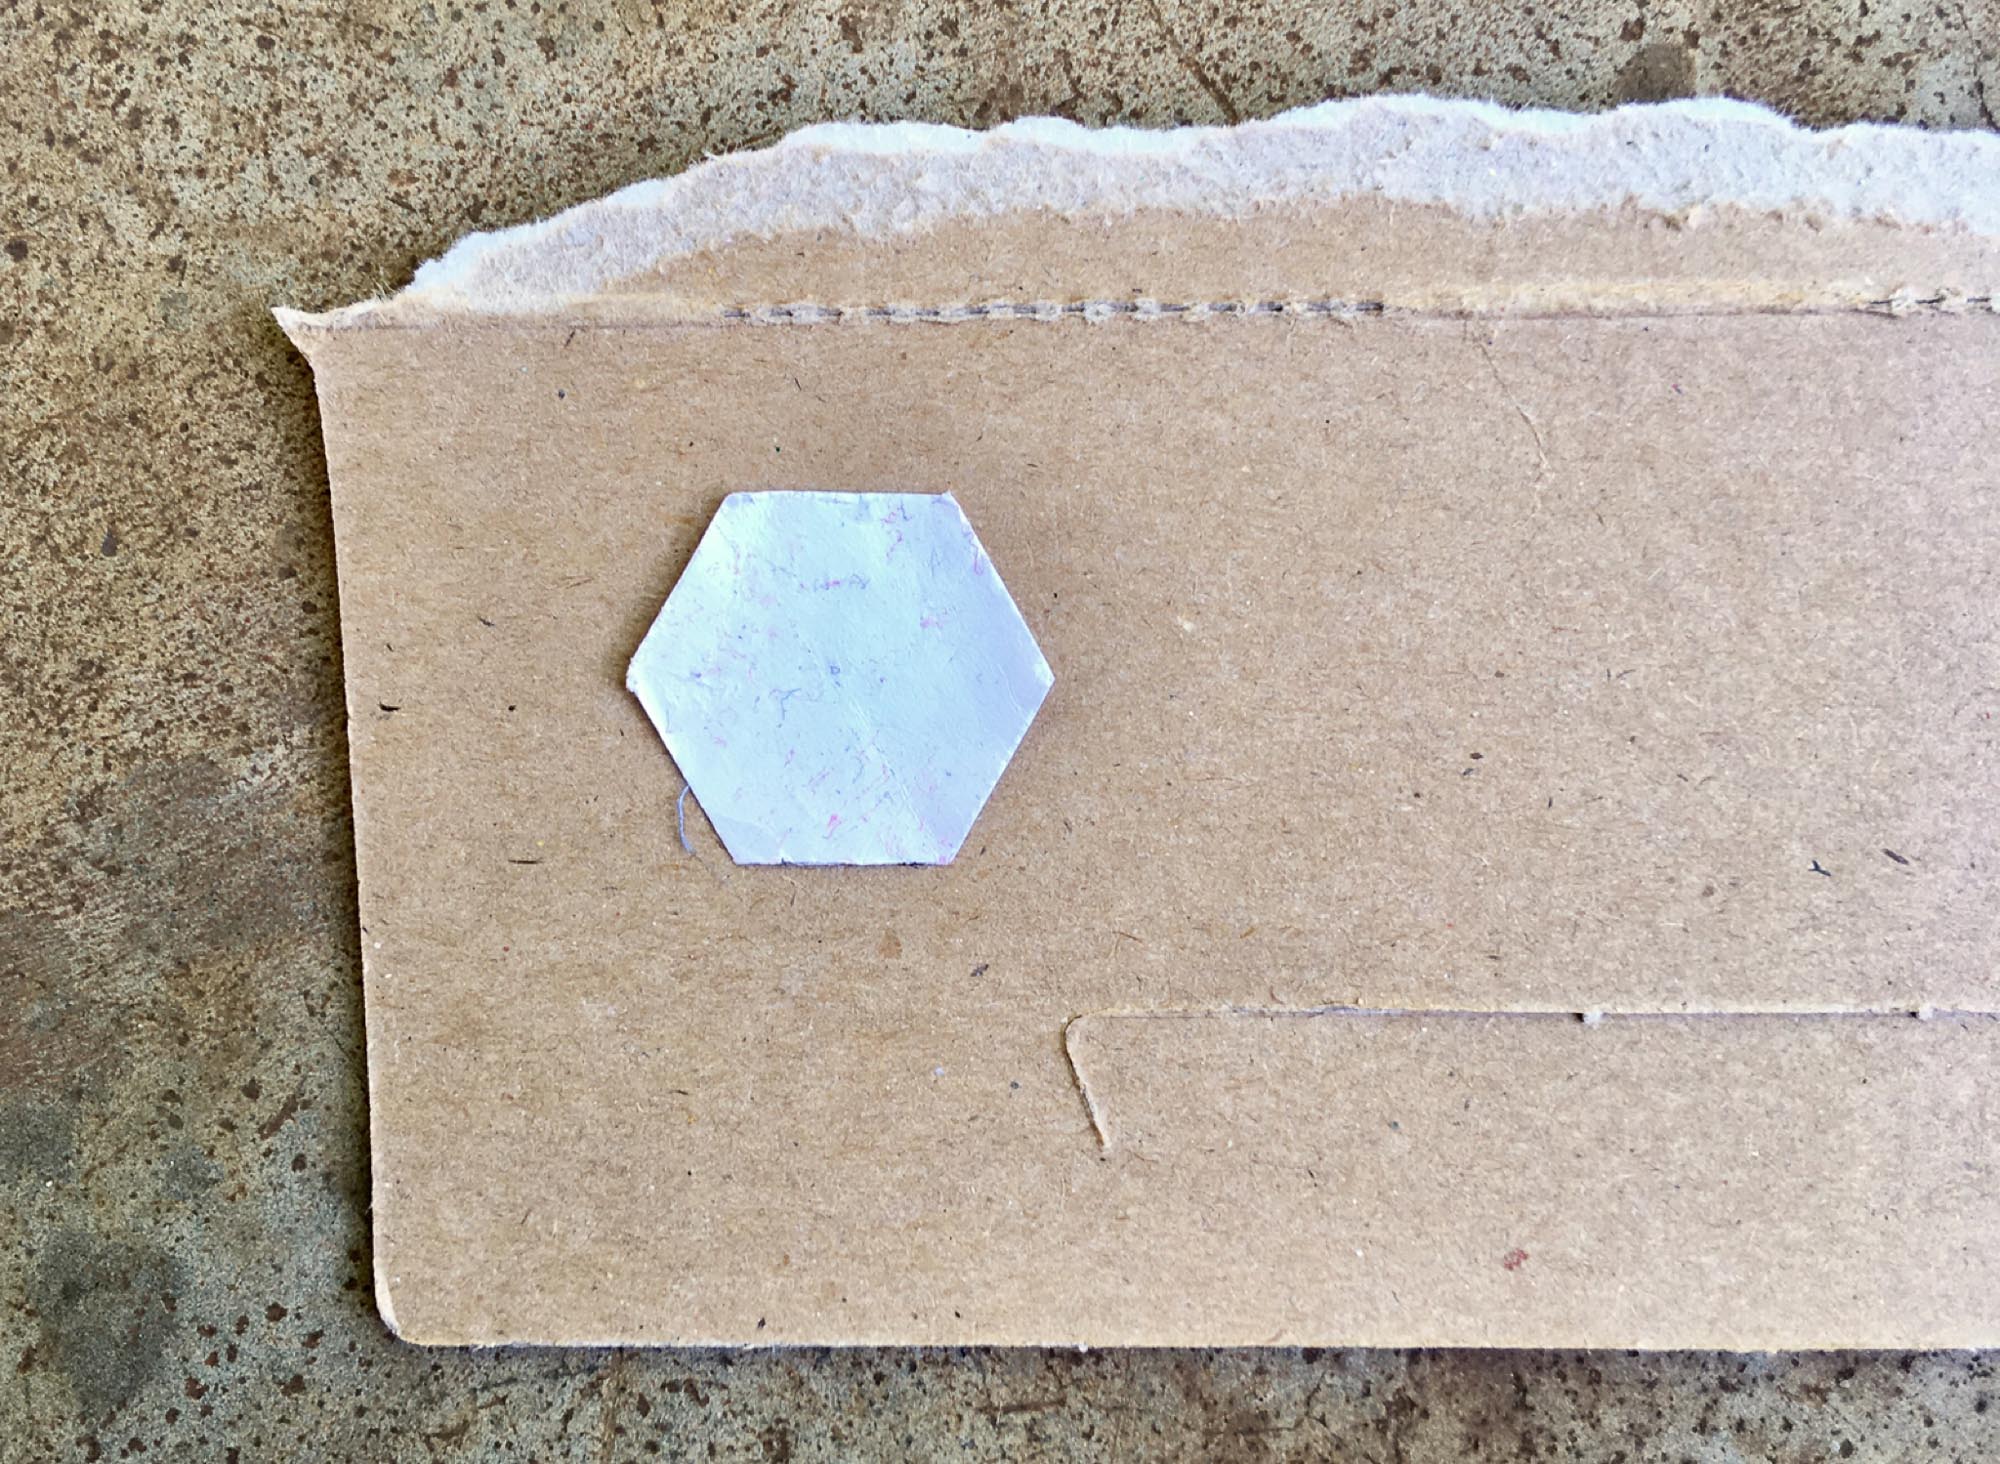
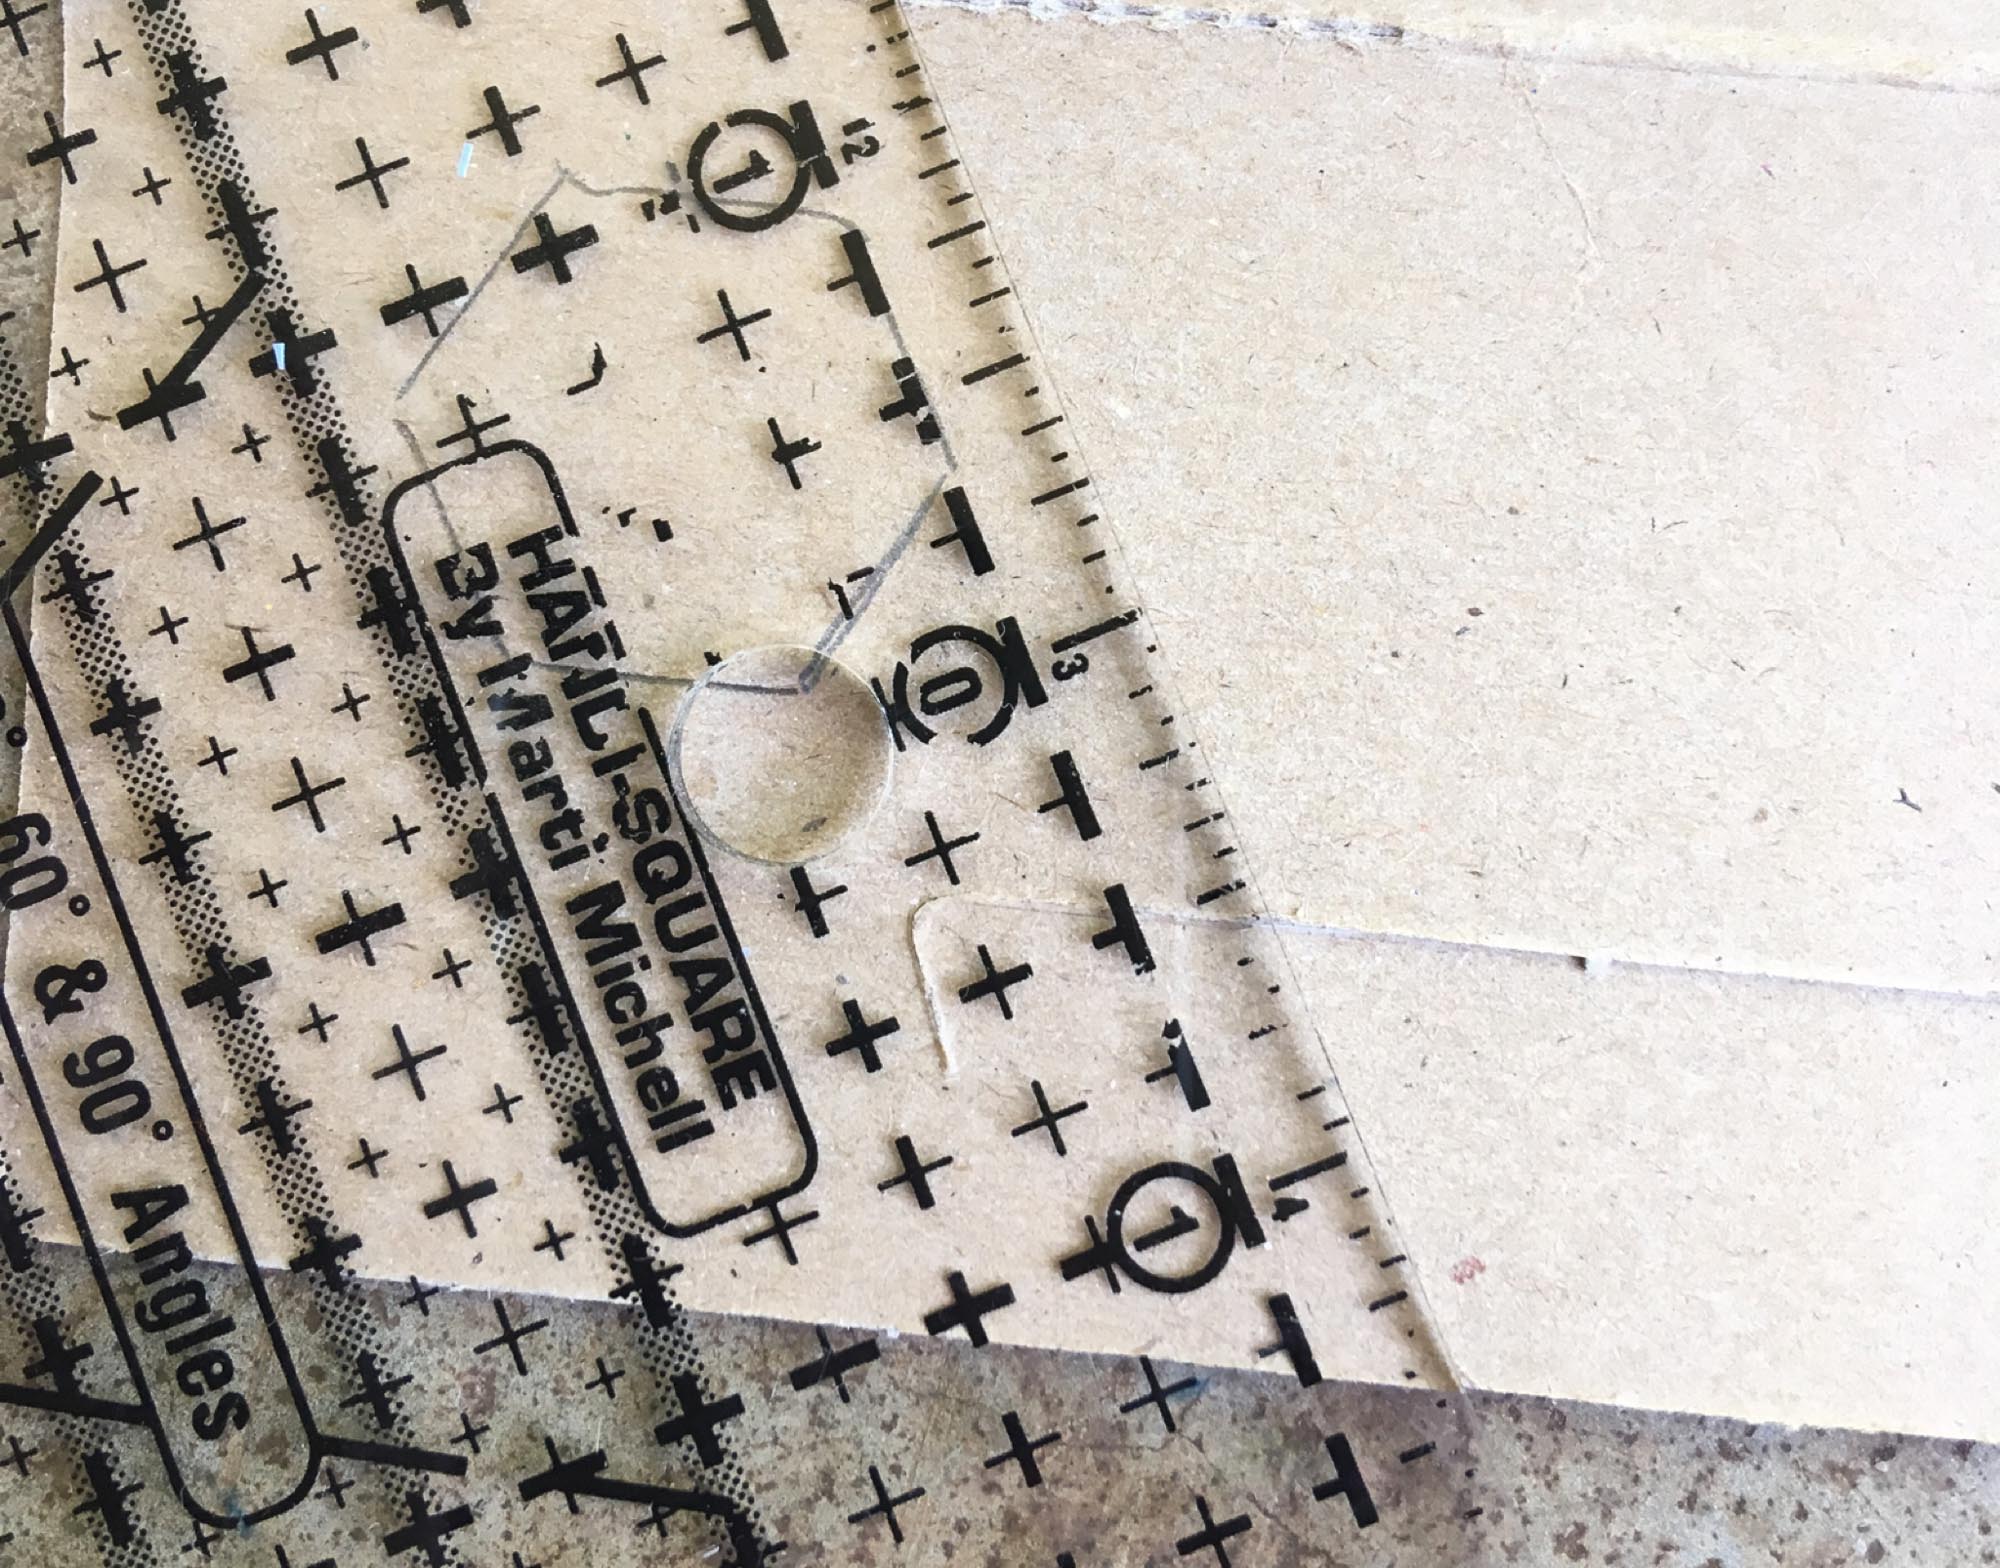
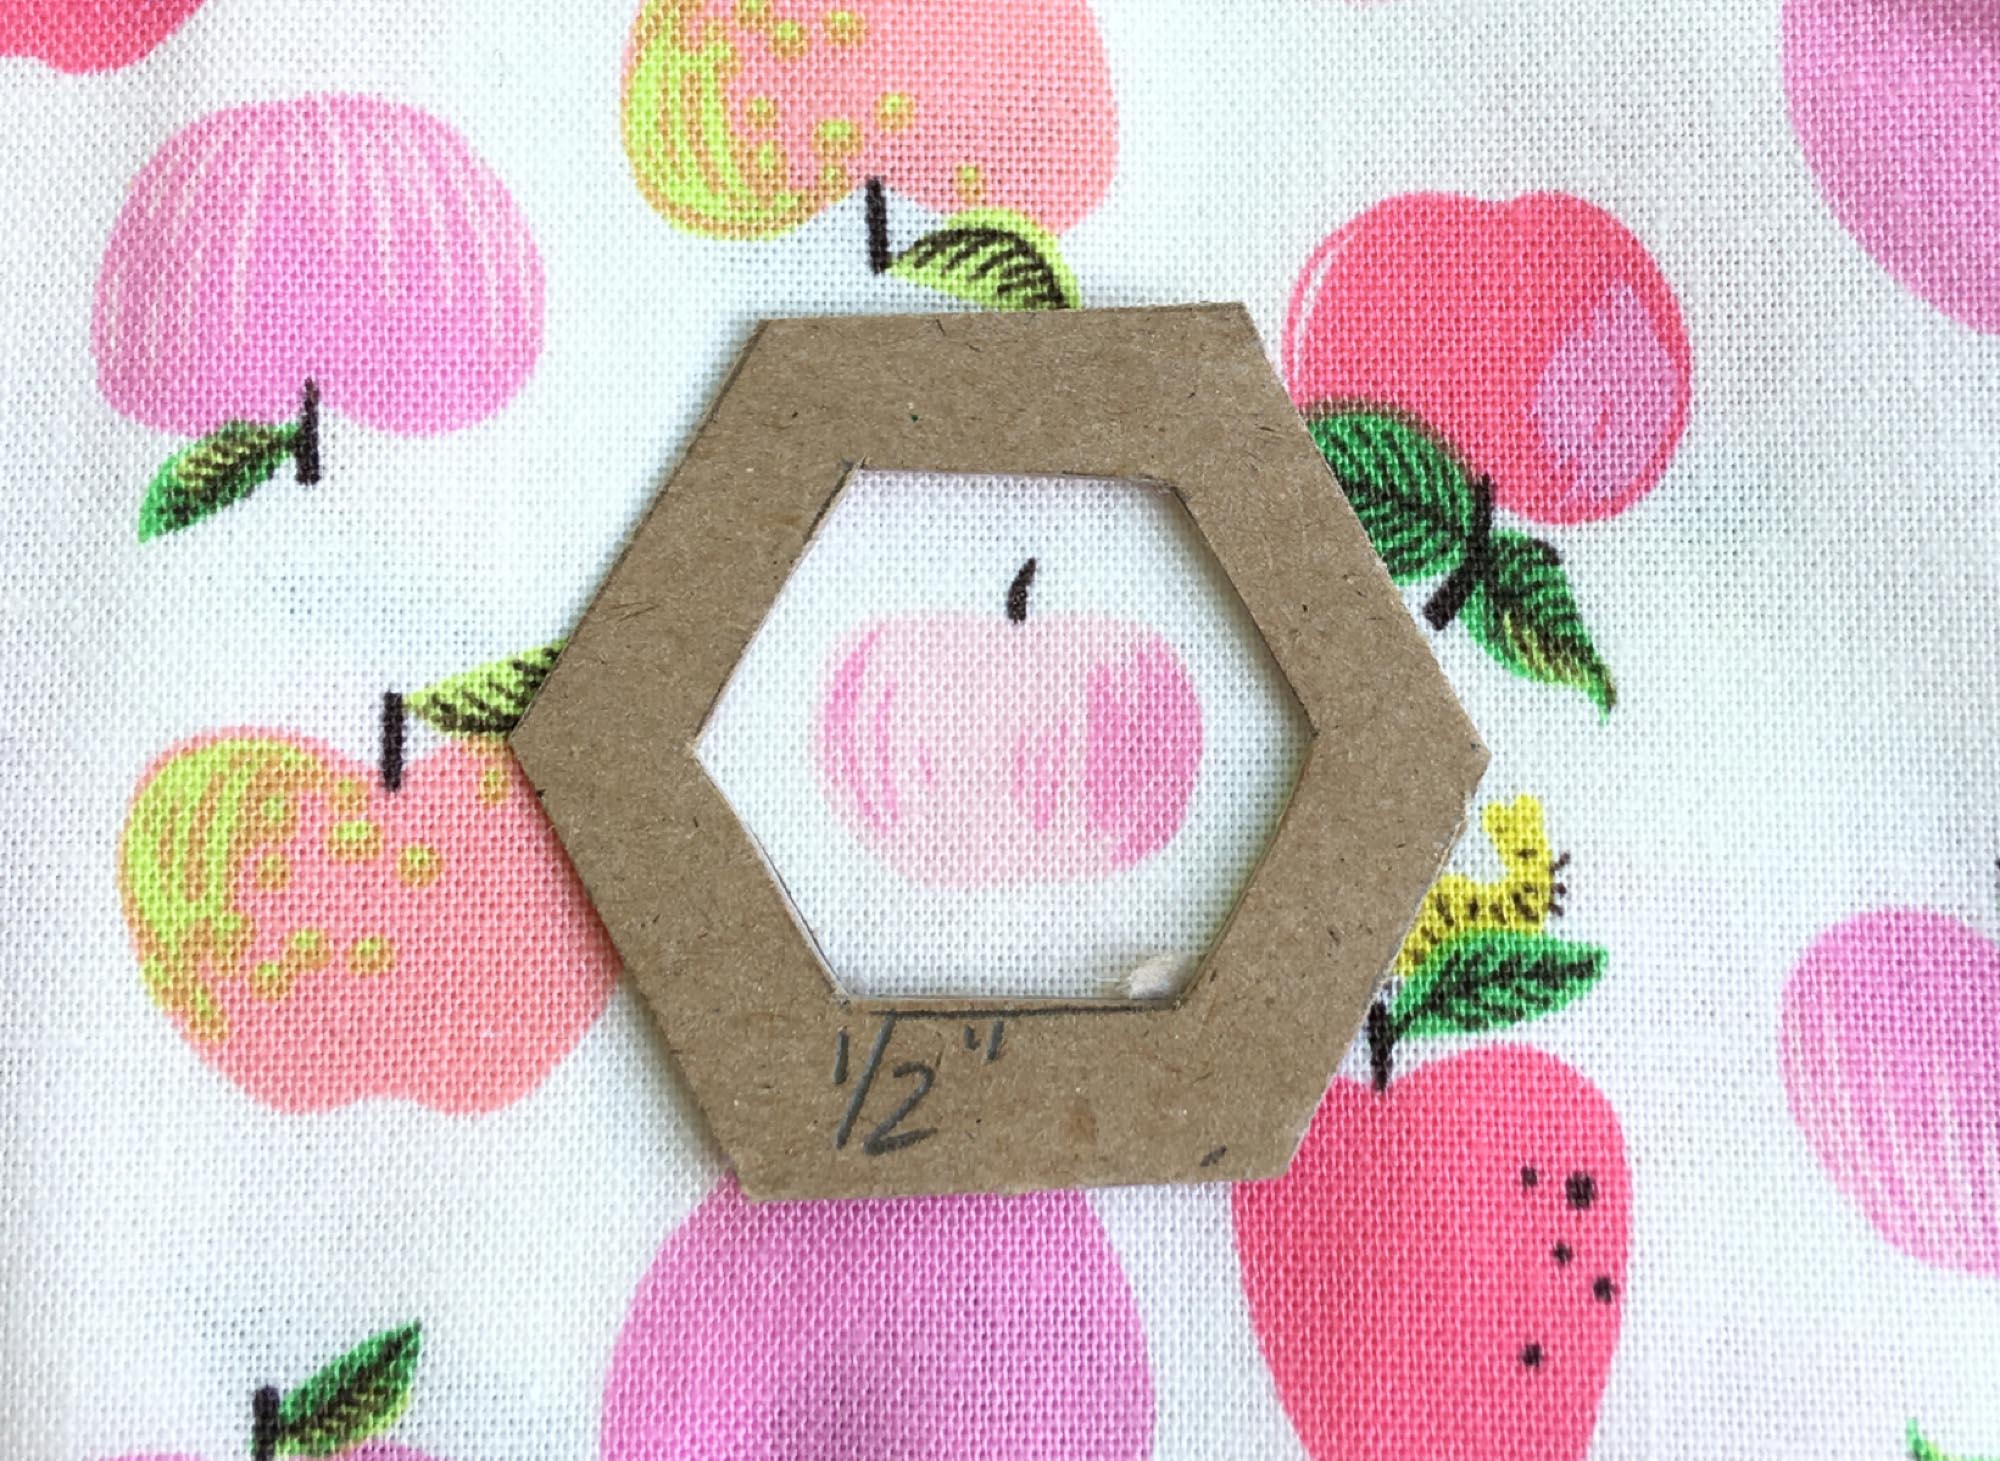
1. Lay your paper piece on the cereal box, leaving ample space around the paper piece on all sides.
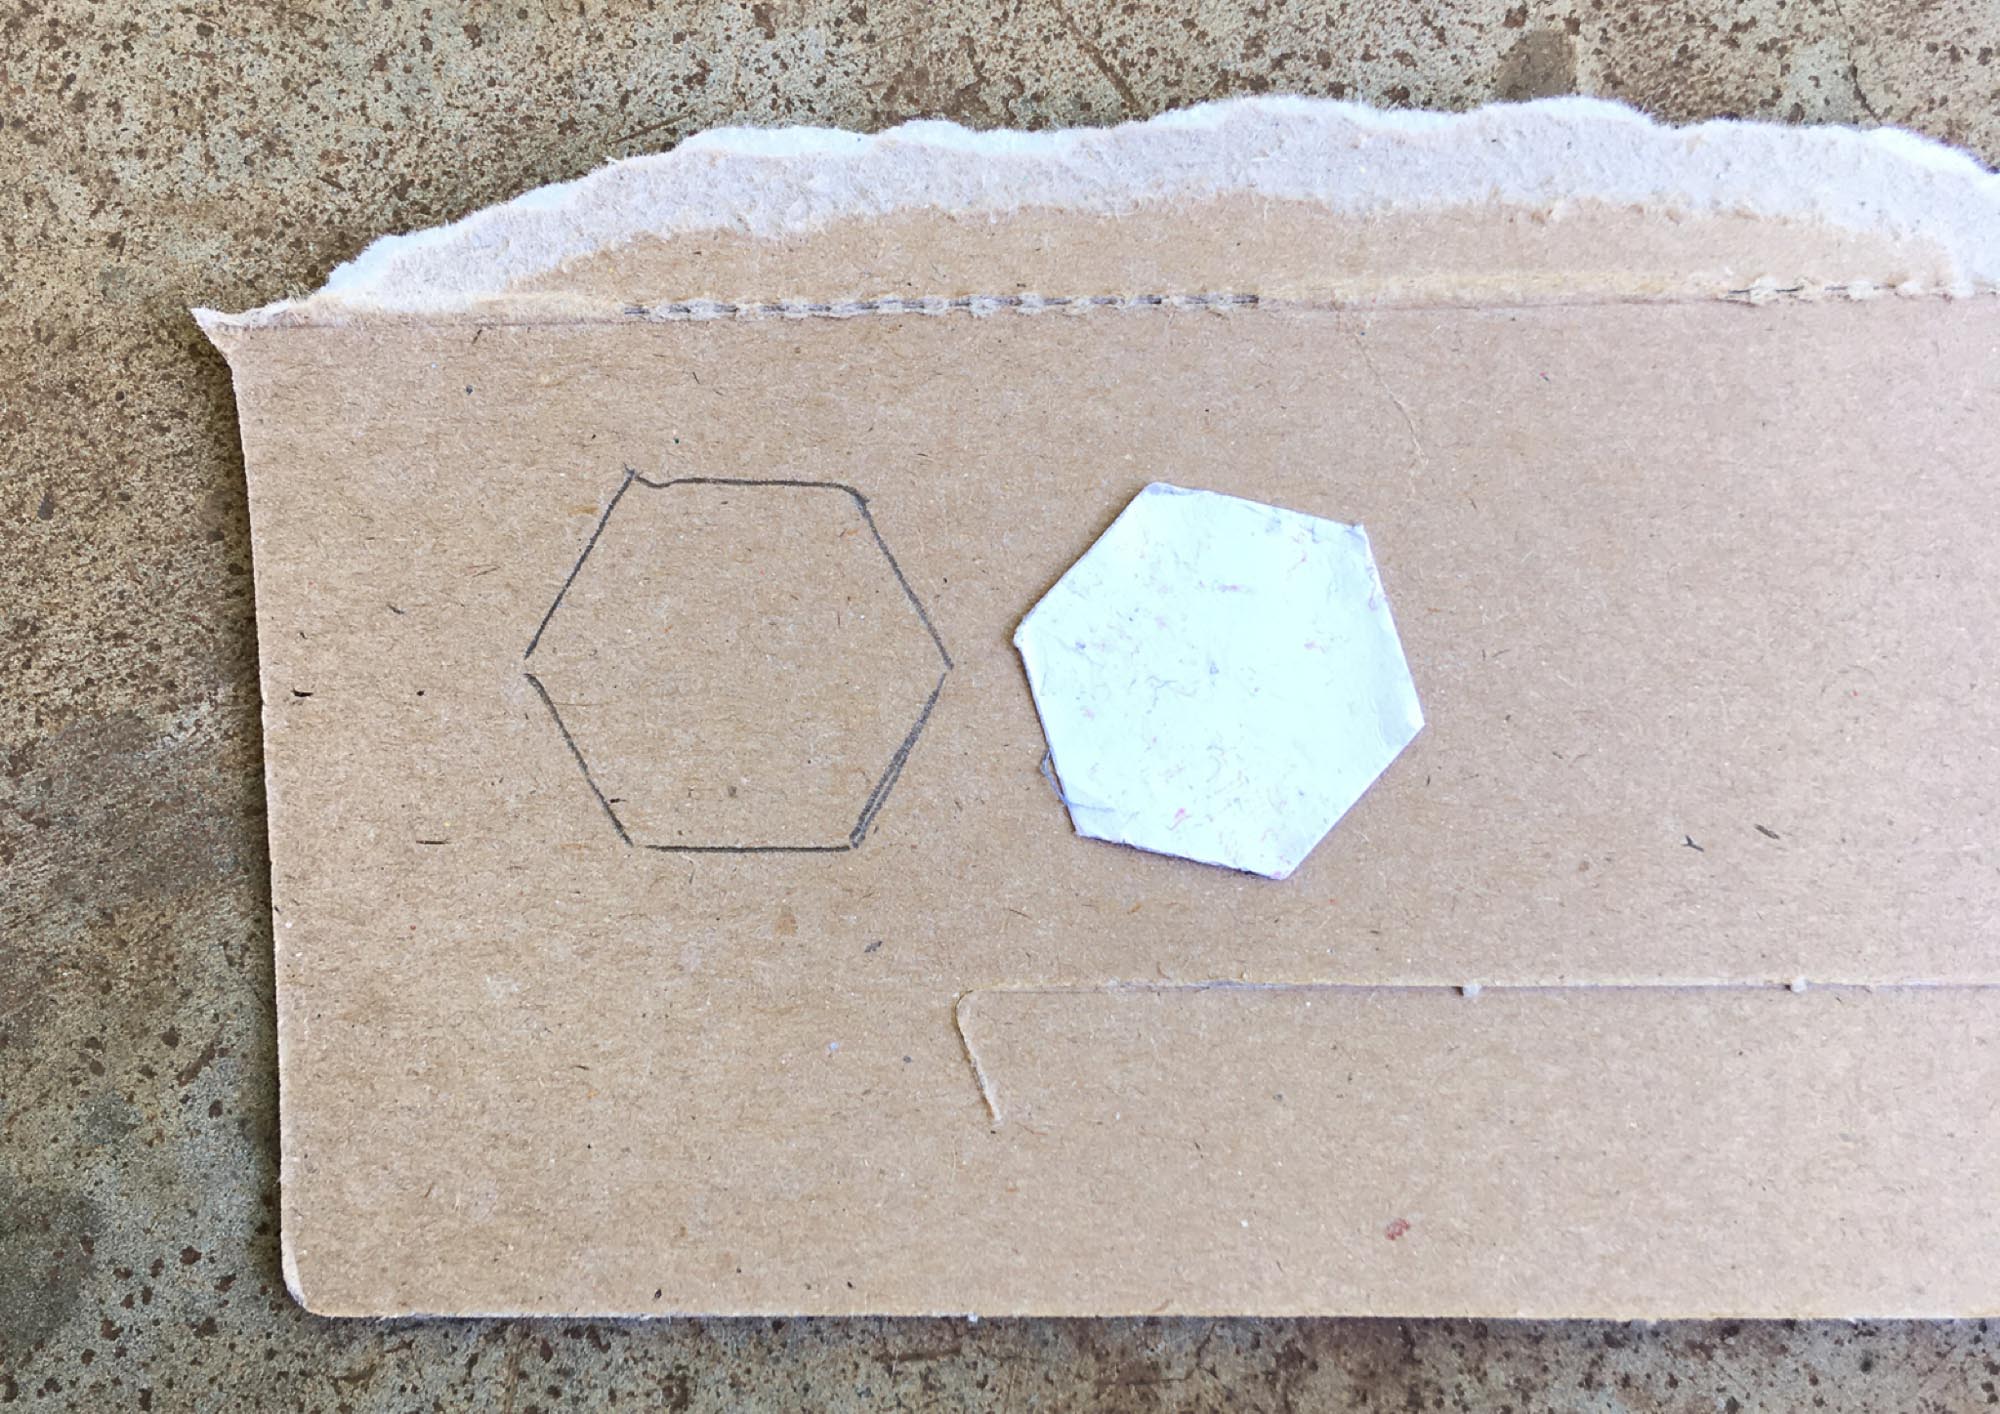
2. Trace your shape with a pencil/pen.
3. Take your ruler with a 1/4” marking and line up the 1/4” line with your pencil line.Draw a line next to your ruler.
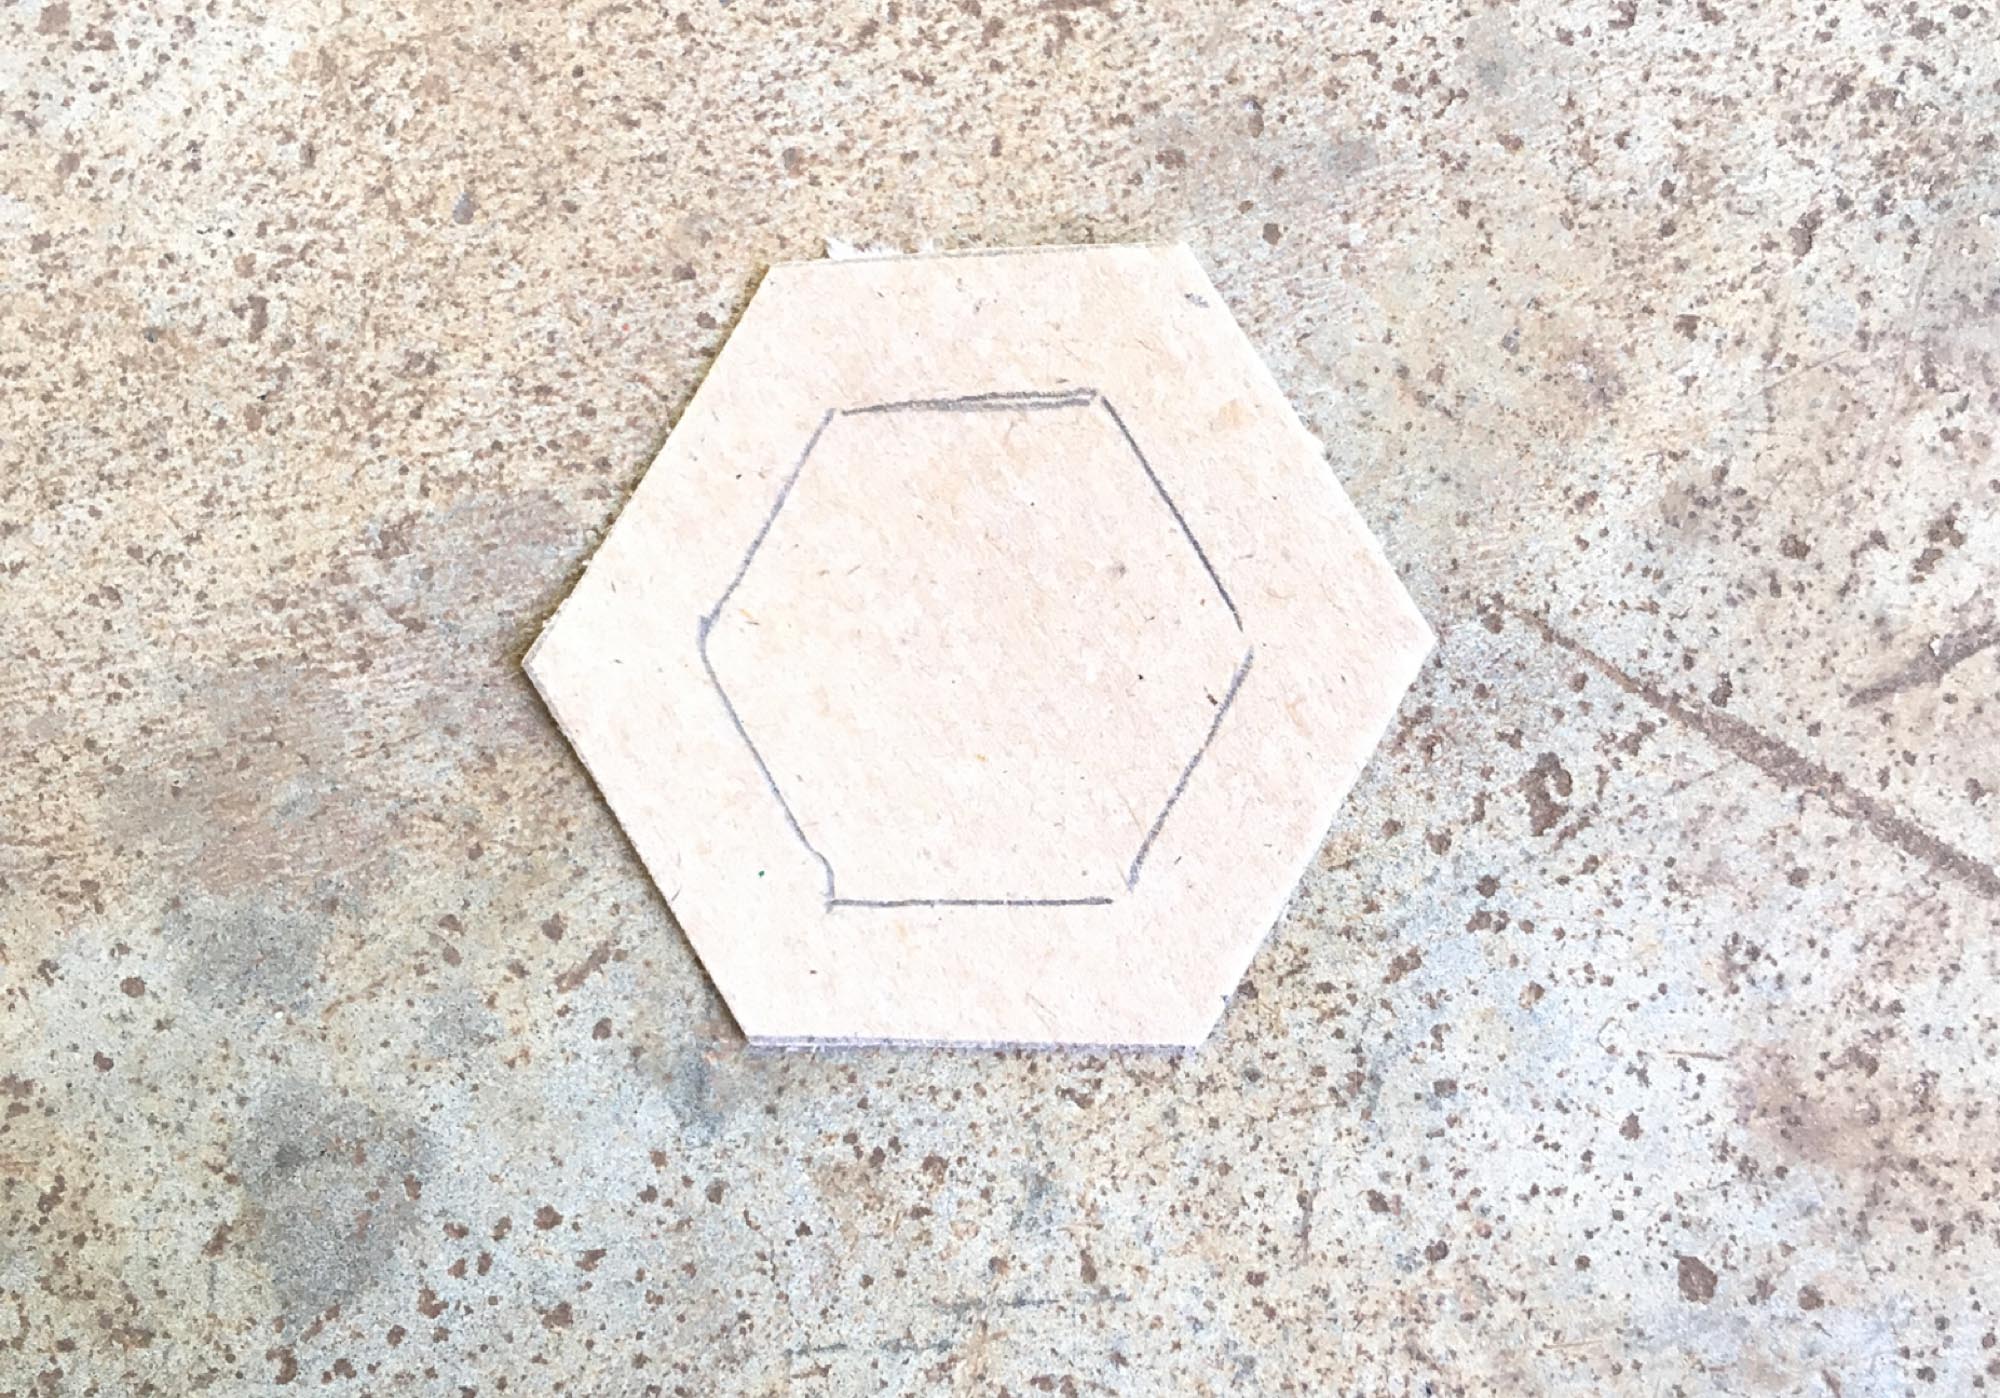
4. Continue marking lines 1/4” away from your original pencil drawing until you’ve marked all the way around the shape.
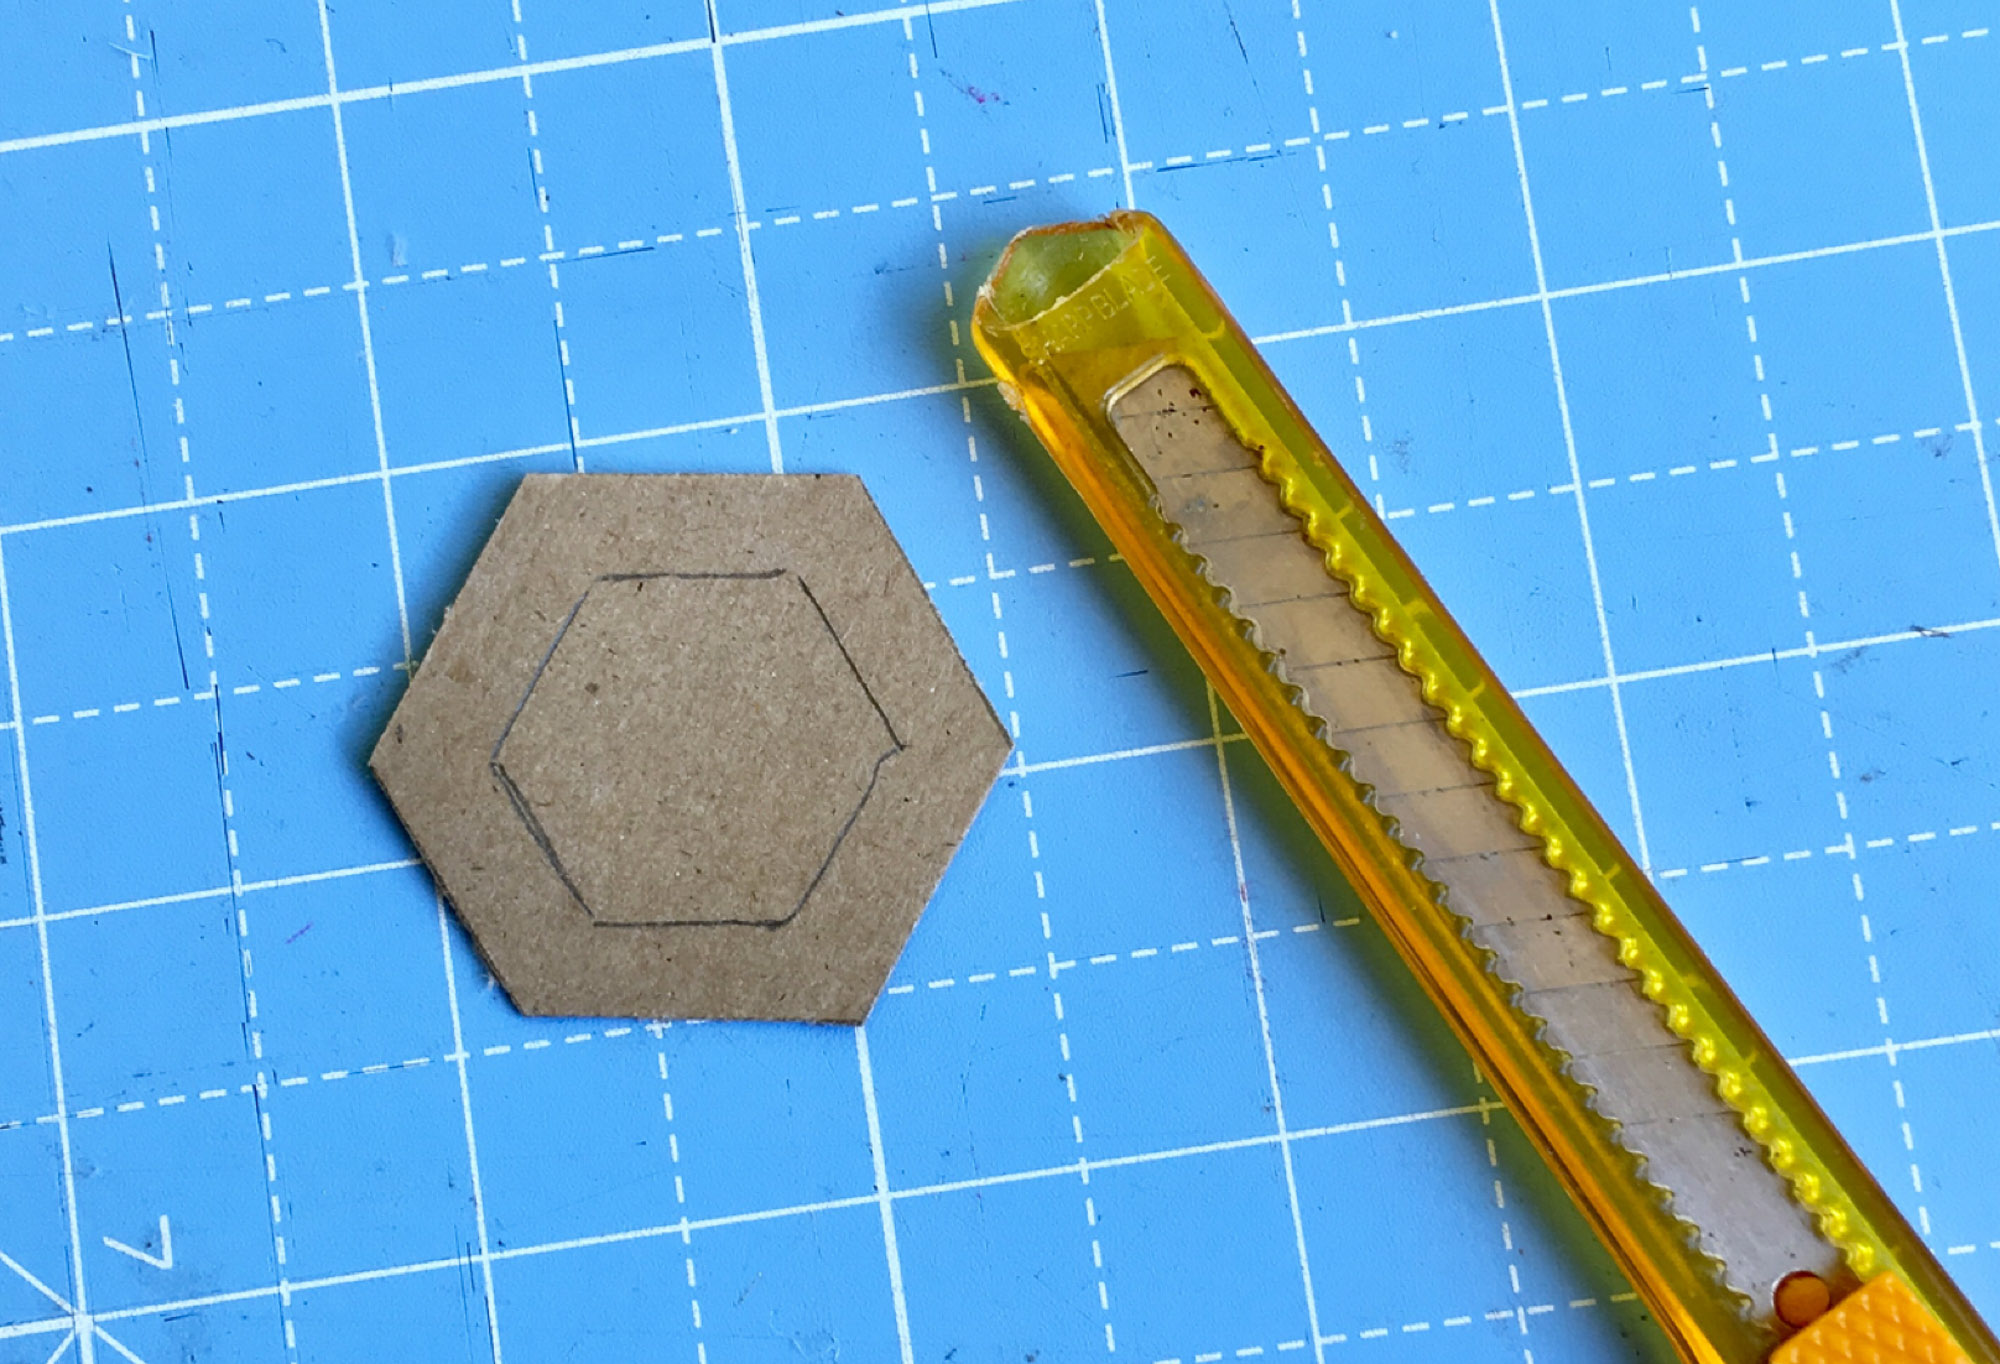
5. Take your non-fabric scissors and cut out your template on the outer lines.
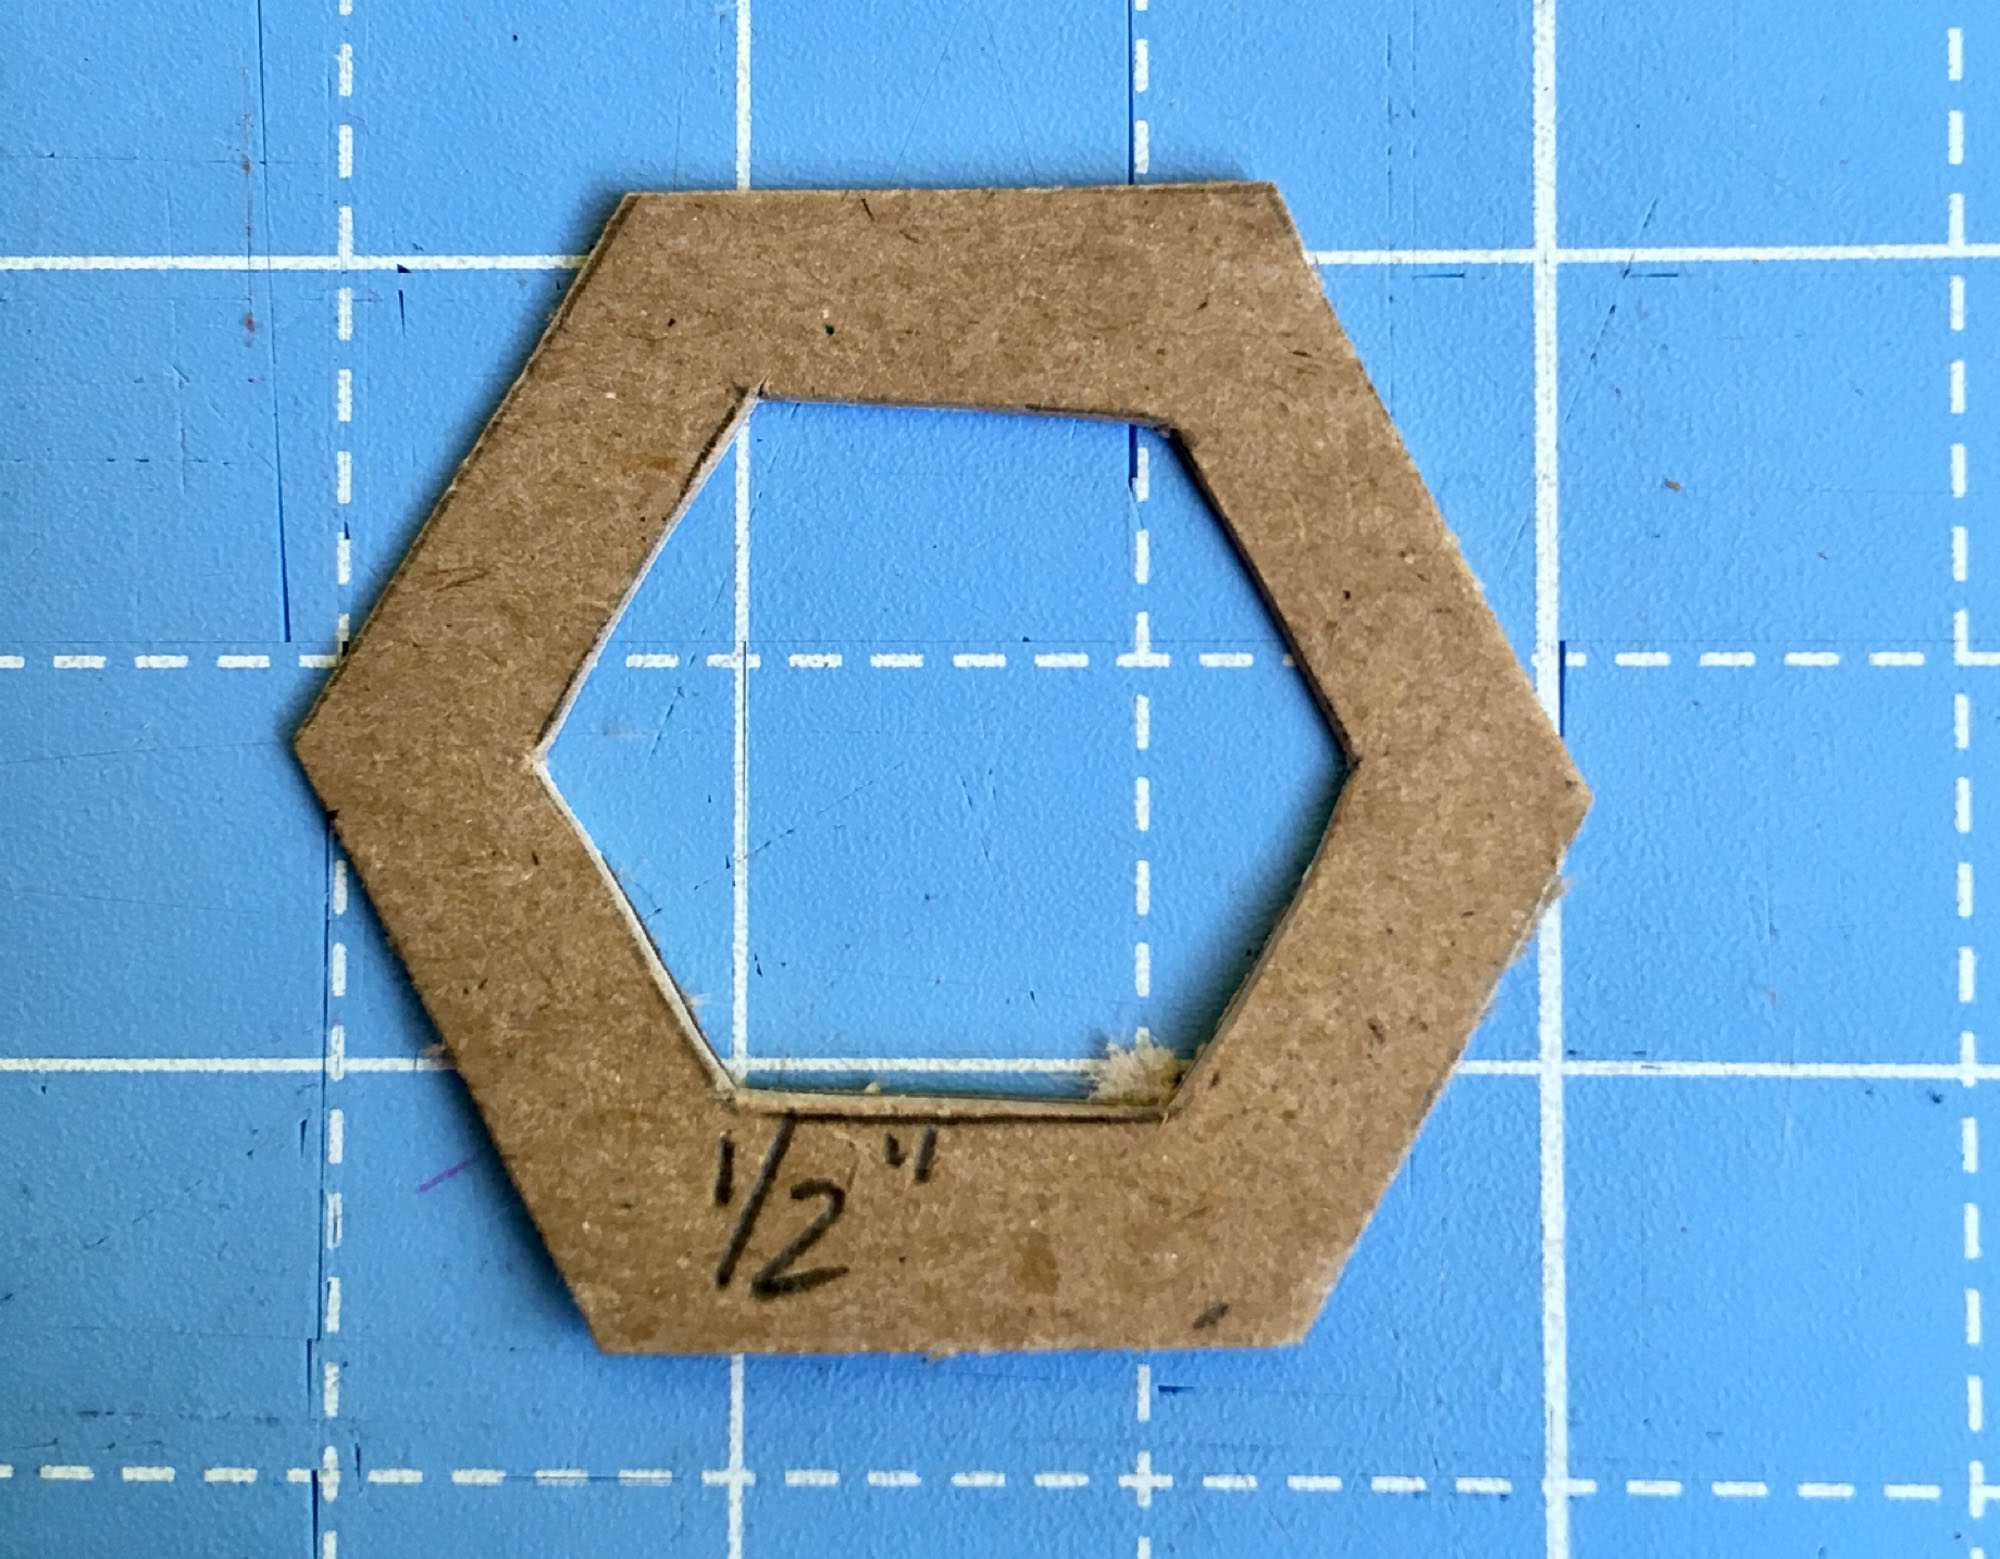
6. Next, you have to cut out the inner shape to make a little window. You can use your scissors to carefully cut it out at this point, but I like to grab my box cutter and cutting mat and slice out the inner piece carefully.
7. Lastly, I like to label my templates for future reference.
8. Now you’re ready for some fussy cutting!
How to Create a Fussy Cut
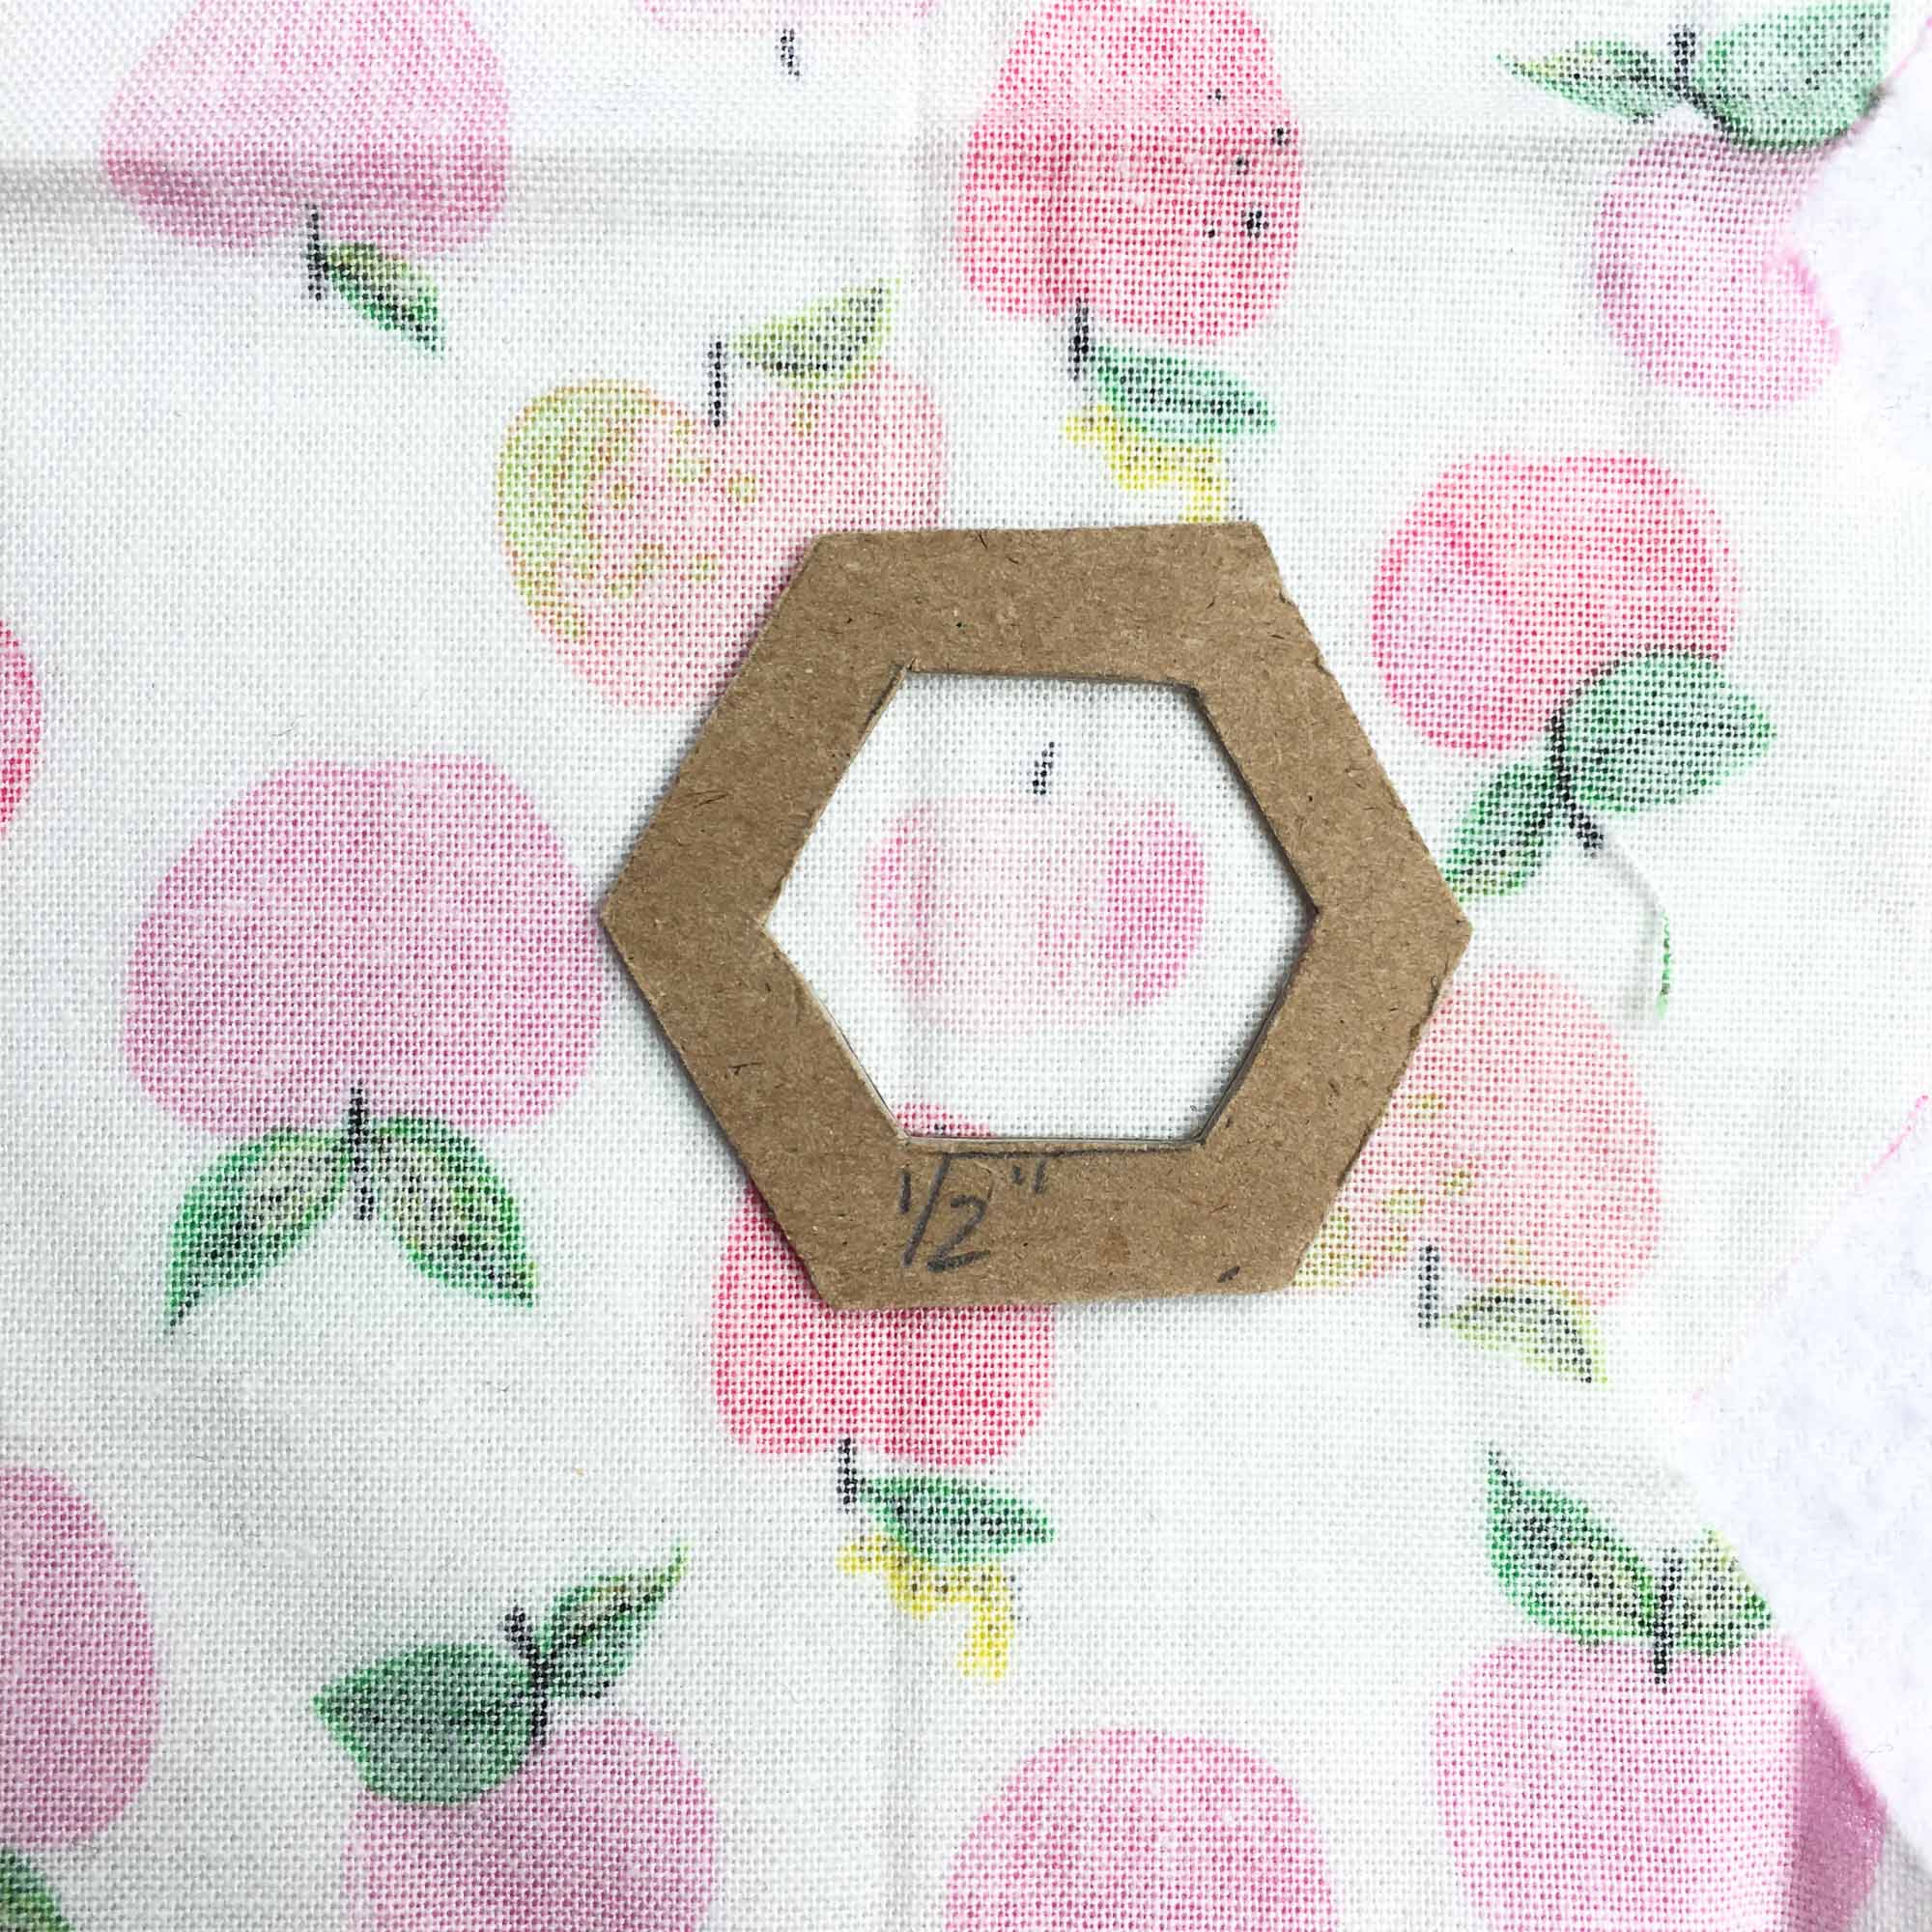
1. Start by laying your template on the back of the fabric in a way that captures the piece of fabric you want to highlight.
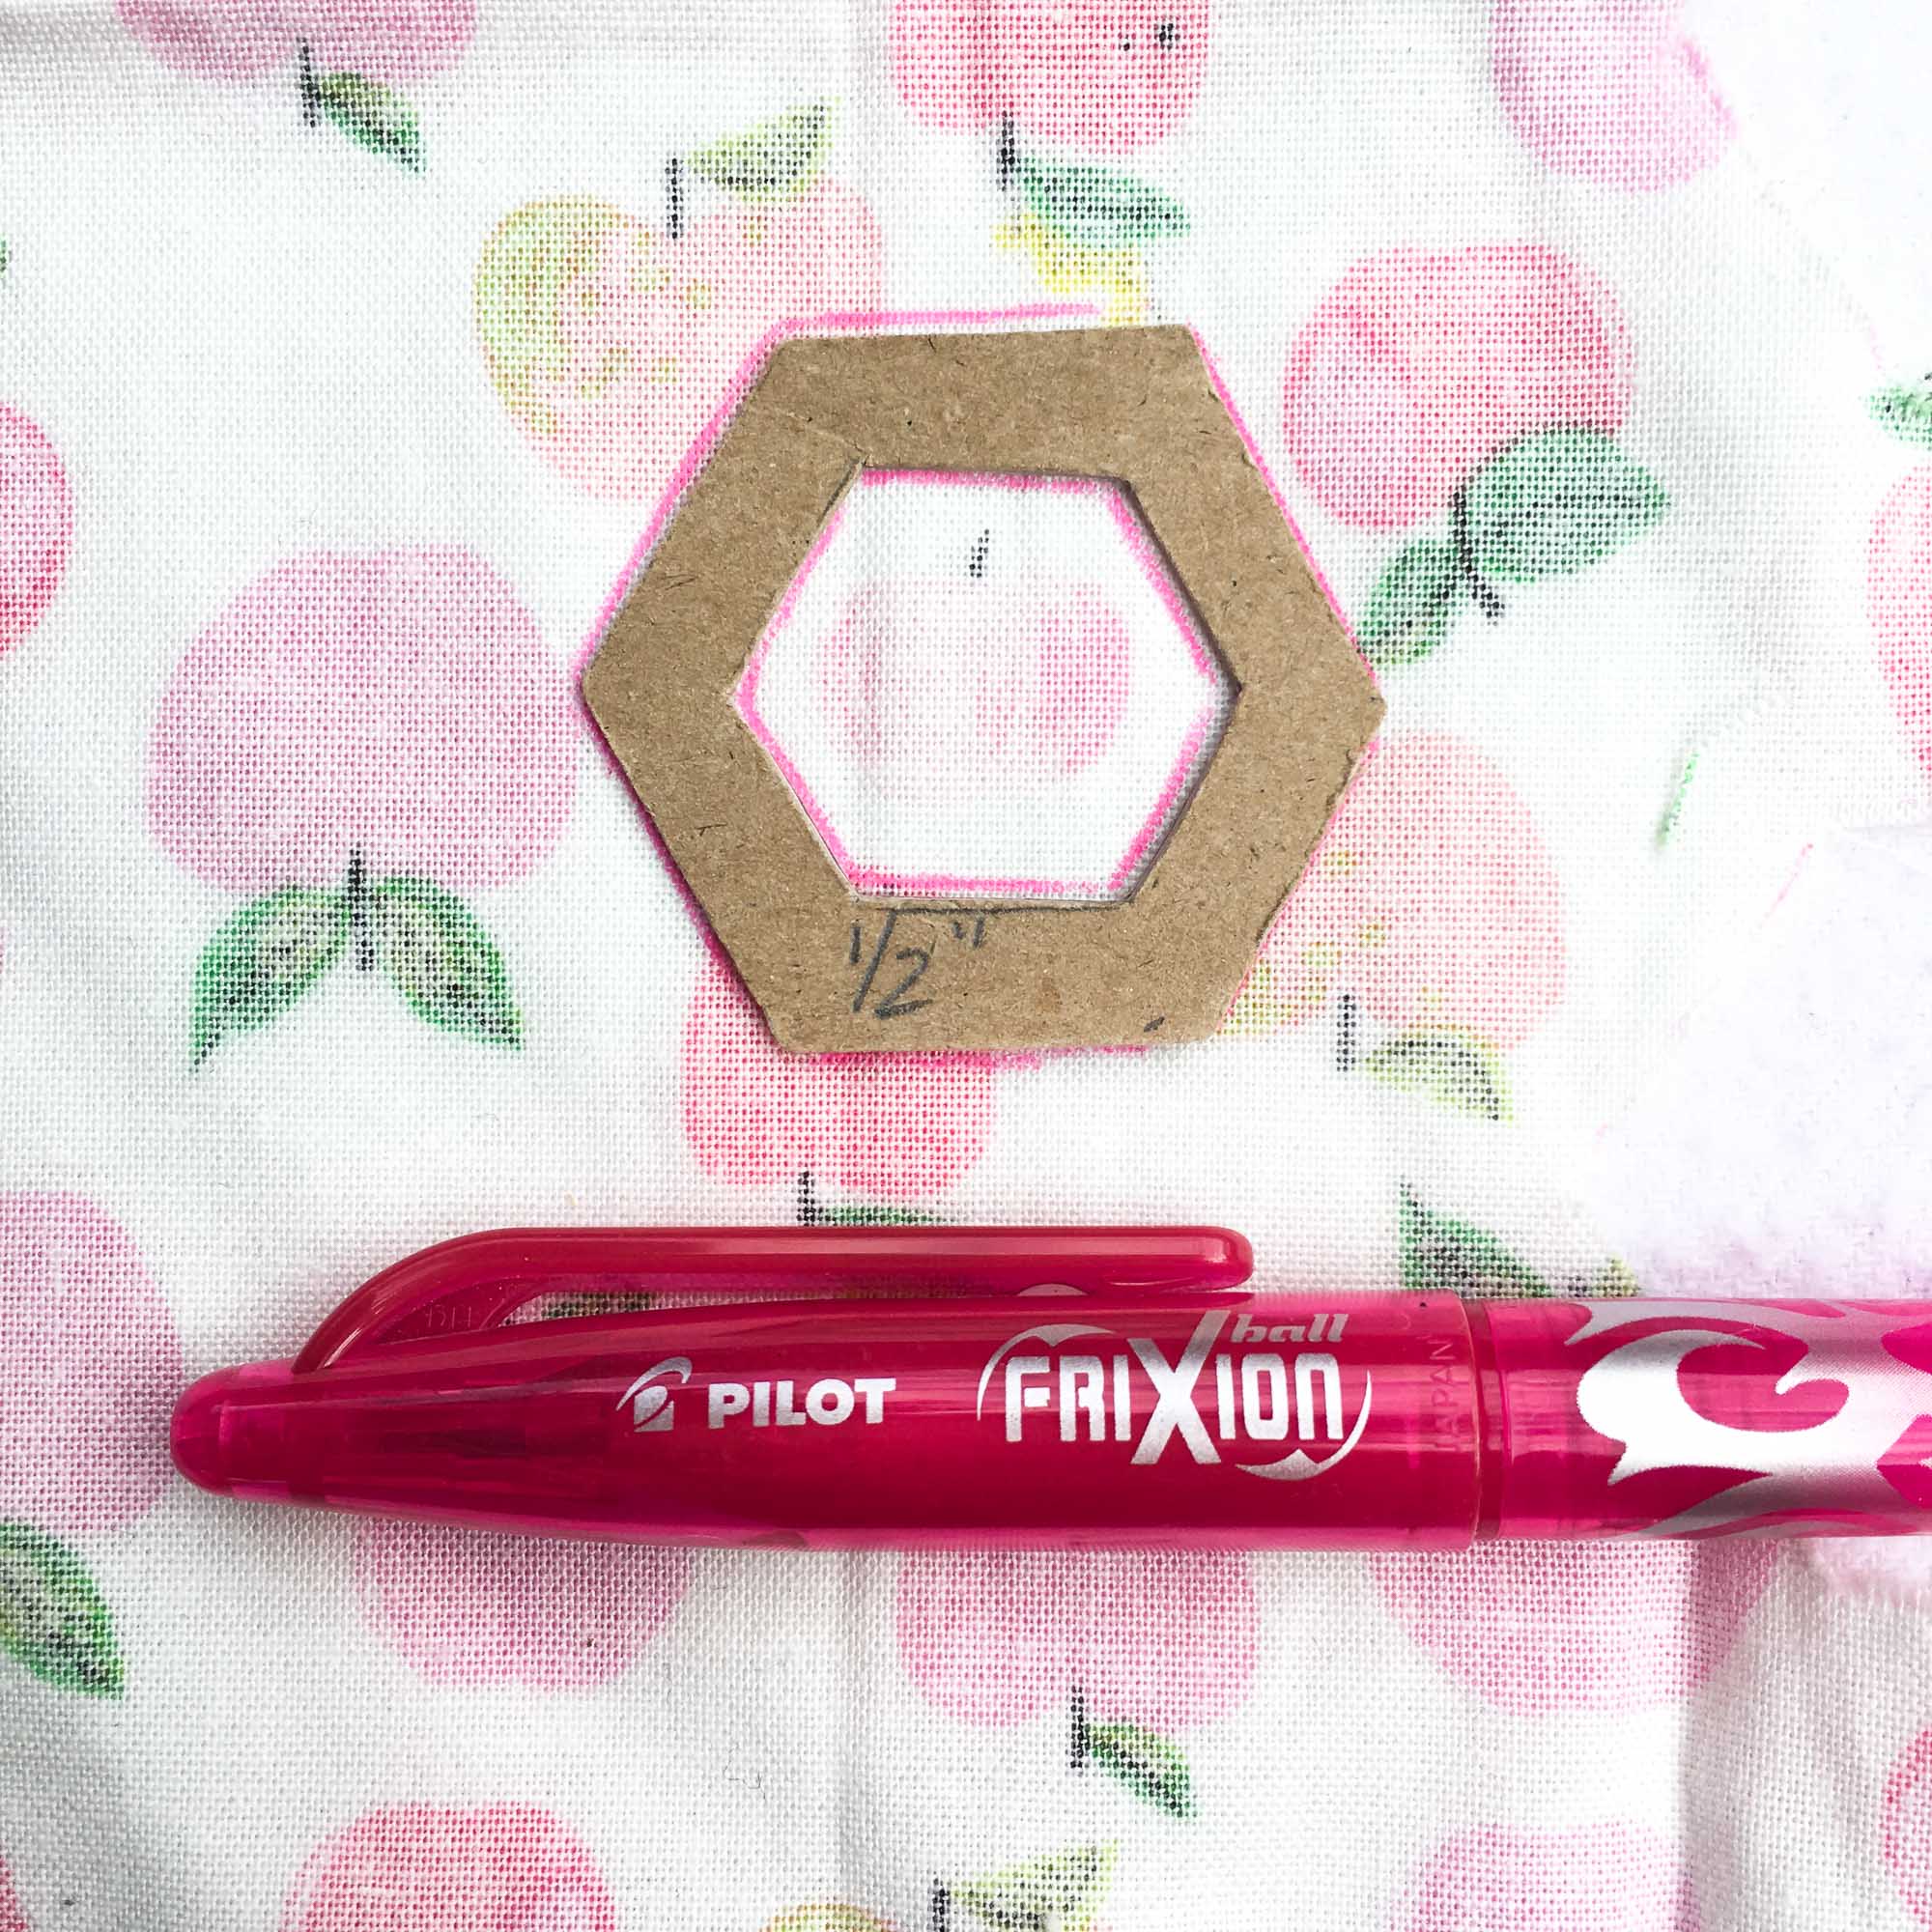
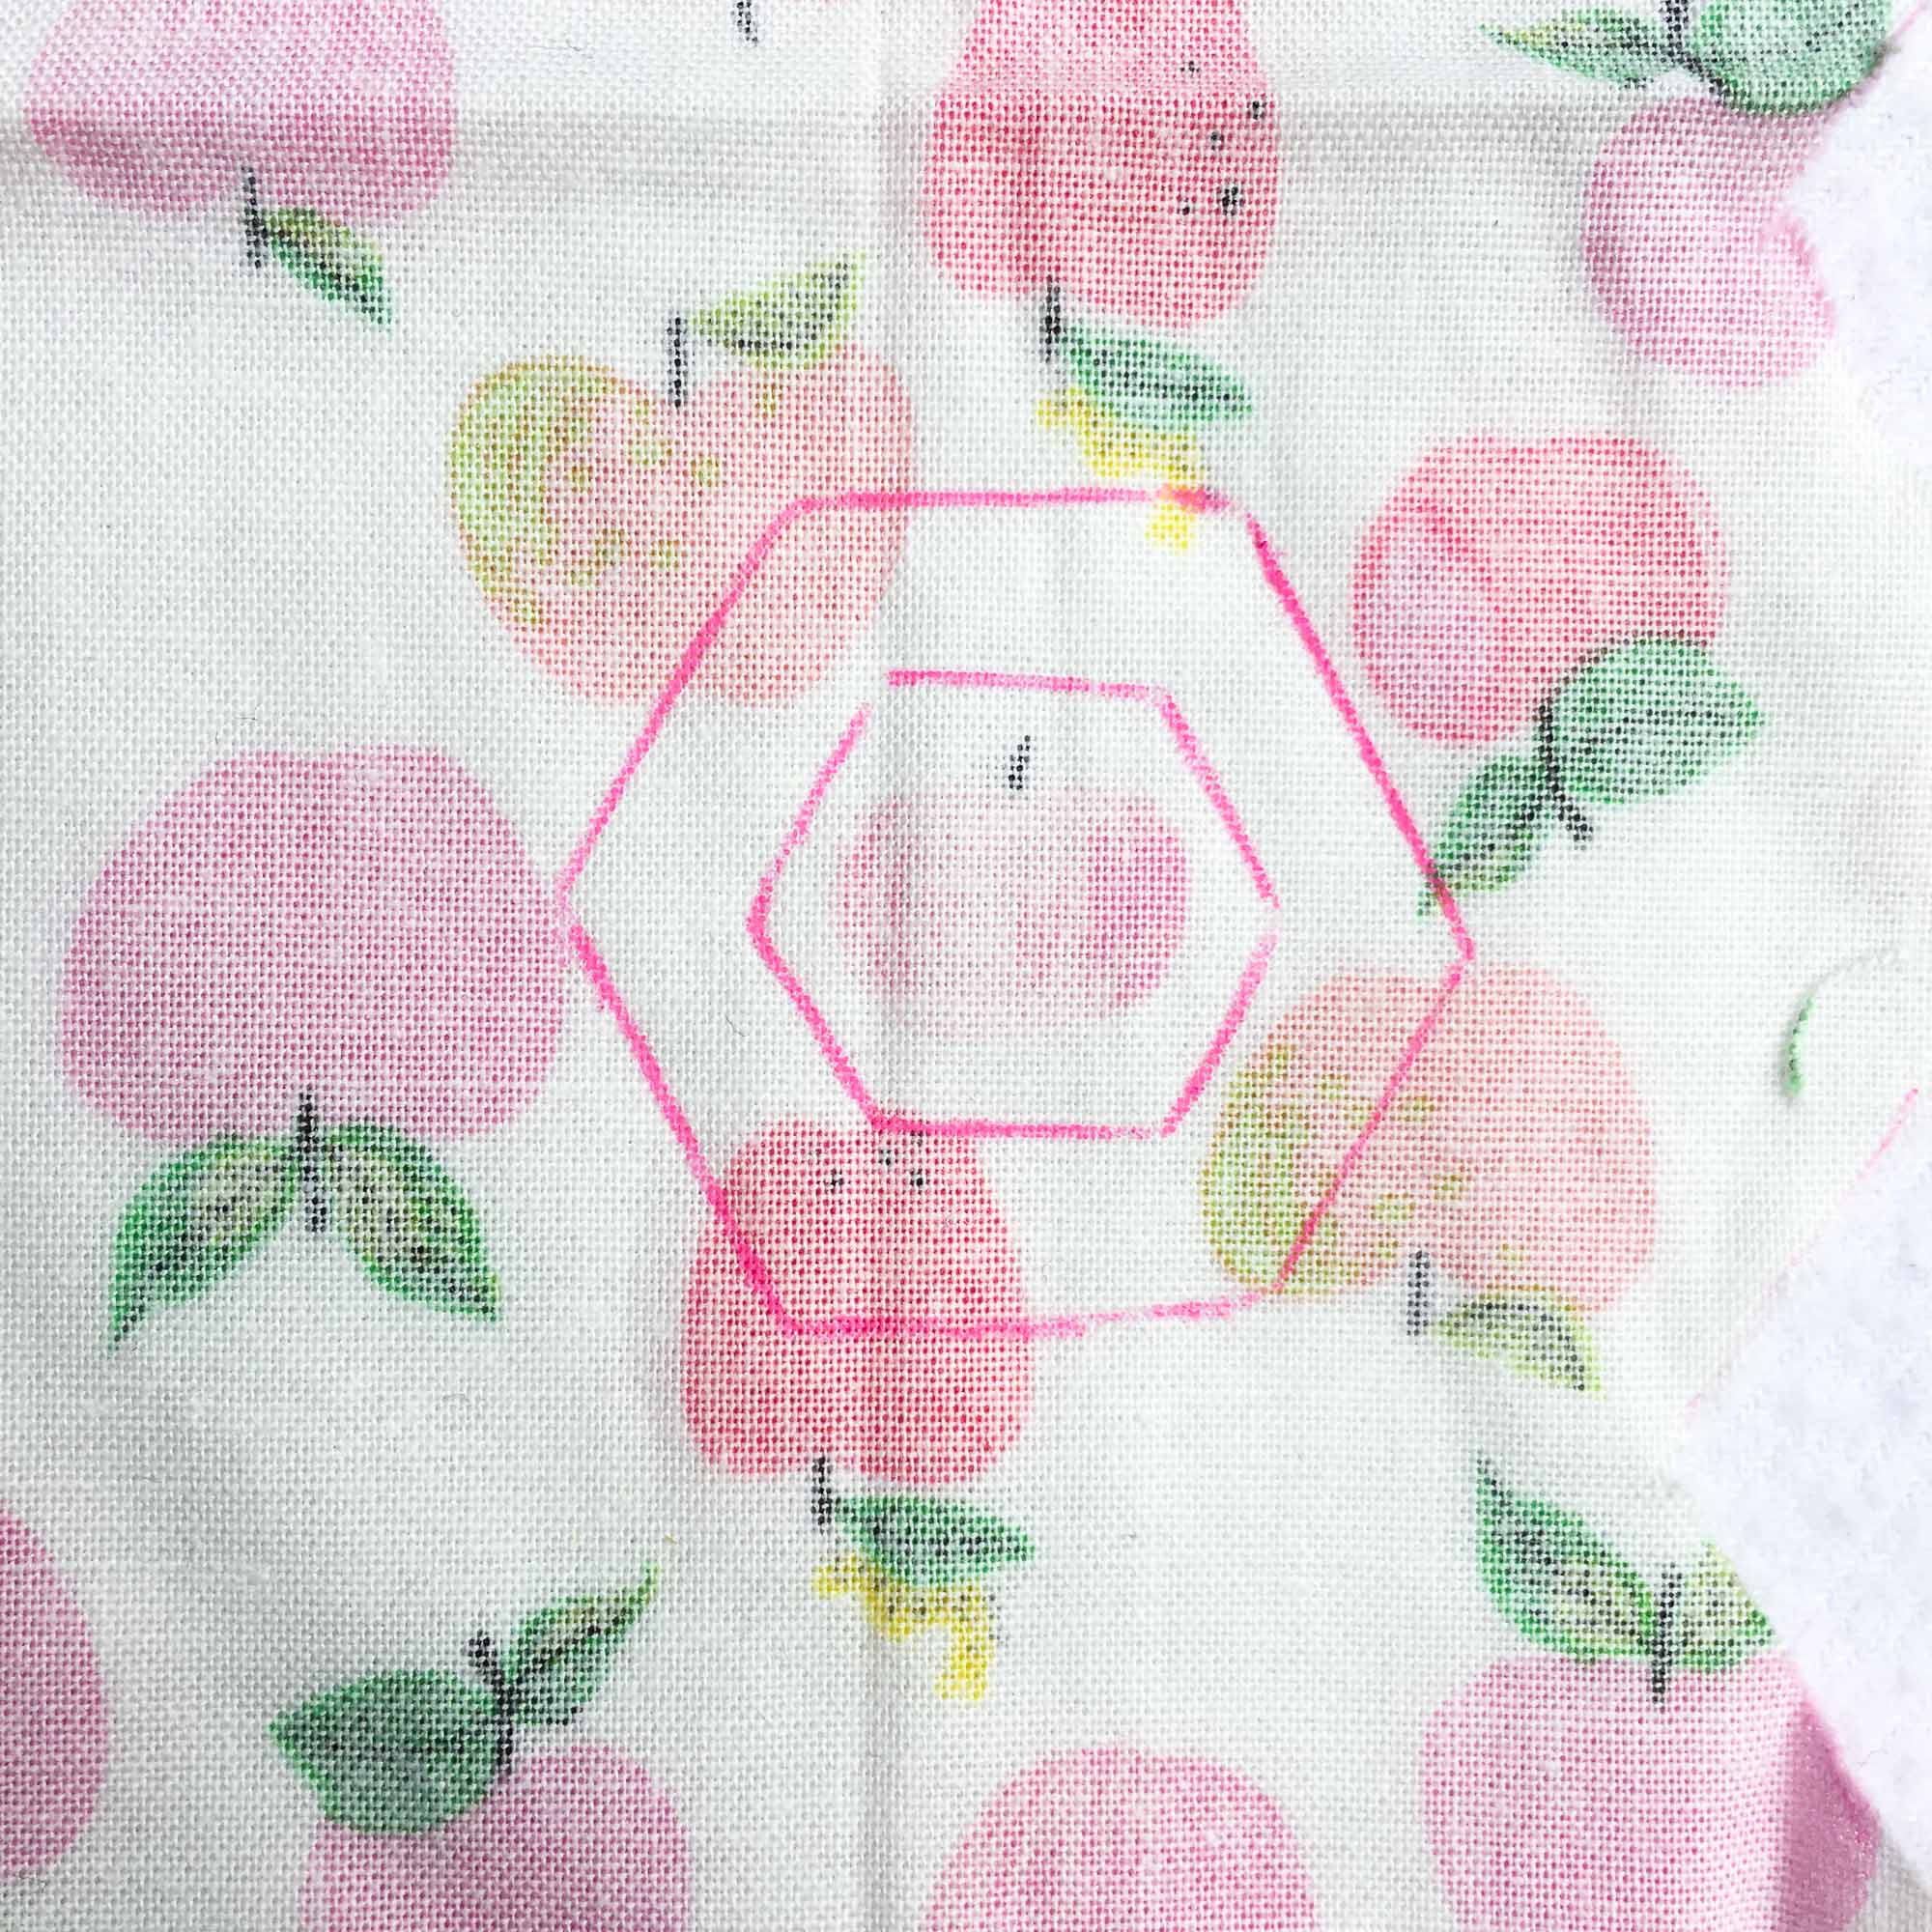
2. Next, trace both the inner window and outline of your template onto the fabric. I like using Frixion heat erasable gel pens for this step.
3. You’ll be left with markings like in the photo.
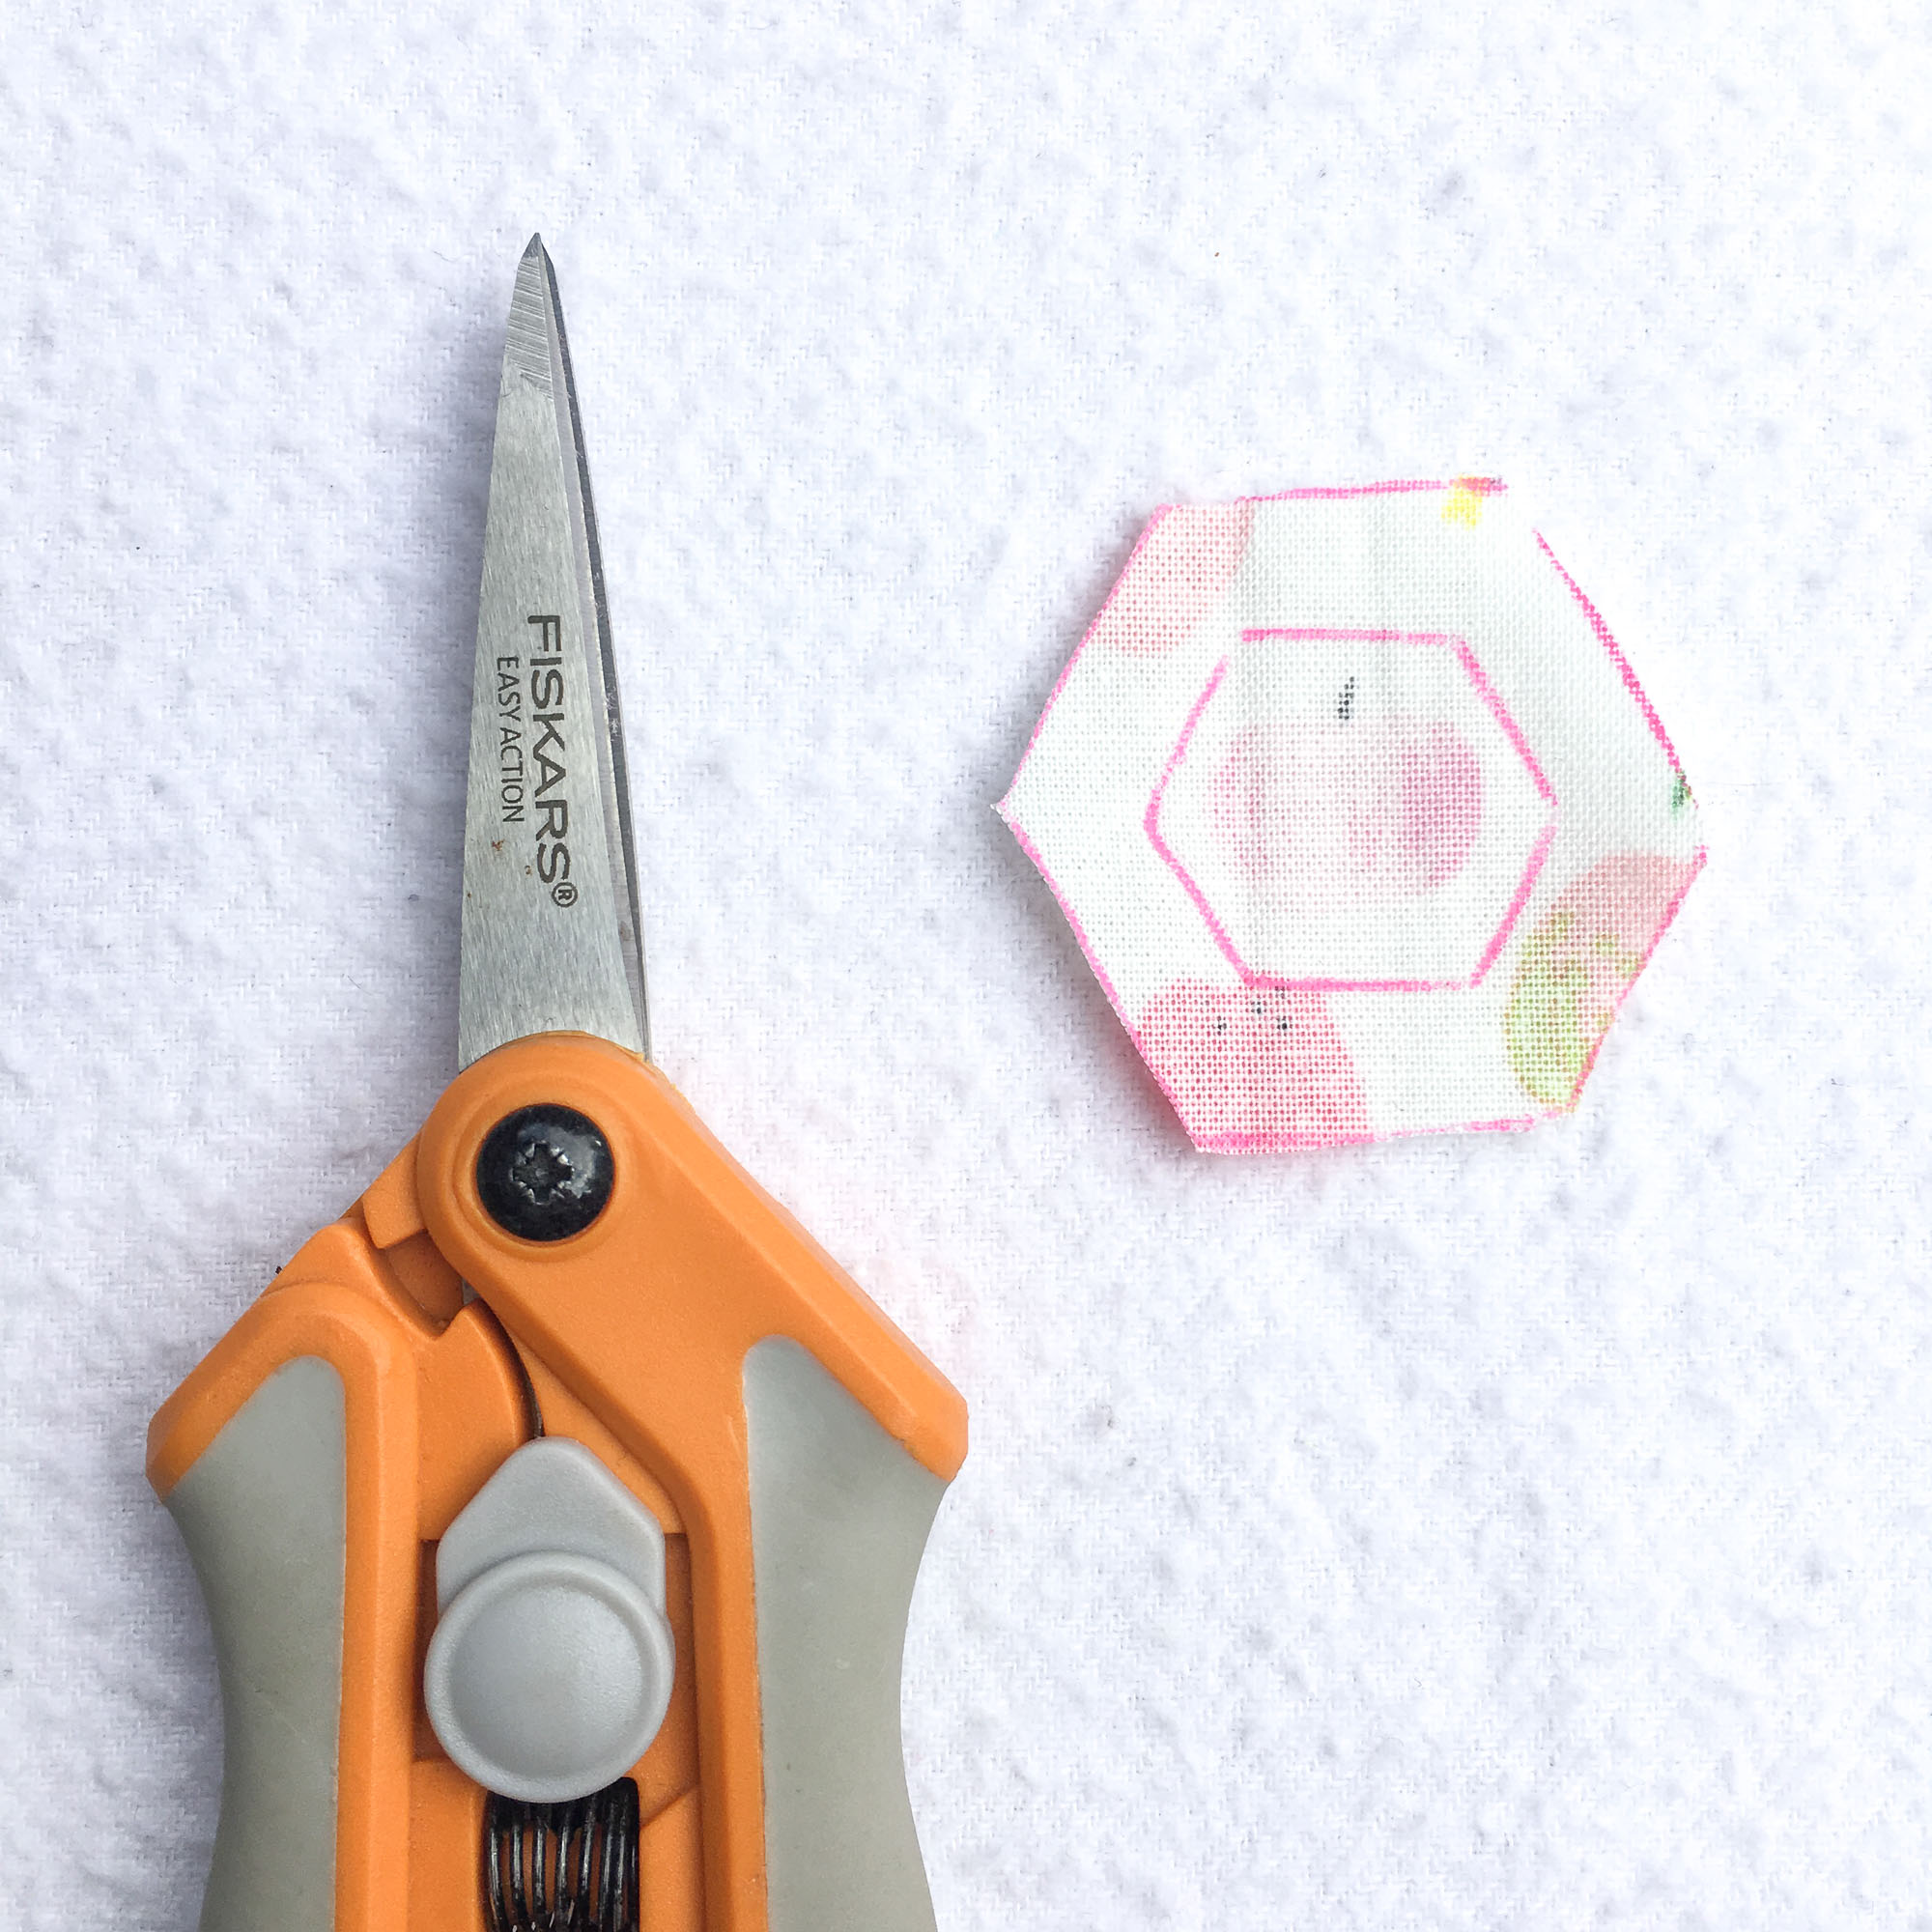
4. Cut out your fabric piece along the outer traced line.
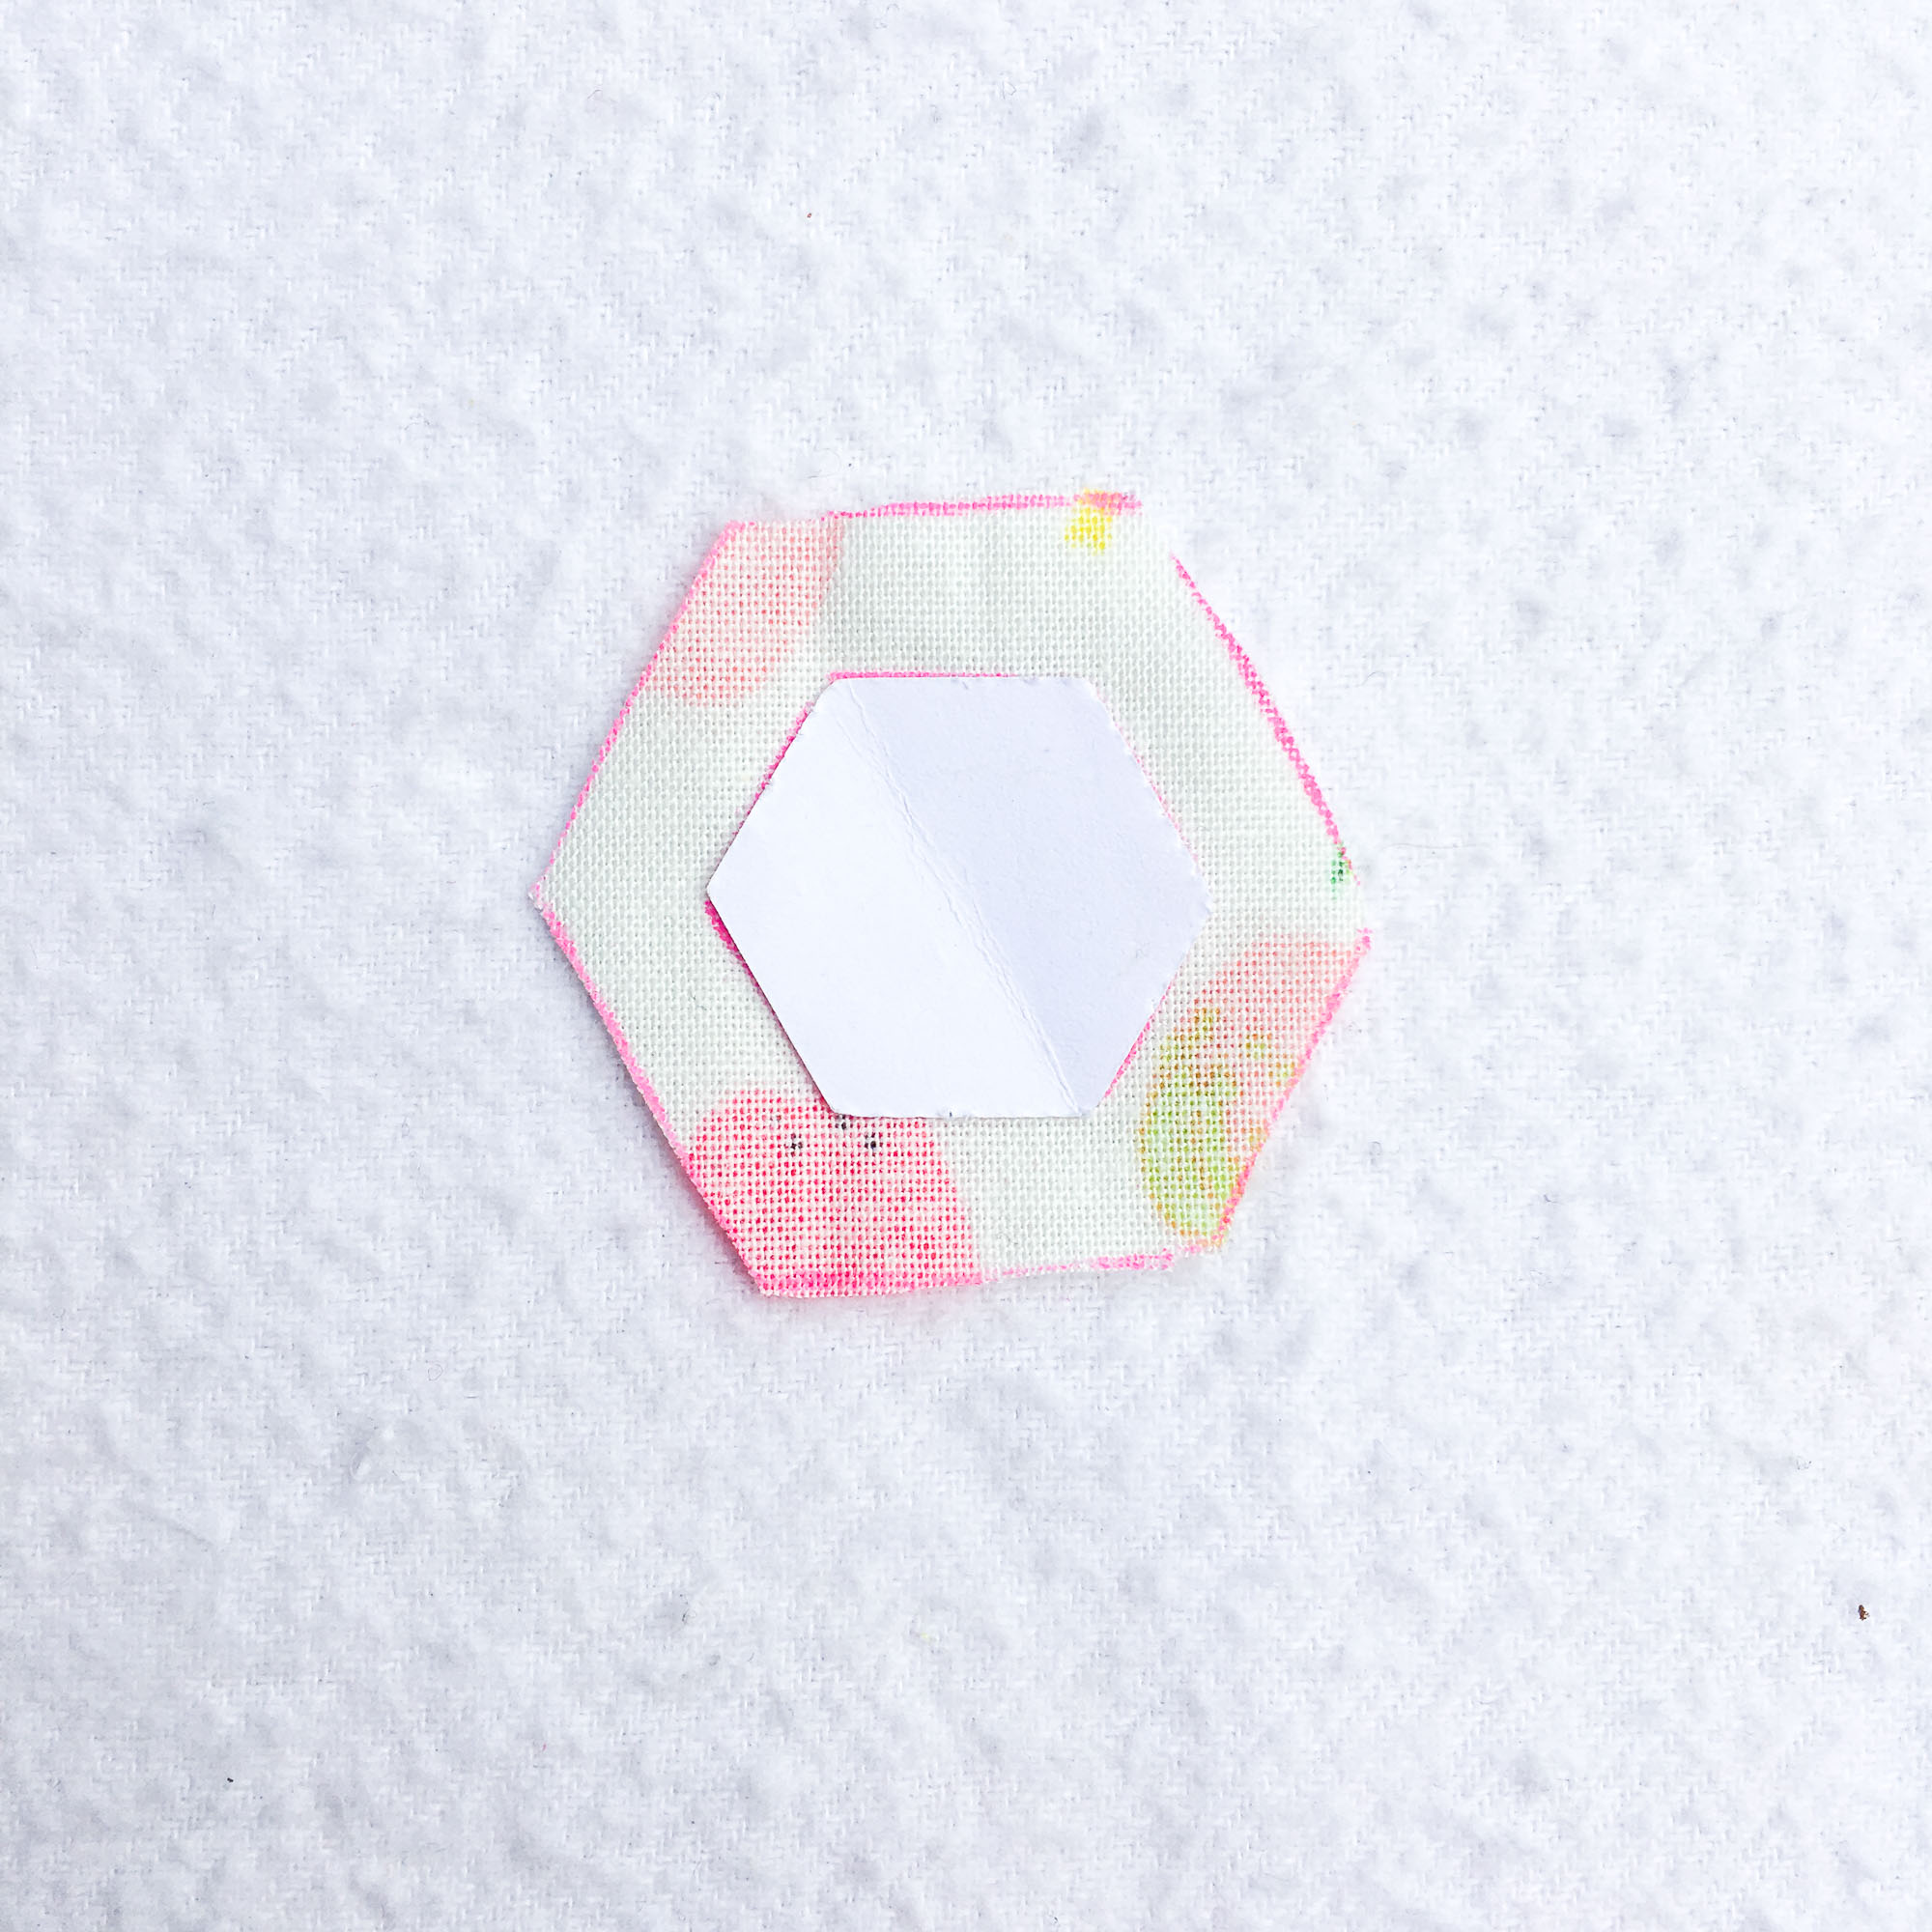
5. Now you’re ready for basting! Pre-baste your paper within the inner traced line and then baste with your preferred method.*
I hope that you have picked up a few tidbits that might make your basting experience a bit more enjoyable. Most of all, I hope that it helps you breathe a little easier as you continue to cultivate the joy and healing of creativity.
In the next section, EPP Pro: Stitching with Style, we learn how to fine tune our stitching! I absolutely love that you can tell my EPP quilts were stitched by hand. However, I have learned a few tips and tricks for refining my stitches while leaving room for that hand stitched character I think we all love so much.
And, if you’re new to EPP or a little rusty, check out the EPP Primer: Stitching post for a beginner friendly refresher. Until then, happy stitching!
For future reference, you can always find all of the sections of the EPP Pro series here. Or you can use these handy pins for easy access from Pinterest.
This post may contain affiliate links. You can read my affiliate disclosure here.